Then I sprayed 3M 1357 on the car and the vinyl roof and started installing the top.
Unfortunately the top material had defects, probably because it was stored for a long time. We ended up removing it, wadding it up, and putting it in the trash.
Then I sprayed 3M 1357 on the car and the vinyl roof and started installing the top.
Unfortunately the top material had defects, probably because it was stored for a long time. We ended up removing it, wadding it up, and putting it in the trash.
Ouch - that would be worth some bad words. Will you have to strip the contact cement and reapply? Car is looking fantastic though!
Based on the fuzzy white backing on the top in your picture, that looks like the “economy” vinyl top, unless I’m mistaken. For a car like this I’d for sure go with the “premium” one. So maybe not a bad thing that you had to throw it in the trash.
100% accurate.
This one was just not good enough for the car. Turns out a friend of ours accidentally ordered four of the premium version instead of the one he needed. So we are going to get one of those. I called Junior at WCCC yesterday afternoon and they have stock too but turns out we had one.
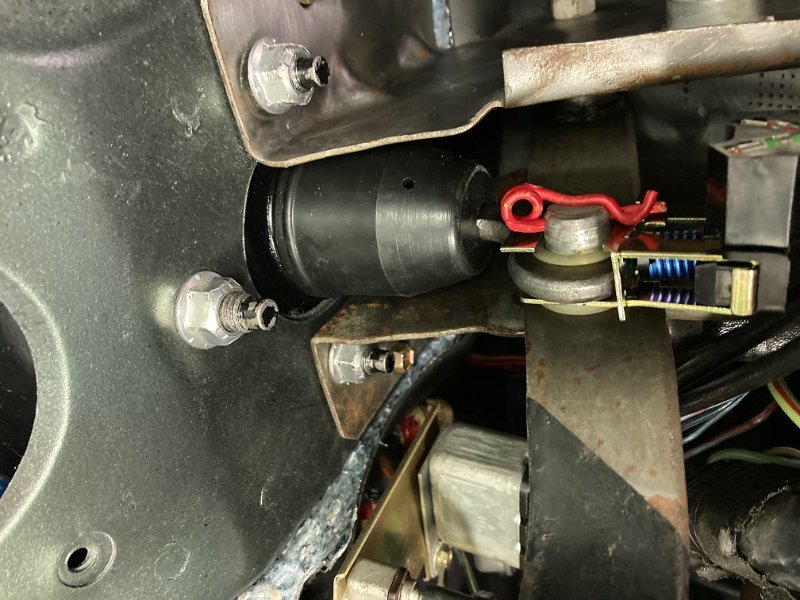
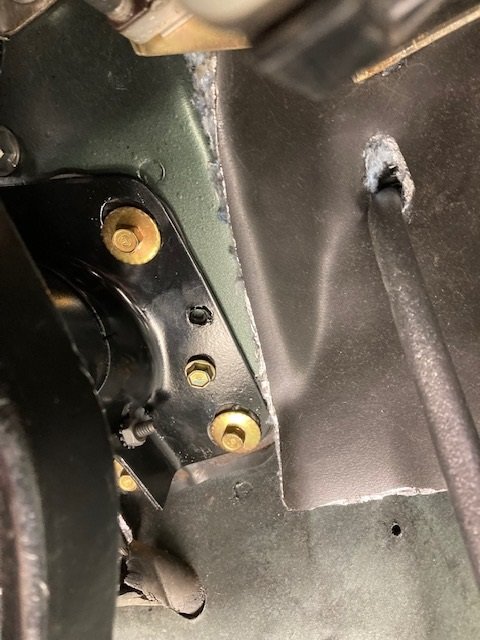
Today started out with finishing the brake booster installation, hooking it up to the pedal with the switch for the brake lights connected.
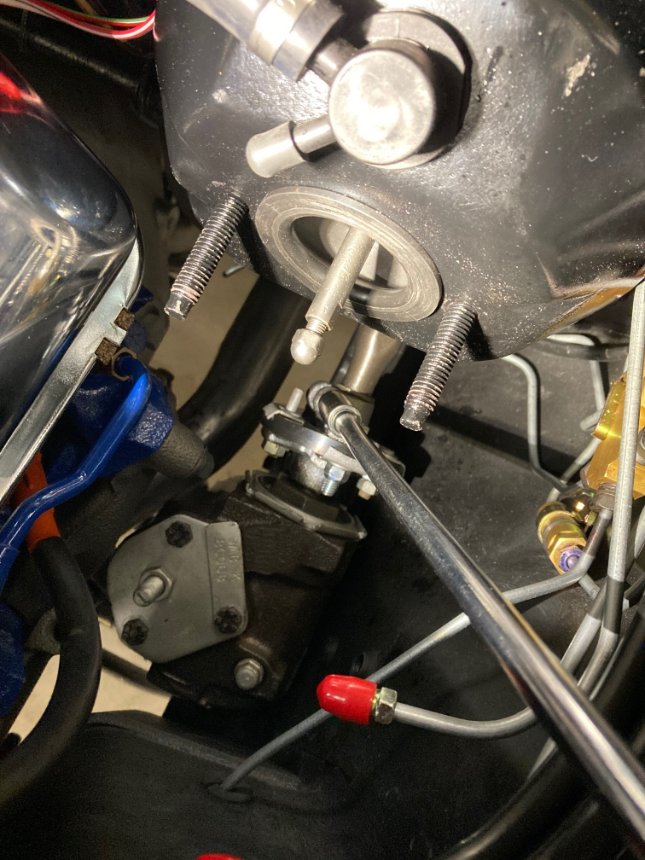
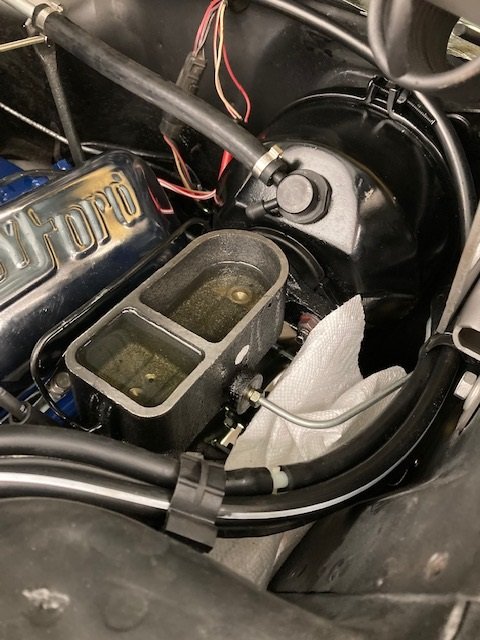
Then installing the master cylinder. This was tight, had to remove the spark plug wire separator from the valve cover and also remove the clip that holds the vacuum hoses and wiring to the inner fender right next to the front port of the master cylinder. I didn’t want to break it!
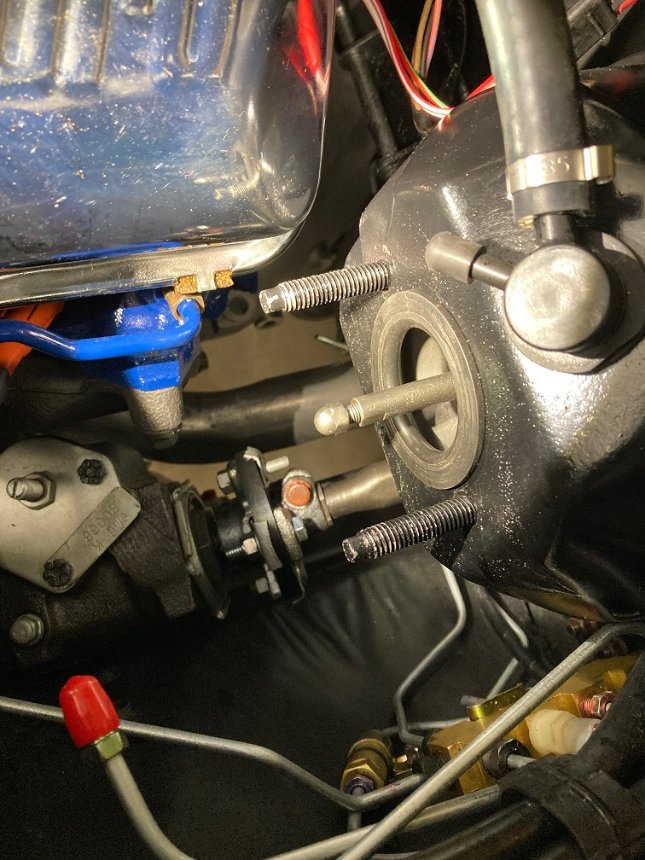
Overnight the brake distribution valve had a couple leaks. So I had to remove the master cylinder to be able to tighten the fittings some more. They quit weeping. So the master cylinder went back on.
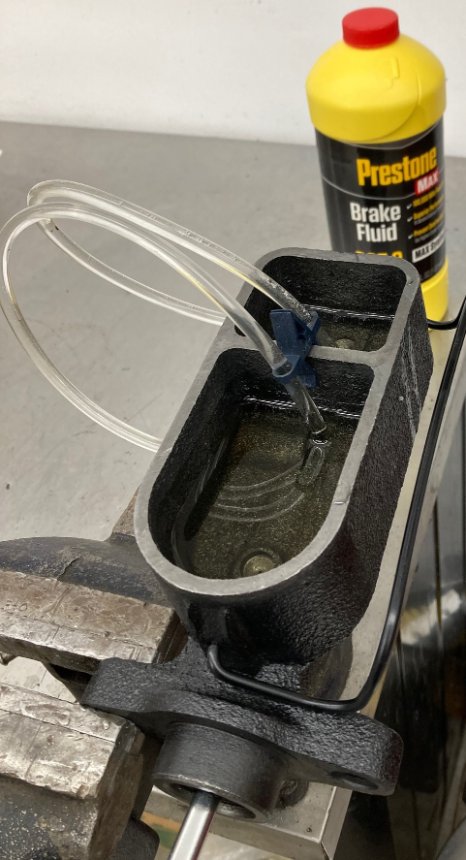
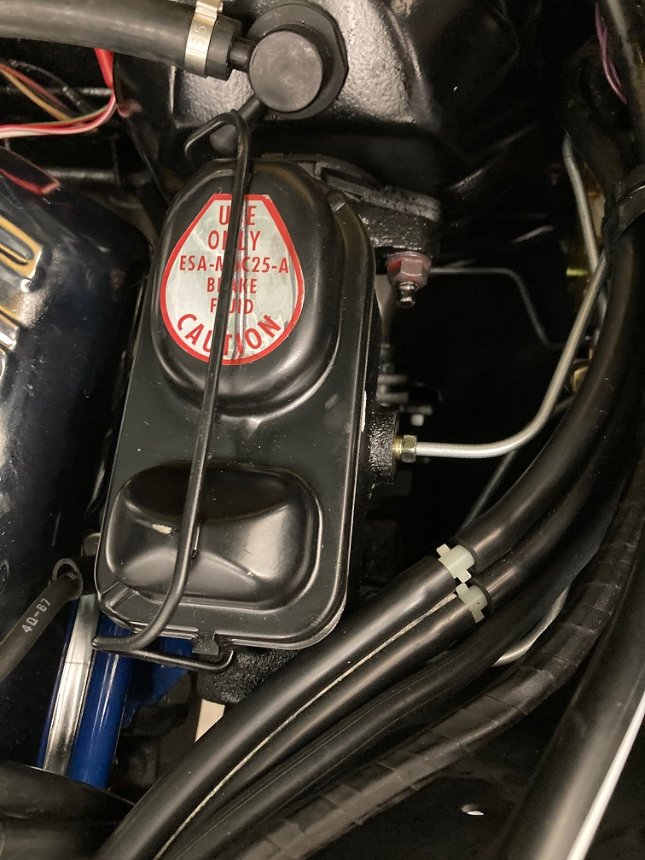
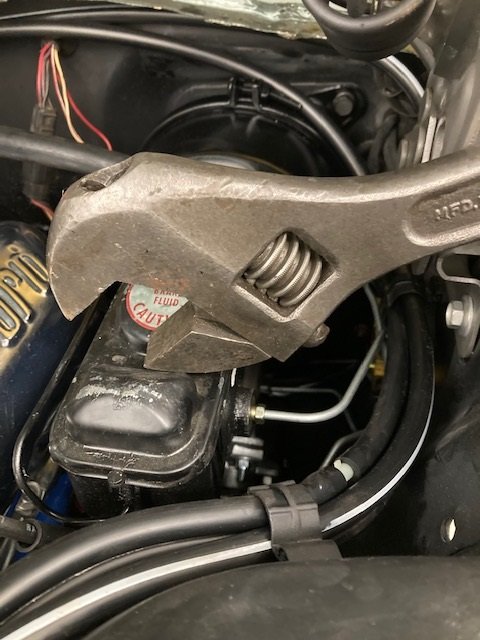
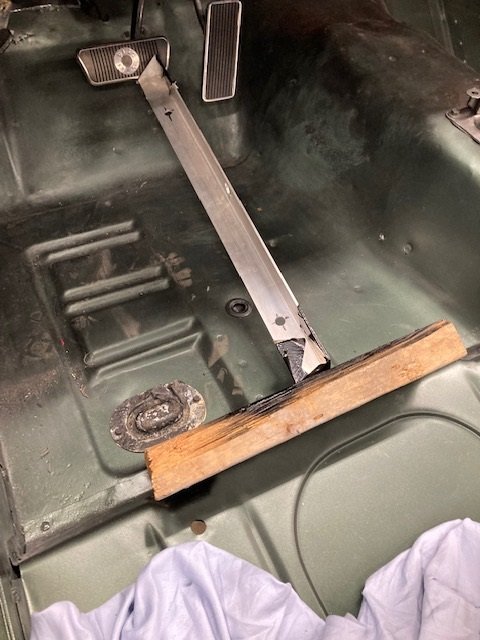
I bled the brakes my usual way. A piece of L - angle was used to hold the pedal down while changing from one wheel cylinder to the next. An extra master cylinder cap was used so I wouldn’t scuff up the one belonging to the car. Instead of installing the bale clamp when topping off the reservoirs I used a big crescent wrench to weight it down.
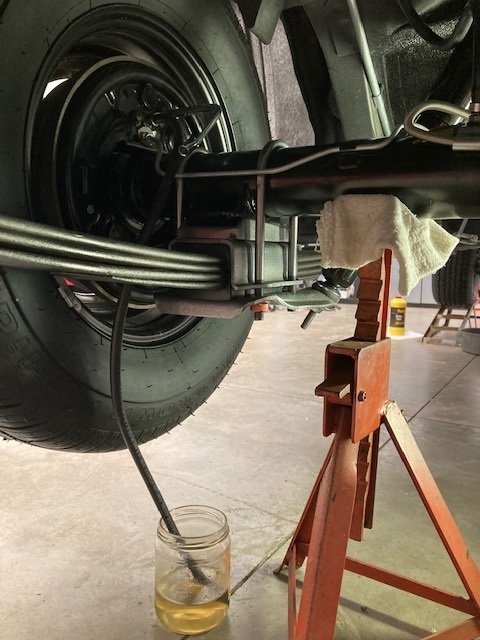
It’s simple to bleed brakes like this. Ten pumps of the pedal with the bleeder open 1/6 turn. Leave the angle holding the pedal down and top up the reservoir. Ten pumps of the pedal. Move to the next brake with the angle holding the pedal down. A hose connects the bleeder valve to a glass jar with a 1/4" of brake fluid in the bottom so the hose cannot suck air back into the wheel cylinder. The brake bleeder wrench (Snap On) is left on the bleeder until it is closed.
The hose, jar and bleeder wrench are moved to the left rear wheel. With the bleeder open 1/6 turn the pedal is pumped 10 times. The reservoir is refilled. The pedal is pumped 10 times. The bleeder valve is closed. Reservoir refilled. Move to the RH front brake.
The RH front brake gets the wrench installed (different size Snap On brake bleeder wrench) the hose put in place, the jar of brake fluid at the bottom of the hose, and the valve is opened. Ten pumps of the pedal and the angle holds the pedal down. Reservoir is topped up. Ten pumps of the pedal. Reservoir is topped up. Bleeder valve is closed. All the items are moved to the LH front brake.
The wrench is placed on the LH front brake. Hose is attached to the brake bleeder on the top end and placed in the (nearly 3/4 full) jar of brake fluid on the bottom. The bleeder is opened. Ten pumps of the pedal. The pedal is held down by the angle. Reservoir is refilled. Ten pumps of the pedal. The bleeder is closed while the angle continues to hold the pedal down. The reservoir is topped up while the pedal is held down. The lid is installed on the master cylinder with the pedal still being held down by the angle.
The angle is removed. We have brakes.
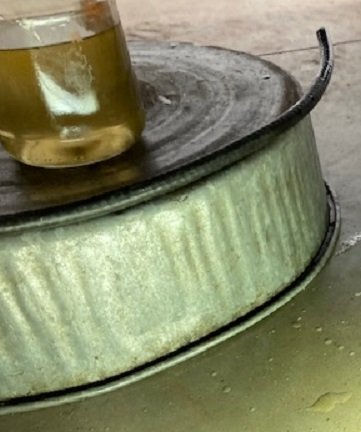
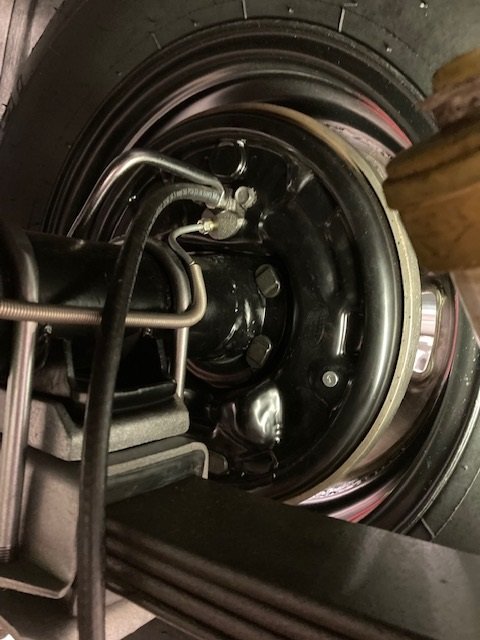
This is what the front reservoir looks after ten pumps, before refilling. If you were to pump all the fluid out then you would have to start the bleeding process over. Best not to do that.
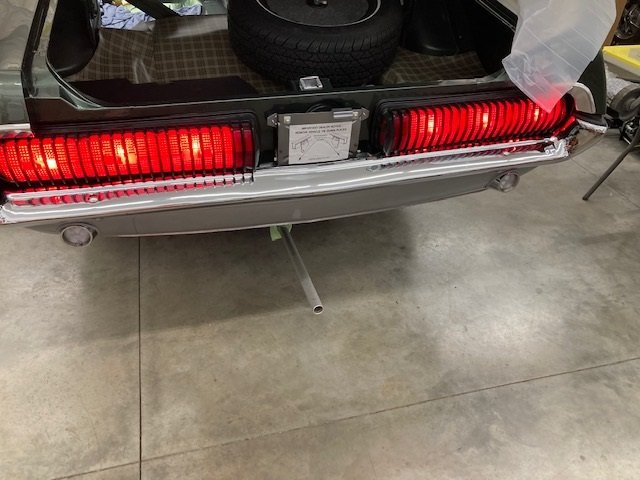
The battery was hooked up today for the first time. I tested the turn signals and brake lights. Only the RH side worked. When operating the LH turn signals the instrument panel lamps would flash on and off. That was a pretty good clue but I tried a different set of (known to be working) turn signal components first. Situation unchanged. Hmmmm.
I thought about it for a few minutes and then tried a jumper wire from one of the attaching studs on the RH rear tail lamp to the LH tail lamp attaching stud. Now everything worked perfectly!
It turns out I was short one nut on the RH tail lamp so I used an original one from my stash. Compare the original nut (right) to the ones sold by AMK (left). The new ones have a larger rubber gasket that insulates the tail lamp electrically. The originals have the rubber gasket smaller than the nut, so the nut goes through the paint and makes a connection to bare metal, grounding the lamp assembly.
I replaced one nut on the LH tail lamp assembly with an original one. Success!
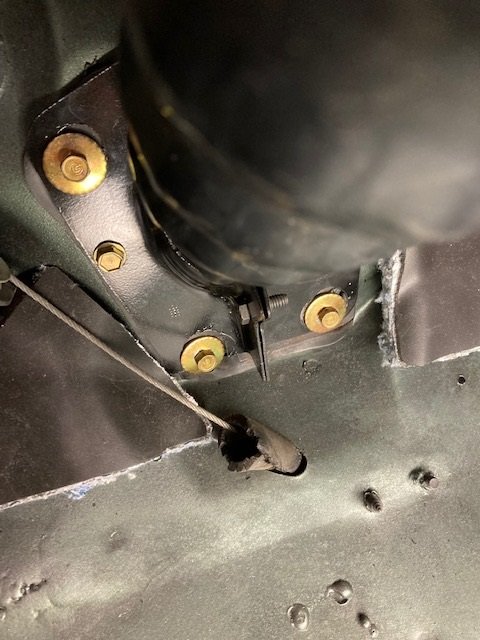
Last thing today, installed the lower steering column bracket. The late '68’s have the RH hole lowered to clear the brake pedal. The original hole above it is unused, and there is no corresponding hole in the floor pan for the unused hole. I wonder if Ford used midgets to install these originally?
Great thread you’re posting here, Royce. Very informative.
Question: what did you do regarding getting the GT-E specific lower body aluminum moldings refinished? Do you have some one local there in OK?
A previous owner had them restored. The guy who does the best work on them is Hank Huisman in Tampa, FL. They are straightened, extra holes welded up, and they are polished and then clear anodized. Hank restored this set.
Warning: The anodizing process straightens the trim. You must, I repeat must, install all the moldings on the car prior to paint. You will be bending them, which requires a lot of finesse and patience to keep from destroying them. If you try to fit them to a painted car you will likely damage the new paint job.