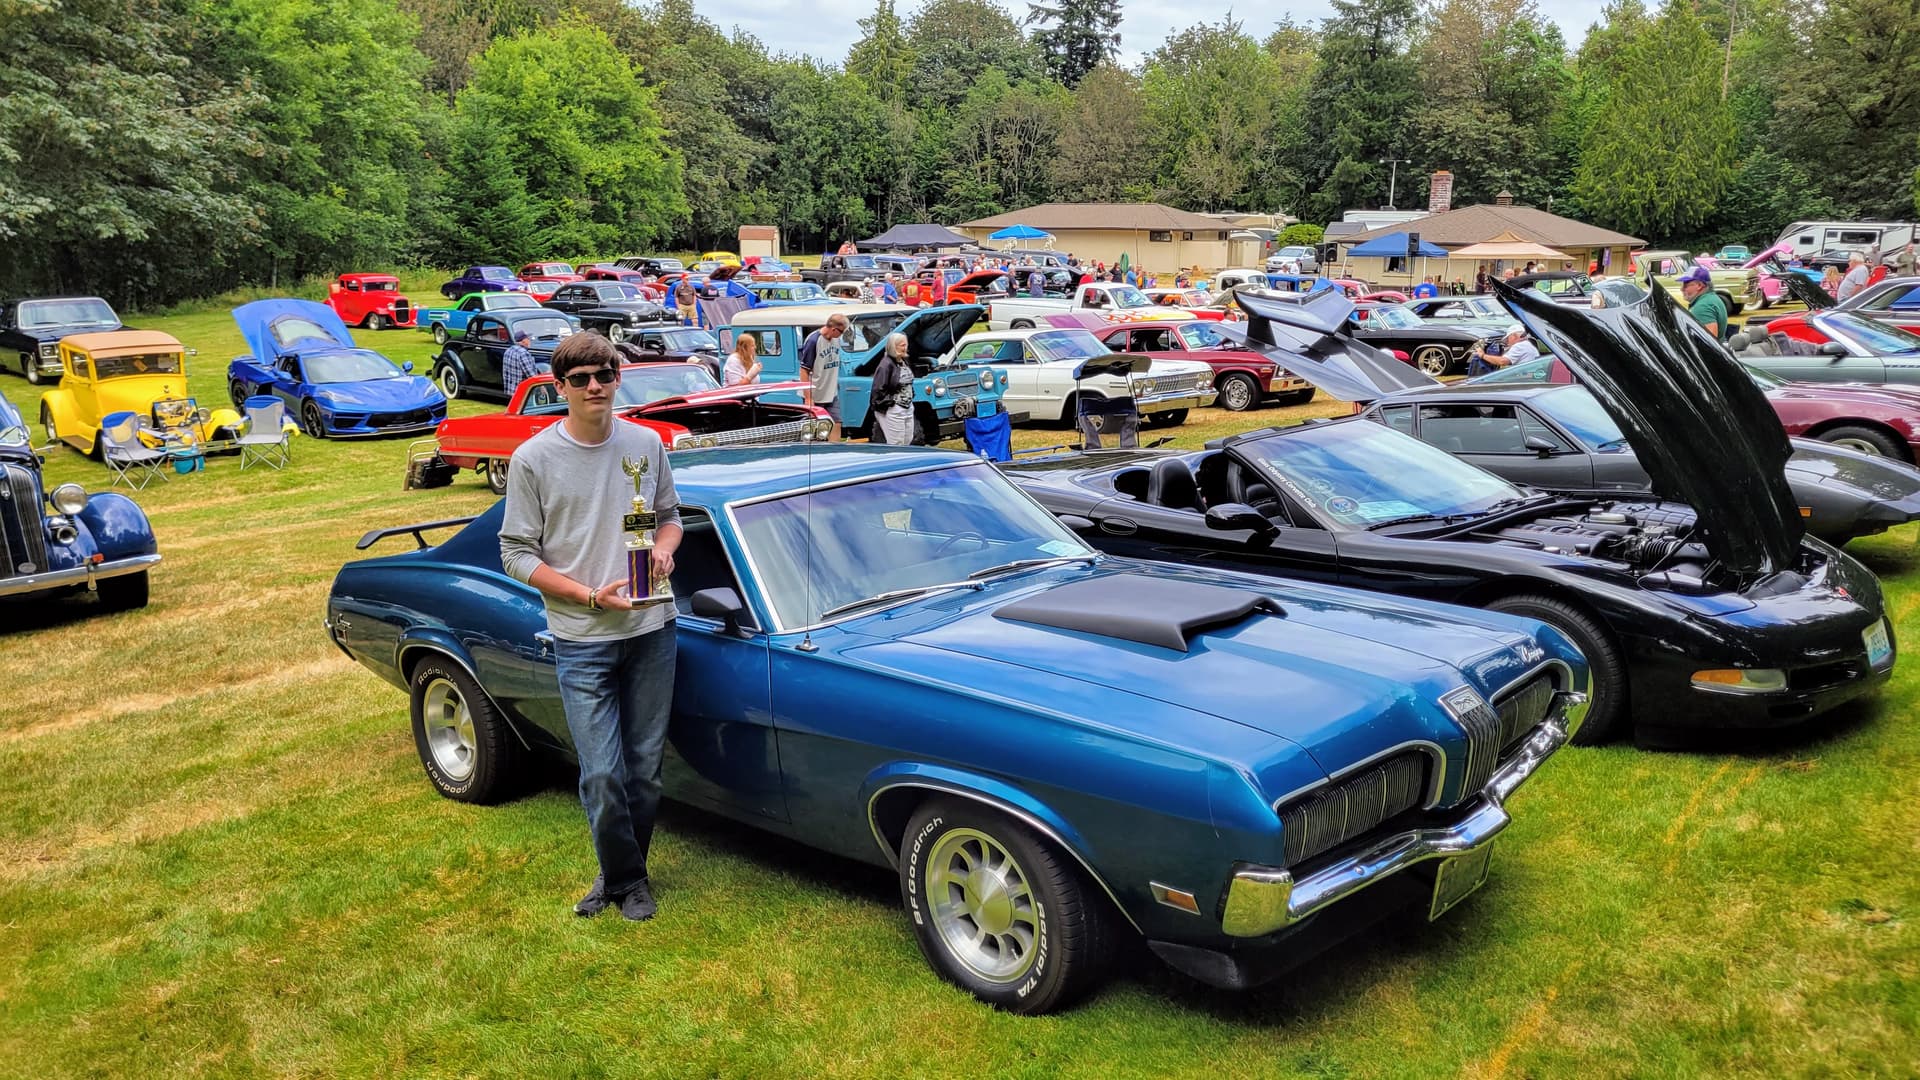
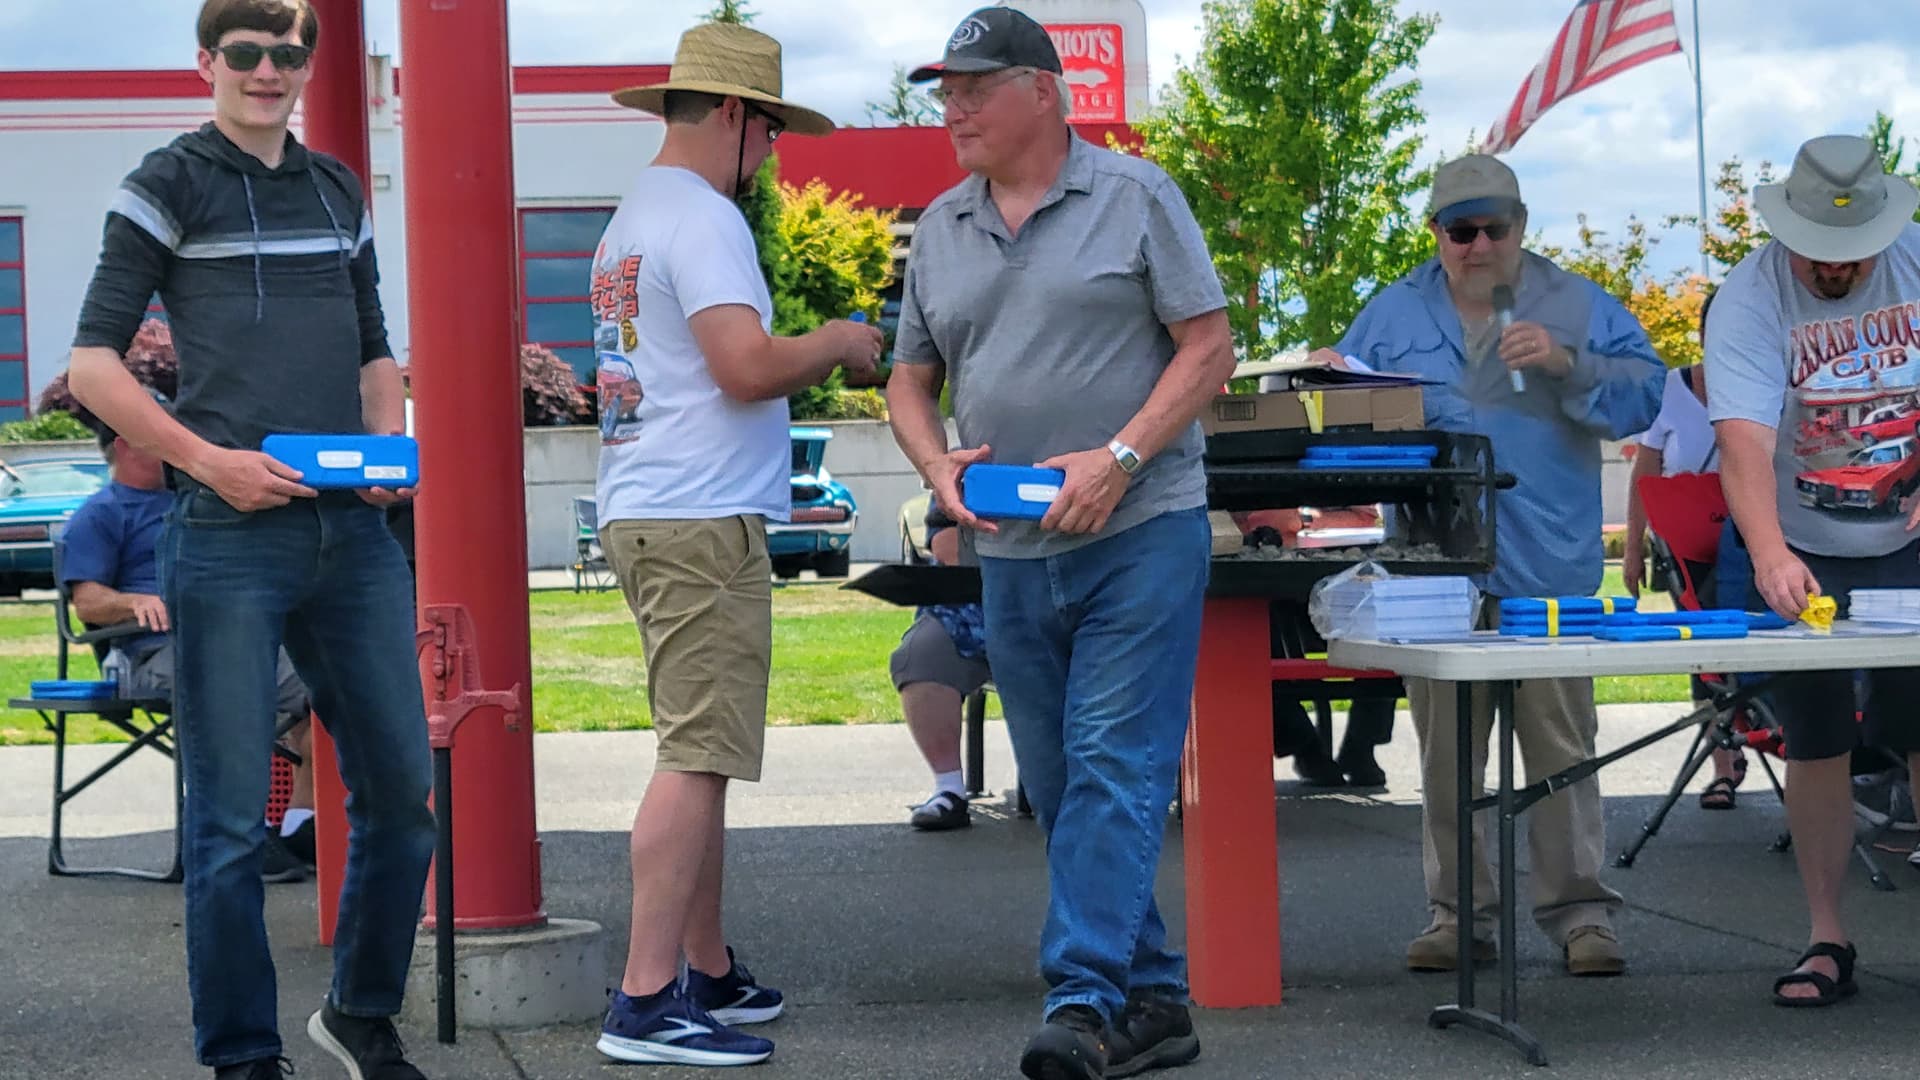
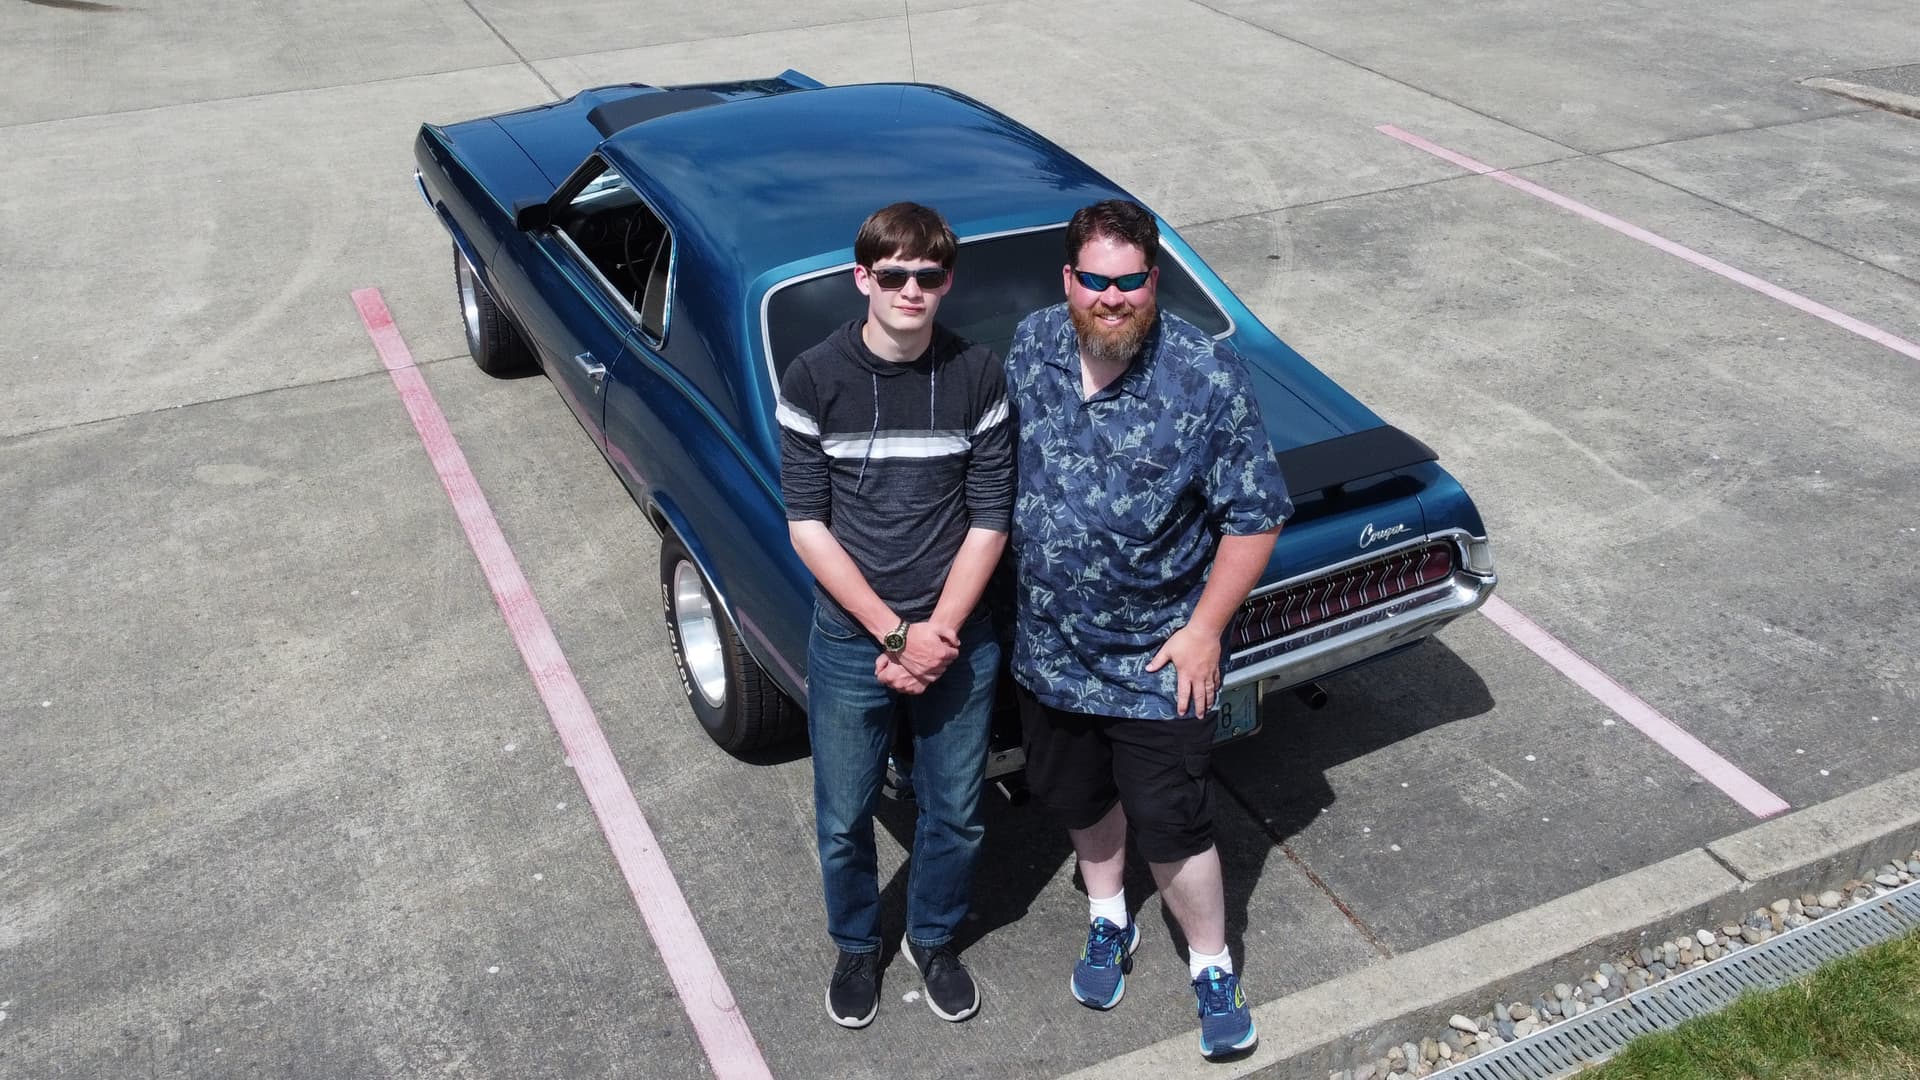
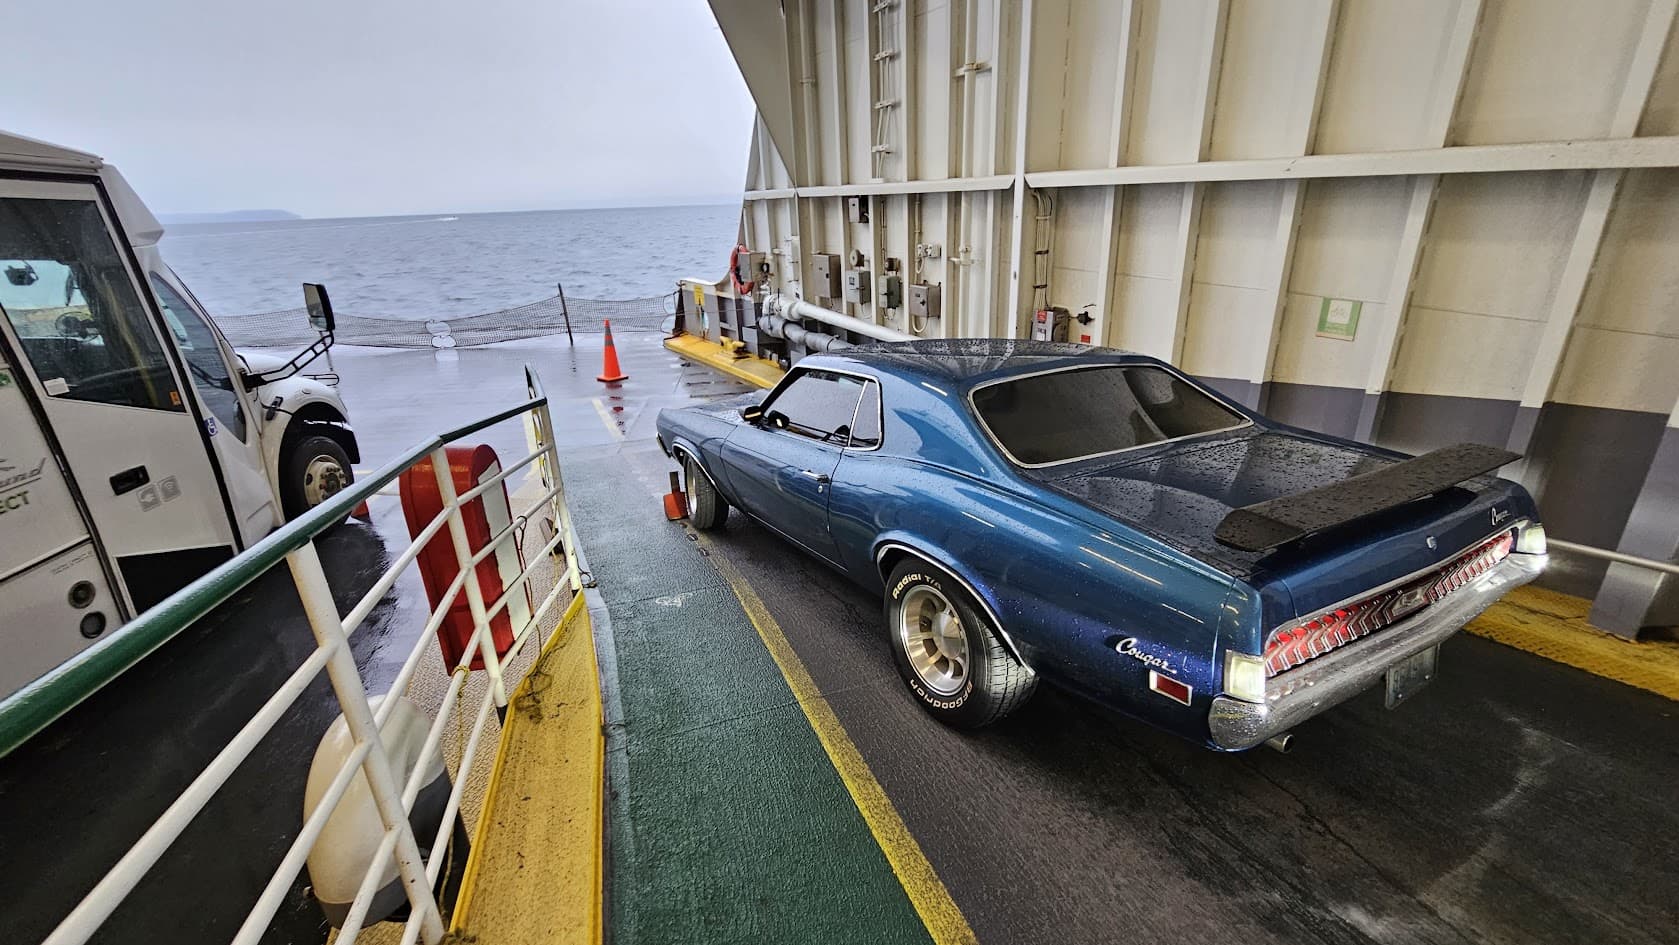
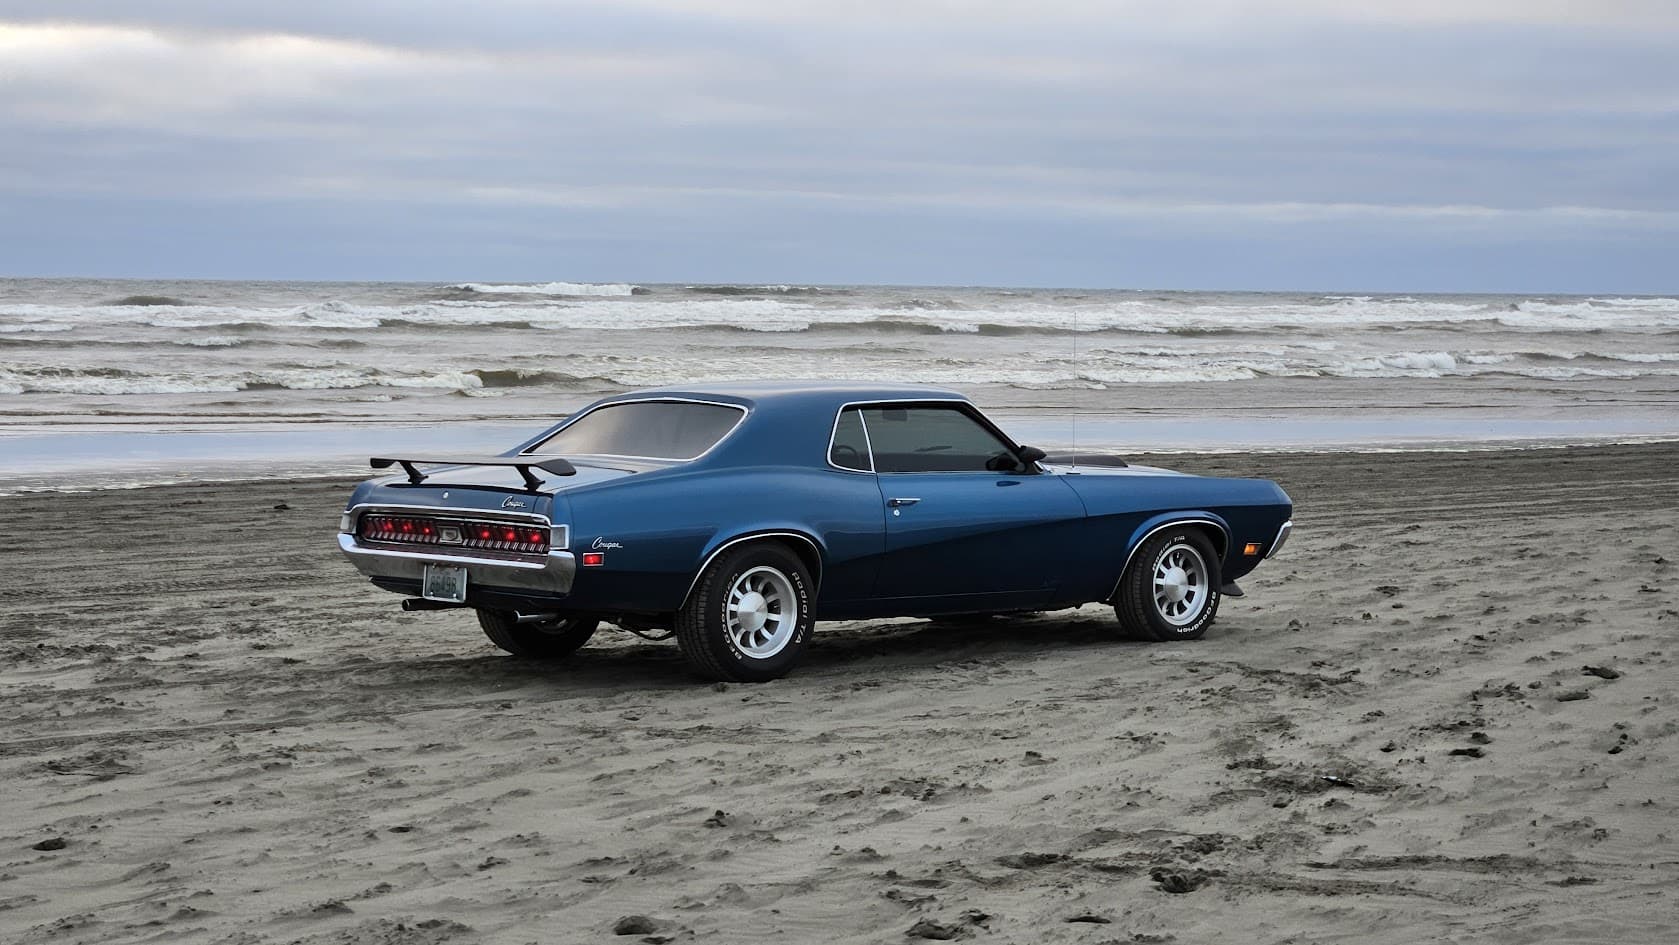
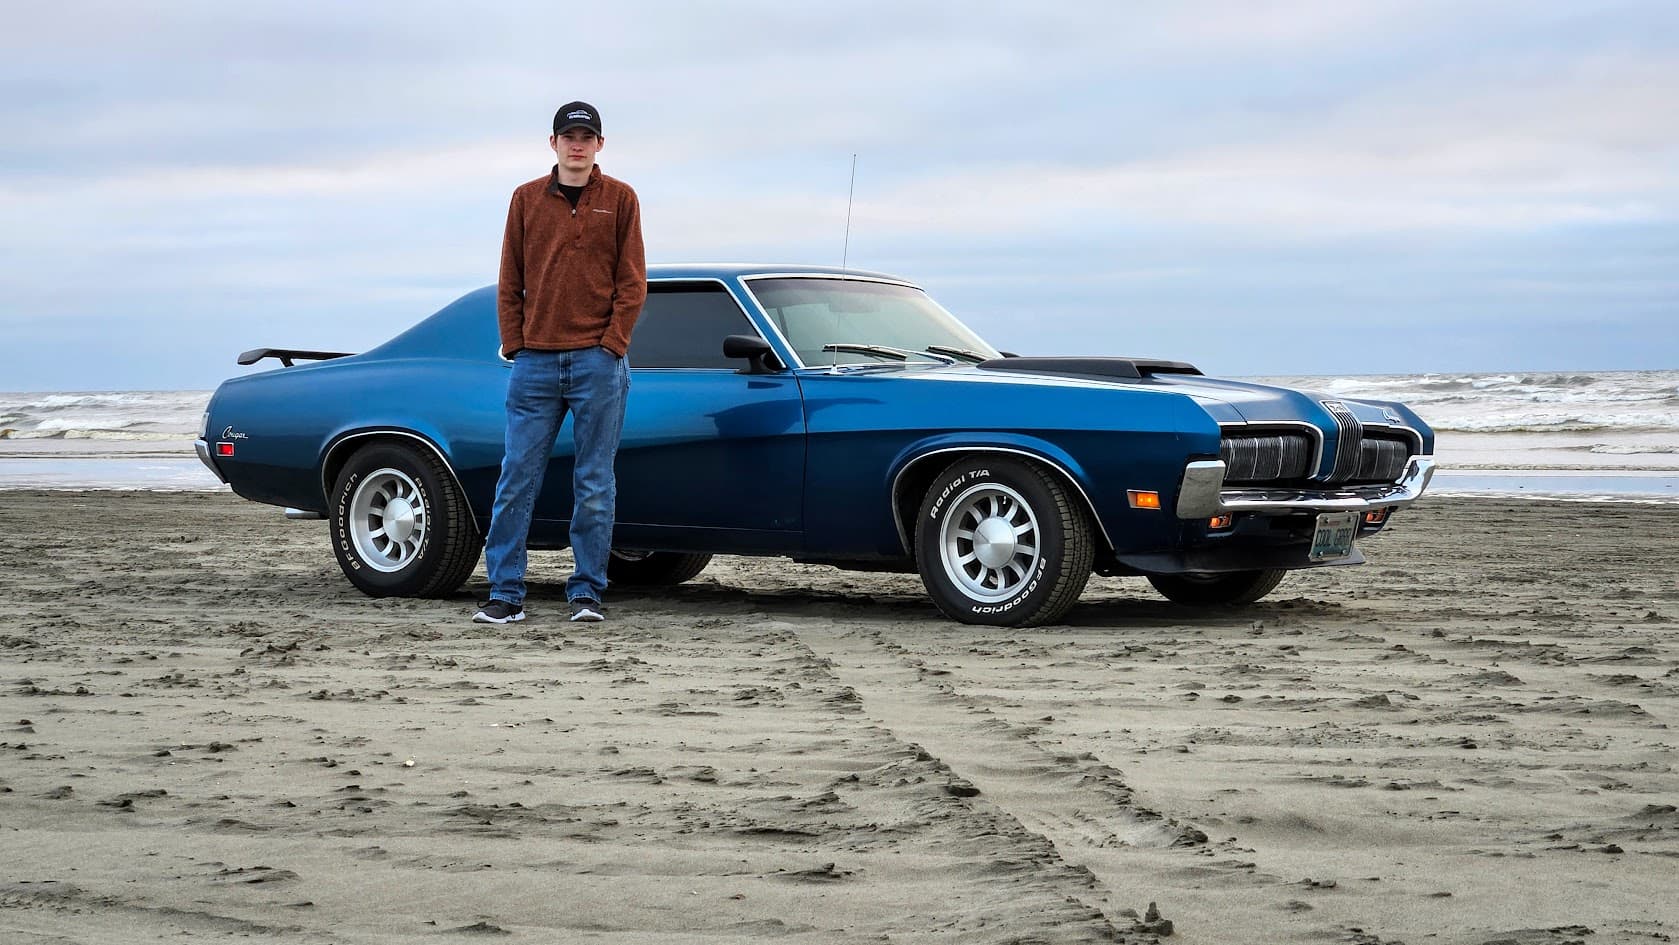
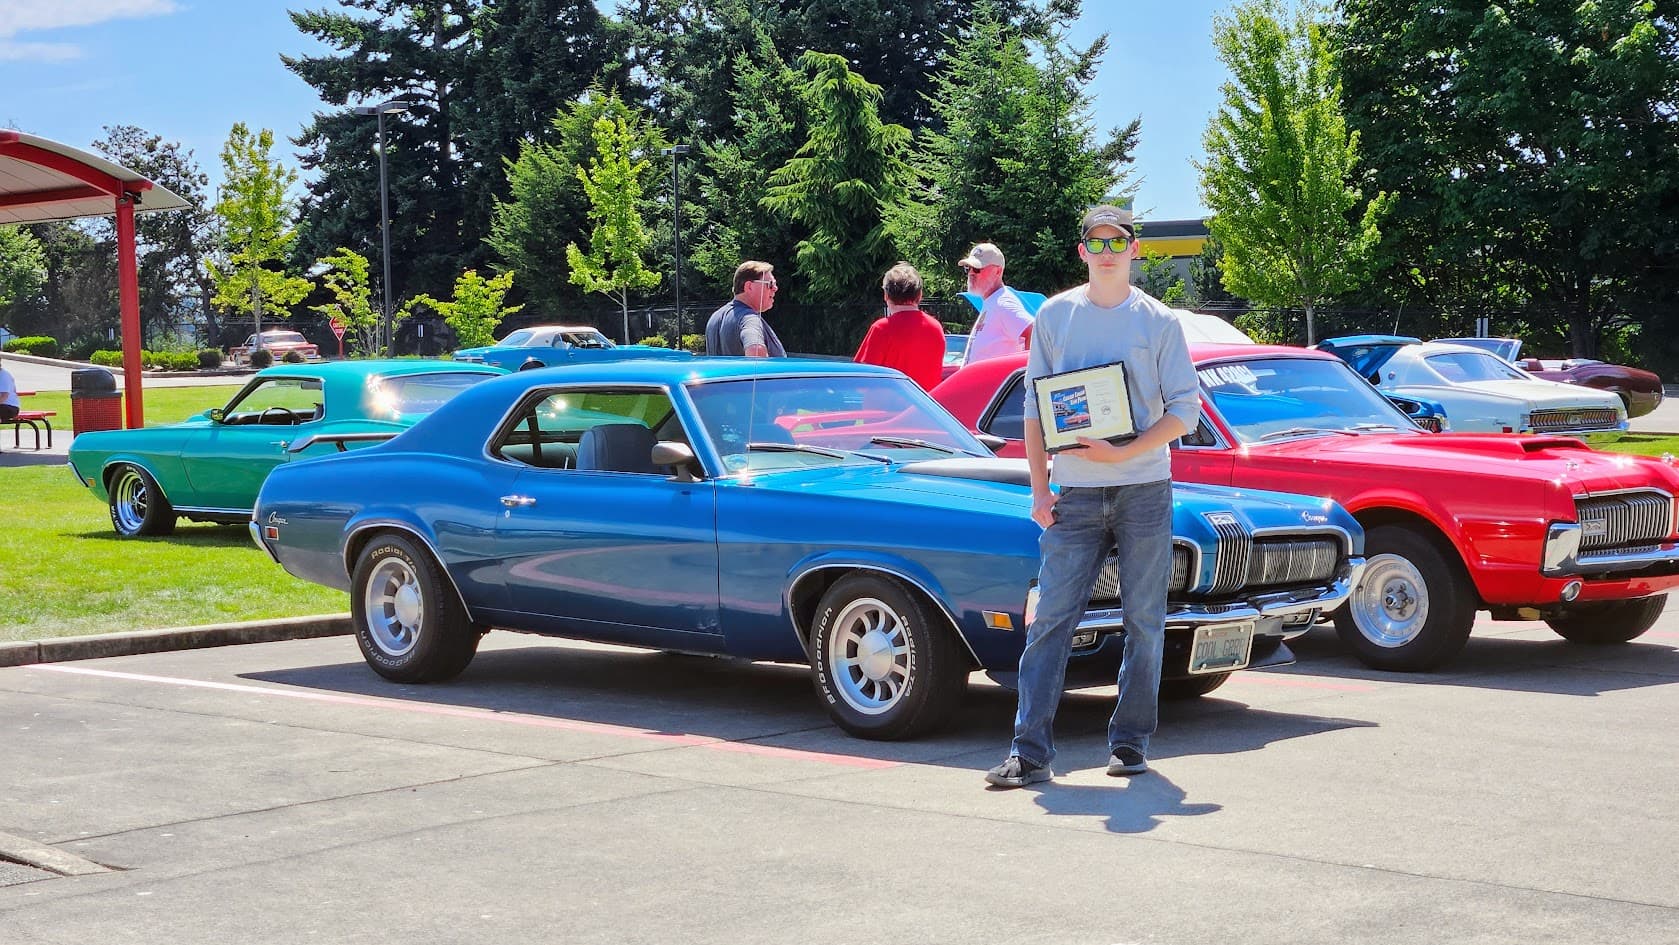
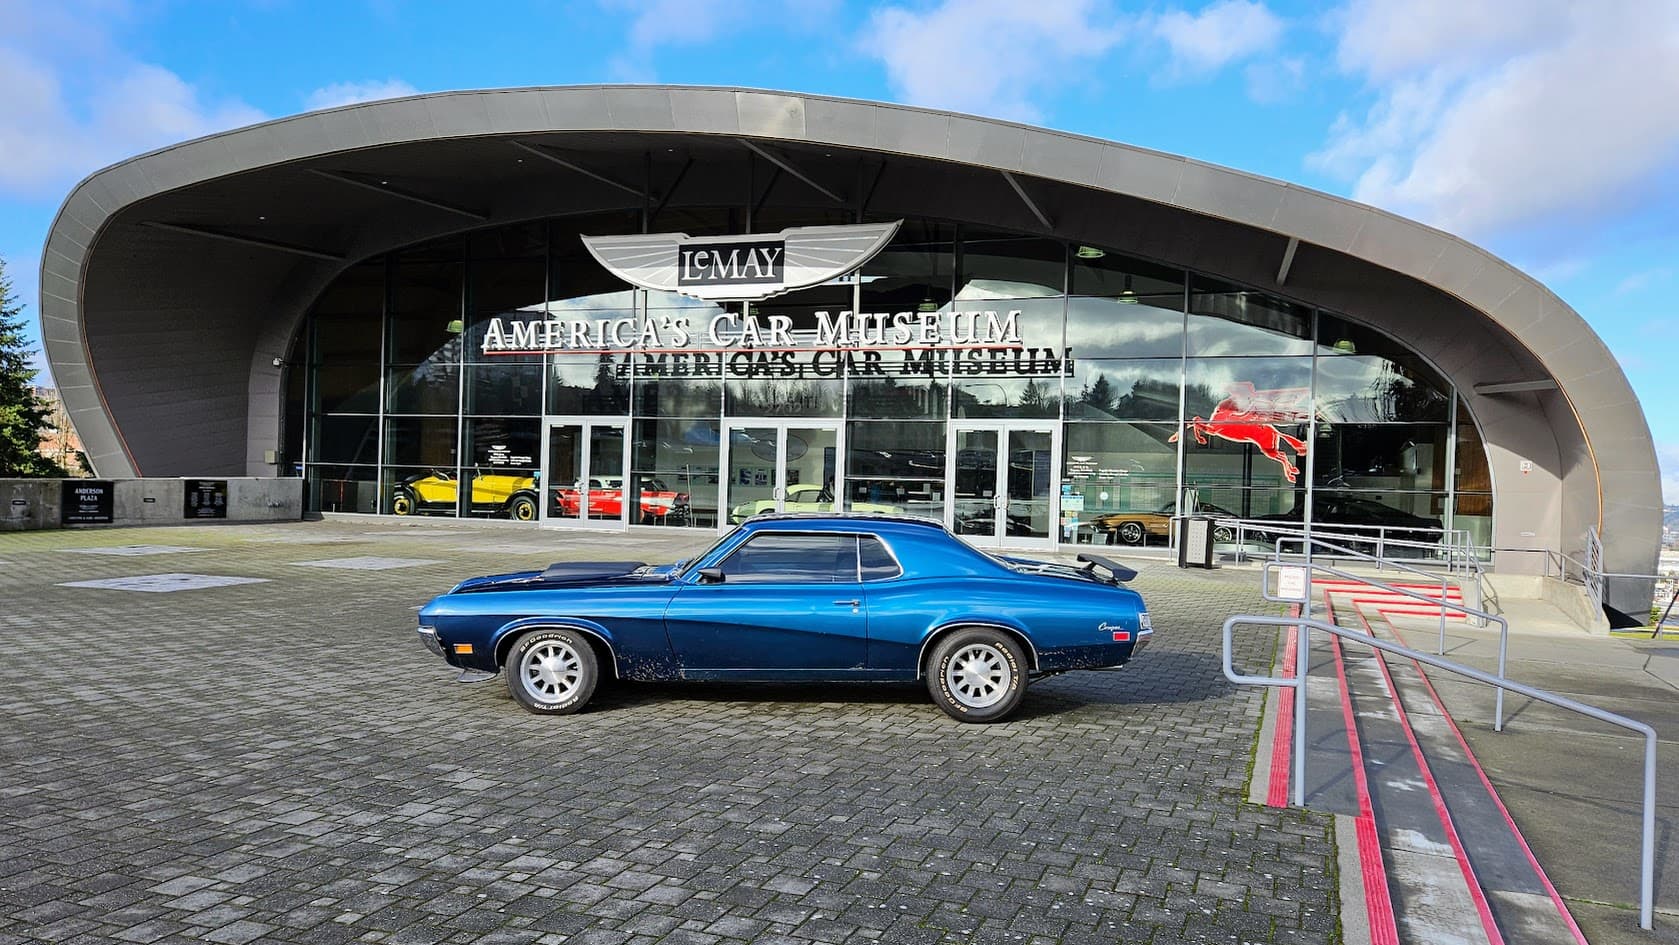
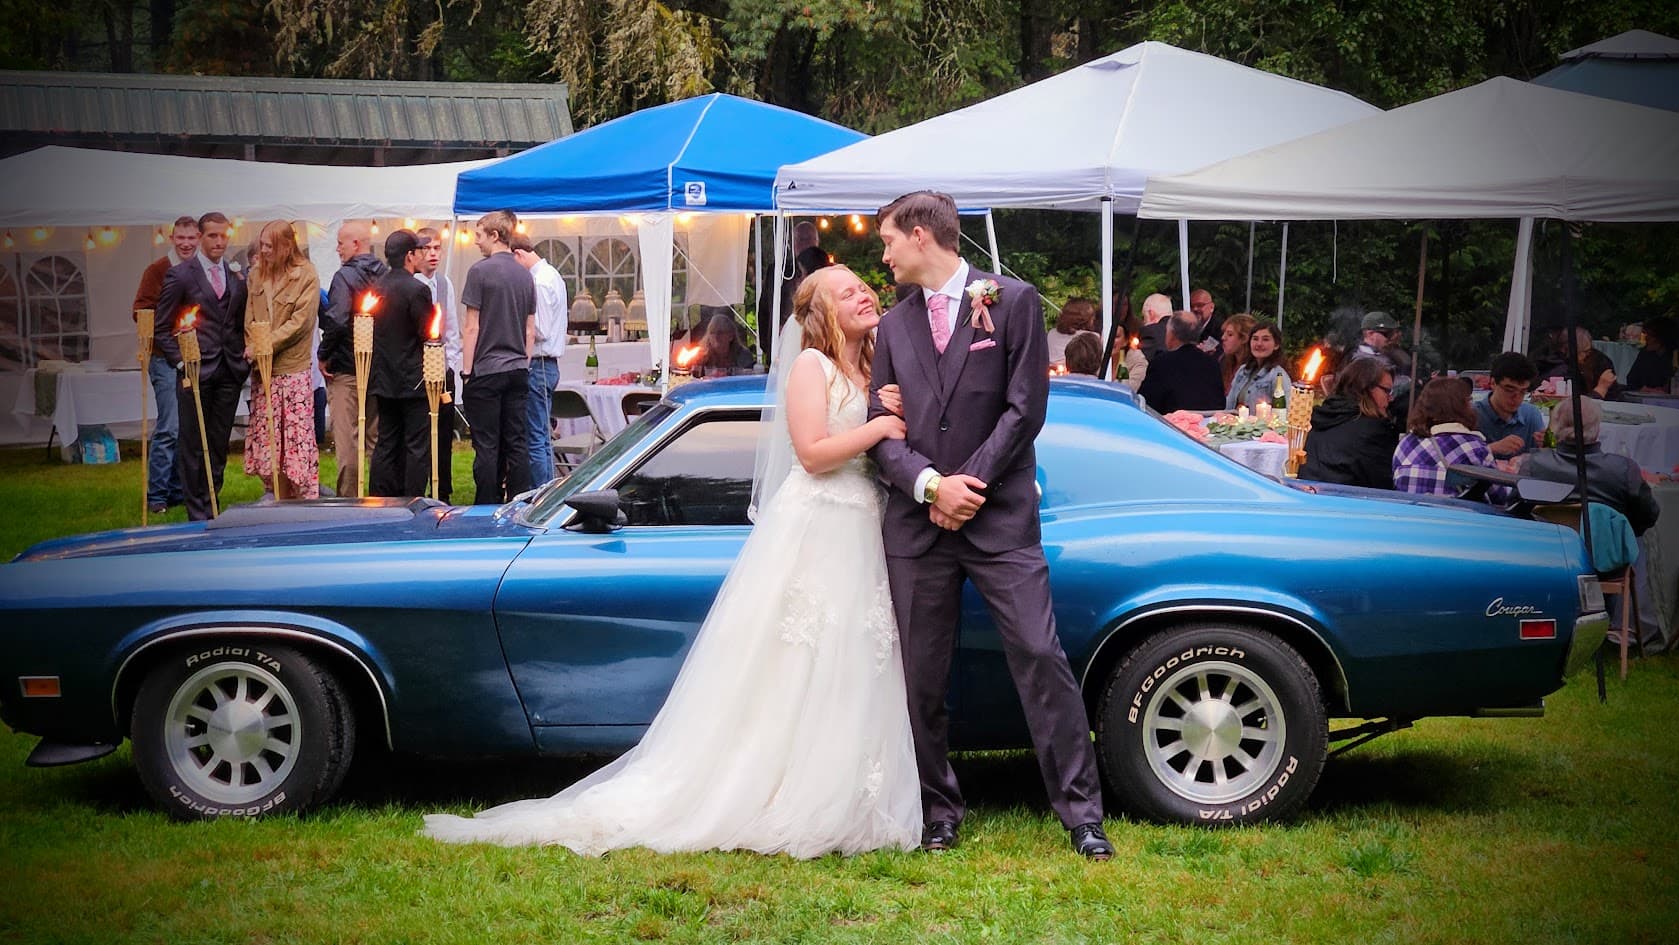
Now we are finally caught up to present day. Nathanael is still in school and won’t be taking possession of the Cougar for some time. It looks like he may end up in New Mexico after school, so hopefully he can find some local Cougar support there when the time comes to take it down there.
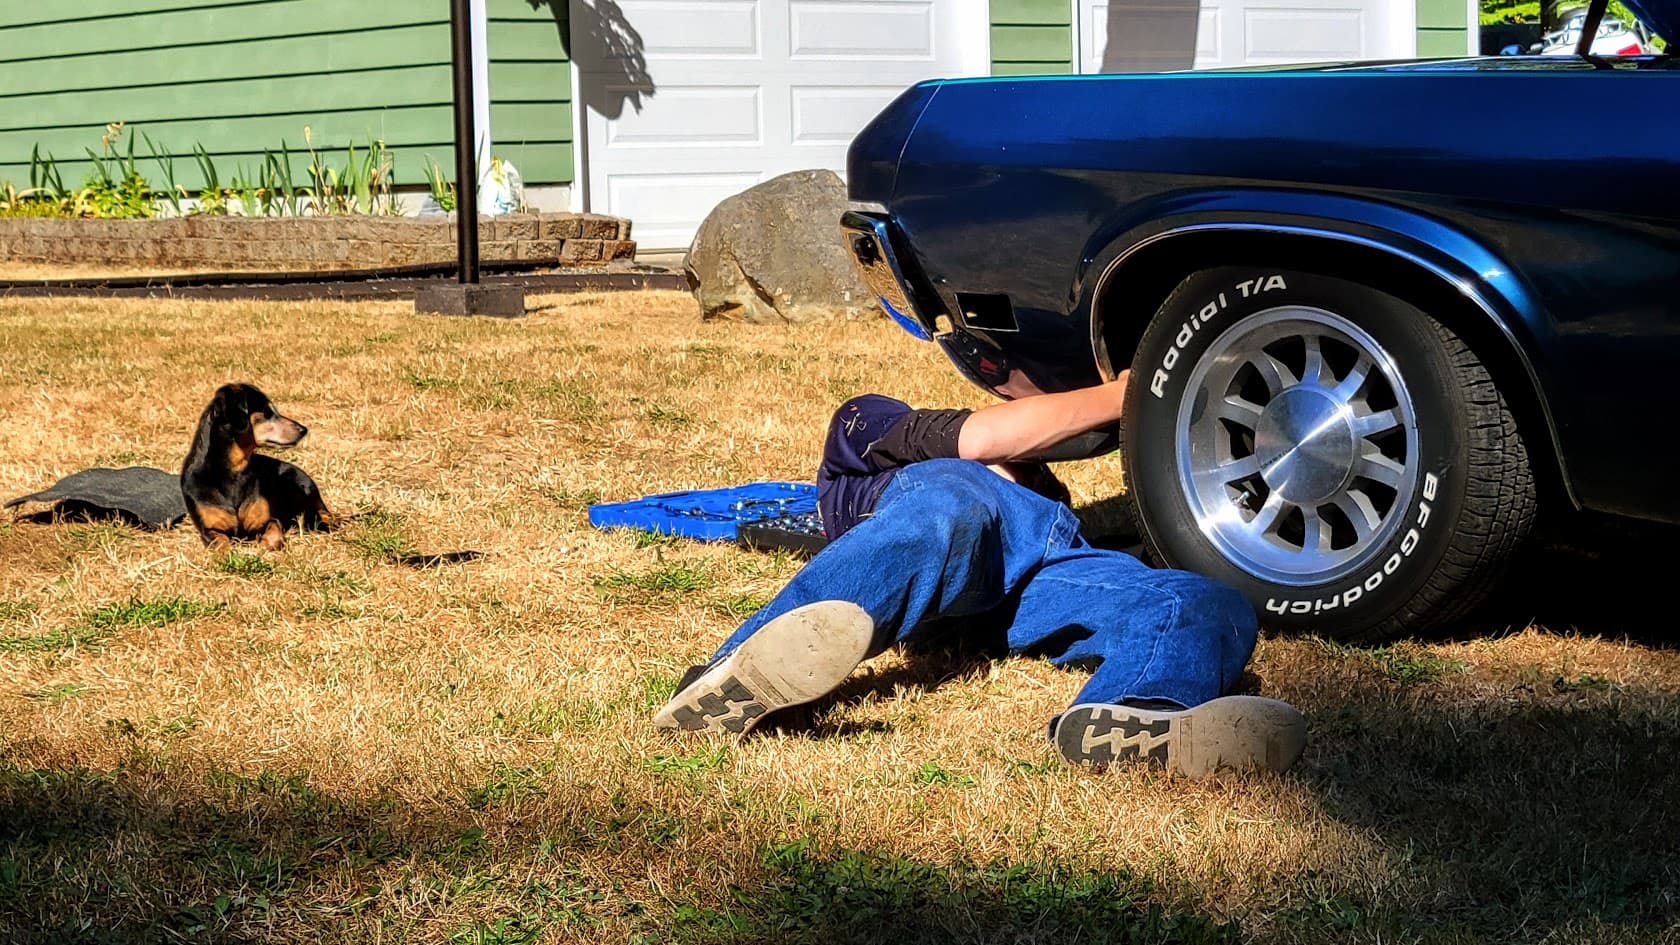
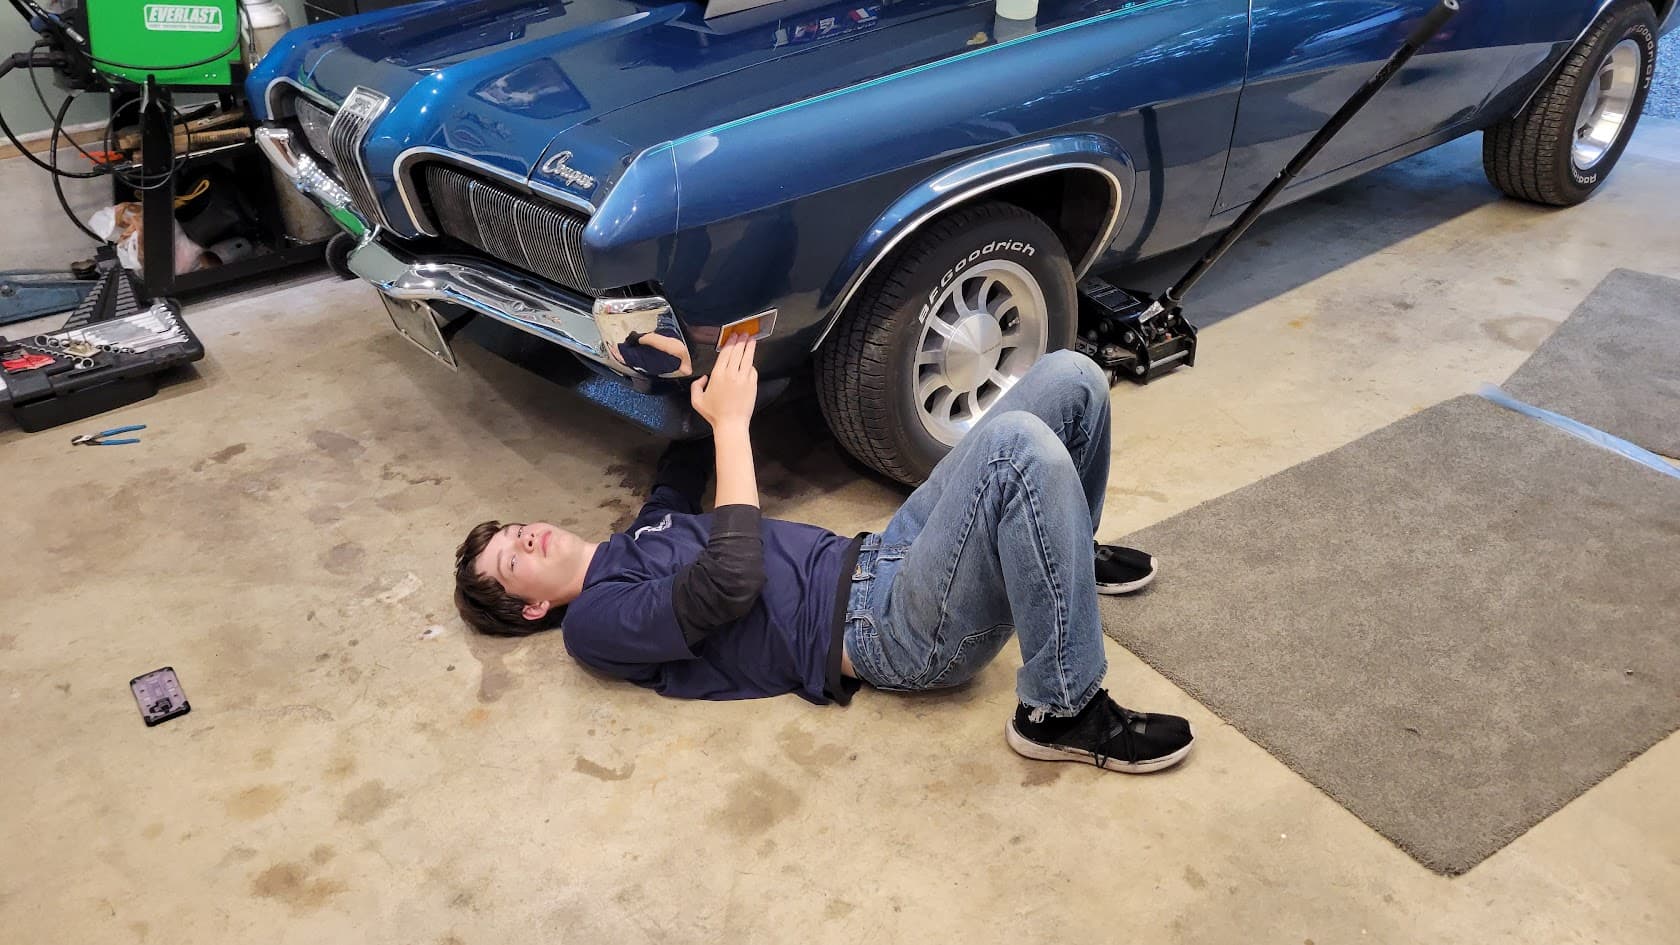
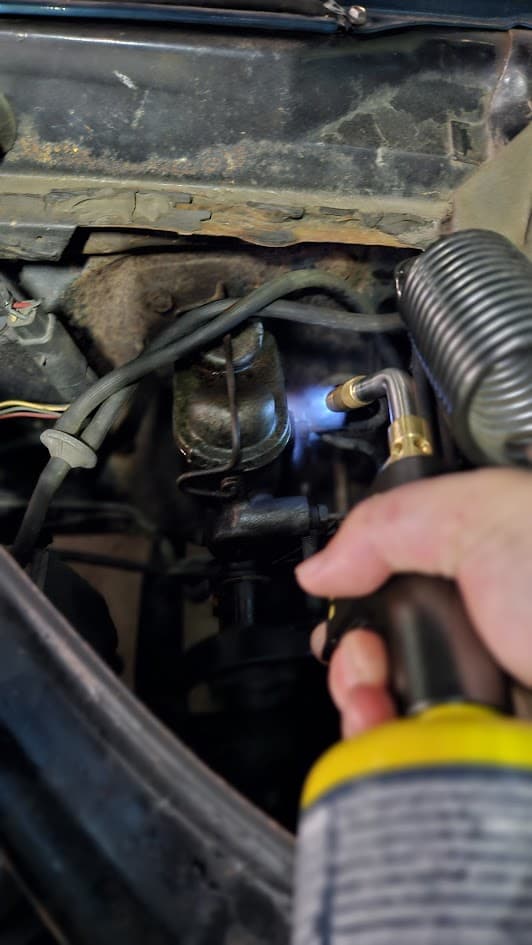
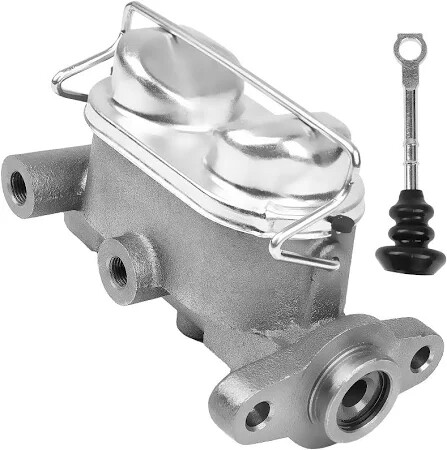
Earlier this month, I started changing the master cylinder - something I thought would be a quick job, but everything fought me. It took lots cycling between penetrating oil and the torch just to break the old fittings loose. By the time I had everything loose, it was time for bed.
it shouldn’t be this difficult
smoky goodness
I ran over to a buddy’s house after work on the 14th and did some wiring repairs on his car hauler winch. That was the best part of the evening.
Then I came home to put in the new master cylinder in the Cougar. After 4 hours of battle, my oldest and I called it quits. No photos because I was in no mood.
We discovered one of the mounting bolts actually had a washer and nut on the inside of the firewall because the threaded boss on the firewall has been broken loose in the past. BUT, weirdly is still captured against the inside of the firewall, but it just spins. That means you have to have someone take off the added nut and then hold the spinning boss with pliers so you can remove the bolt in the engine bay. And of course reverse the process for installation. What a pain.
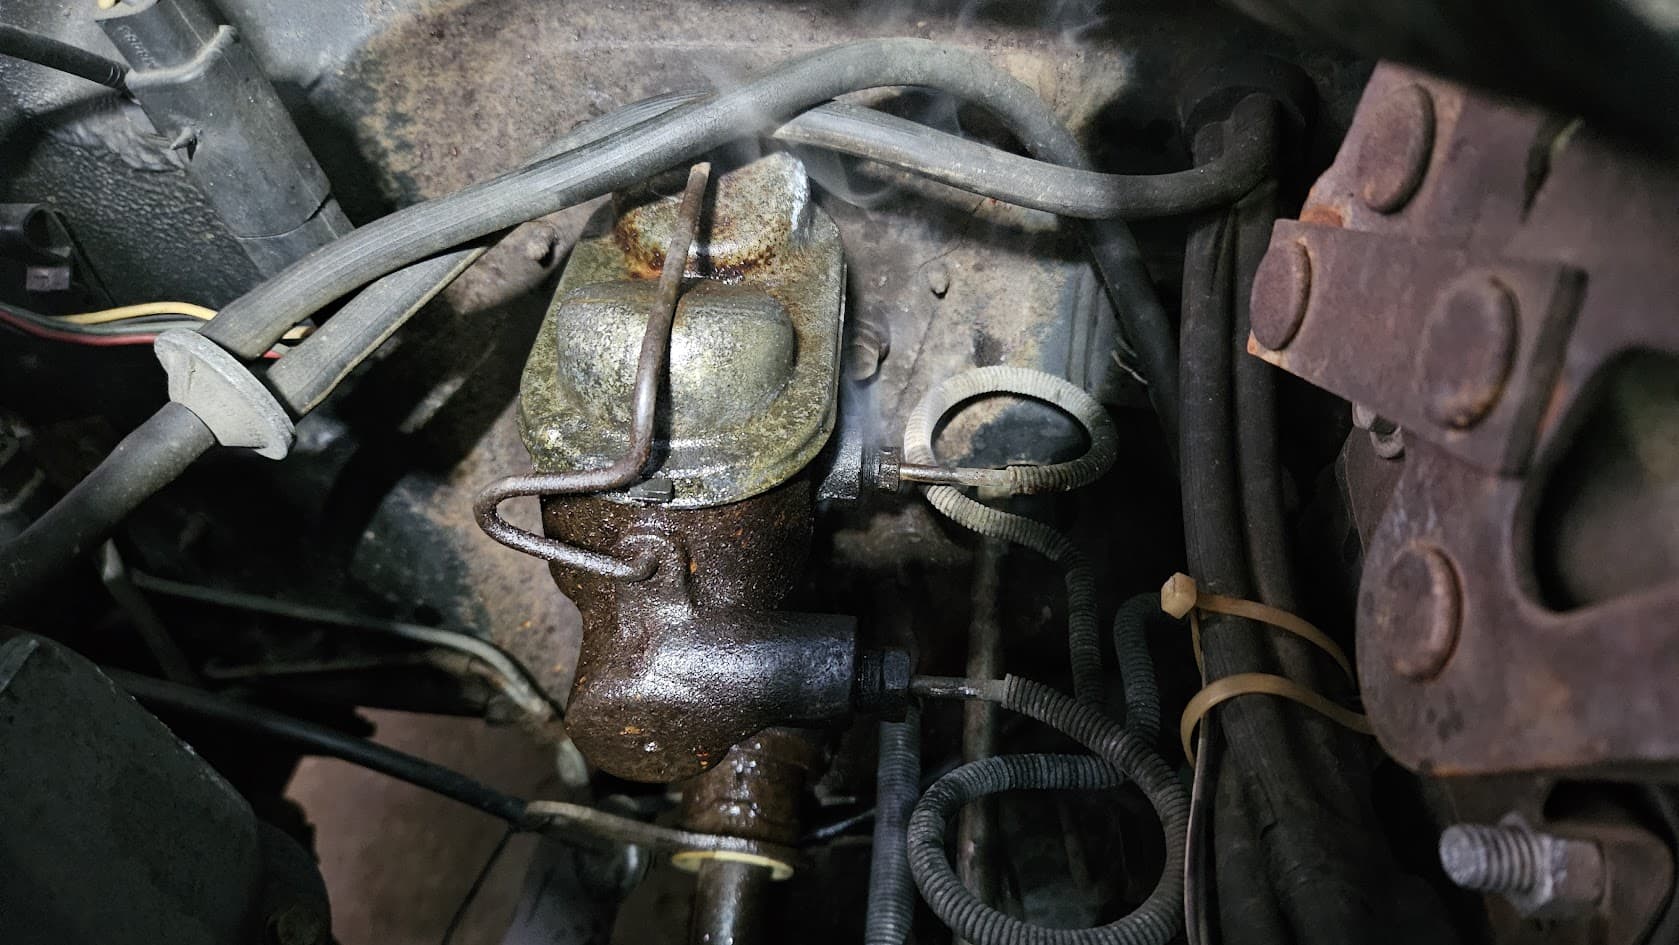
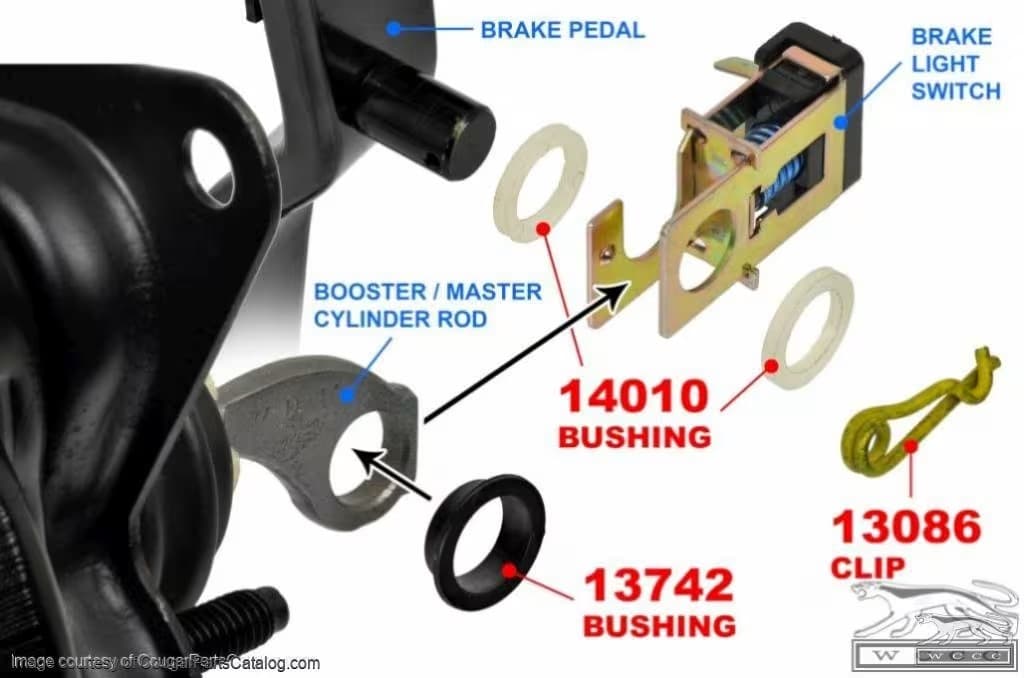
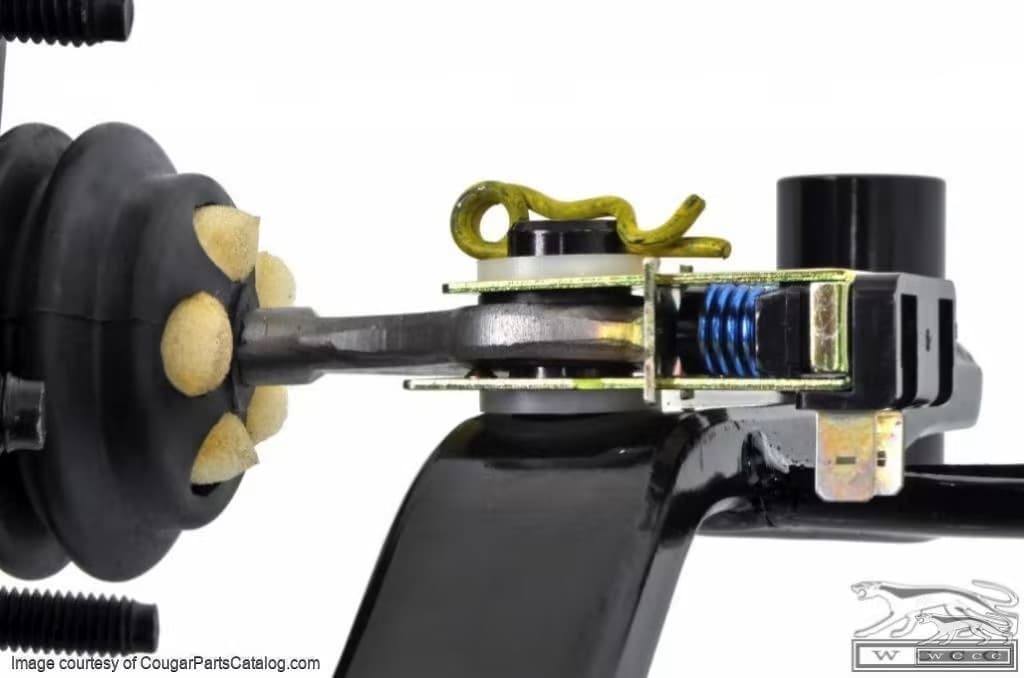
Then, the whole brake push rod assembly is essentially captured in the master cylinder, so I used the included push rod with the new master cylinder (after trying to verifying it was all the same length as the old unit). We ended up having to loosen up the steering column just to get to the brake pedal linkage. The brake switch slips over linkage interface between the push rod and brake pedal arm with . After getting everything put back together which took hours, we realized the new push rod didn’t have the correct tolerance and was constantly putting pressure on the brake switch. We admitted defeat, unplugged the wires from the switch and headed inside without even cleaning up any tools. Before turning the lights off in the garage, I vented some anger on the old master cylinder and was able to extract the old push rod. At least I know it can be removed now.
I’ll try to explain the fitment issue. Looking the below picture, you see the push rod has a large hole that slips over a short post that extends off the side of the brake pedal arm and gets held together with a cotter pin. The brake switch slips over that hole on the push rod and the post on the brake pedal arm is supposed to drag the switch forward and into the flat spot on the push rod before moving the push rod. The new push rod must be oversized and just pushes the switch with no pedal movement. AGGRAVATING!
No matter what correction I can come up with in my mind, we have to go through the entire kluge of removing the new master cylinder to either modify or replace the push rod.
(these images show power brakes which have a different push rod, but the switch concept is the same)
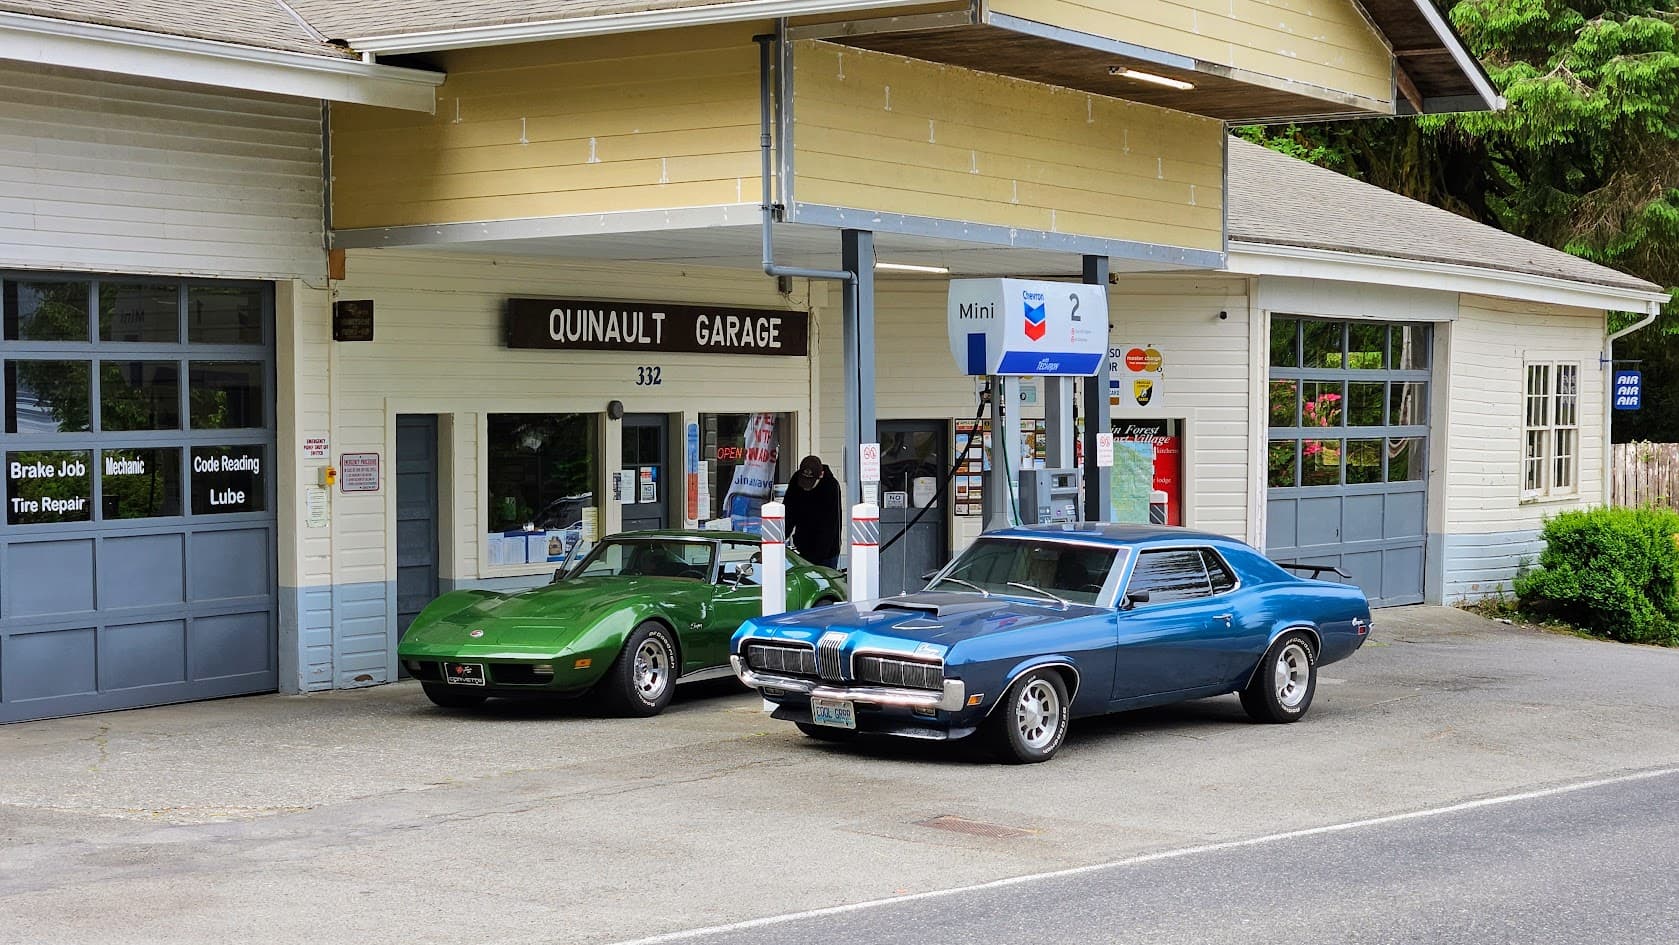
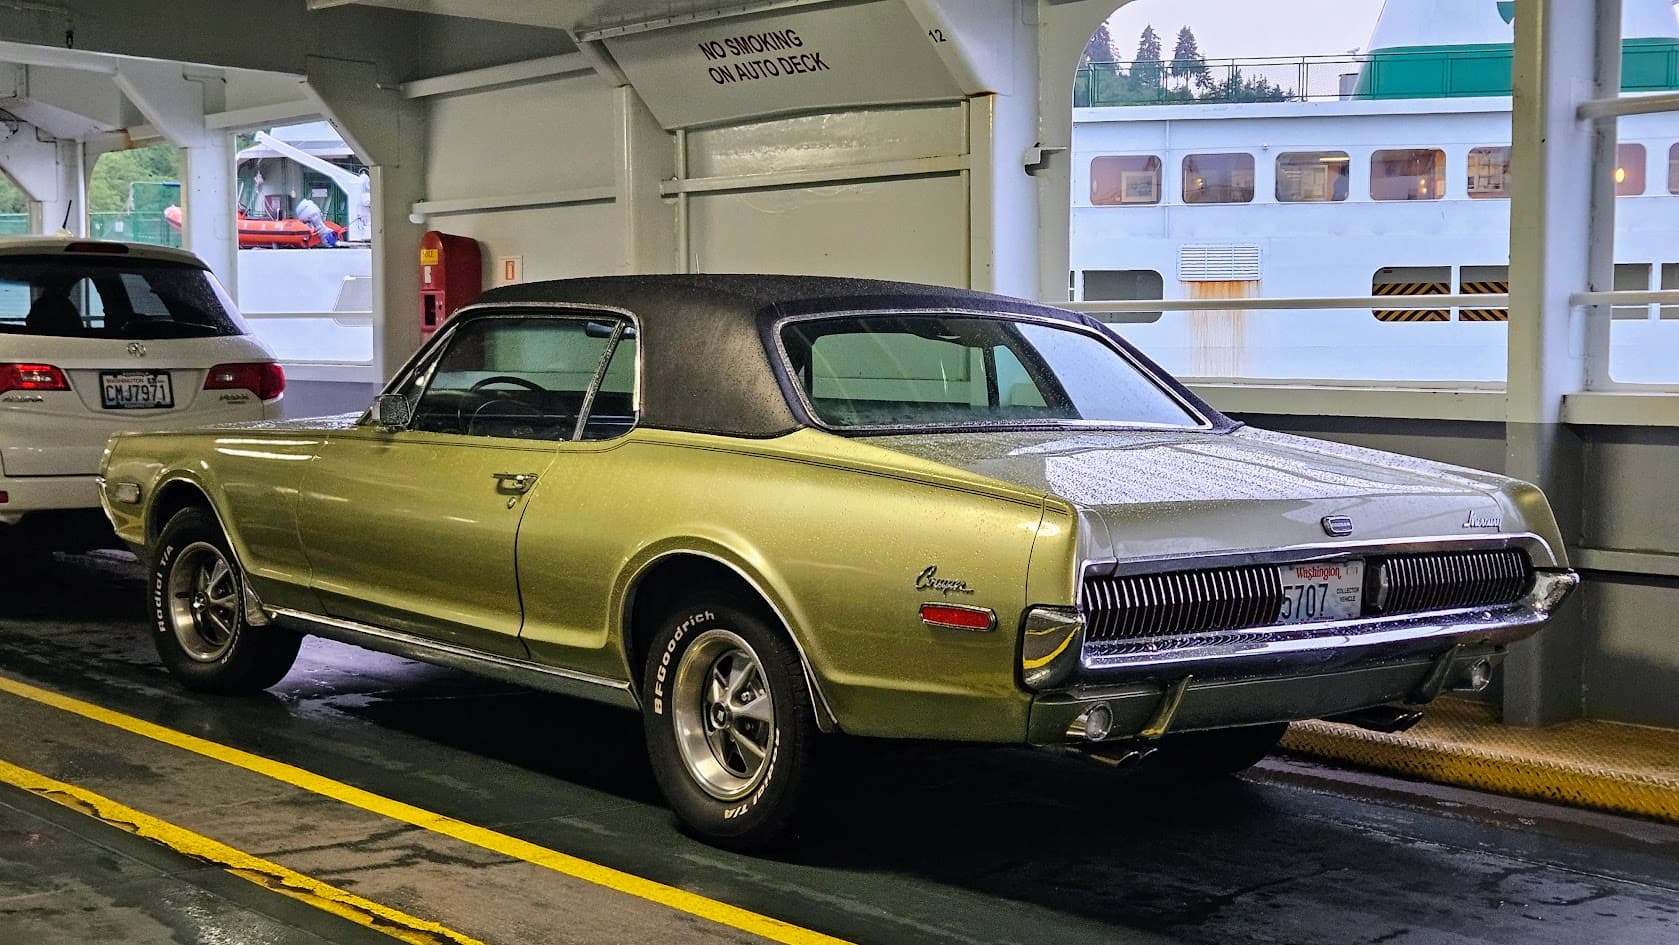
Thursday the 15th, I did something a little different. I bought myself a Cougar from a fellow club member. I’m very happy with it. A Lime Frost 68 base model with a 302 and automatic. It was pouring rain when I brought it home.
On Friday, I had to get ready for two clubs to be in the Bremerton Armed Forces Day Parade, so I didn’t have anytime to work on the 70. That was disappointing because I was hoping to have it in the parade.
On Memorial Day Weekend, the oldest and I rolled up our sleeves and went to battle with 70 Cougar master cylinder again. I don’t have any cool pictures, but it was a five hour thrash of removing and reinstalling and removing and reinstalling to get a combination of parts that would work properly together.
First, we removed the new master cylinder and damaged the brake switch in the process (luckily, I had ordered a new one along with all the other bushings after the results of the previous attempt - thanks Don Rush / WCCC). The push rod would not come out, so we ground down the end to make it match the contour of the old one as best as possible. After going through the process of reinstalling everything we had the opposite problem as before - instead of the switch being activated all the time, it wouldn’t activate at all. Great. So we do a quick dummy test and yes, the brake lights are still working if you short across the plug. So we do a half removal of the new brake switch and do a poor repair of the old switch (it’s sheet metal construction and had been bent badly) and reinstall the old switch. No change - no brake lights.
So we pull out everything again. I clamp the push rod in the bench vise with master cylinder hanging down and begin to wail on the mounting flanges of the master cylinder with a dead blow to drive it off the the push rod. It eventually comes out, but left some ugly scoring inside the master cylinder. Now we have a chance to compare just each push rod side by side. The old one is way shorter overall, so we install in the master cylinder and reinstall the whole mess again in the car reusing the poorly repaired brake switch. Sill no dice.
Remember, we don’t even know if the new master cylinder is actually the only fix needed to correct or braking issue with pedal going to the floor and losing brakes.
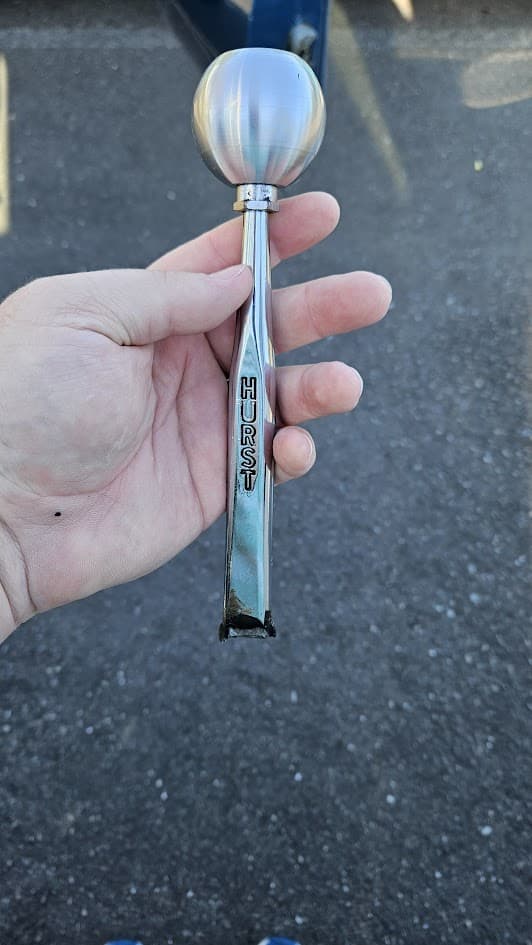
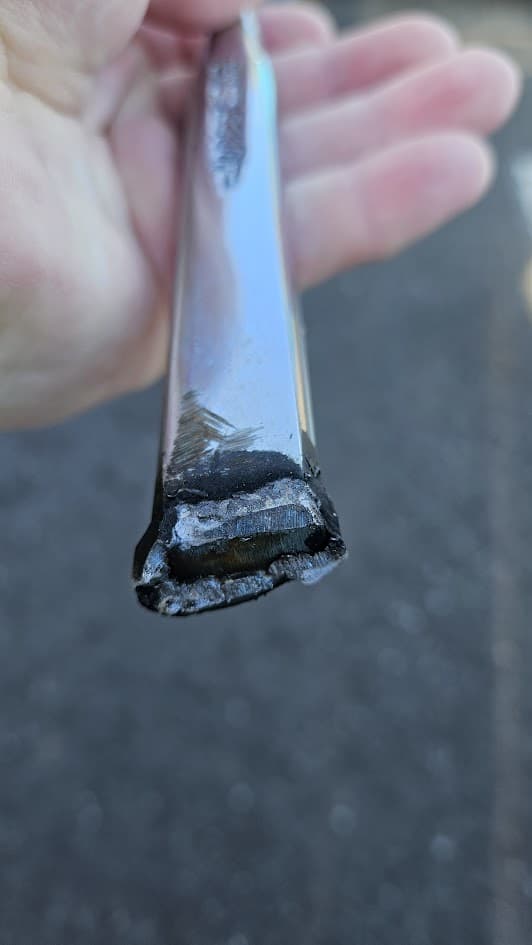
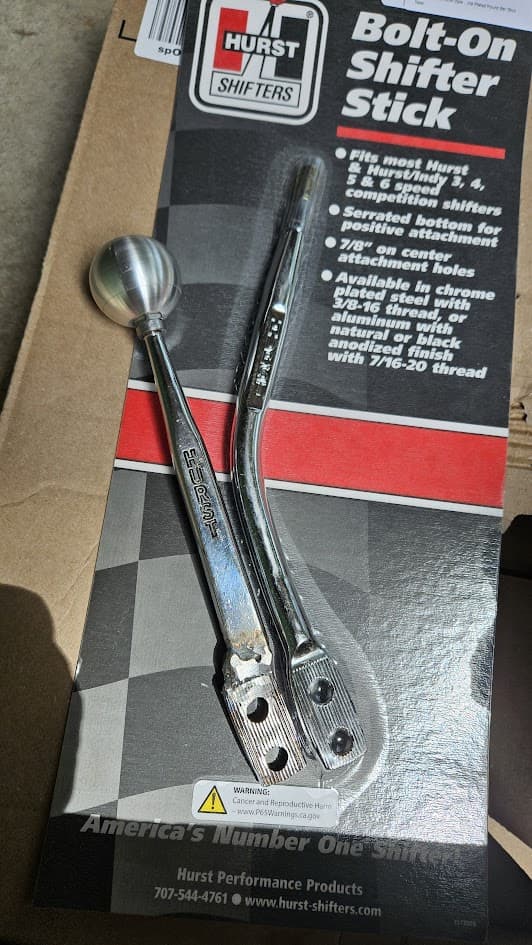
So as a final hail Mary before resorting to a custom microswitch solution, we did a half removal again and installed the new brake switch. Voilà!!! The brake lights finally worked correctly! I had removed the driver seat and shift lever before today’s battle to give us the maximum of work space. The shift lever was never quite right (remember the weld repair I had to do last year?). It was too short and you had to reach awkwardly to shift into reverse, 1st, and 3rd. Also, the jam nut on the bottom of the shift knob had really sharp edges and was very uncomfortable - especially when having to fight to get to the shift lever. Since I knew I was removing everything again, I ordered a new Hurst lever and Hurst shift knob. The new lever is longer and has an almost 4 inch setback.
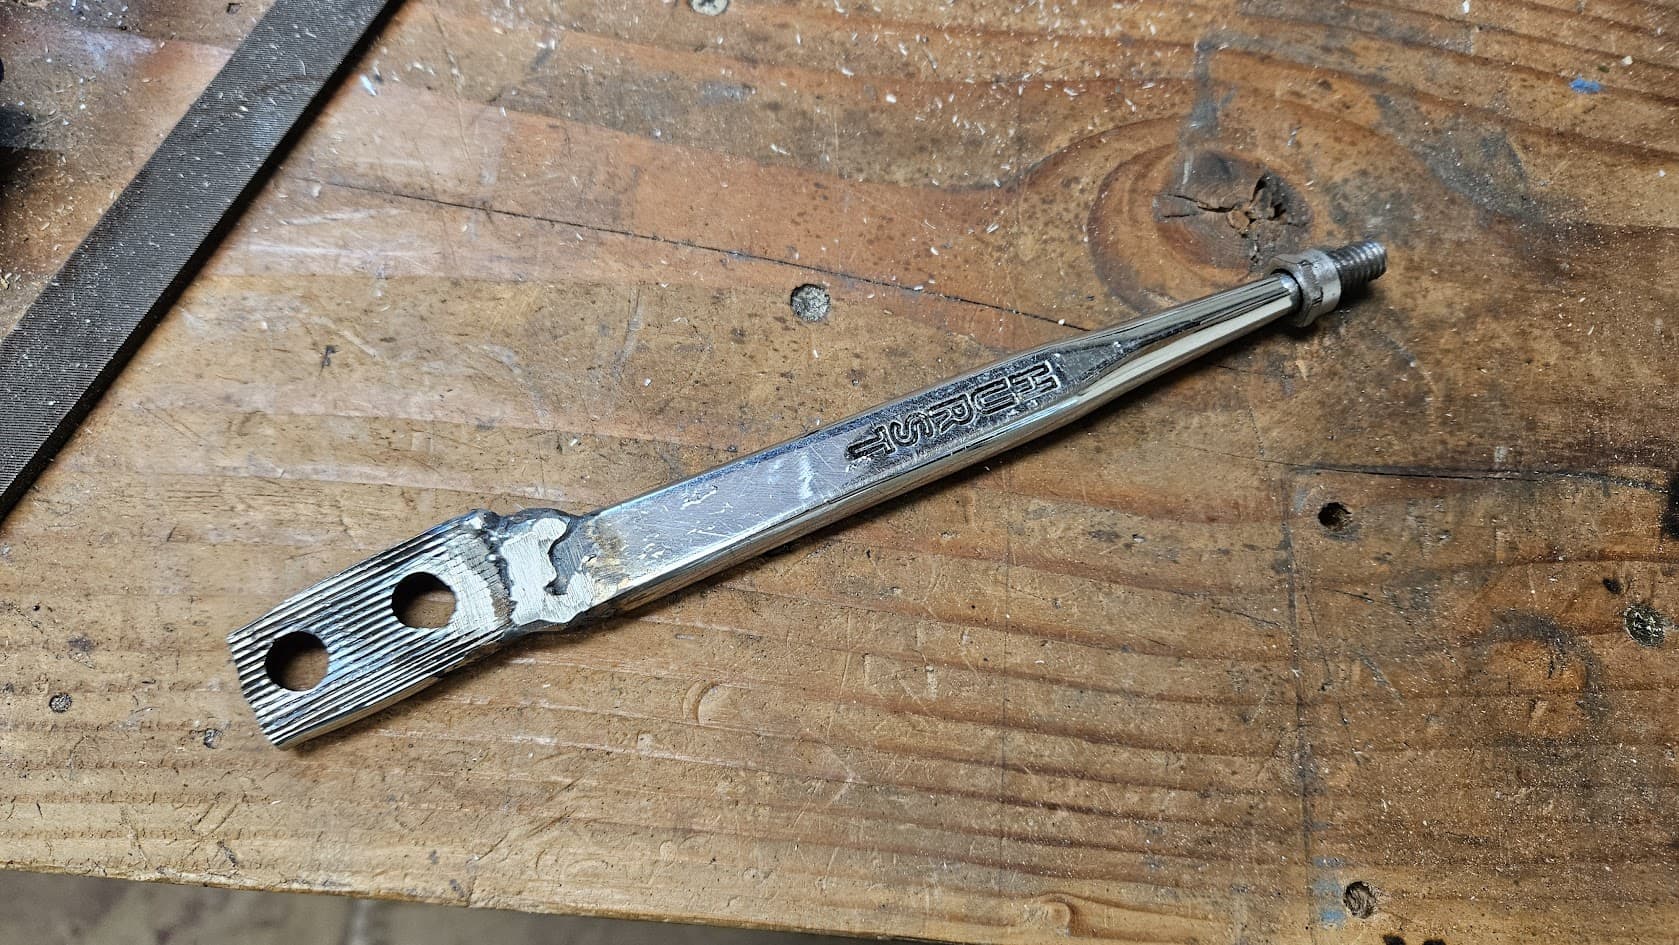
old vs new
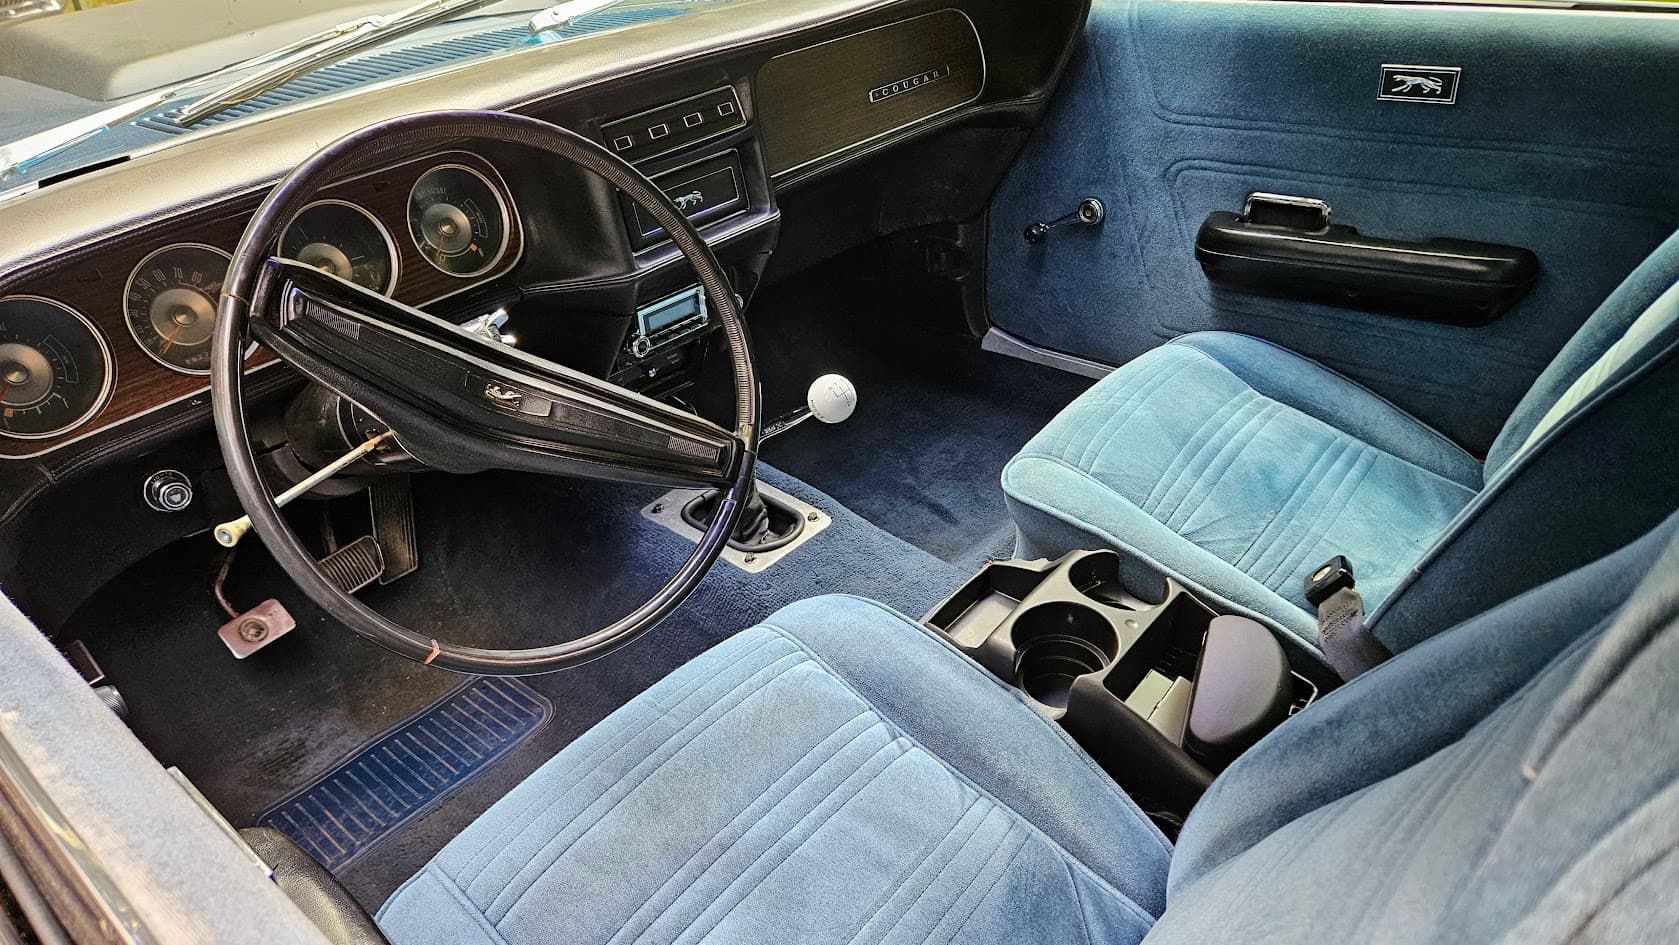
The new shifter was an easy install and initially felt great. It was finally time to see if the brake problem was fixed with a test drive. I grabbed my wallet and the oldest jumped in the passenger seat and we hit road. The brakes worked great (I could lock them up if I wanted) and the shifter was a HUGE improvement. No having to lean way forward with every shift. I think it looks better too.
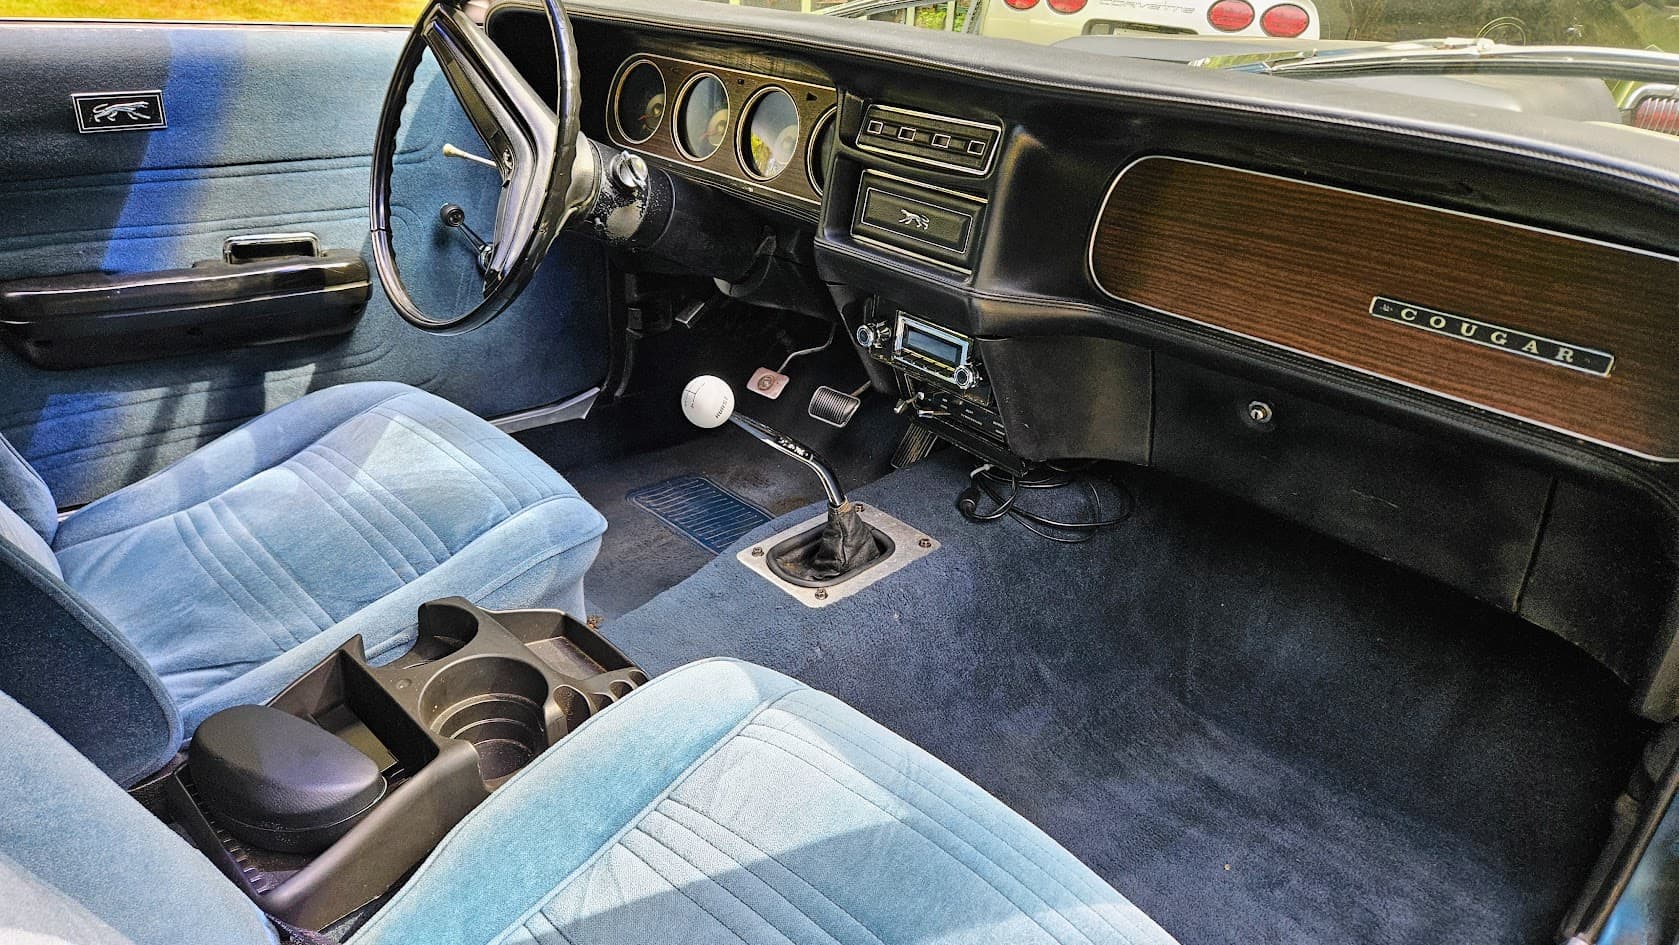
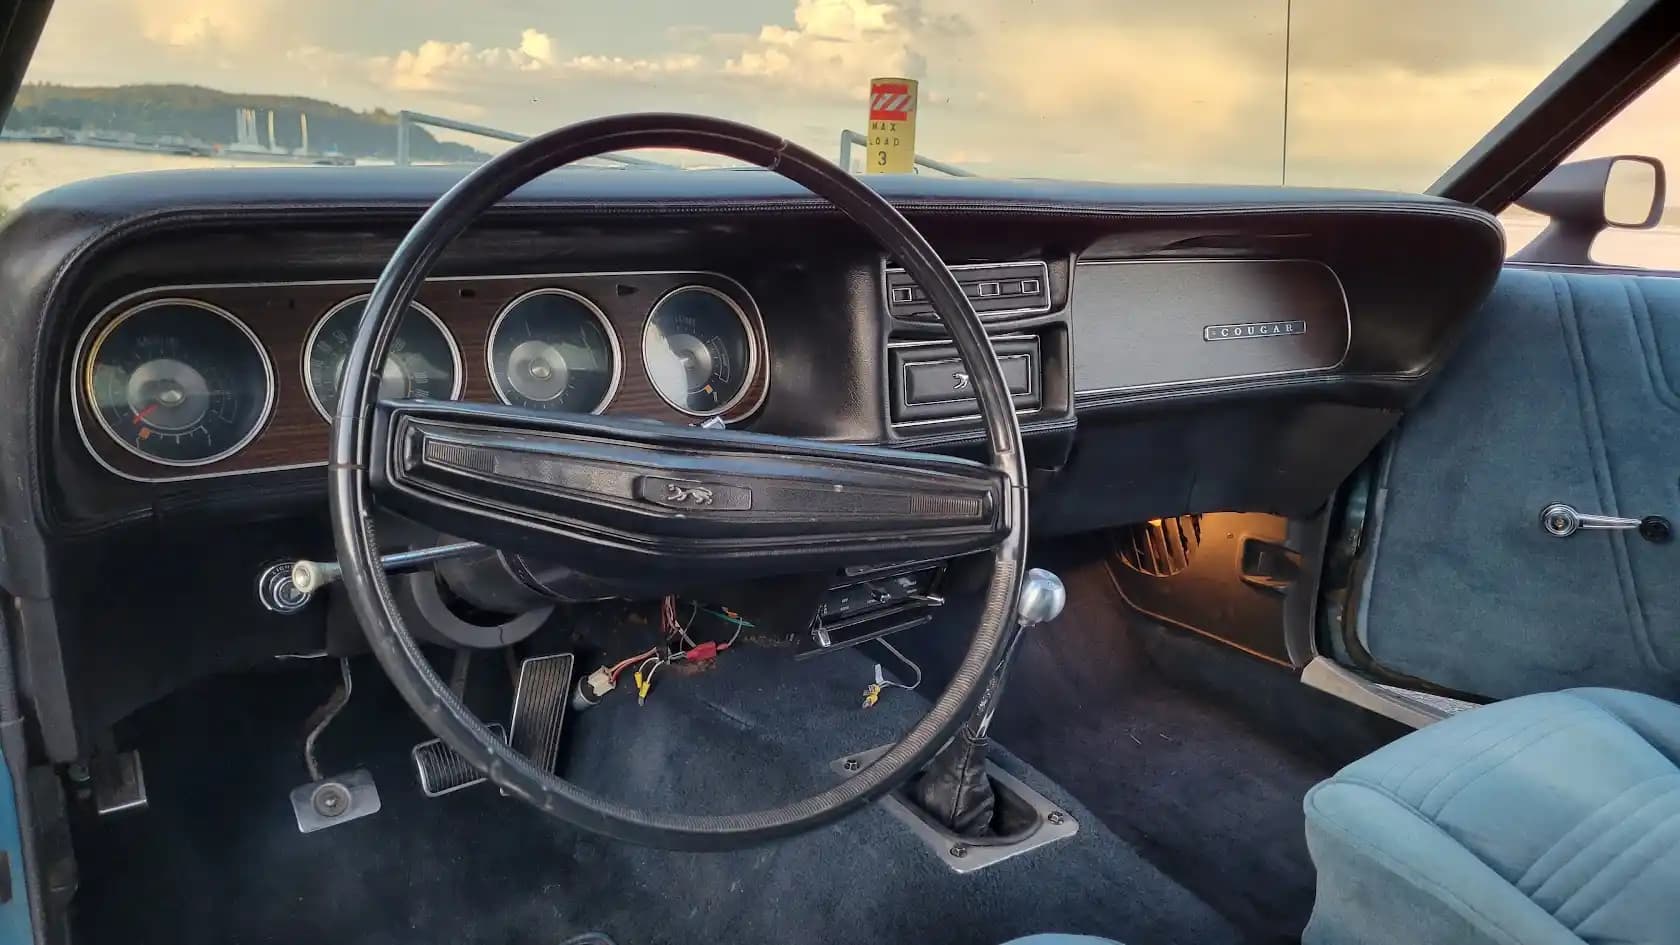
here’s an old pic with the old shift lever
After a quick, successful ride up and down the street, we parked the Cougar and I started working on my friend’s car while I knew I had some guaranteed daylight left.
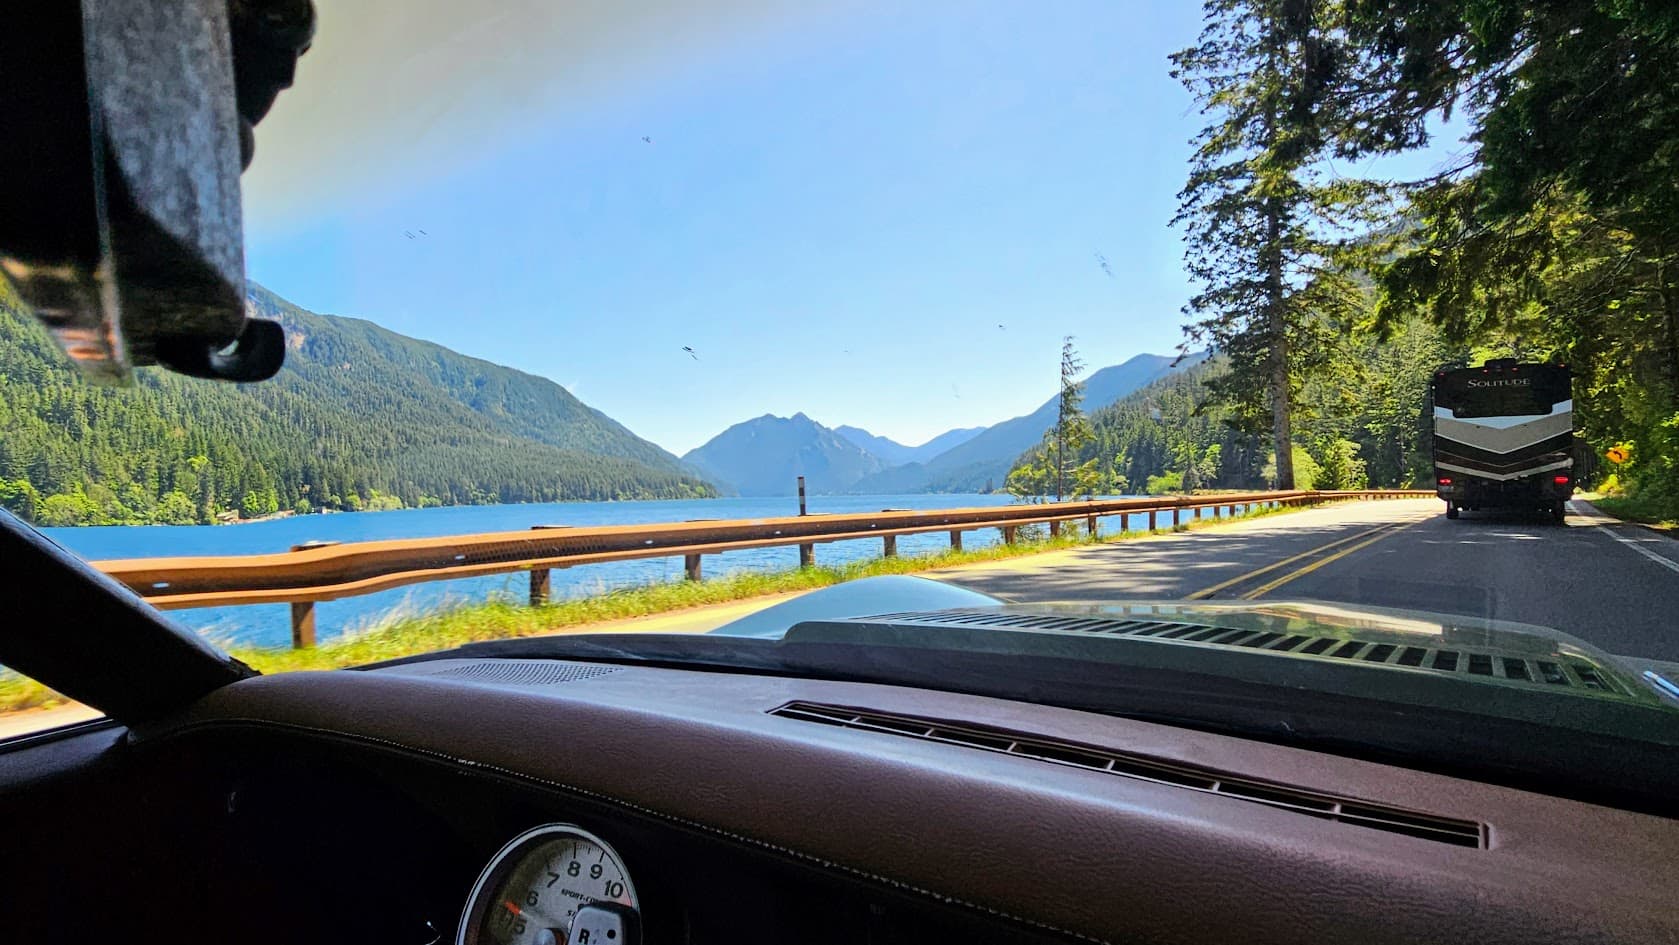
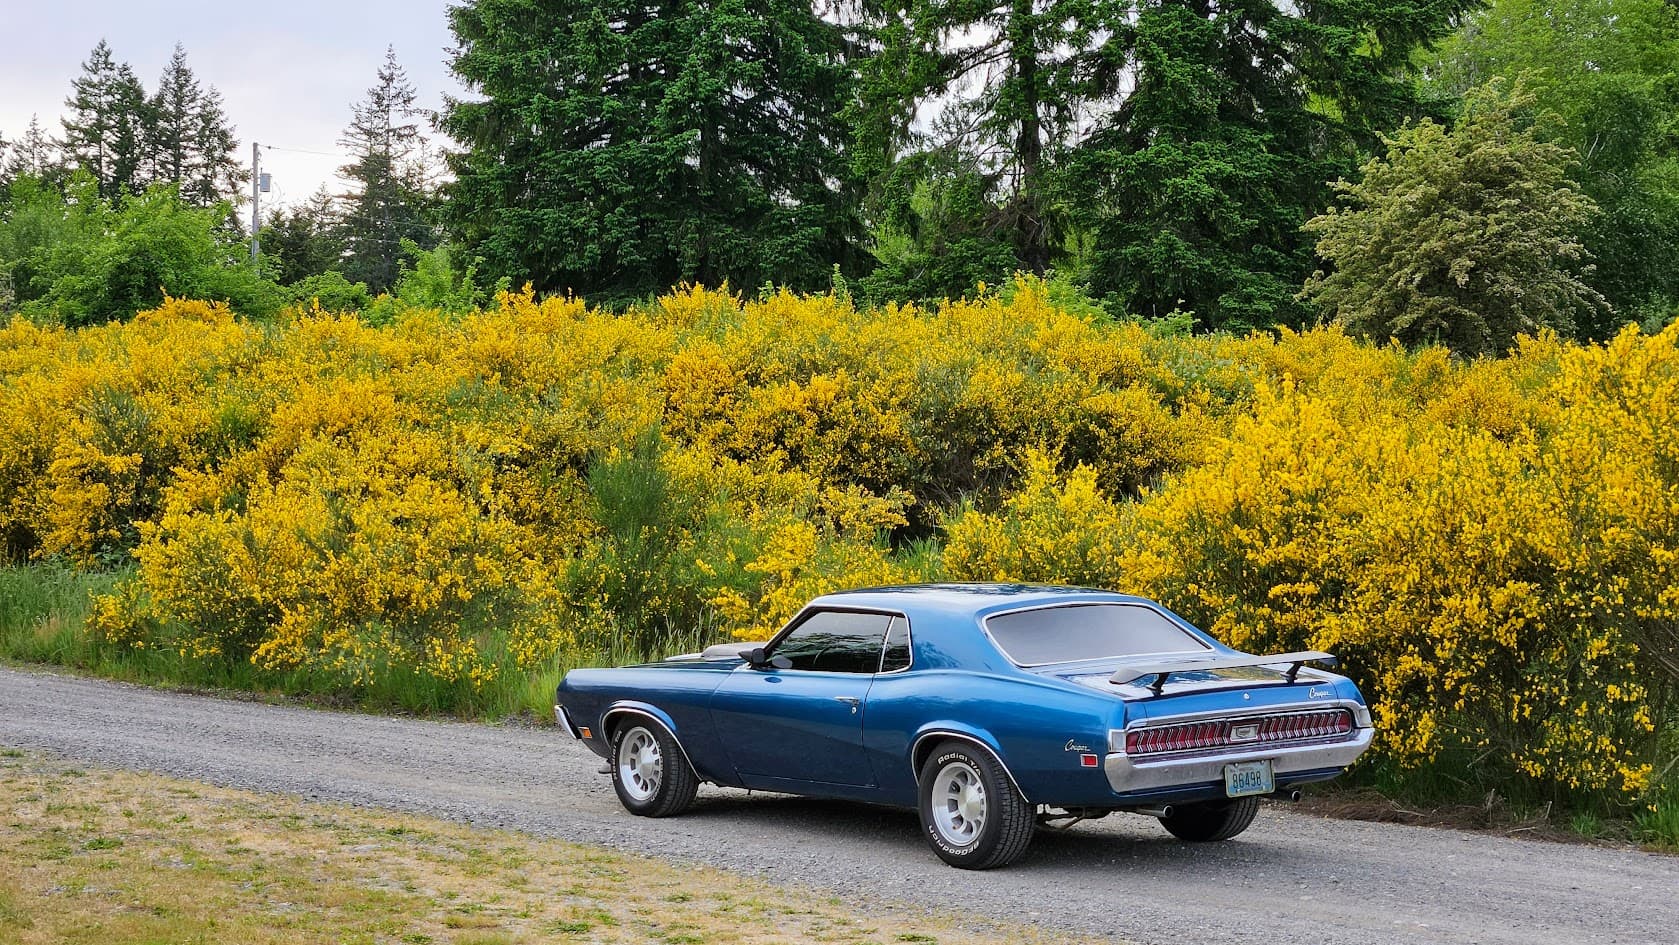
When I finished that task, I jumped back in the Cougar to drive it into town and stress test it just a little more. Everything continued to work great and the shifter totally changes the driving experience. The actual shifting mechanism on the transmission is worn out and clunky, but this made it much more manageable and the new shifter knob felt good in the hand with no discomfort all. There is an empty lot behind one of the church buildings in town that is completely overgrown with Scotch Broom (a noxious weed we deal with in the PNW). It has lovely, yellow blossoms before turning into scrappy little trees that won’t ever die. It made a nice backdrop for the Cougar before cruising home and putting it under cover.
Probably the next project to tackle is the fuel guage. Maybe 3 or 4 times it year it works fine, the rest of the time it reads really high - beyond the ‘F’ mark. I also need to do some sort of preservation on the air cleaner signature.