Cat Bites Man! A Novice and His SCJ Eliminator

Hey Mike ! I am so happy for you . It’s like a dream come true ! Like you , i was waiting a long while before i can get mine and i can tell you when i told my wife " in two days i will be back with an old car on a trailer "
she was mad at me for few weeks !!

It was hard for her to understand that old car cost so much . She told me " i would’n give more than 3K for that " !! It’s noisy , not really comfortable , hot to drive with ( 428 whitout a/c ) , expensive on gas …

But now it’s OK ! Congrat again :beerchug:

From my small experience it’s good if you can count on a " real " expert of carb. Wrong part at wrong place and your engine never works like he should and hard to adjust . Just because i have two wrong washers some place ,
the jets was inappropriate ; cost lot of gas and never take off well .

Have fun Mike !!! :ylsuper:

Dec 27th – Out fiddling in the garage, crawling around under the car. Took a pic of the passenger head date code while I had the valve covers off.


Snapped the date code for the block too.


Also found the “SUPER” stamp on the front of the block, down by the oil filter!


Looks like I have an oil leak from the send (bottom / inlet?) line on the Oil Cooler. Line is right up against the frame – probably rubbed a hole through it :-/

Dec 29th – The front spoiler was only held on by a few random loose screws, so I took it off before it falls off. Now I need to figure out what screws to put it back on with.

http://www.mercurycougar.net/forums/showthread.php?58026-Need-some-help-from-eliminator-owners-anyone-with-a-front-spoiler-on-a-69-70&p=516952#post516952

Woot! Looks like my spoiler might actually be an original.

*Found some pan-head screws at Lowe’s that should do the trick, and look close to correct. The screw holes in the valance are a bit hogged out, so I’ll have to see if I can tap down the puckers a bit so the screws fit. Might need to tap out some dents in the valance while I’m at it ~ at least get it close to resembling “straight”.

Also placed an order with WCCC today, to take advantage of their New Year’s Sale. Used the $100 gift certificate that I won from Scott Gregory (thanks again Scott!) last month. Tried to get as many “small things” that were missing, or would make the most difference.
Ordered up;

  • License Plate bulb cover lens (mine is missing)
  • Headlight Vacuum Check Valve (mine blows and sucks)
  • Engine gauge wire harness (mine is all melted and broken down)
  • Hood to Cowl rubber bumpers (missing)
  • Air Cleaner Decal (Mercury CJ-428) (stuck on the snorkel and badly beat up)

Thanks Sean and MercuryMan!

Sean, I thought maybe you pulled the trigger on Mike Ruo’s yellow CJ 4-speed! His ad came down pretty fast.

Merc, truthfully, I hope that if I can install and calibrate laser alignment systems and robots I should (<-key word) be able to handle some gaskets and o-rings.
If it proves too much for me I can always send it to someone else to fix, or bribe a coworker with beer to come instruct me in the finer points of carburetor construction
:slight_smile:

Stay tuned! The kit is in the mail, so hopefully I’ll be doing carburetor destruction…err…rebuilding next weekend :slight_smile:

Dec 30th – Wanted to take the cougar out today but it got too late in the day after doing other chores around the house. Wife was nice enough to point out that she didn’t think I would have much fun if I broke down on the way to the gas station, in the dark and cold. I’m guessing the real reason she pointed this out was that she didn’t want to have to come get me! LOL!

I had ordered some “Vintage-Style Windshield Wipers” from Napa the other day since they didn’t have my size in stock. Installed them today and refilled the windshield washer fluid and verified pump operation = ok!
*I should have looked around more for wipers, as I found some with the old style metal clip for just a few bucks more. Napa ones have a silver plastic clip. Ah well… bookmark those for next year.

Scraped the old faded hot rod parts stickers from the quarter windows – I was able to save one of the Lakewood stickers (*I understand they reproduce them now). Thought about keeping them on the car, but I think I’d like the car to look a little more “clean” (it needs all the help it can get at this point).

Cleaned all the windows inside and out, removing various other sticker residue and “gunk”. I didn’t get to the back window though – next time.
I do plan to keep the “Grambling College” sticker on the back window though. It still looks ok, and I think it’s cool and shows a bit of the cars history too (the wife agrees).

Managed to get my daughter out into the garage this afternoon for just a little while. “Come help me pull off the fuel door, it will only take a few minutes.” So Molly turned the wrench and removed the fuel door for me :slight_smile: After dinner we disassembled it and found the plastic bezel is cracked and broken. Looks like we can super glue it back together and it would all be hidden behind the trim, so it should be ok for a driver.

Cool. keep having fun with it.

A little bit at a time. I keep telling myself I don’t have to do everything “now now now!” like I want to.

I know this thread is mostly me rambling about “mundane” car tasks, but I’m having fun and learning quite a bit as I go!

:beerchug:

That’s pretty cool right there.

Mike, now that you have found “your baby” and seeing that you are still maintaining the EOTM postings, do me a favor? PM me the next time you come across a car of the caliber you bought, huh? Like I think you required, must be a 4-speed. The CJ 'vert (recent thread postings) looks pretty good but is a big investment, bigger I assume than your investment.

So, yeah, let me know, 'mmm 'kay?

:buck:

Bob, we can have some fun with this if we use the ECI vehicle rating system: A number 1 car requires just one parts car to restore, and number 2 requires 2 parts cars and so on. By the time we get number 5, all you really get is a jar, some air in it, that was once said to have been in one of the tires. I am looking forward to the mega thread!

Bob, I’ll drop you a line if I come across something like that. Yeah, the CJ 'vert is waaaay out of my budget! Truthfully, this car was too, but I made it work. When opportunity knocks you have to answer the door!

I think on the ECI scale, mine would be a number 1 car - It will probably need new rear quarters eventually, unless the ones that are tacked on it can somehow be salvaged. I imagine that would depend on how much metal overlap there is, and the skill of the bodyman.

Dec 31st – Shake-Down Cruise: Took it for my first real drive today! Was snowing little flurries, but I wasn’t gonna let that stop me, by God. Got up early and set out so I would have plenty of time to break down somewhere and still be home before dark.

Shake-down Cruise... | Mercury Cougar Owners

Started it up; had to crank and pump the gas a bit, as expected. It didn’t want to stay running though. Kept giving a hard “knock” or “clonk” intermittently. Not sure if it is a misfire, backfire, or something worse… but it went away once it was up and running (phew!).
Never had a manual choke before… gonna have to read up on how that is supposed to work (*I did read up on it). For now I just pulled it out half way, and that seemed to work. Once it was up and running good I pushed it back in (*turns out that is how a manual choke works, LOL).

After it was warmed up I took off on my maiden voyage, slow and easy. Once on the road it seems to stumble if I give it too much gas too fast. If I tried to get into the secondaries I would get that “clonk” / “knock” sound again… so no lead footin’ it for now.

Went by Napa to return battery cables. The ground lug was too small for my ground bolt. Not sure if my cables are correct or not. Positive has been replaced, but negative it old and crumbly. Negative connects right to the block at the front passenger corner, just above the alternator. The guys at Napa already know me as “70 Cougar”. I think that means I’ve been in there too many times in a short period already.

As I was pulling into the Napa parking lot a father and son stopped me to talk about the car :slight_smile: The dad (a gray hair gentleman) was more interested, the son merely curious. We chatted and I popped the hood for them and we talked car talk.

Coming out of Napa, another fellah had pulled up next to me, and he also stopped me to talk about my car :slight_smile: Turns out he has an older Mustang, so we chatted a bit and talked car talk.

Off to the gas station to fill it up (still pretty close to E). Topped it off, and managed to splash gas all over the back of the car. Guess that helps explain the trashed chrome on the back bumper. Reset the ol’ trip meter; let’s see what kind of mileage this thirsty beast gets! Noticed that the fuel door trim is loose and rattles around. I’ll have to pull that off and tighten things up so nothing falls off and gets lost.

So I’m off to my next errand, where another fellah stops me to chat car stuff. I love it :slight_smile: As I’m driving around I’m watching my gas gauge, and man that thing goes down fast! I’ve only gone 20 miles or so and it’s drunk down almost 1/3 tank. Something is definitely not tuned right.

Got home and pulled into the garage. Not long after that, the wife tells me the garage smells like gas. I go out and YES, it certainly does! Lift the hood and poke around, and quickly spot a big old puddle between the intake runners on the passenger side, between #3 & #4. So I soak it all up and lay the rags outside to dry. Pulled off the air cleaner and start checking screws / fittings on the carb, and I find that the fuel line into the secondary fuel bowl is stripped. I was able to get it snugged up a little bit, and I’ll have to see if that will stop the leak.
*truthfully, at the time I didn’t even know what that part on the carb was called! I started Googling around and reading the Holley website and figured out the “proper name” for the leaky bits! Then I was able to post a thread asking about it and not sound totally incompetent – only partly incompetent >.>

Leaky Carb and Stripped Threads... | Mercury Cougar Owners
http://www.classiccougarcommunity.com/forum/viewtopic.php?f=3&t=2029

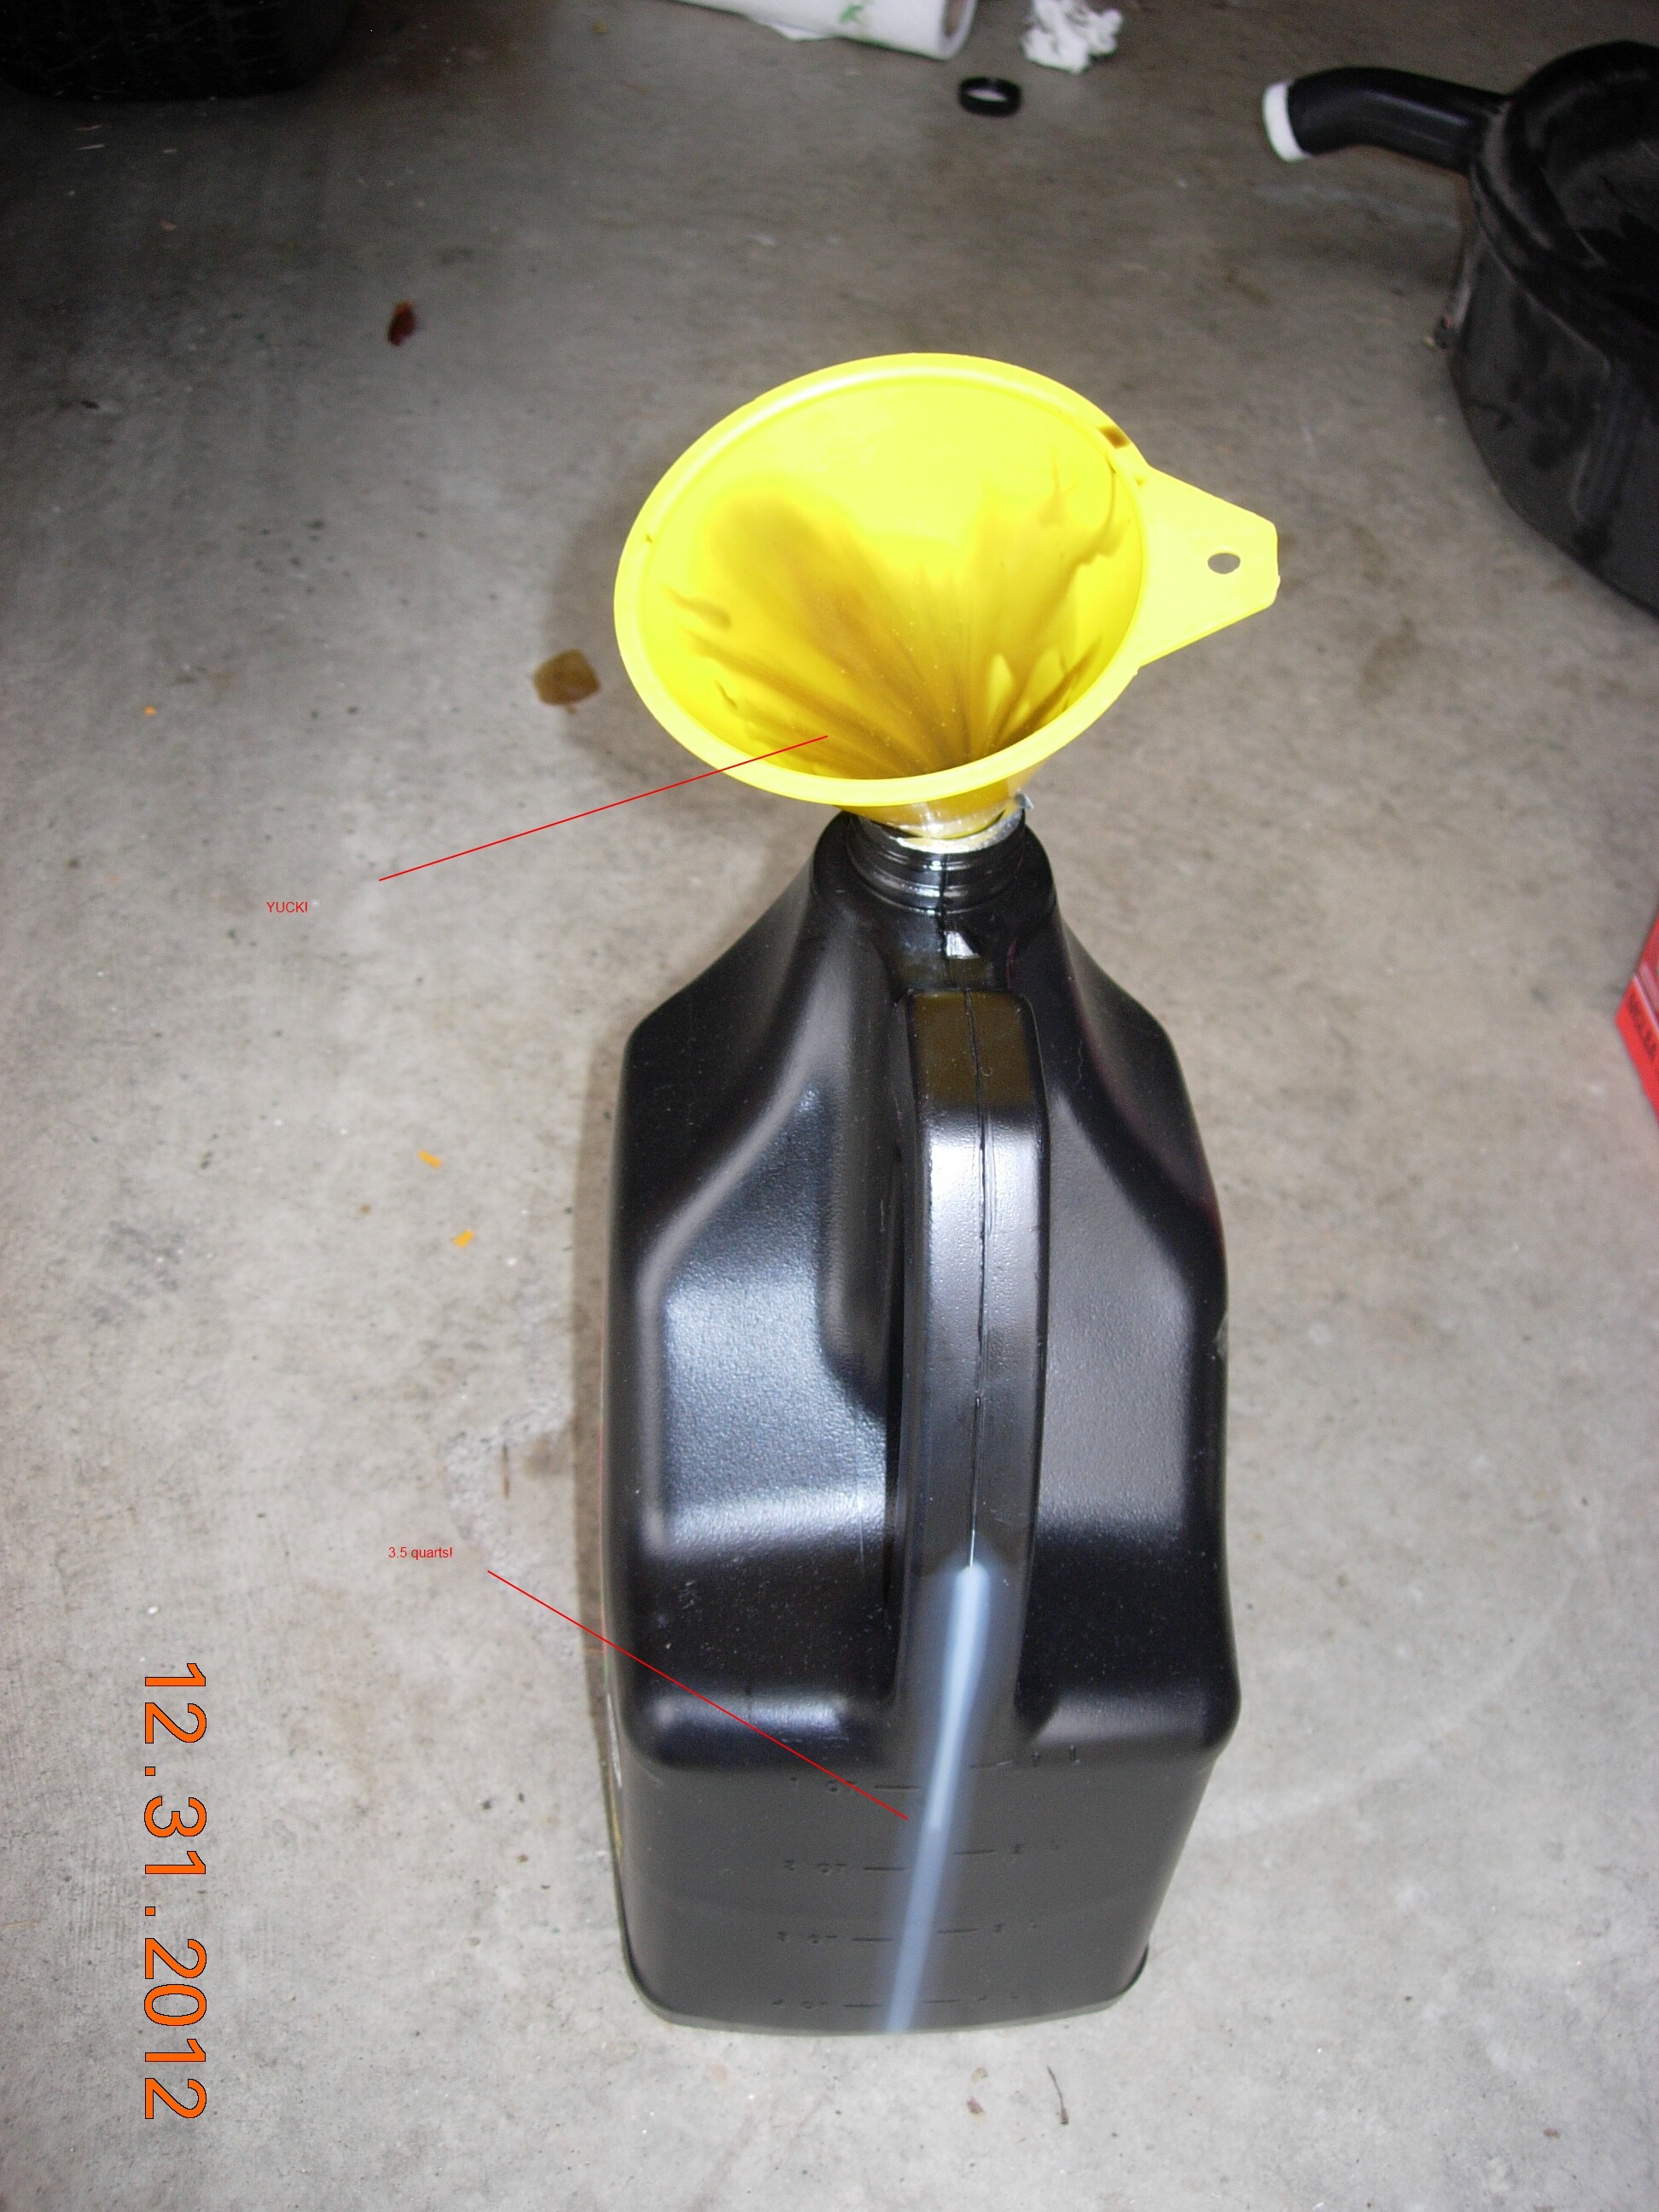
I also drained the old oil back into the 5qt jug for disposal on the upcoming Recycle Day. Dooby-doo, pouring oil… pouring oil… huh, done pouring oil. That was quick. Turns out it only had 3.5quarts in it! Given the incorrect dipstick, I bet they only put 5qts in it to put it at “FULL”, then take away some leakage from the oil cooler sending line, and maybe a bit burned off… :bloated:

Really low oil, leaking fuel lines, disconnected spark plug wires, almost empty power steering pump… Ugg! Don’t worry, Little Cougar, I’ll take care of you!

Congrats are your cool new Cat! :slight_smile:

Thanks Lizzie!

Jan 1st – Impromptu Car Show! Met up with Lee “69_Topless_Cougar” today at the local Burgerville where they have a weekly Saturday Cruise In during the “dry” months. We lifted the hoods and shot the sh!t in the cold. At least the sun was shining – it was really a beautiful day. Another fellah was out cruising in his ’71 Buick Skylark convertible and stopped in to hang out with us for a while too!

http://www.classiccougarcommunity.com/forum/viewtopic.php?f=6&t=2033

Got home and found the carb was still leaking. Time to fix that before I blow myself up! The wife is none too happy about the garage stinking either, let me tell you.
Researching what to use for a temporary fix on the leaky carb. Looks like the best bet is to just rebuild it and maybe replace the fuel bowl, or get it fixed. Want to check some other tune items before I start disassembling things though. I’d like to have a good “base line” to start from before I break it.

Jan 2nd – picked up some superglue for the fuel door bezel and some 3bond to try and seal up the carb leak temporarily.

Jan 3rd – Washed up the fuel door bezel and recruited Molly to help me super glue it back together. Didn’t turn out too badly! The only missing pieces are a few chips / slivers, so that’s good. I’ll have to find something to use as a sealer / putty on the speed nuts and studs before we reassemble it (*found that strip caulk works great!).

Jan 4th – Got my package from WCCC! Installed the hood to cowl rubber bumpers. Also installed the headlight vacuum check valve. When I pulled the old one out I gave it another test suck/blow… and wouldn’t you know it! The darn thing is working fine now! When I tested it last week it wasn’t sealing at all. Probably when I drove the car it shook some crust loose in there, or something, and now it is working fine. Sigh I’ll just stash it in the “old parts box” for now.
Installed the engine gauge wiring harness. It is a big improvement over the burned and melted old one. Had to crimp the temperature sensor connection slightly to get it to fit snugly. Will have to research how to get my Volt meter functioning properly. Noticed the connections on the ignition coil may not be correct; Batt is connected to the distributor, and Dist is connected to the wiring harness somewhere. Seems backwards to me.

Also noticed that the repro CJ-428 sticker for the air cleaner isn’t really a great reproduction, IMO. Some noticeable differences in the font and other details; no silver band around the repro, no part number on the repro. Ah well, it will be better than the ratty one I have in the wrong location (was stuck on the snorkel). Started working at removing the old sticker…

Jan 5th – Removed the stripped carb fitting and secondary fuel line. Then I sealed up the bad threads on the carburetor secondary bowl using 3-bond liquid gasket sealer. Hopefully that will buy me some time to check timing and verify a thermostat is installed. I noticed when I drove it that the temperature never got much above “C”, even though I drove it all afternoon. It was a cold day, but maybe there is no thermostat installed.

Jan 6th – I checked on my seal job and found the stuff was still…liquid. Just like the package says. Wrong stuff! So off to Napa I went and bought some form-a-gasket that says fuel resistant. Also picked up chrome polish and rubbing compound. Second attempt at sealing up the bad carb threads.
Also used the rubbing compound on the passenger door and removed the “Rock Steady No. 1” lettering. Looks like a good polish / rub on the whole car would be beneficial. Might want to look into an electric polisher / buffer to make the job easier. Or just drag it out over the winter by hand.

*The story I got was that the original owner used to drag race it “back in the day”, so he had lettering put on his car. Now, the lettering was only on the passenger door when I bought it. But I know that quite a bit of the car has been repainted at various times over the years, so the driver’s door lettering may have been “lost” during one of those partial repaints.
Some of my coworkers think I should have kept the lettering, that it was “cool”. Personally, I think it was a little bit cheesy, especially with the lettering on only one door. Add to that the Wife kept asking me why I had someone elses “name” on my car, so it had to go. Don’t worry, this car still has plenty of “character” left, LOL!


You can still see where the lettering was, so I’ll have to buff the door to try and even out the color a bit. Yeah, the paint is hashed, but that doesn’t mean that I don’t want the paint that is still there to shine and look bright.

Jan 9th – I’ve been coming out and wiping the dash a little at a time for the last few nights. It has some sort of sticky residue on it. Not sure if it is from the vinyl breaking down, or if the previous owner coated the whole thing with Armor All or baby oil (I’ve read that helps preserve the vinyl dash), or what. Either way, it is gruesome and has to go. I touched it and it tried to assimilate me, like The Blob. Now I have to kill it before it can use my DNA to form a clone of me. That never ends well in the movies.
I tried some Formula 409, and it works, but says it is not supposed to be used on vinyl (oops!). Tried soap and water and I swear I heard the goo laugh at me! Fine, Goo-Gone it is ~ that sh!t made short work of the sticky goo, and I almost shed a tear at how clean the dash looks now.
Also used some turtlewax swirl remover on a spot on the front fender, just to see if it would polish up. Wow! Shiny :slight_smile: Looking forward to polishing up the whole car… just need to get it washed properly first. Maybe this weekend.

Jan 11th – I’ve been watching an eBay auction for a complete driver’s side headlight assembly for $40 +$18 shipping. Entire assembly; 2 lights, bumpers, door / cover, pig-tails. Decided to bite the bullet and buy it. My driver’s side light needs help; eyelid door is bent and broken and held together with screws, high beam bulb is burned out, and it is missing a rubber bumper. The parts need refinished / repainted, but no biggie ~ so do the ones that are on the car now!

Jan 12th - Finished wiping all the sticky gunk off of the dashboard! Yay, not sticky anymore! Almost forgot to snap before-and-after pics. Got a pic of the last bit of sticky goo ~ underside of the dash on the driver’s side. Not sure if you can see it in the pics, but the goo actually had trails from where it was oozing / running down the dash. All clean now though!

Before ~ gooey and sticky mess;

After ~ a smooth work of vinyl goodness;

Jan 13th – fired it up! Checked radiator coolant flow while it was still cold ~ no flow, so there is a thermostat installed. Temp gauge never got far above “C”, even after driving it around a while. So it is still running cold. Possibly a cold (160degree) thermostat installed, or the wrong temperature sensor.
Verified no fuel leaks!
Drove it down to the “U-scrub-it” car wash and hosed & scrubbed it down. That soap doesn’t wash off very well… Probably will require a good rinse in the driveway, but at least it isn’t “dirty”. Wasn’t able to get the underside or wheel wells very thoroughly, but at least it’s a start. I would have washed it by hand in the driveway, but it is too darn cold! As it was the Wife thought I was crazy ~ but I wasn’t the only one at the car wash, so at least I’m not the only crazy!

Jan 15th – Did some buffing / polishing on the top of the passenger front quarter and passenger side of the hood. It will shine, but it is gonna take some serious elbow grease. I might have to invest in a buffer of some sort. I might need a different polish too. My turtle wax swirl remover is probably not aggressive enough ~ the hood still feels “spikey” after I finish buffing.
Another option is to wet sand it with 2000grit, and then polish it… Might try that next.
Oh, I also tried out the chrome polish with 0000 steel wool on a bit of the bumper. Eh, I’m sure it will look good, but hard to tell. Didn’t really put a lot of effort into it either though, but I did take off some various paint and goo spots.

Jan 16th – More buffing / polishing of paint. Experimented with some wet sanding with 1500grit and was able to sand out part of the big stains on the hood! …but that left “clean spots”. Hit them with rubbing compound and swirl remover and they polished up nicely. Also used a clay bar on some areas and WOW does that smooth out the roughness! Lots of gunk in and on the paint.
Plan is to get some 2000grit paper and polishing compound.

I did some research and took a look at the temperature sensor. It appears to be a factory / correct sensor with a red insulator (now oxidized and pink). Sensor may be failing due to age, or it could be a cold thermostat in there…

Looking great! If you are interested, I know a guy who is great at detailing old original paint. He has been doing it for 20+ years and has polished a variety of cars. He actually buffed “Gunner” before it went to BJ. He also brought life to the paint on a 1966 T-Bird convertible I sold last year. He has also done a couple of Bronco’s for another friend. He lives in Salem. PM me if you are interested and I can give you his phone number.

Yeah, bring it down here! That will give you an excuse to take it on a road trip, stop by WCCC and let us check it out! Maybe we can interview you and make a little video about the car, and your quest to find it. I think it’s a pretty cool story.

And, like everyone else said, congrats on finally finding the one. It will be (already is) fun to watch your progress. The whole “living vicariously” thing is always cool. :laughing:

Thanks Fellahs,

I would love to do that, once I get my Carb adventures wrapped up and make sure “Goldie” is fully road-worthy (hopefully sooner, rather than later).
I just finished wet-sanding the hood the other day, but it still needs polished and there is still alot of car left to go. And it would always be nice to have a Pro go over it ~ he’d probably have it shiney in a few hours, instead of days / weeks of me dragging it out a little at a time.

Andrew, I was just watching your Roof Replacement video the other day. Looks like it was quite the adventure!

MIKE, GREAT THREAD. I don’t get around here regularly any more but keep up the good work. SalD