Wow kudos for pulling off daily driving a classic. Despite your bad luck with the motor that’s still impressive.
Thanks man. I work from home… so “daily driver” isn’t as serious as it sounds.
Still. If it wasn’t my my main car… I doubt we would have a new engine in it right now. The necessity made us put the engine on a credit card to make sure we had a running car for me.
Nice job on a quick fix on that engine. It sounds good. I’m glad you’re driving it on a regular basis. That’s pretty cool. Your boys are really getting some experience that will pay off in the long run.
Thanks. Yeah. We’re learning a TON.
Some fun things I’ve been working on.
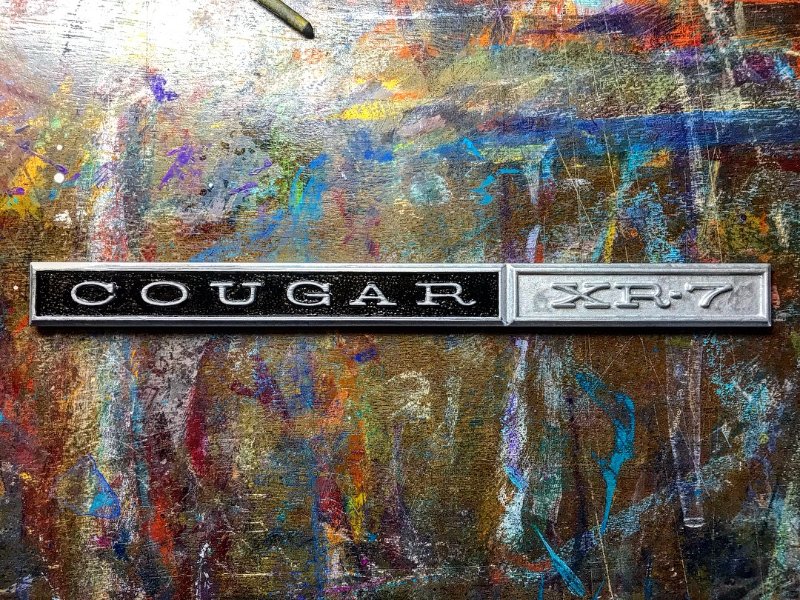
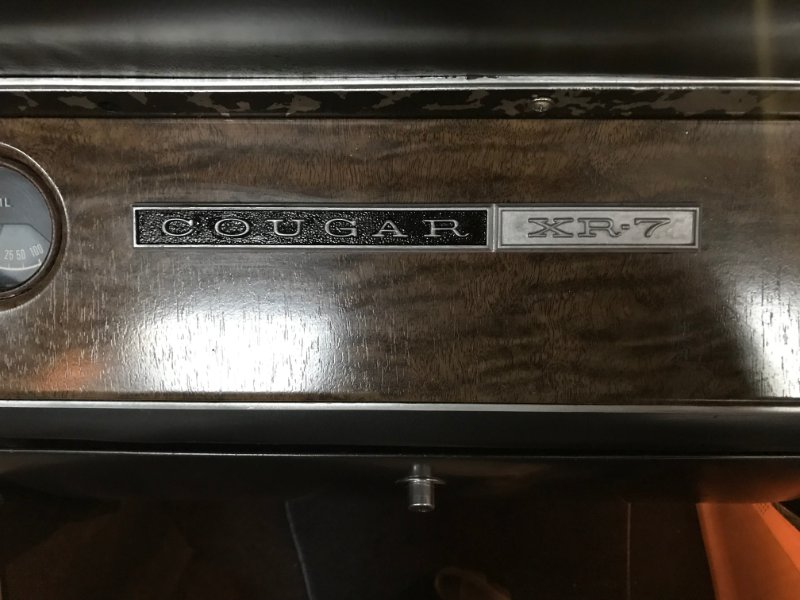
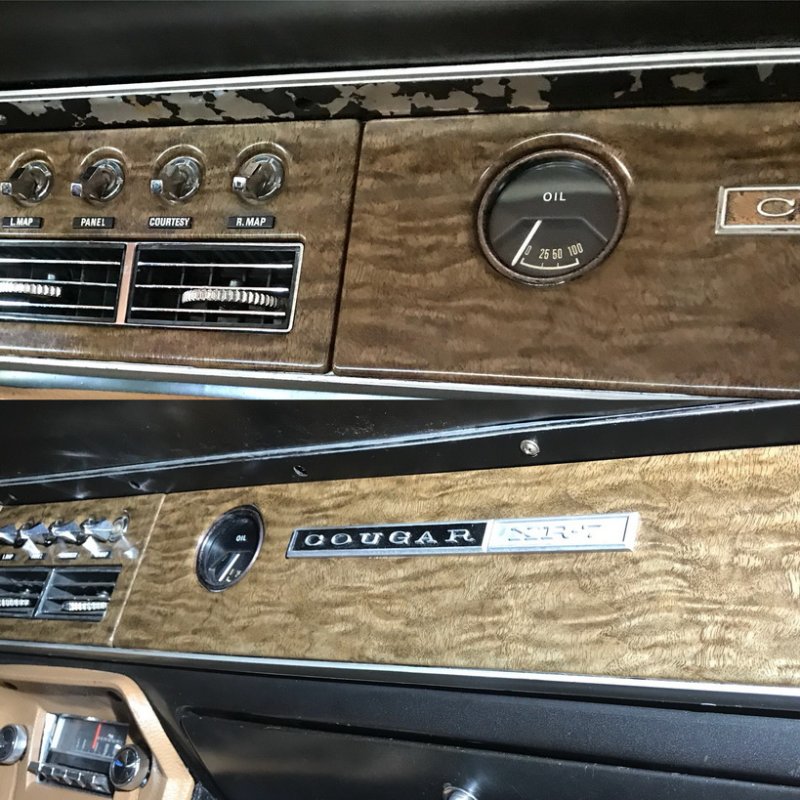
I was looking at the dash emblem and considering buying a new one from west coast cougars when I realized… “Wait. You’re an artist. This is actually something you might be good at!”
So. With a wire brush and acrylic paint… I had some fun yesterday.
For some reason. There was a copper/gold over where the black (underneath the COUGAR letters) should be.
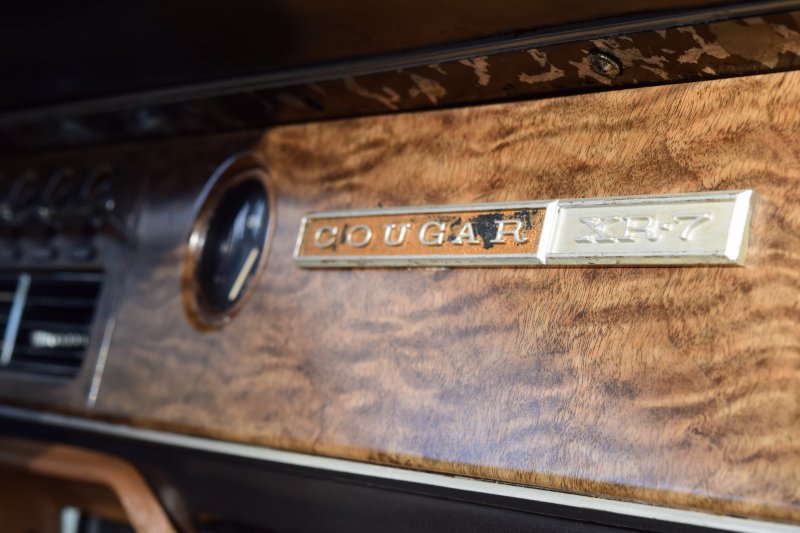
I scraped off the copper/gold to get down to the texture a bit better.
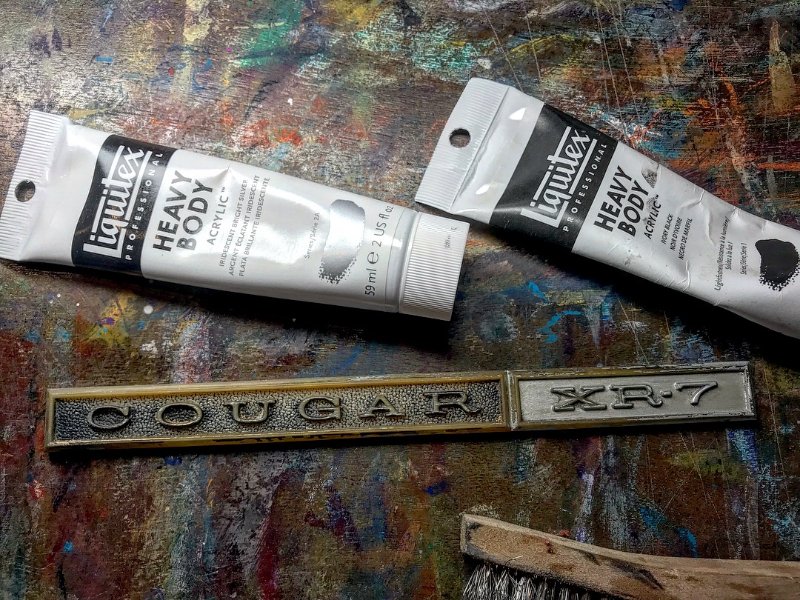
Painted the entire thing SILVER and then went in with a tiny paintbrush and painted the black underneath the COUGAR lettering.
Back on Esmerelda.
“artist touches” last night.
Hate seeing too many colors.
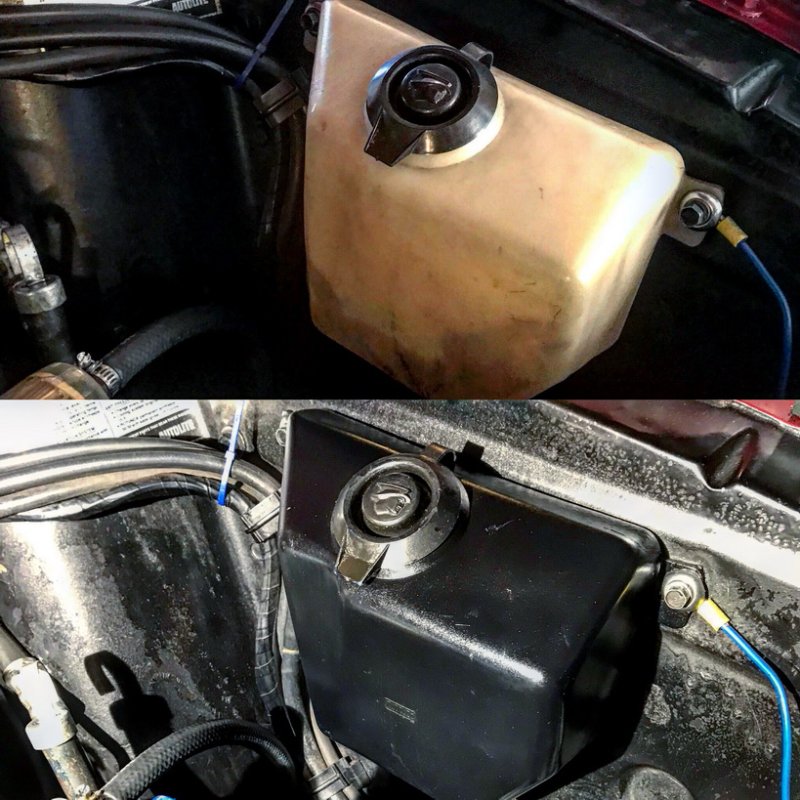
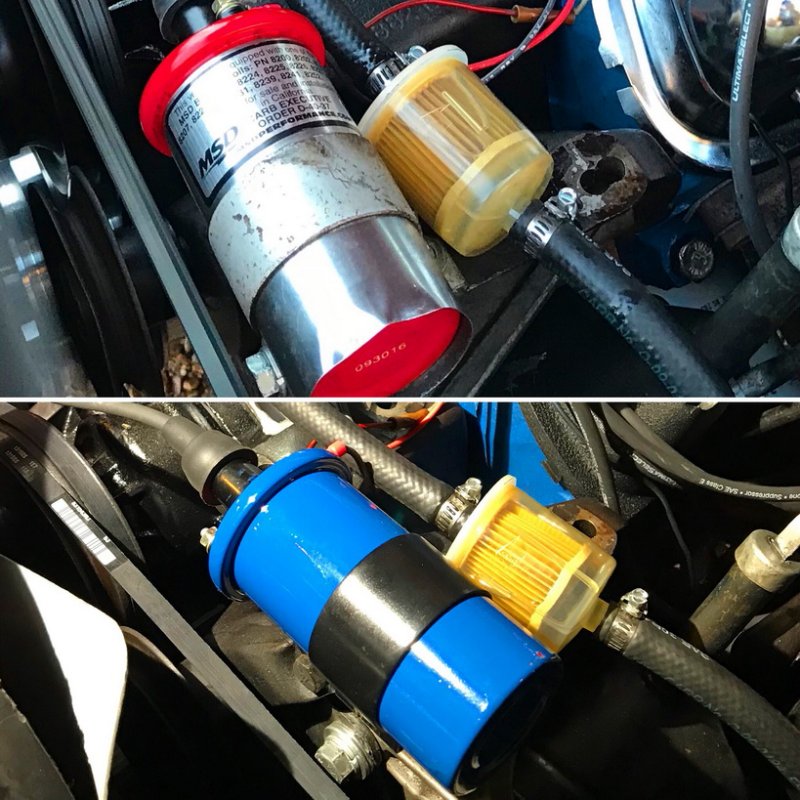
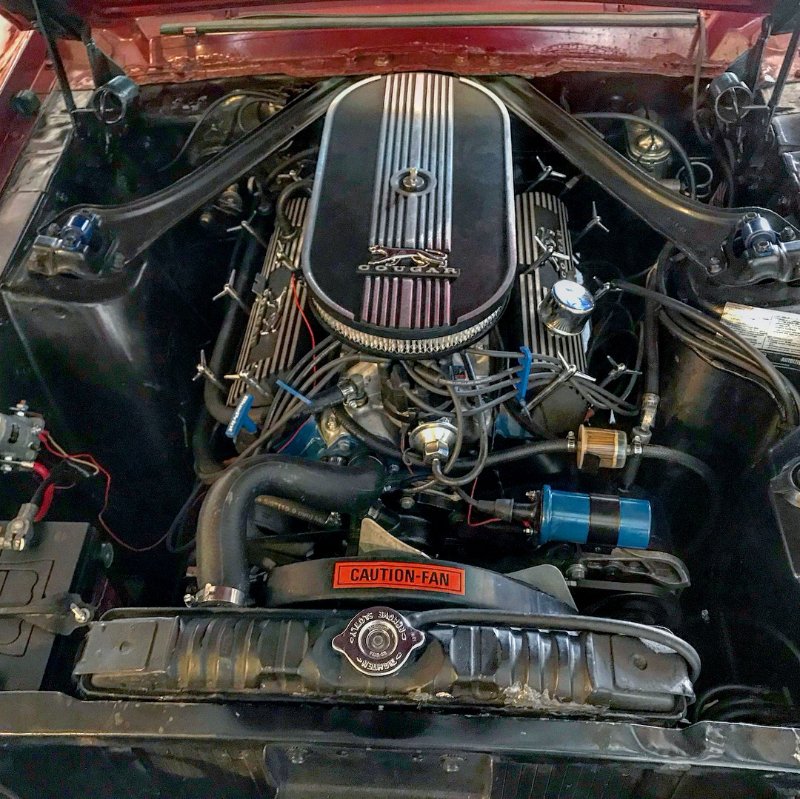
So I painted the MSD Blaster coil. Sanded and sprayed the harness. And painted the windshield washer fluid tank.
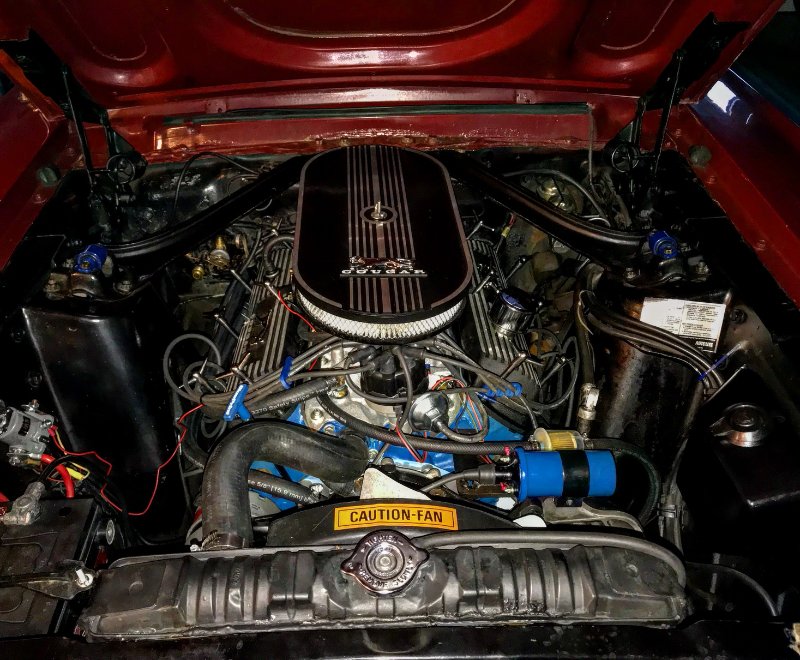
Trying to keep the engine bay to Ford Motor Blue, Black, and Chrome.
A couple more
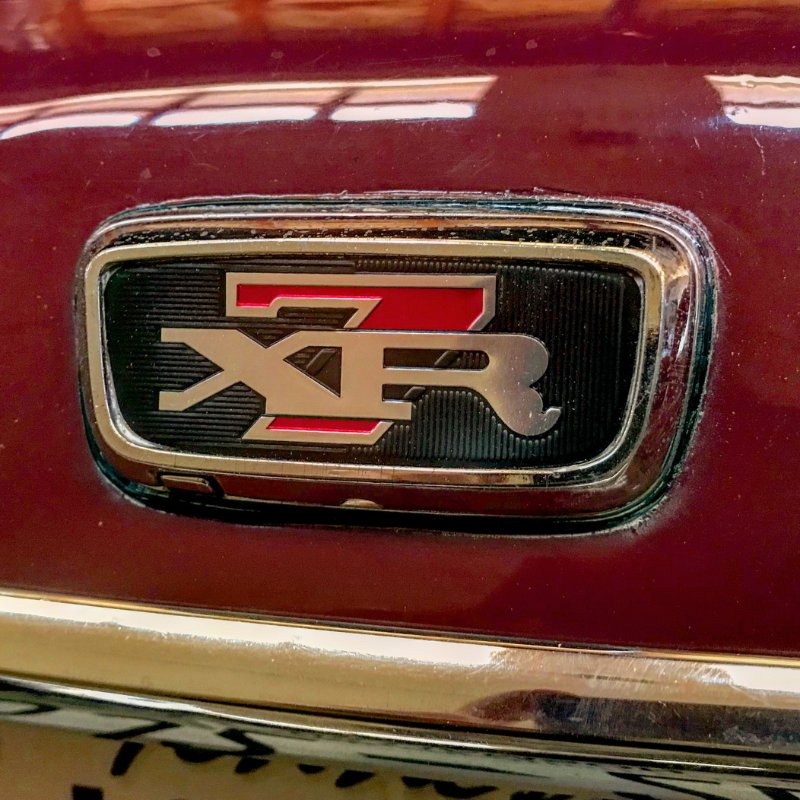
Someone took (or maybe it fell off) the emblem on the trunk latch. So, I ordered an XR7 emblem from West Coast Classic Cougars.
I know it wasn’t made for the 67… but it look so cool… I had to have it.
A steal at $7
Also… we created a new package tray to replace the carpeted one that was in the car. Thanks to the advice from the forum here… we went out and purchased masonite at home depot and cut it to spec and painted it flat black. I think it came out well.
Next. Mufflers and pipes.
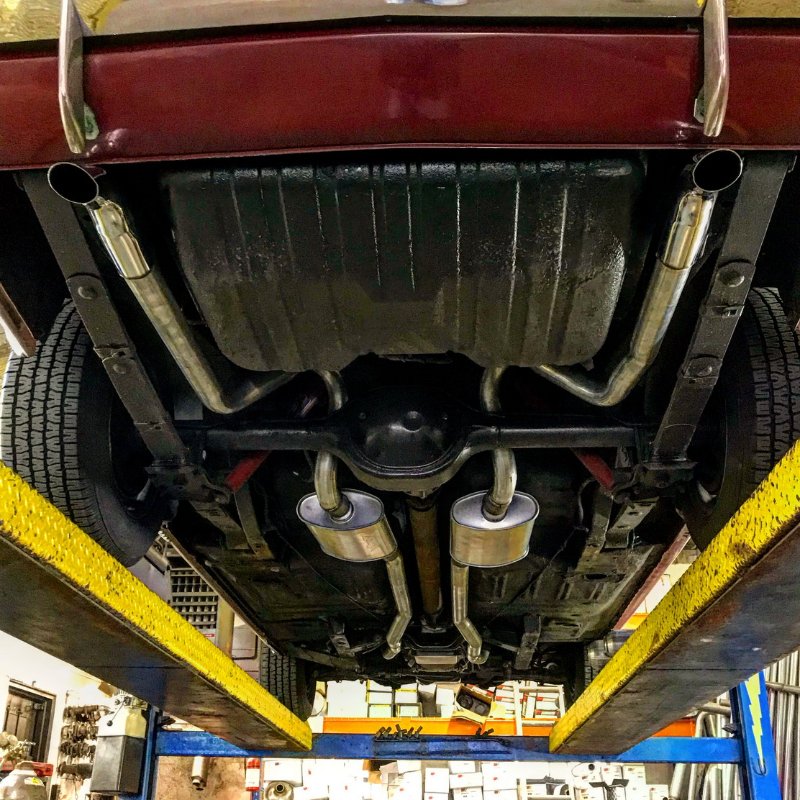
Then… because we kept the original exhaust manifolds… I painted them with POR 15 paint.
But I did it while they were still on the car. So I had to do it very carefully with a paint brush over a couple of days. Was fun and I love the look.

What a great story and experience for you and your boys! Thanks for sharing…
Thank you so much Chad. Likewise. I read your story you wrote last year and love the fact that you and your dad Both have cougars. Also. Your downtown photo by the theater looks like ours here in Franklin, TN
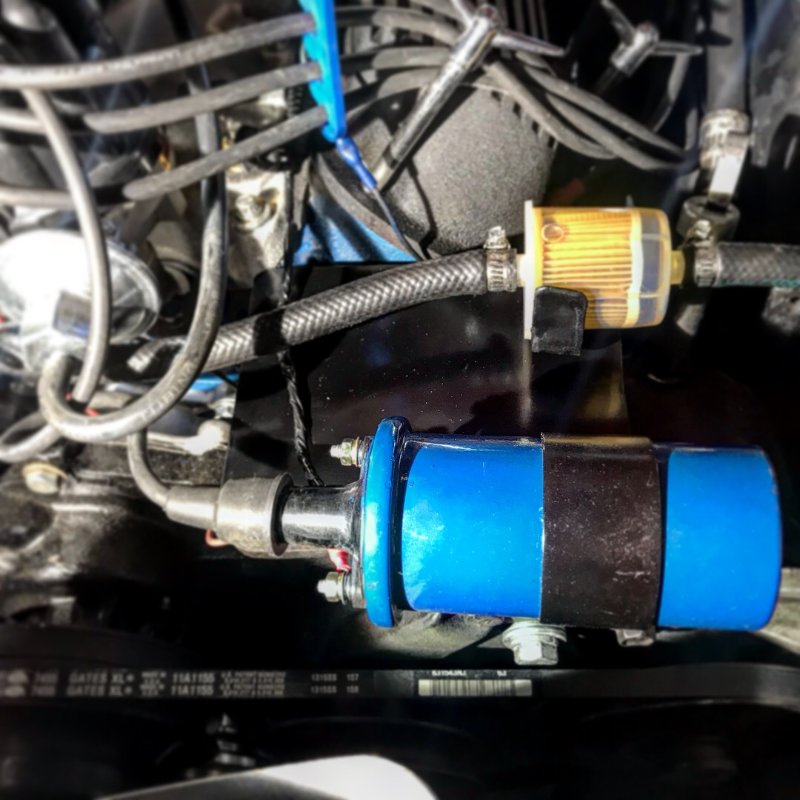
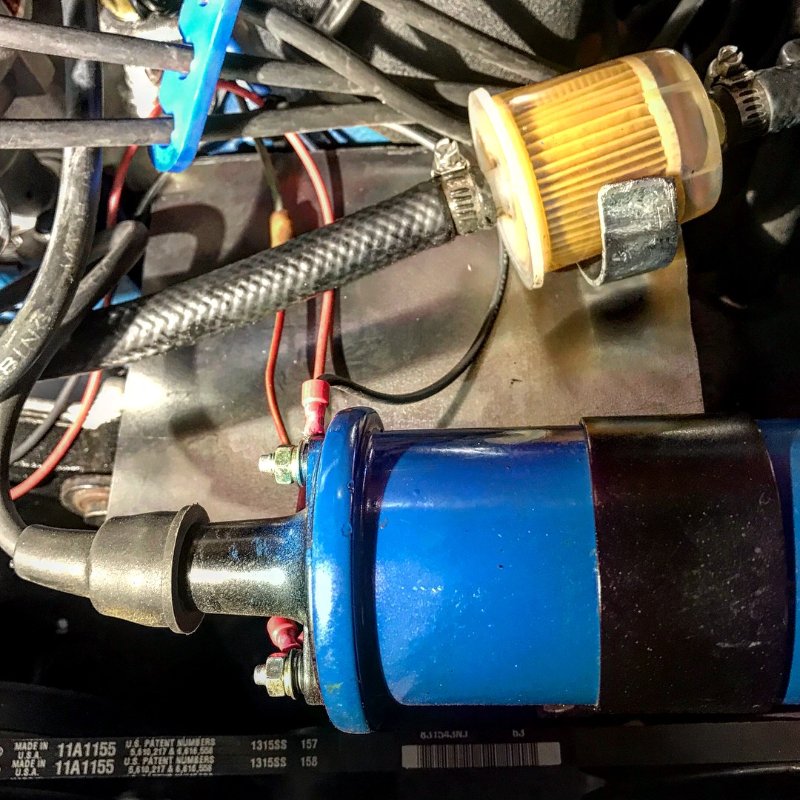
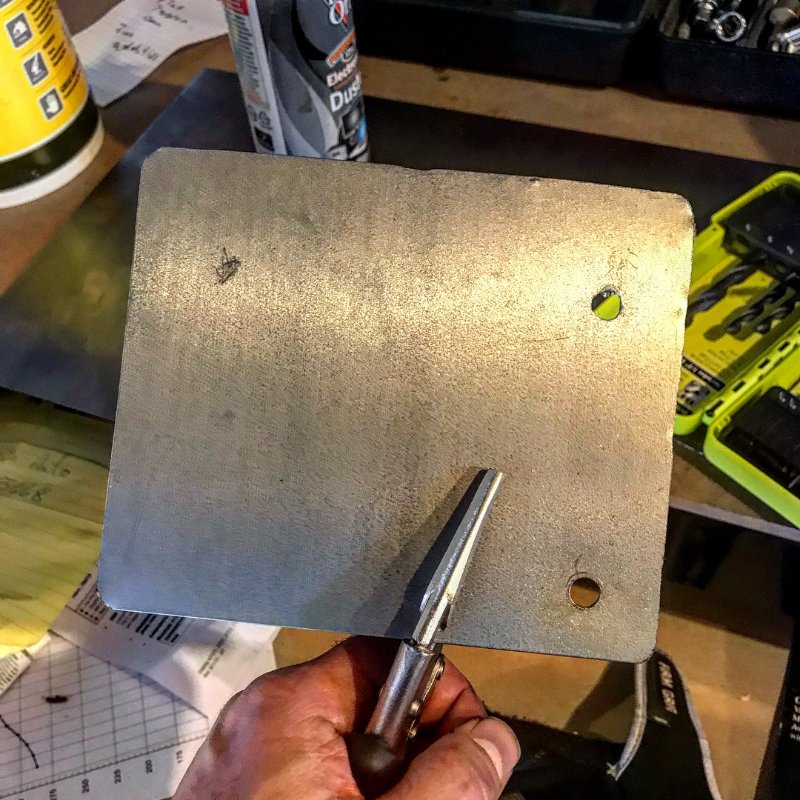
Since we removed the air conditioning unit with the new engine… I’ve been wanting to create something to hold the fuel filter… and generally cover up the empty bolt holes from where the air conditioner used to be.
Today I did that.

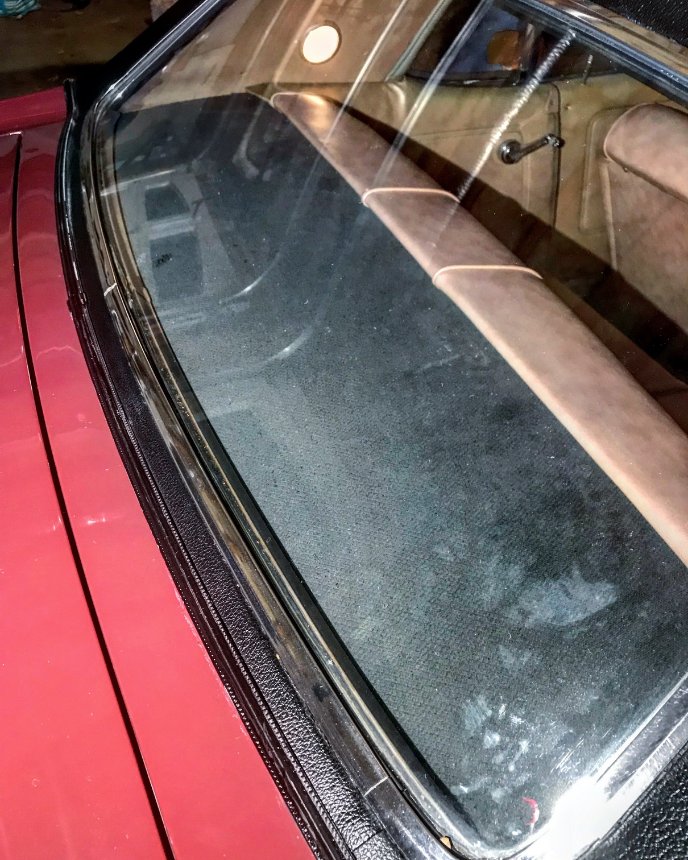
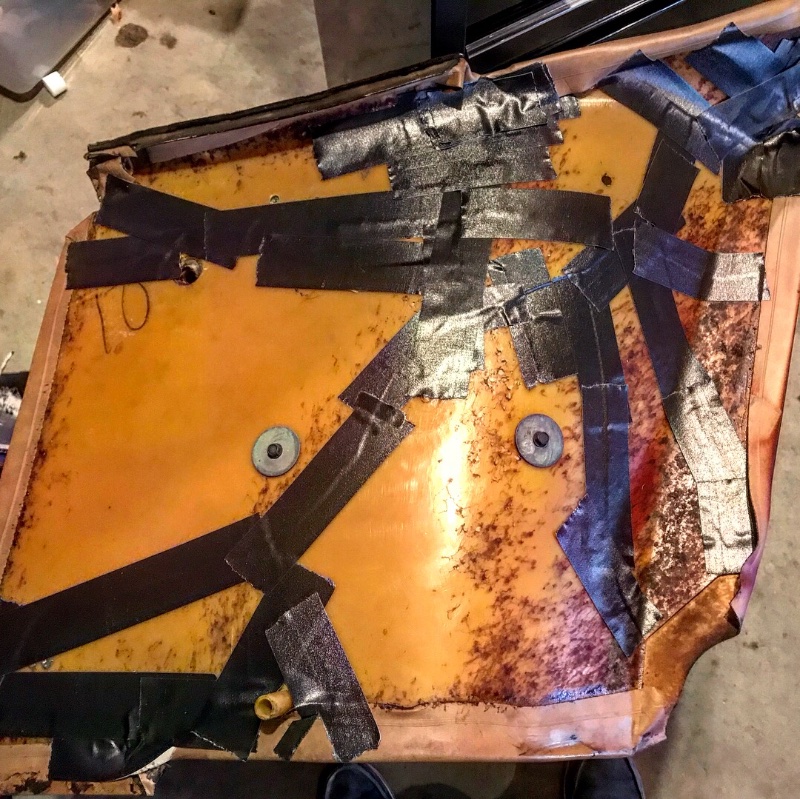
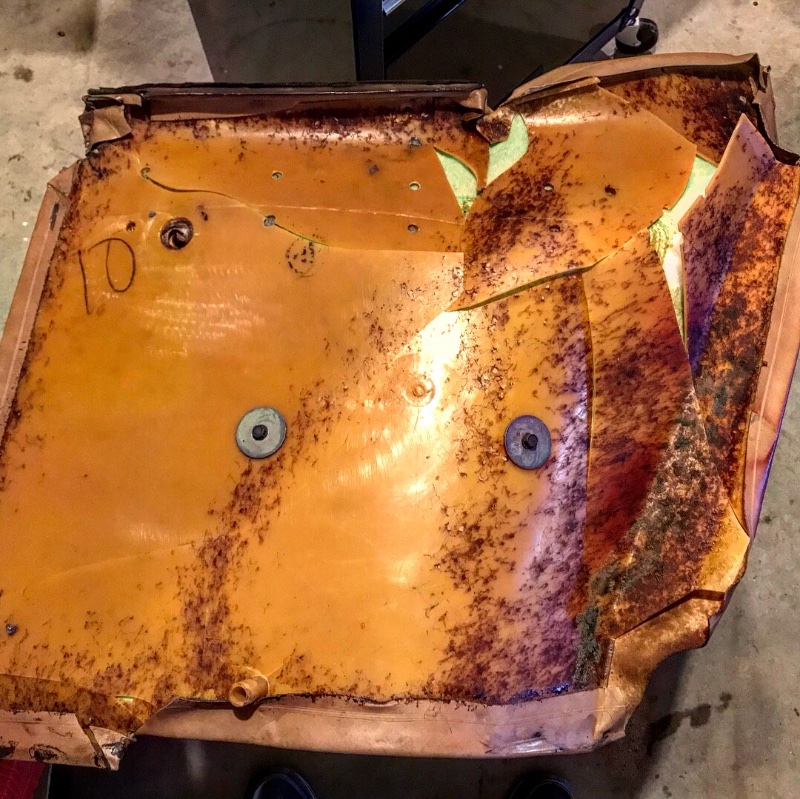
Today’s job. Trying to fix the cracked and broken panel on the driver side rear seat area.
All we had was duct tape, so we did the best we could.
Anyone have any thoughts on better ways to fix this?

Mine was also in pretty bad shape, I used one of those fiberglass repair kits. I had some trouble with the curved part at the top where the window felt attaches. Mine was almost totally disintegrated there, so trying to maintain the original contour was tough. But on the flatter portions of the panel the fiberglass worked perfect.
I really wish someone would reproduce these but I doubt that’s going to happen.

That’s cool. Did you feel the fiberglass will hold up? Can you sculpt it a bit for the contoured areas?
I was going to recommend the fiberglass repair kit as well. I used that to repair a panel on the interior of my G-Body Wagon and it really worked well. I especially like the fact that you don’t see it. LOL!
Quoted from Don at WCCC on a different thread:
“We have repros coming out very soon. Modern ABS flexible plastic.”
Don’t know anything beyond that, but looks like it’ll be an option in the future.
In the mean time, you might try to make some abs plastic slurry by mixing pieces of abs plastic and acetone. I used this to repair my dash bezel and it works very well. I’ll bet the panels are made out of the same material. There’s tons of YouTube videos on abs plastic repair using this method.
Thanks all! For now… I’m going to leave it and move on to the 1000 other things we’ve got to get working. If it loses shape again… I’ll revisit with your suggestions.
![]()
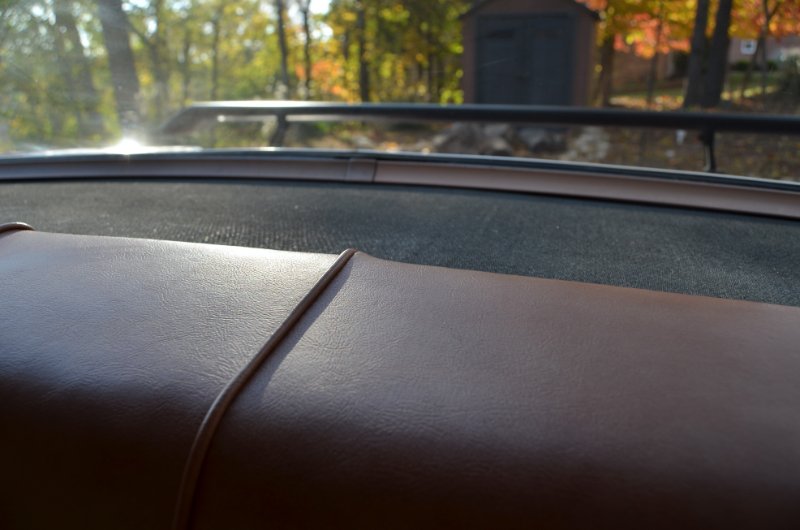
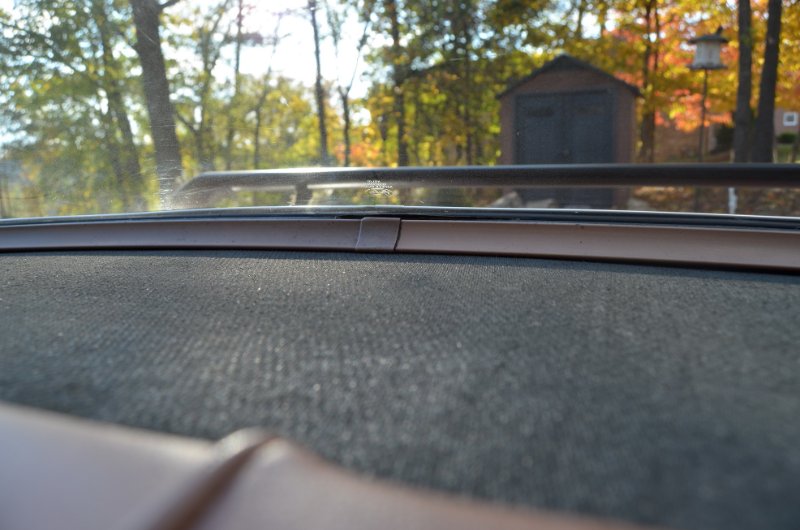
Mine look alot like those pictured here so Im in the same boat. I like the fiberglass repair kit trick and will have to try that if I get to that point in my interior before the reproductions come out.