Classic Cougar Community Forum
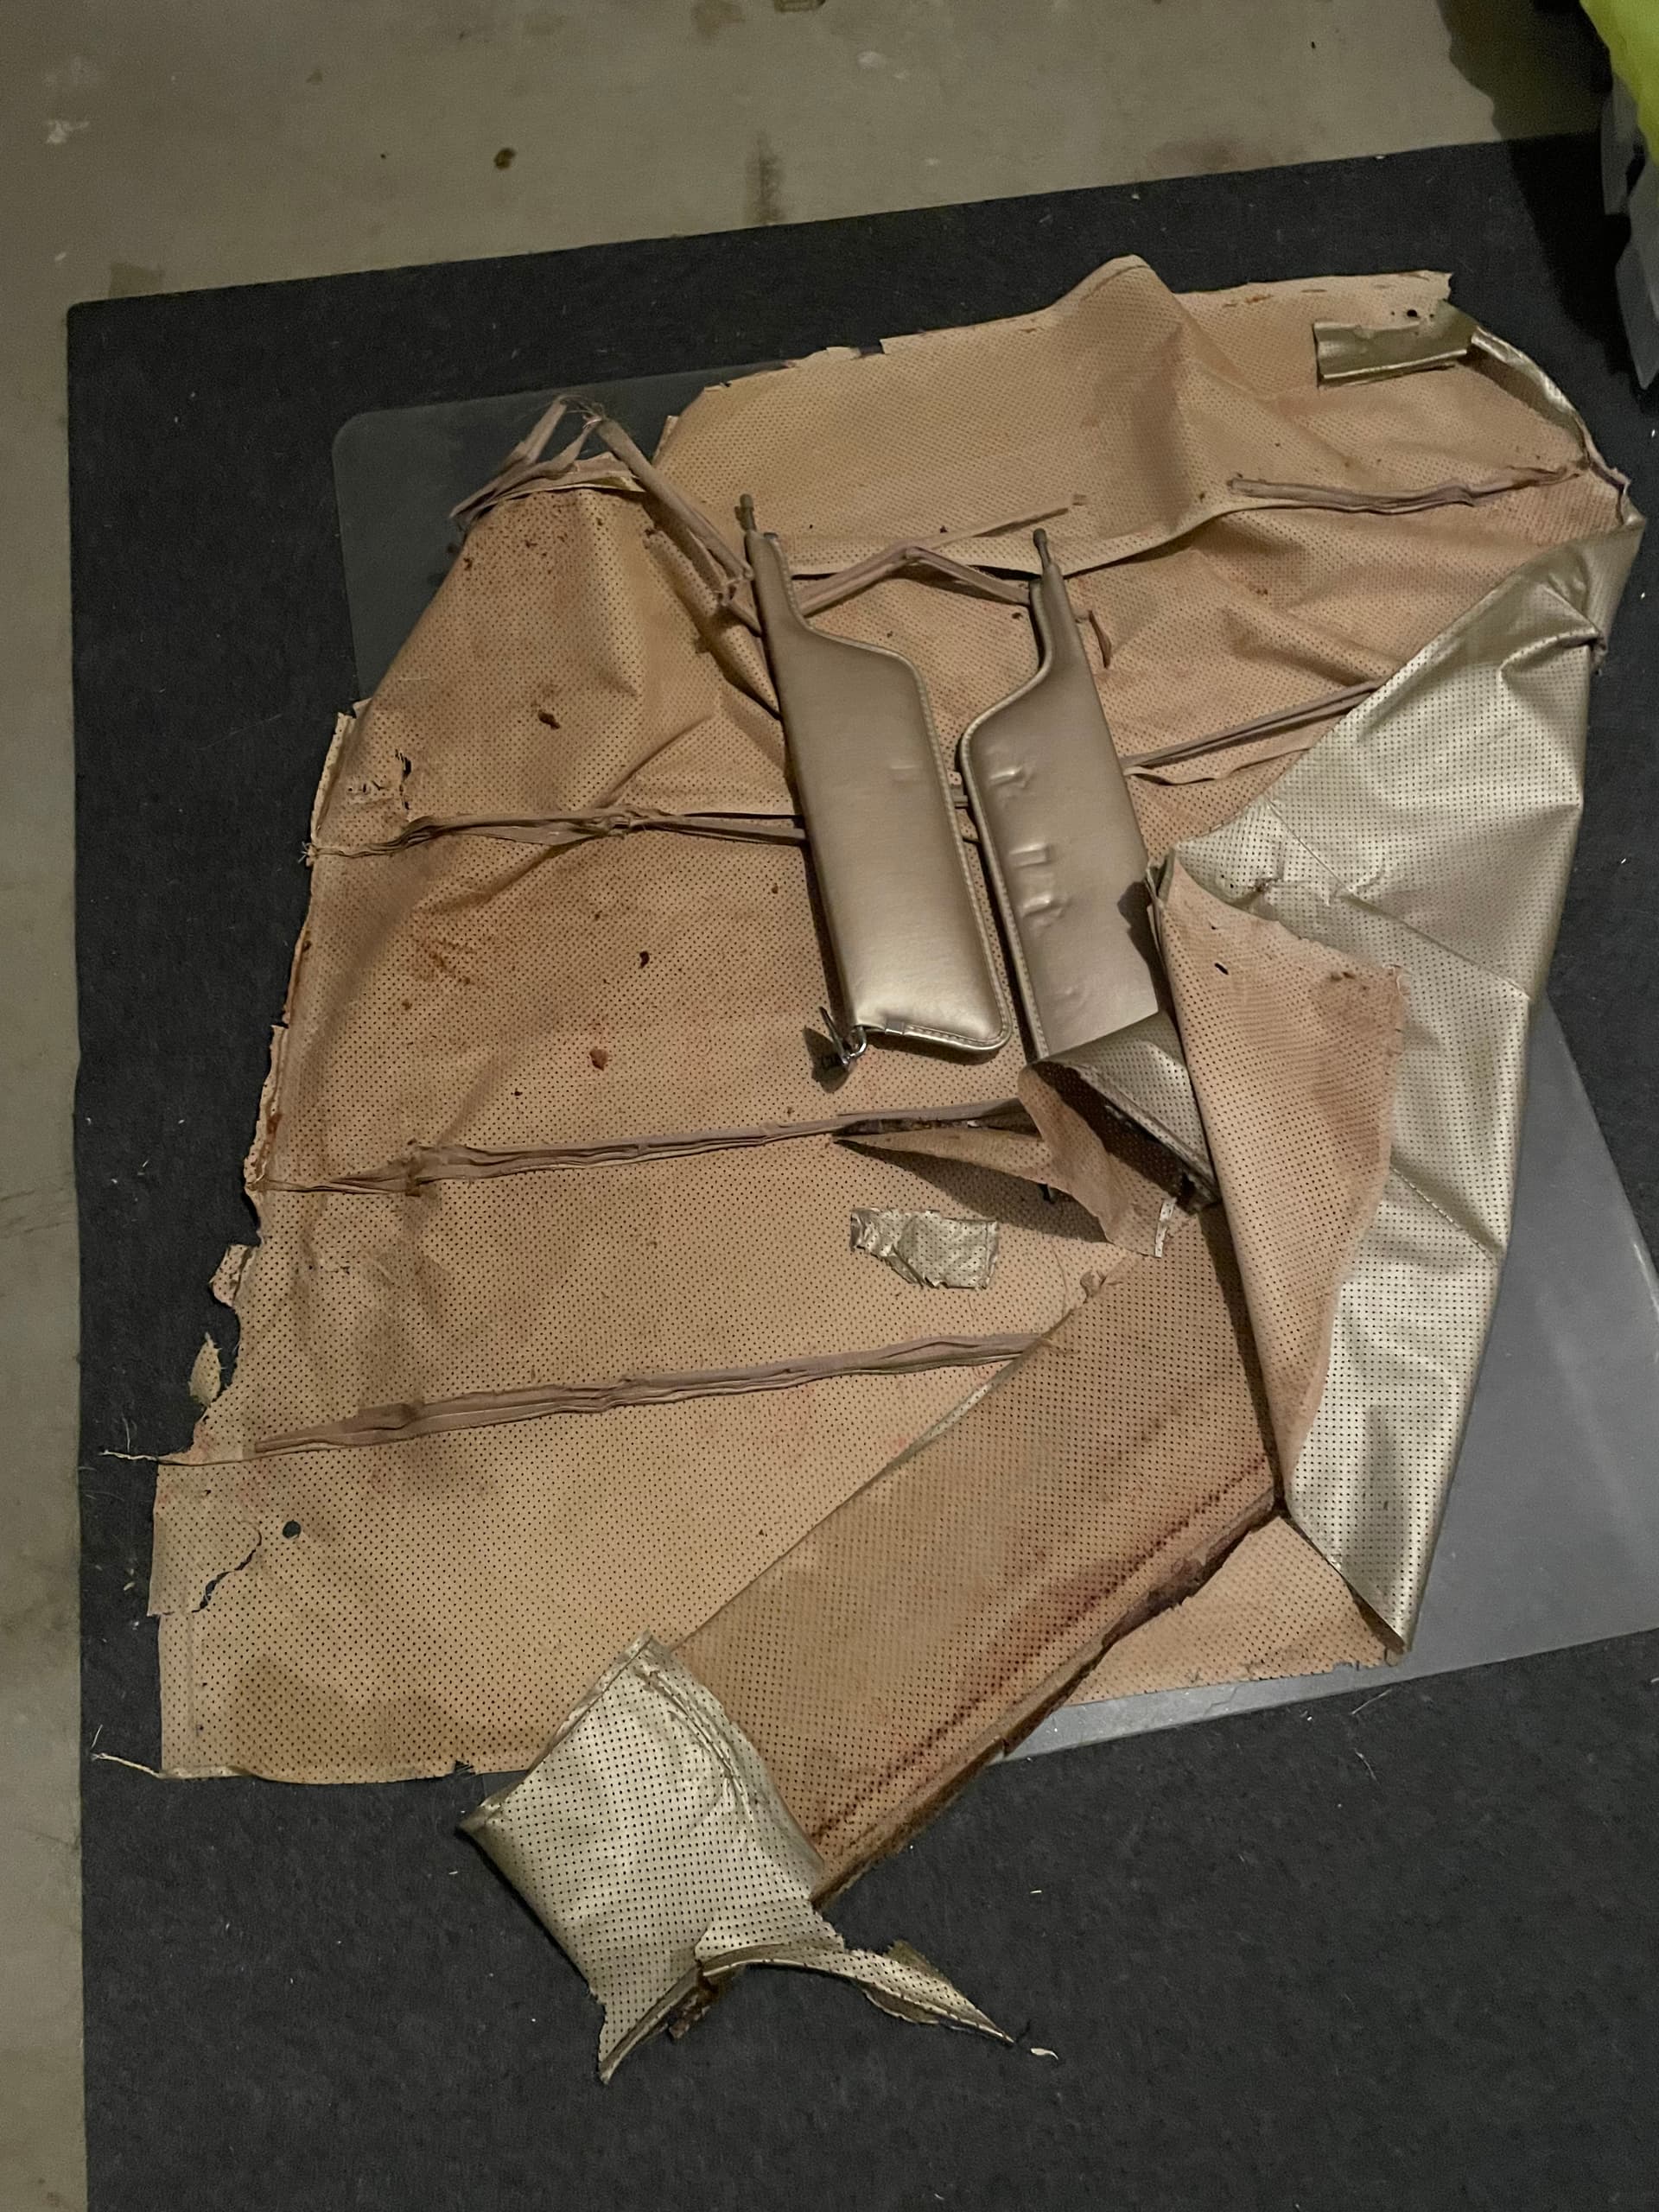
Fossilized backlite gasket removal (69)
Cougar Community
Classic Cougar Paint and Body
Knight717
September 9, 2022, 11:57pm
13
IMG_3481
1920×2560 560 KB
IMG_3477
1920×2560 527 KB
IMG_3478
1920×1440 307 KB
IMG_3480
1920×1440 181 KB
Progress
1 Like
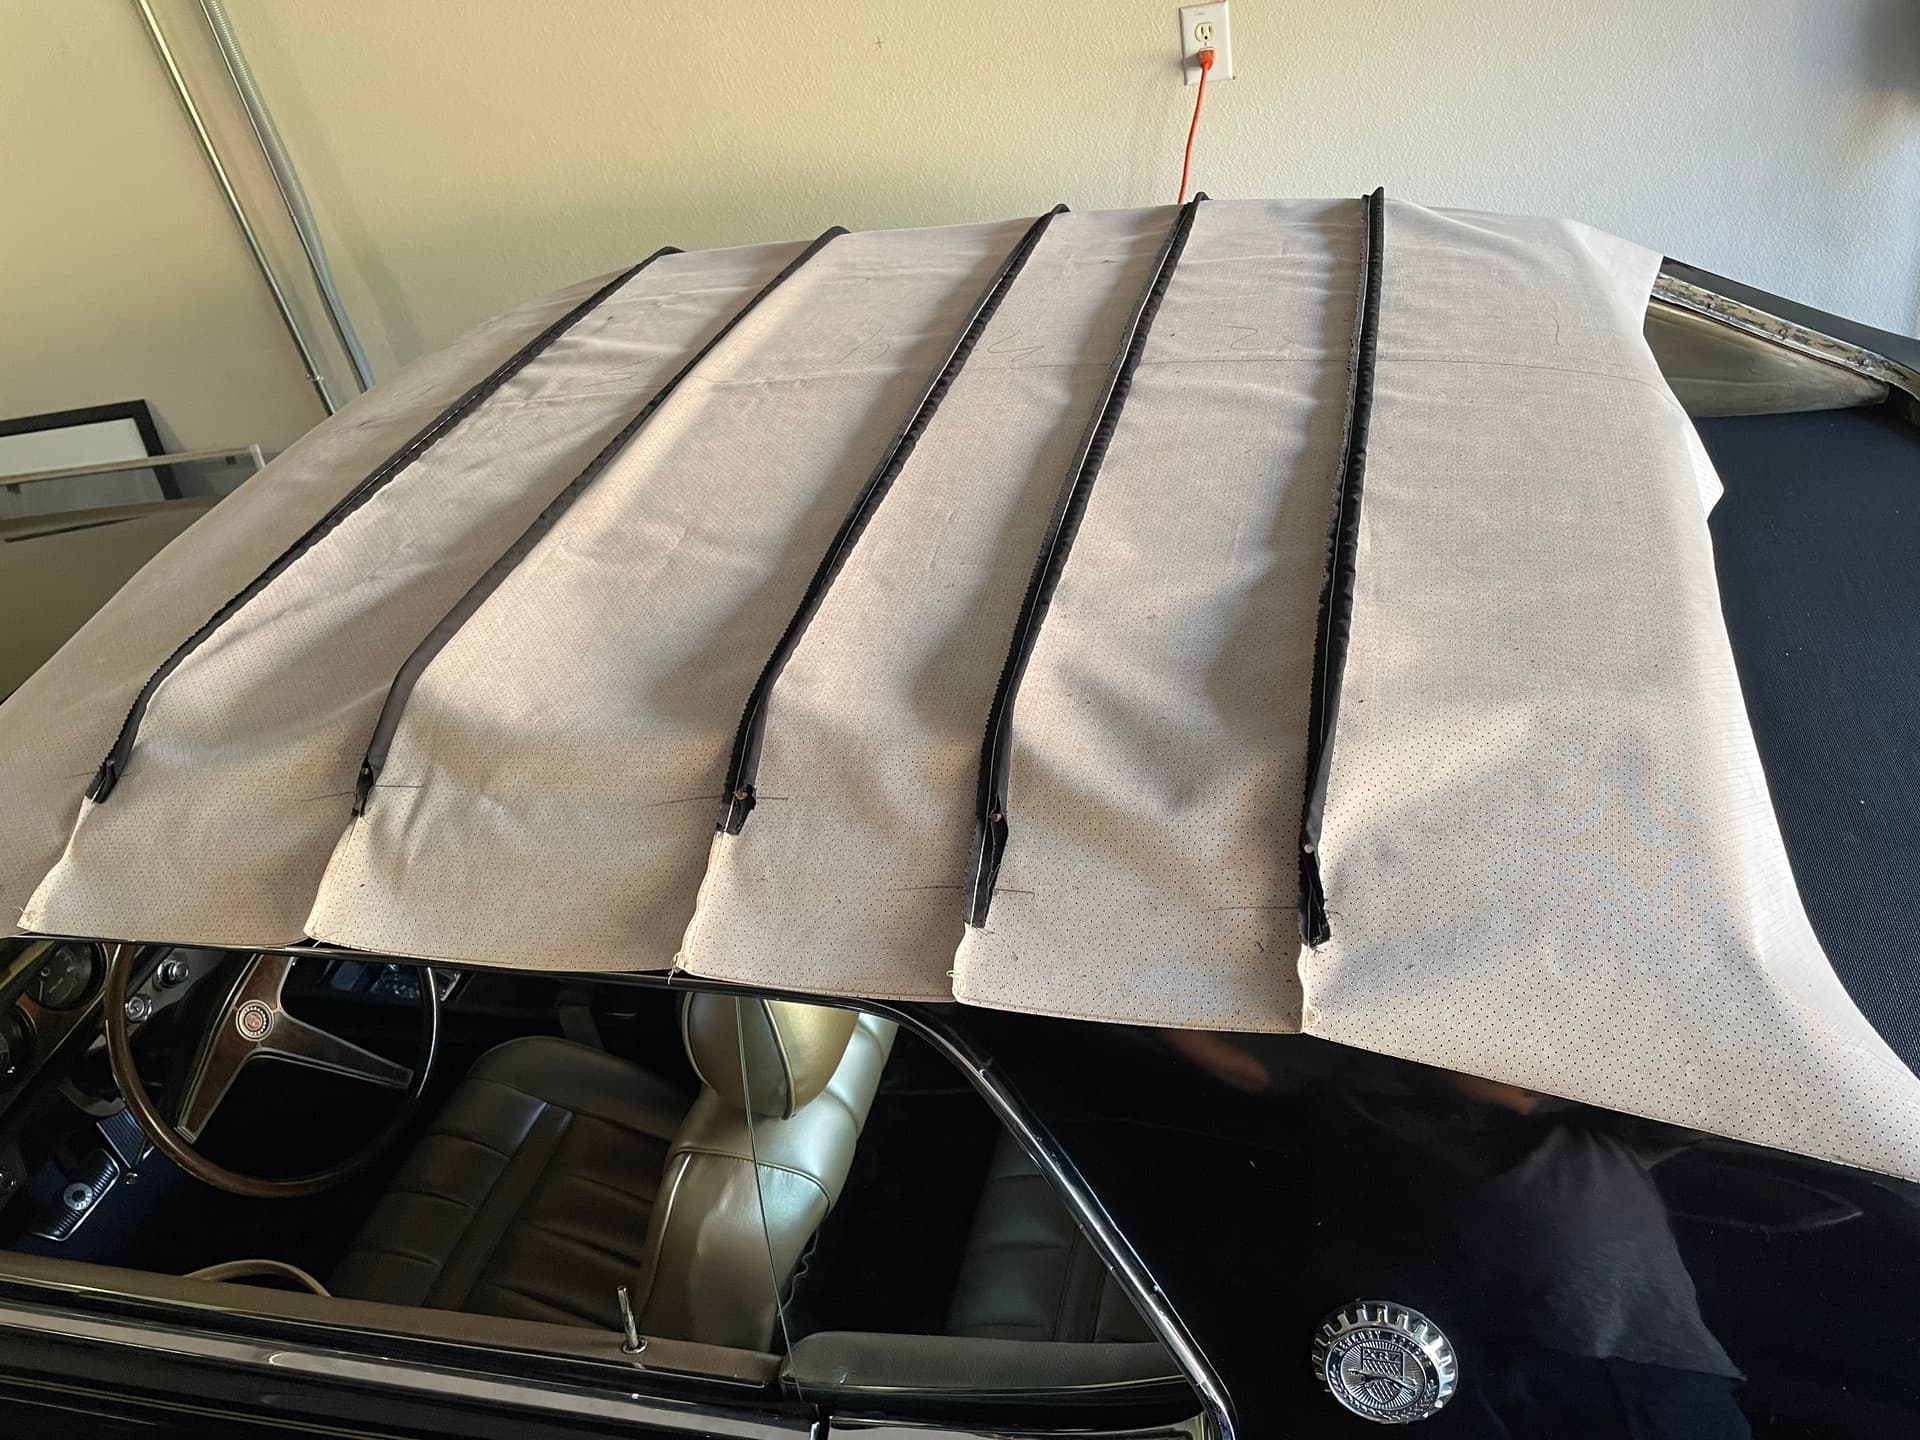
New Vinyl top and Headliner 1969
show post in topic