The car was born with an automatic, but the 4-speed is so much fun behind a high-winding Cleveland!
3 Likes
I have the same car! Love it.
I would love a 4 speed.
How difficult was it to switch over?
Where did you get the parts?
Cost?
Hi Steve, thank you so much for the kind words and welcome to the forum! There’s a LOT of experience and wisdom here that’s far beyond mine, so hopefully others will weigh in too.
The 4-speed swap is fairly straightforward, but not necessarily easy.
Parts:
You’ll need quite a few:
- Bellhousing
- Flywheel
- Clutch and Pressure Plate
- Throwout bearing
- Clutch fork
- Clutch fork boot
- Clutch pedal (there’s a repro available with a roller bearing that’s pretty slick)
- Brake pedal
- Backup switch and harness
- Clutch push rod
- Equalizer bar
- Frame and engine side equalizer bar brackets
- Pivot bushings
- Shifter
- Shift boot
- Firewall seal
- Transmission crossmember (the auto trans crossmember will work, but has 3 ears, not 4. I figure Ford did it that way for legit reason)
- Transmission mount
- Toploader 4 speed (suggest a wide ratio box with a 2.78 first gear)
- Speedo cable and clamps (auto uses a shorter cable that goes into the auto trans from the left side, 4-speeds are on the right.
- 4-speed driveshaft
- Hardware and miscellaneous (bolts, pedal pads, etc)
All of these parts are shared with 71-73 Mustang and available used or in some cases (pedals, linkages) reproduction. You’ll spend $700-1000 on a decent used top loader, (triple that for a restored unit or a used big-spline unit) and probably $2-3k more for everything else. Hurst shifters have become INCREDIBLY expensive lately.
The conversion is straightforward but with some difficult steps.
- To hang the clutch pedal, the column HAS to come out. It’s a pain in the butt to remove and install. You’ll need a helper.
- Swapping speedo cables on a 71-73 is NOT fun. There’s VERY little access to the back of the cluster to disconnect and reconnect the cable. Dash pad needs to come off and the cluster should be removed to gain access…
- The hole in the floor will accommodate a 4-speed without modifications
- The automatic console plate will work with the 4-speed, but purists will know
- You can do this without a lift, but not recommended.
- It’s easiest if you remove the exhaust H-Pipe, clearance is tight otherwise
- I needed a replacement driveshaft. I had one made locally for under $350, including the slip yoke and new u-joints.
If you are an experienced wrench, none of this is an obstacle, but if you’re new to working on cars, this is a VERY challenging project. Paying a pro to do it will cost a LOT.
At project end, you’ll be the owner of a modified car. Some buyers will care, others will not. If you convert a 71 429CJ, be prepared for potential death threats…
You probably will not recoup the cost of the swap.
Hope this helps!
2 Likes
Another way to go is to get a 5 speed swap kit from Modern Driveline. The worst part of that is you will want to regear the rear axle to a lower ratio. Your Cougar should have like a 2.75 or 3.00 from the factory, but the Over Drive 5th gear will work better with a 3.25/3.50 better than the stock gear.
I put a kit into my White 70 XR-7. It comes with all the parts needed and instructions. Having a lift is a nice tool to have for this, but is can be done with the car on jack stands.
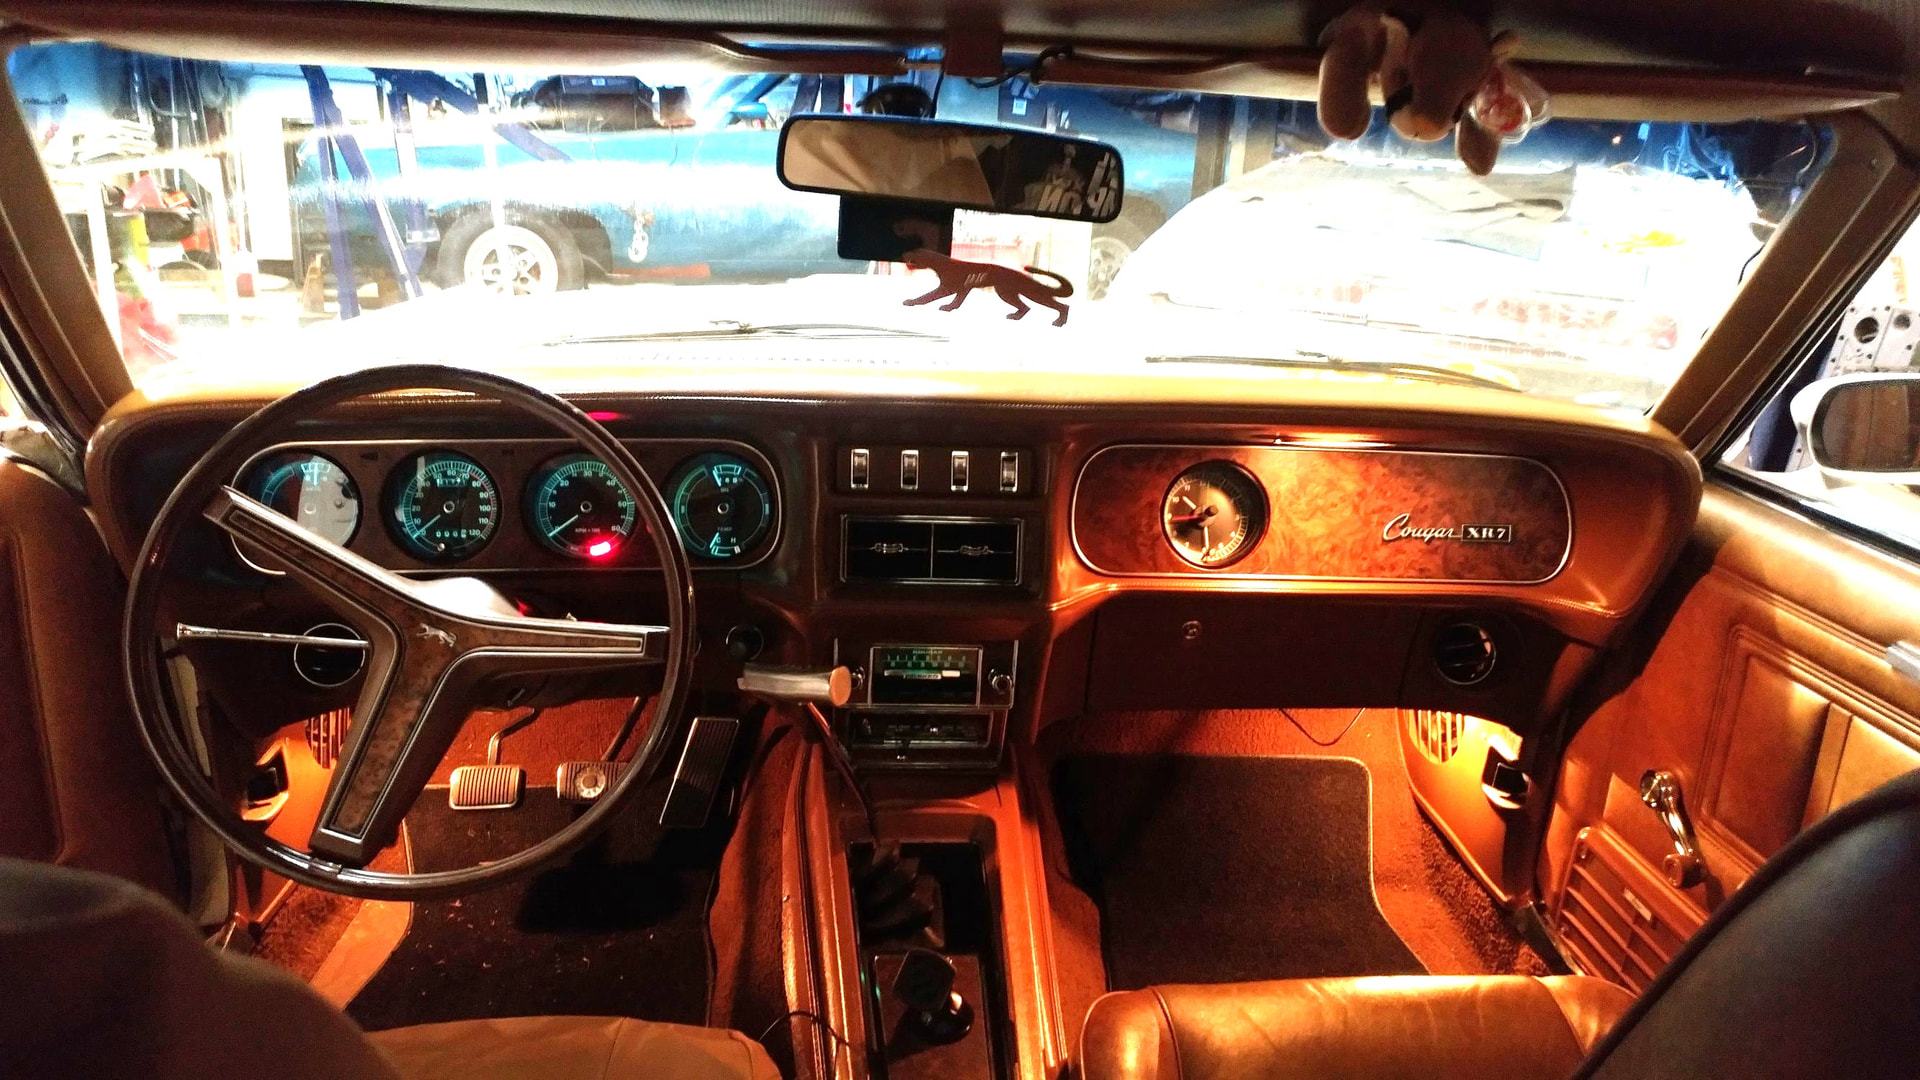
The finished product from t/inside the car.
5 Likes
Jeff Ford is doing a whole series about 5 speed upgrade from Modern Drive Line. Would LOVE to do that to Greeny. But in traffic. I DON’T miss it.
1 Like
Thank you for the detailed information.
I just might make this my winter project.
Thank you for the details. Much appreciated. I might do it as a winter project.
If you’re going to incur the cost and effort, go with a 5-speed Steve.
1 Like
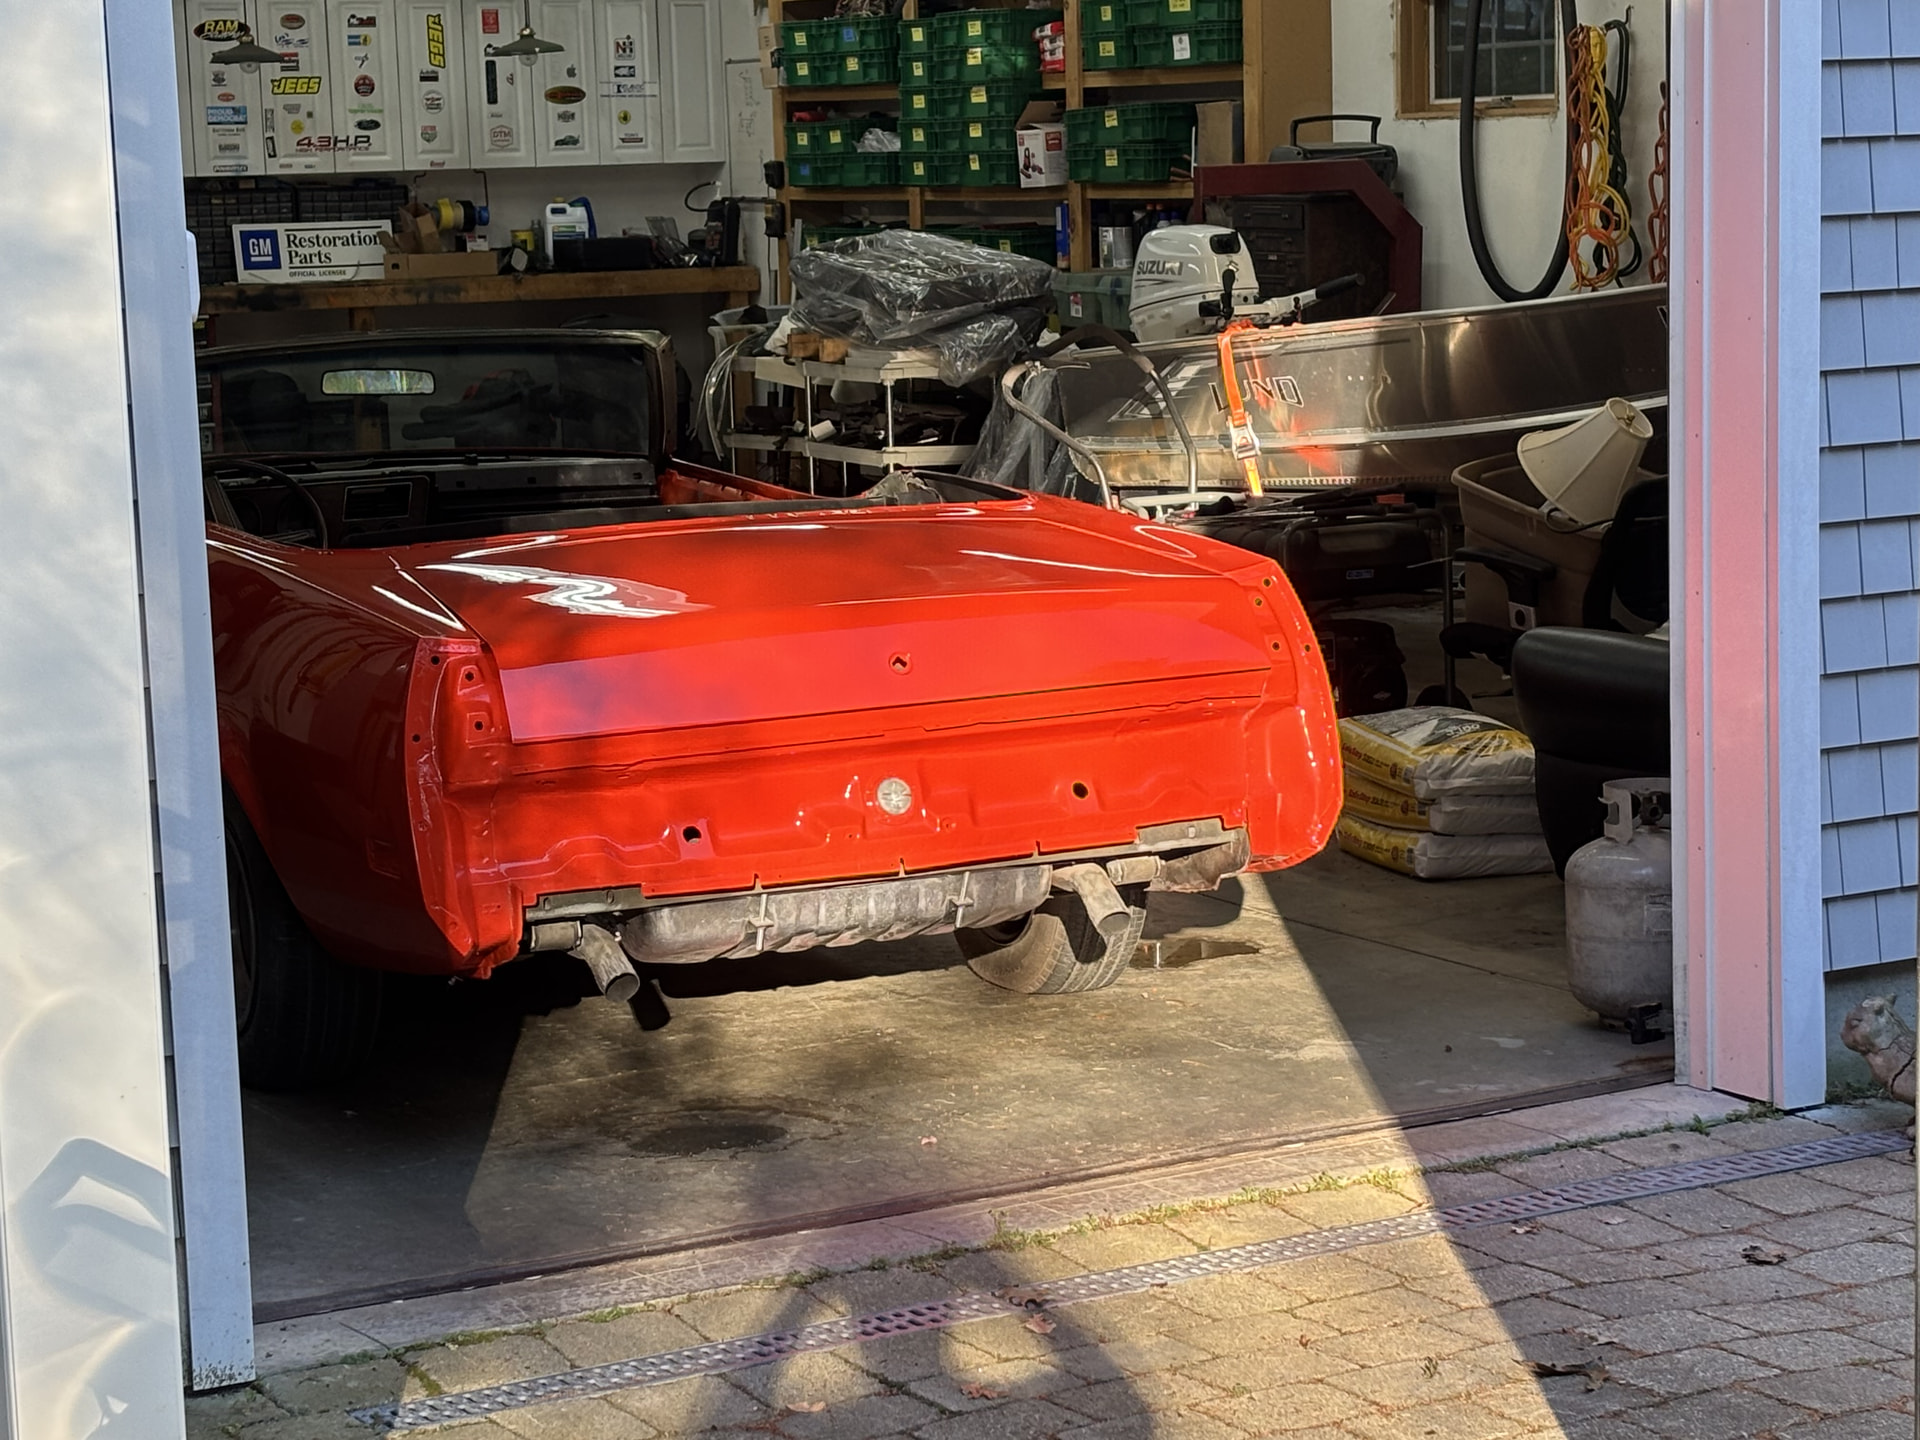
Can someone please post a picture of a 71-73 power quarter window motor as installed in the car?
I’ve just spent a LOVELY 90 minutes trying to determine the correct orientation - finding the illustration in the MPC and service manuals to be unhelpful.
Thanks in advance!
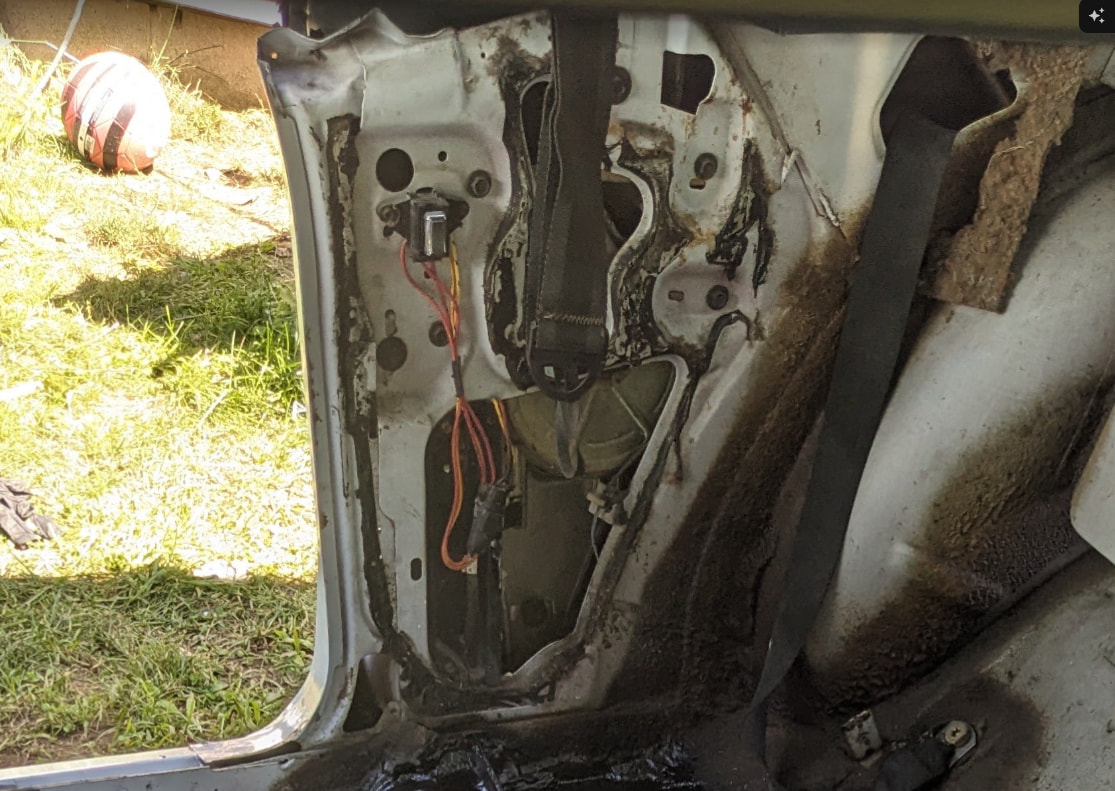
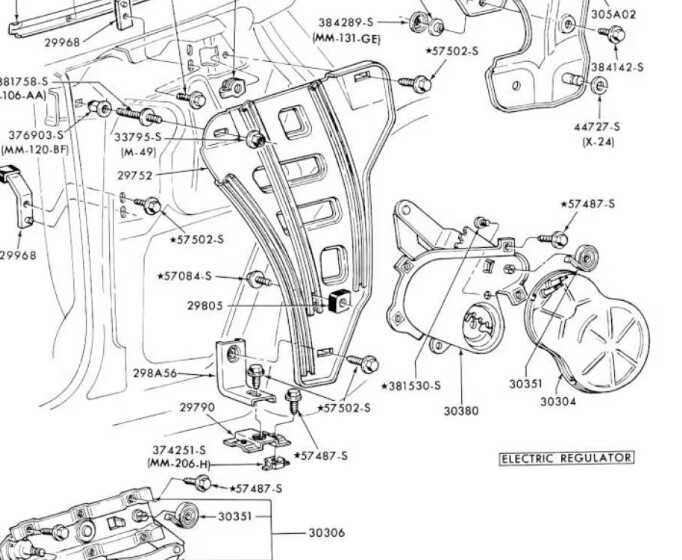
Thank you VERY much! This is exactly what I needed.
Tom
Any first hand recommendations for shops that restore and re-chrome pot metal? I need to send out my fender moldings.
Would prefer an east-coast shop, but willing to consider any good vendor..
1 Like
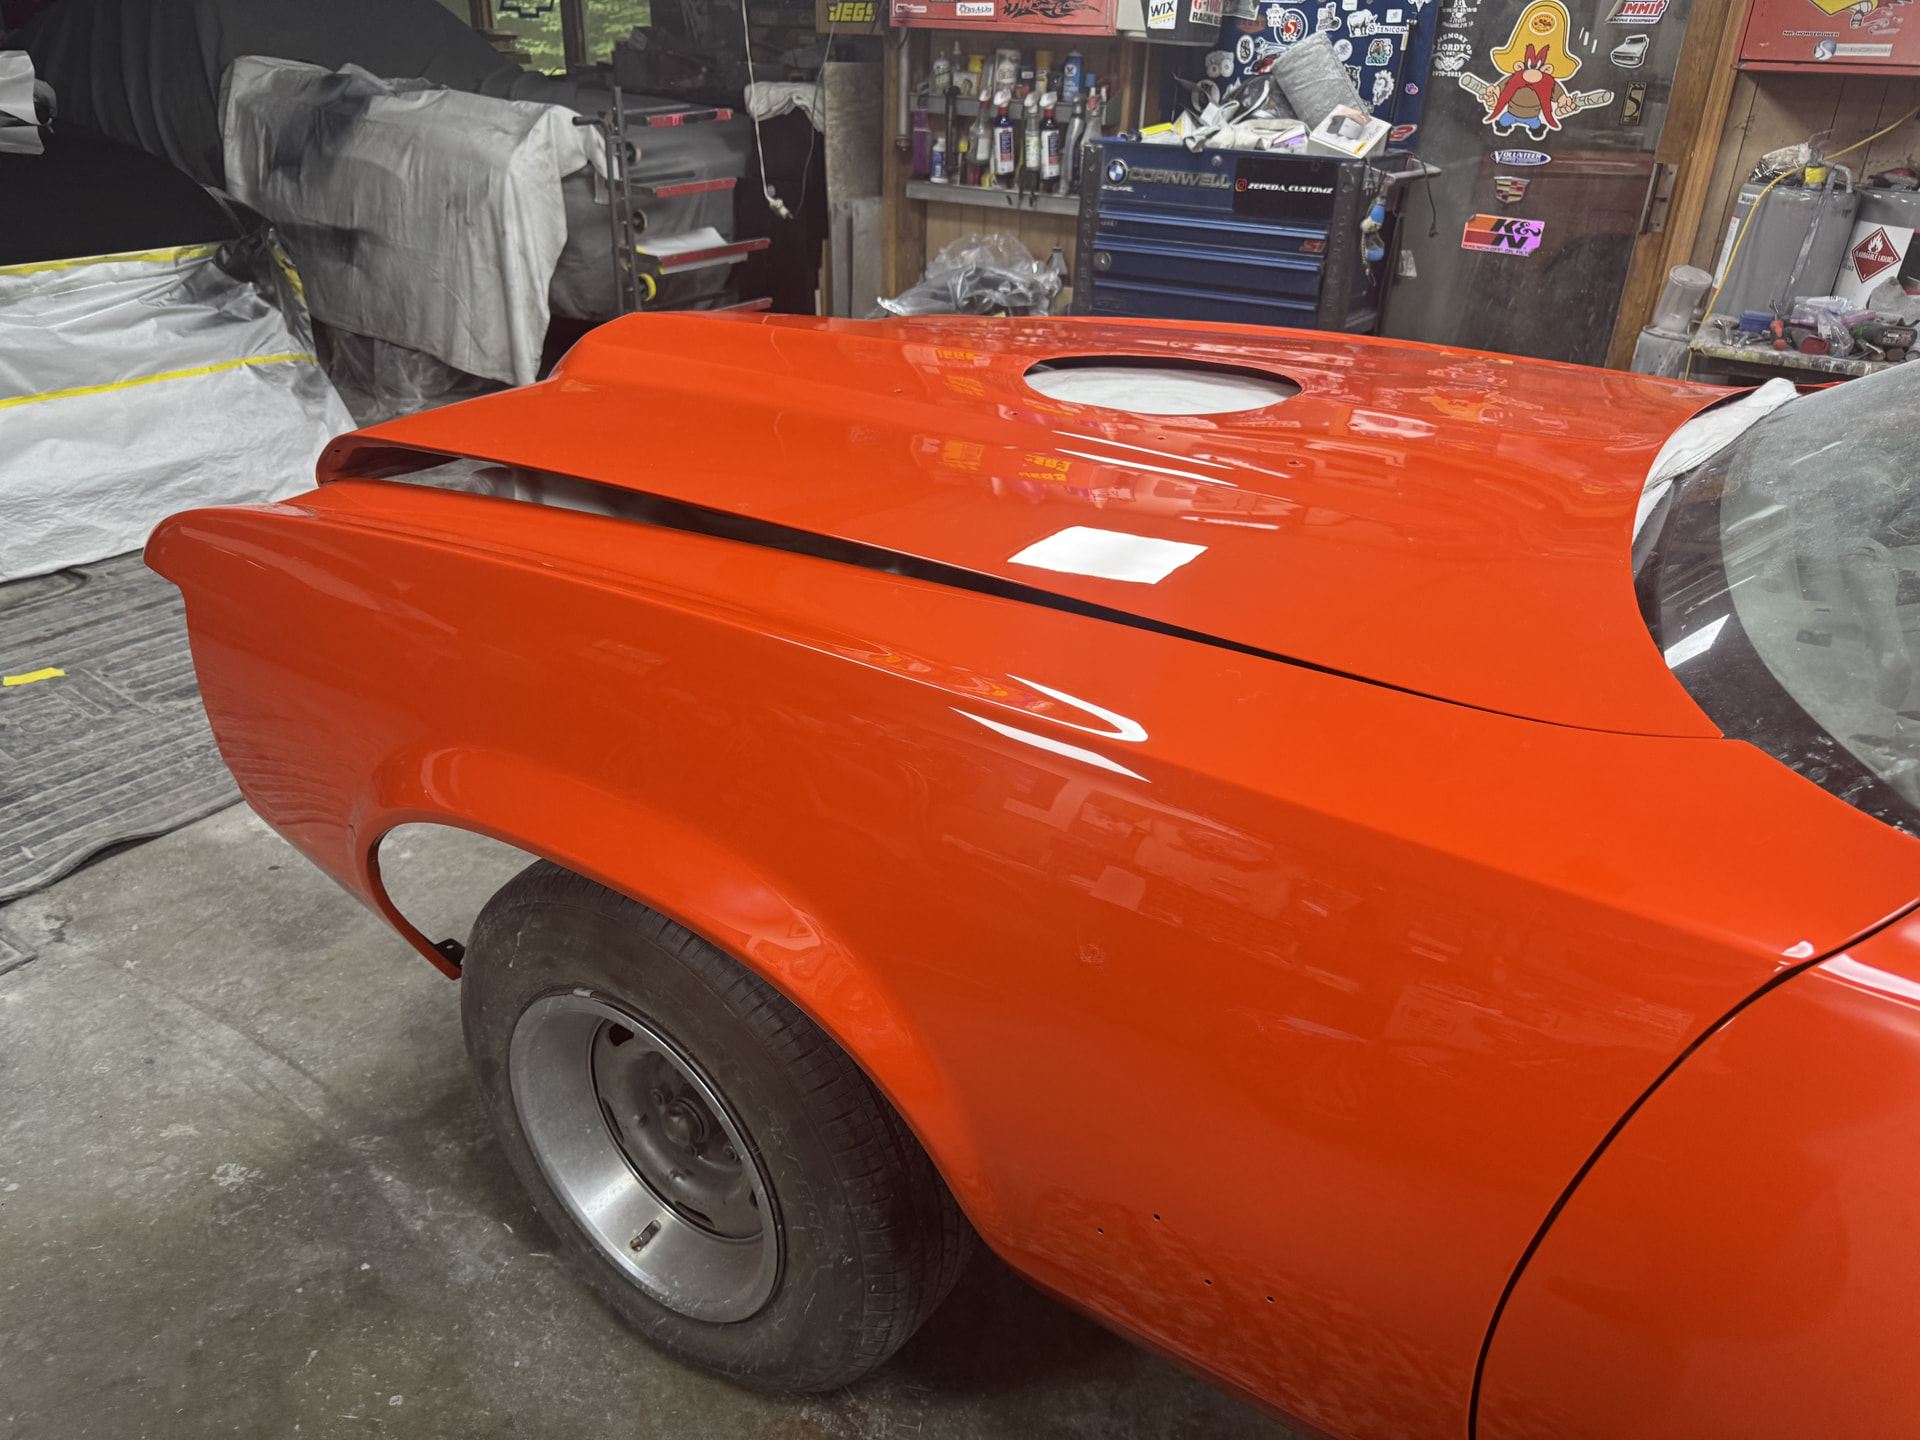
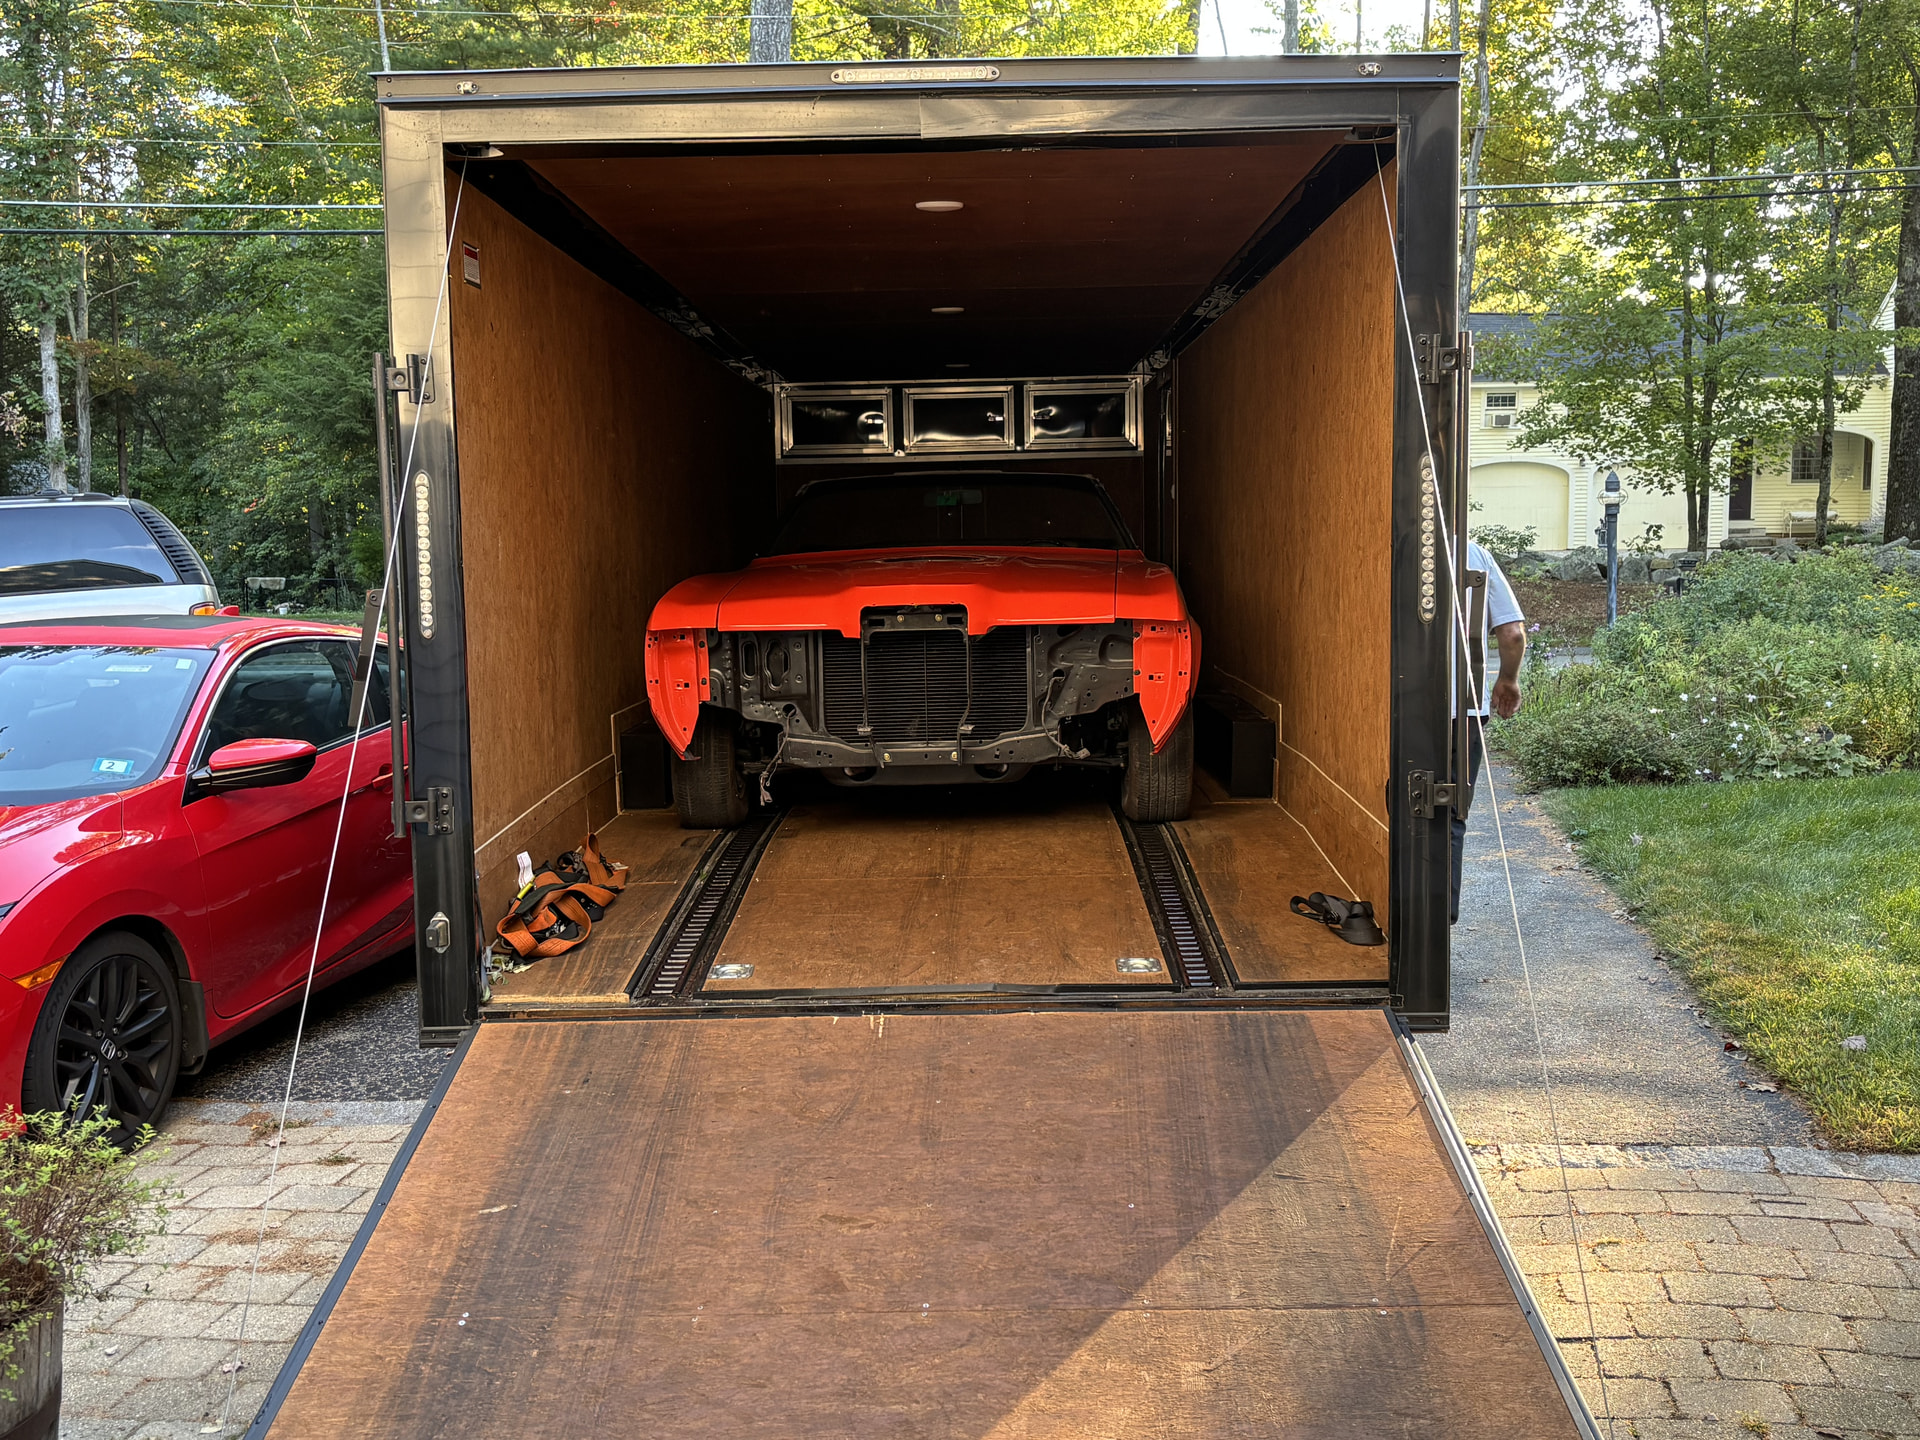
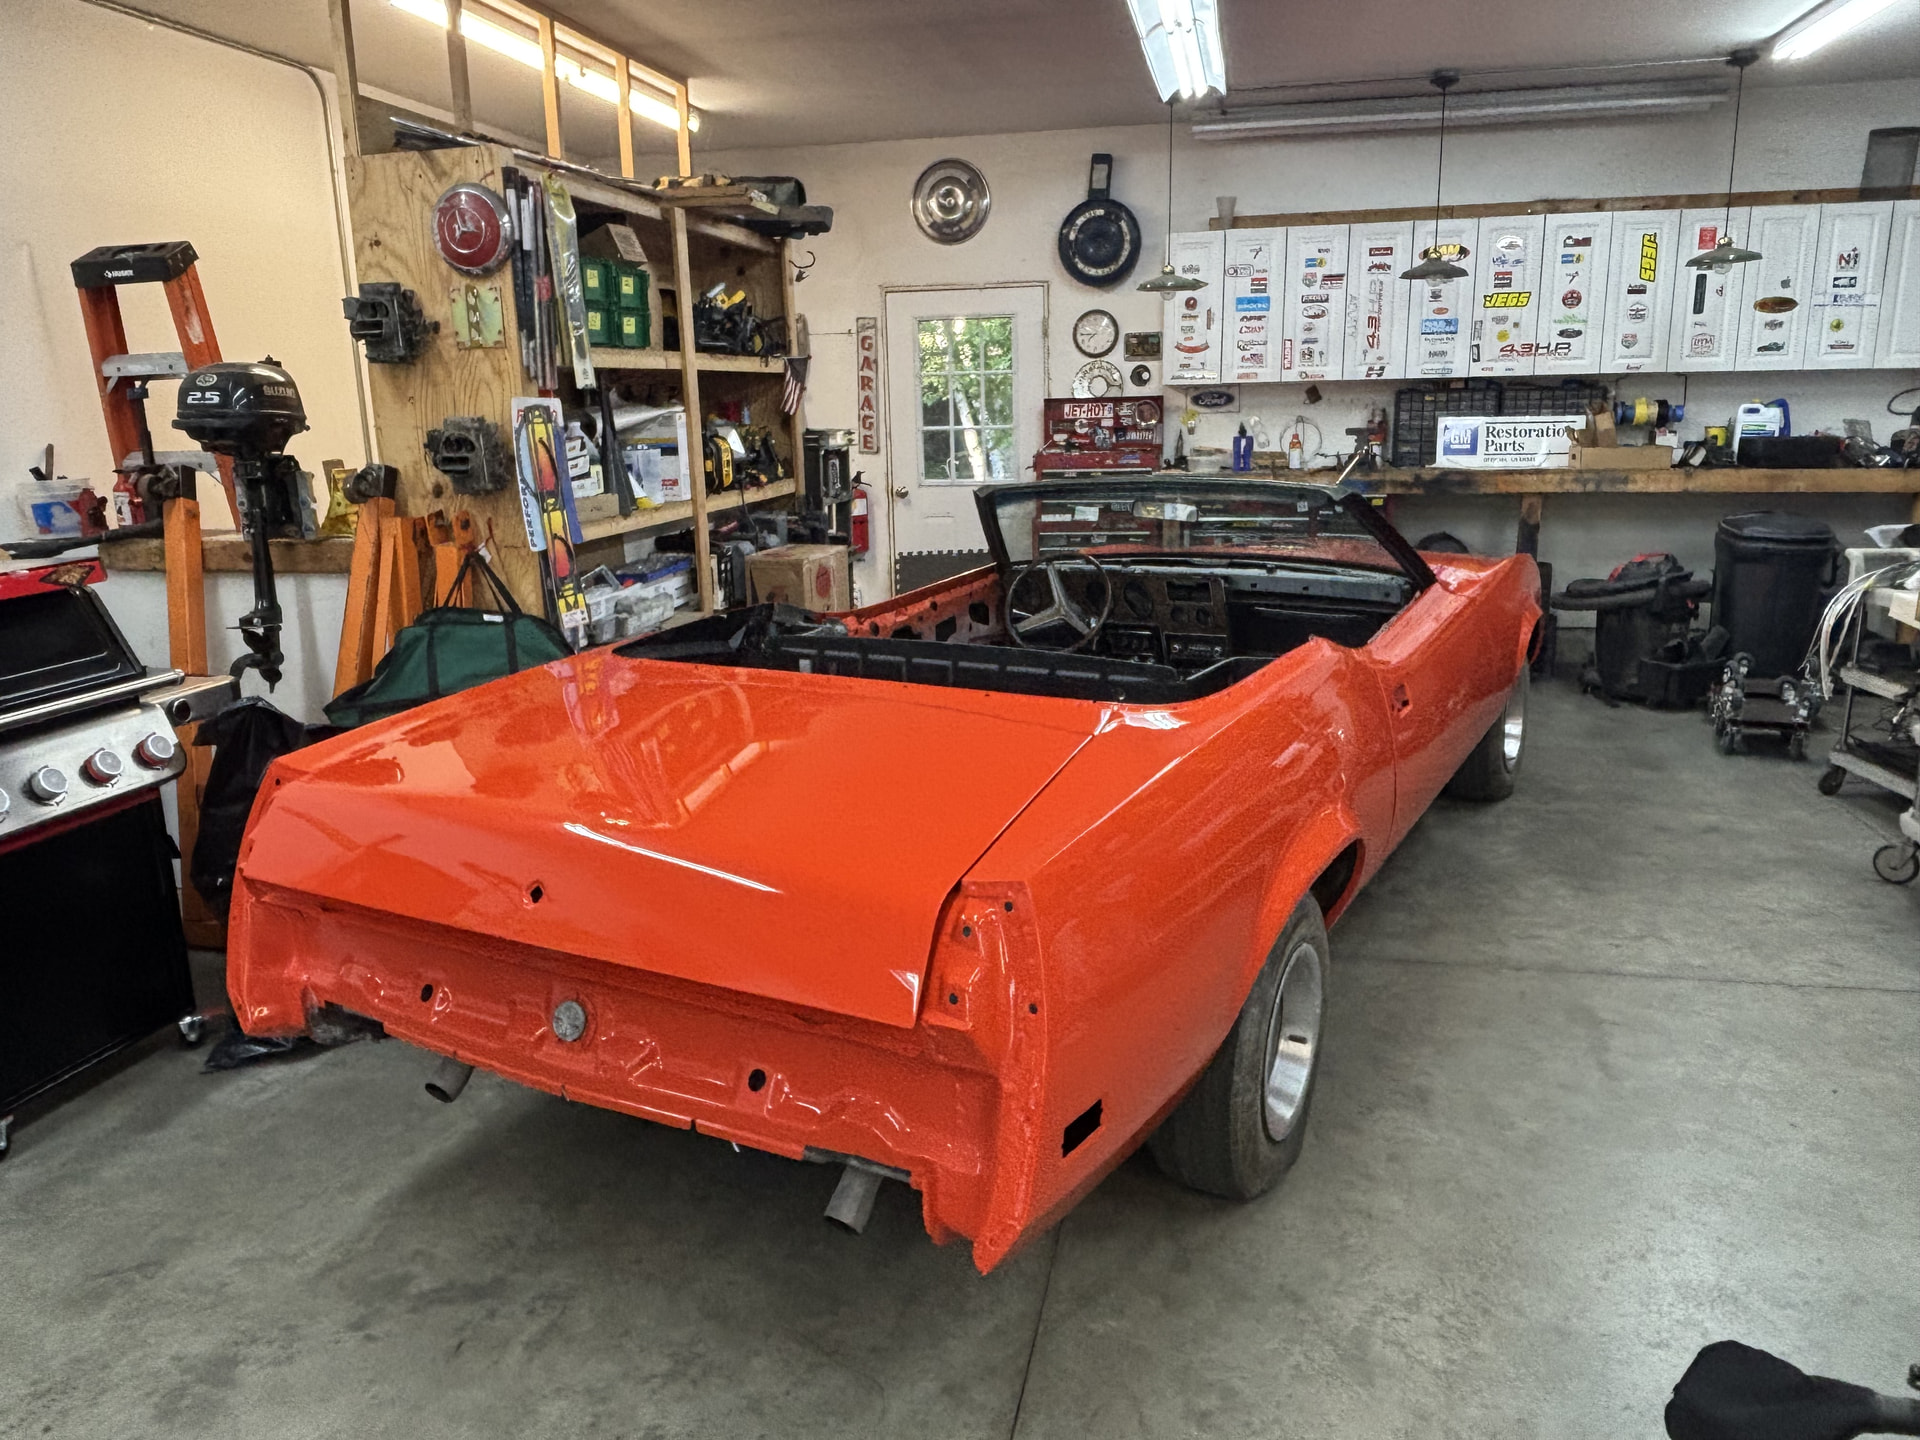
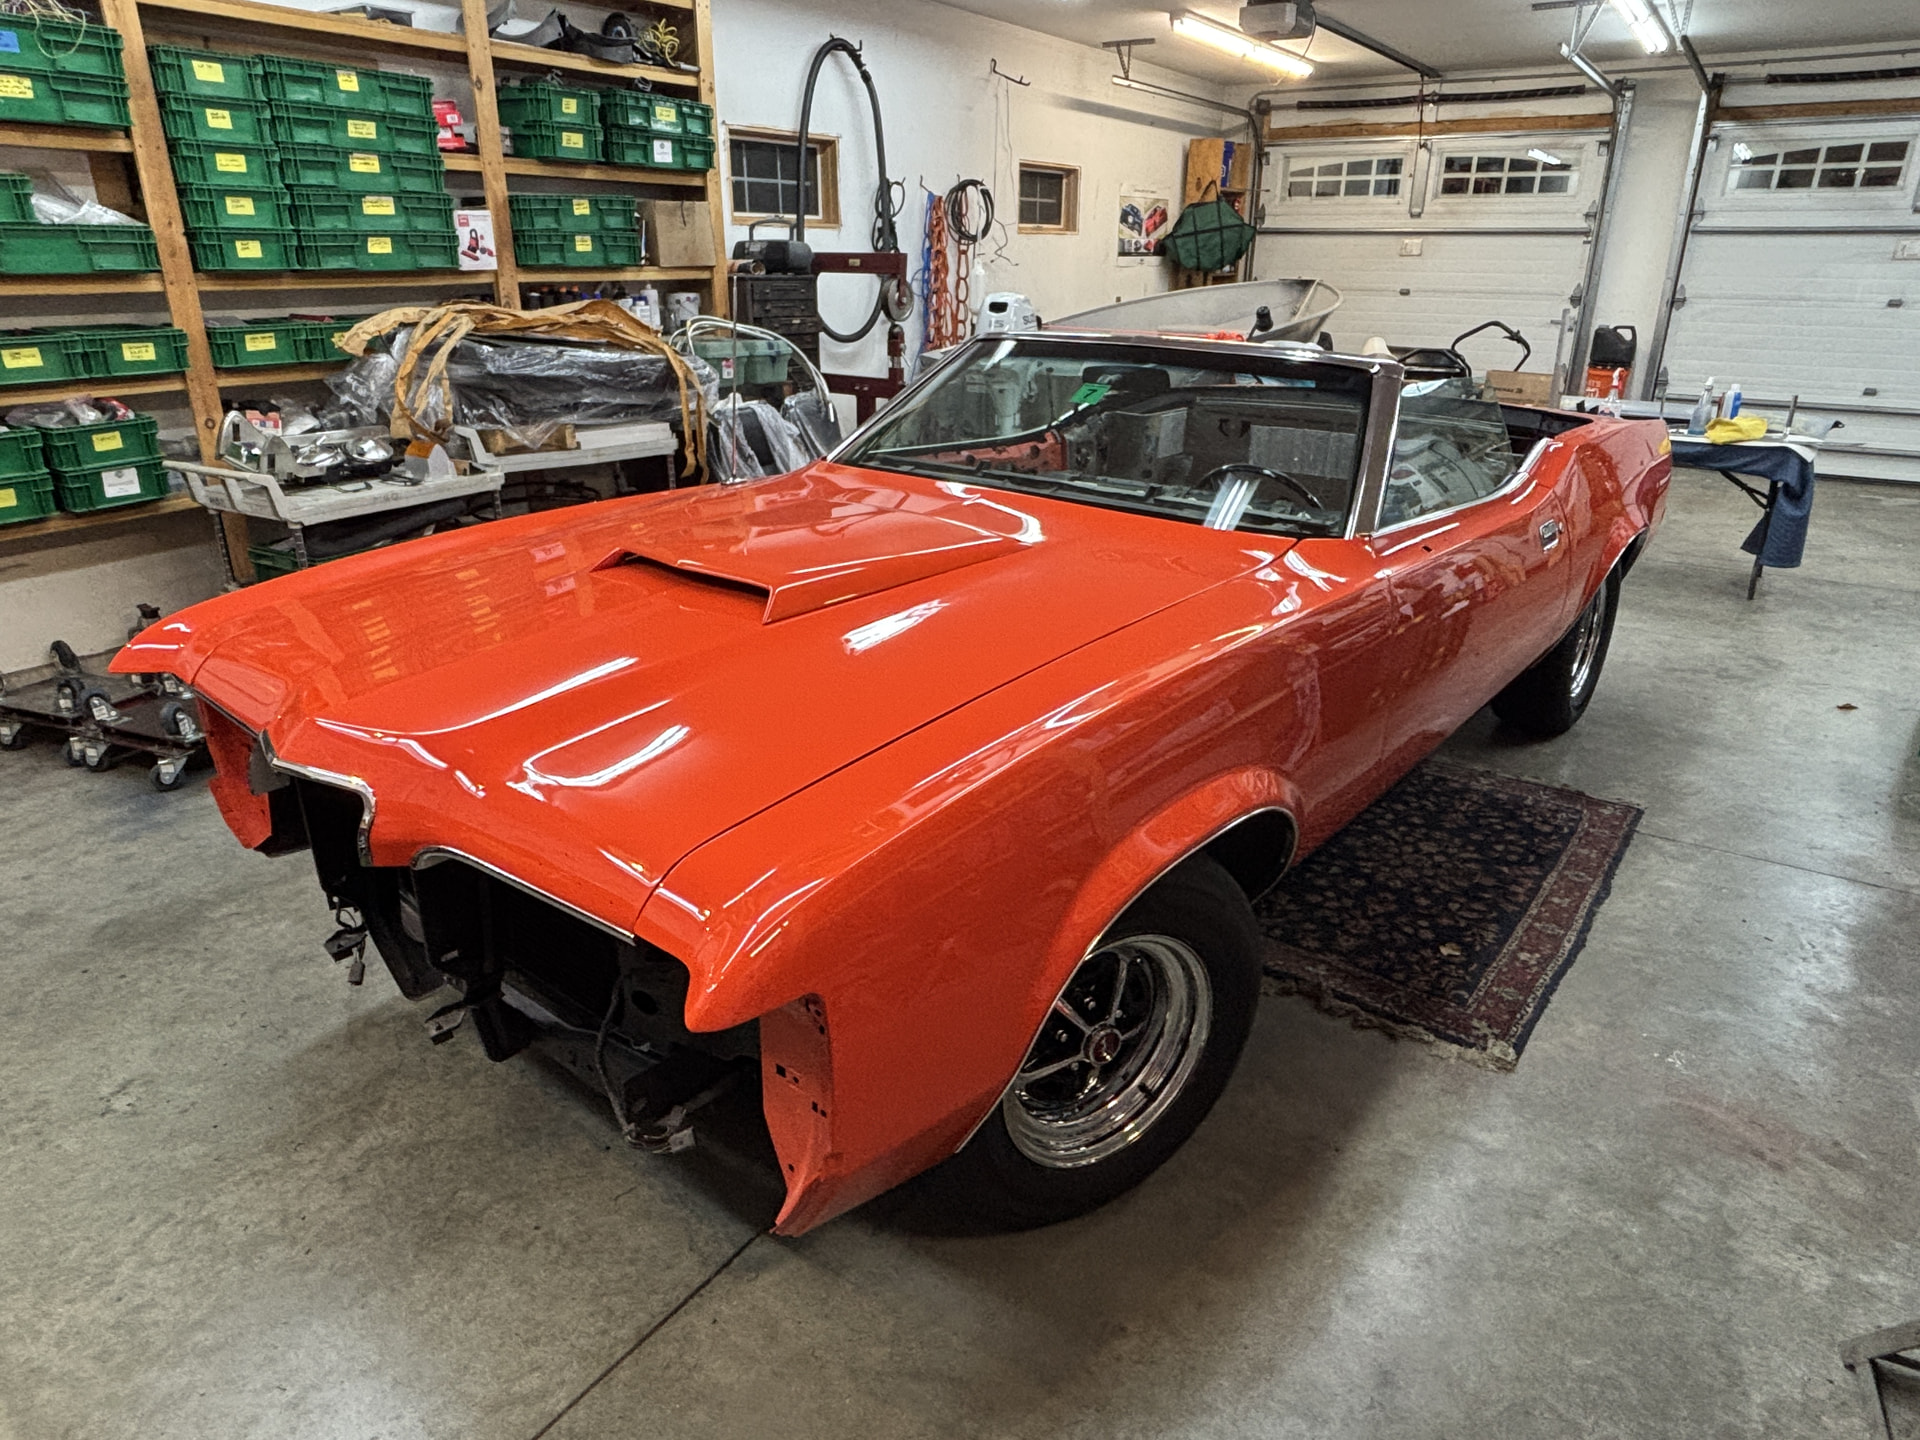
Steady progress being made on Project Phoenix:
- Hood edge moldings installed
- Door harnesses cleaned, detailed, re-taped and installed
- Original sill moldings cleaned, straightened, wet-sanded, buffed and 4K cleared
- Windows, motors, regulators, wiring installed, adjusted and working well
- Wheel lip moldings installed
- Windshield trim installed
- Door handles, locks, latches and linkages installed
- A-pillar and door weatherstripping installed
- New tires mounted and wheels installed
- Stereo speakers and antenna installed
- Carpets laid in place (letting the wrinkles settle out)
- Trunk weatherstrip installed
- Trunk lock and striker installed and adjusted
- Rear lighting harness cleaned, re-taped, and routed.
- Rear bumper fillers installed
- Wiper motor, linkage, wiper arms installed
- Headlight buckets being restored and detailed
So glad I snapped up a lot of NOS parts when they were available and affordable. It’s beginning to resemble a car again!

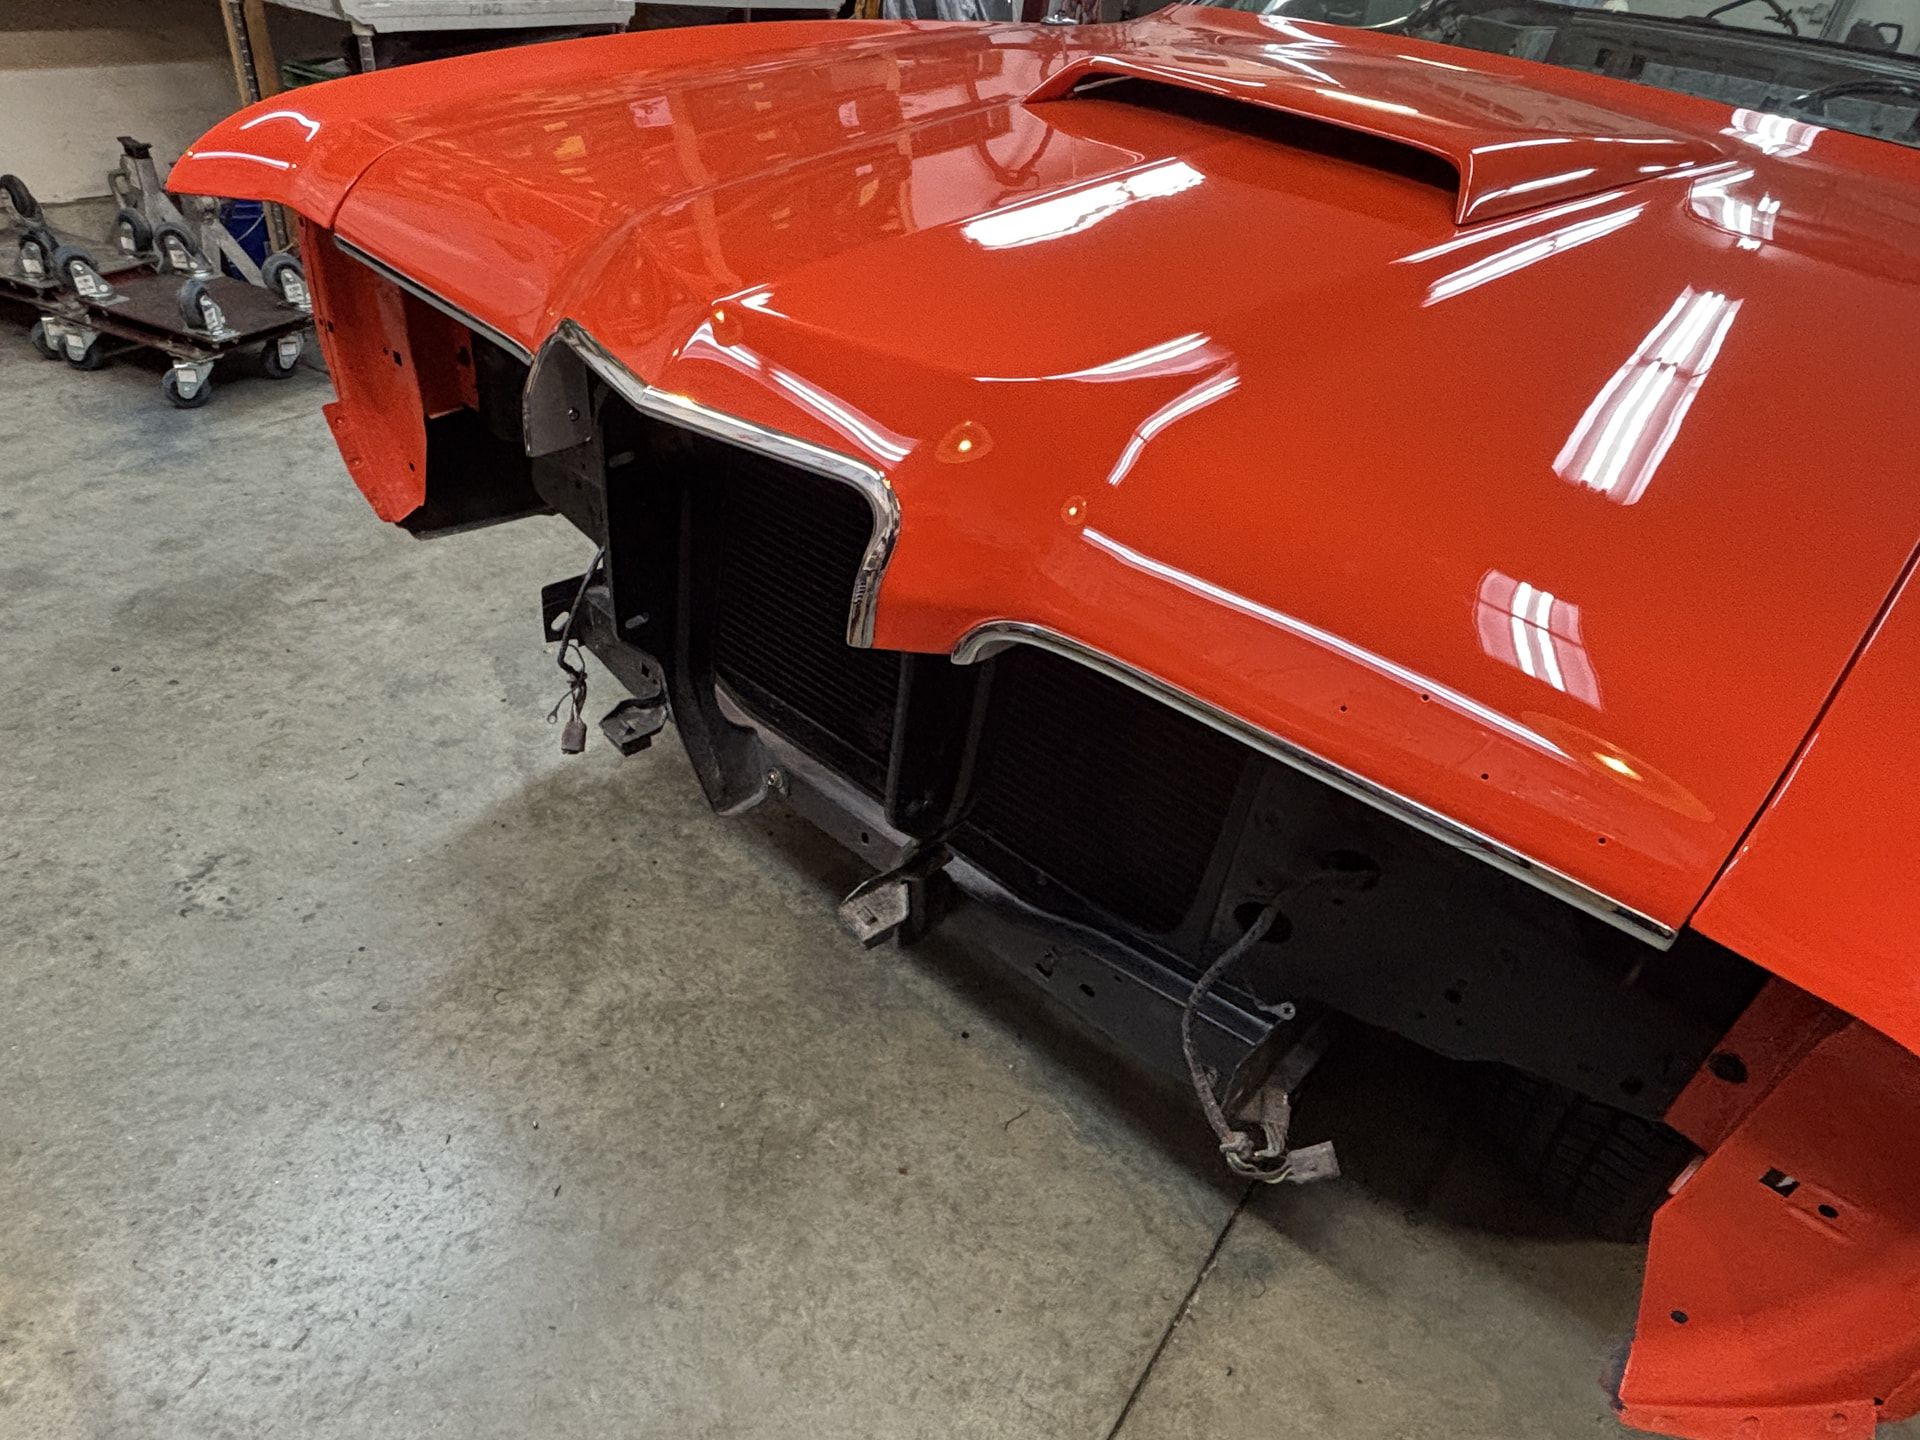
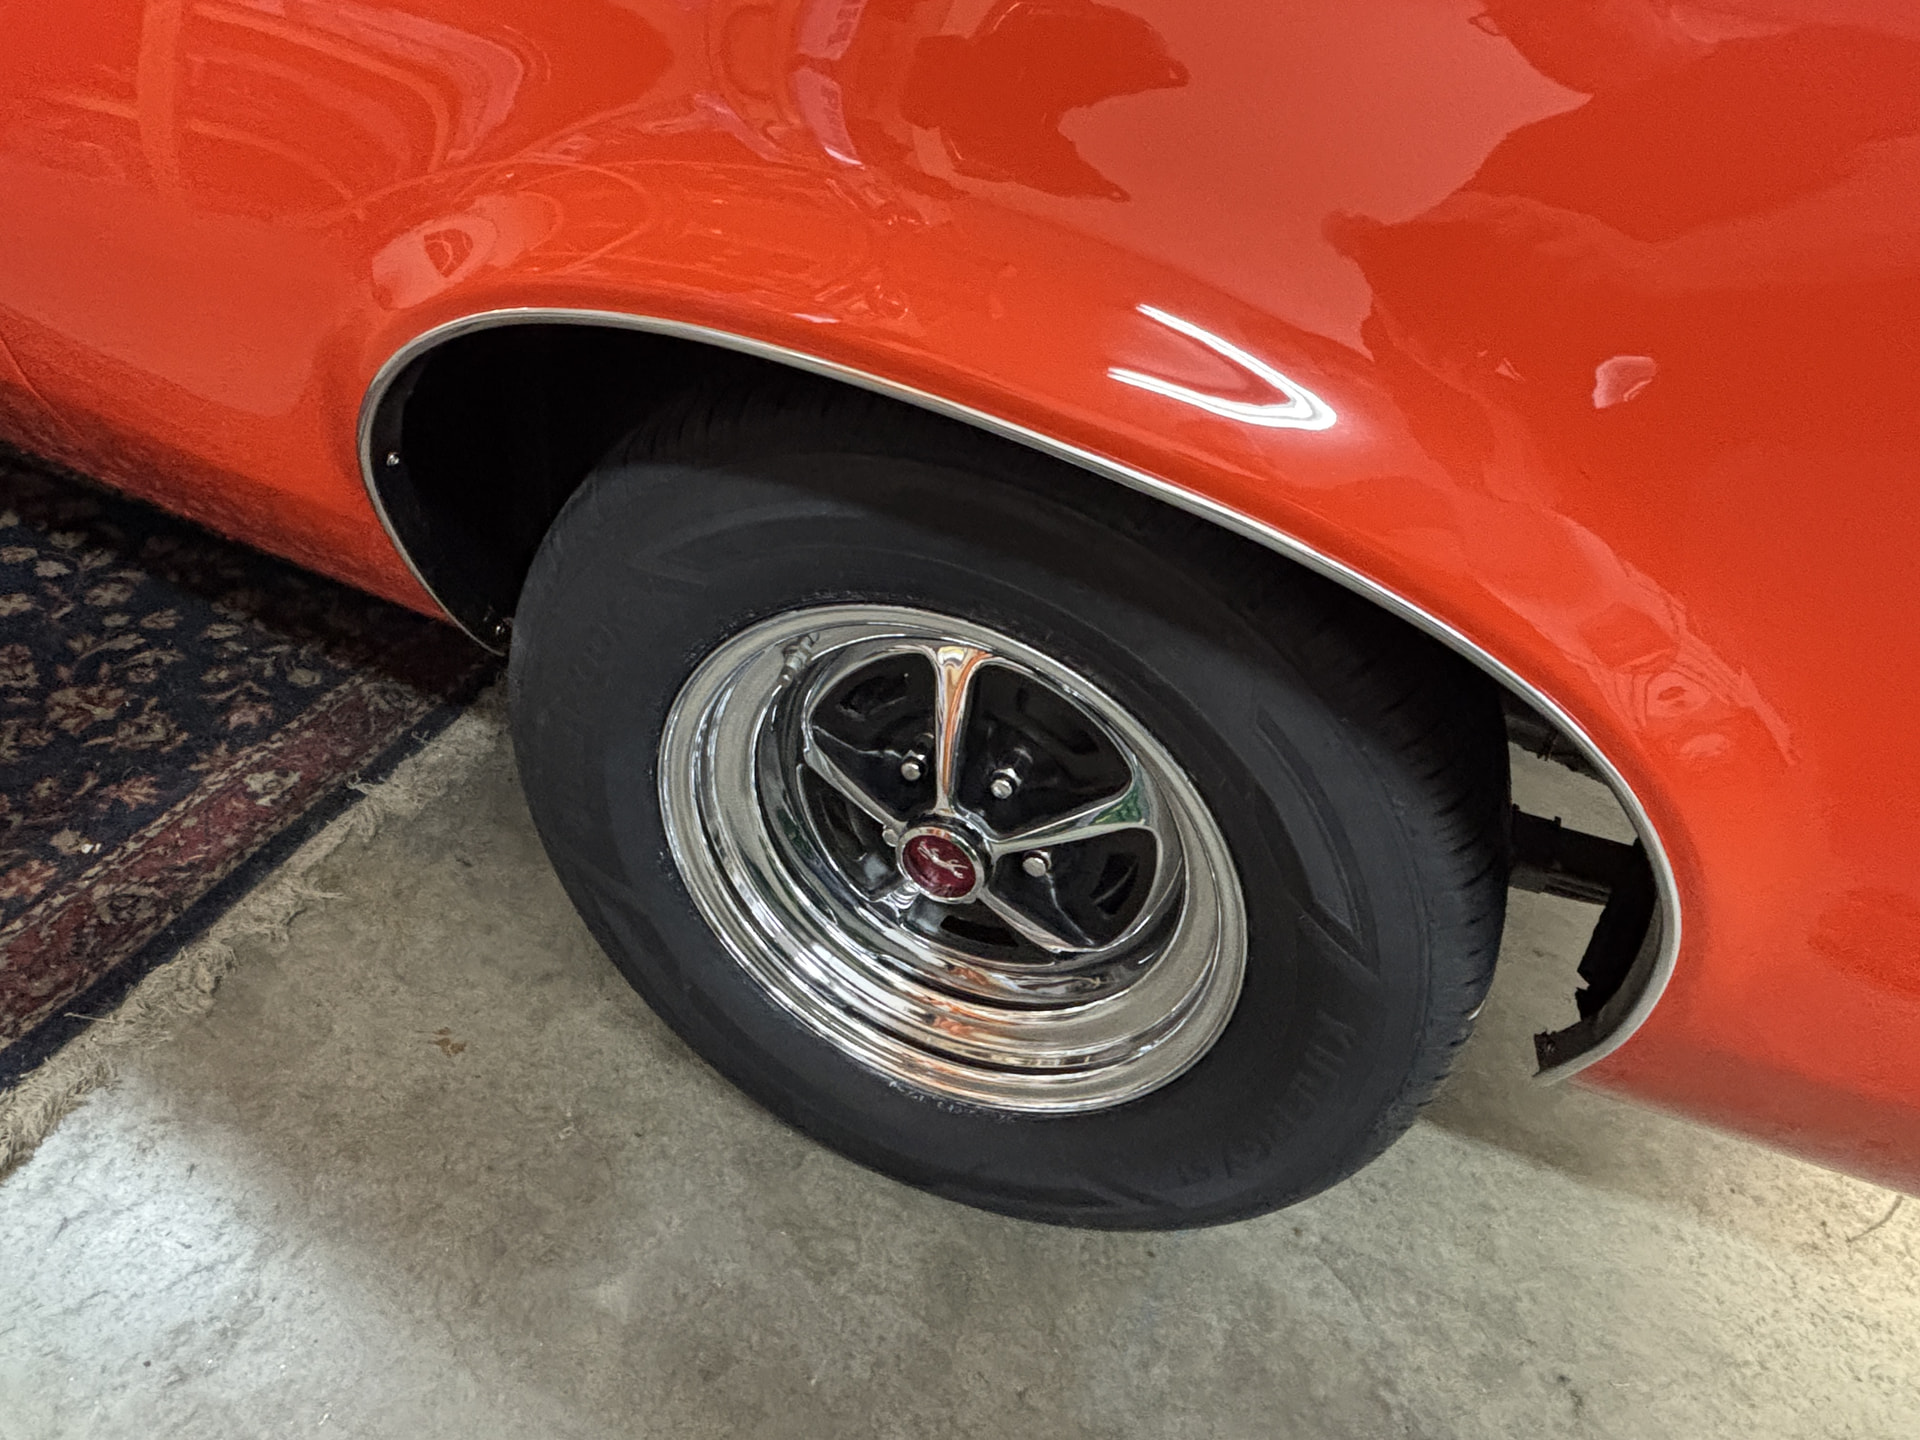
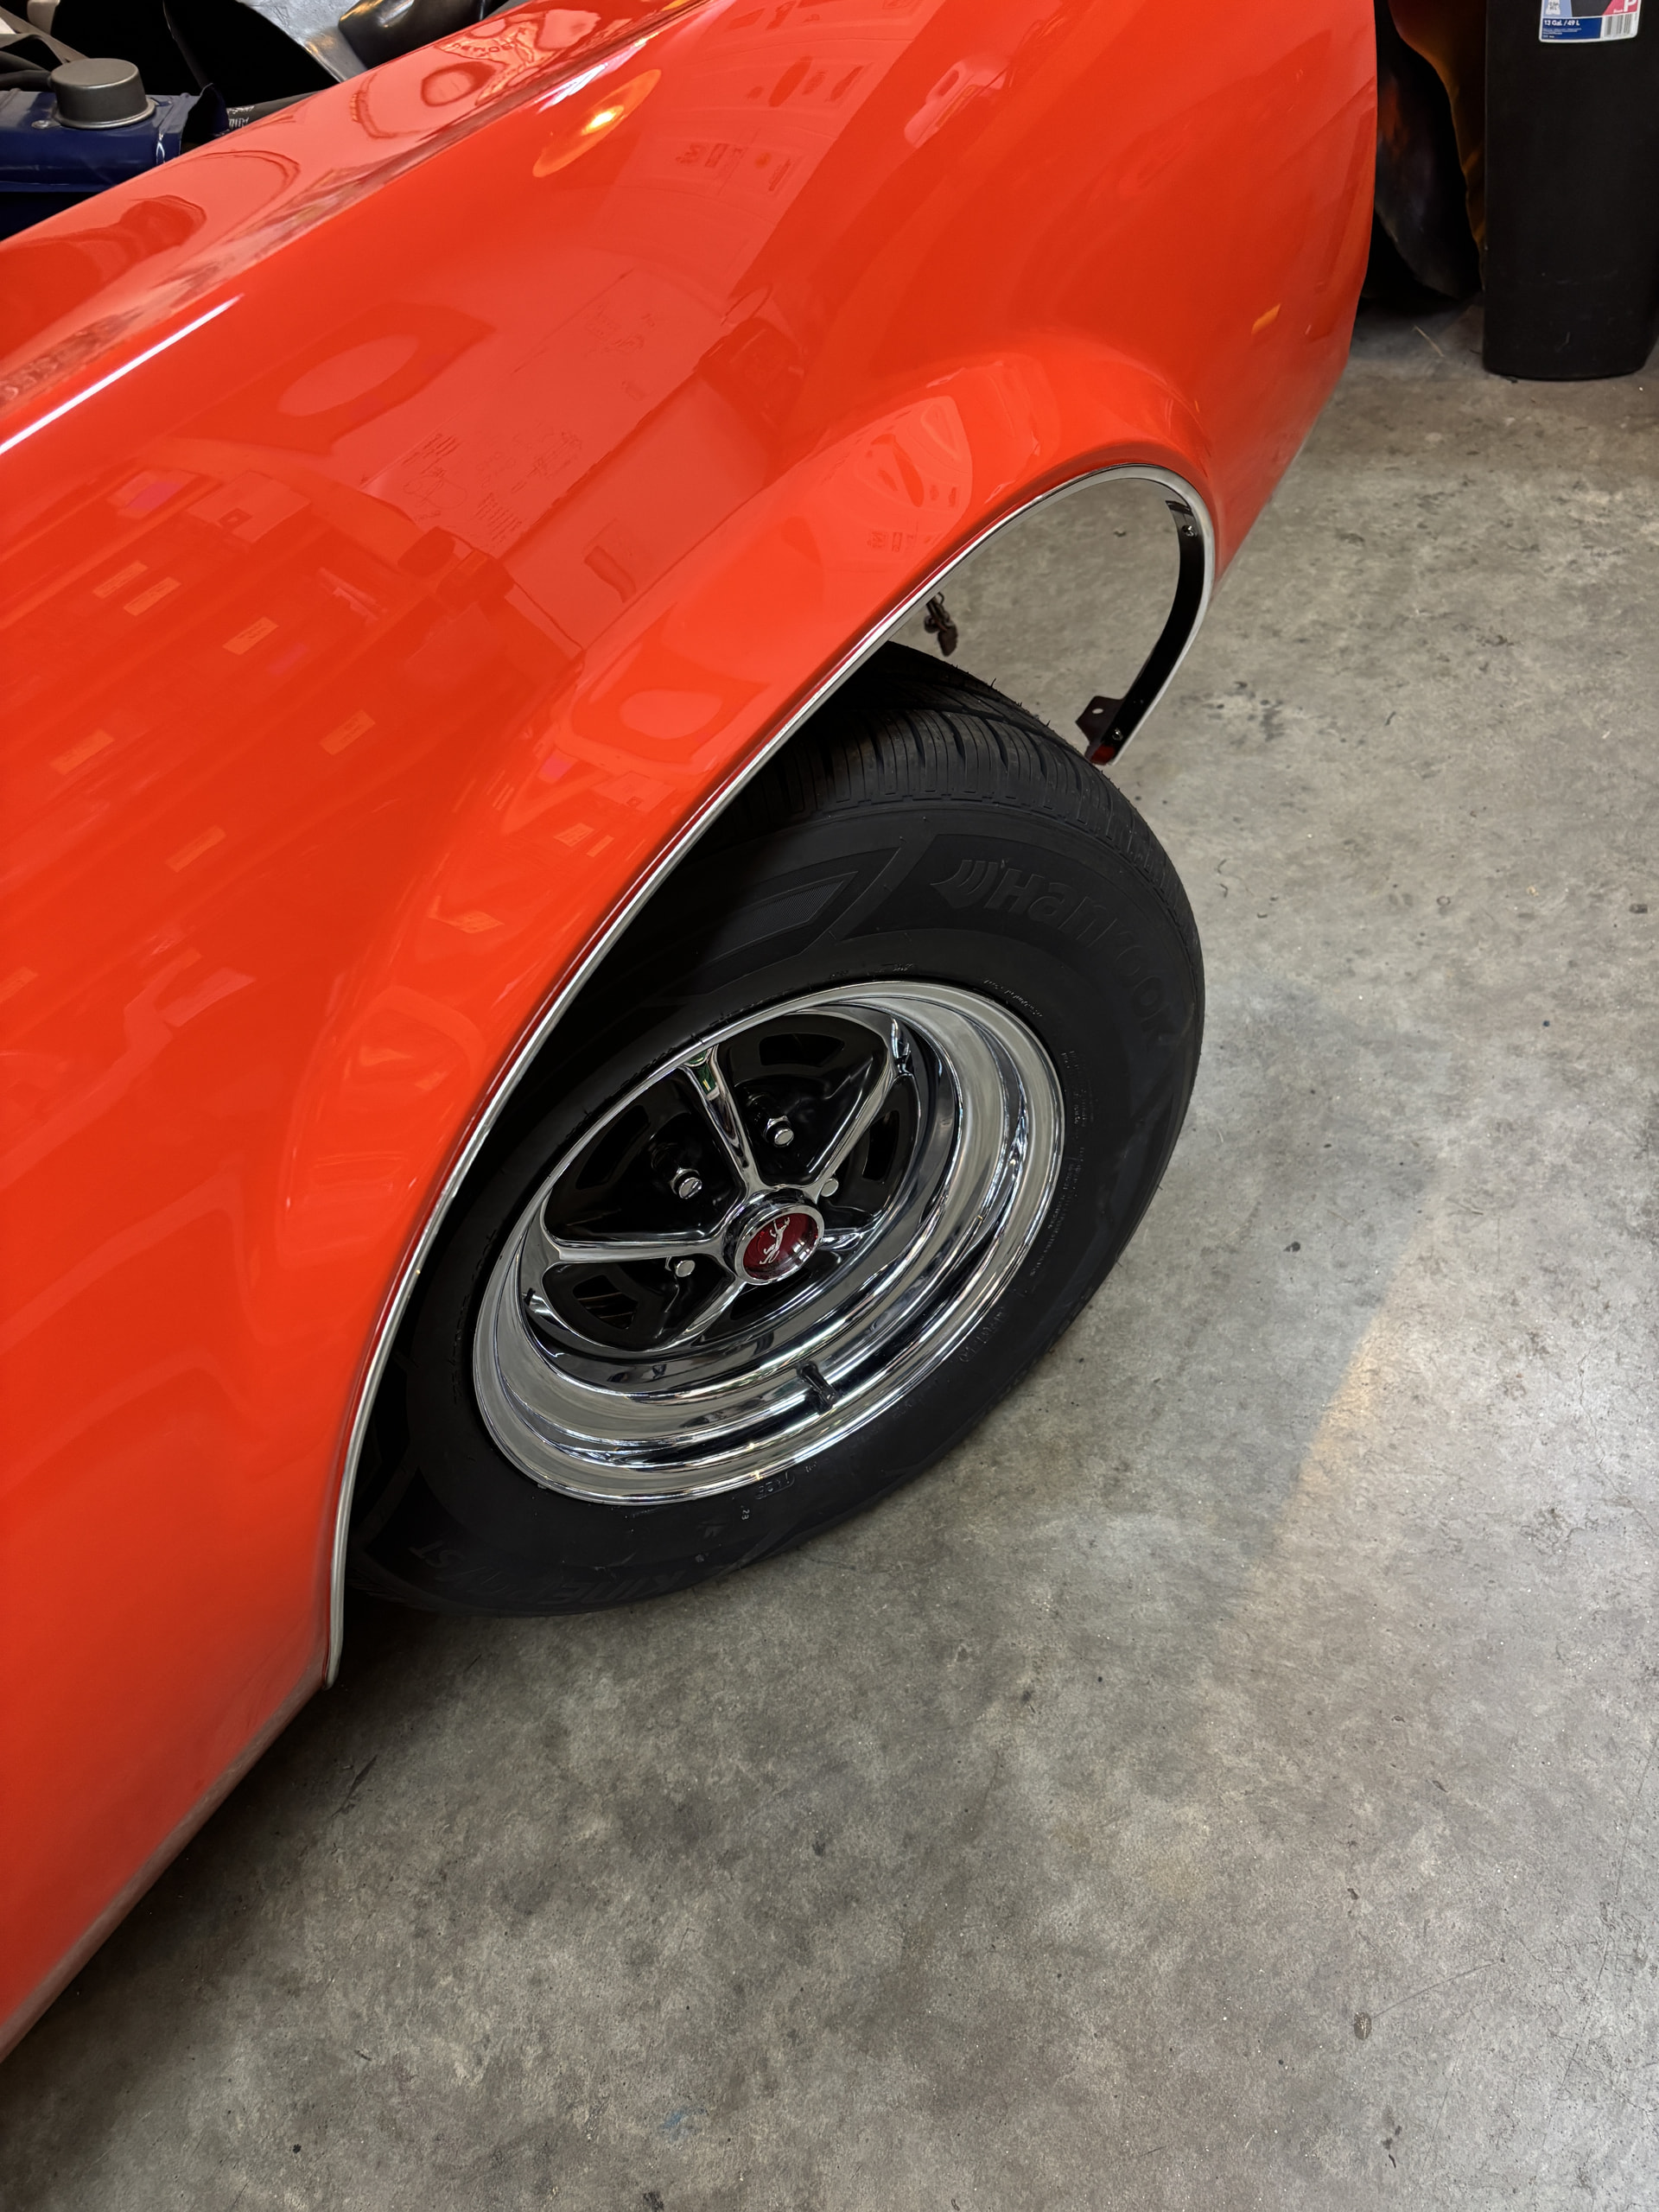
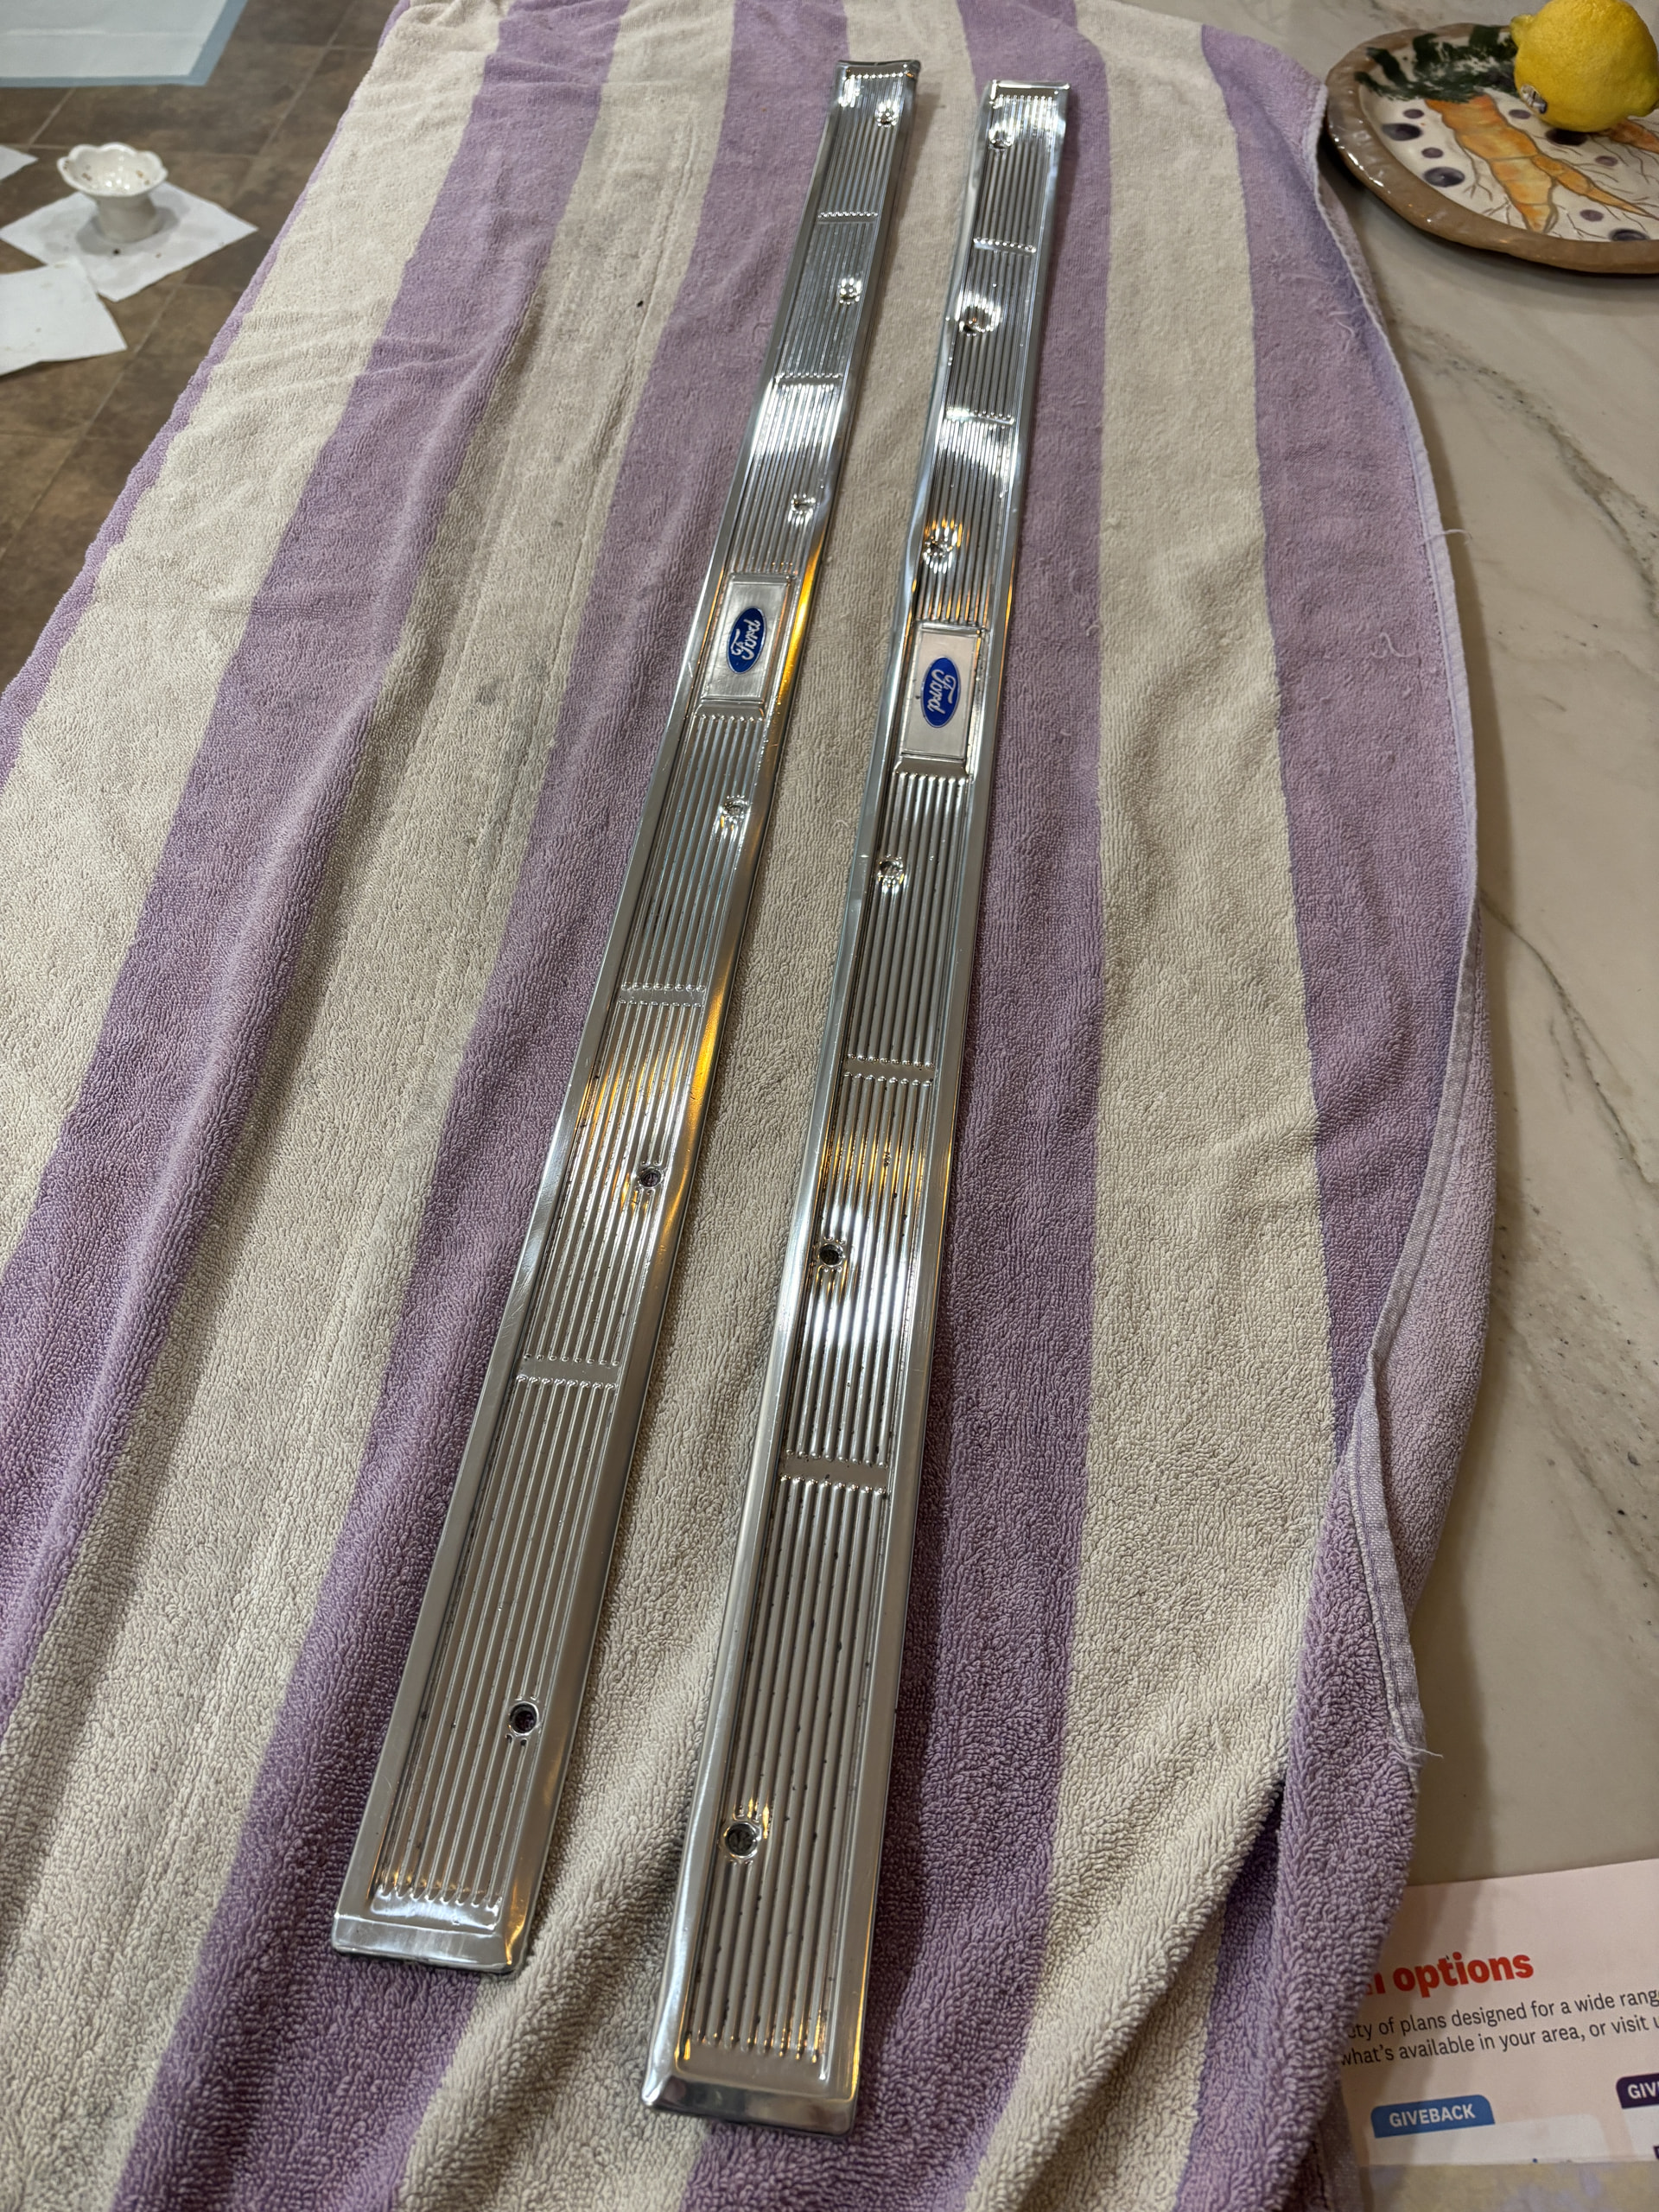
4 Likes
More progress updates:
- Mirrors disassembled, bead blasted, painted, cut/buffed, assembled and installed.
- Carpet installed
- Console cleaned and installed
- Front seats installed
- Auxillary gauges (in place of the clock) installed and connected.
I doubt the car will be ready for a shakedown cruise before snow flies, but we’ll be driving it come spring. Yay!
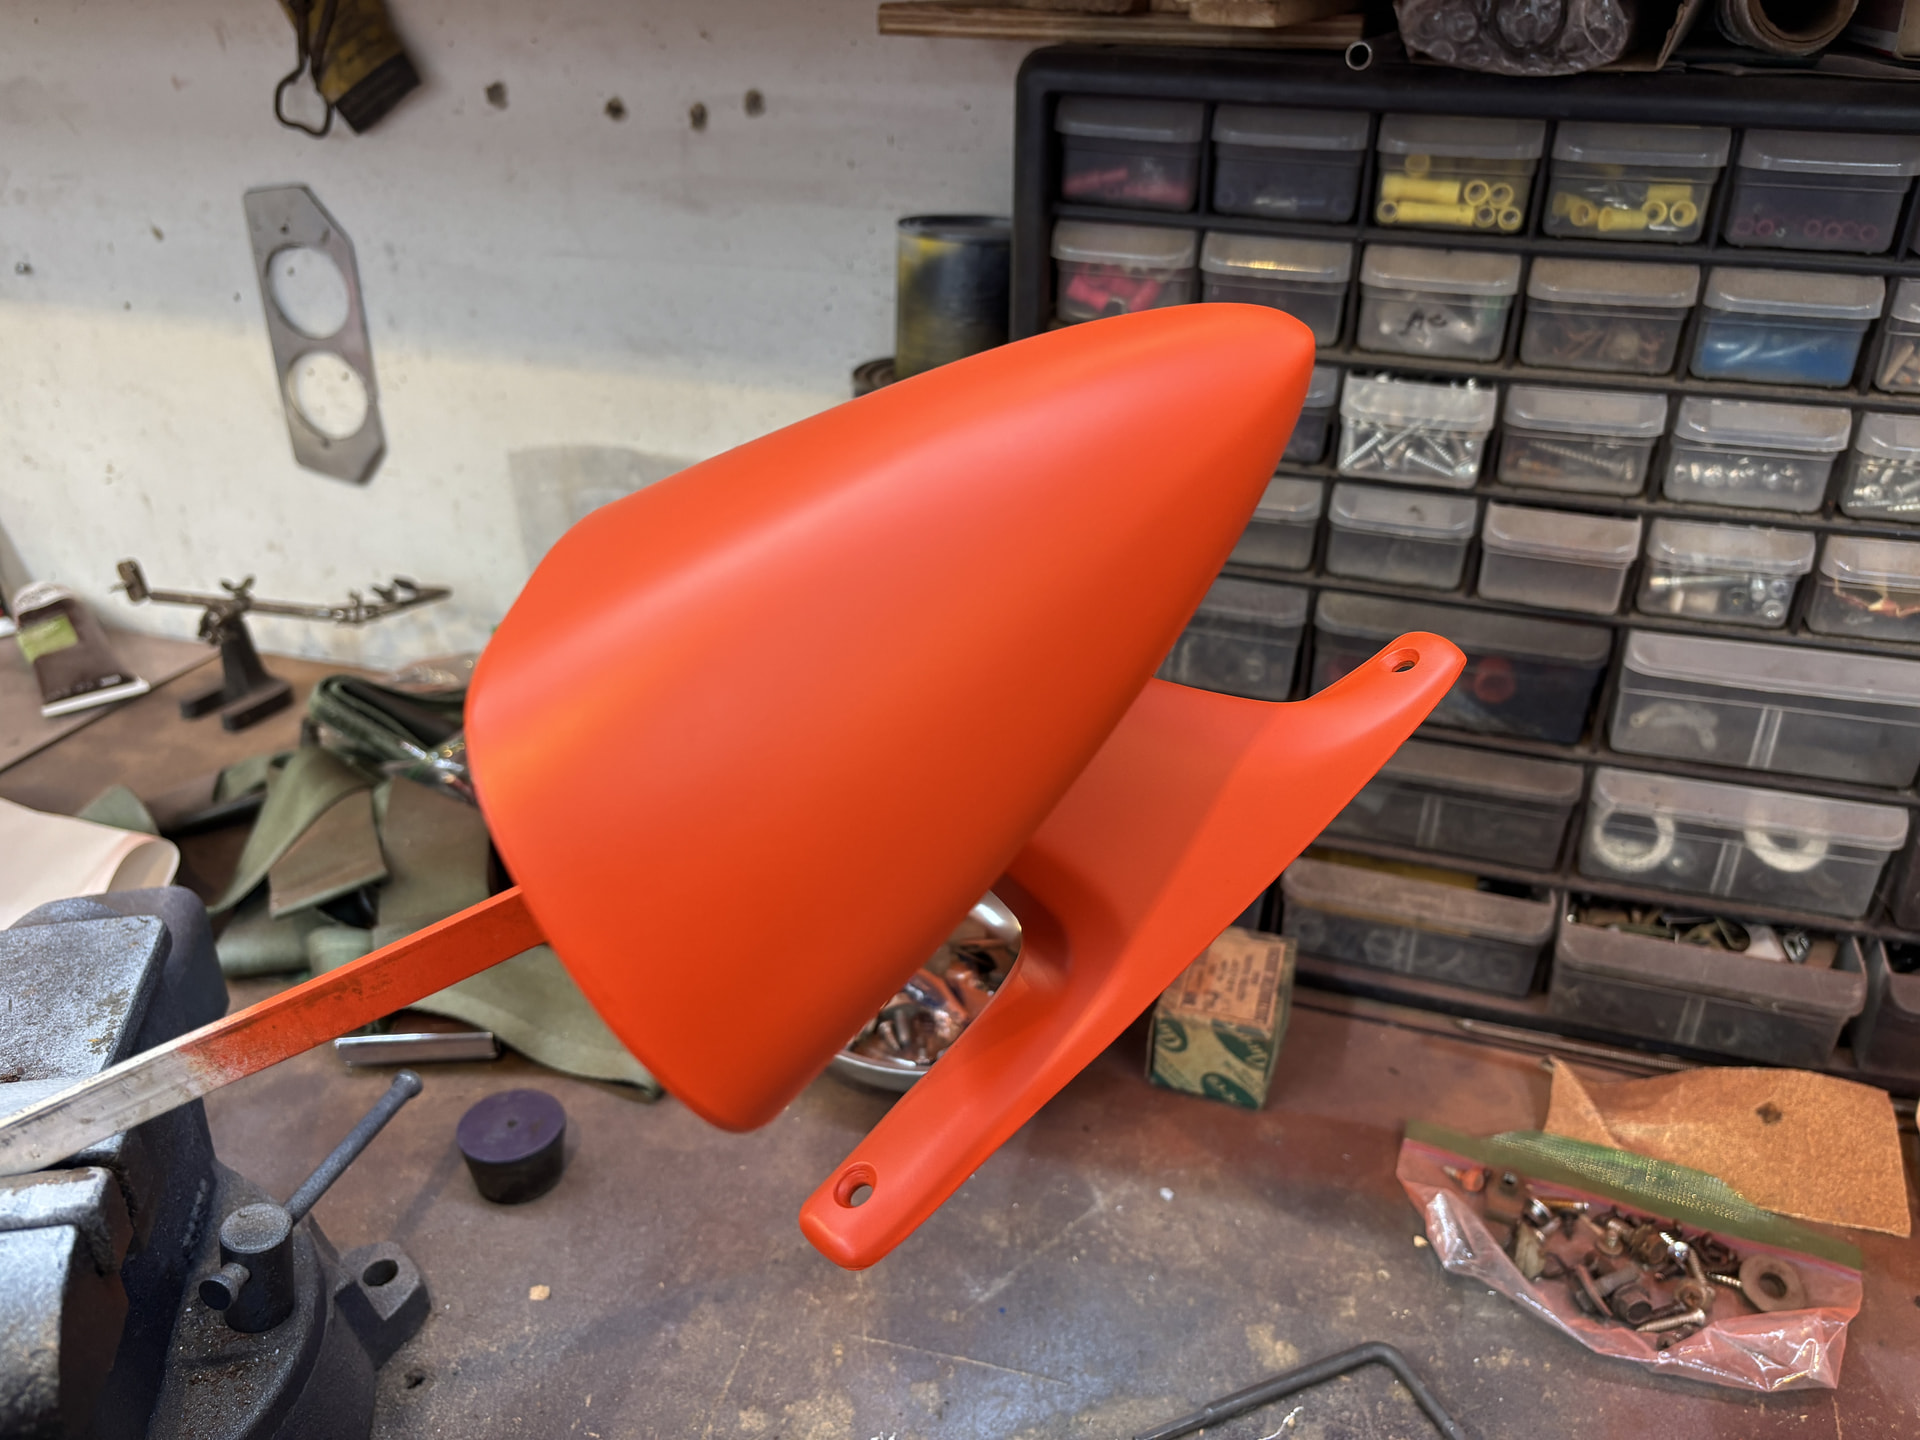
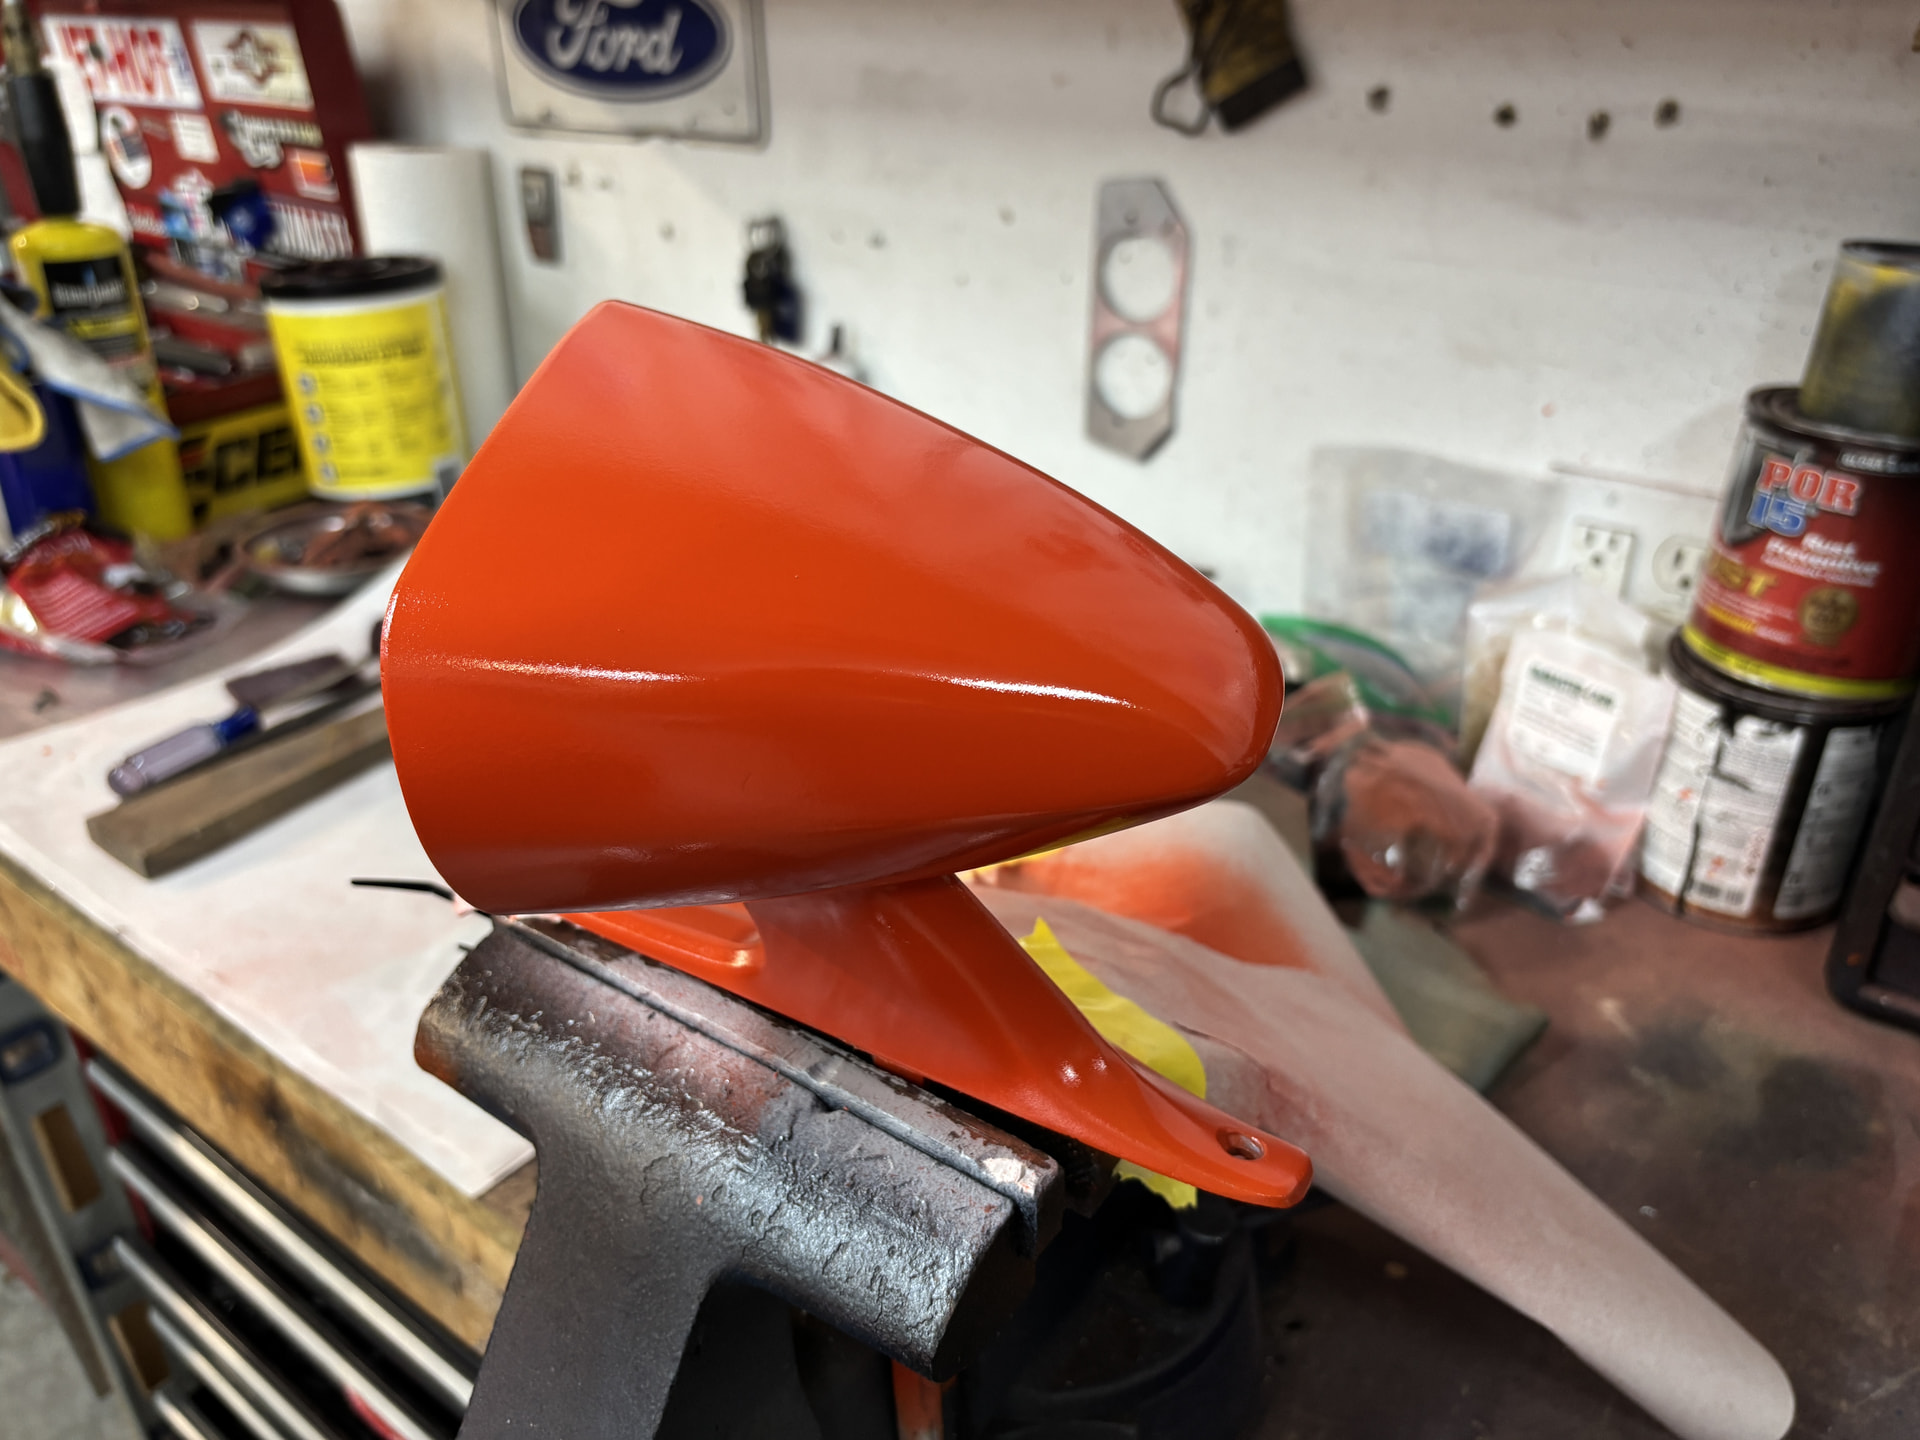
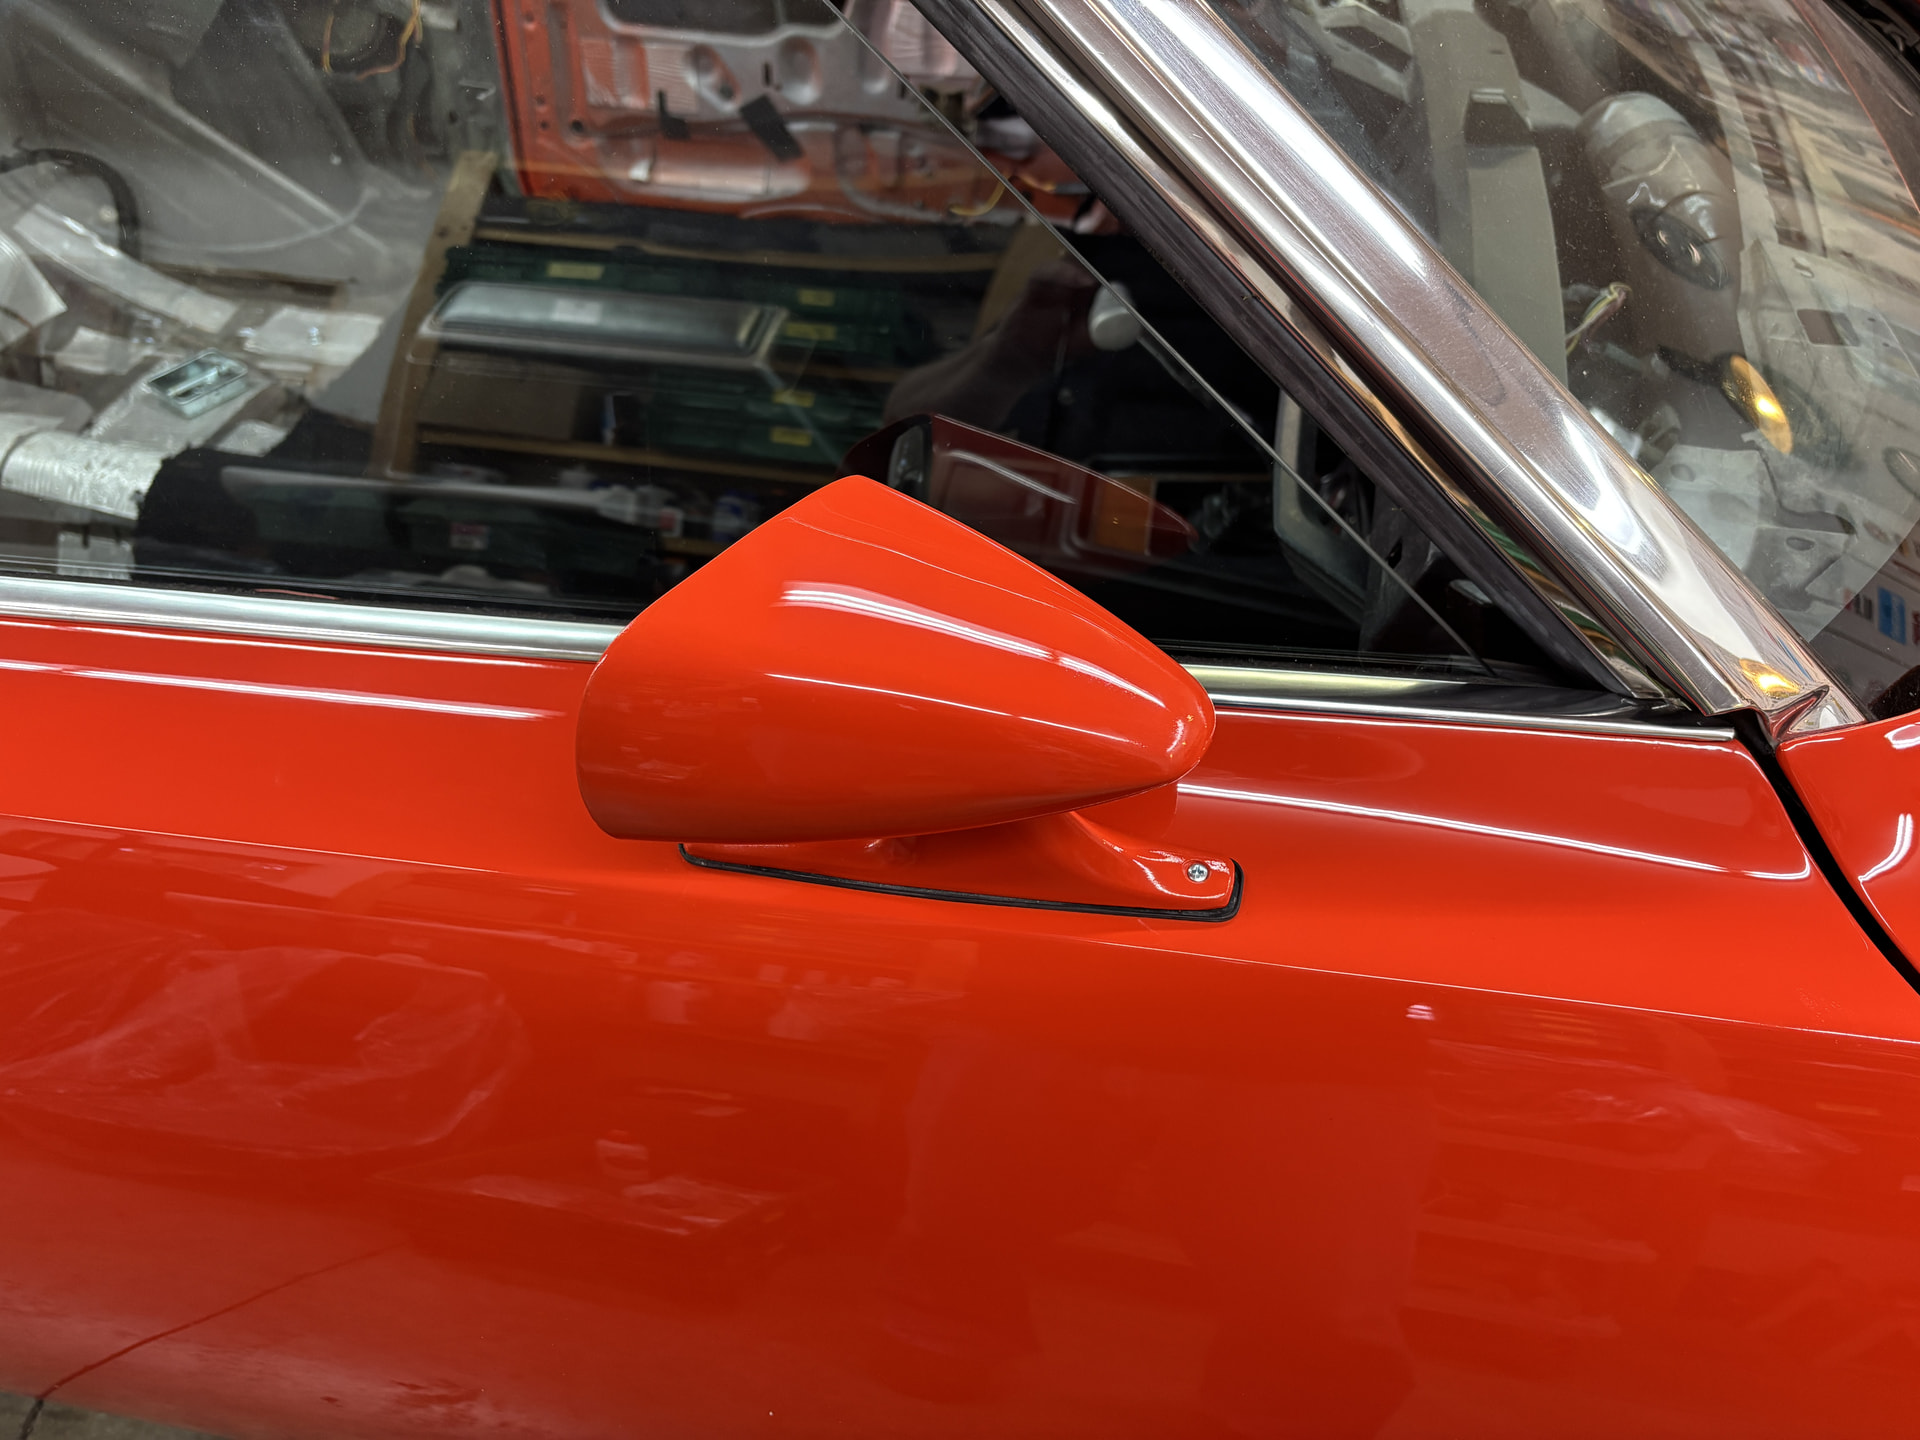
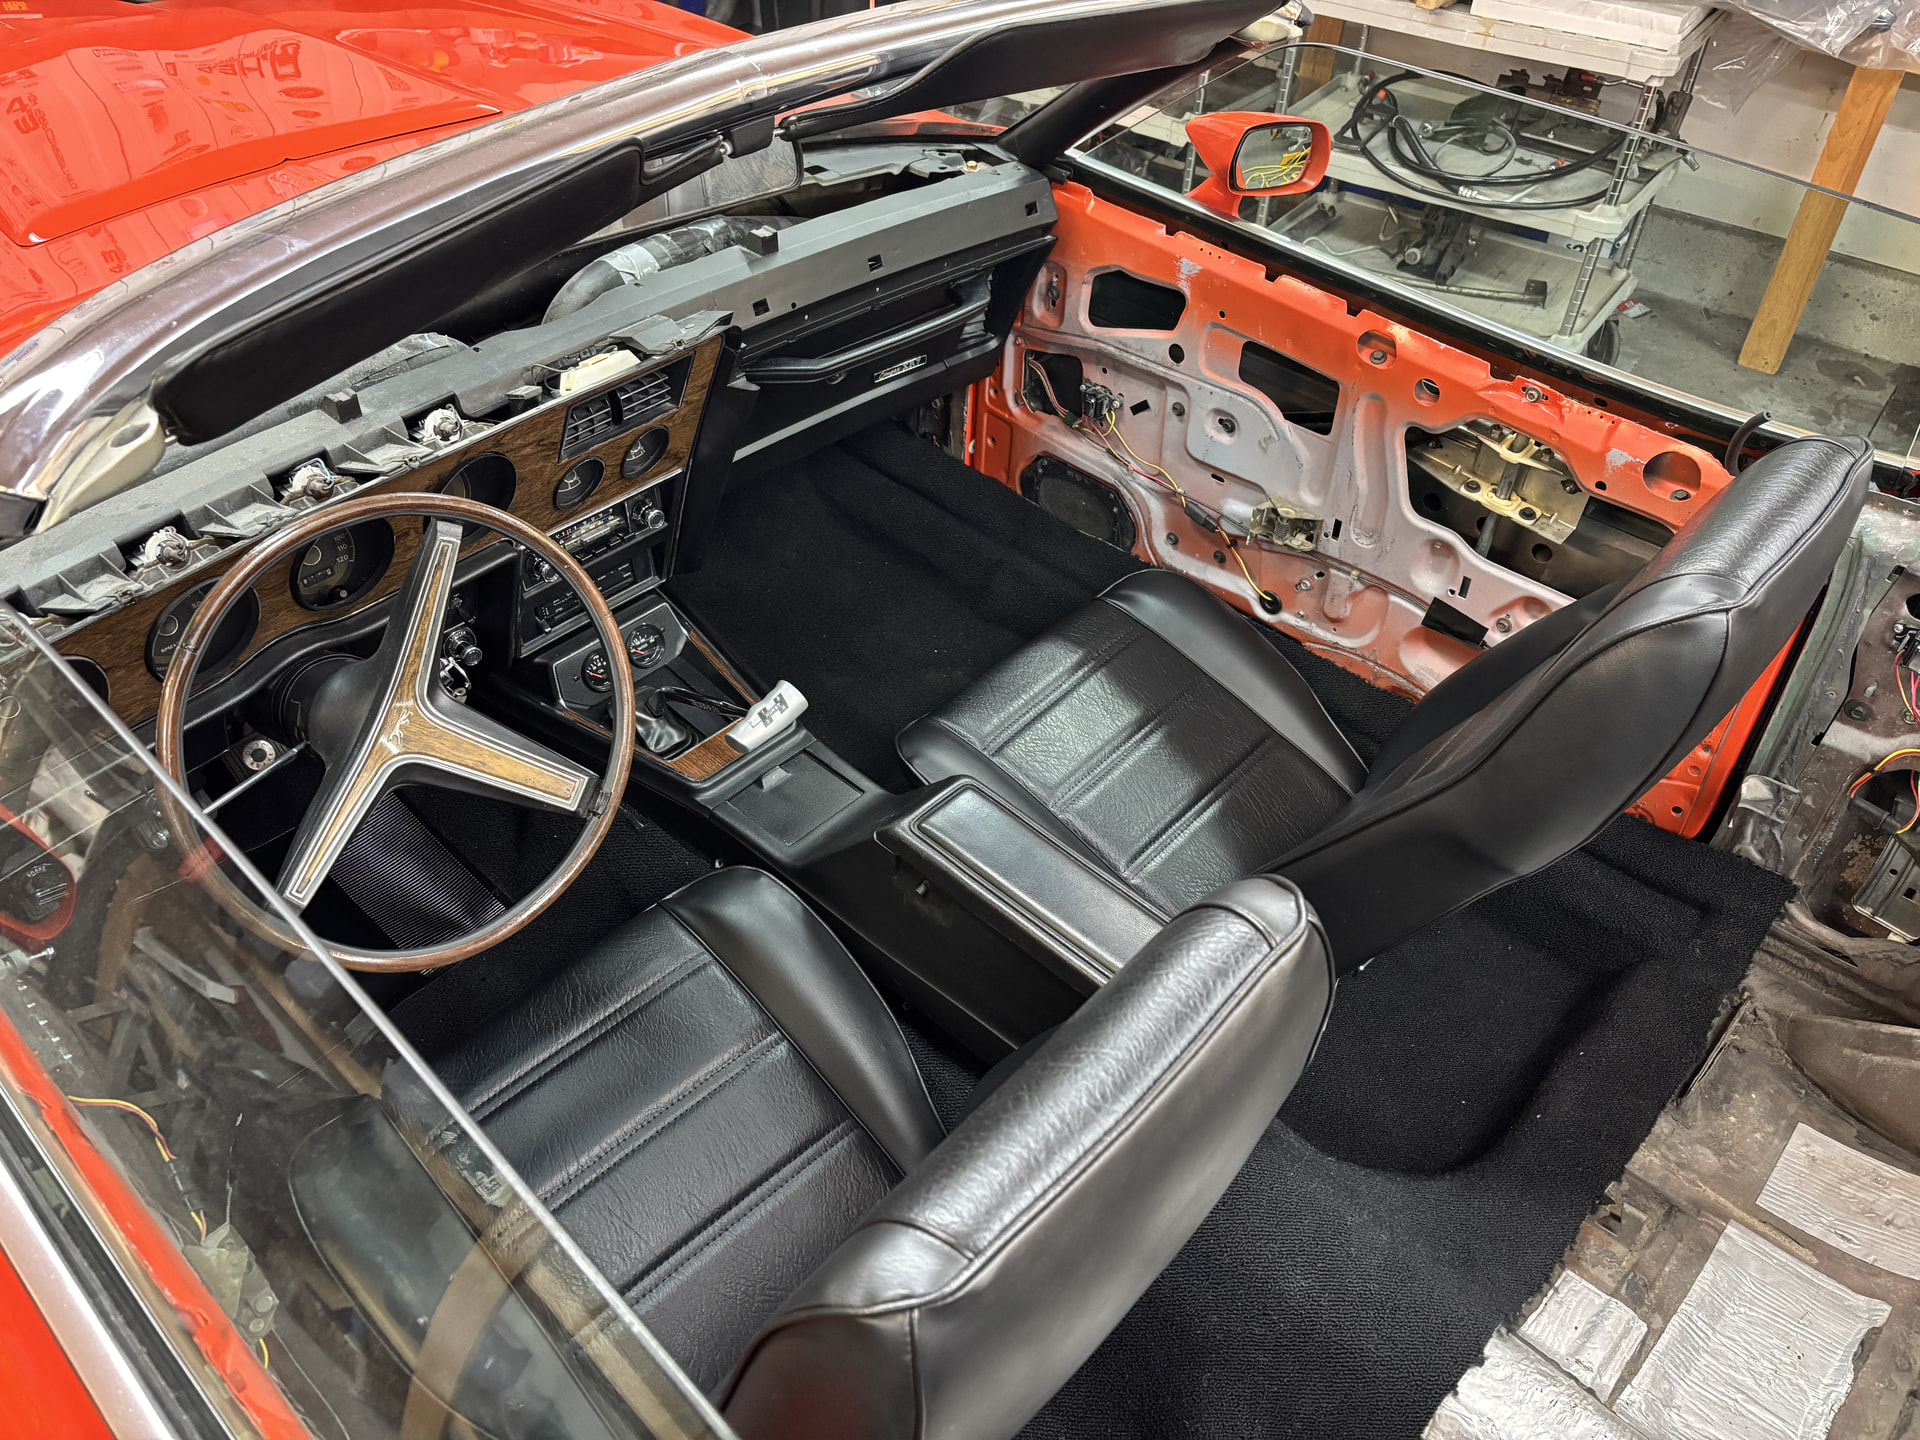

6 Likes
The convertible top and frame has been wrapped and stored in the basement. Today we vacuumed, washed, and spot cleaned a few stains. 303 convertible top cleaner is really good stuff!
It’s in better shape than I remembered, which is nice.
Interior shops around here charge $3-5K to install a quality convertible top, not to mention the 3-4 month wait…
Couple weeks away from reinstalling it.

2 Likes
I don’t know where you are located but I Had my top installed including the top with a glass window for $2300
1 Like
New Hampshire. There’s only a few reputable shops around and it’s a seller’s market. Two friends just had tops done and they were $3500 and $4800. Not to mention a multi-month wait for an appointment. Yikes.
Thank goodness my top is in good shape!
1 Like
Used 71-73 parts - free and or cheap.
I have a few boxes of used 71-73 parts from project Phoenix. Wheel lip moldings, latches, trim parts, marker lamps, window parts. etc.
Free to a good home, but sorry - unable to ship. Also ZERO guarantees - they are free. Come get them in Southern NH
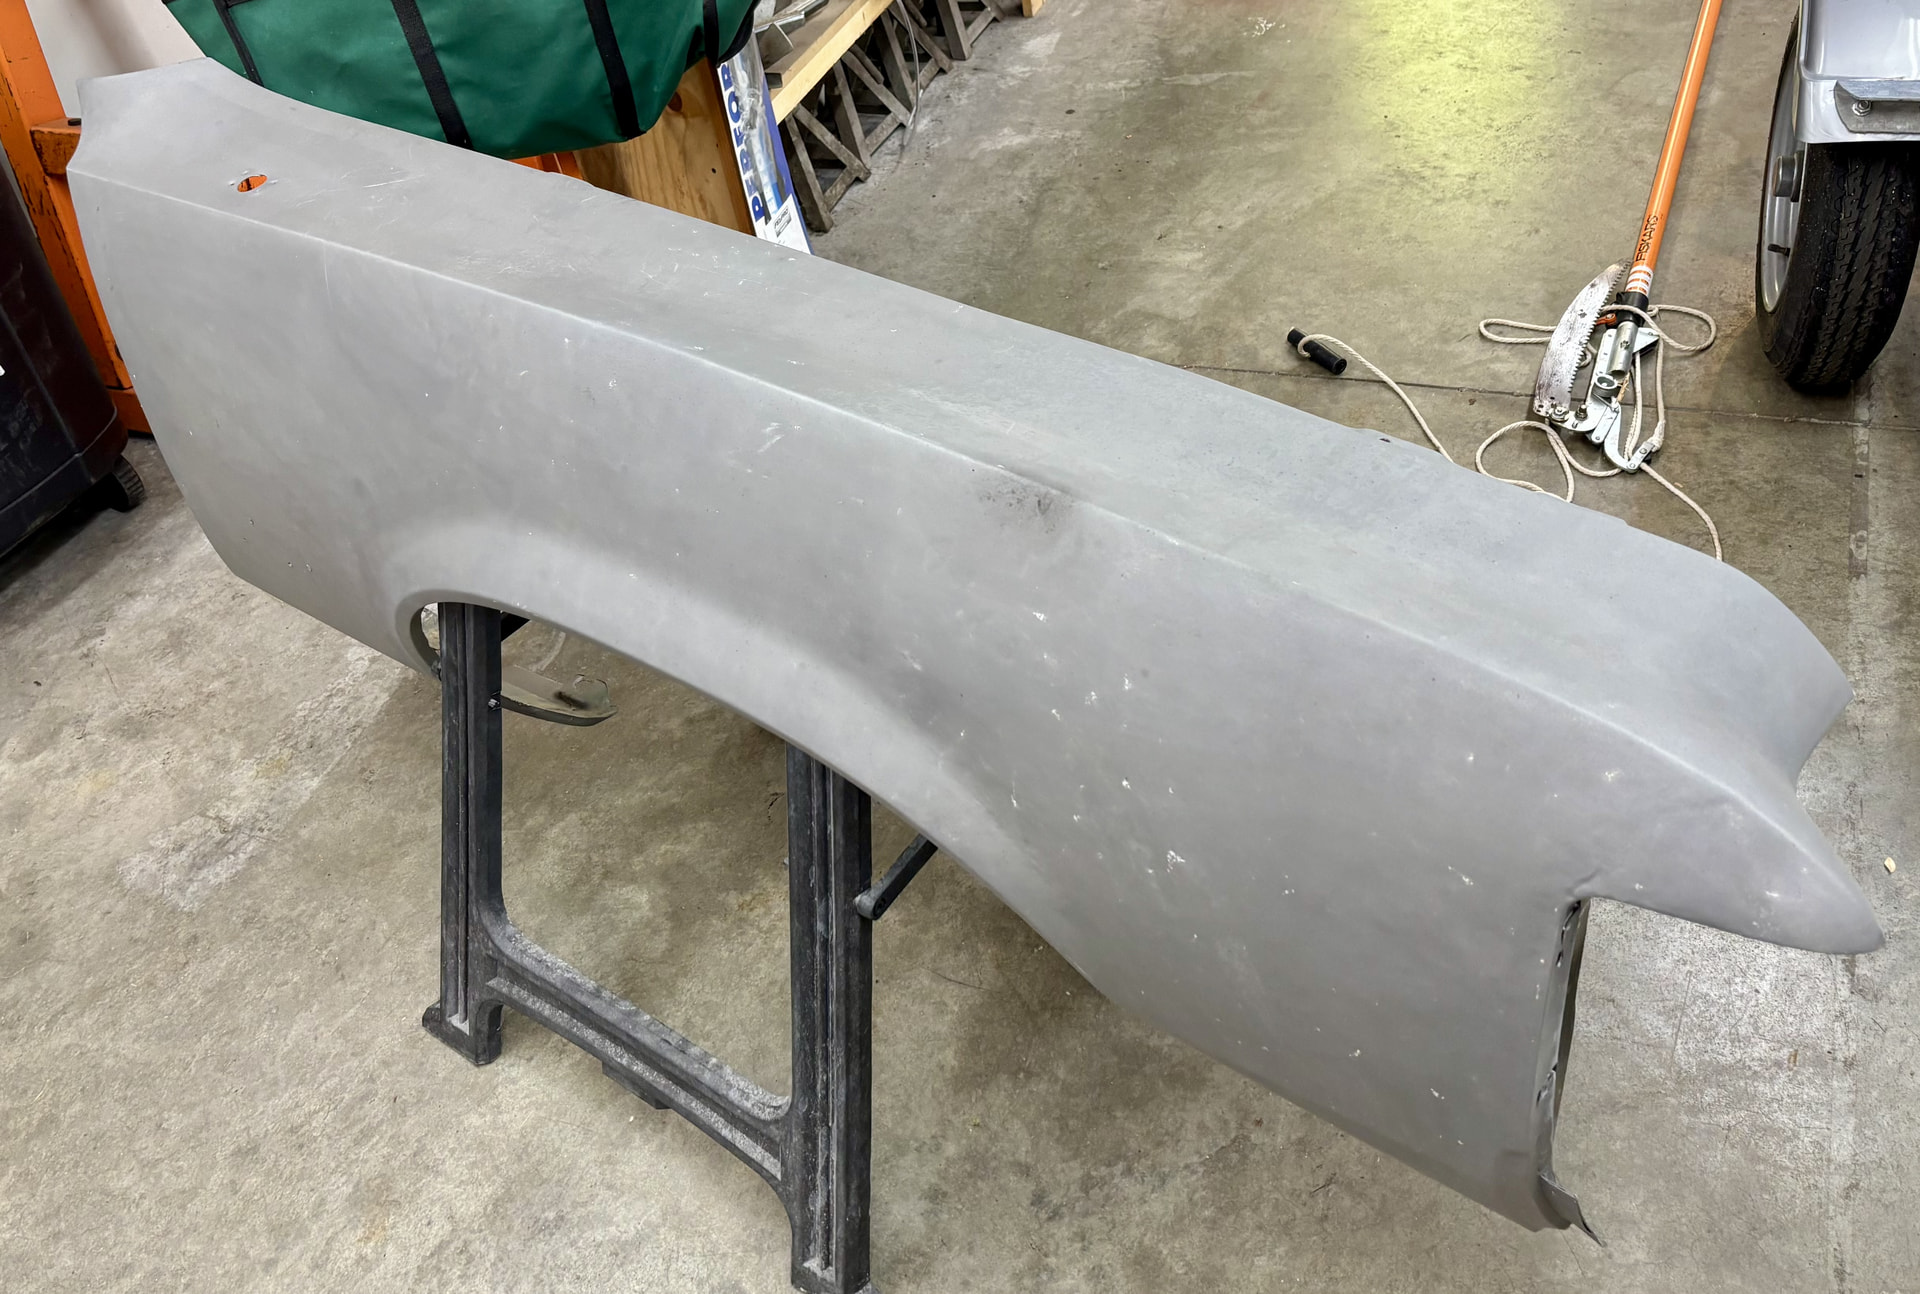
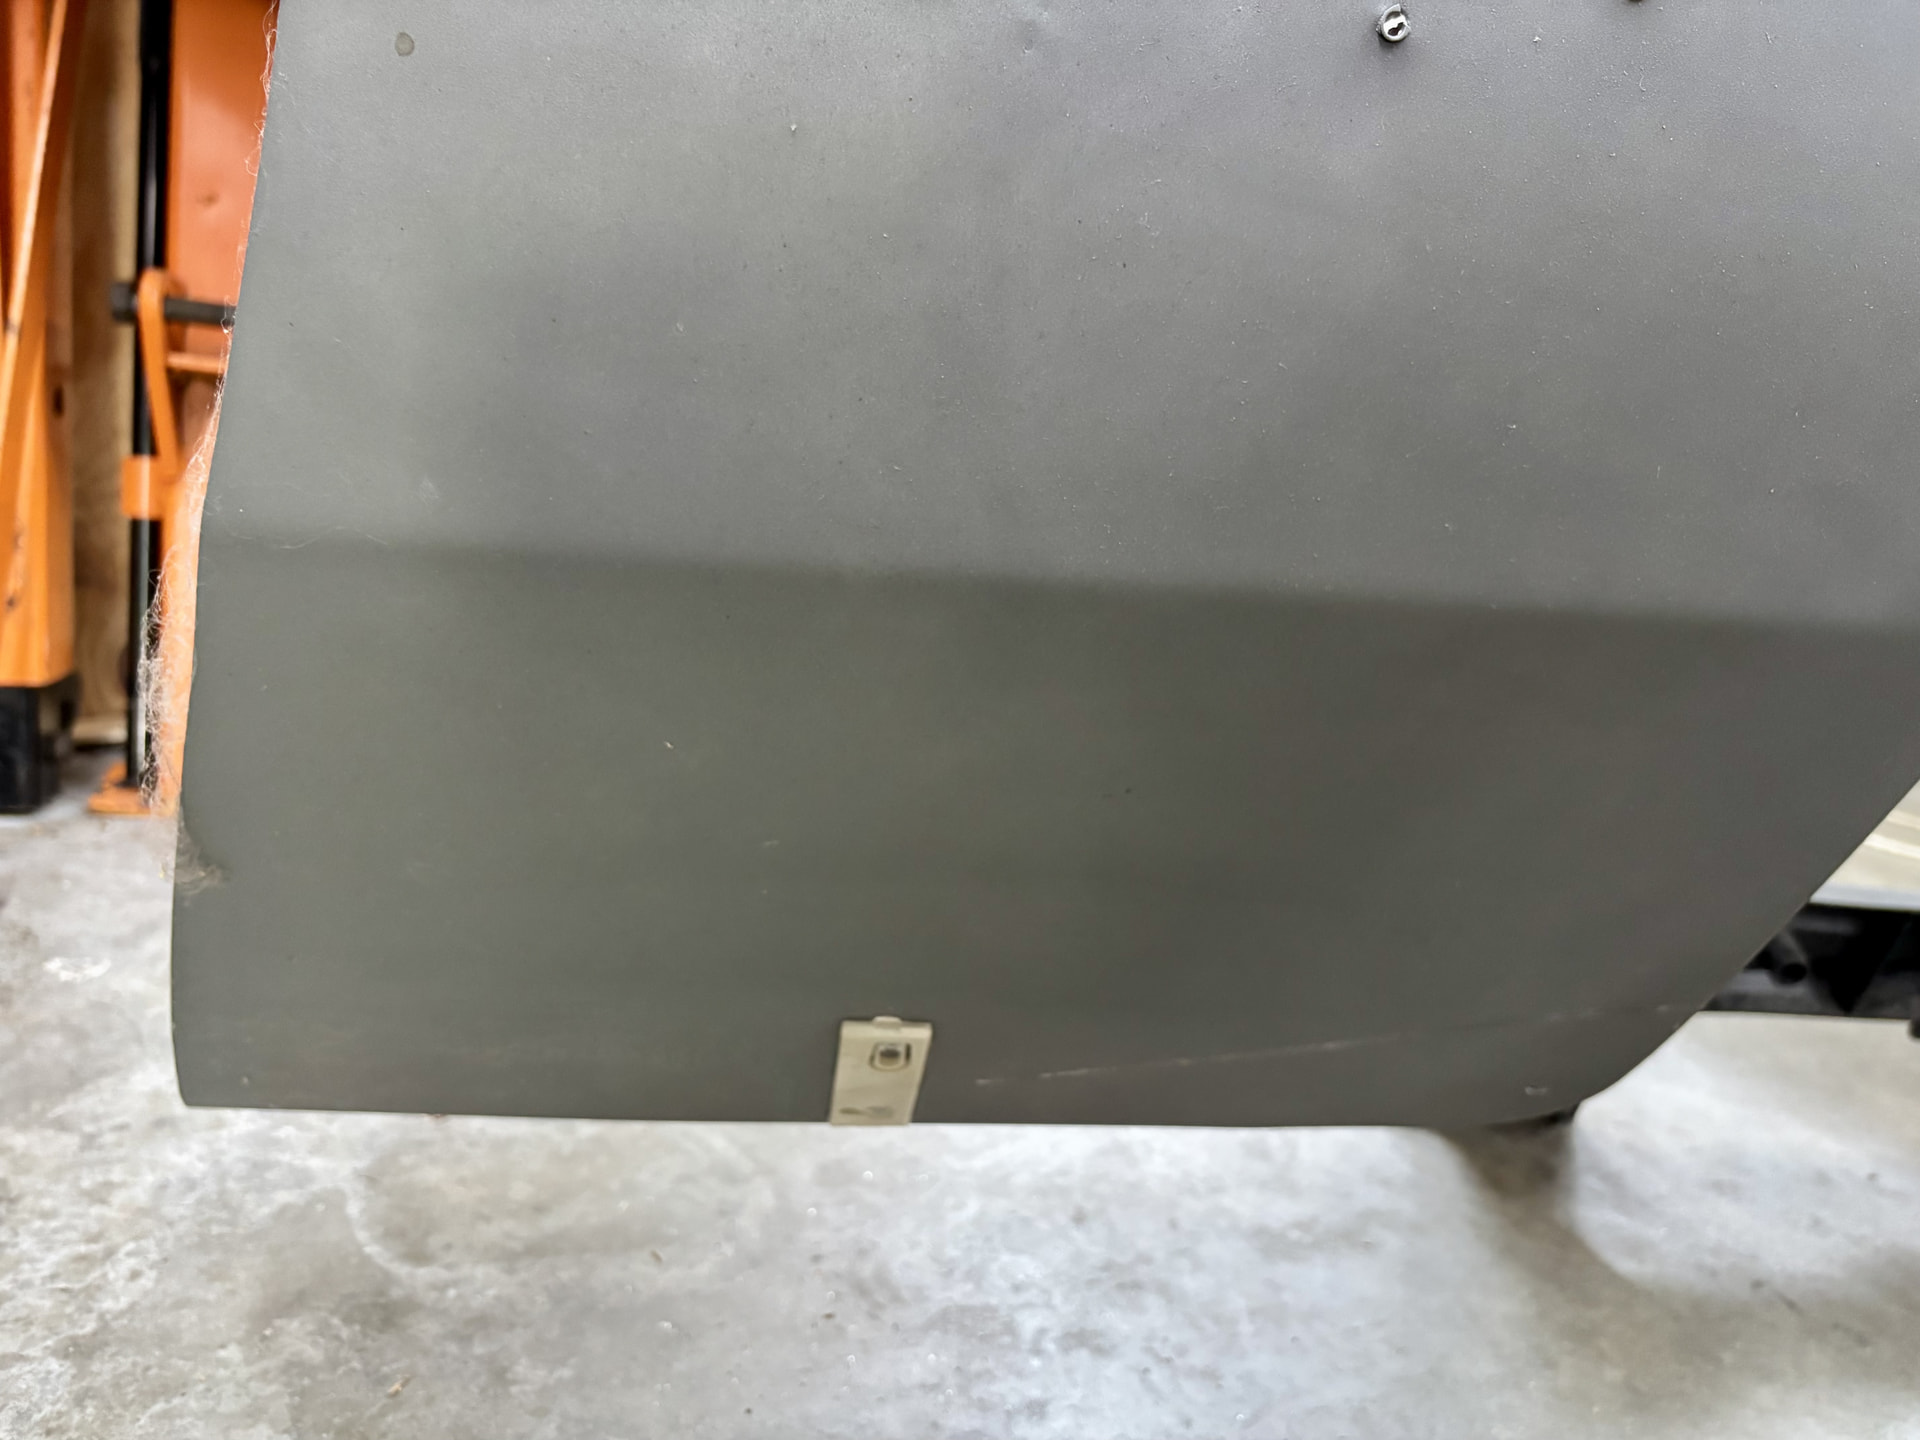
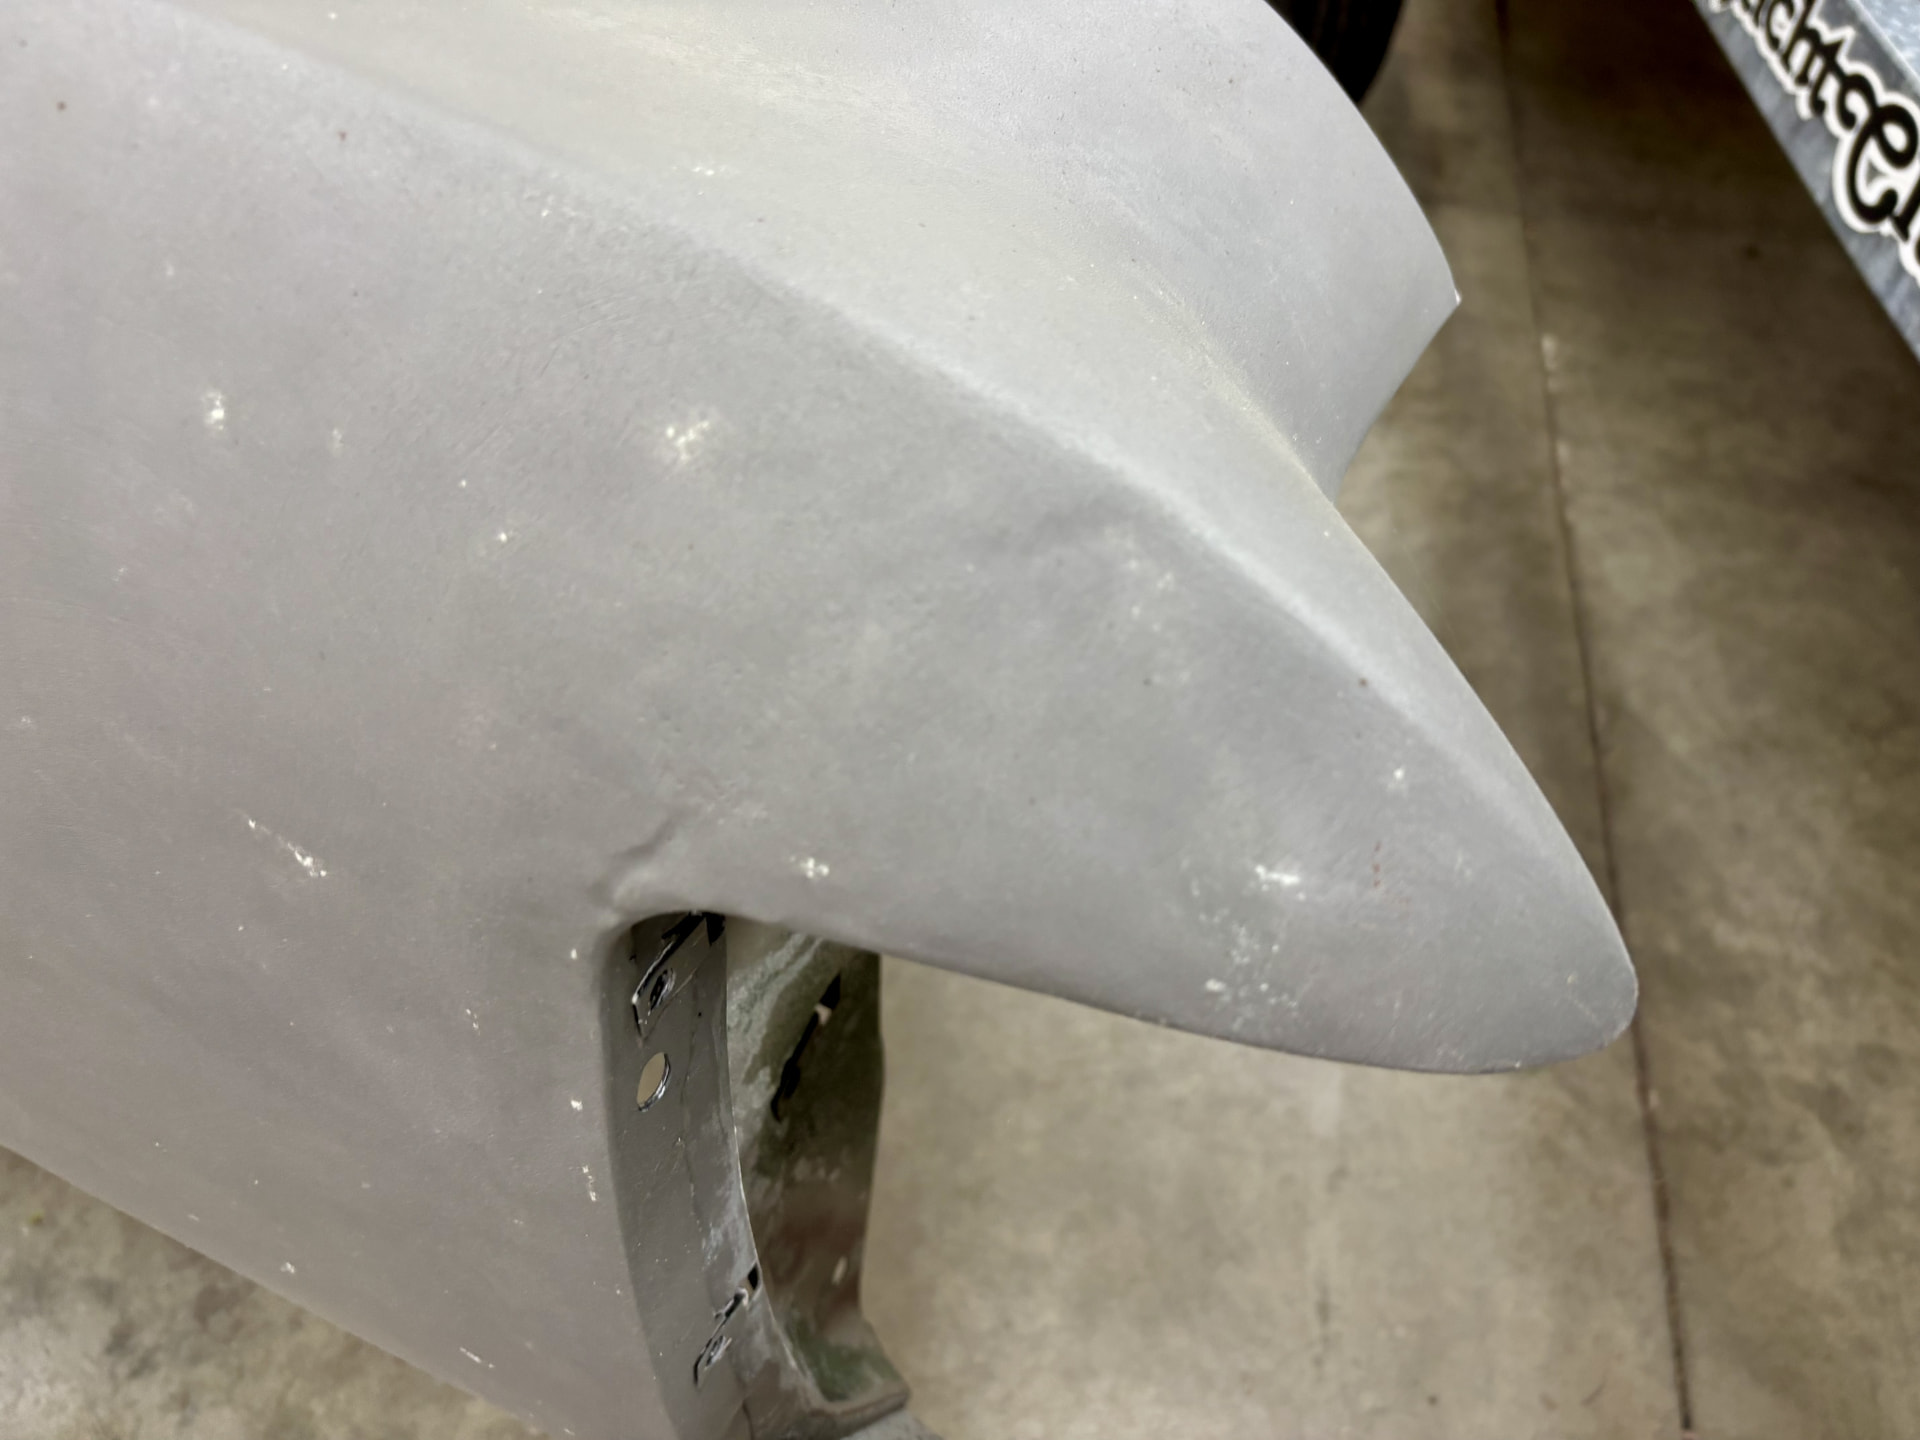
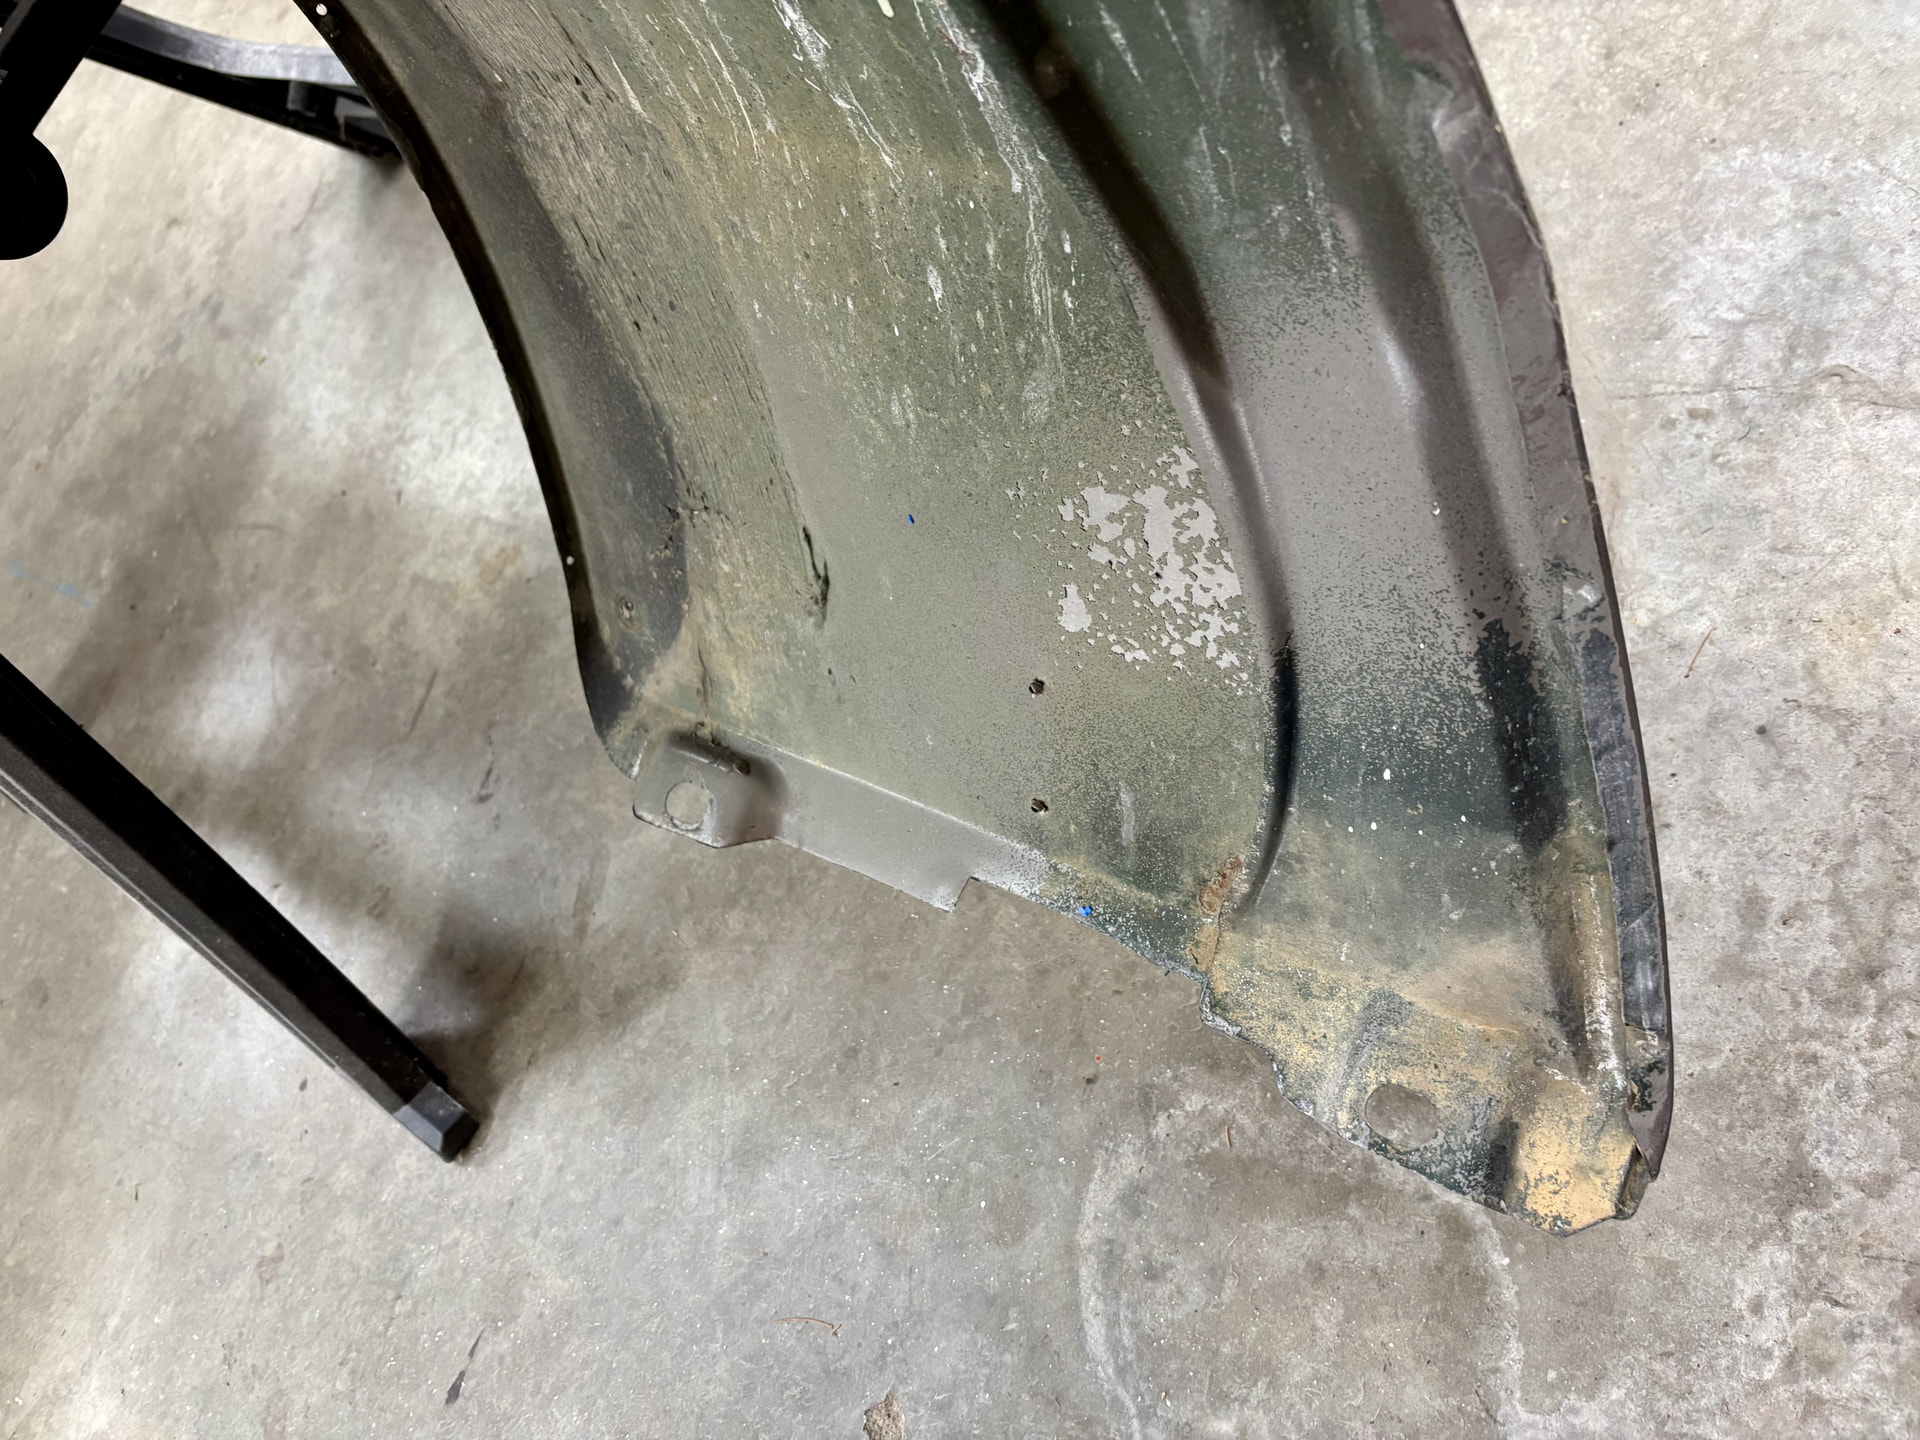
Nice RH fender, already media blasted and ZERO rust California panel. Some minor dents. $150 - no shipping.
71-72 manual window side glass $100 for all - No shipping
71-73 manual window regulators $75 for all - No shipping
More pics to be posted later today…
2 Likes