Hard to believe I haven’t posted anything about my car here in 3 years! Unfortunately some IRL stuff got in the way of doing any work, including the Cougar being in a luckily minor accident. I’ll do a separate post about that.
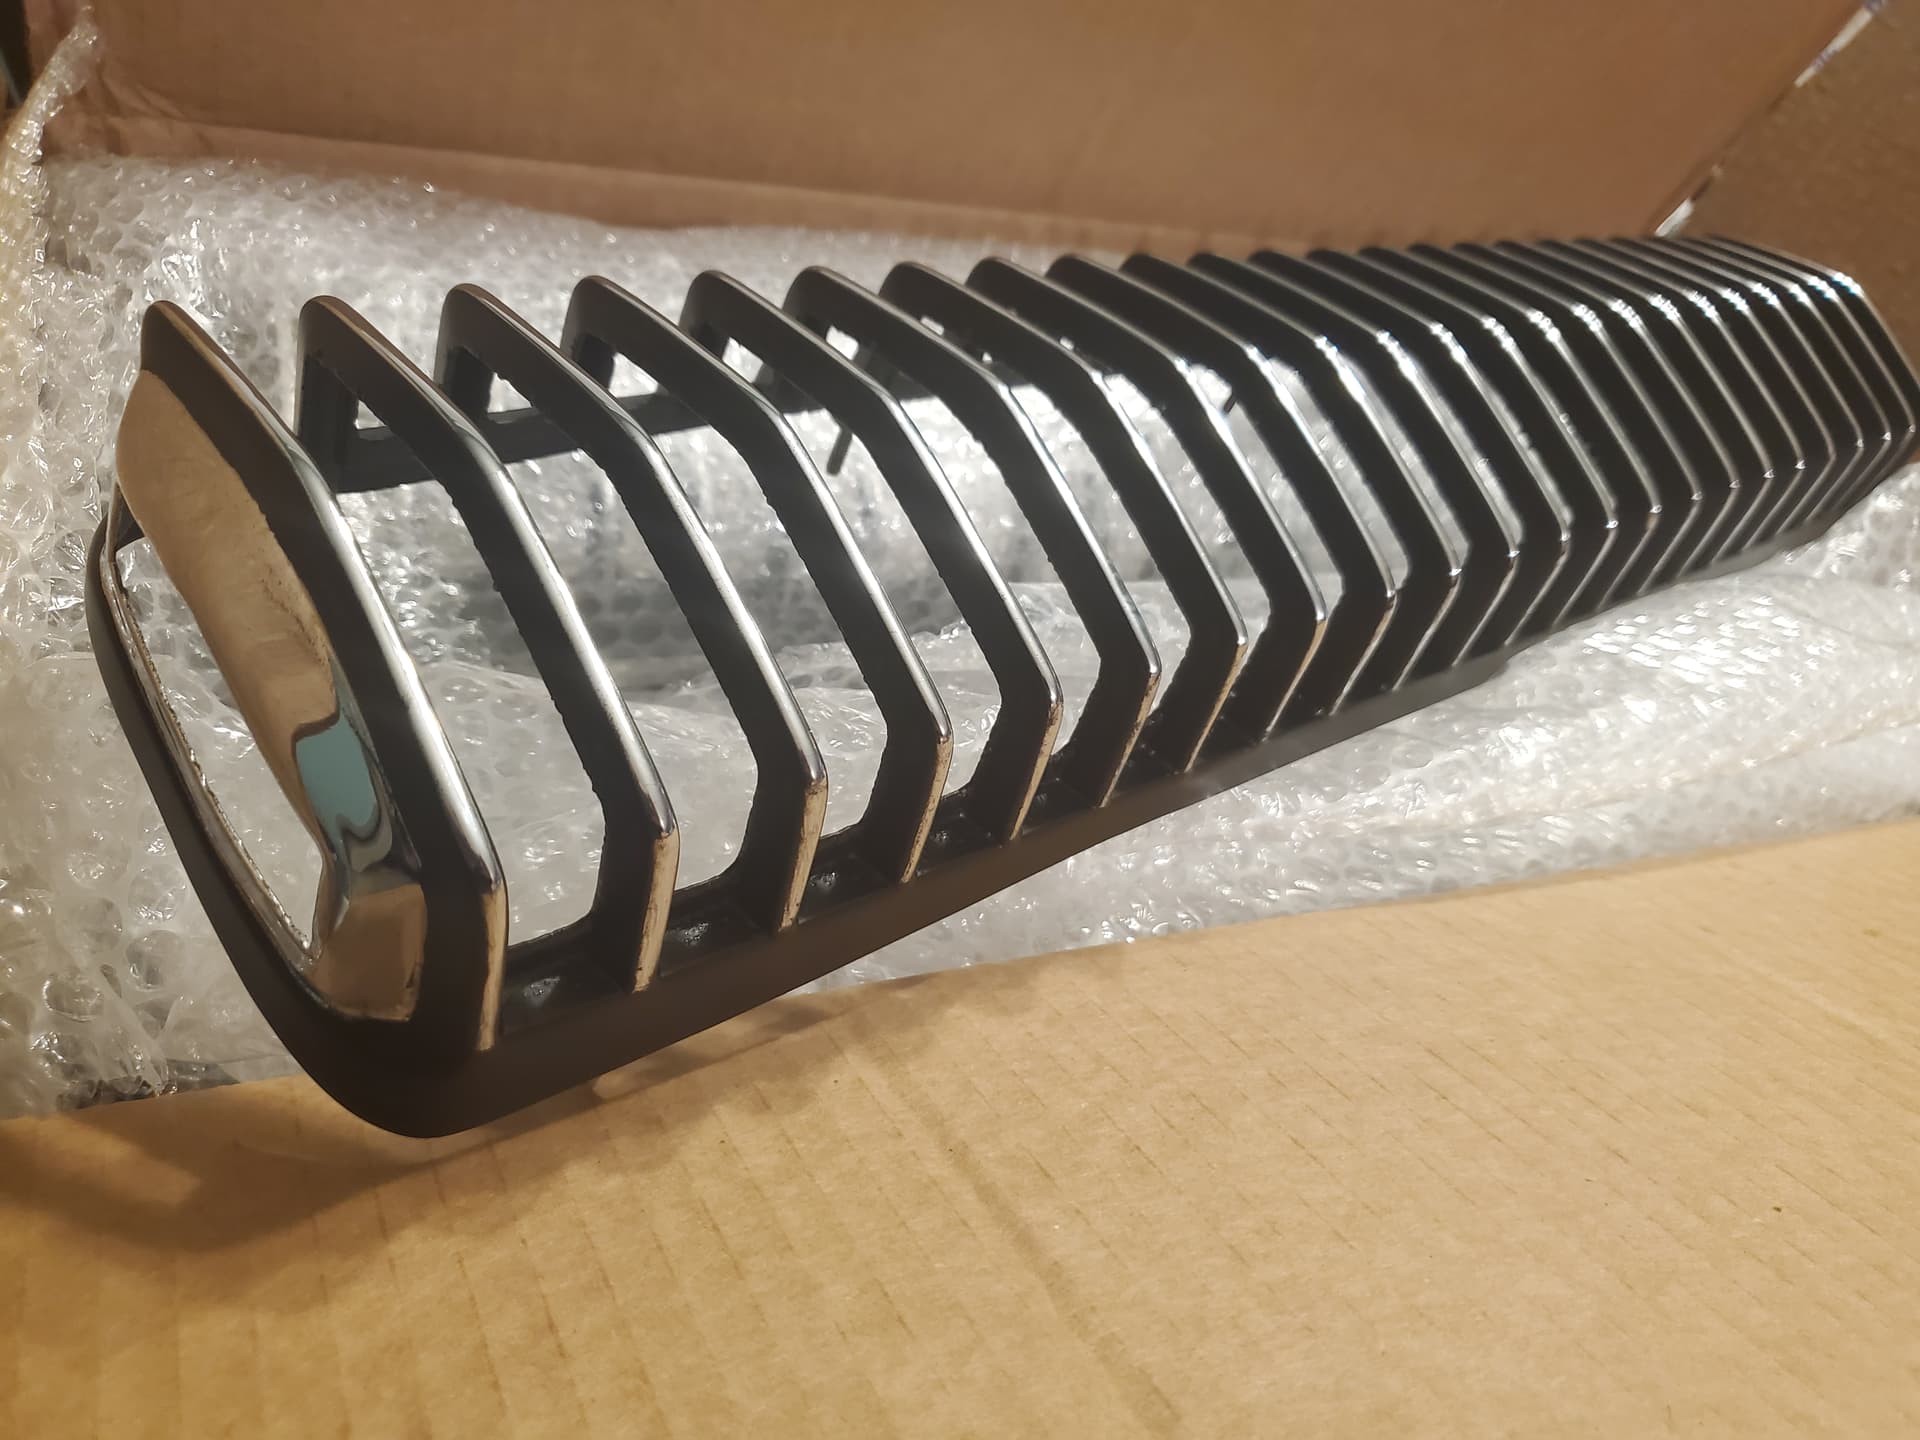
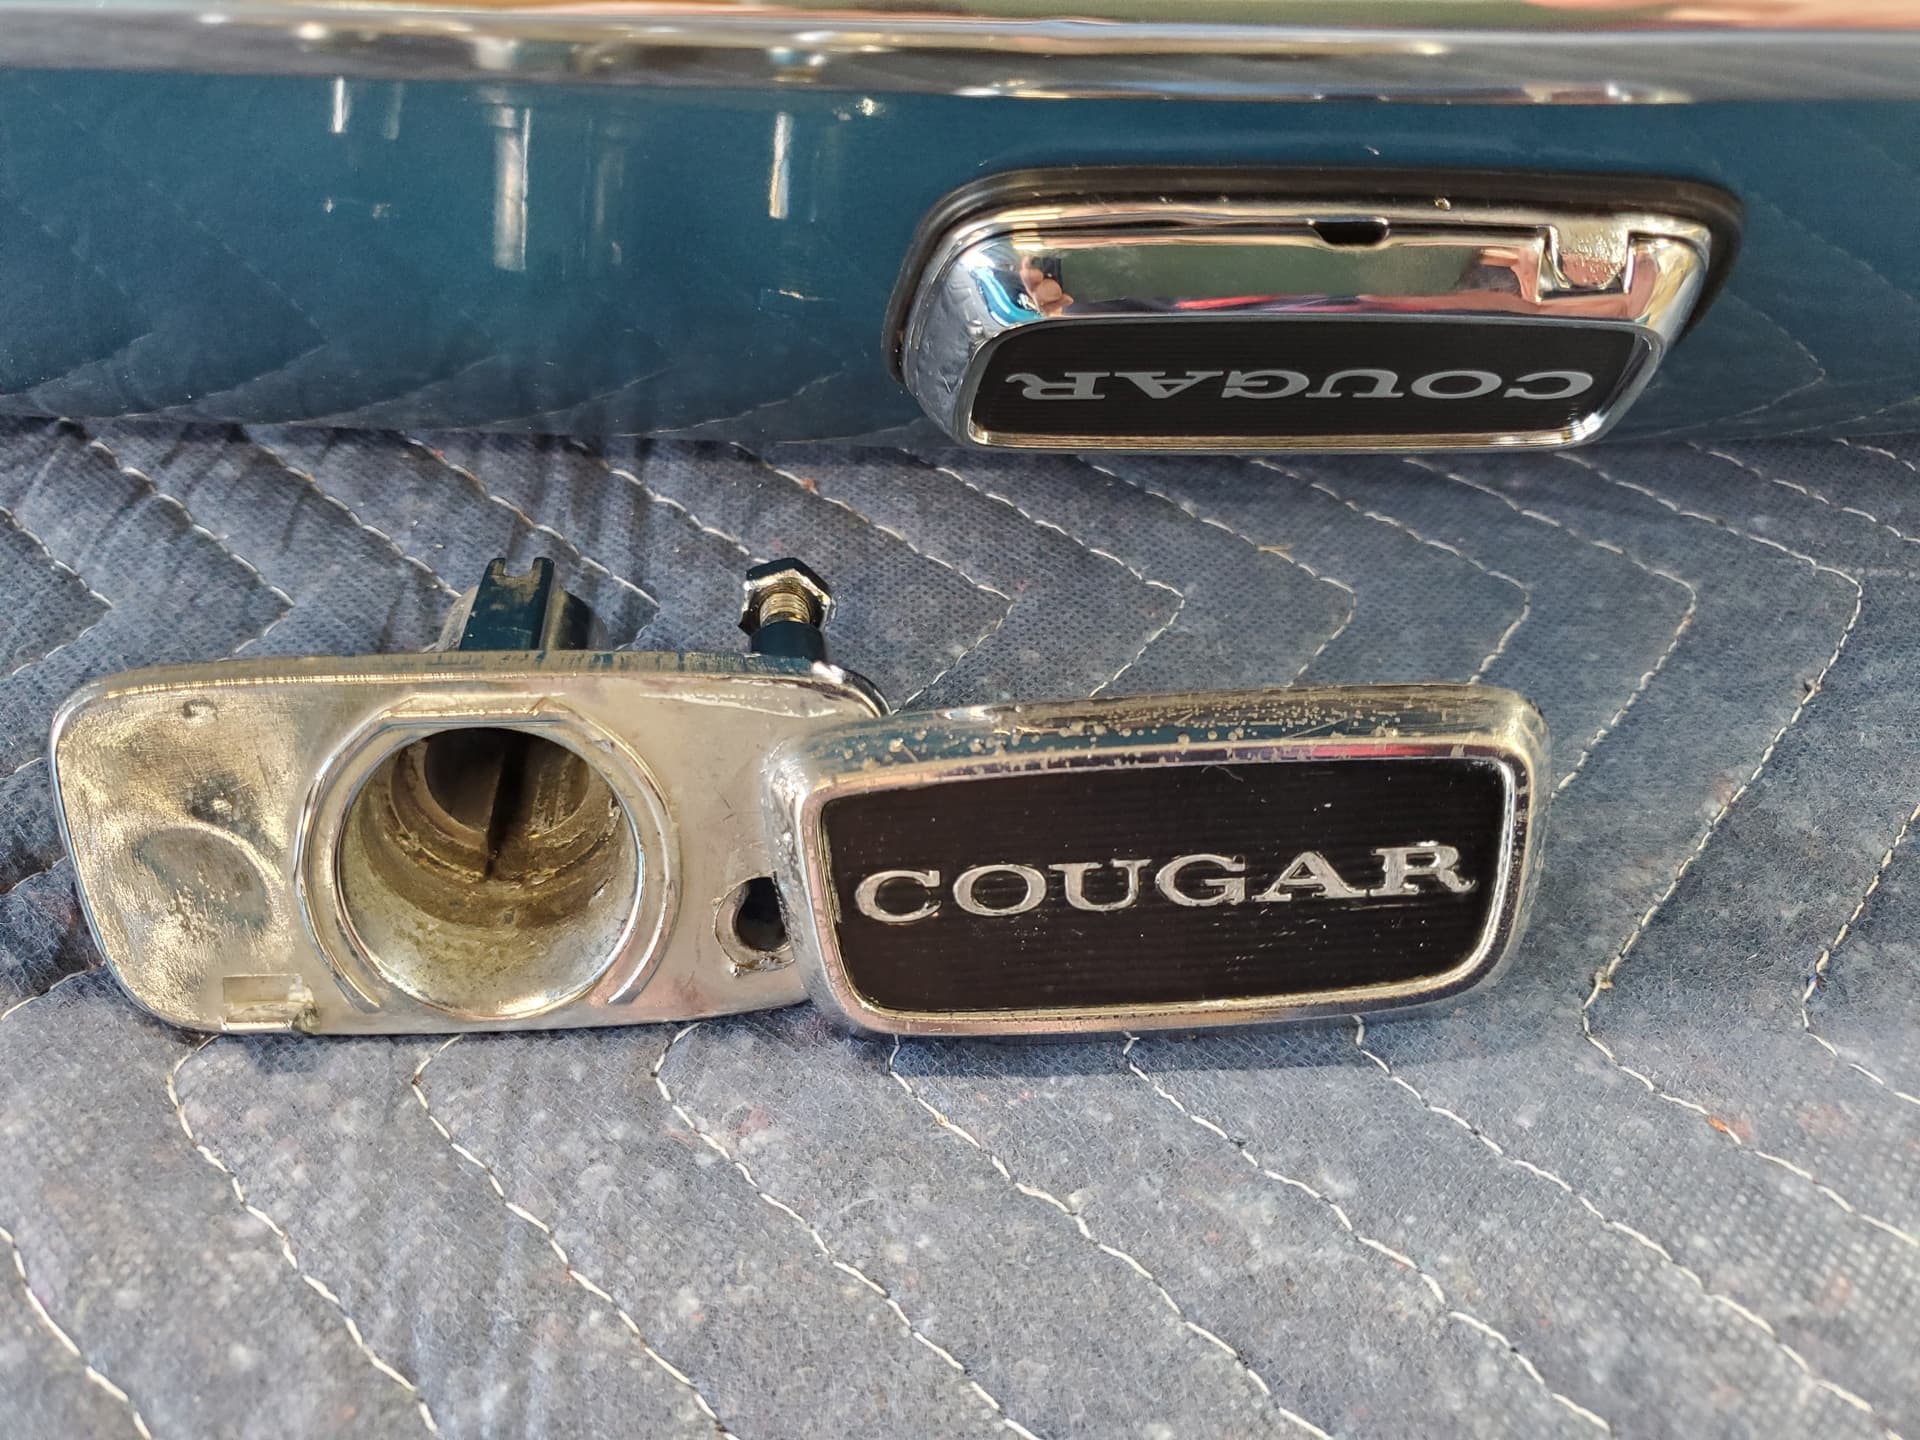
The tail lights/decklid area has been needing some attention for awhile. The trunk lock plate was very pitted, molding was faded, tail light lenses were cracked and the tail light bezels themselves didn’t have the correct finish (they were solid chrome with no black paint on the inside of the fins).
I sent the bezels and housings to powdercoating to have the correct look applied. Apparently chromed pot metal does not tolerate being heated in an oven very well so there was some bubbling, but it’s not really noticeable and overall they did a great job on them.
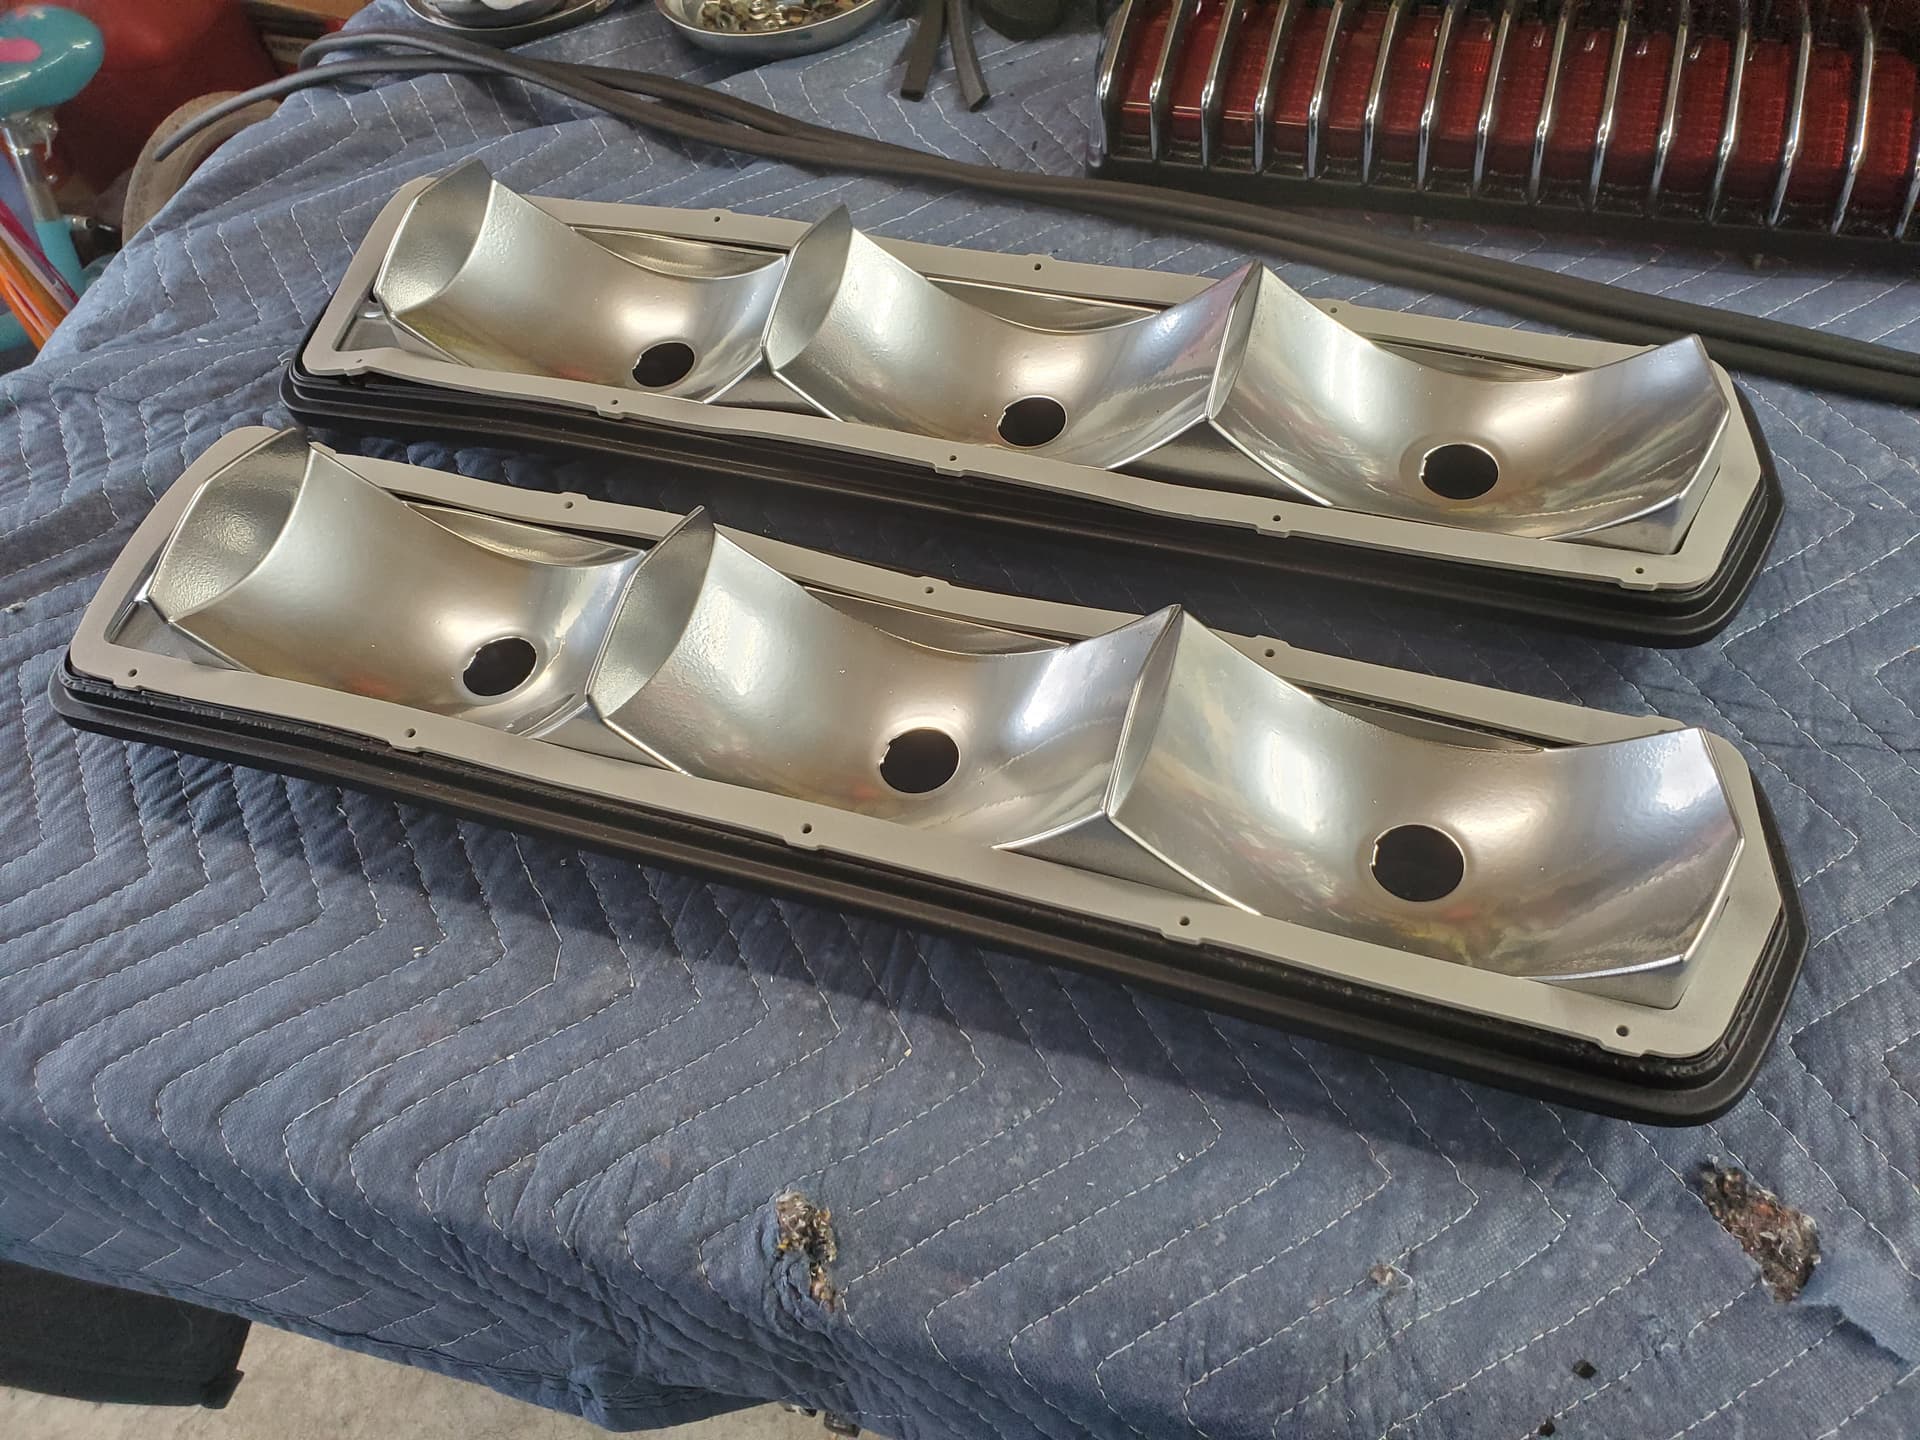
I sprayed the inside of the housings with a reflective paint, and got new seals for the housings and bezels. I also picked up a new set of lenses as mine had quite a few blemishes.
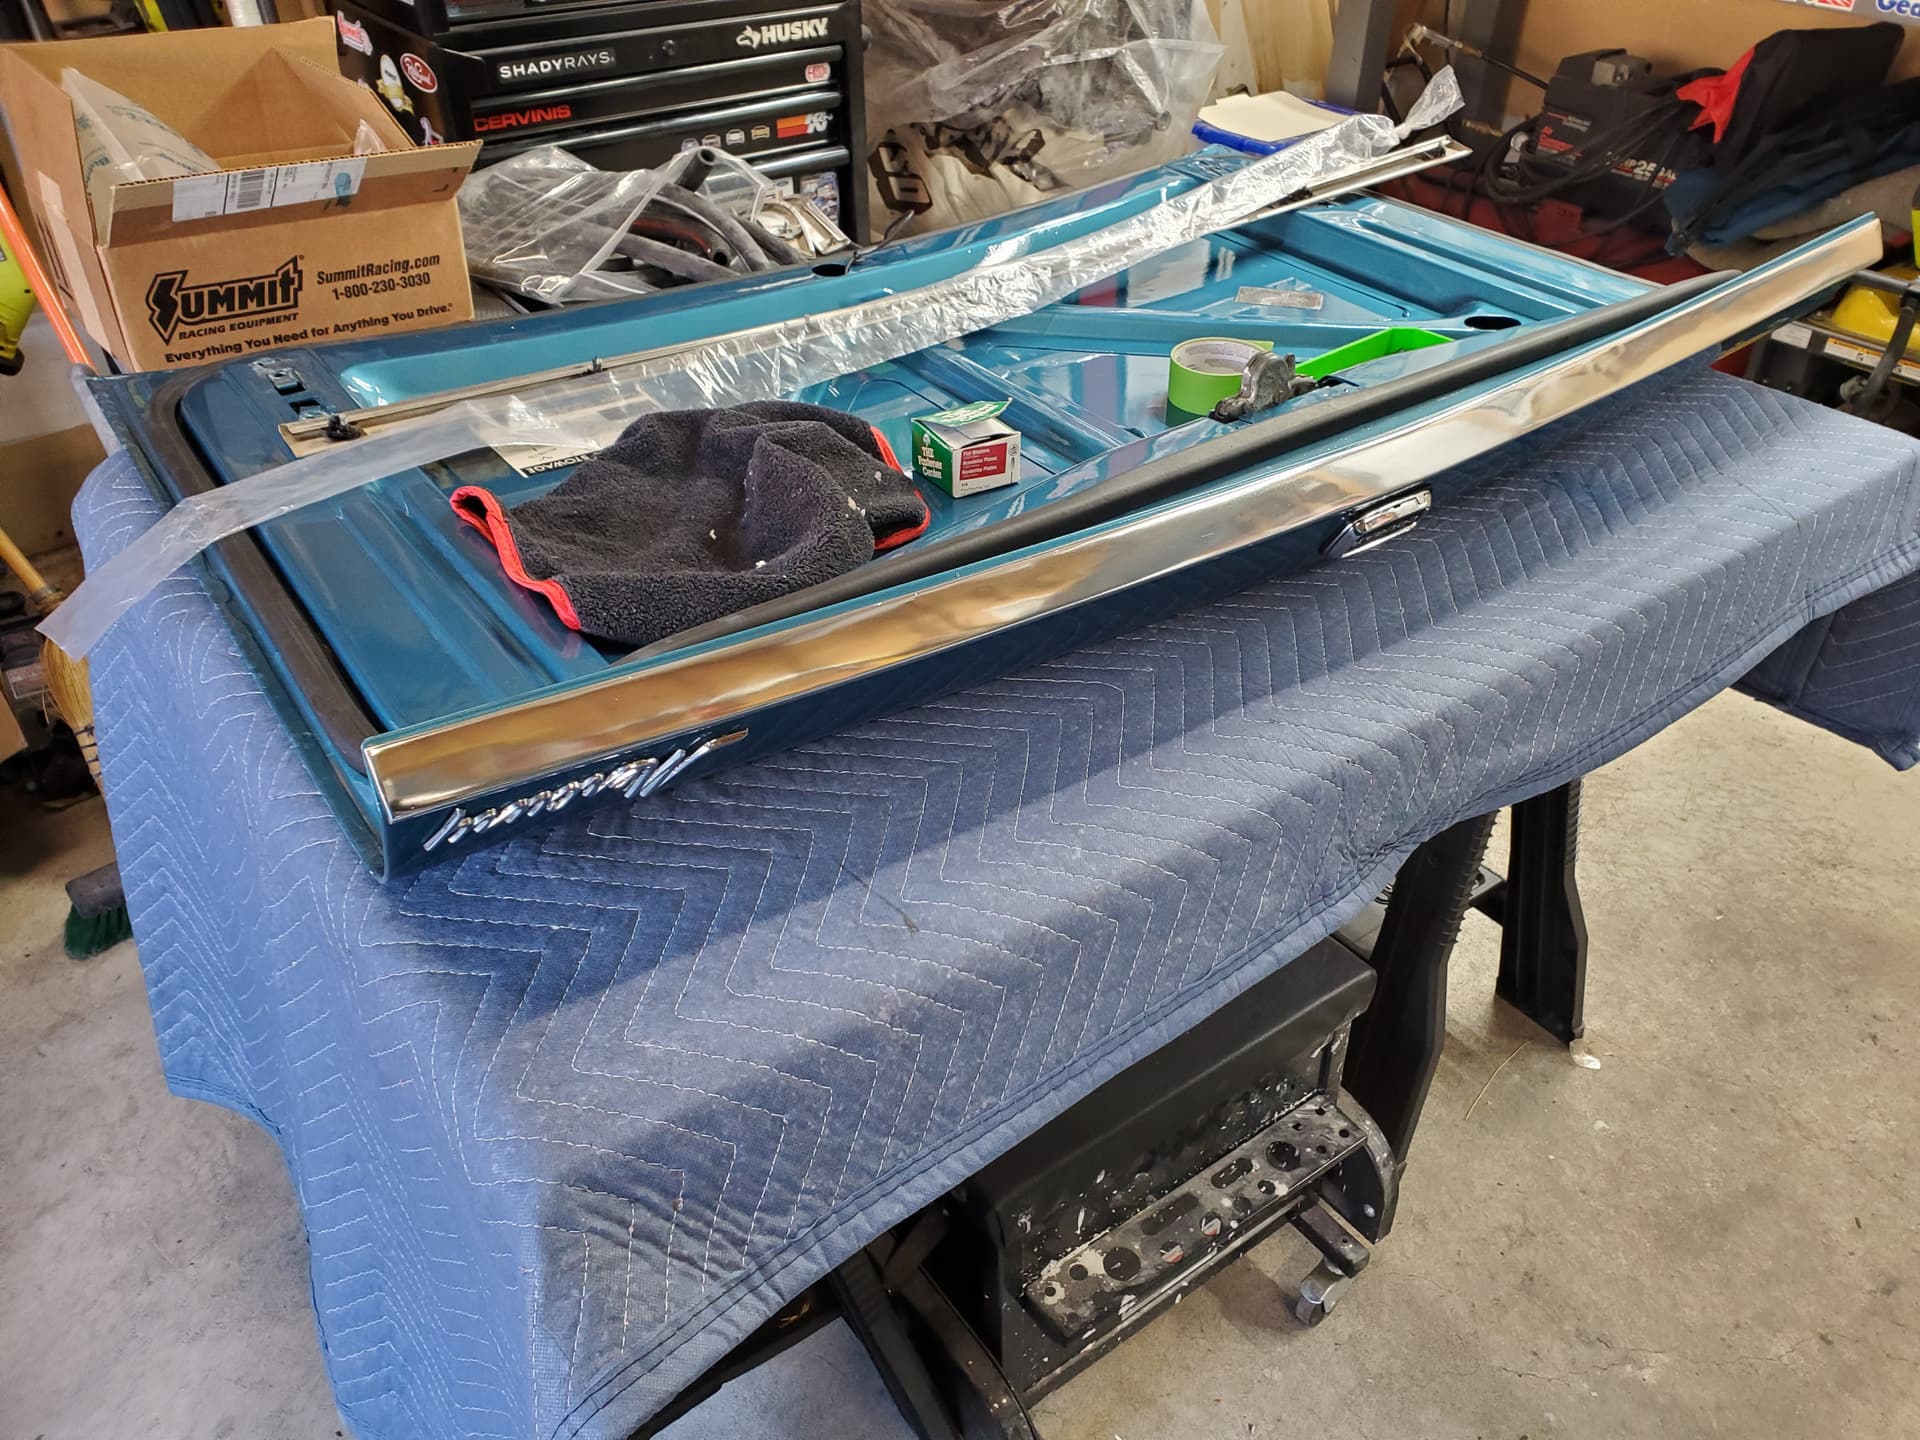
Moving onto the decklid, I needed to replace the lock plate and molding. Rather than try to contort myself inside the trunk to do this work, I decided it would just be easier to pull off the decklid and do the work on the bench. I ordered a restored set of the anodized aluminum moldings from WCCC. Unfortunately the pieces I got were in worse shape than my cores from a fitment perspective (I know they encourage pre-shipping your cores so they can match, I didn’t want to wait). Thankfully the aluminum is fairly malleable so I was able to tweak them back into shape. Replacing the lock plate was pretty easy with the deck lid removed, WCCC has a good video on exactly how to do it.
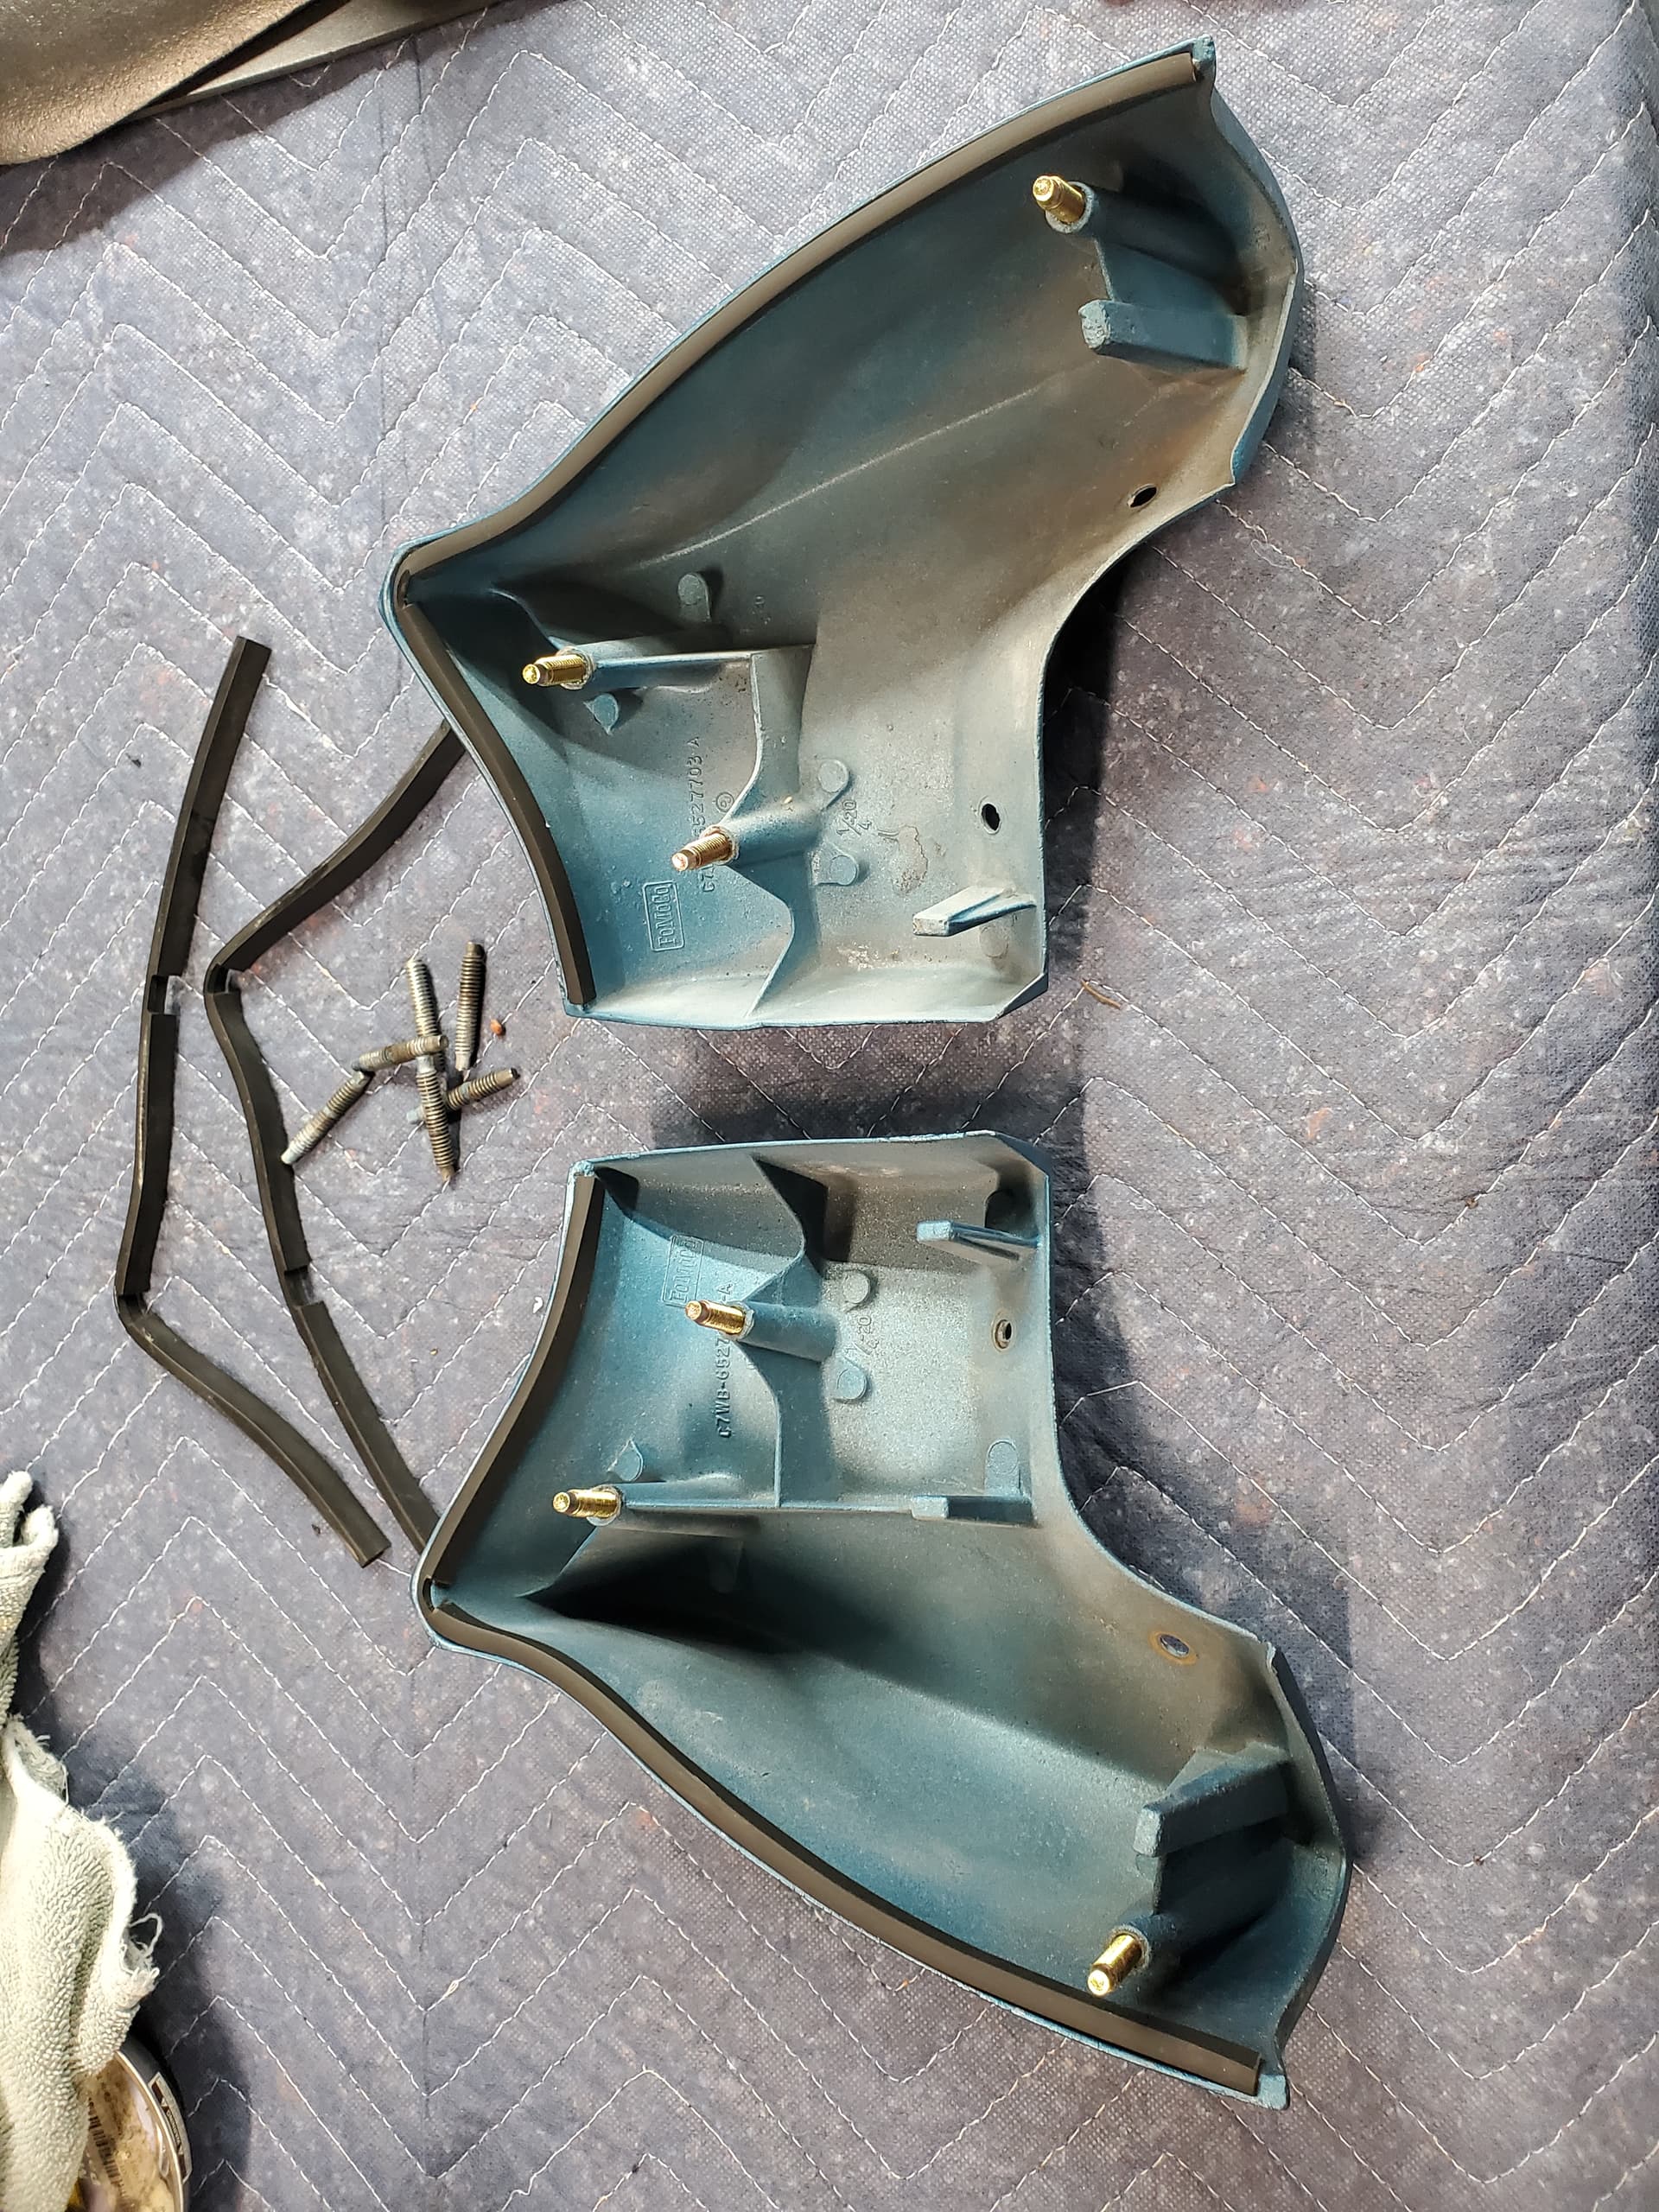
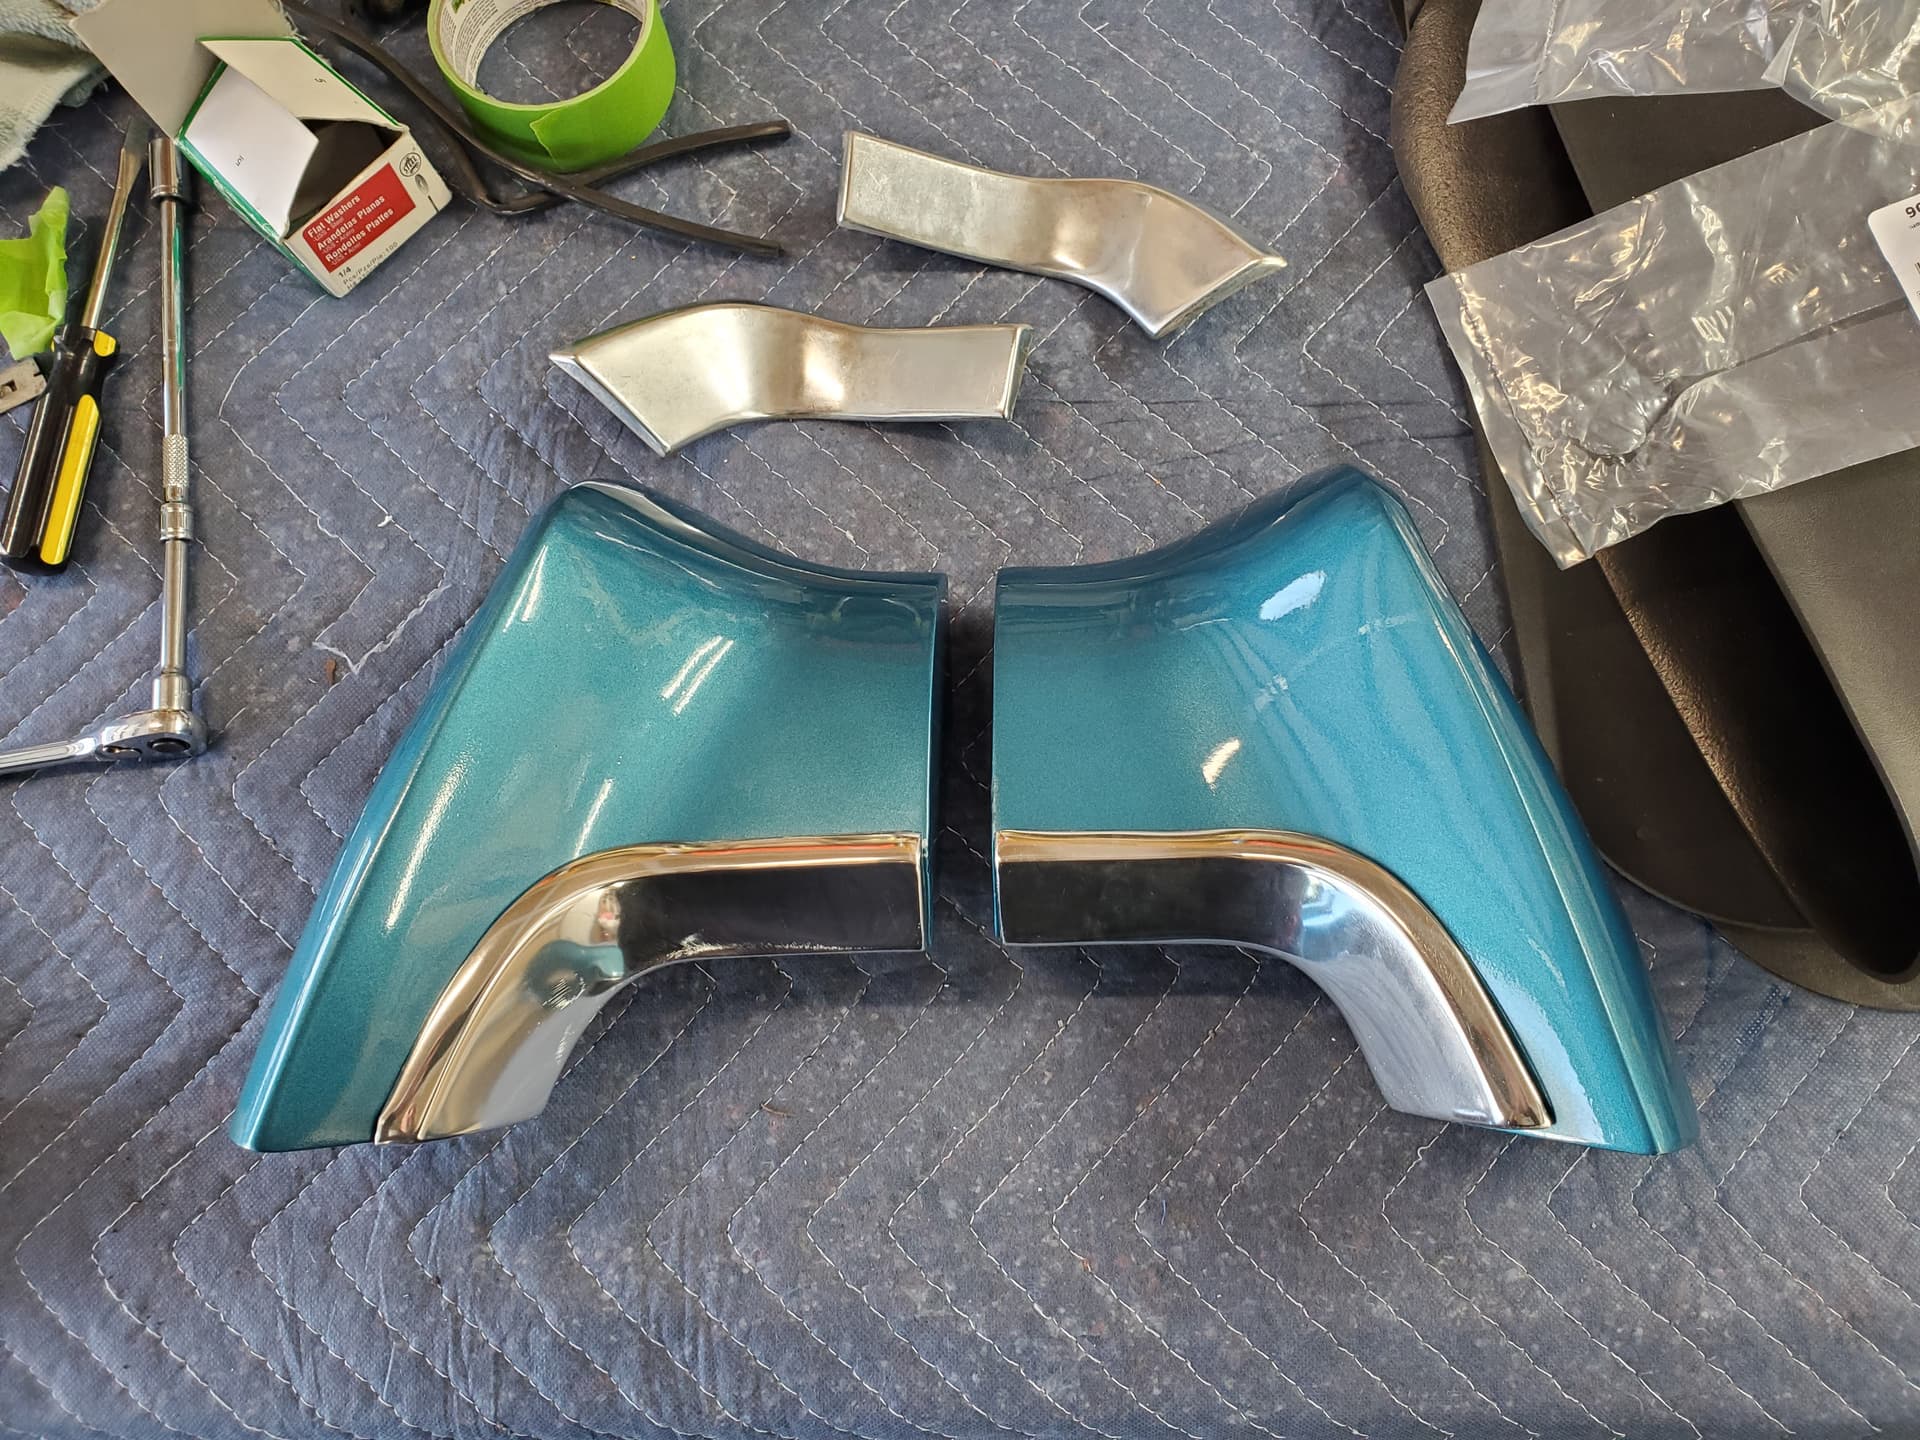
Once I got the decklid back on the car, I removed the quarter extensions to work on them. Those got new moldings as well, I also installed new hardware and seals while they were off.
Afterwards just a matter of getting the quarter extensions back on the car and aligned. The tail lights on these cars are such an important part of the look, it always bugged me having the solid chrome bezels. The whole thing looks way better now.
Nice butt lift! Agree with the taillights being such an important part of the look. Same with the grill, money well spent on the dress up of those areas!
I tediously painted my bezels and had thought about powdercoat. I was too afraid to powder coat them in fears it would damage the cast aluminum
Yeah after seeing the result I would probably not powdercoat any of the cast grill pieces on the car. I lucked out that the bubbling is in areas that are well hidden. It’s an incredibly tedious job but I think painting is the only safe way to do it.
Did a couple quality of life improvements on the Cougar I thought were worth mentioning.
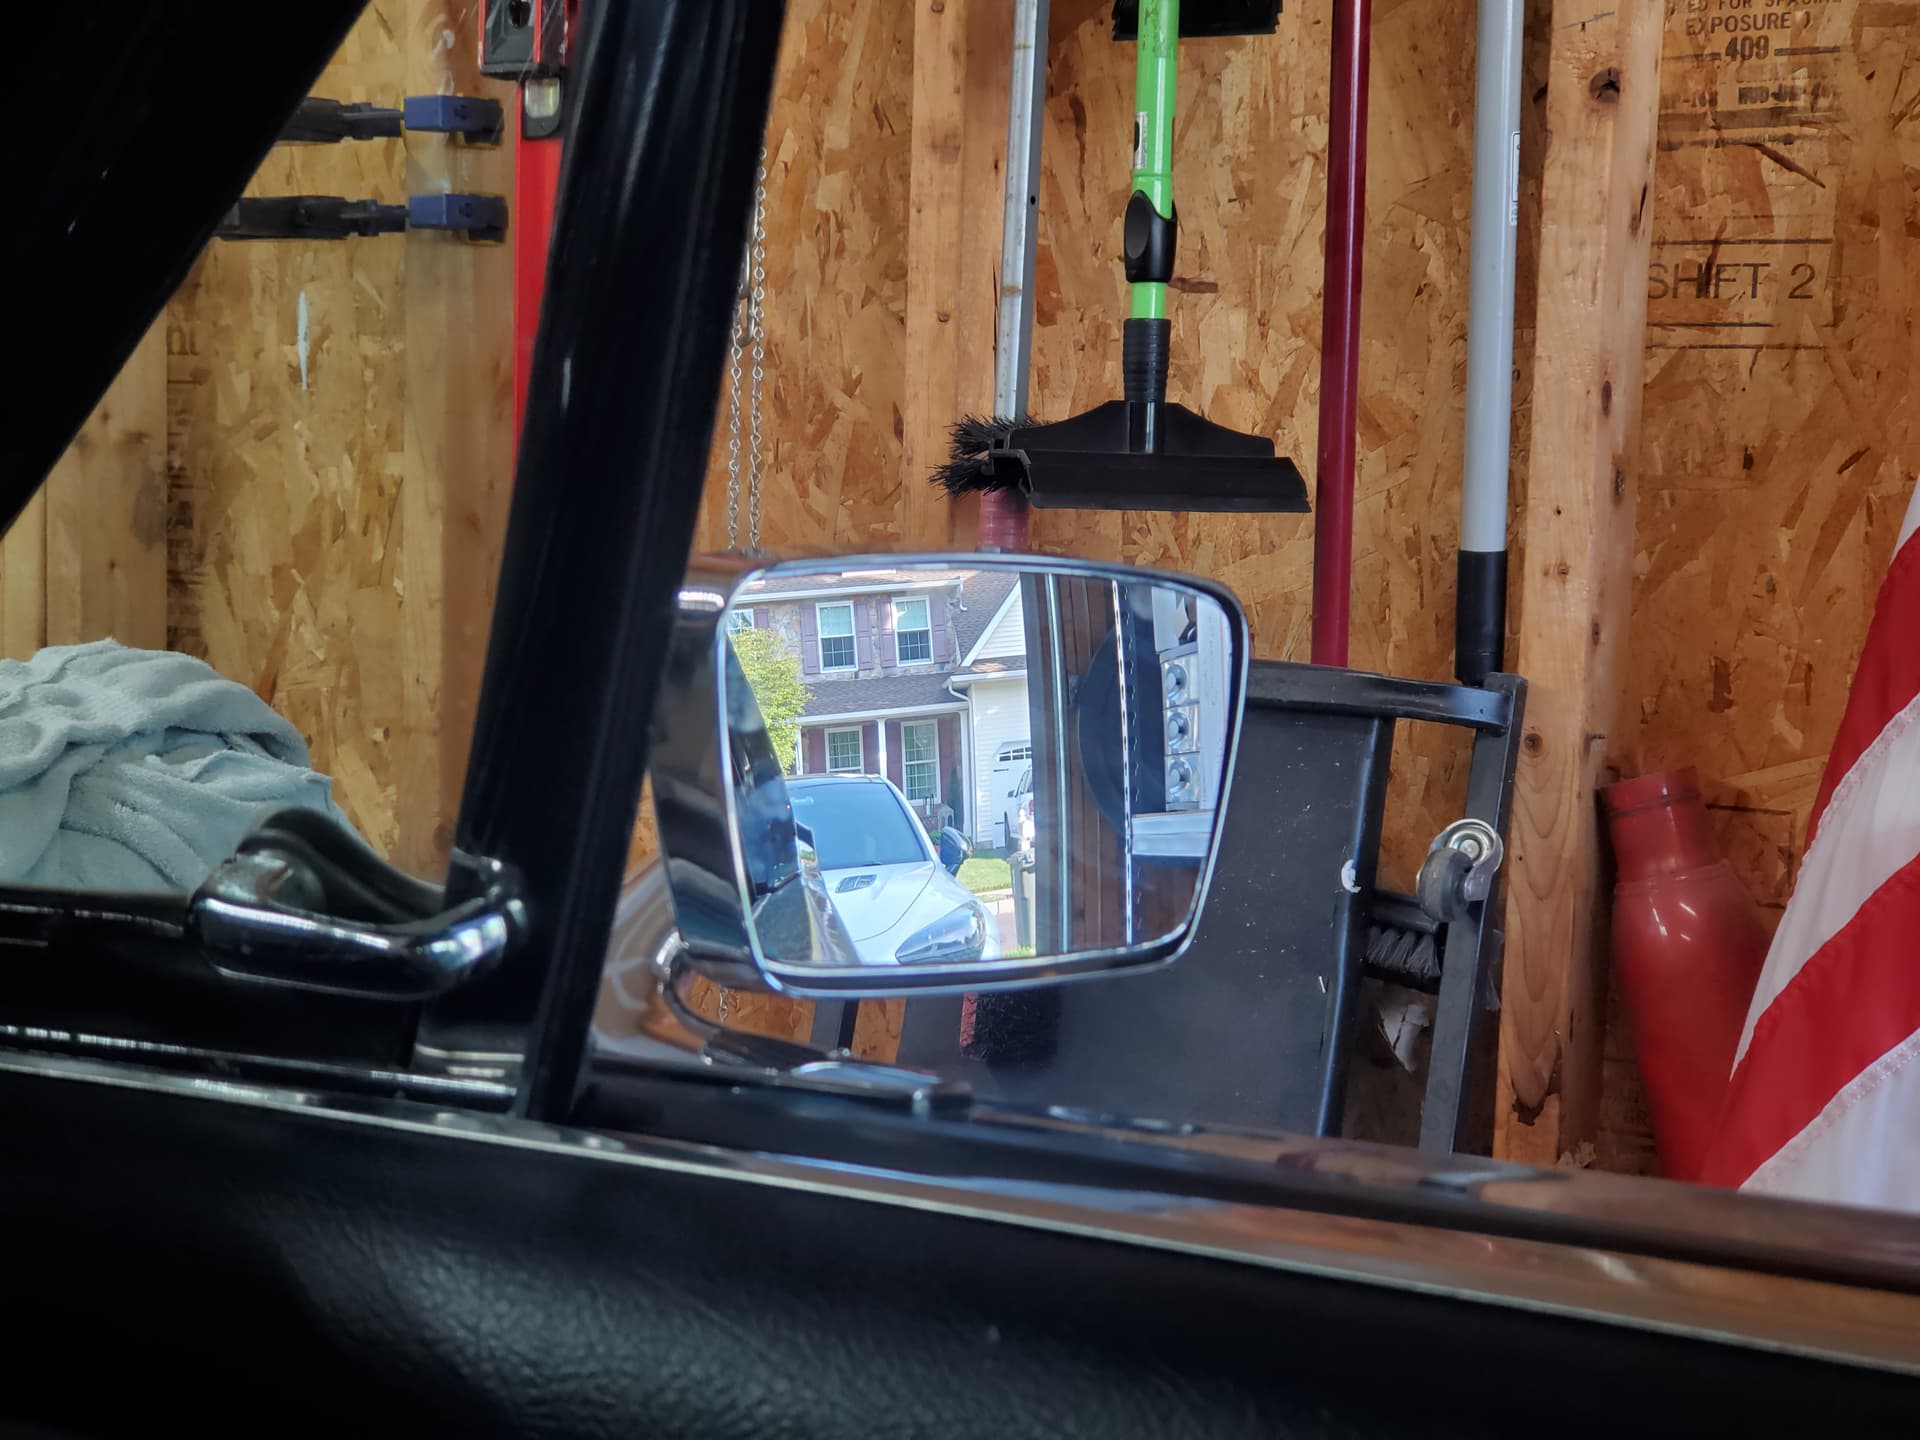
The first was a passenger side convex mirror. The previous owner had already installed a passenger side mirror, but it was basically useless with the lens it had. Luckily WCCC sells just the convex lens so I didn’t have to buy a whole housing. I removed the mirror housing, soaked it in gasoline overnight to remove the adhesive holding the lens. I then used four dabs of silicone to secure the new convex lens. It’s nice to have a mirror that is actually useful on the highway and for backing up now. Also of note, the WCCC lens has the correct slight transparency which cuts down on headlight glare. Definitely a quality piece.
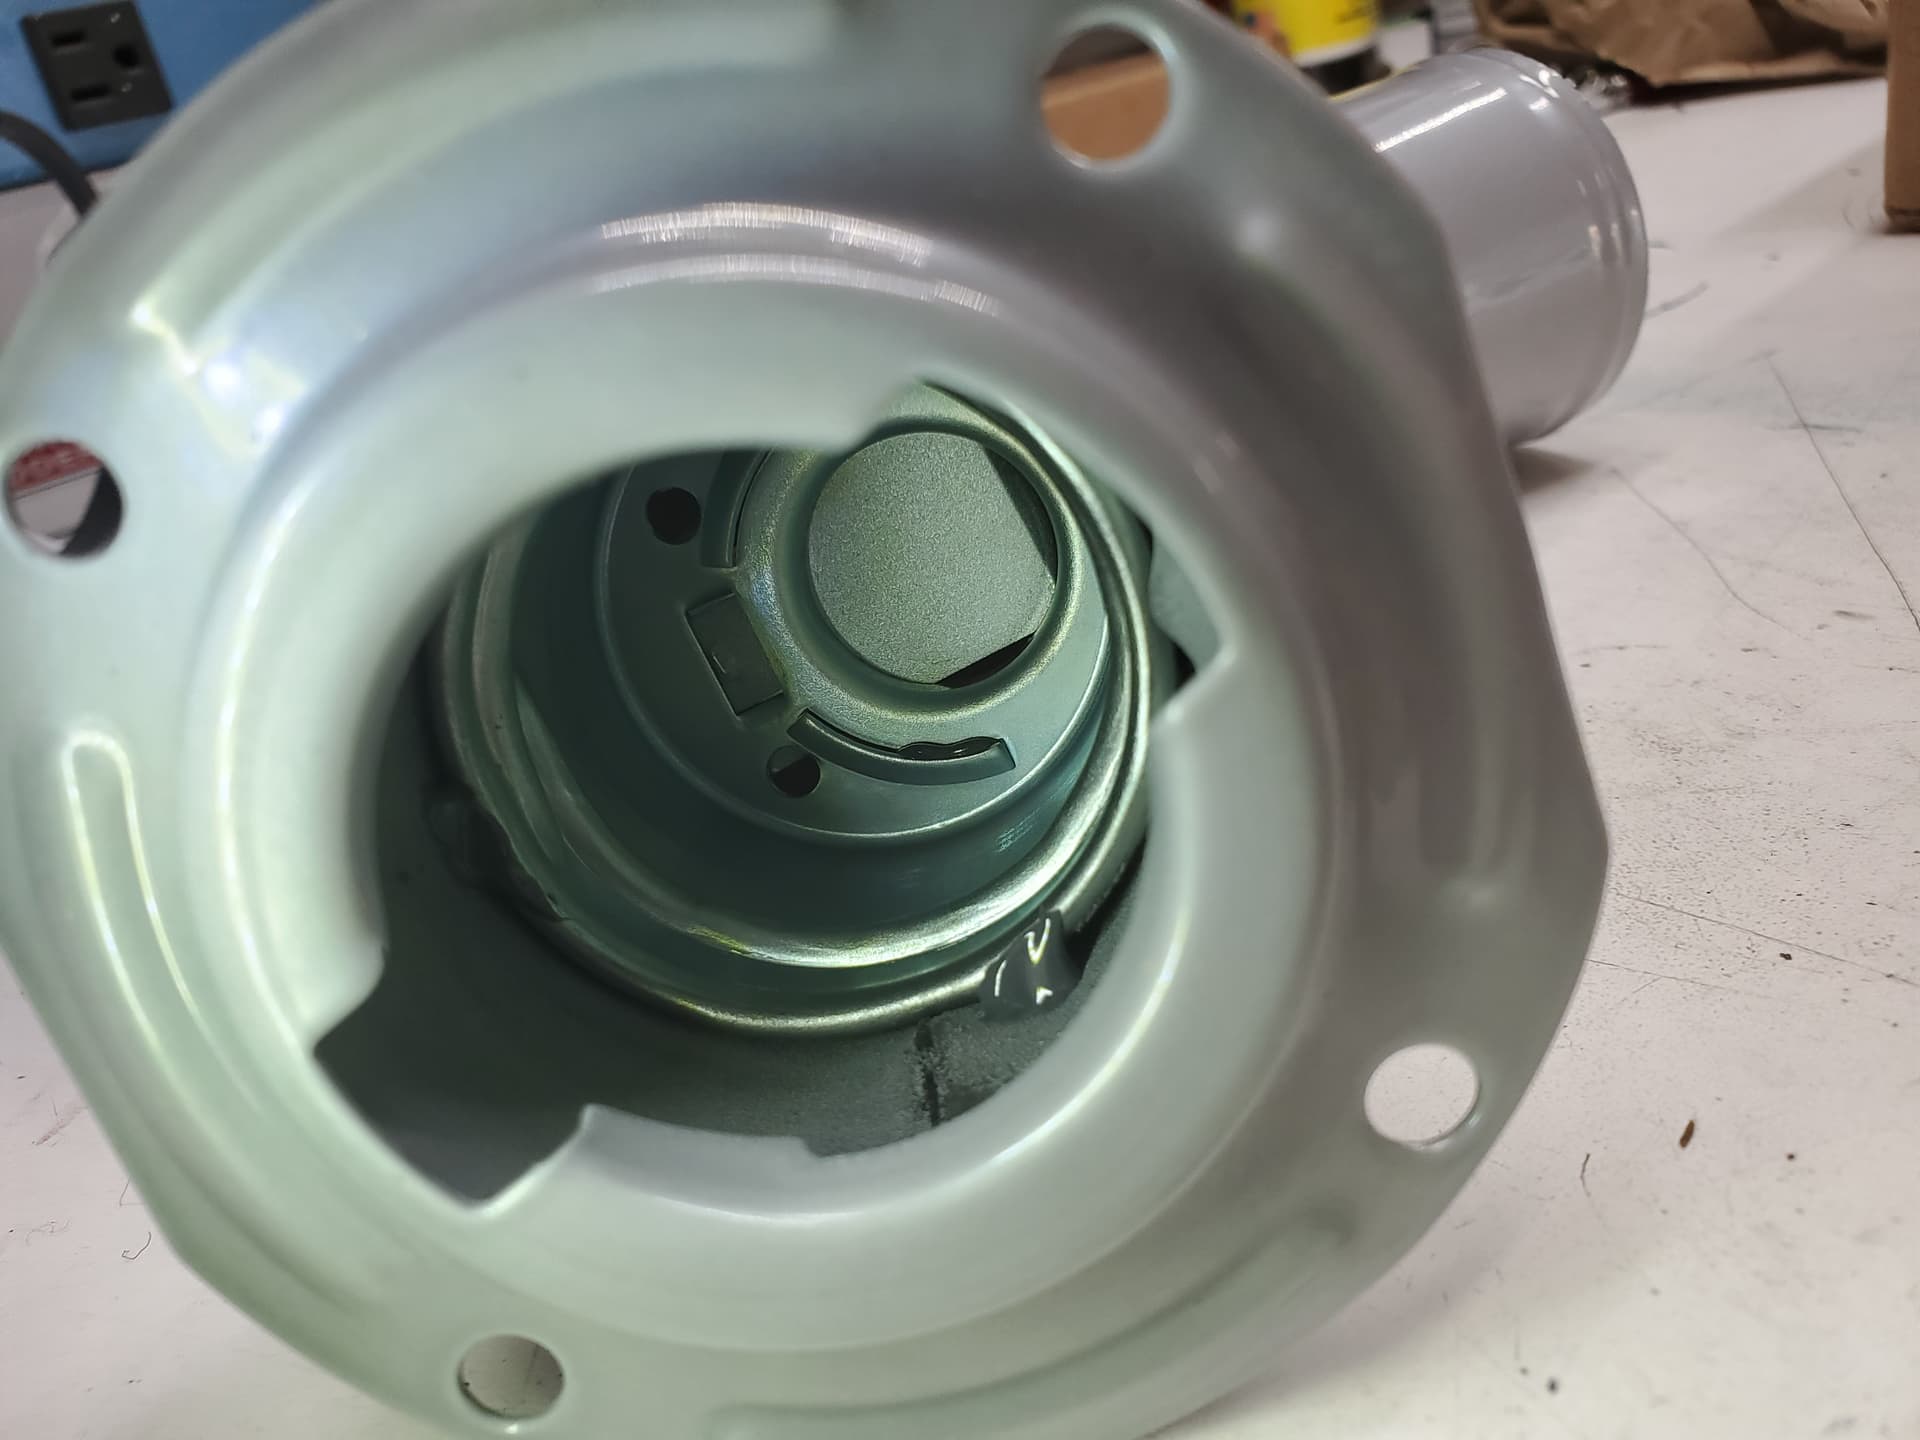
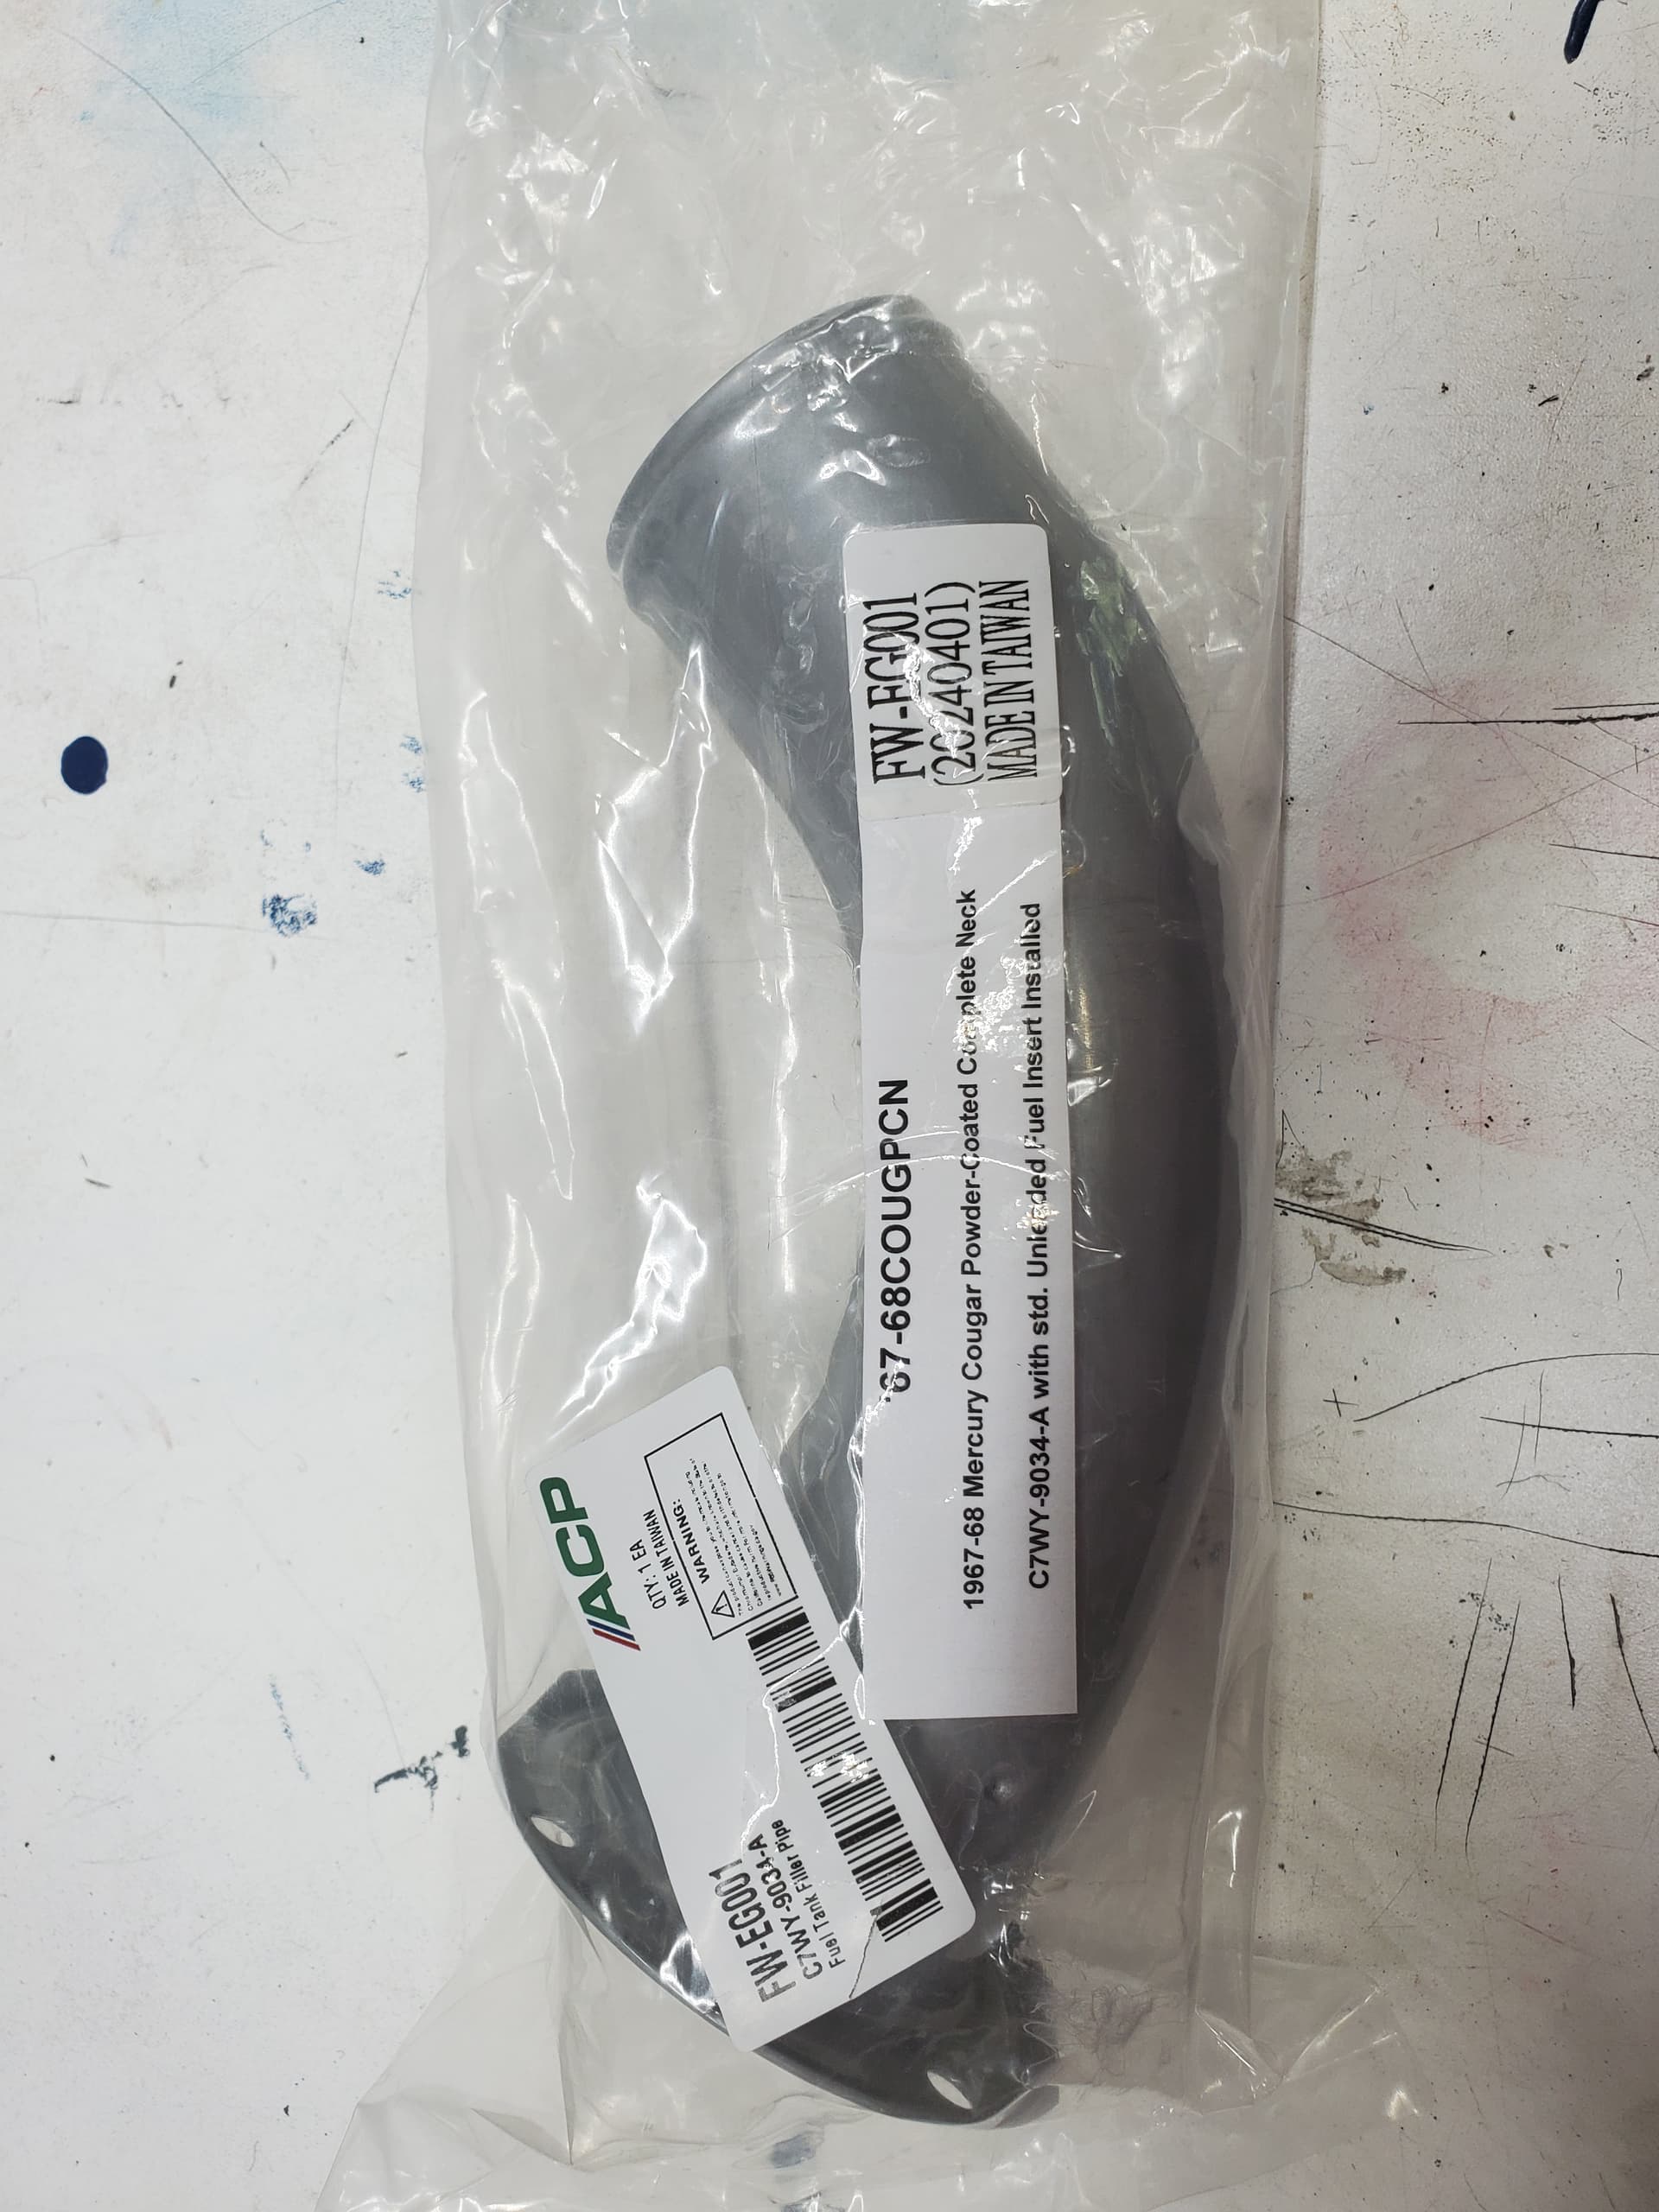
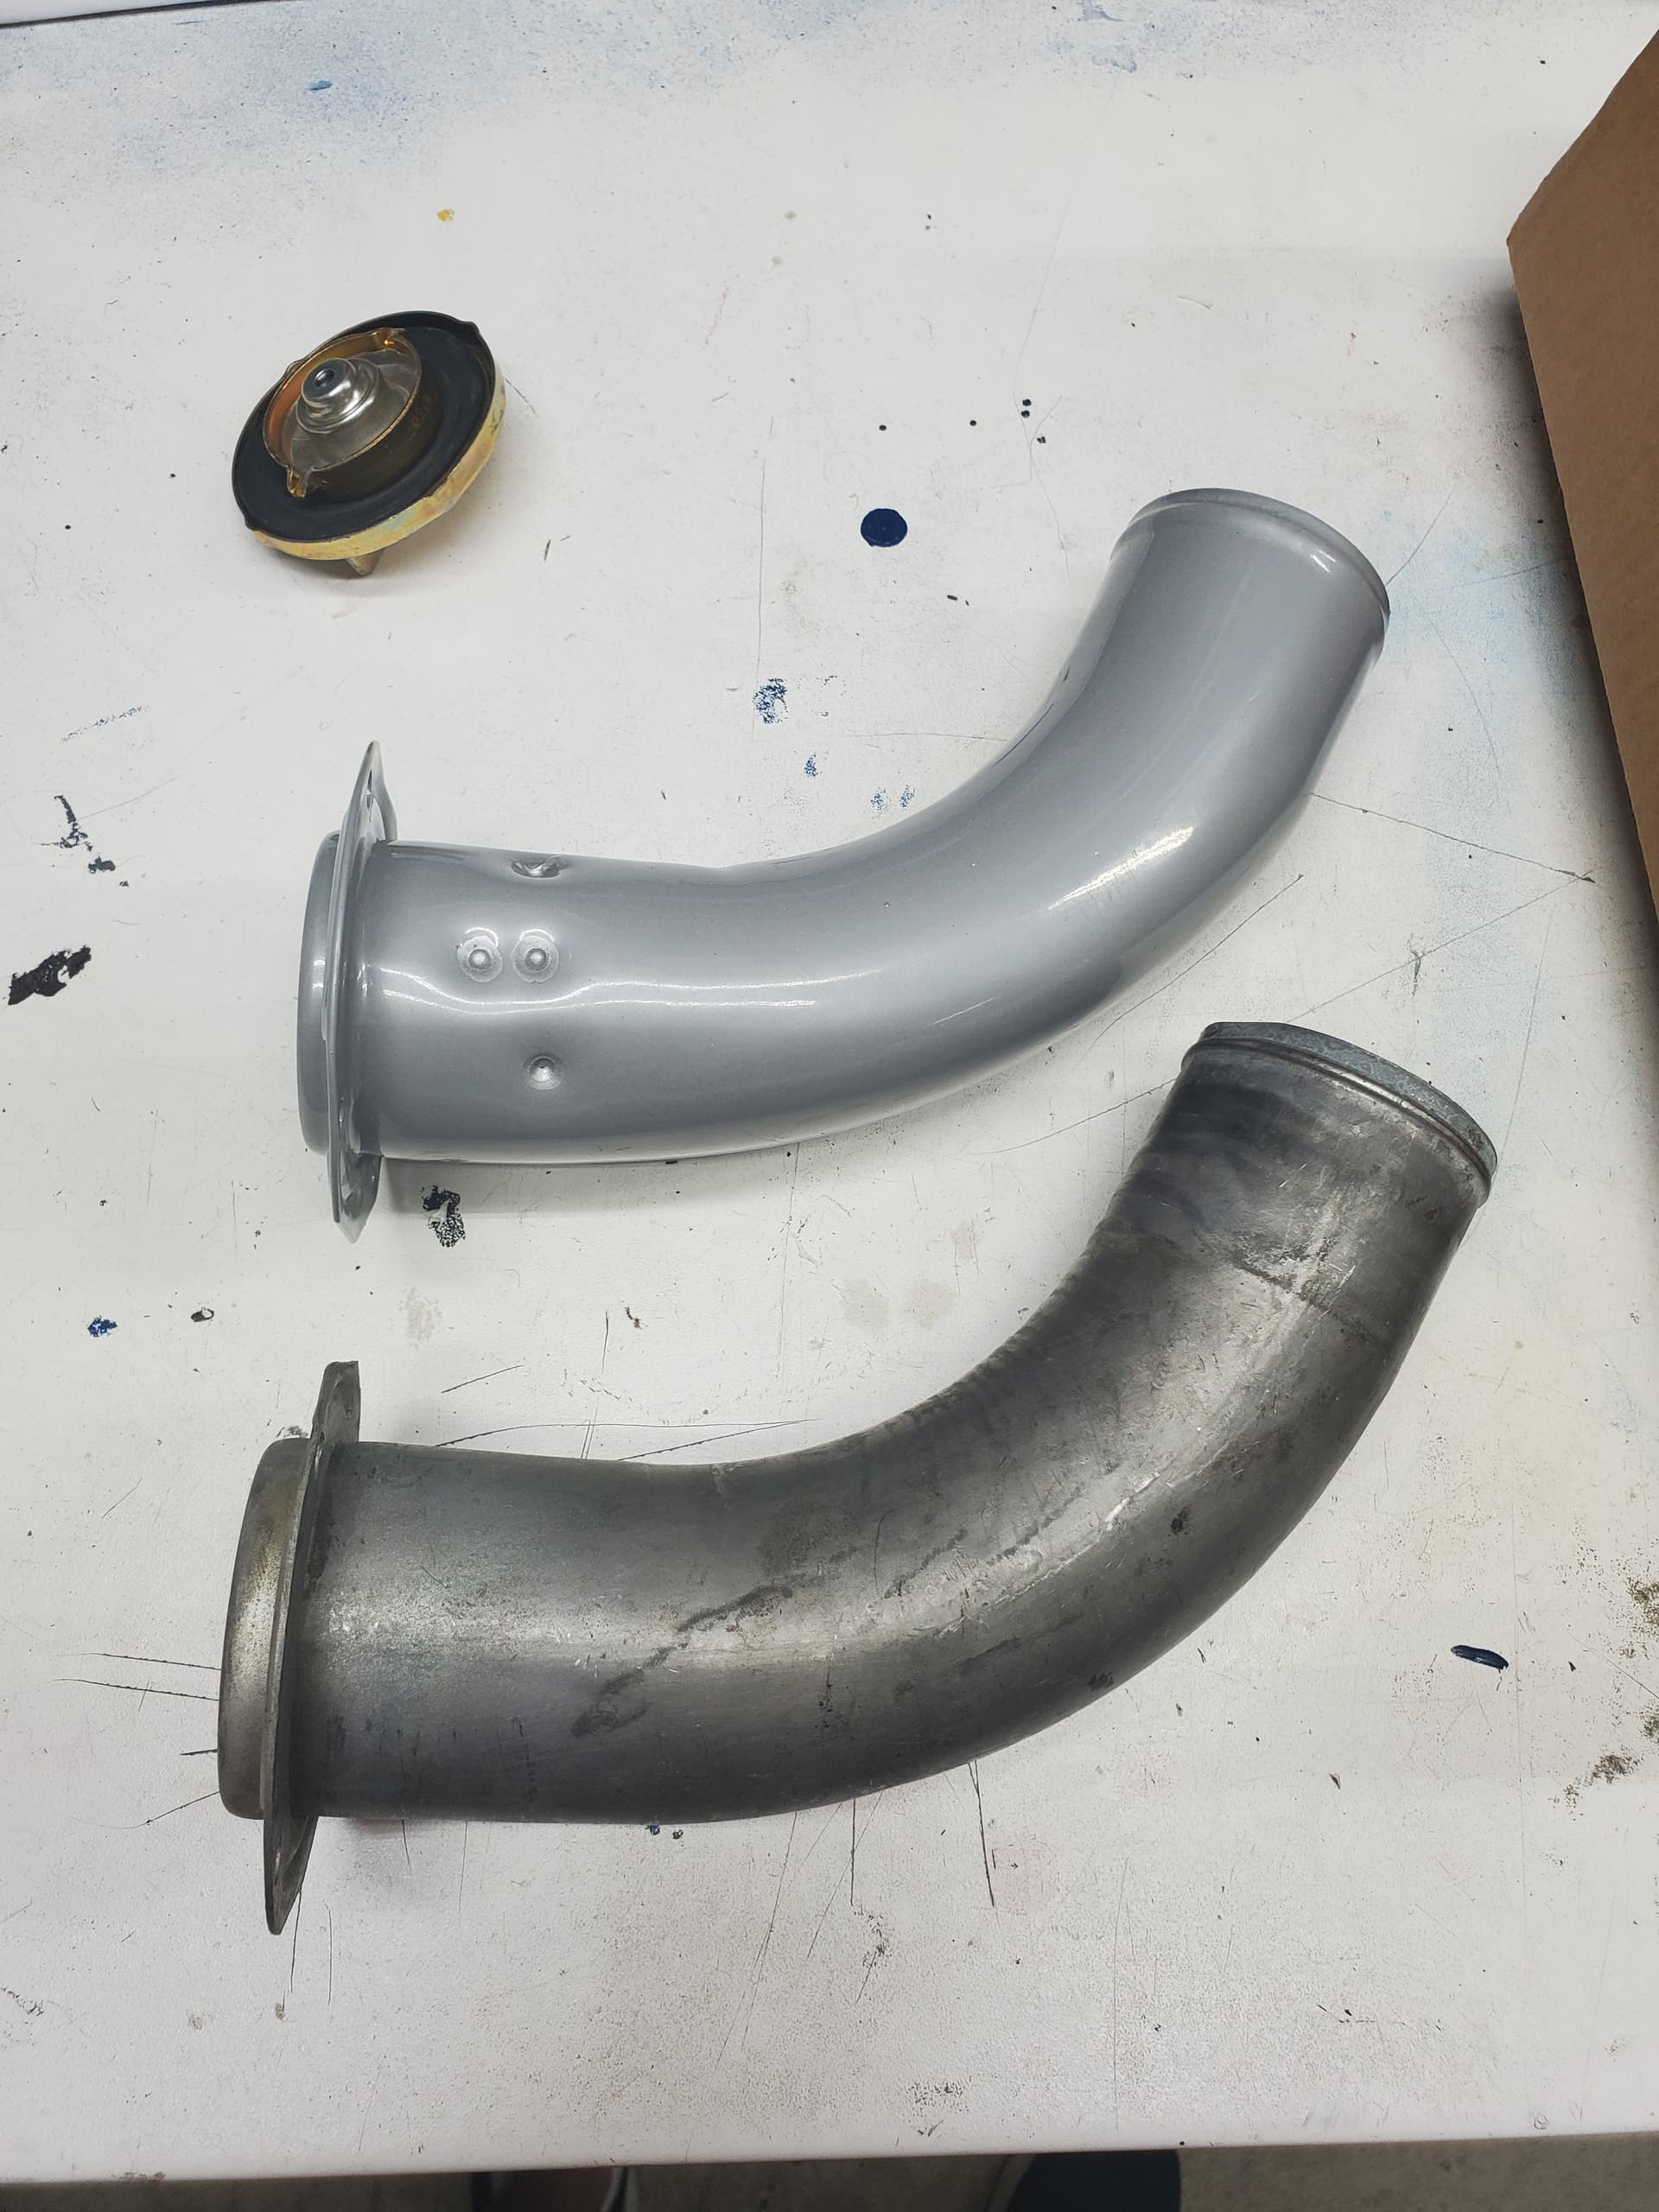
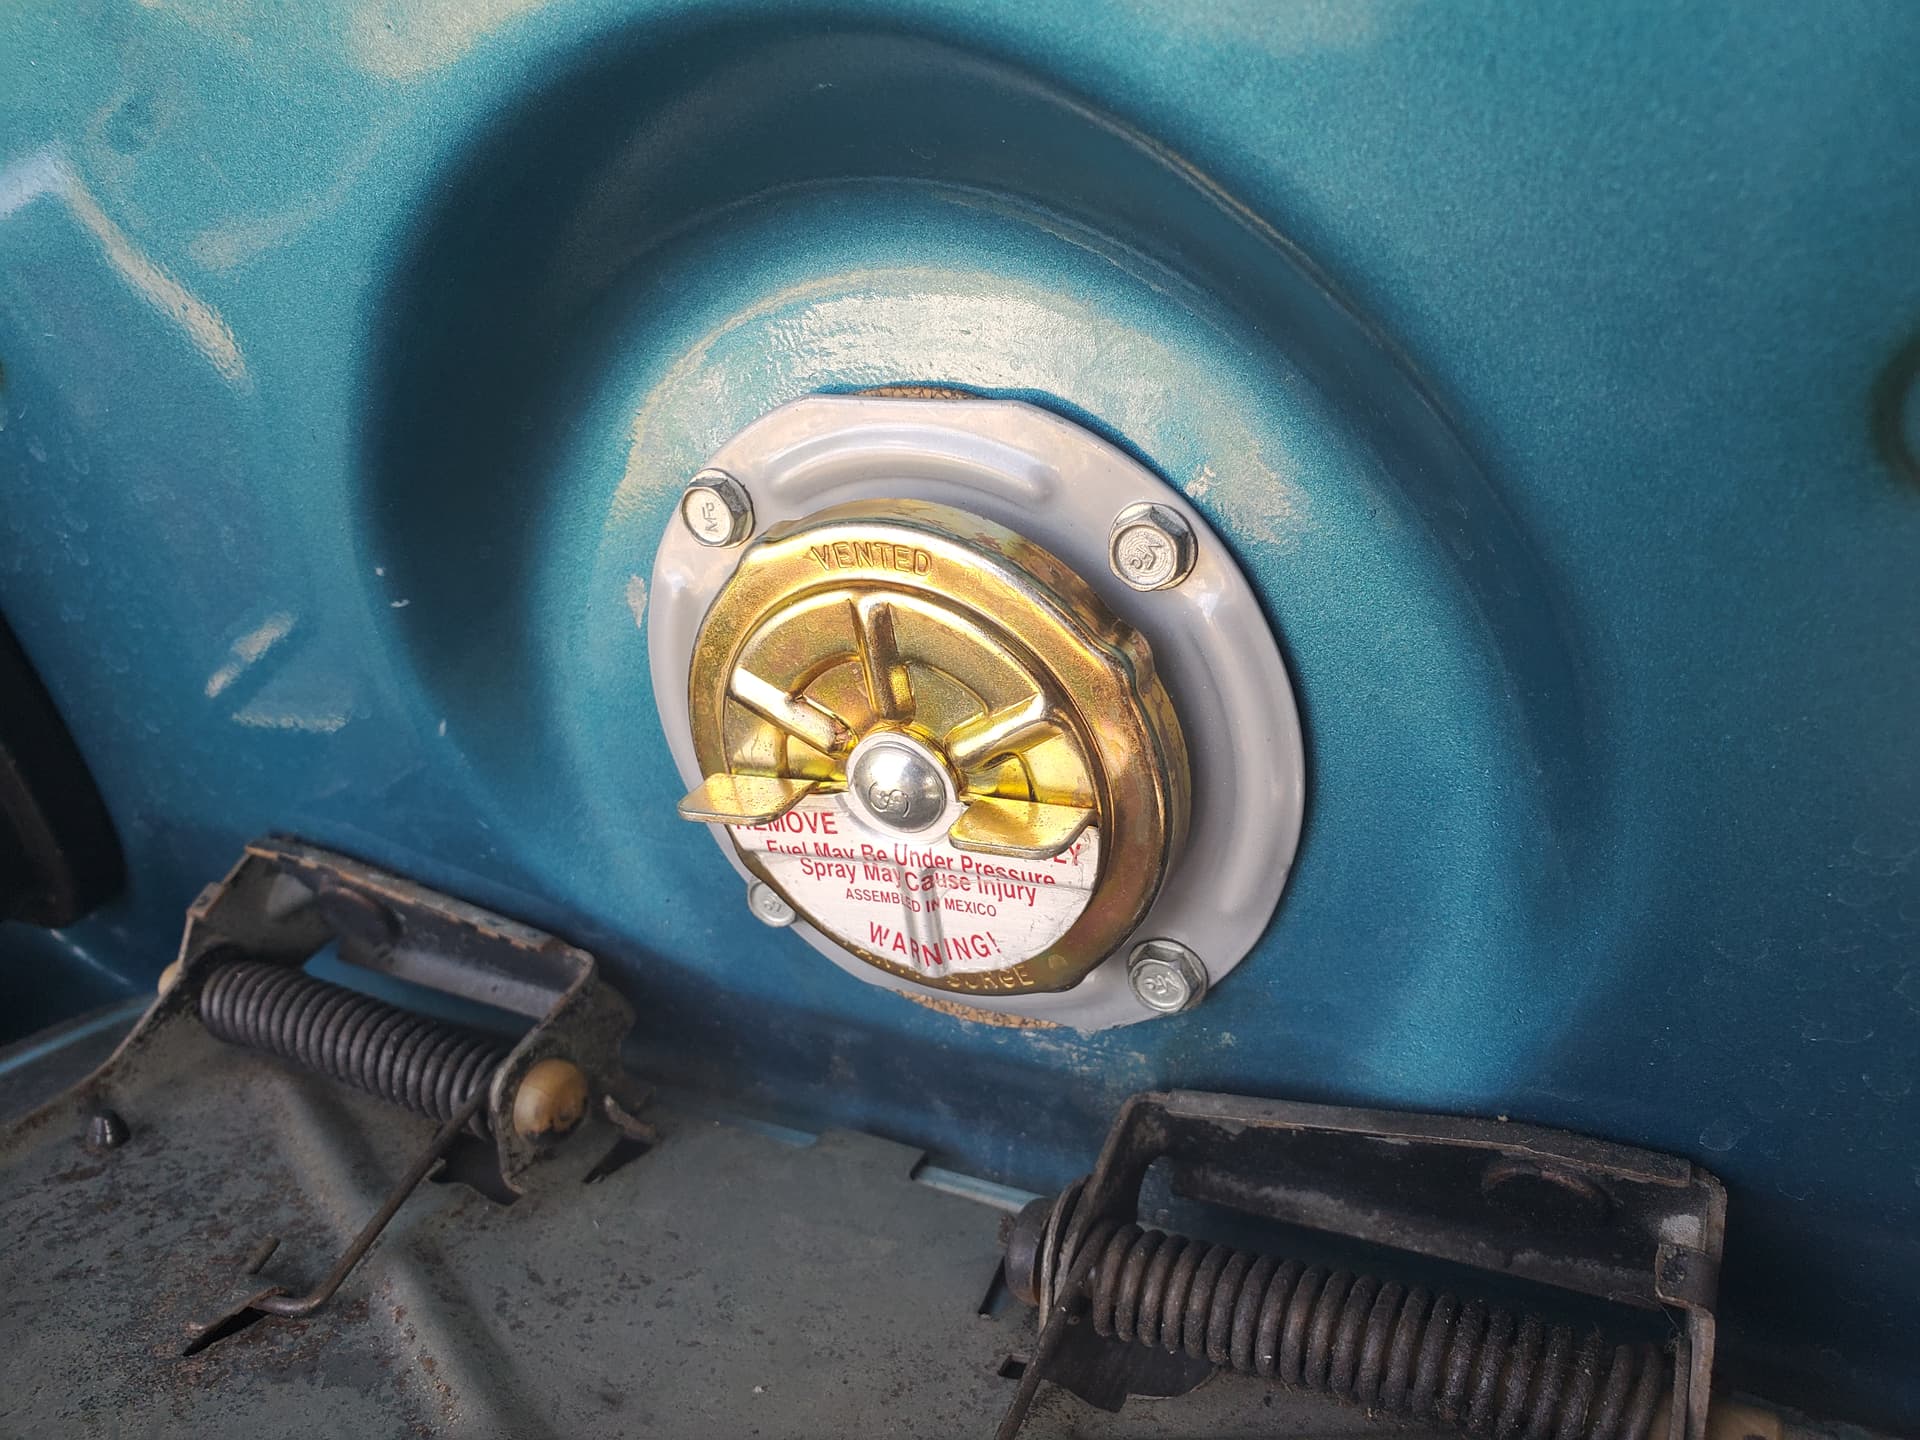
Secondly I installed a fuel filler neck modified with an insert to work with modern fuel nozzles. The large opening on our filler necks don’t allow modern nozzles to automatically stop to prevent spillage, this solves that problem. It works well, and sort of holds the nozzle in place making fueling easier. You can still force an overflow if you run the pump on the highest “notch”, but I found it works perfectly on the middle one. There’s a guy on the VMF forums that does these. He will sell you a kit to do it yourself, or you can buy a modified filler neck from him (the route I took). Here’s his contact info for anyone interested:
I lucked out and he had just gotten in a shipment of the new repro filler necks from ACP, so he was able to send me one of those rather than modifying a used original. The fitment of the ACP unit is dead on. The vent cap definitely fits more snug (probably due to thickness of the powder coat), but still goes on fine.
I dig the filler neck. I’m always scared I’m going to take a bath when filling mine up, that’s a good
idea in a retrofit. Makes me
Wonder if I can fabricate something similar since I have several modern filler necks floating around.
I also keep telling myself I need to install my passenger mirror every time I drive my car. I’ve had the mirror for a while just haven’t got to it yet. It certainly will be helpful.
I love this epic build thread. I am getting ready to start a project on a 68 Cougar that will include going from an oem 3.03 manual to a T5 and 4-wheel disc brakes. One question I have is which power booster did you use to clear the MDL hydraulic clutch master cylinder?
Bendix-style booster I got from NAPA. It’s still a very tight fit and difficult to install both. If I had to do it over again I’d use the Malwood clutch master cylinder kit: