We had the parking lamp / turn signals installed but they were not working properly. It seems we somehow bought the Scott Drake kit for 1965 - 66 Mustang. The wiring will plug in but it is not wired properly for 1967 - 68 Cougar. So we had to fix that.
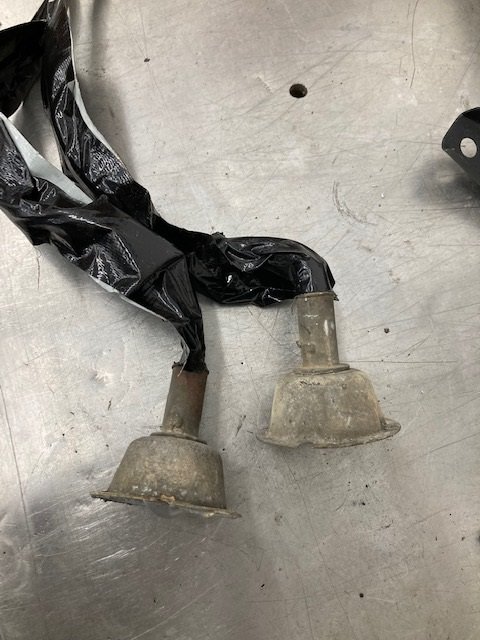
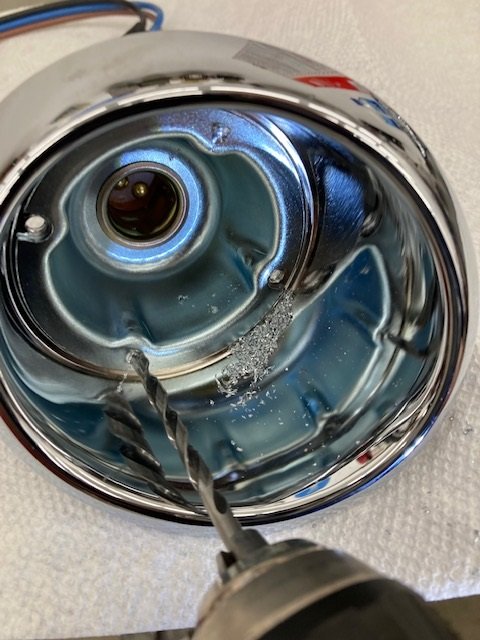
We started by removing the reflector / socket / wiring harnesses from the original lamps. The reflectors were made from stamped pot metal sheet and spot welded to the pot metal reflectors originally. It’s simple to drill the two spot weld apart with a 5/32" drill bit.
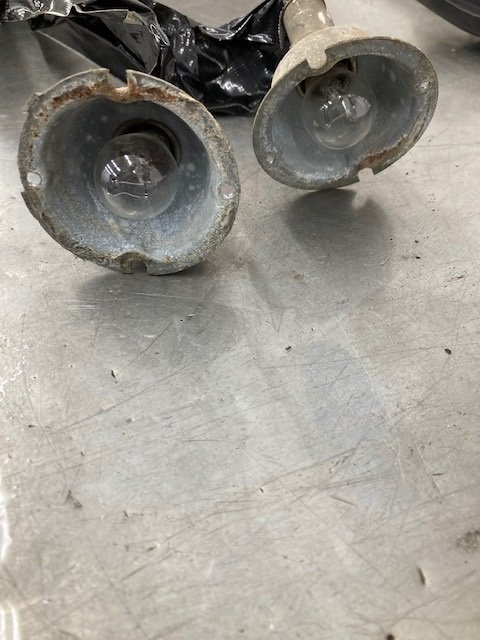
With the assemblies removed we masked them off with duct tape and bead blasted them. The original 1157 lamps were kept in them to prevent any disturbance of the contacts. Then we masked off the reflectors so we could spray the sockets a Champaign metallic color on the outside to simulate the original gold finish.
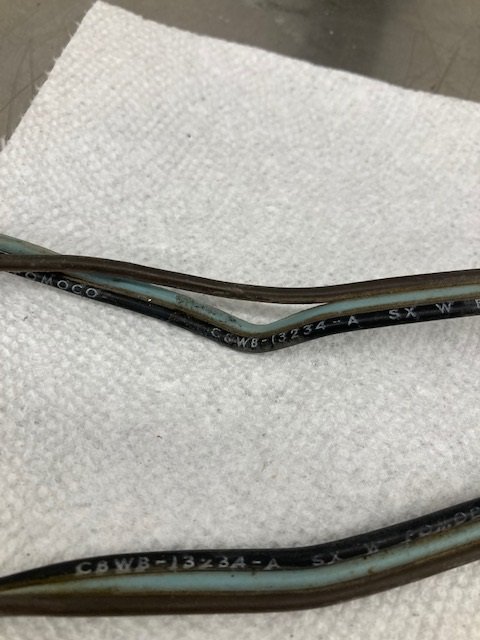
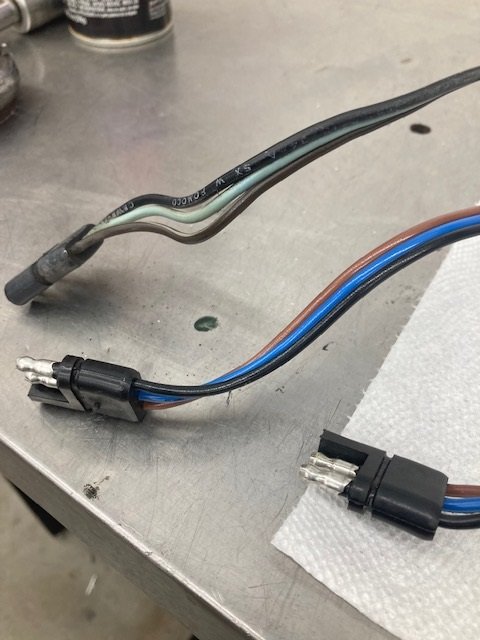
The original harnesses have black, baby blue, and dark brown wires marked with a C8WB number every two inches. The reproduction harnesses don’t look like that.
The reproduction lamps are made a bit differently. They have stamped steel reflectors attached to the pot metal bezels with a peened over bit of pot metal that is cast into the bezels. It is easily drilled apart for the swap.
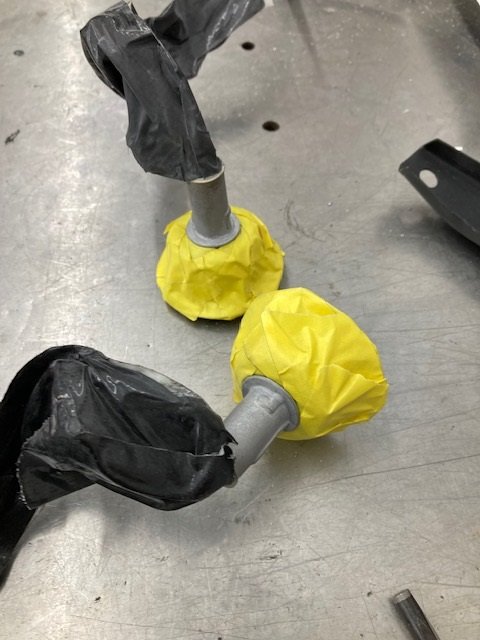
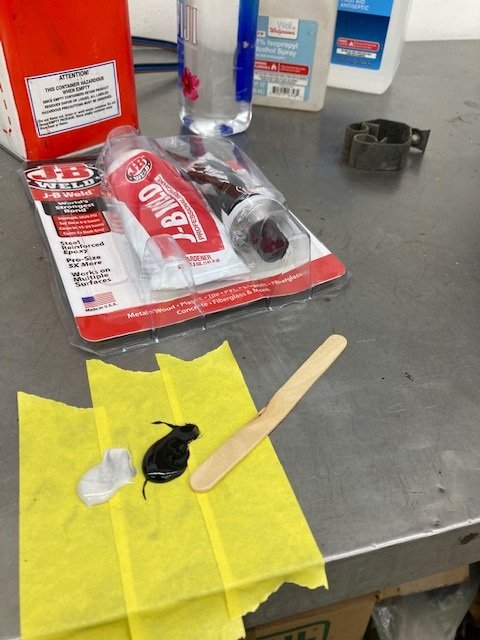
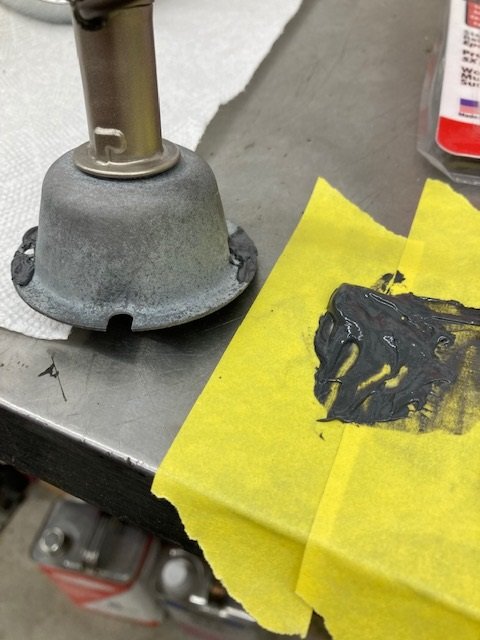
With the reproduction reflectors out of the way the originals can be epoxied into place. We put clecos in them so they will be ready to install tomorrow.
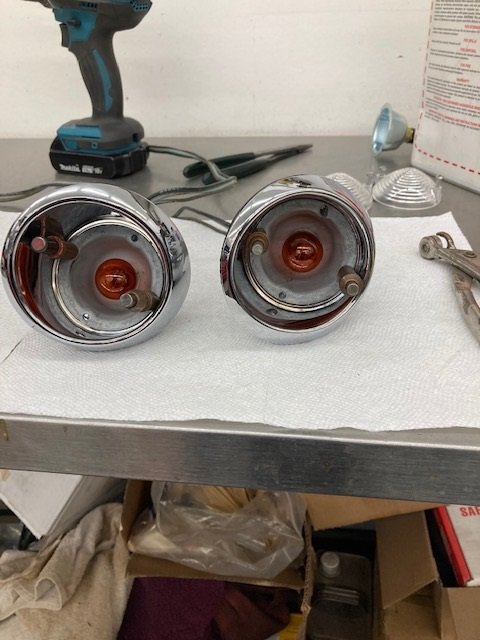
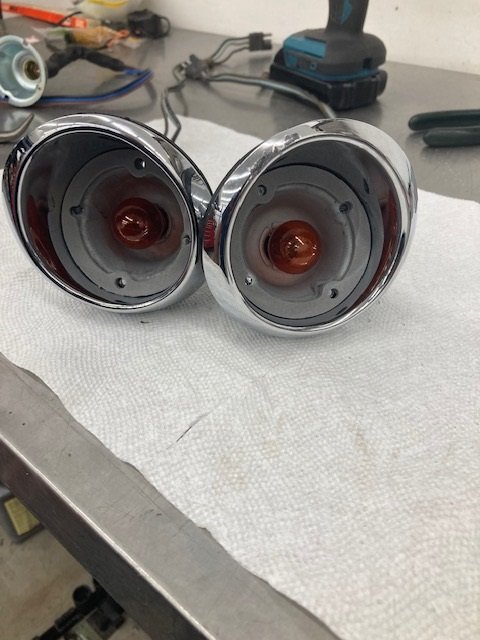
Today the epoxy was dry so I reassembled the lamps and installed them. Compare the originals on the right to the repops on the left. Why must they be so different?
Here’s a video of the hazard lamps on with the parking lamps on too.
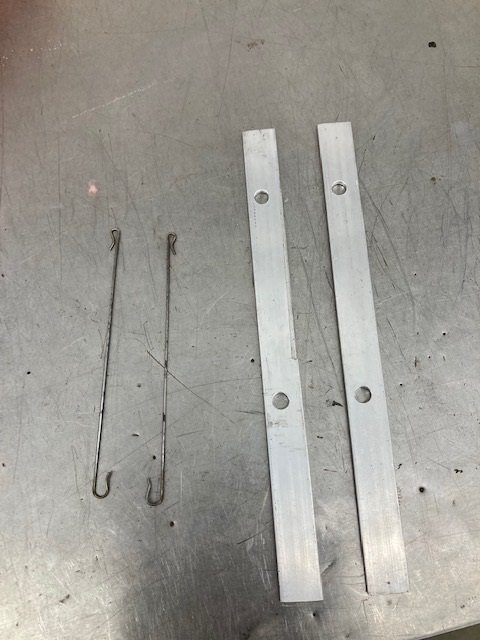
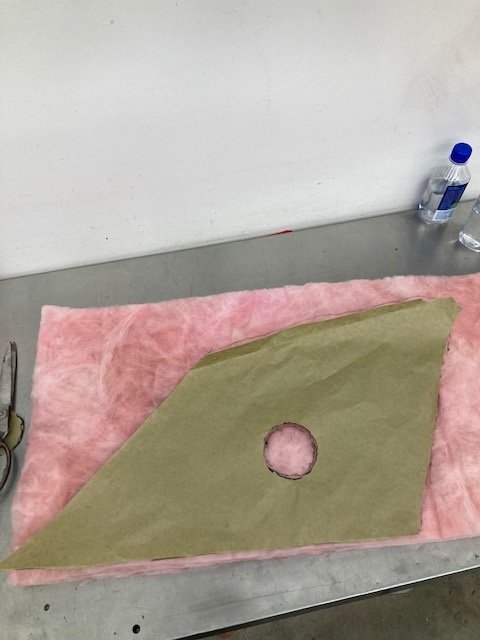
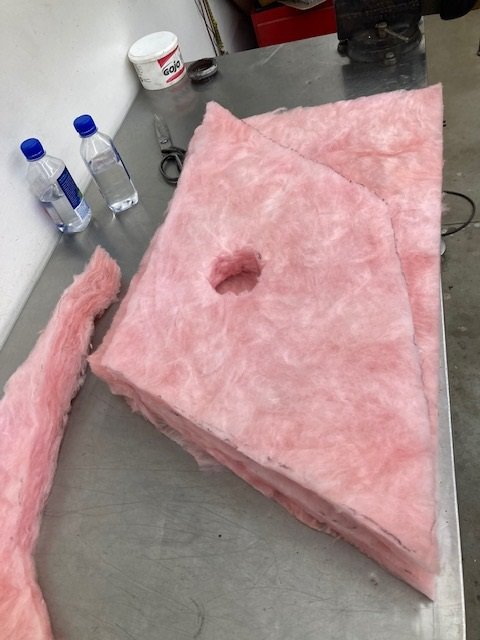
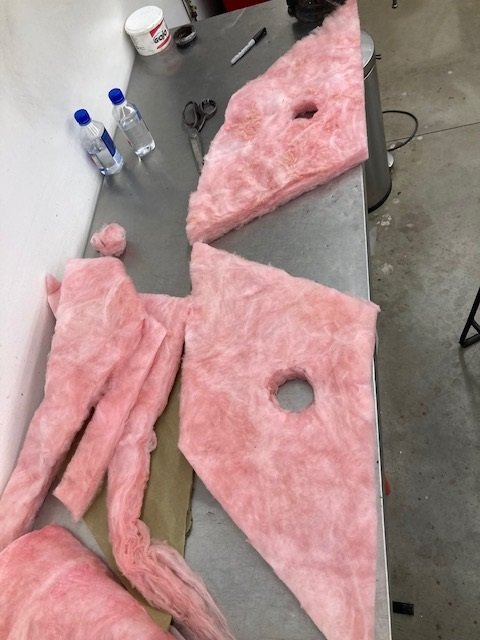
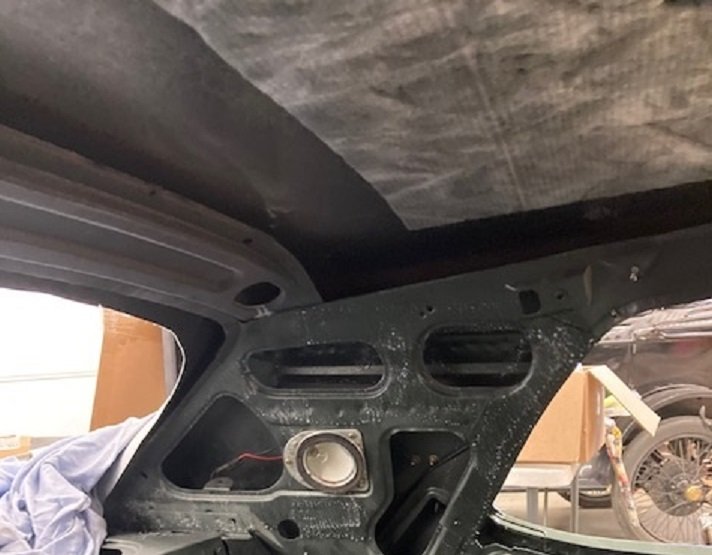
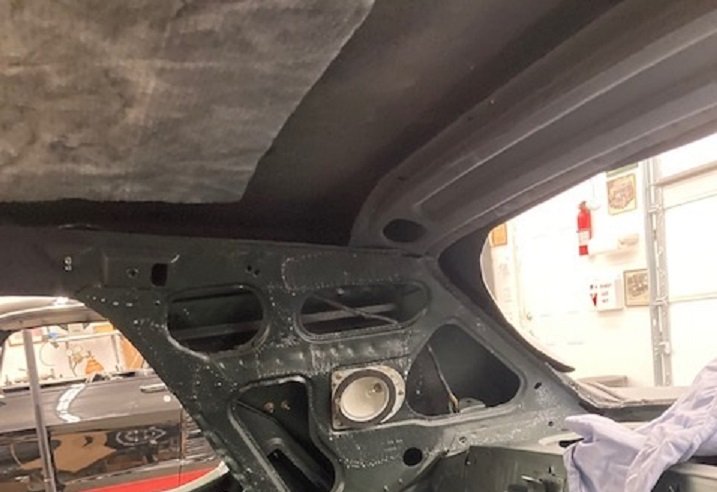
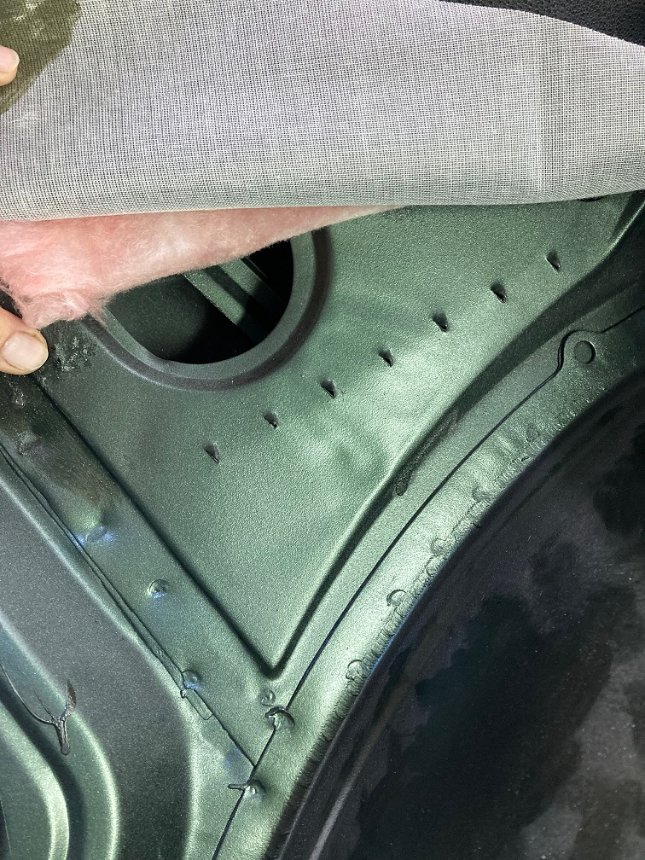
Today I worked on the headliner. First I made a pair of these to replace the factory cardboard ones. In the lwer picture you can see the factory support wires for the rearmost headliner bow. I scrubbed them with scotch brite to remove the rust.
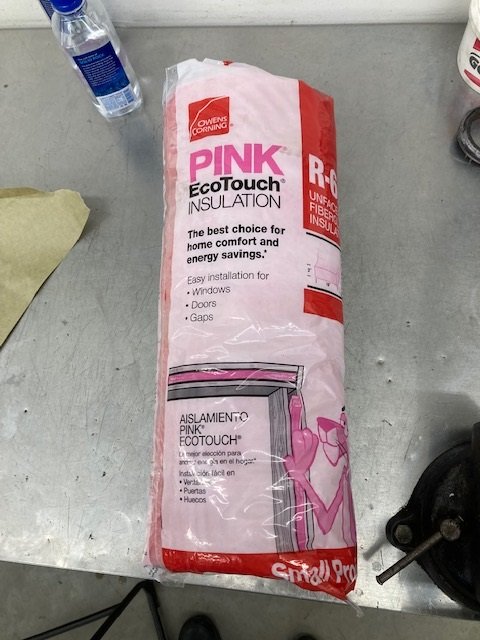
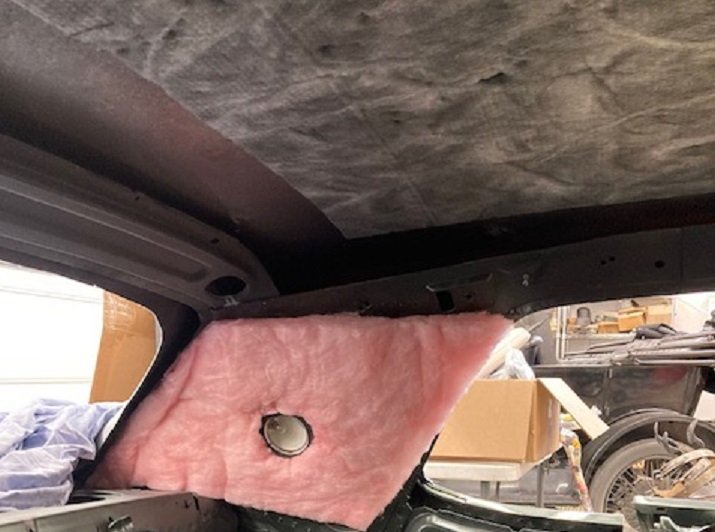
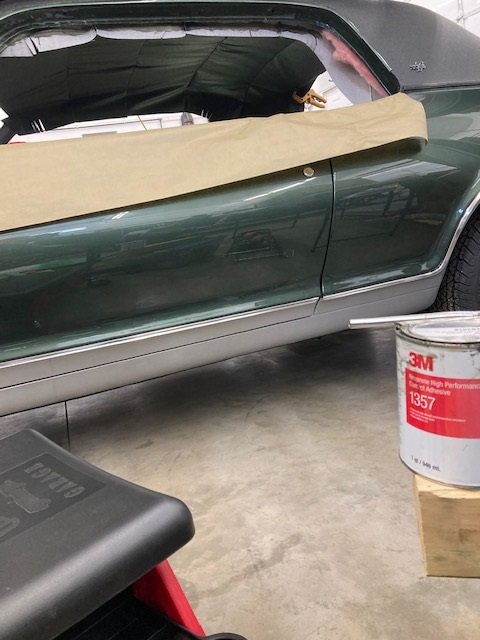
I made a template to fit the sail panel area. The Owens Corning Fiberglass insulation is a 4" thick sheet, it’s a bit too thick so I peel off 1" of thickness from the entire piece before I start. I am using a spray adhesive made by 3M to attach these pieces. It is marked “Headliner” on the can.
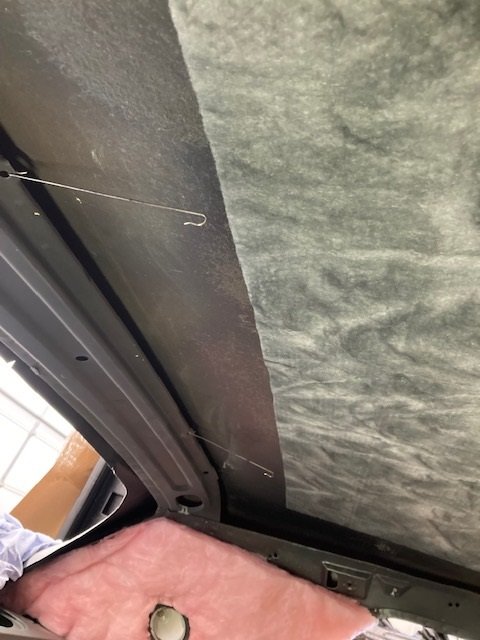
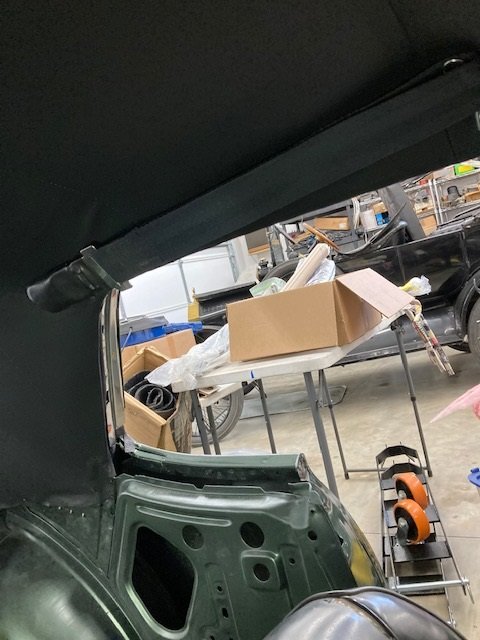
In the first photo you can see the wires that keep the rear headliner bow from flipping forward. These are critical to a good job.
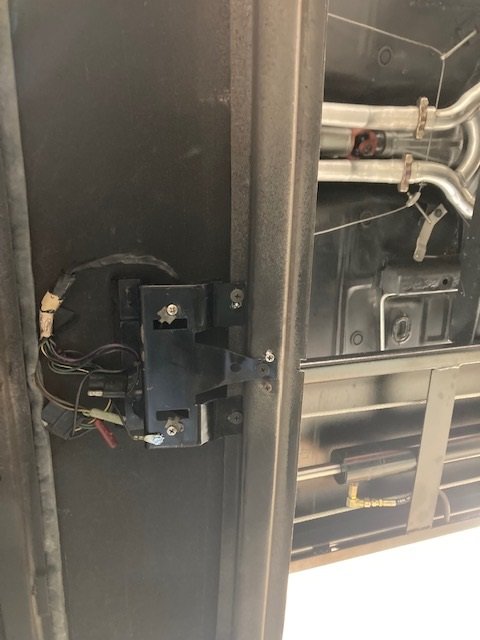
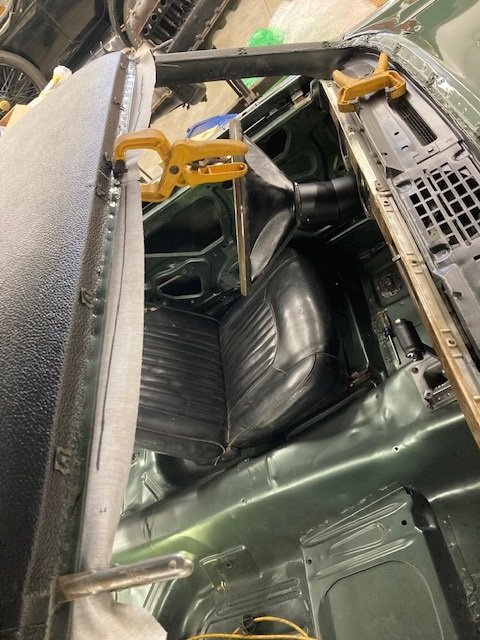
The original headliner bows were used. There are two mounting holes at each location, one slightly higher than the other. We always use the higher ones. There are all sorts of screw holes that you will need to find later. I put an old original screw in every one of them. I even put bolts in the holes for the shoulder harnesses. The XR-7 convenience overhead console wiring gets coiled up so as to be out of the way yet accessible when we install the panel later.
This headliner had the sewn on sleeves for the headliner bows exactly the proper length. Nice job TMI!
I measured and found the center of the roof on both front and back of the car. Then measured each of them several times to be sure my chalk marks were accurate.
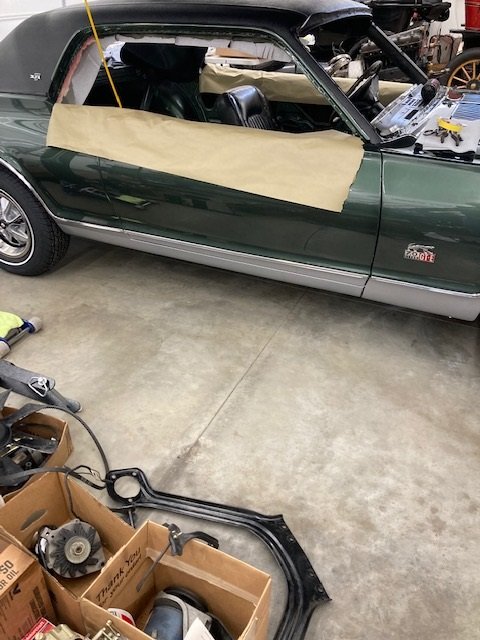
The headliner has a V - cut on centerline both front and back. You need to match the V cut to the centerline to have a good chance of success. There’s no real secret to doing a fine job on your headliner. Mostly just keep glue from dripping on the paint, and get all the wrinkles out before you trim any material off.
Still working on the headliner. You have to stretch it and glue it, then wait until a day later to see the effect it has on the wrinkles. Patience is rewarded. Being hasty is not.
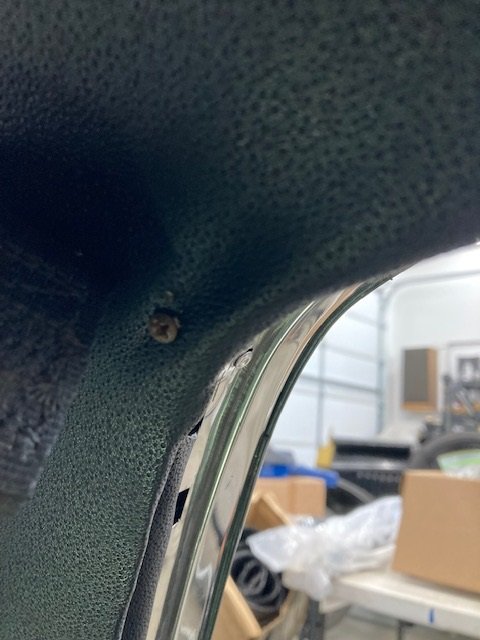
One important thing is the pointy tabs just forward of the package shelf on each side. In my case these had bits of old headliner in them still, and it had been primed and painted so that they would not catch the headliner material at all. I had to carefully clear each one using a small flat blade screwdriver.
Even though the headliner is centered I was unable to reach all of the points on the driver side. Maybe tomorrow it will stretch that much but today it looked like it would rip so I glued it instead.
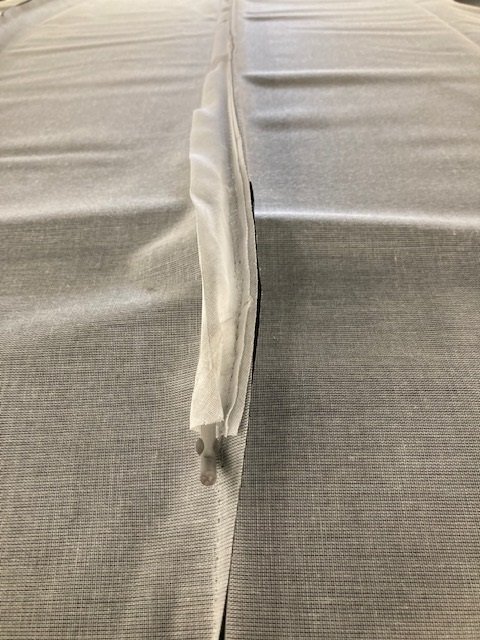
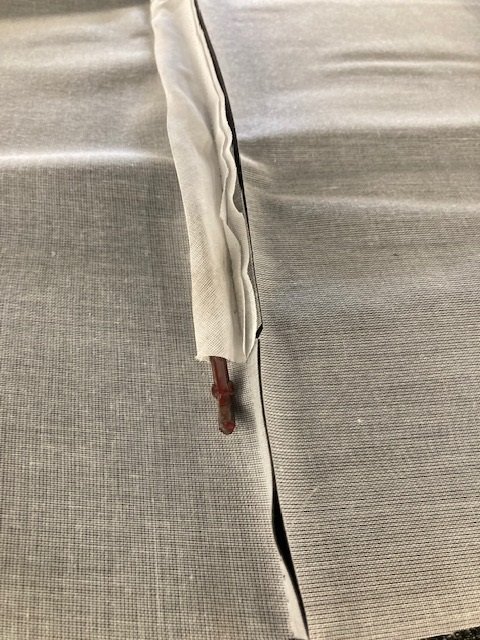
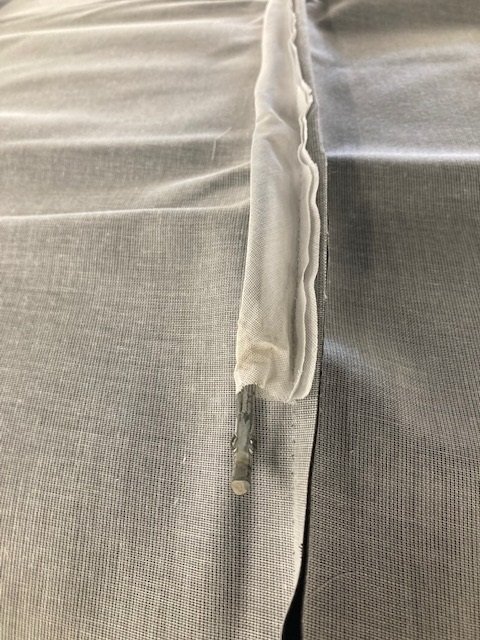
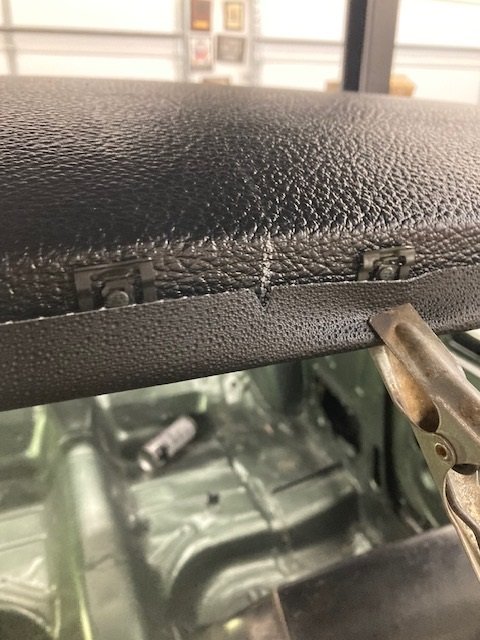
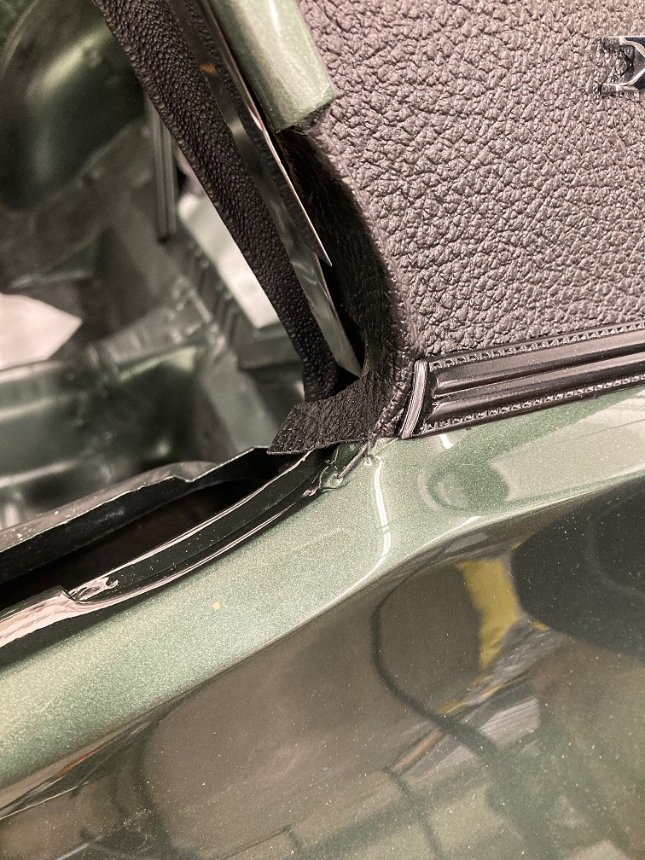
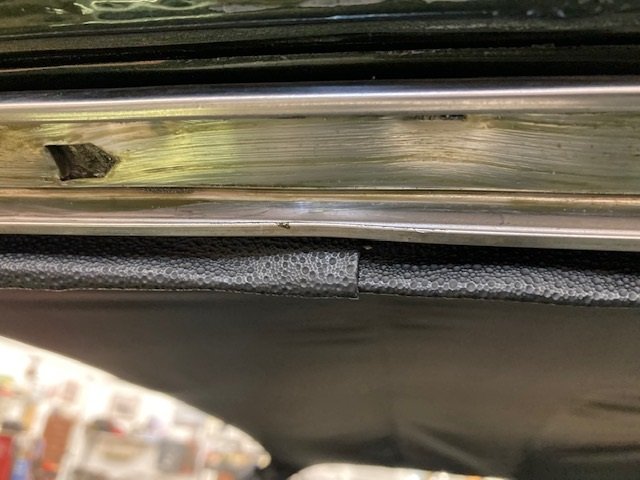
The headliner looks good side to side so I went ahead with the door weatherstrip retainers, a sort of stainless channel that runs right around the edge of the roof opening. One thing to remember, the stainless trim that goes underneath them at the rear of the car. Those are each held in place by three 1/8" aluminum pop rivets.
The door weatherstrip retainers have a seal on the outside, a self - sticking piece of 1/8" thick foam rubber that is applied to them before installation.
Wow you are a amazing person Royce. As a kid i wanted to be a person like you. I try but I am like my cars i am a eternal work in progress. I am still inspired by people like you. The ones that really have the knowledge and are willing to share it with someone like me who just Love their cars and want to know how to fix the ourselves. Thank you for the help and inspiration.
Still reglueing and stretching the headliner. It stretched a little more in the LH rear but still not enough to catch all the hooks in the body.
Before I installed the headliner I put screws everywhere a screw would go and installed bolts where the shoulder harnesses go. All that paid off today.
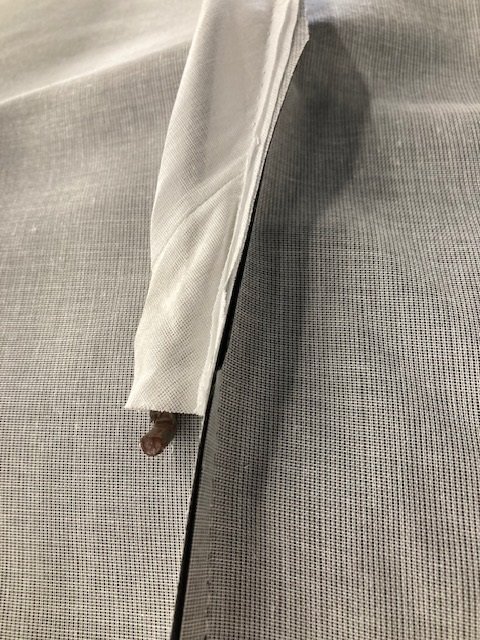
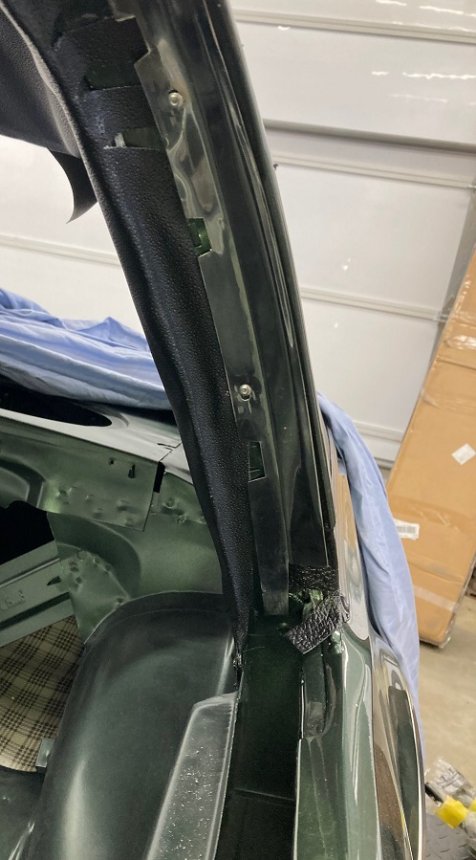
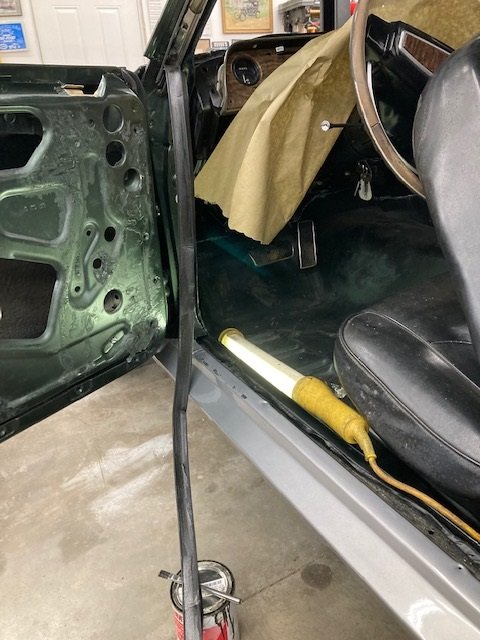
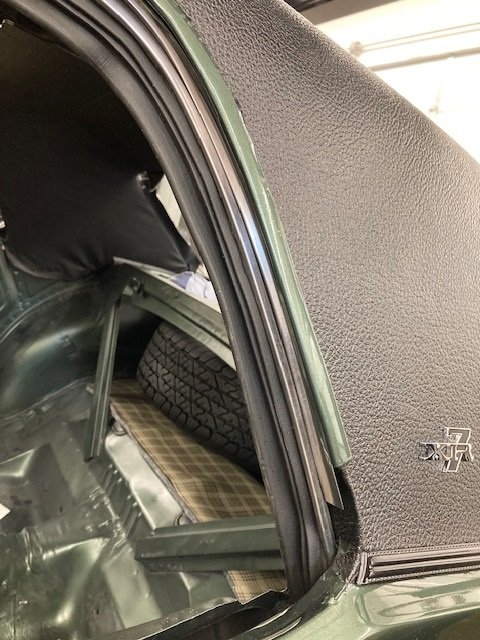
I installed the LH roof rail channel and weatherstrip today. I put the screw in at the forward windshield pillar and then brushed the weatherstrip down the center with contact cement. Then put a line of contact cement down the center of the channel.
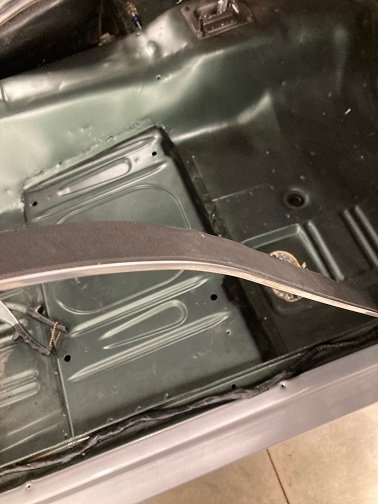
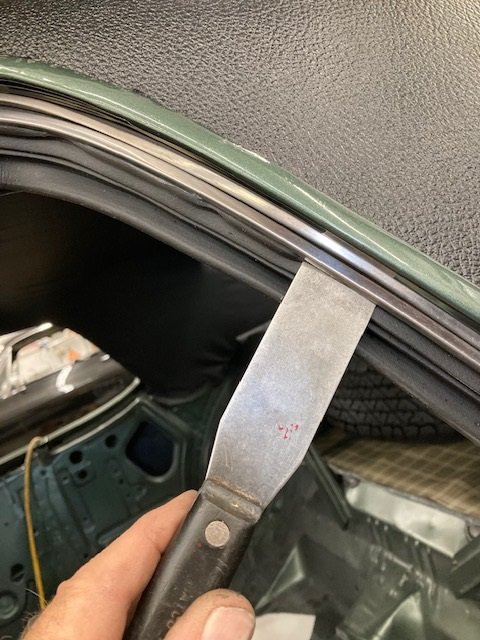
A gasket scraper makes a dandy tool for tucking the edges of the weatherstrip into the channel.
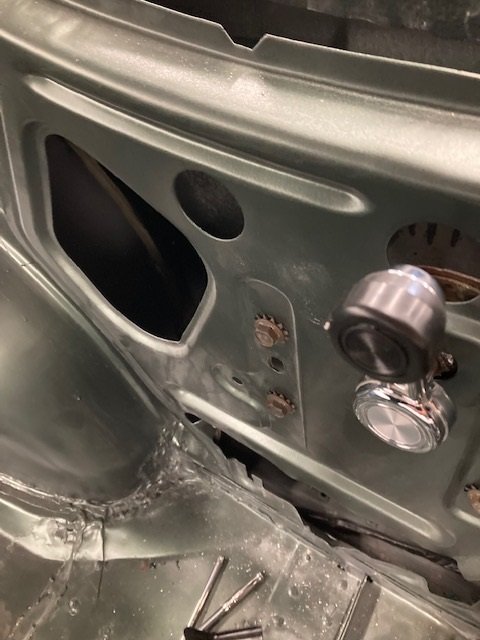
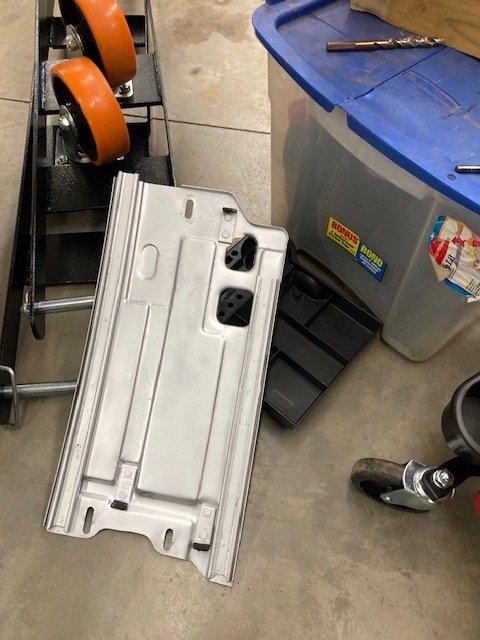
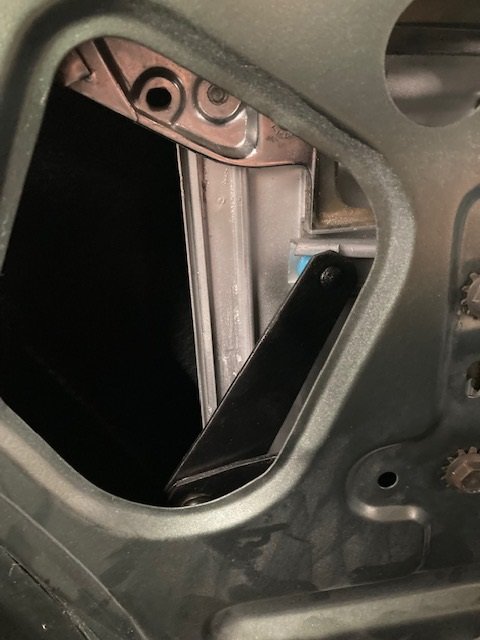
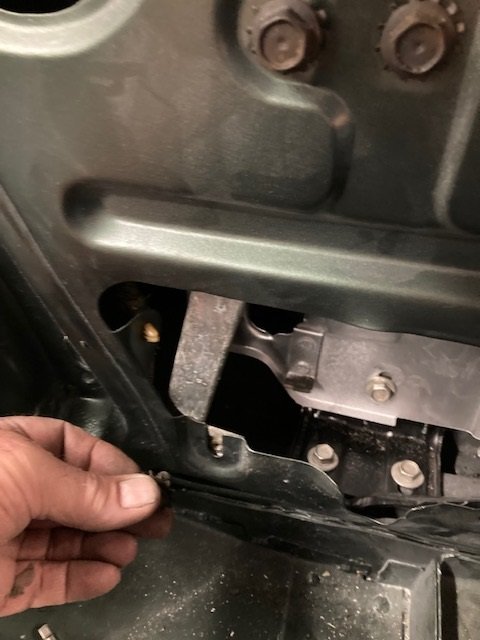
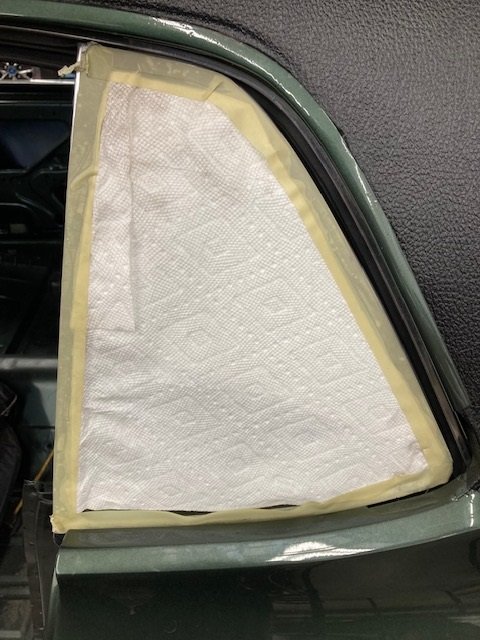
With the weatherstrip in place the windows can be installed. First is the rear quarter window mechanism. Next the window channel assembly is laid in the hole, unattached to anything. Then the window is placed into the channel assembly. Next the channel assembly angle is attached loosely at the bottom, and the top two bolts attaching the channel to the body are installed, again loosely.
The mechanism is first swung into the window channel, then the lower removable track can be installed.
It’s still not adjusted - the door glass needs to be installed to do that.