Installed the other rear 1/4 window today, again leaving all the adjustment bolts loose.
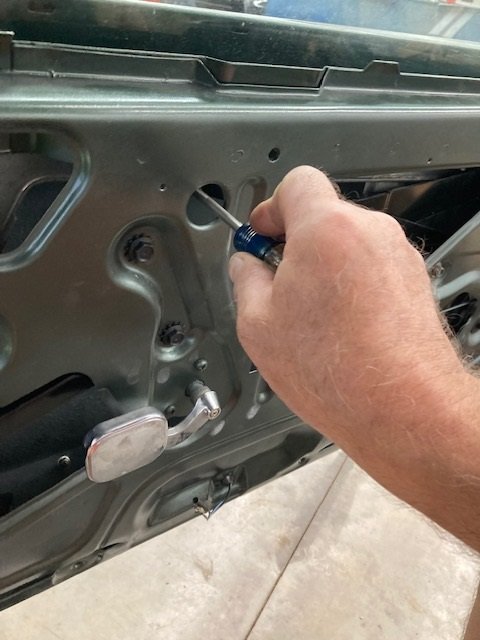
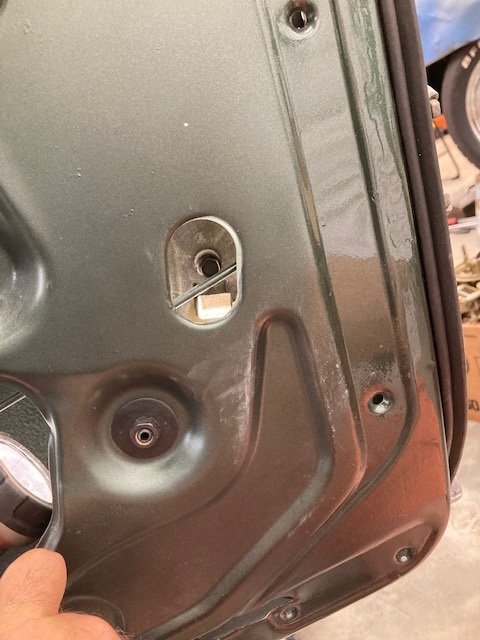
Which means the door glass is next. I looked at my photos of restoring the vent window assemblies, they were back in April. I started today by gathering up all the hardware to attach the RH vent window. Two of the bolts are adjustable and have hex key ends so that you can use an Allen wrench on them. One (the rear one) can be installed before the vent window goes in. The forward one must have the bolt installed after the vent window assembly is in the door. Mercury provided a hole for that purpose. It ends up in the hole with the arrow pointing at it.
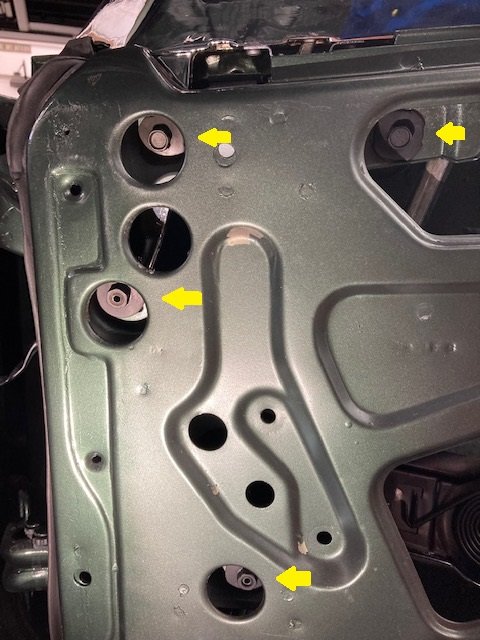
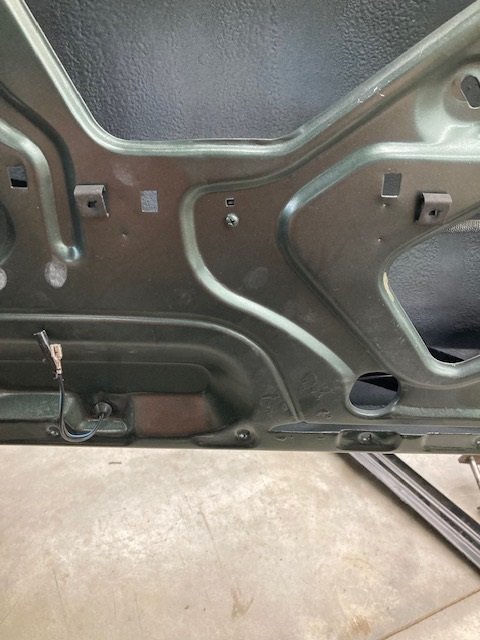
A total of four bolts attach the vent window assembly to the door. The top two are slotted to allow up / down / fore / aft movement. The other two have nuts, they allow for adjustment of the angle of not just the vent window but the entire door window too.
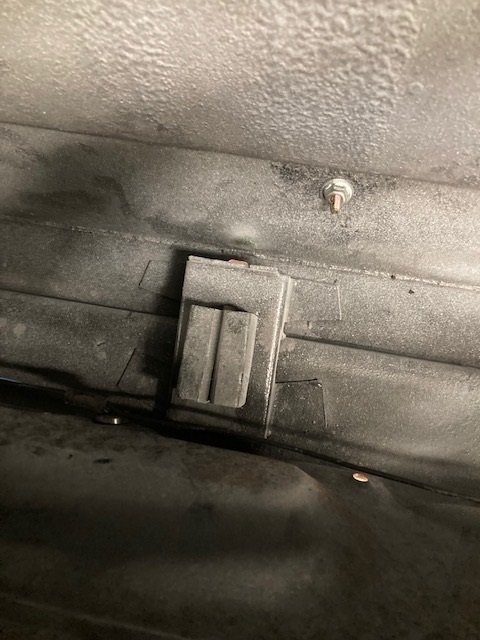
The door window has two mechanical stops that keep it from going too high, the forward one is adjustable. At the bottom is a rubber stop that is mounted in the door before the window. Otherwise it is hard to get to.
1968 doors have a total of five square holes punched for the arm rest clips. Choose wisely! If you choose the wrong ones you might be removing the door panel later to change them.
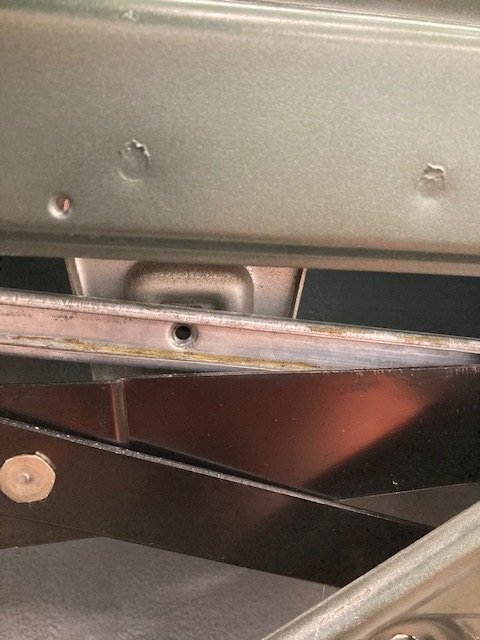
The rear track for the door window has slotted holes to allow for adjustment of the rear of the window mating with the quarter window. It gets installed with the nuts loose for now.
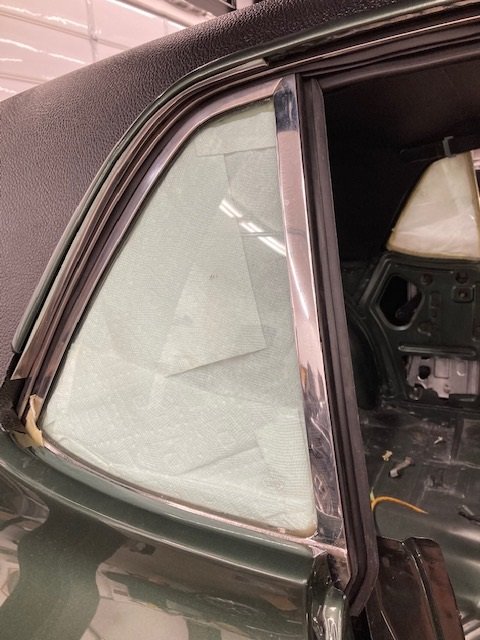
At the rear of the door window is a track assembly with a similar adjustable bolt at the bottom to match the angle of the door window with the angle of the rear quarter window. Not shown - there are two 1/4-20 bolts at the top of that rear track that allow the window to be adjusted in and out, again to match the rear 1/4 window.
Those vent window assemblies are the work of Satan This is a great reference thread for anyone restoring a '68.
I’m curious if you’re going to install the vinyl top retainer strips inside the drip rail. I have a set but haven’t been able to install them, could use tips on that. Wondering if they should have gone in before the trim.
Hoping to be able to use them - the drip rail on the driver side had been replaced and I don’t know yet if it is going to fit on that side. The vinyl top trim is made to be installed before the drip rail moldings.
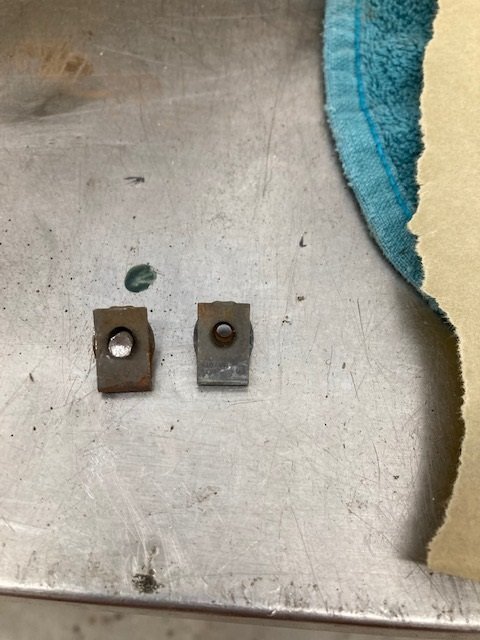
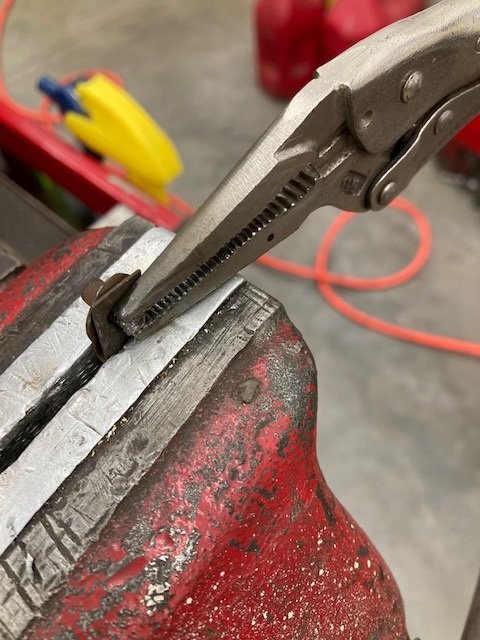
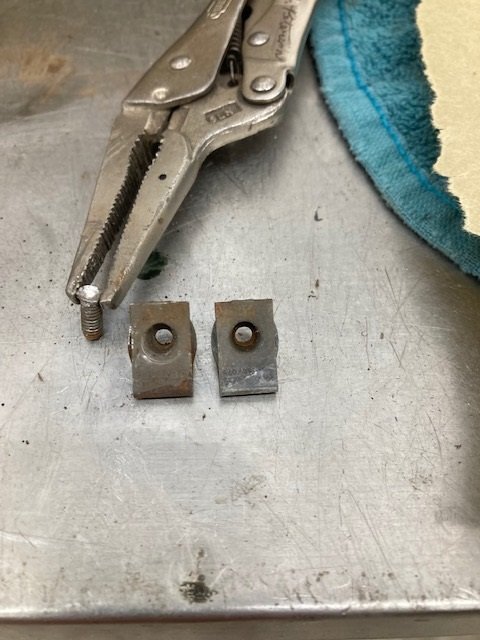
More fun with windows today. When I took apart the doors back in October of last year I had to drill out some of the #8-32 countersunk screws that hold the window lifting track to the window. Removing them is the first step to removing the window. The screws often have stripped out heads as they were likely installed 50 years ago using an air impact screwdriver. The nut plates are uncommon so I had to save them. A set of needle nose vice grip pliers makes quick work of it. Then the nut plates can be reinstalled on the window.
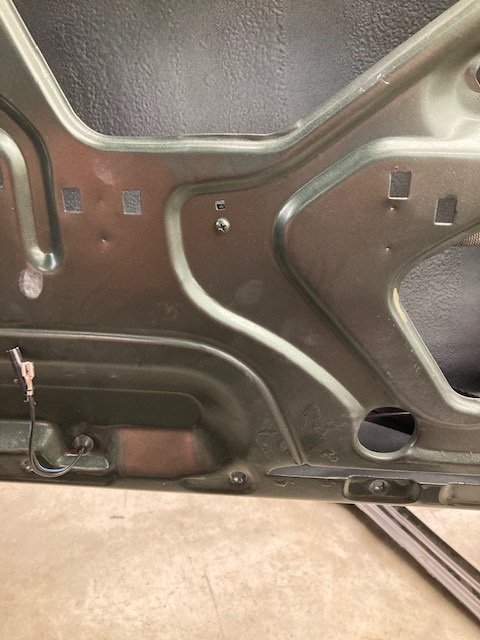
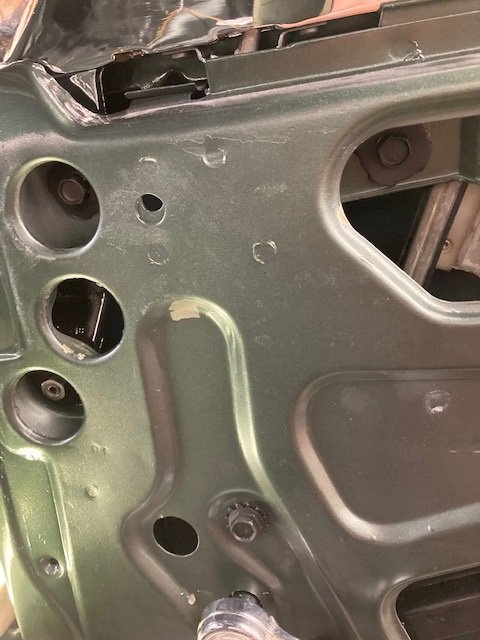
With the vent window assembly tilted forward the window can be lowered into place. The window mechanism - and hence the track - is pre - positioned so that the end two holes align with the access holes graciously provided for the job. The center screw hole is in the middle of the large trapezoidal hole in the door so that one gets a screw first.
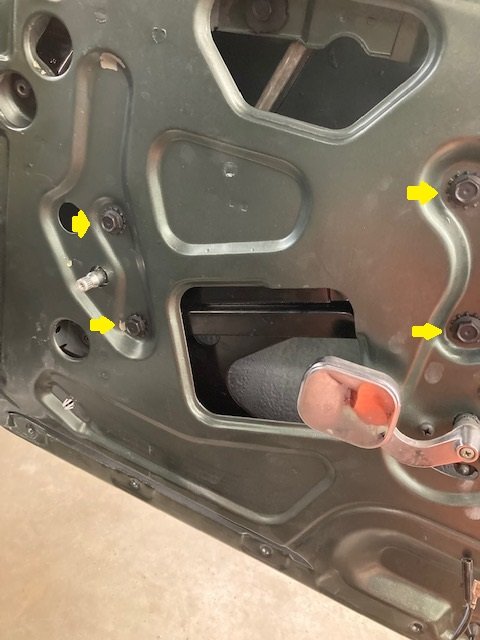
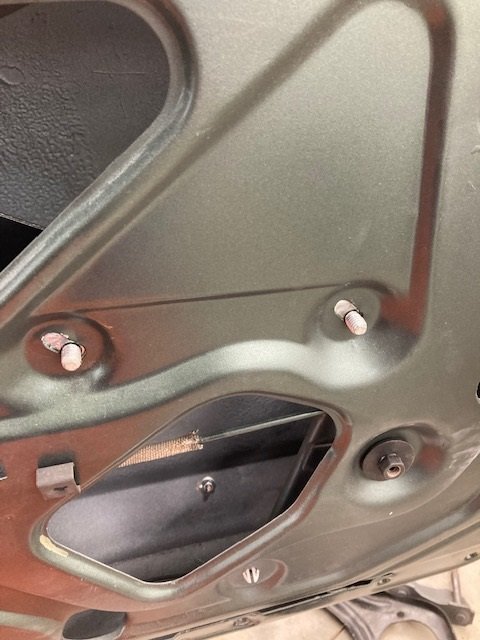
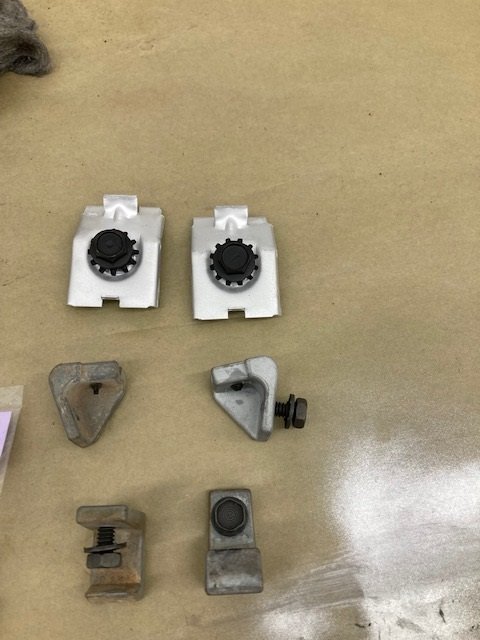
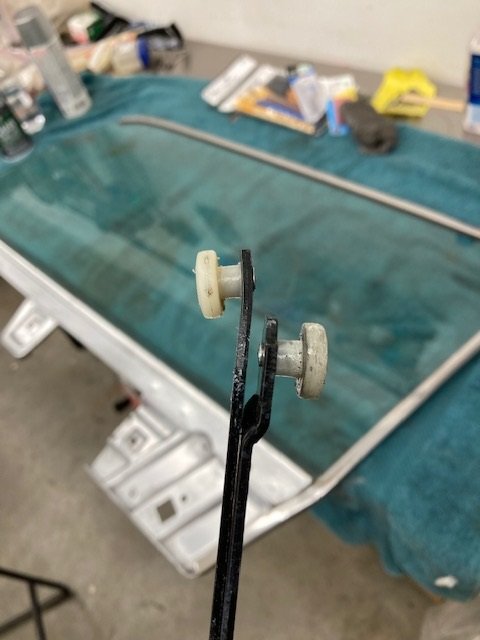
There are stops at the front and rear of the window. The front ones on each side are stamped sheet metal and are adjustable (top).
The rear stops on the window are cast zinc and are not adjustable (bottom).
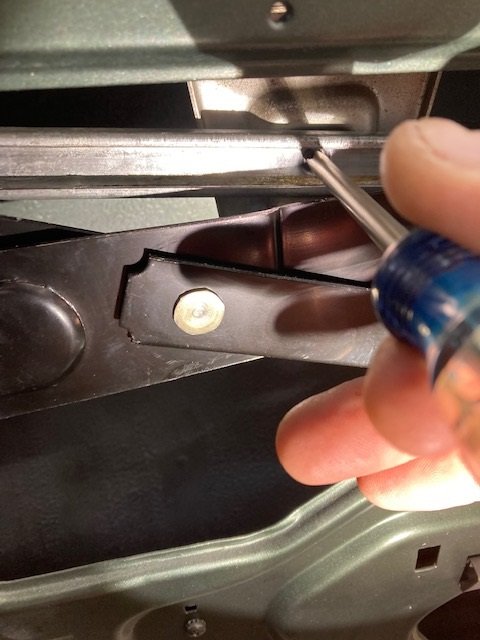
Adjustment at the rear of the window for height is made possible by these cast zinc wedges (center). These are specific to left or right and are mounted to a slotted hole on the rear track assembly.
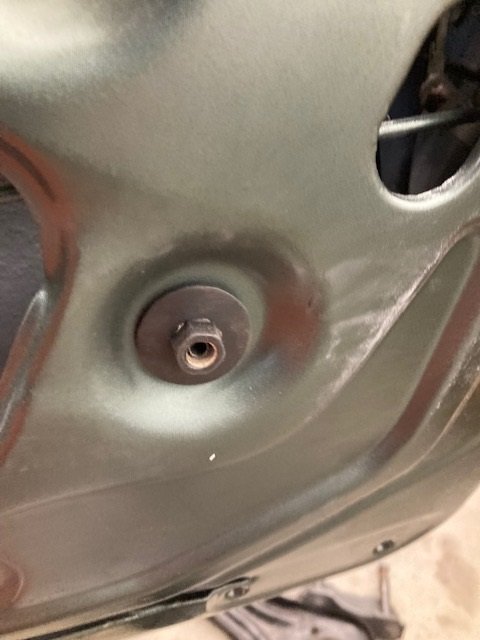
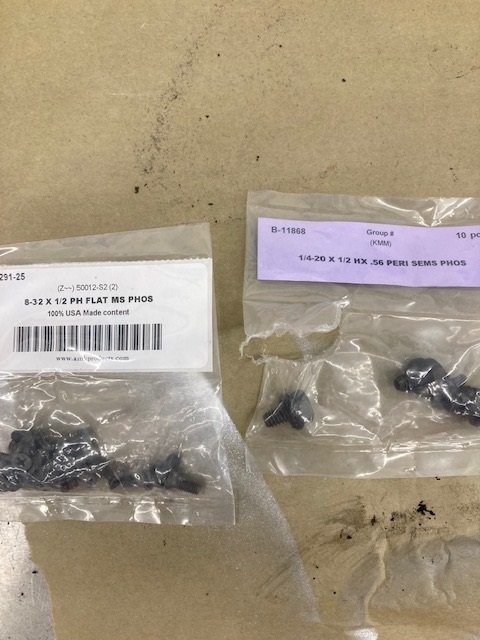
I got the whole car hardware kit from AMK to restore this car. But there are certain fasteners that don’t come in the kit. As an example are these screws to replace the ones I drilled out to attach the door window lifting tracks to the windows. Also the bolts used to attach the rear window stops.
I put the stops in, and left the adjustable parts loose. There are a multitude of adjustable bolts on the vent windows, door windows, and rear quarter windows. All of them are loose.
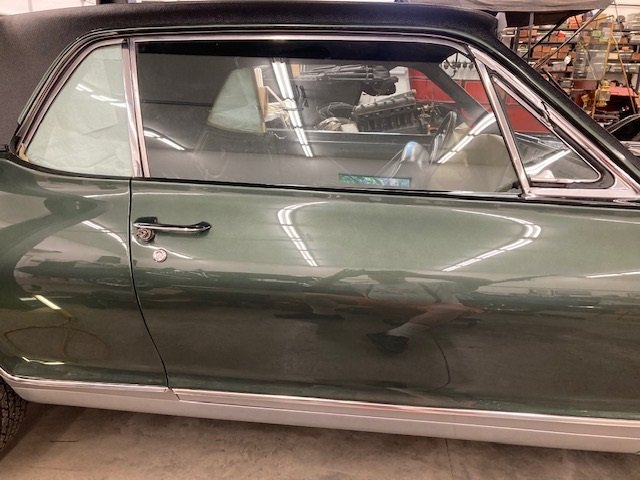
Well the RH side got done today. It’s a struggle to get everything adjusted properly. I don’t know how they did it on the assembly line but it might have been fun to watch.
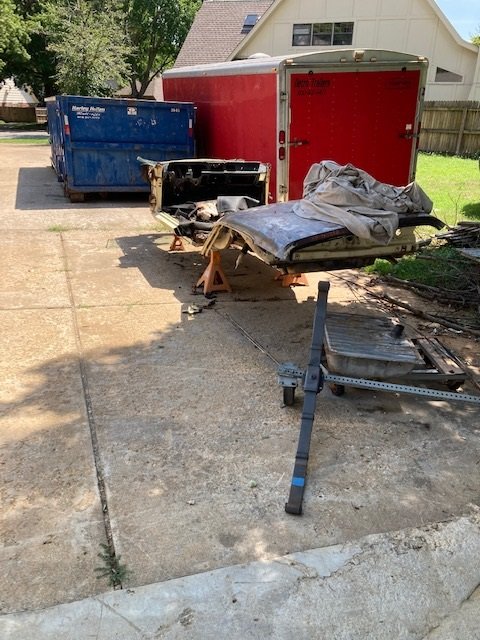
We had a parts car in the driveway that gave up its interior, wiring harnesses, console, hood, bumpers, grilles, most of the glass and window tracks, front suspension, brake assemblies, and innumerable small parts for the GT-E. It got cut up and put in the dumpster. Without it this would have been a lot more expensive.
With the door windows all done, they still didn’t work properly. I tried lubricating everything to the point of excess. Finally I took out one of the brand new Scott Drake window regulators and found the problem. They were bent on the ends. Both of them.