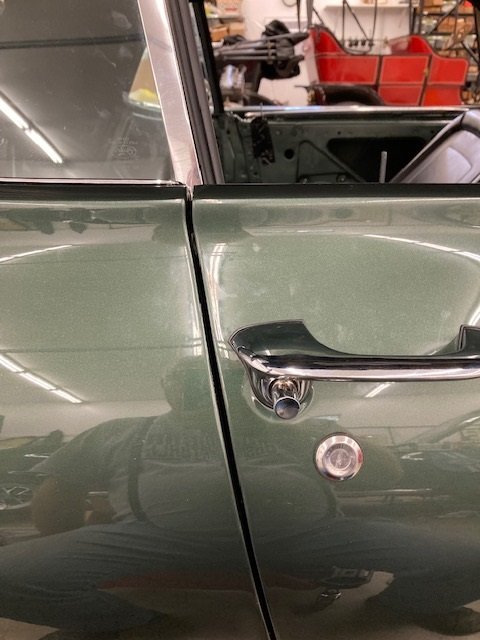
The bent roller was causing the window to bind in the tracks. I was able to straighten them and the windows now work right.
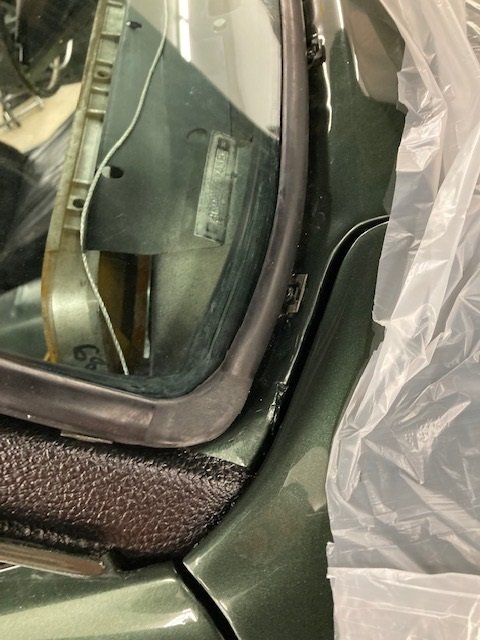
The LH door / windows were fabulous. The RH window in the door was a little off as far as the angle, it hit at the very top of the rear 1/4 window when opening the door with all the windows rolled up. The cause was a sagging door, and it was not going to be easy to adjust it.
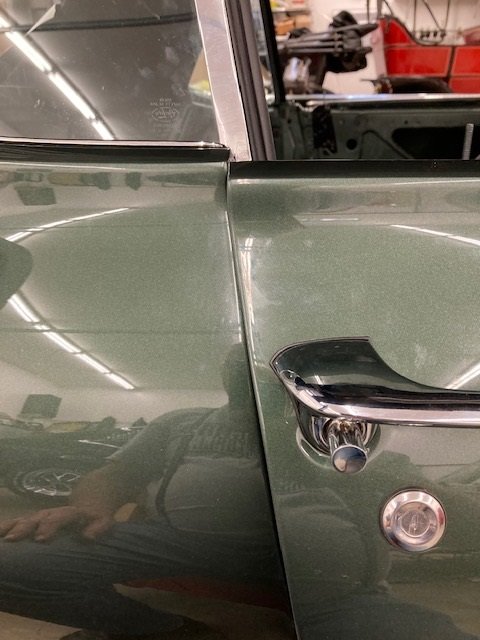
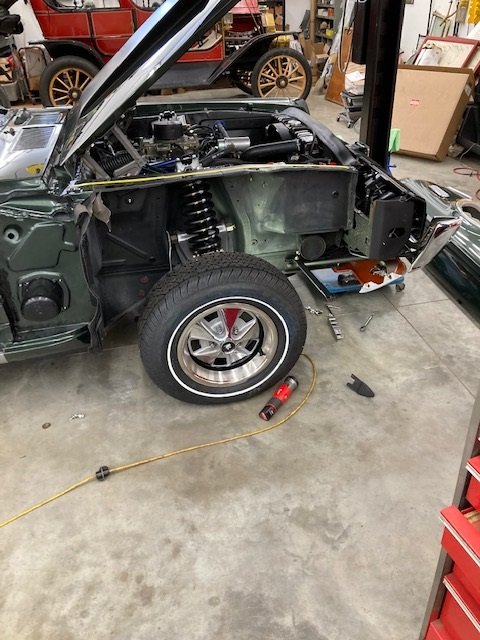
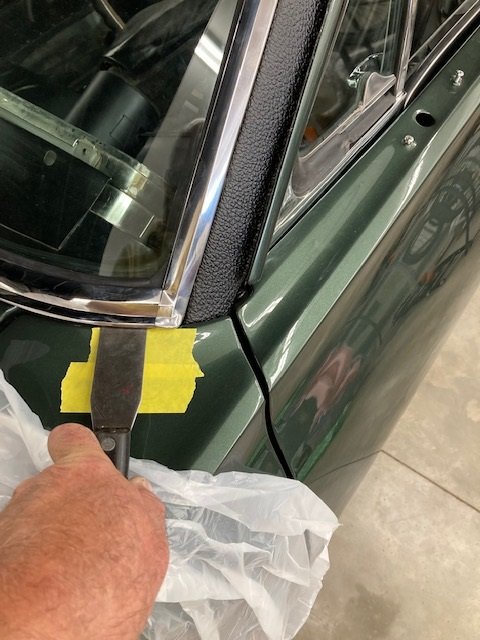
The door was drooping about 1/8" when the door was opened compared to when it was latched. To adjust the hinges required removing the RH front fender. I marked it with tape so it would go back in the same location. As it turned out this was only a little problem. It came off easy and went back on easily.
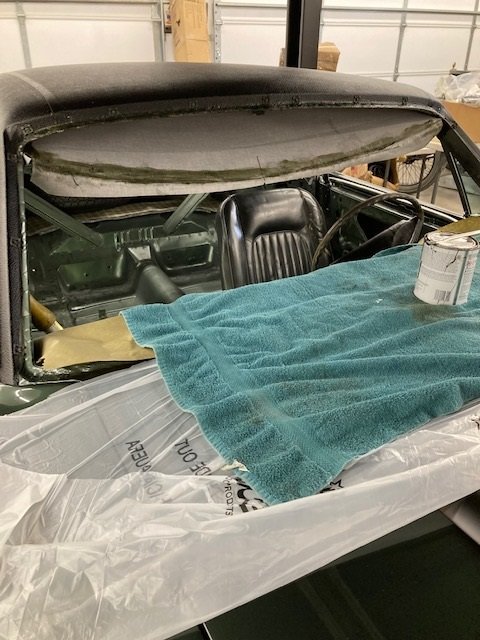
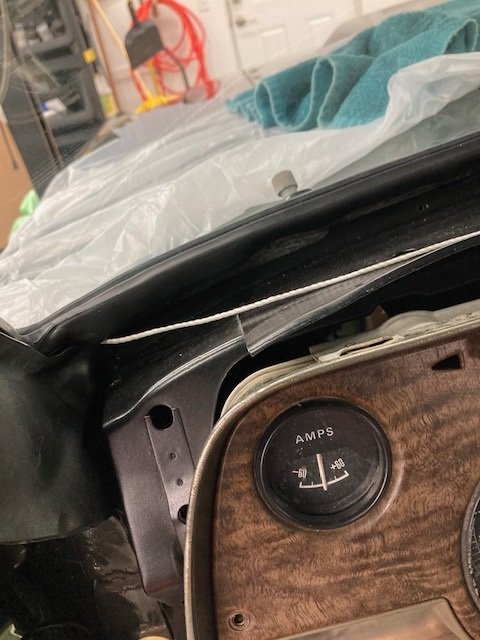
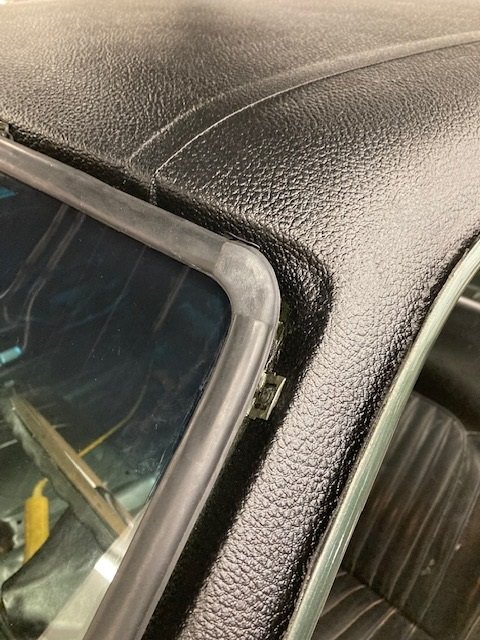
The headliner has been stretched and re - glued several times on the sides. Today was the final stretch for the front. Which means I can install the windshield soon.
Nice work! Is it easier to adjust and/or remove door hinges by removing the fender than by using a hinge wrench?
So far as I can tell there is not a hinge wrench for this application.
This is such a wonderful build. Thanks so much for posting these.
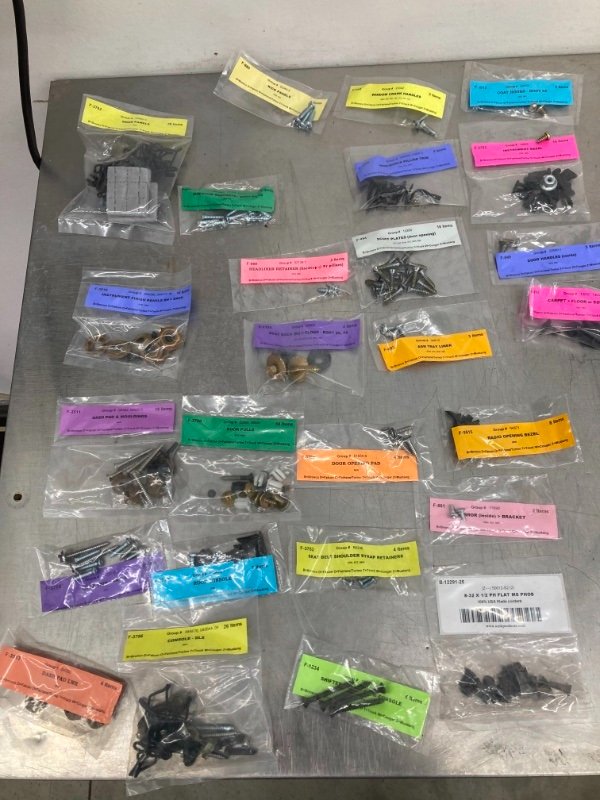
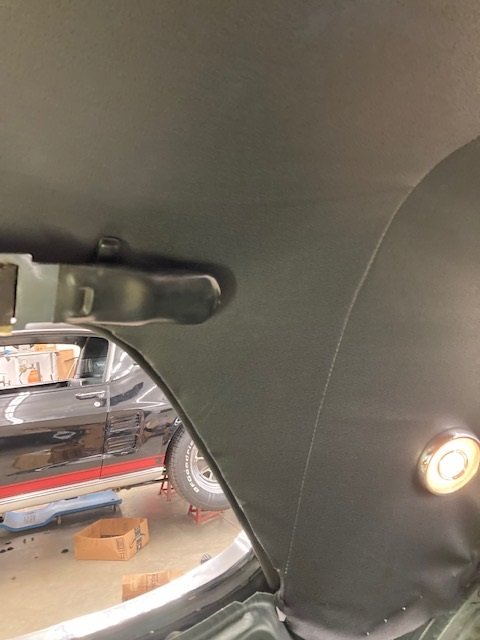
Much appreciated! I trimmed off the headliner material in the windshield area today and reorganized the hardware. This is all I have left- mostly interior.
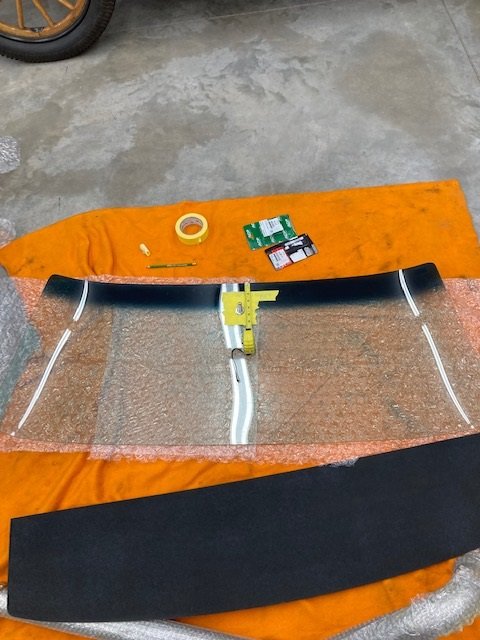
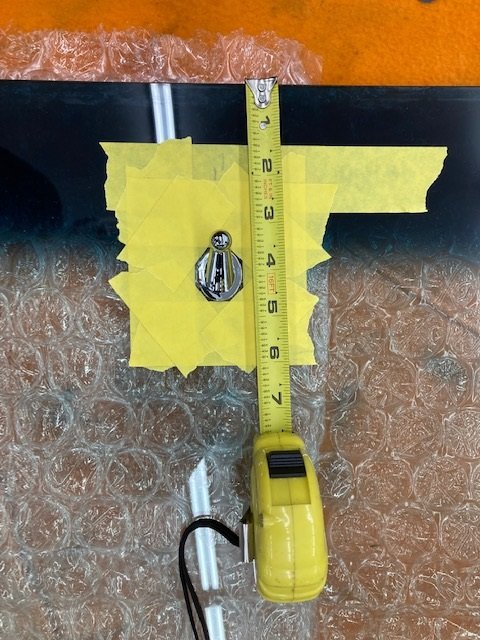
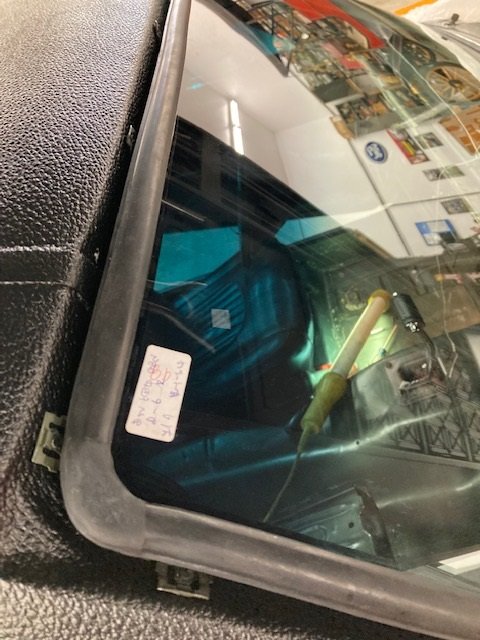
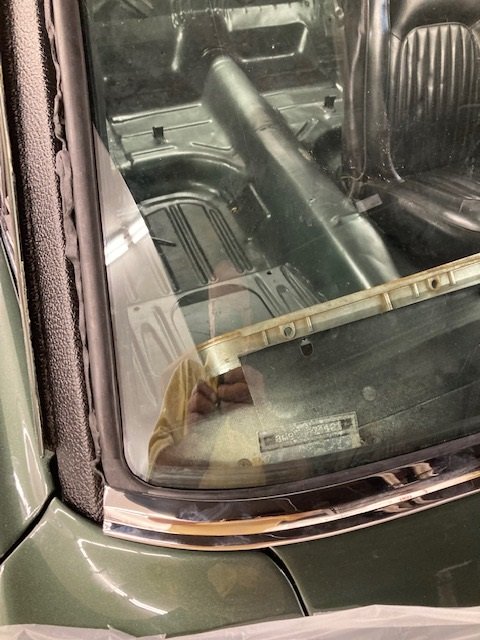
The windshield was the subject for today. I started by measuring several times to be sure I knew where center was. Then measured 4 1/16" down from the edge of the glass. I masked off a place where the mirror button goes, then glued it on using the special rear view mirror adhesive.
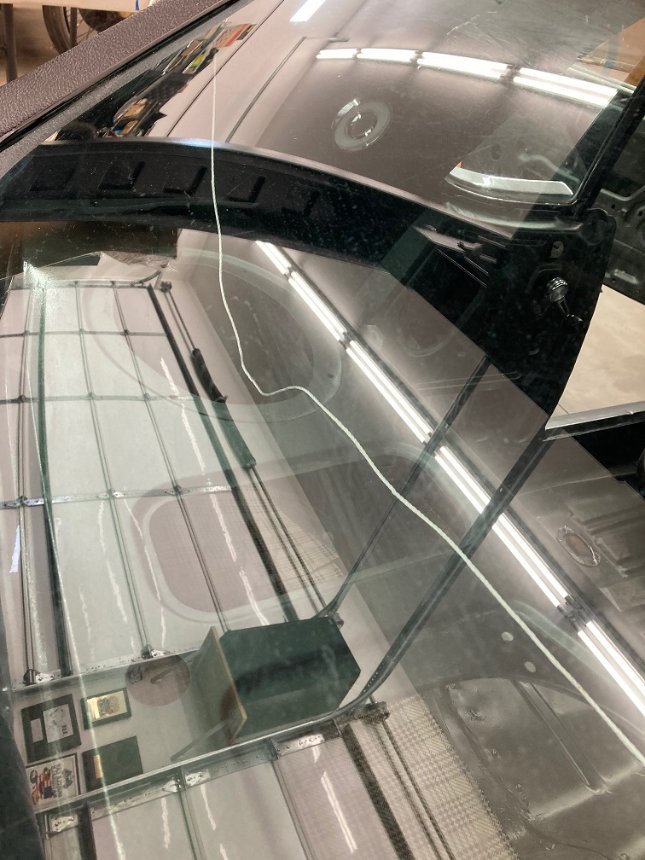
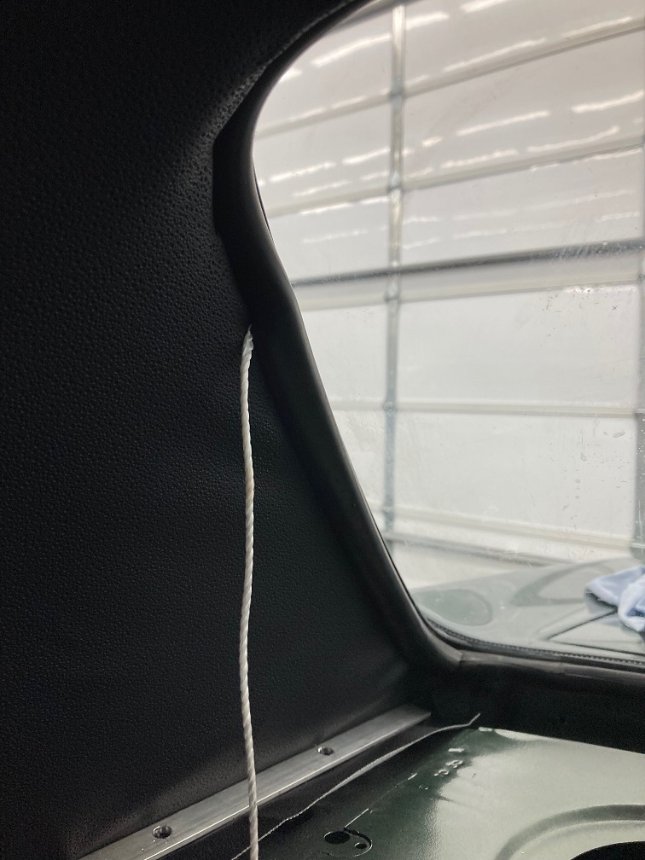
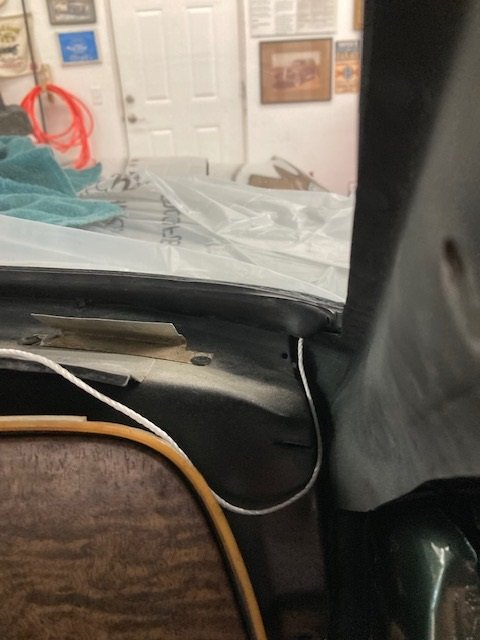
Then I put the windshield gasket on the windshield. Finally I put a piece of kite string in the weatherstrip channel that fits on the body and tied it at the bottom, leaving a foot or so to pull on.

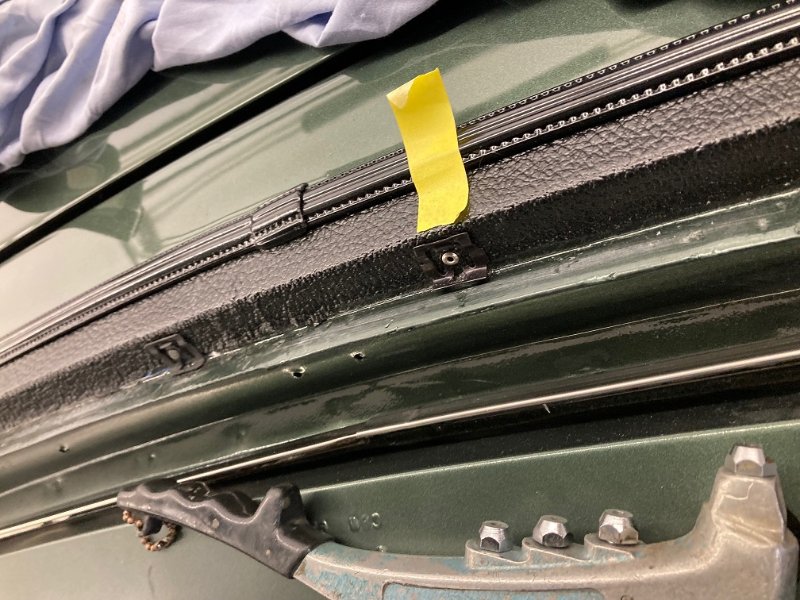
I had installed all the clips for the trim around the windshield a couple weeks ago right after the vinyl top went on. Installing the windshield is one of the easiest things to do in this entire restoration. I set the windshield on the lower channel of the weatherstrip so it was started in the middle. Then I carefully pulled the string to each lower corner so the entire length of the lower edge of the windshield weatherstrip is aligned on the body.
Then I got out of the car and centered the windshield carefully between the clips and pressed it down over the body.
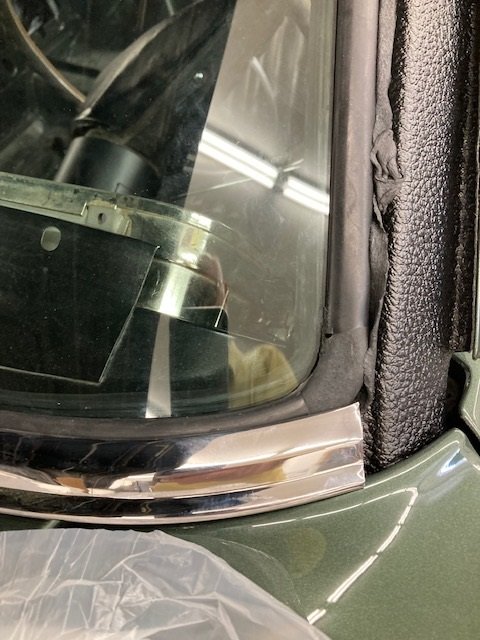
Here’s how it has to look on the outside before you pull the string up from each corner. It’s centered very well from left to right and top to bottom. Once the weatherstrip is installed it will be very hard to reposition the glass.
It’s important to pull the string evenly so you don’t crack the windshield. I pull one side halfway up, then the other side half way up, then both sides all the way up. Pulling the string out of the top is super easy. After the string is gone you can use your fingers to push the window seal over the body completely.
Other windshield install videos have the installer use sealant in the gasket before install, but yours is after the install.
Is there a real difference other than your method not being as messy?
I read that in the factory shop manual and I believe it’s a mis - print. Took apart a lot of them and never have found any sealant in the channel where the glass sits. I feel like my way is how the factory originally did them. It’s a lot less messy and it doesn’t leak.
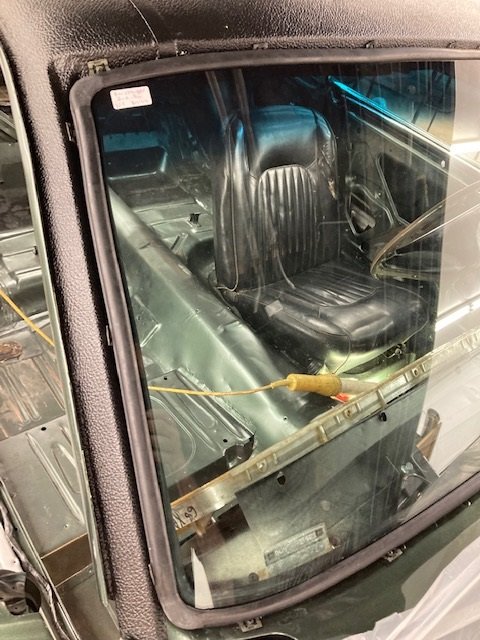
The back glass on a 1970 Torino goes in by the same method as here. The old widow seal on that had a minor issue that allowed the ingress of water and, therefore needed to be replaced. The new seal, actually used-new seal, as new ones were not available had been installed dry with no sealant and worked great. As for the old one there was no remnants of any sealant on the frame, glass or in the seal itself.
I sealed around the windshield gasket using 3M butyl rubber strip caulk. Then installed the stainless trim pieces. The bottom goes in first, then the top two pieces, and finally the two sides.
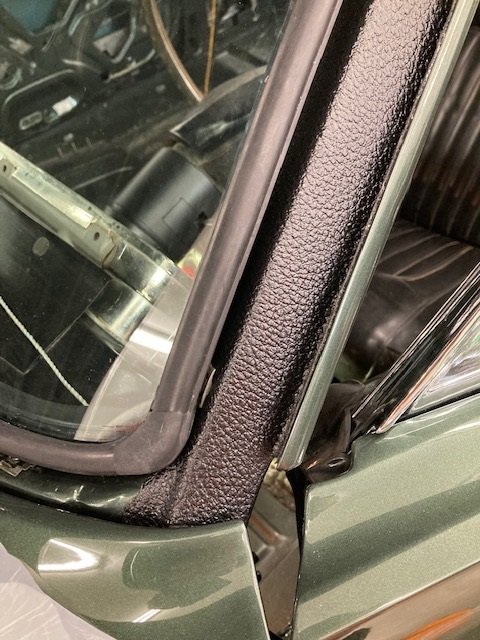
Inside the car lots of pieces to finish out the headliner area needed to be installed. The car had lots of mold so I used 409 to clean many plastic and vinyl items like the coat hooks.
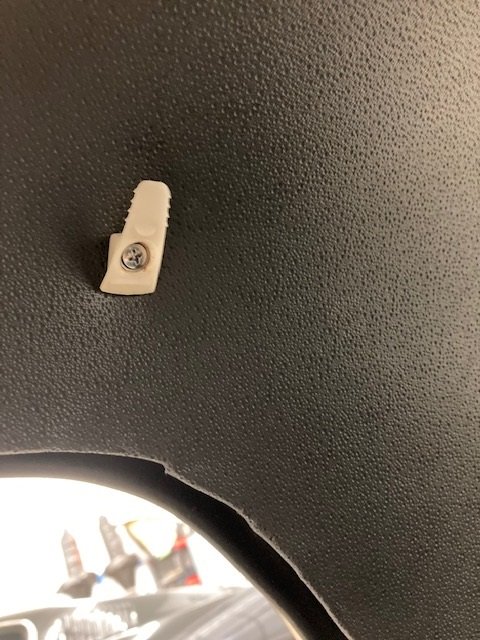
Notice I had two screws in the body before the headliner was installed in order to locate the holes afterwards. The coat hooks have a plastic pin that occupies one hole.
The AMK kit had two incorrect screws for this job. The correct ones are the small 3/4" long countersunk head screws same as the sunvisors use.


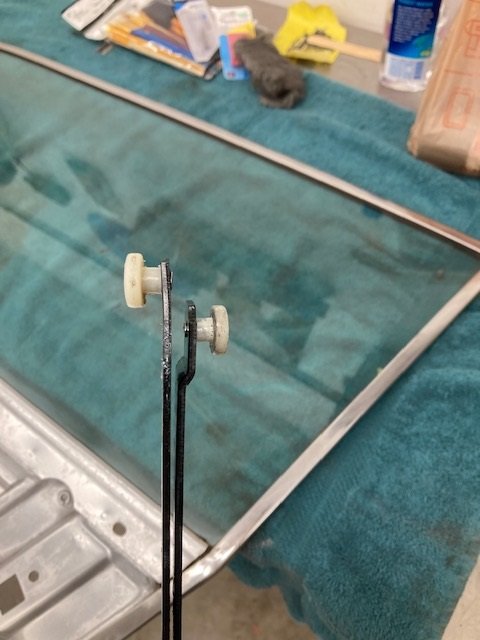
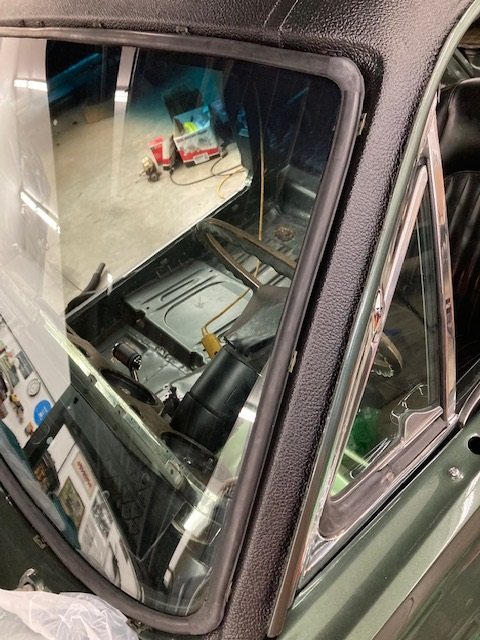
The rear glass has been wrapped up in an old sheet since the car got here almost a year ago. It got unwrapped, cleaned and polished with #0000 steel wool before installation.
I test fit the stainless trim and realized one of the attachment clips was missing. A steel pop rivet will hold that one in place.
The same string trick used on the windshield works here too.