We put KY in the gasket with the rope. It allows you to move the window around some and the gasket will slide right in like butter. Last one I we did on my 68 Cougar, my dad (who was 65) had the windshield in about 2 min. We had trouble with my 62 Chevy back window…we found out that the top went in first…took him 20 min because of trial and error.
I recommend KY on a lot of pieces …ie rubber bumpers . The KY will evaporate quickly.
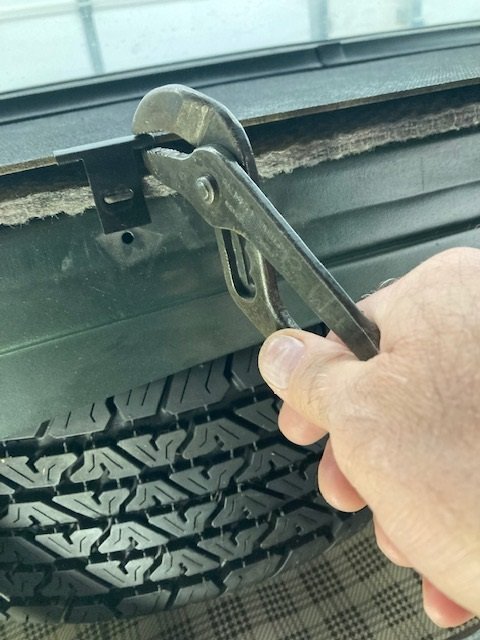
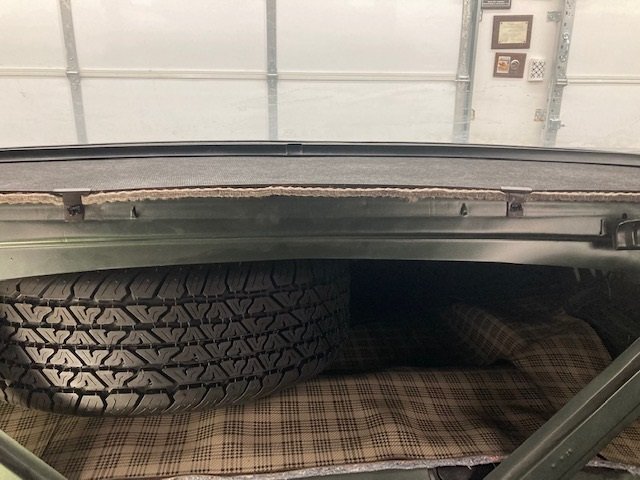
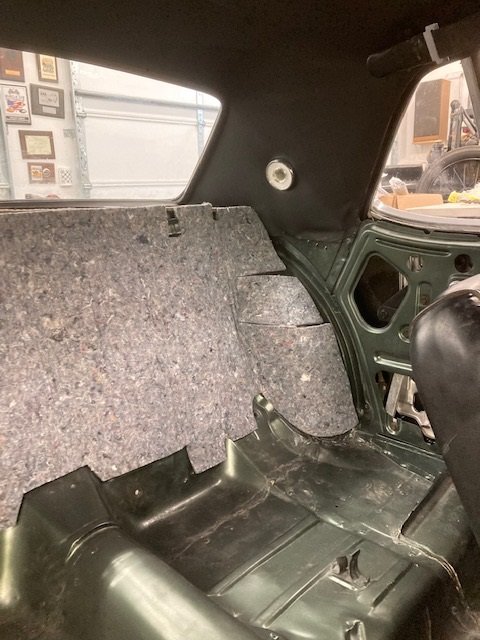
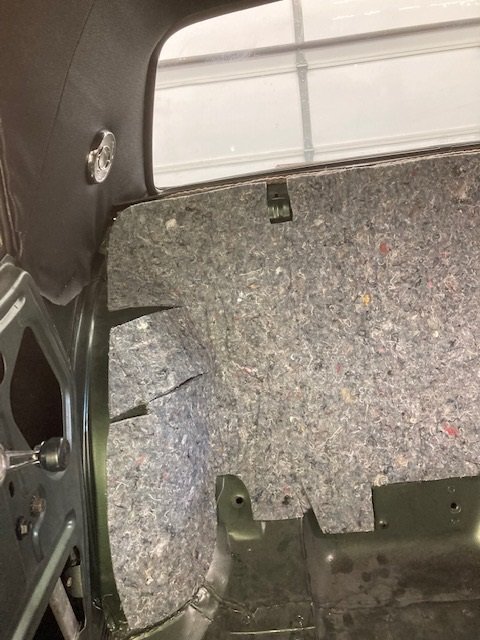
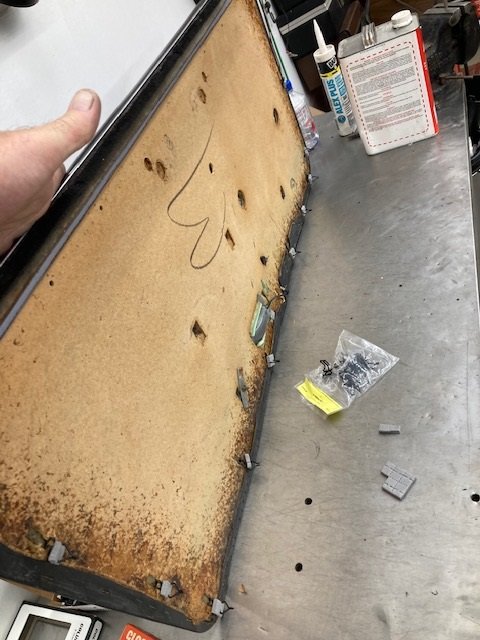
Only a little update for today. The package shelf clips got crimped on to the reproduction panel. Then they were snapped into place.
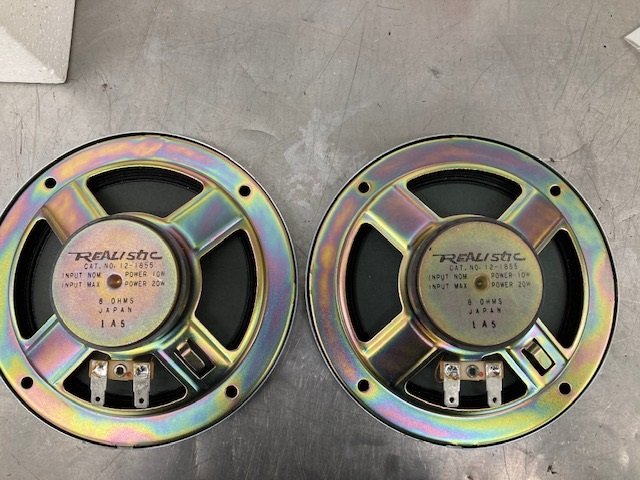
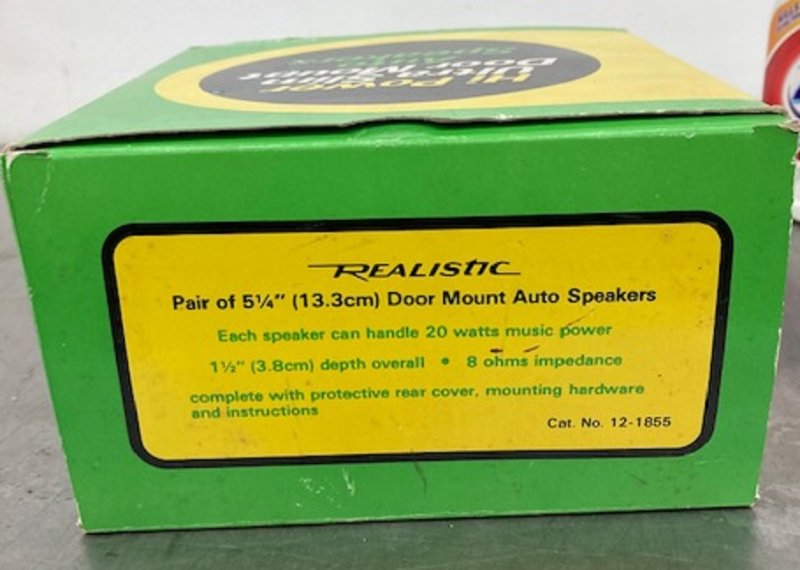
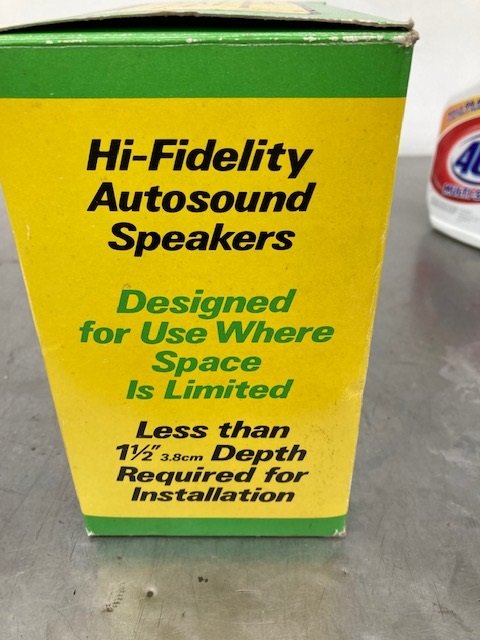
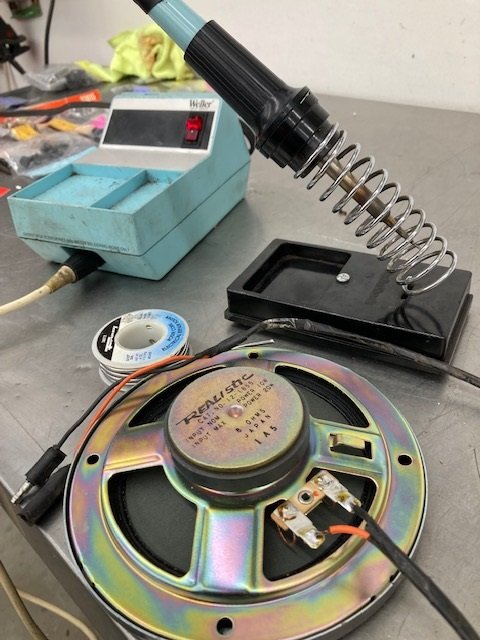
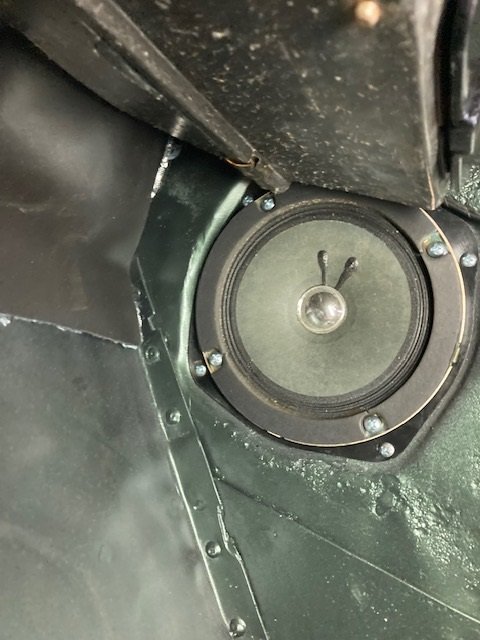
Today I started off with the stereo speakers. This car originally was equipped with the AM 8 Track stereo tape player. We were able to find a properly date coded original tape player and had it rebuilt. The original speaker wiring harness was in the car. However we were unable to find original speakers.
I did find some new old stock Radio Shack speakers that were the proper size, wattage and ohms to nearly match the originals. Truth be known, the Radio Shack speakers are probably better quality than the original Bendix speakers.
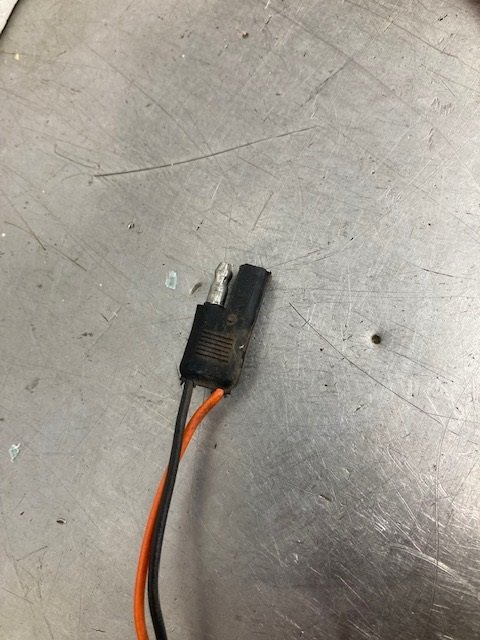
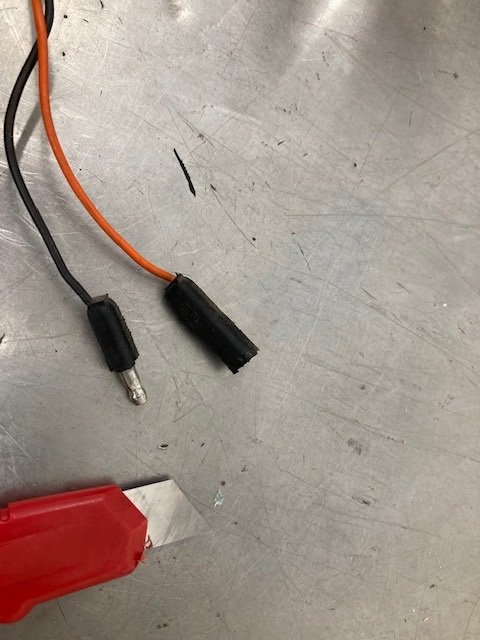
The wiring harness in the car has a unique connector for each speaker that has essentially a three pin connector that only uses two of its pin locations, one female and one male. I got a speaker lead assembly from WCCC that was probably for a '69 - 70 Cougar. But the colors were correct, so I only had to cut the connector in half to make it functional. The RH side is shown, LH was the same except different colors.

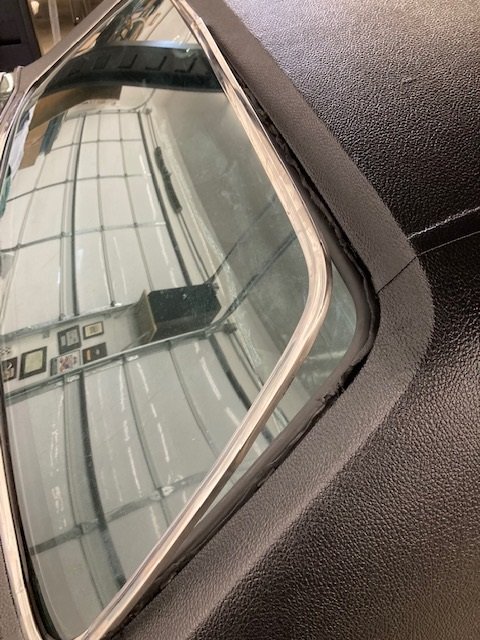
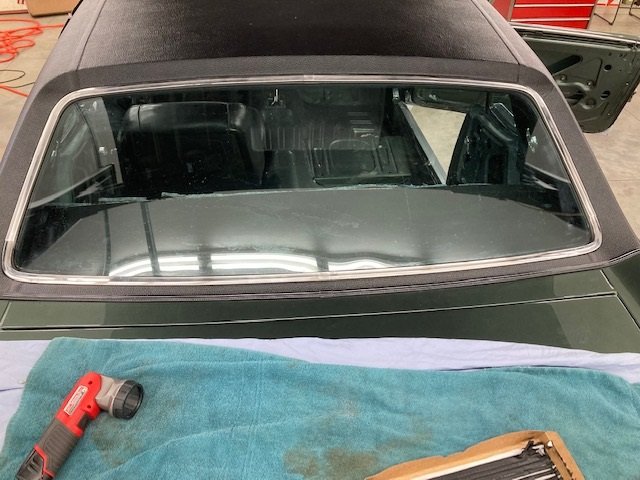
The other day I installed the rear window. Today I installed 3M butyl rubber strip caulk in the channel around the window. Then I installed the original stainless window trim that had been restored and polished by our local chrome plater Charlie’s Chrome. There is a great deal of satisfaction when this snicks into place easily. This is one of those times, it took maybe 30 minutes start to finish.
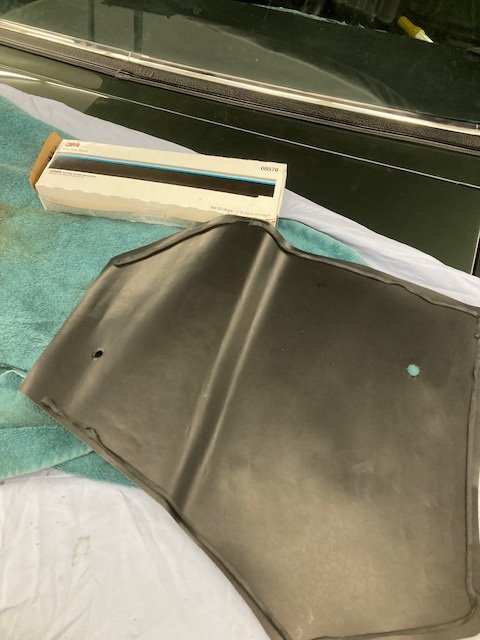
The rear seat insulation was originally a 1/4" thick piece of tar paper. What you can buy nowdays is a 1/2" thick piece of padding with a oilskin paper backing that faces the trunk. It’s the right shape and will likely do the job but it’s not authentic. These are held in place by metal prongs stamped into the seat back area, and some 3M spray adhesive on each end.
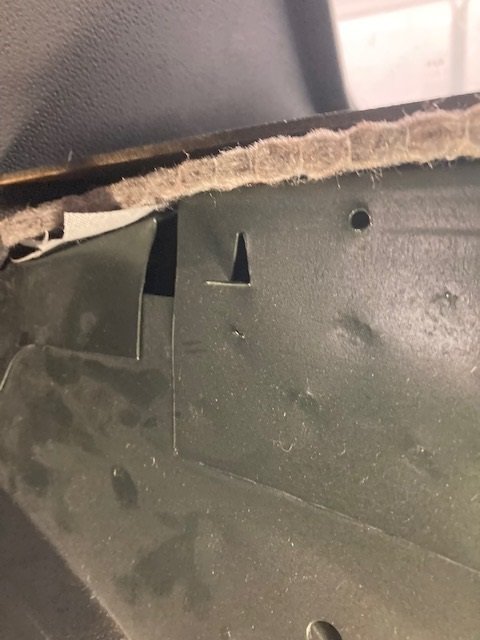
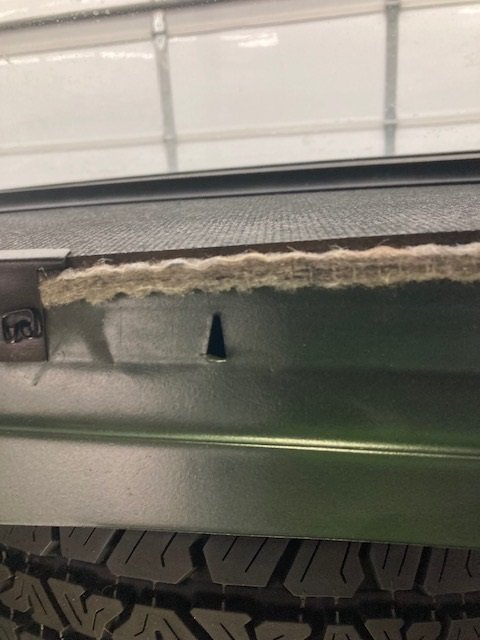
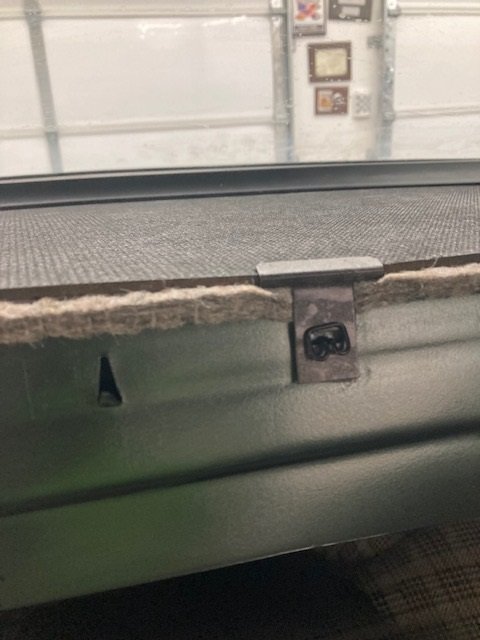

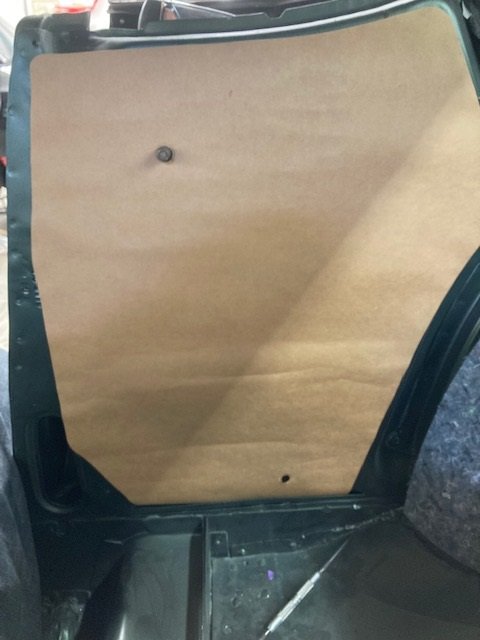
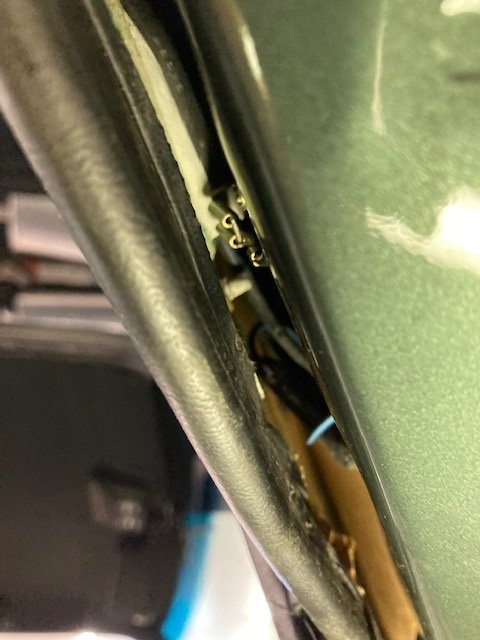
Before the rear seat trim panels can be installed the headliner edge trim needs to be installed and also the water shields. The water shields get 3M Strip Caulk on three sides. The bottom gets tucked into a slot so that any moisture hopefully is channeled into the area that has a drain below the window. It’s important to make sure the strip caulk has no gaps and that it is pressed evenly onto the body.
I got one side of the rear seat trim installed, along with the window crank and the pinch trim on the front.
Elected to not repair the floor repair?
Not sure what you see?
Royce, I think I still have a pair of the kick panel pods and speakers I’ve hung onto for a “future” project. Glad you got your set sorted out.
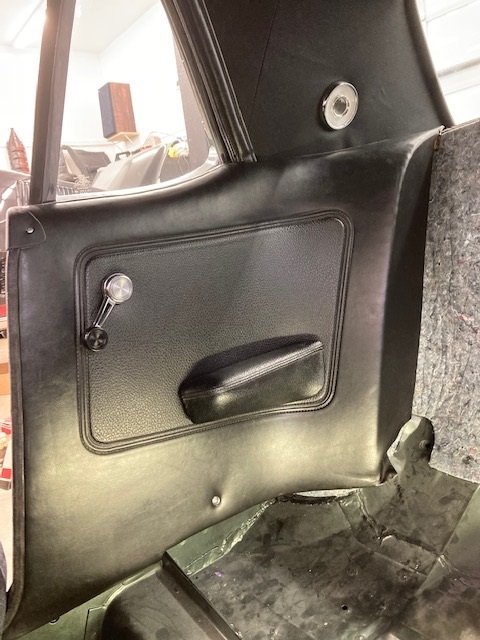
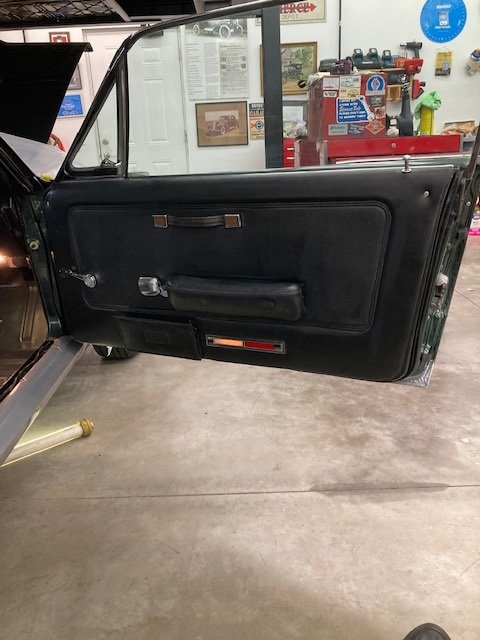
Today I finished up the passenger side door after replacing the brand new Scott Drake window regulator with a good used one that worked a lot easier and didn’t make any goofy popping noises.
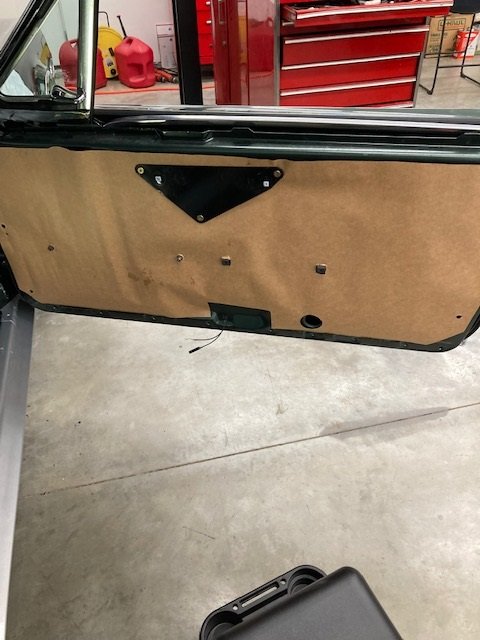
The water shield got installed with 3M butyl rubber tape around the edges on three sides and at the indentation for the door panel lamp.
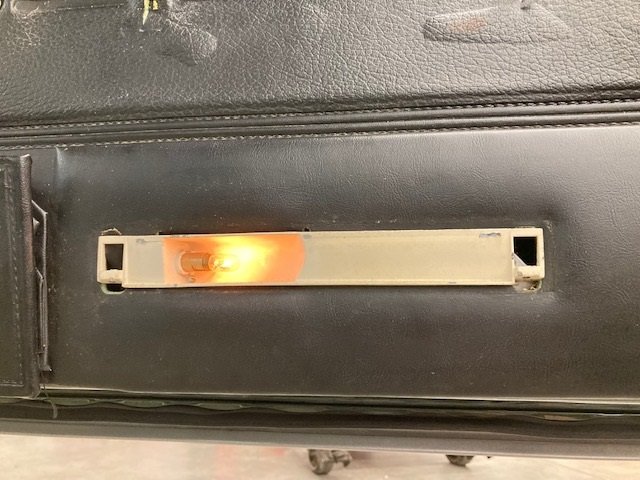
I hooked up the battery briefly to make sure the door panel light was functioning properly. I didn’t want to install the door panel only to have to remove it later if there were something wrong.
Had exactly the same noise on the new Scott drake regulator and strangely only on the passenger side.
Found it was the coil spring very tight,dry,dragging on it’s self and jumping.
A good clean and spray grease allowed it to move smoothly,no noise and hope it lasts.
Did the same to drivers side just in case.
I watch your build with great interest and admiration Royce,we are at about the same point in our build process and your expertise is really helping me and I thank you for that.
With very few Cougars in the UK,knowledge on these classics over here is few and far between.
Regards
Thanks for the kind words. This one has been a bit of a challenge since it arrived in a million pieces and had many missing parts that had to be found. Still have some odd electrical problems to overcome like no blower motor for the heat / defroster and the tilt - away solenoid seems to be Tango Uniform even though it has power and ground.
Royce, I was having some problems with a 68 tilt-away system recently, where it wouldn’t allow the car to start. I ended up taking it all apart, cleaning all the contacts and lubricating the vacuum servo mechanism. I put it back together and adjusted the tension on the release cable and it worked as it should. I’m sure you’ve gone through the one you are working on several times, but sometimes you have to go back through it a piece at a time. It also helped that I have a complete spare tilt-away column and system to troubleshoot each piece, but all the original pieces from the original unit went back together in the working version.
Good luck to you, it can be very frustrating.
I have not gotten too deep troubleshooting it yet but it is very different from my red XR-7 which has a functioning tilt - away. The relay makes an audible “CLICK” when the door is opened. This one doesn’t do that. I did check to make sure it was getting power and ground with a meter - it was, but I have not used a test lamp to see if the voltage is real or if the circuit is not capable of carrying a load. That’s next, if the relay needs repair I have done that before too.
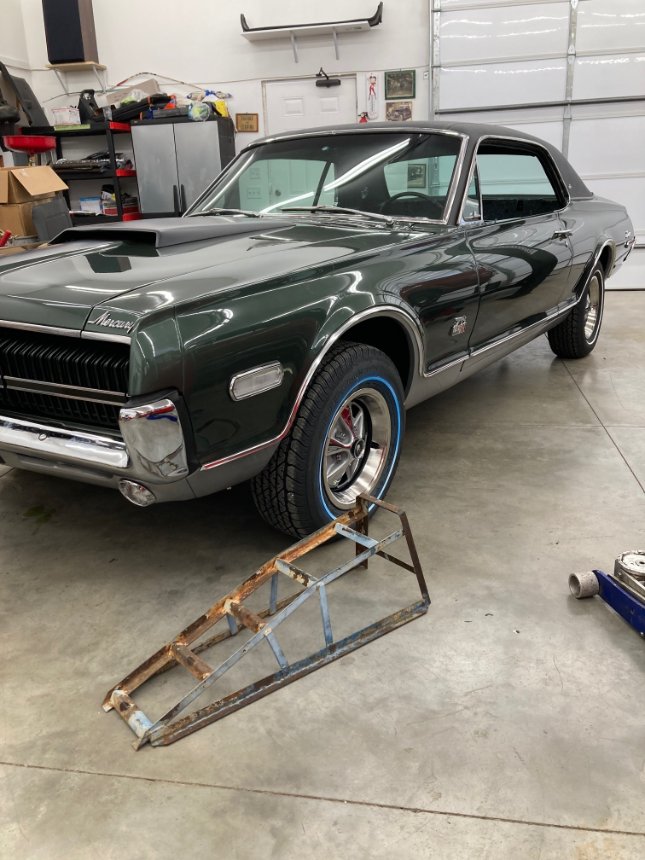
Today not much work on the car but I did a major garage shuffle and in the process, after the fact, realized that I had just moved the car under its own power for the first time in decades. Lots left to go still.
You don’t really want to pull apart the operational one in the other car, but at least you can test the individual parts to see if it makes a difference and then find the part you need. There’s so many pieces that all have to be working properly for it to function right. I wish I was closer to give you some assistance/hinderance (lol).