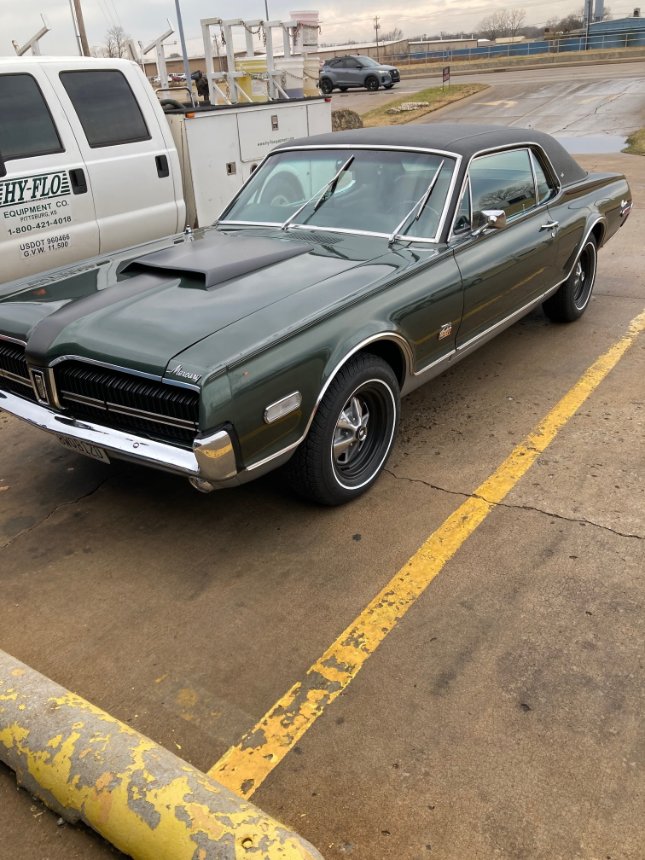
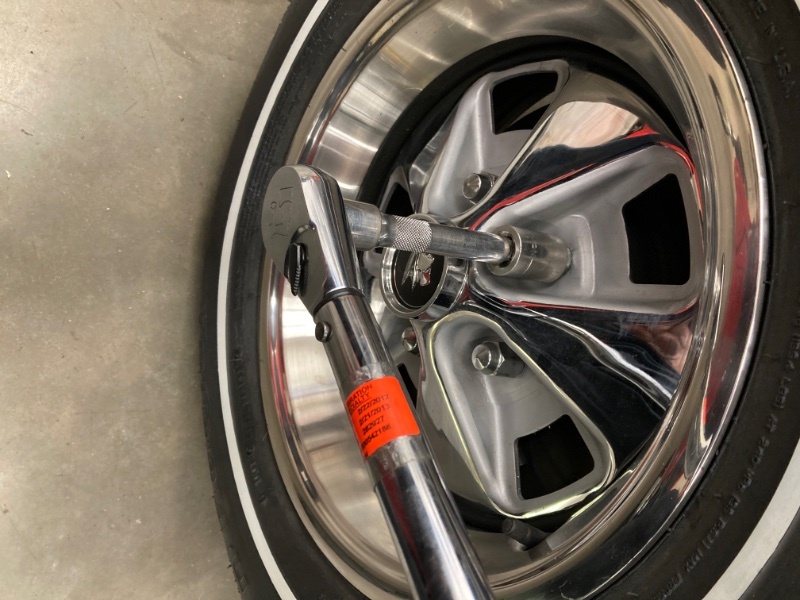
Still waiting on the upholstery to be installed on the seats. Meanwhile I made an appointment to have the alignment done. Today was the day!
The weather was predicted to be a sunny day with gusty winds occasionally. It turns out the weather guessers were wrong. It was cloudy and calm this morning. I got in the car and by the time I was at the end of the street it was sprinkling lightly. Another mile down the road and it was a steady rain. Got to test the windshield wipers. They worked well.
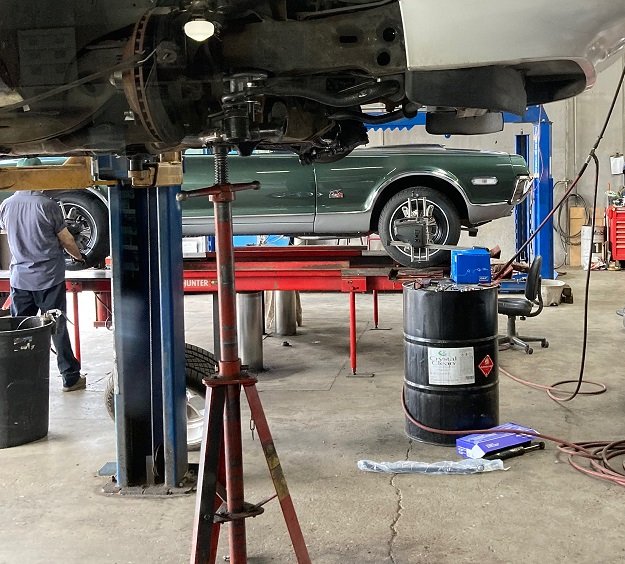
The shop uses a Hunter alignment rack. It uses four identical self-leveling wireless sensors, one on each wheel, so it is performing a four-wheel alignment. When I got to the shop, they were just finishing alignment on a Bixby Oklahoma police car. A few minutes later the GT-E was on the rack. The rack elevates the car front and rear so that the position of the frame is known to the machine.
When I got back the car was being lowered so I assumed the job was complete and went inside to see the manager. He was a little pale and informed me that when the technician switched from the toe in setting to doing sweeps of the caster / camber the screen had went black on the Hunter machine. Calls to Hunter didn’t solve the problem. I will have to return when the machine is fixed, hopefully next week.
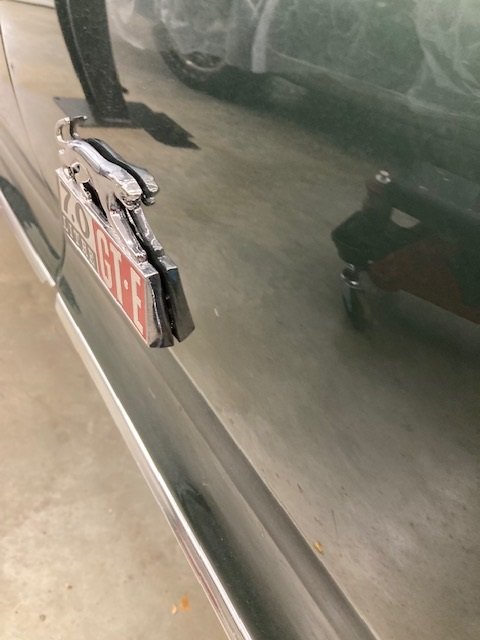
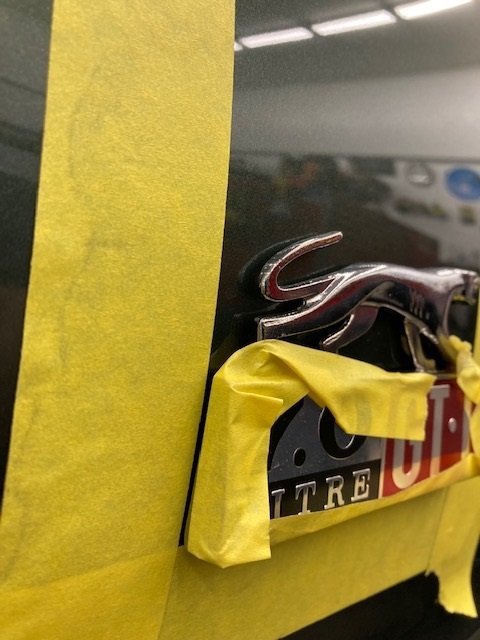
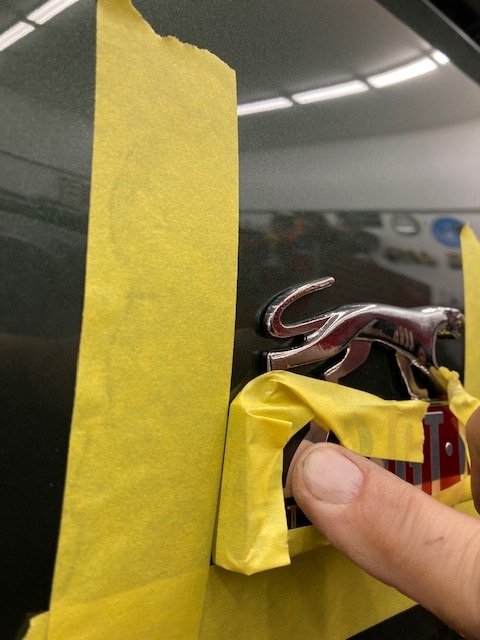
On the way back from the alignment shop last week I noticed a little rattling noise coming from the right front fender. Turns out the GT-E fender badge was loose. They are too expensive to lose! So I thought about how to prevent that and fix the noise.
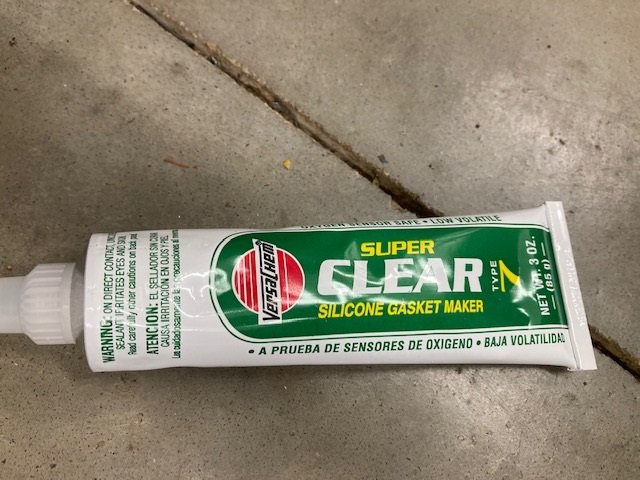
I masked both of the badges and the paint, then injected clear silicone RTV on three sides. Then wiped off the excess and applied tape over the whole thing so it would dry in place tight on the fenders.
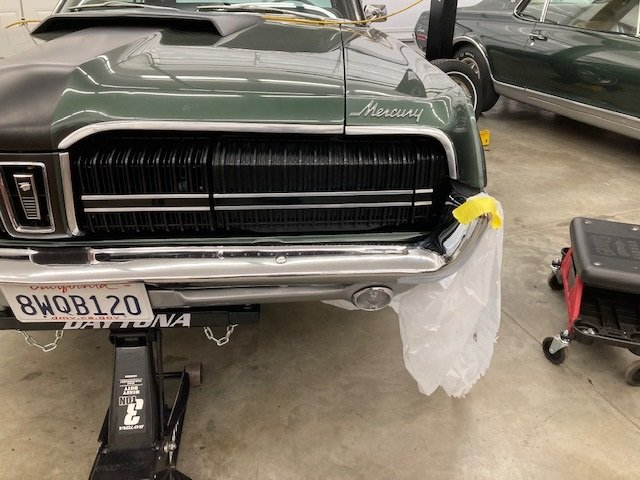
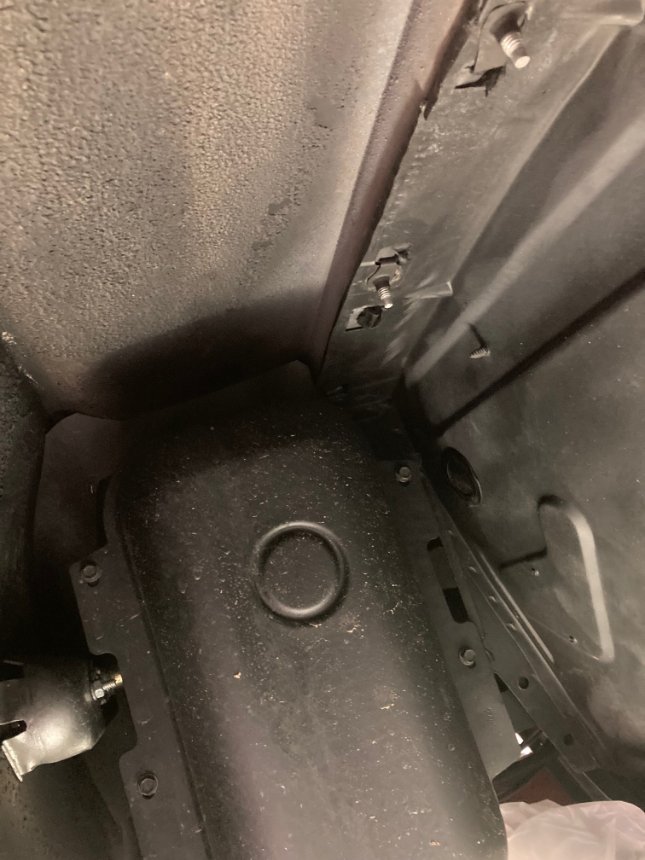
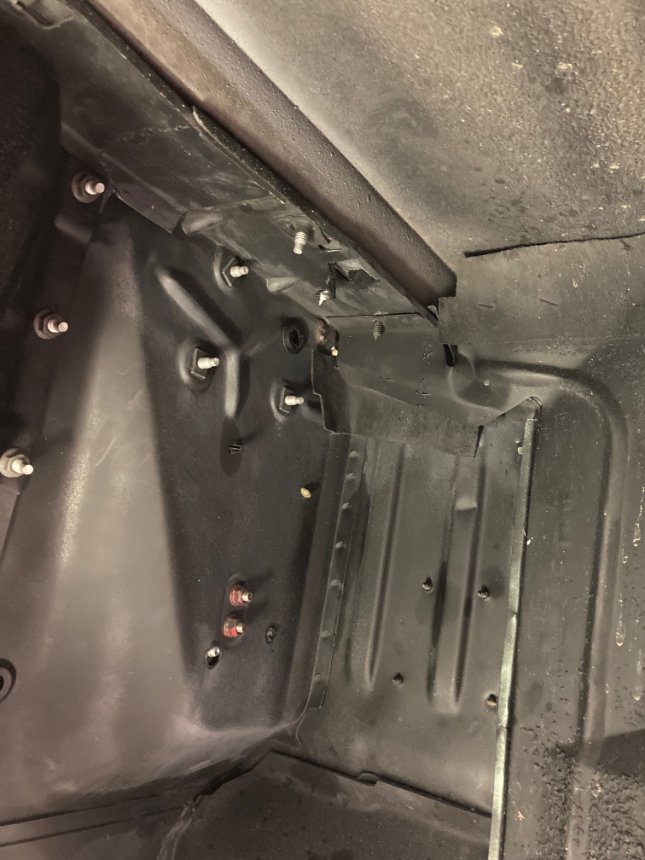
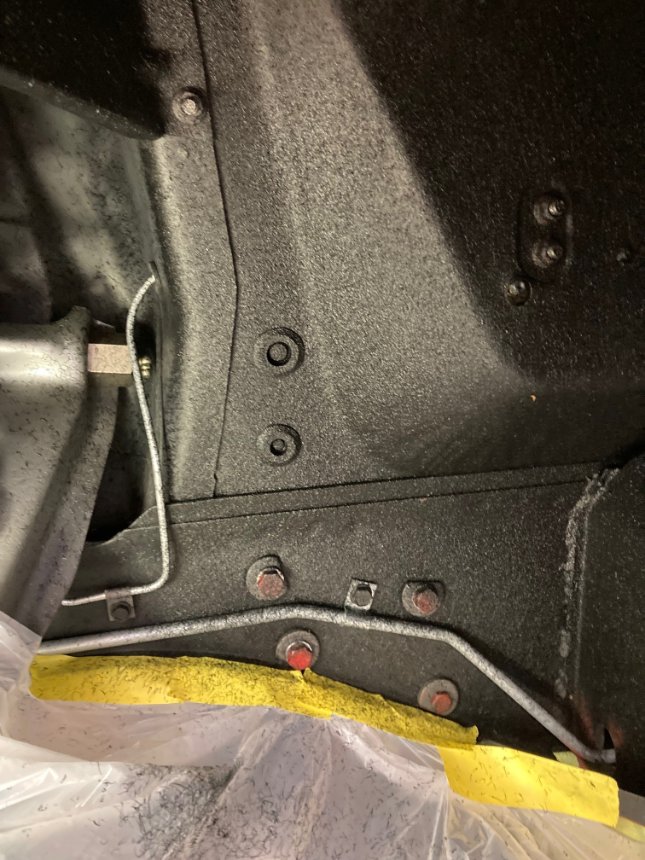
Still waiting on the upholstered seats so yesterday I got the car ready for spraying sound deadener inside the front wheel wells, which was done towards the end of the line with the car mostly assembled. I used sheets of clear plastic to keep overspray off the floor and off the front spindle / brake assemblies.
Today I was going to go to the paint store because the O - ring inside my Lord Fusor sealant gun had swelled and was unusable. For some reason I took the manual out of the box. Taped on the back of the manual were three new O - rings!
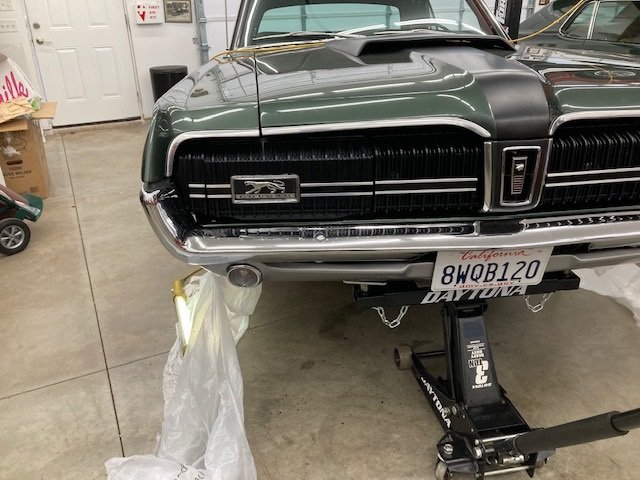
The wheel wells were a mix of finishes. The inner wheel wells were basically left unmasked during the whole assembly process, so they had overspray of the body color green over the primer. Meanwhile the front fenders still had the factory installed original undercoating remaining, so I knew what texture needed to look like on the unfinished areas.
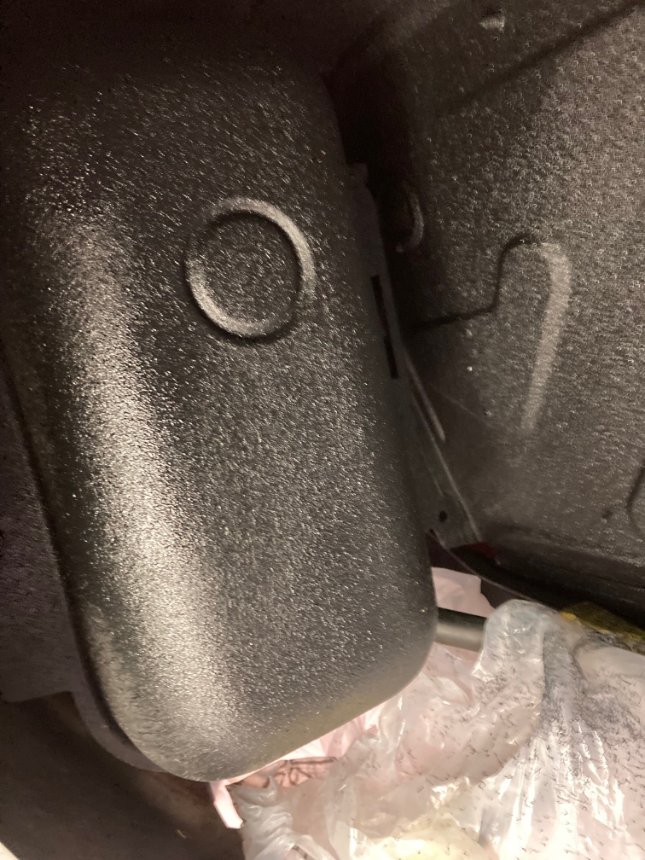
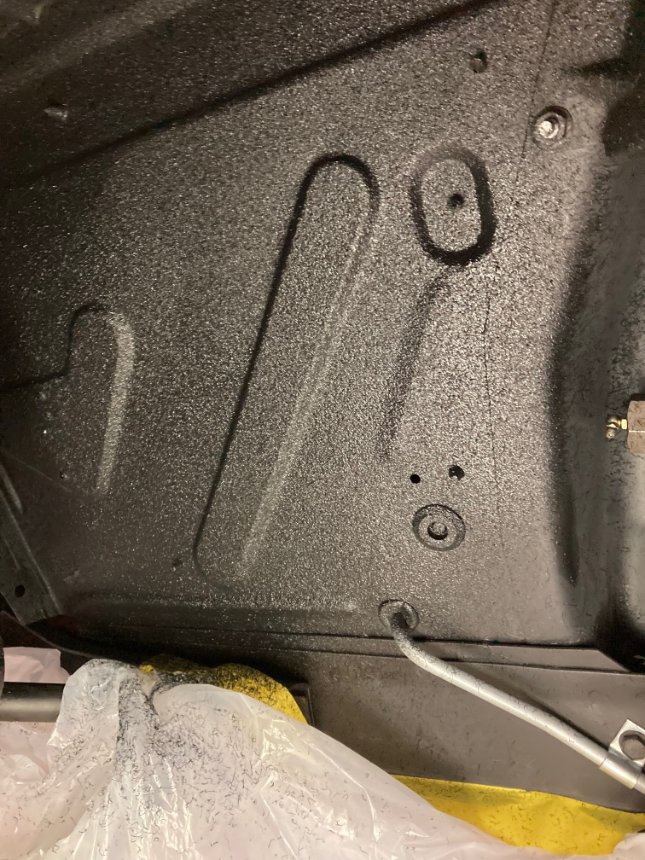
With everything ready to go I screwed in an open tube of Lord Fusor High Definition Black and let it rip. I felt just like a new hire on the line. Just plastering everyone else on the line’s work.
The clean-up of the gun took longer than the application process.
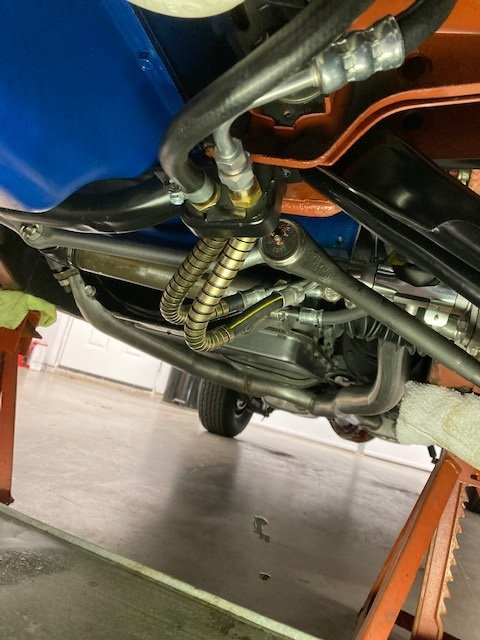
The jack I had previously but the spreader bar is something that was purchased a couple days ago. It’s really good for this job. Note that there are also jack stands under the frame rail on each side.
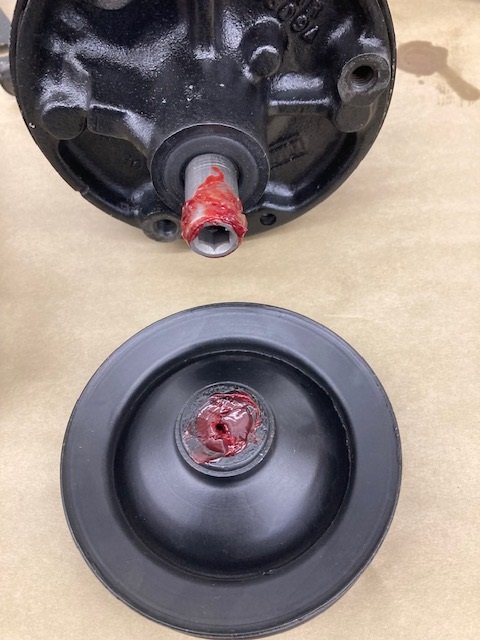
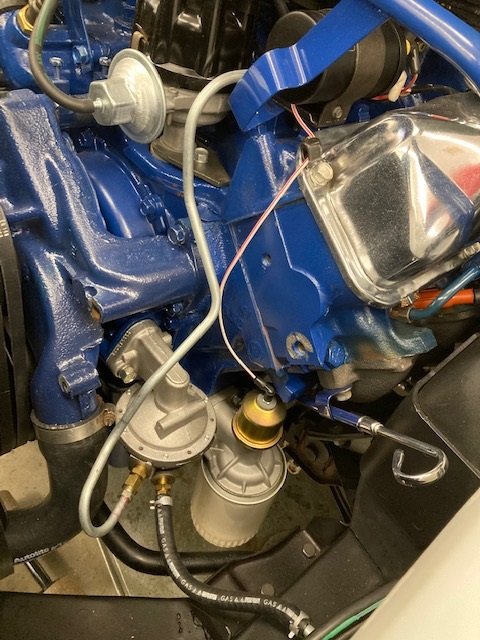
The PS pump was moaning. I called Dan at Chocostang, he said to try it for 100 or so miles and see if it would quiet down. It never did, and so far the car has 150 miles on it. So I took the pump out, drained it real well, took off the pulley and brackets and hoses. Then sent it back for warranty repair. It left here on December 27. Came back yesterday. So today was install day.
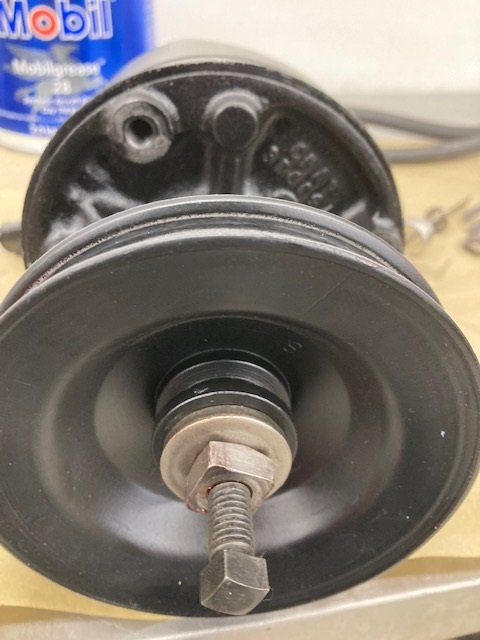
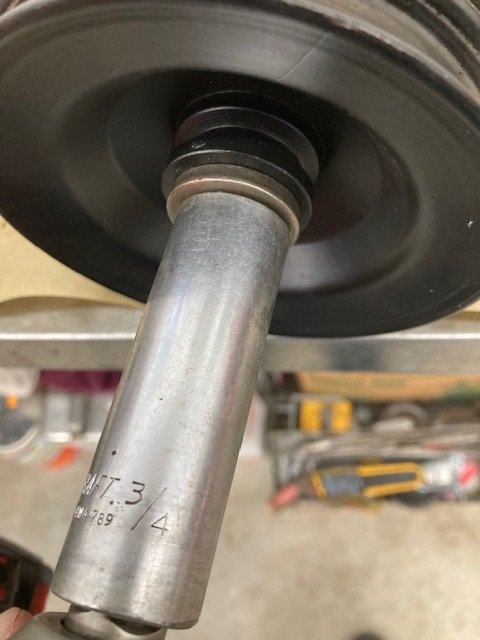
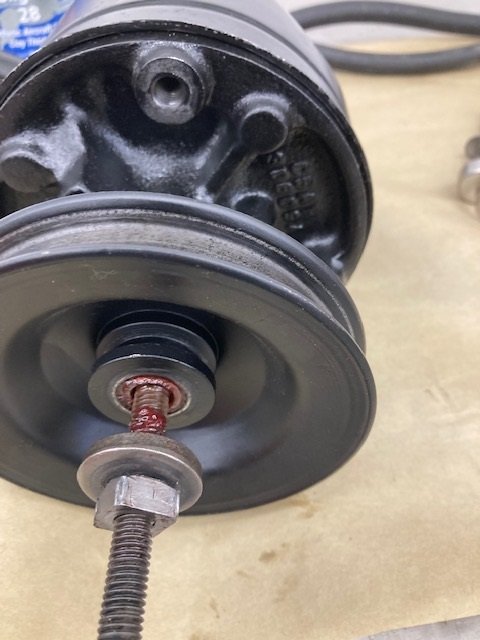
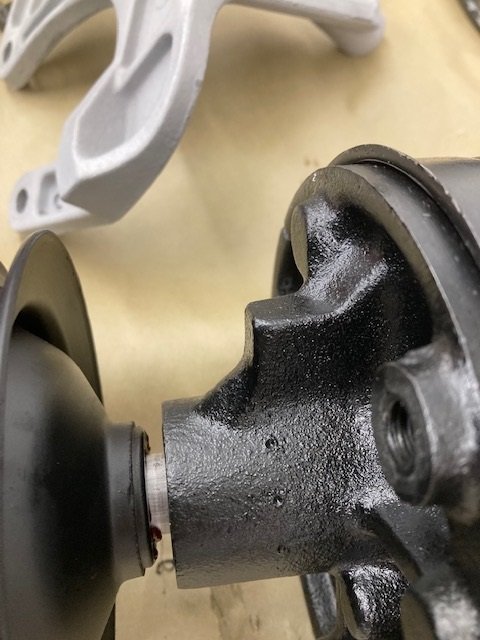
I put grease inside the pulley and on the shaft. The installation tool has a 5/8" square nut. A 3/4" 12 point deep socket is used to install the pulley. You can see the installation tool has a hardened steel thick washer, grease is used on the threads of the installation tool as well as between the nut and the washer. When the pulley is flush with the end of the shaft it is done. As you can see that makes for a 3/16" exposed shaft between the pulley and the front of the pump.
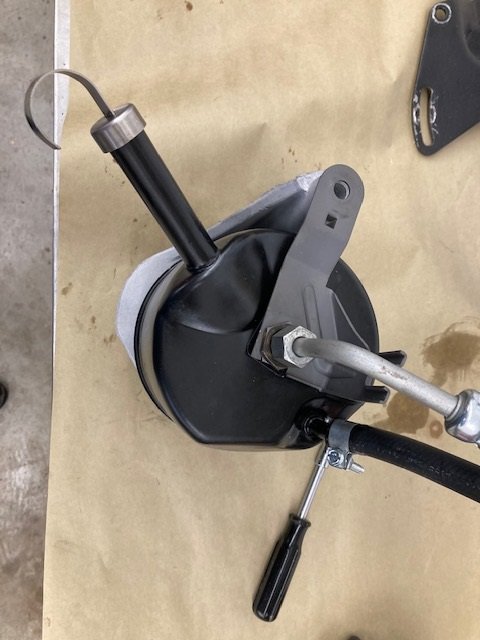
There are lots of pieces to install on the pump before it can be installed on the car. The main aluminum bracket, the steel adjuster bracket, the pressure hose indexing bracket, and the two hoses.
I hooked up the hoses, then installed around 5/8 quart of fluid. If the cylinder, hoses and control valve were empty it would take a little more than one quart.
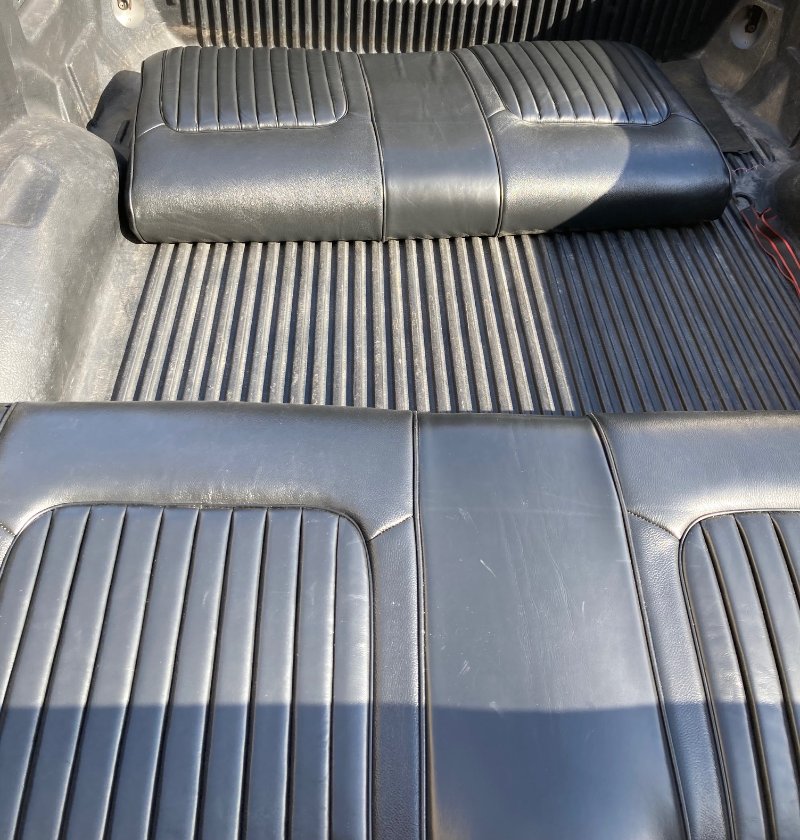
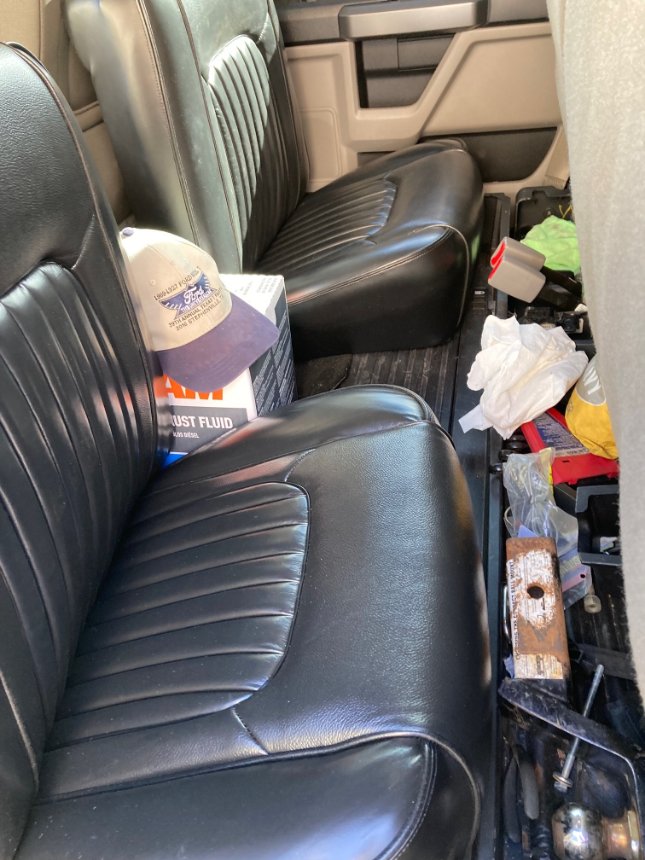
Been a while since I posted an update - and that’s because it has all been on hold waiting for the upholstery shop to finish up the seats. Today I picked them up! The carburetor (original one) started acting up so it is now gone to the rebuilder for a bit of rework.