1968 XR-7 Project

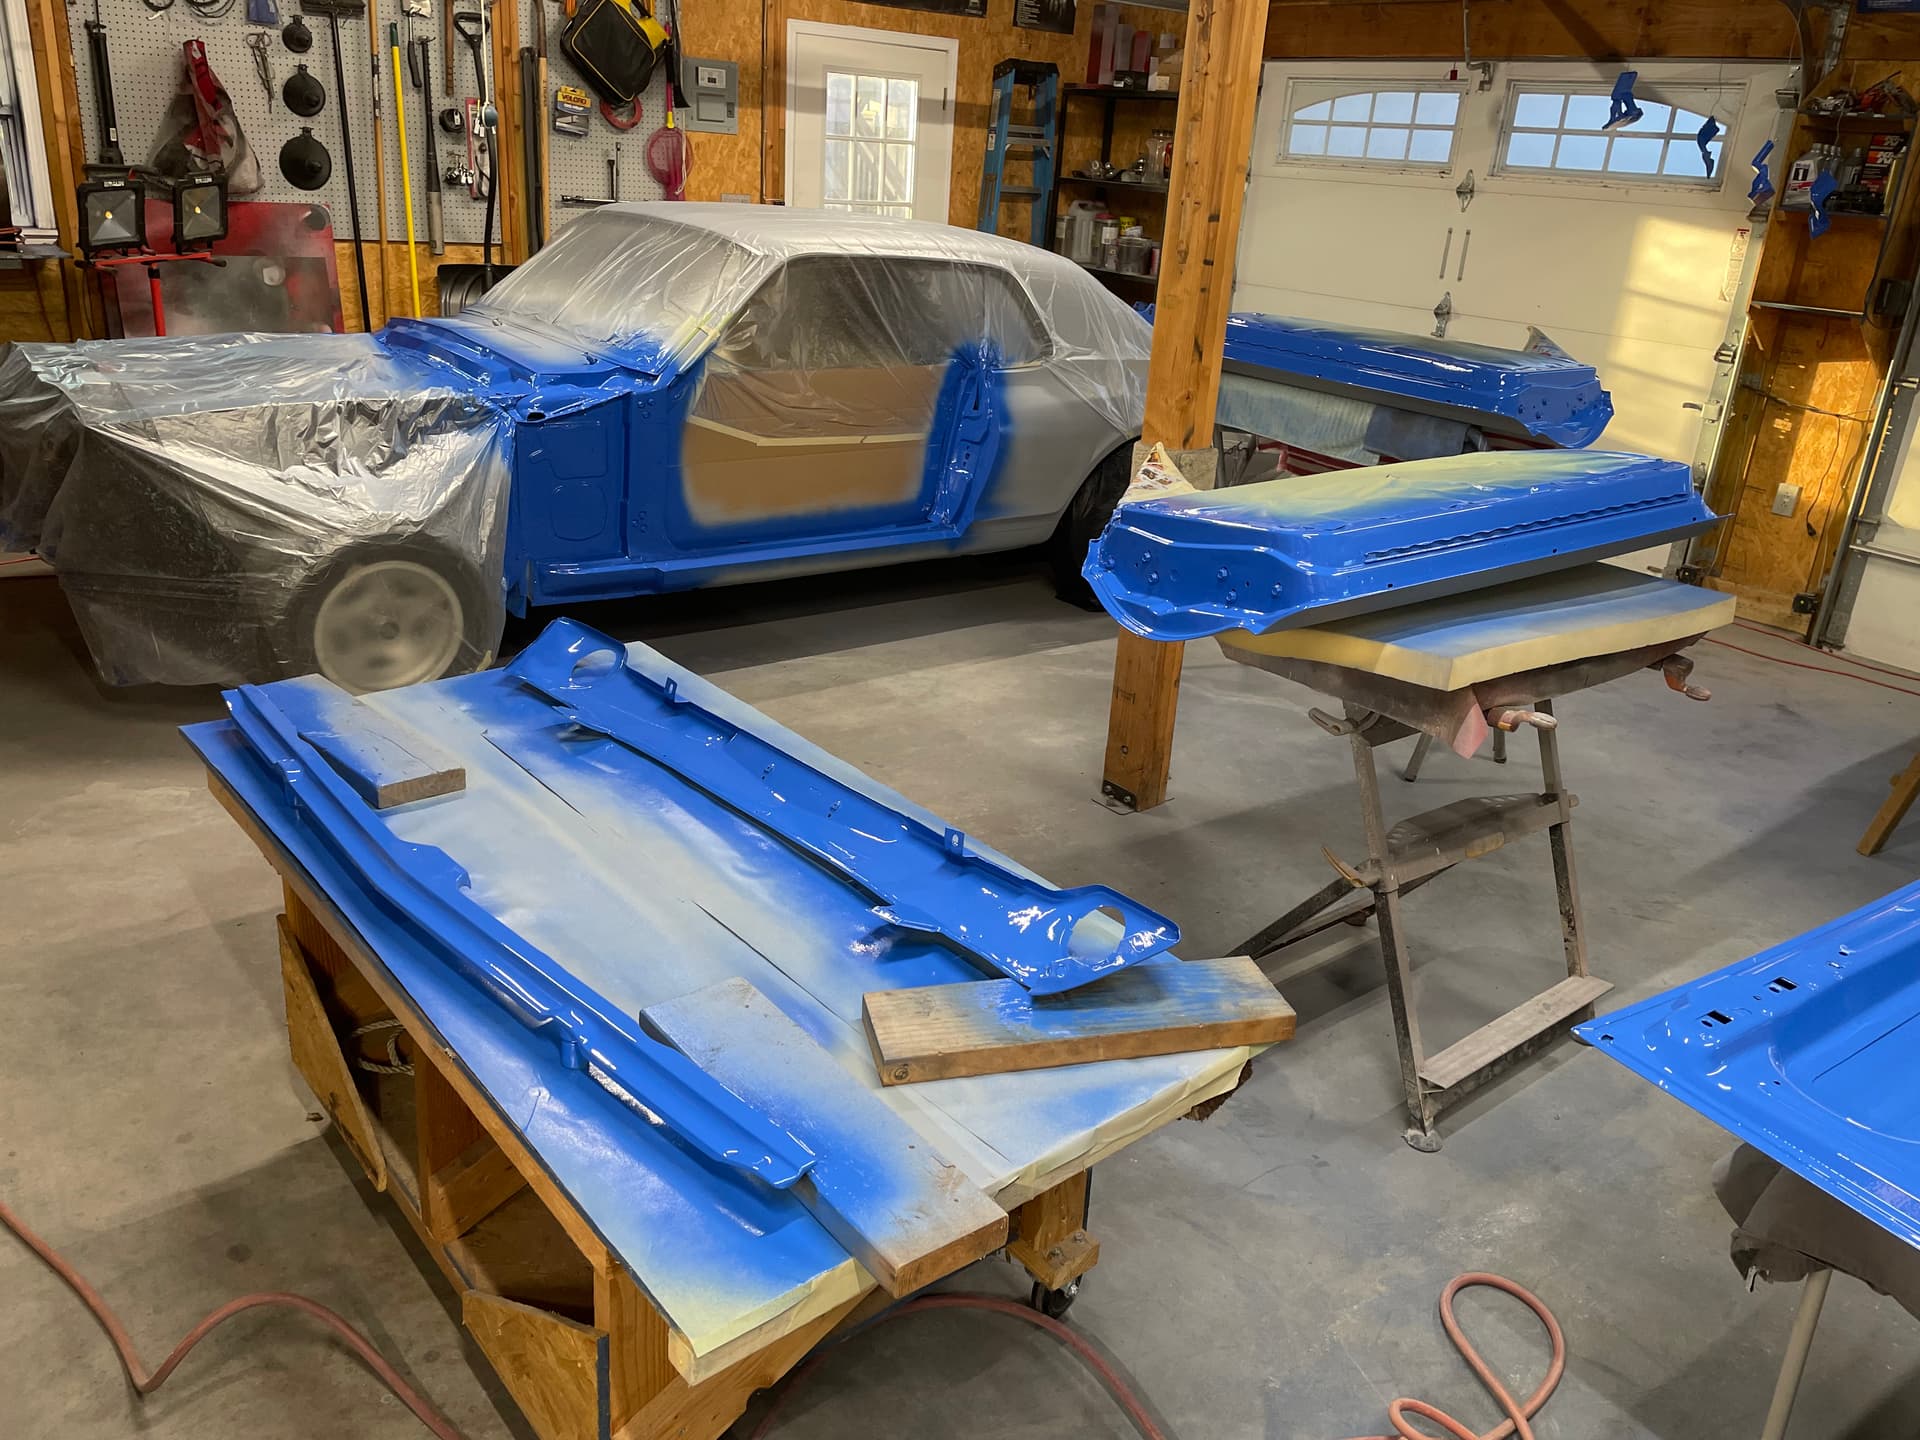
I’m a year and a half into this project, so I should probably share before I forget what happened.

I’m a diehard Ford guy, and my first two cars were ’71 Torinos. The first one was a formal roof 302 car, but the second was a Cobra with a 429cj. It would GO! I got a lot of tickets in that car. Since the mid 90s though, I’ve been focused on bikes. I’ve rescued ~30 basket cases over that time so I have lots of tools and I know just enough to be dangerous. I should also mention that I worked in a body shop that specialized in classic Fords (Mustangs, Shelbys, etc.) in high school and for a couple of years afterward so I’m able to do a little body and paint as well.

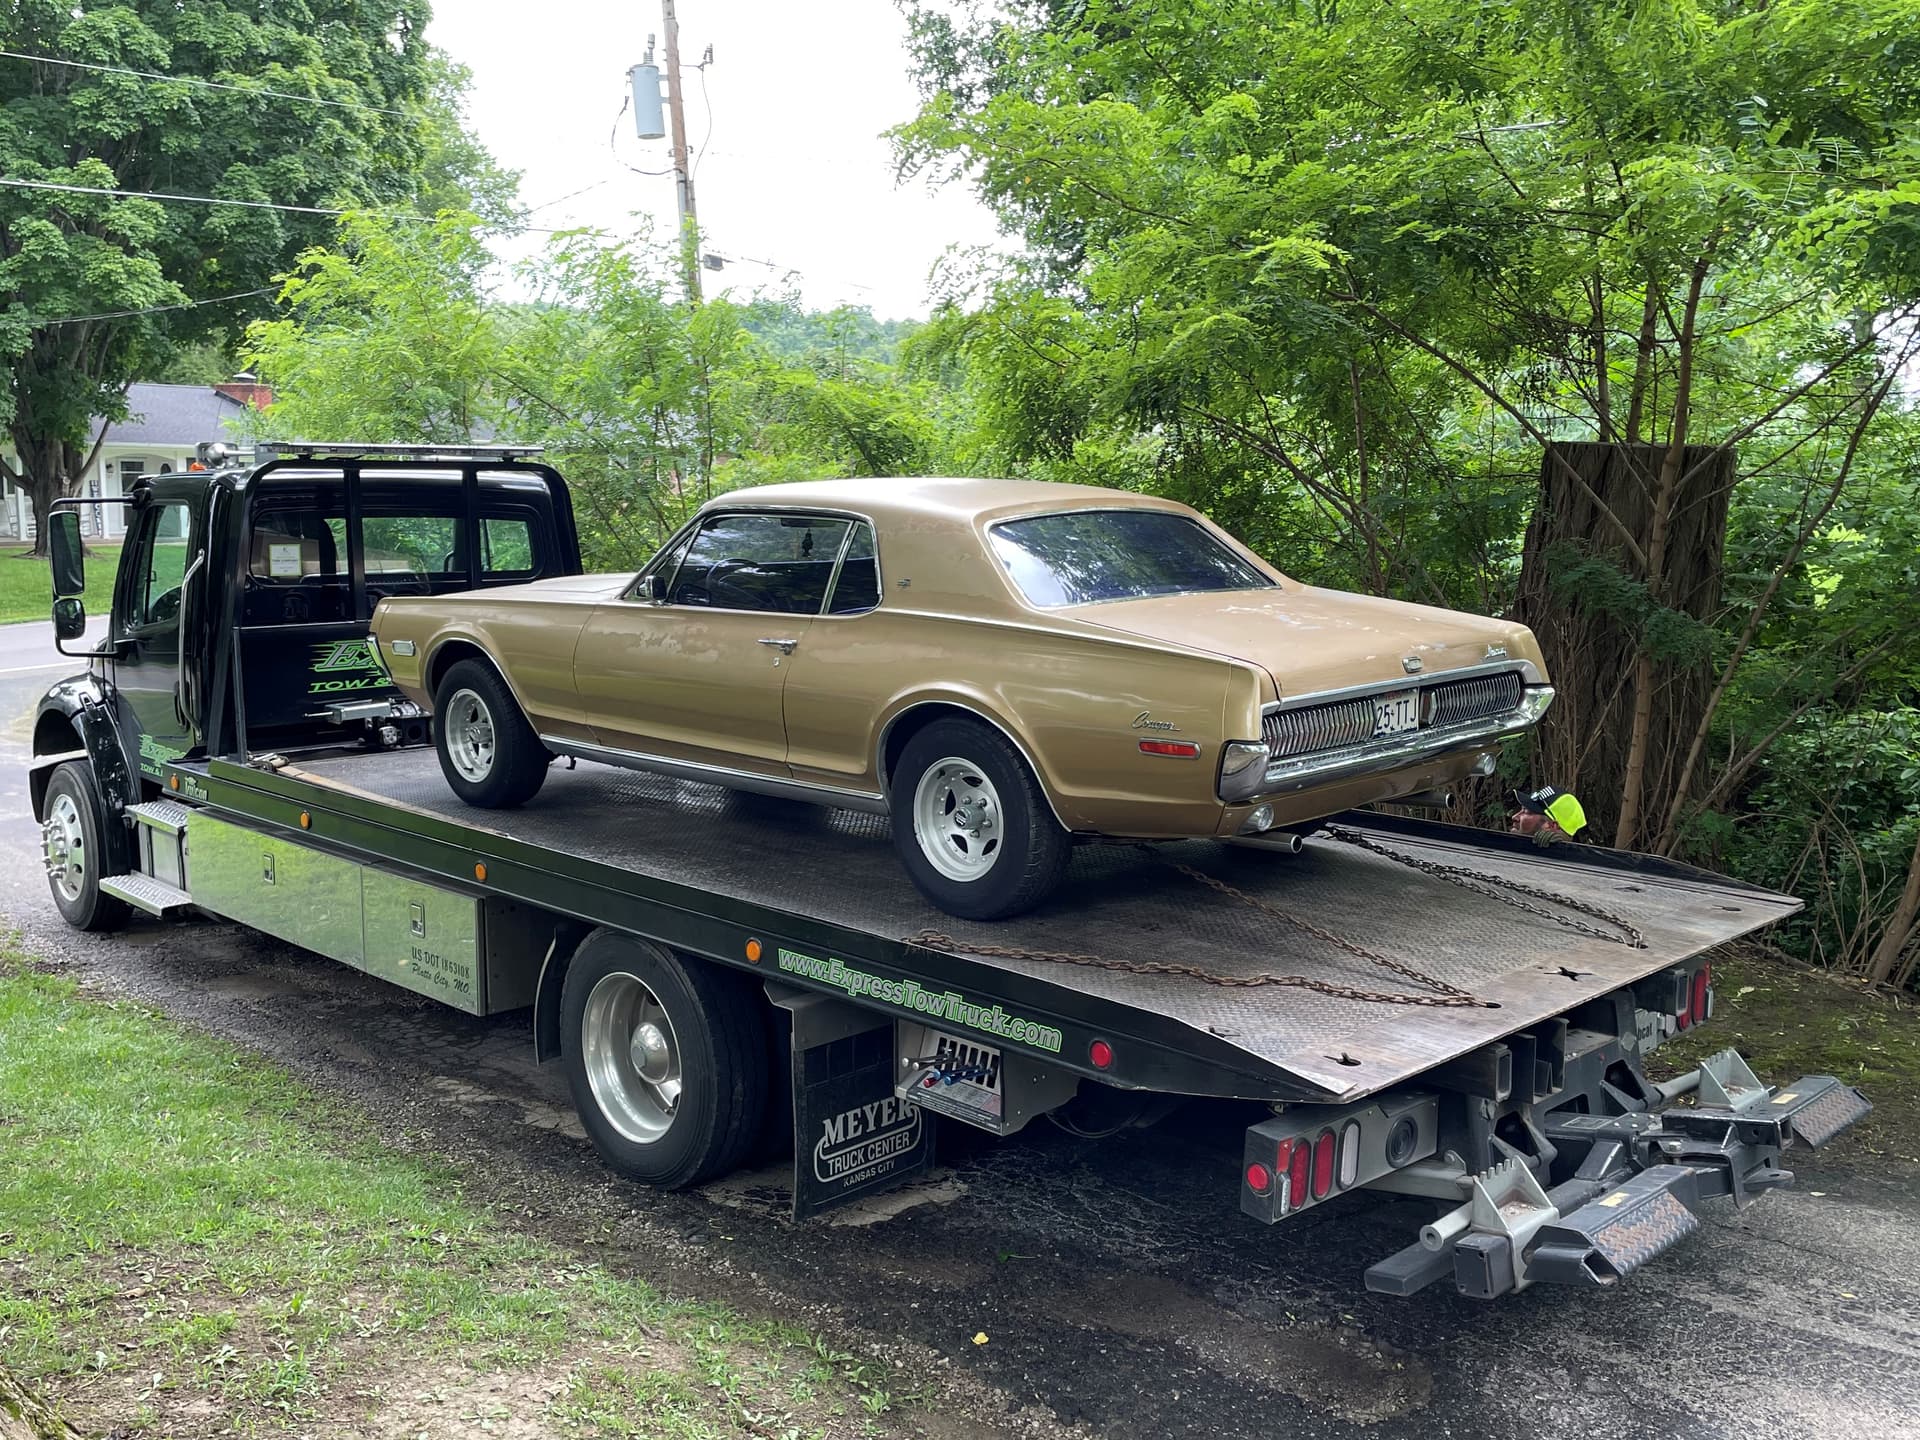
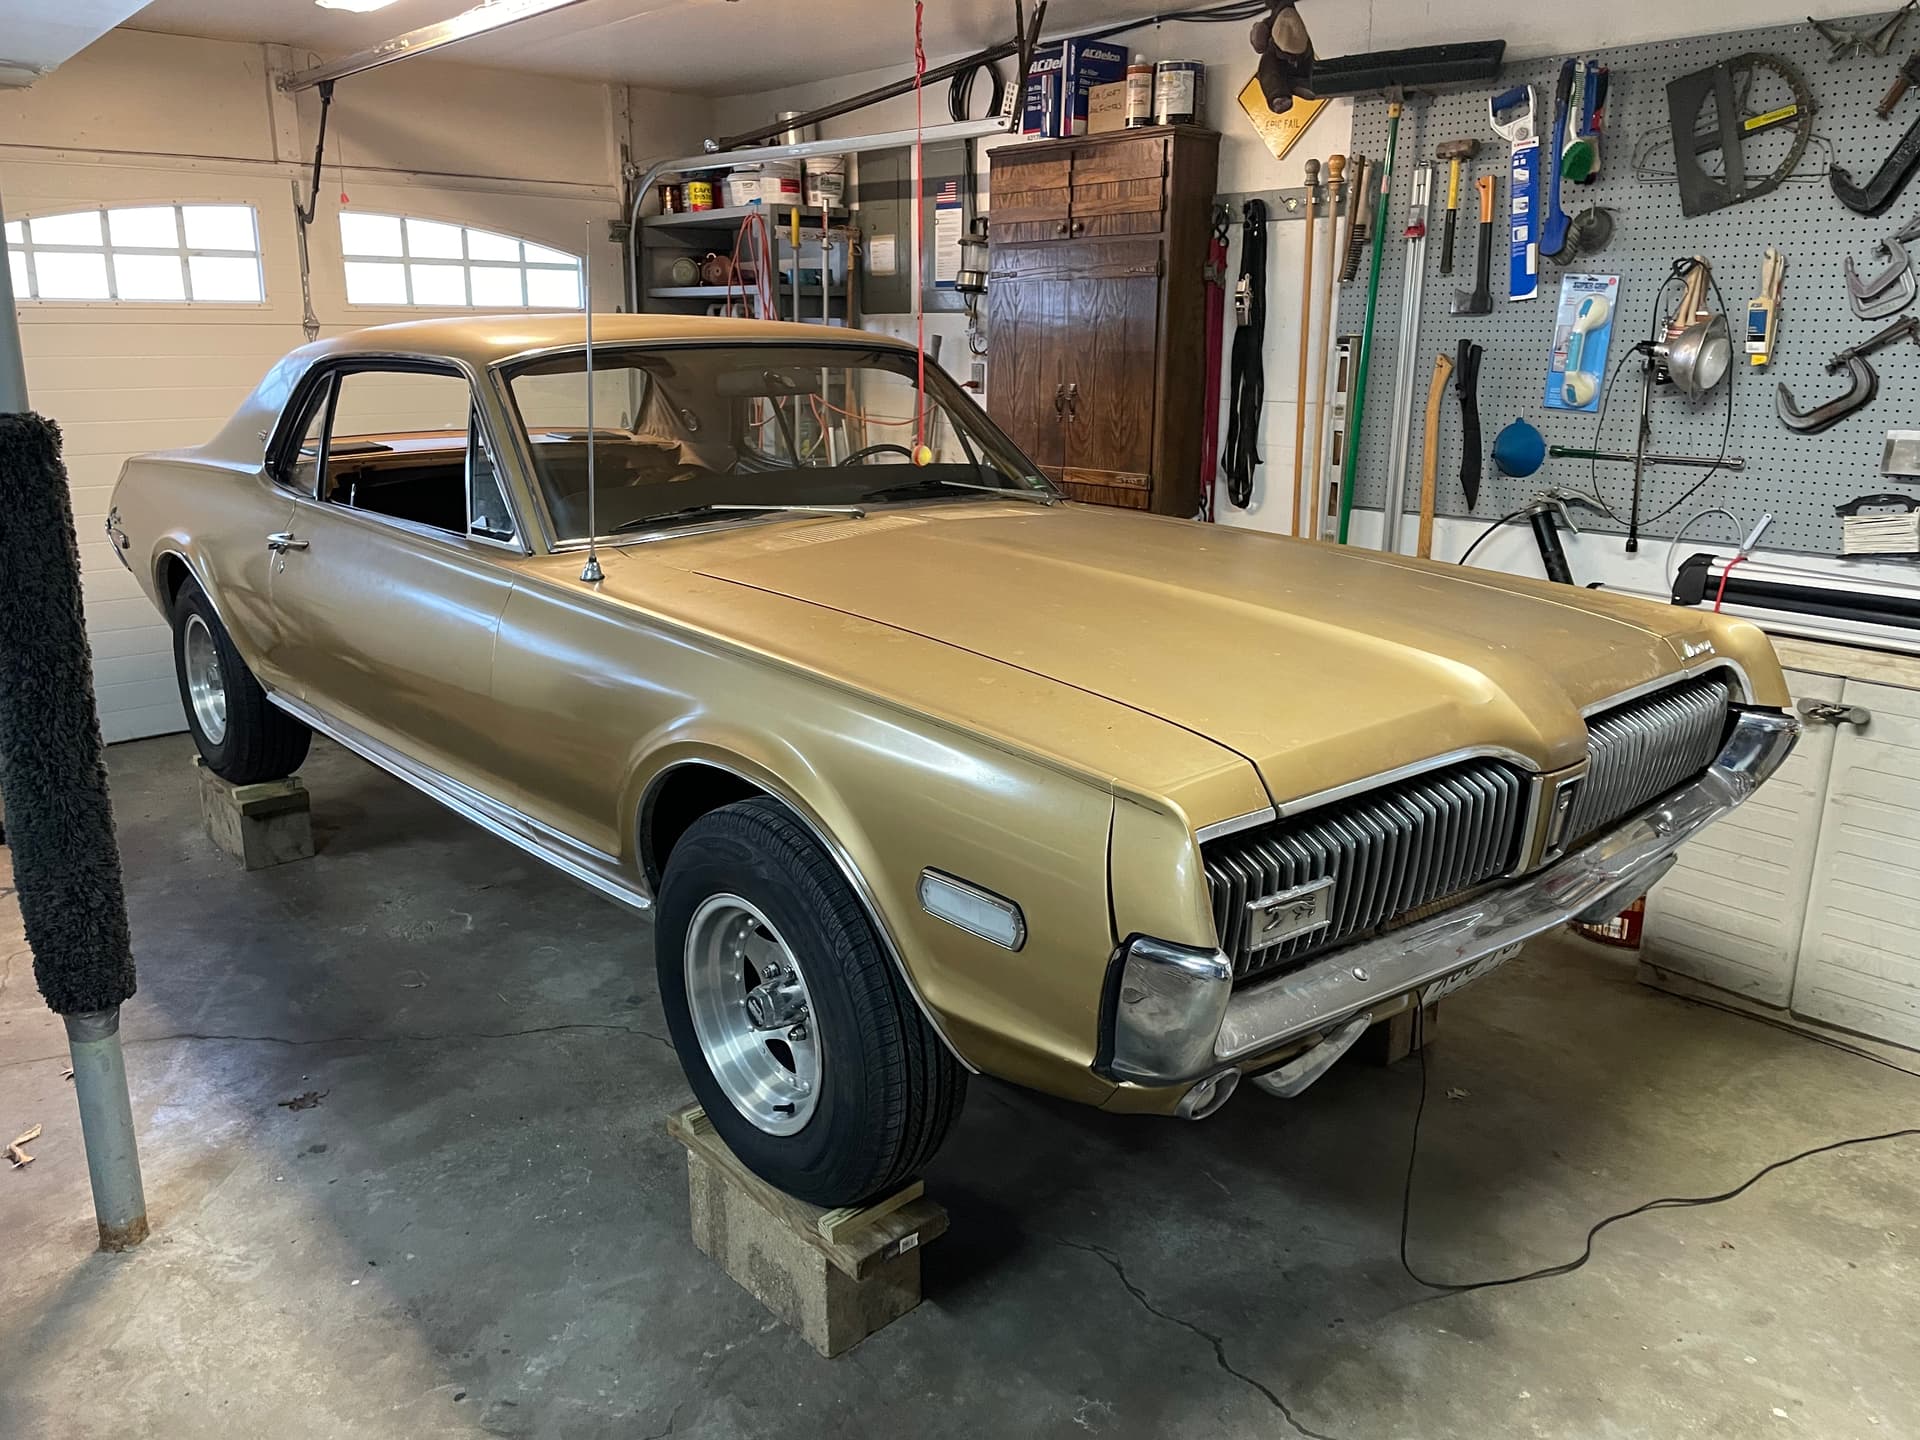
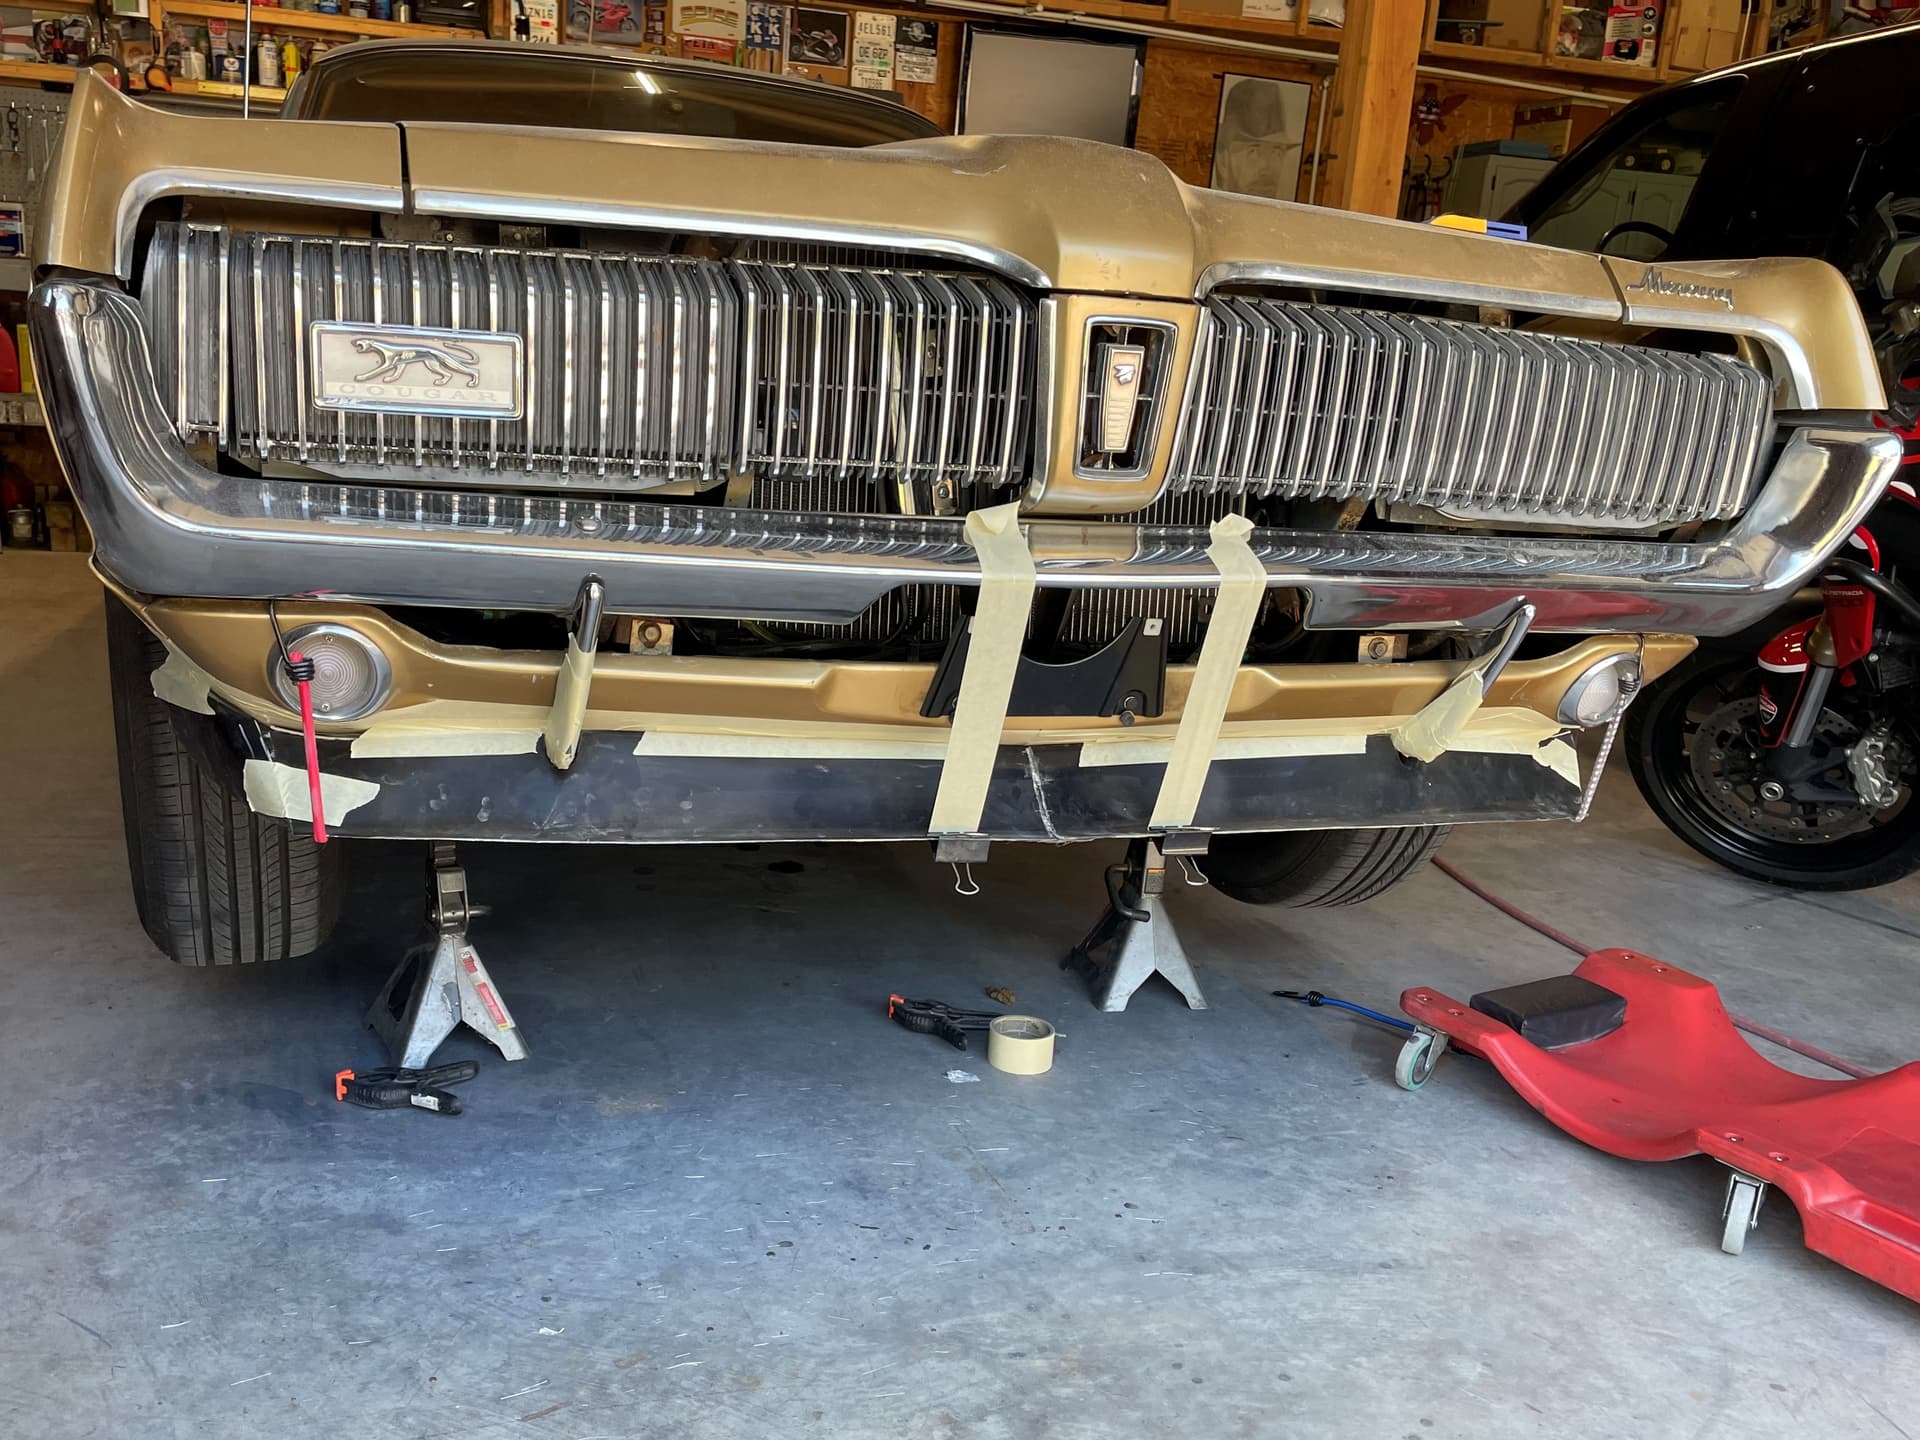
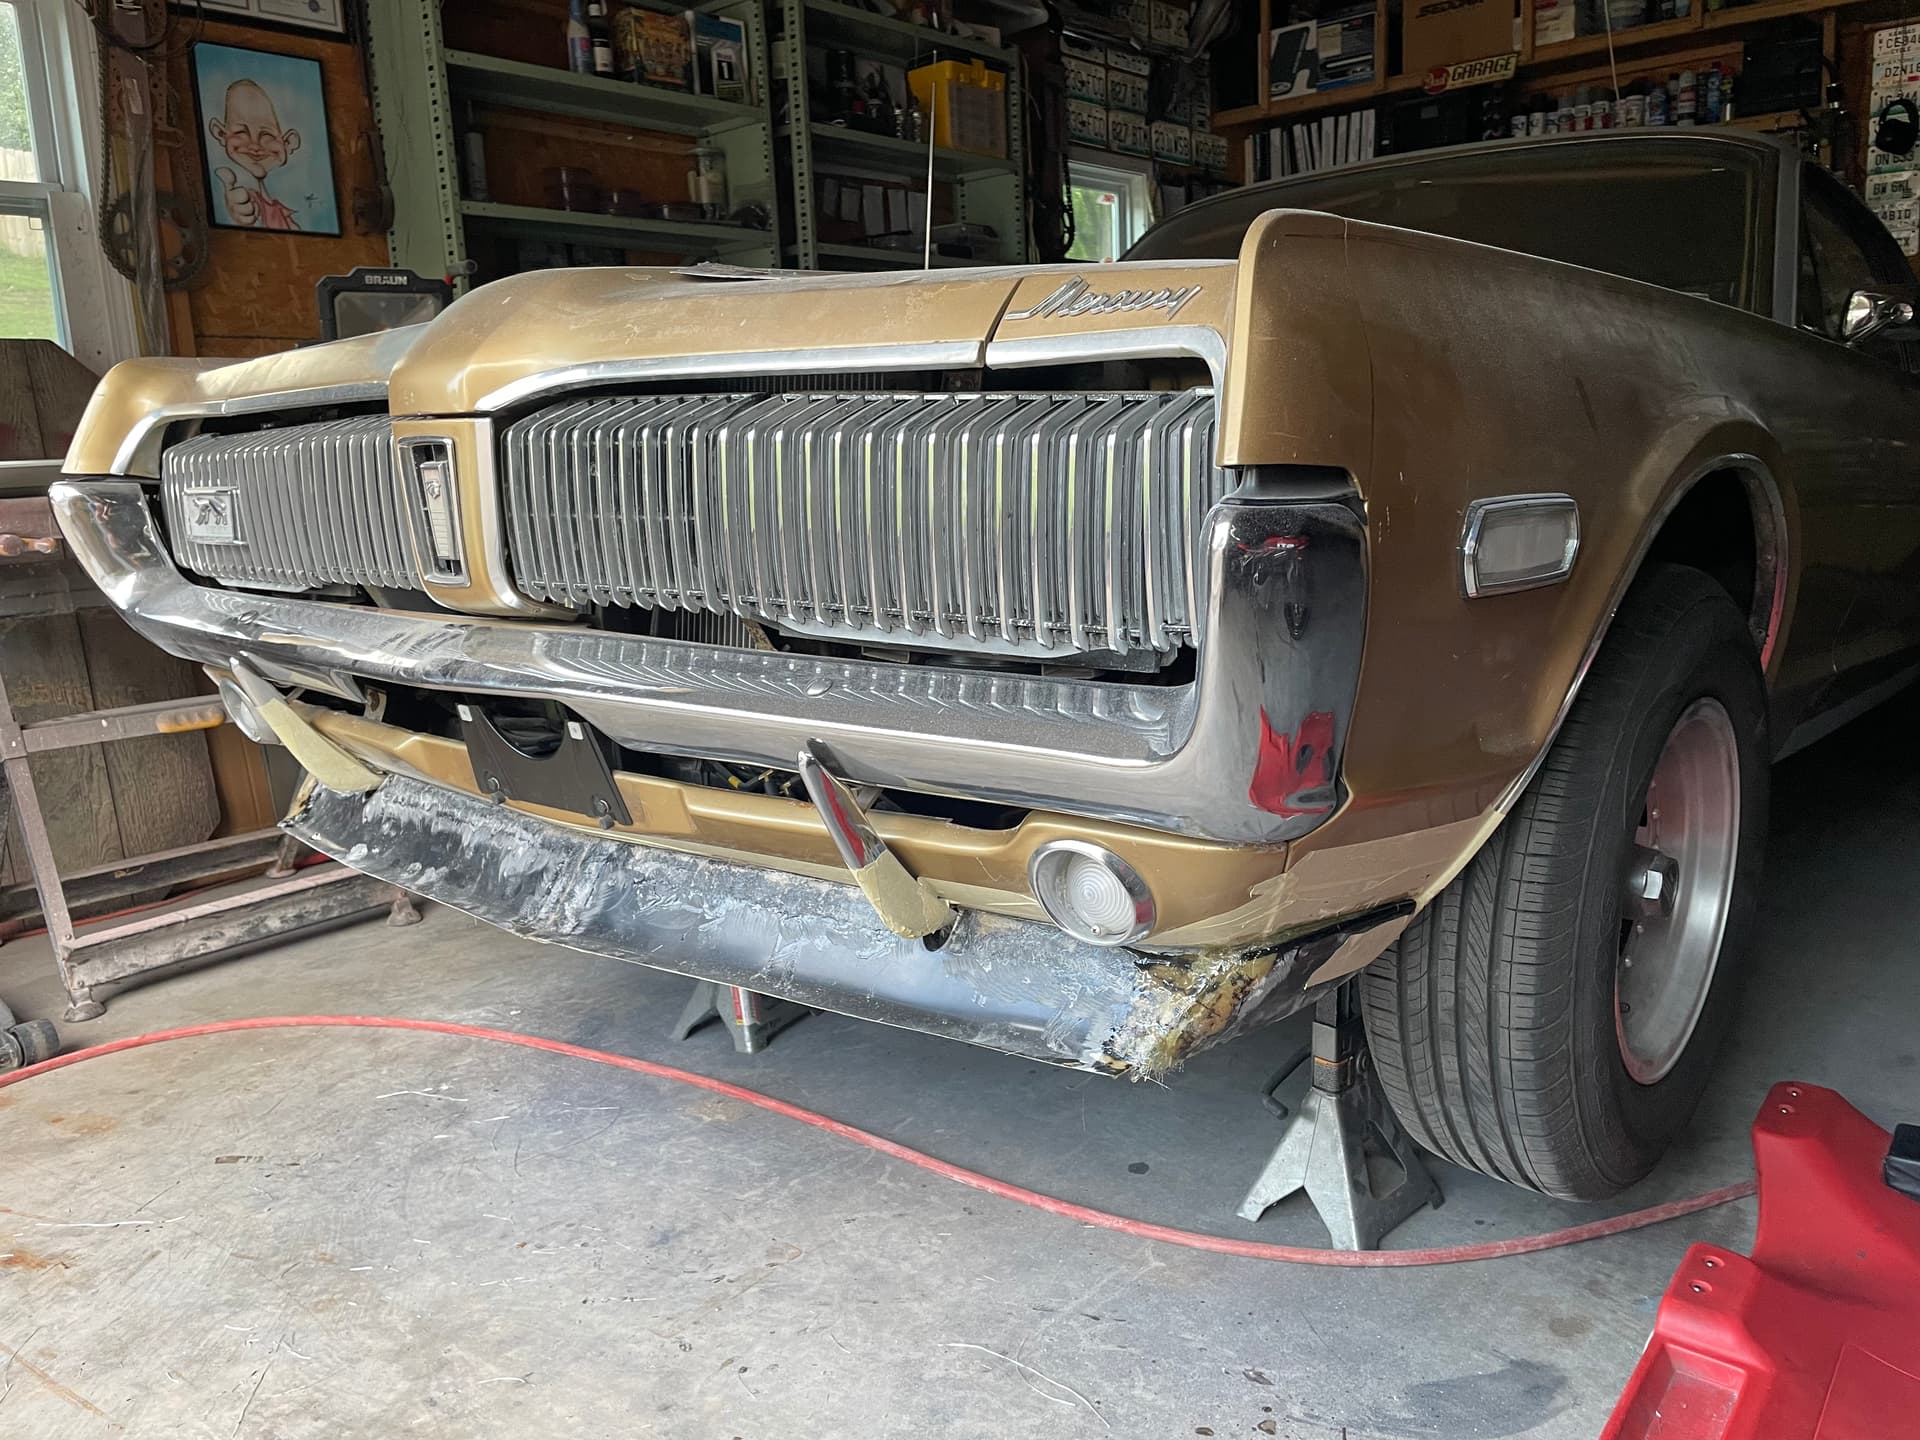
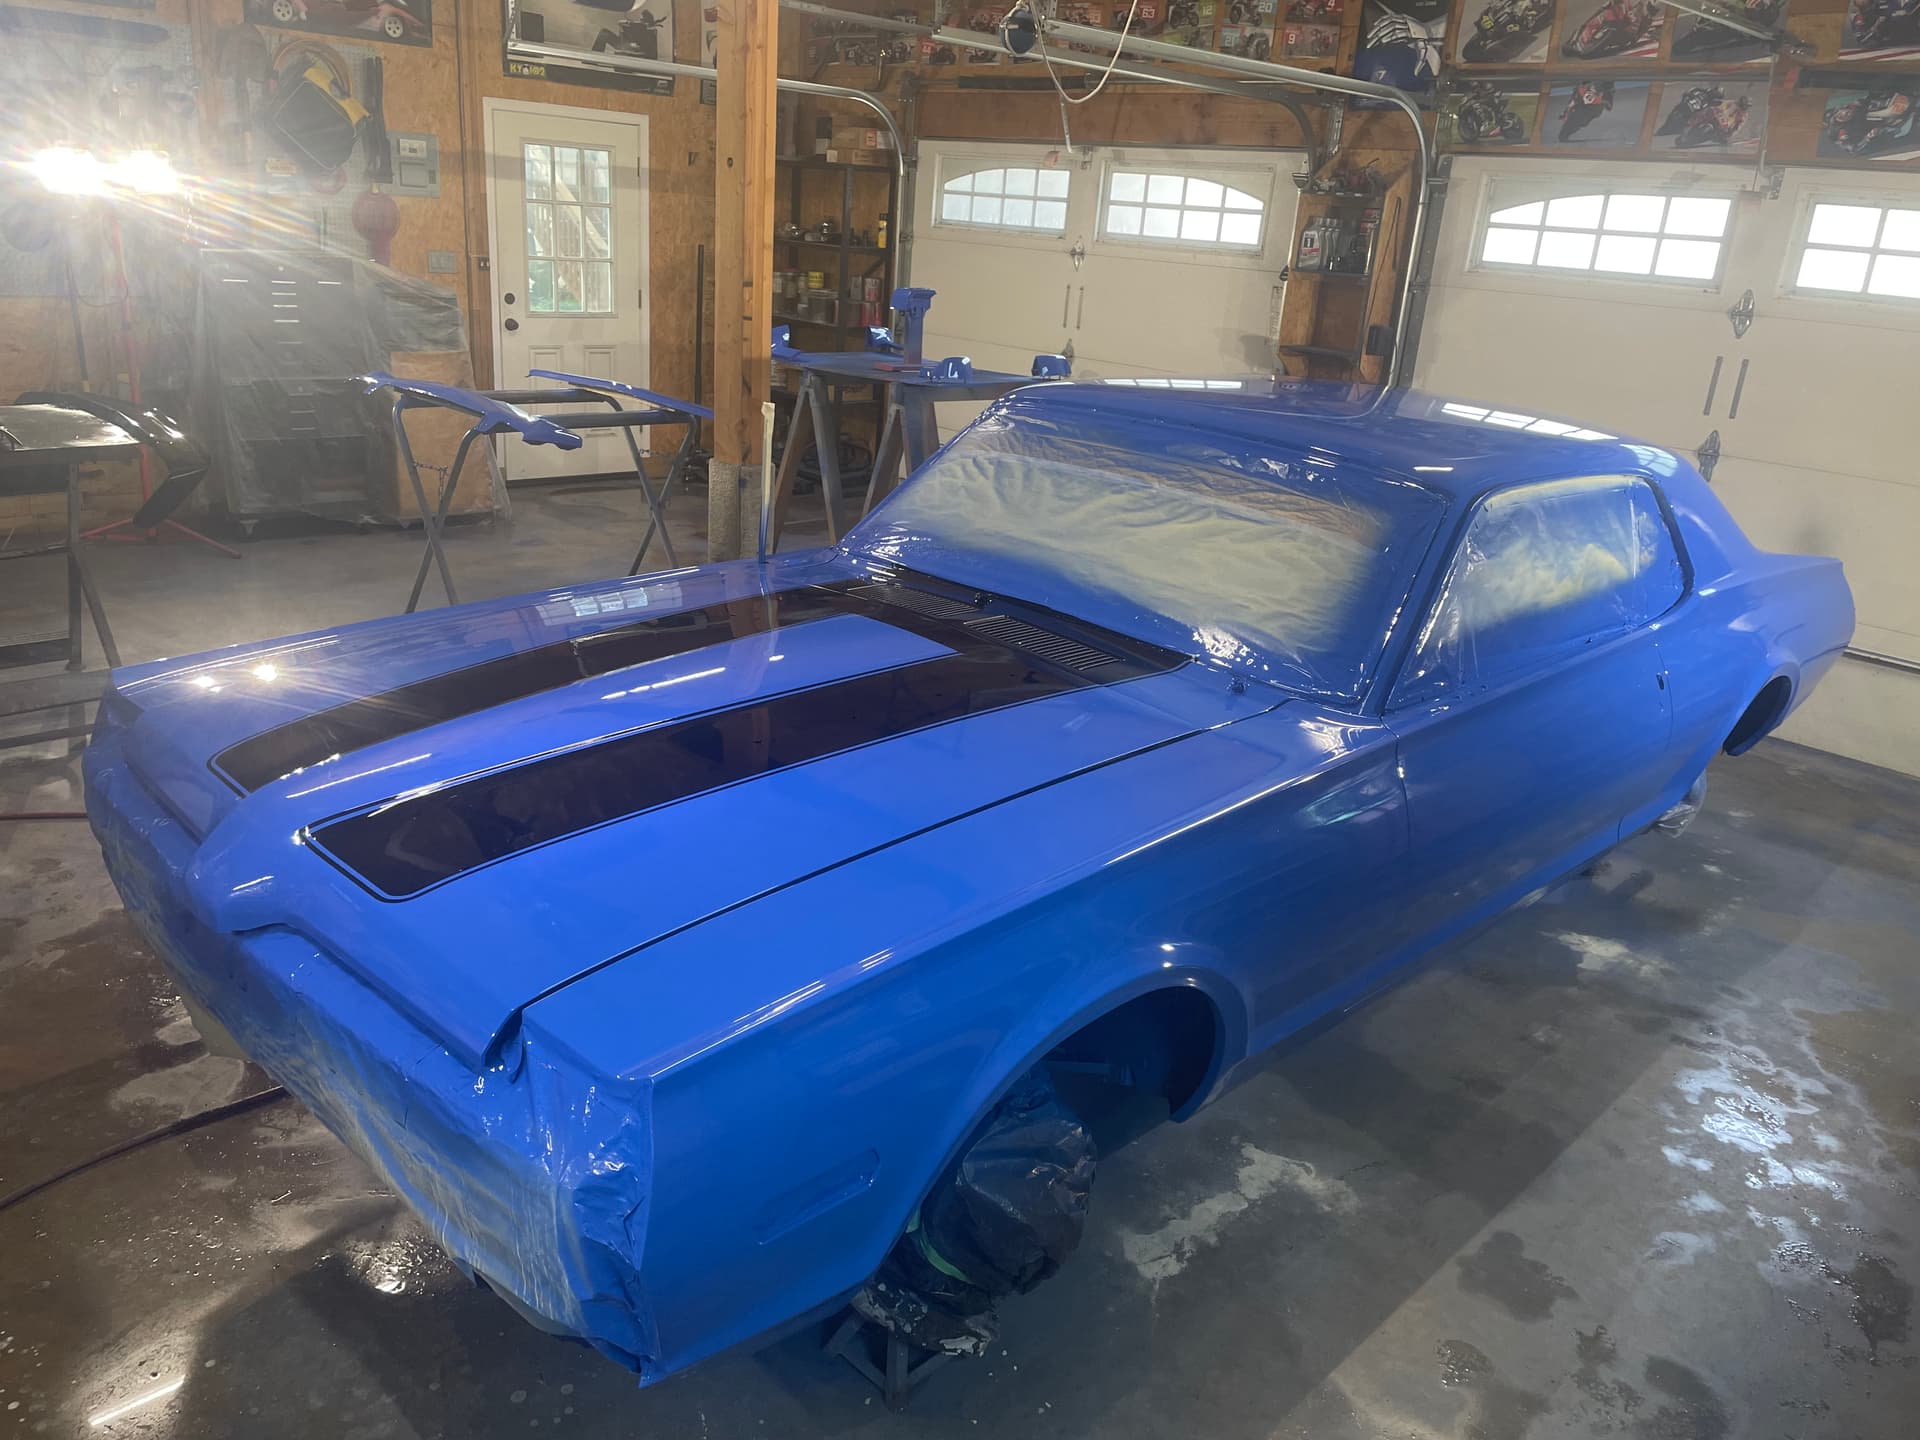
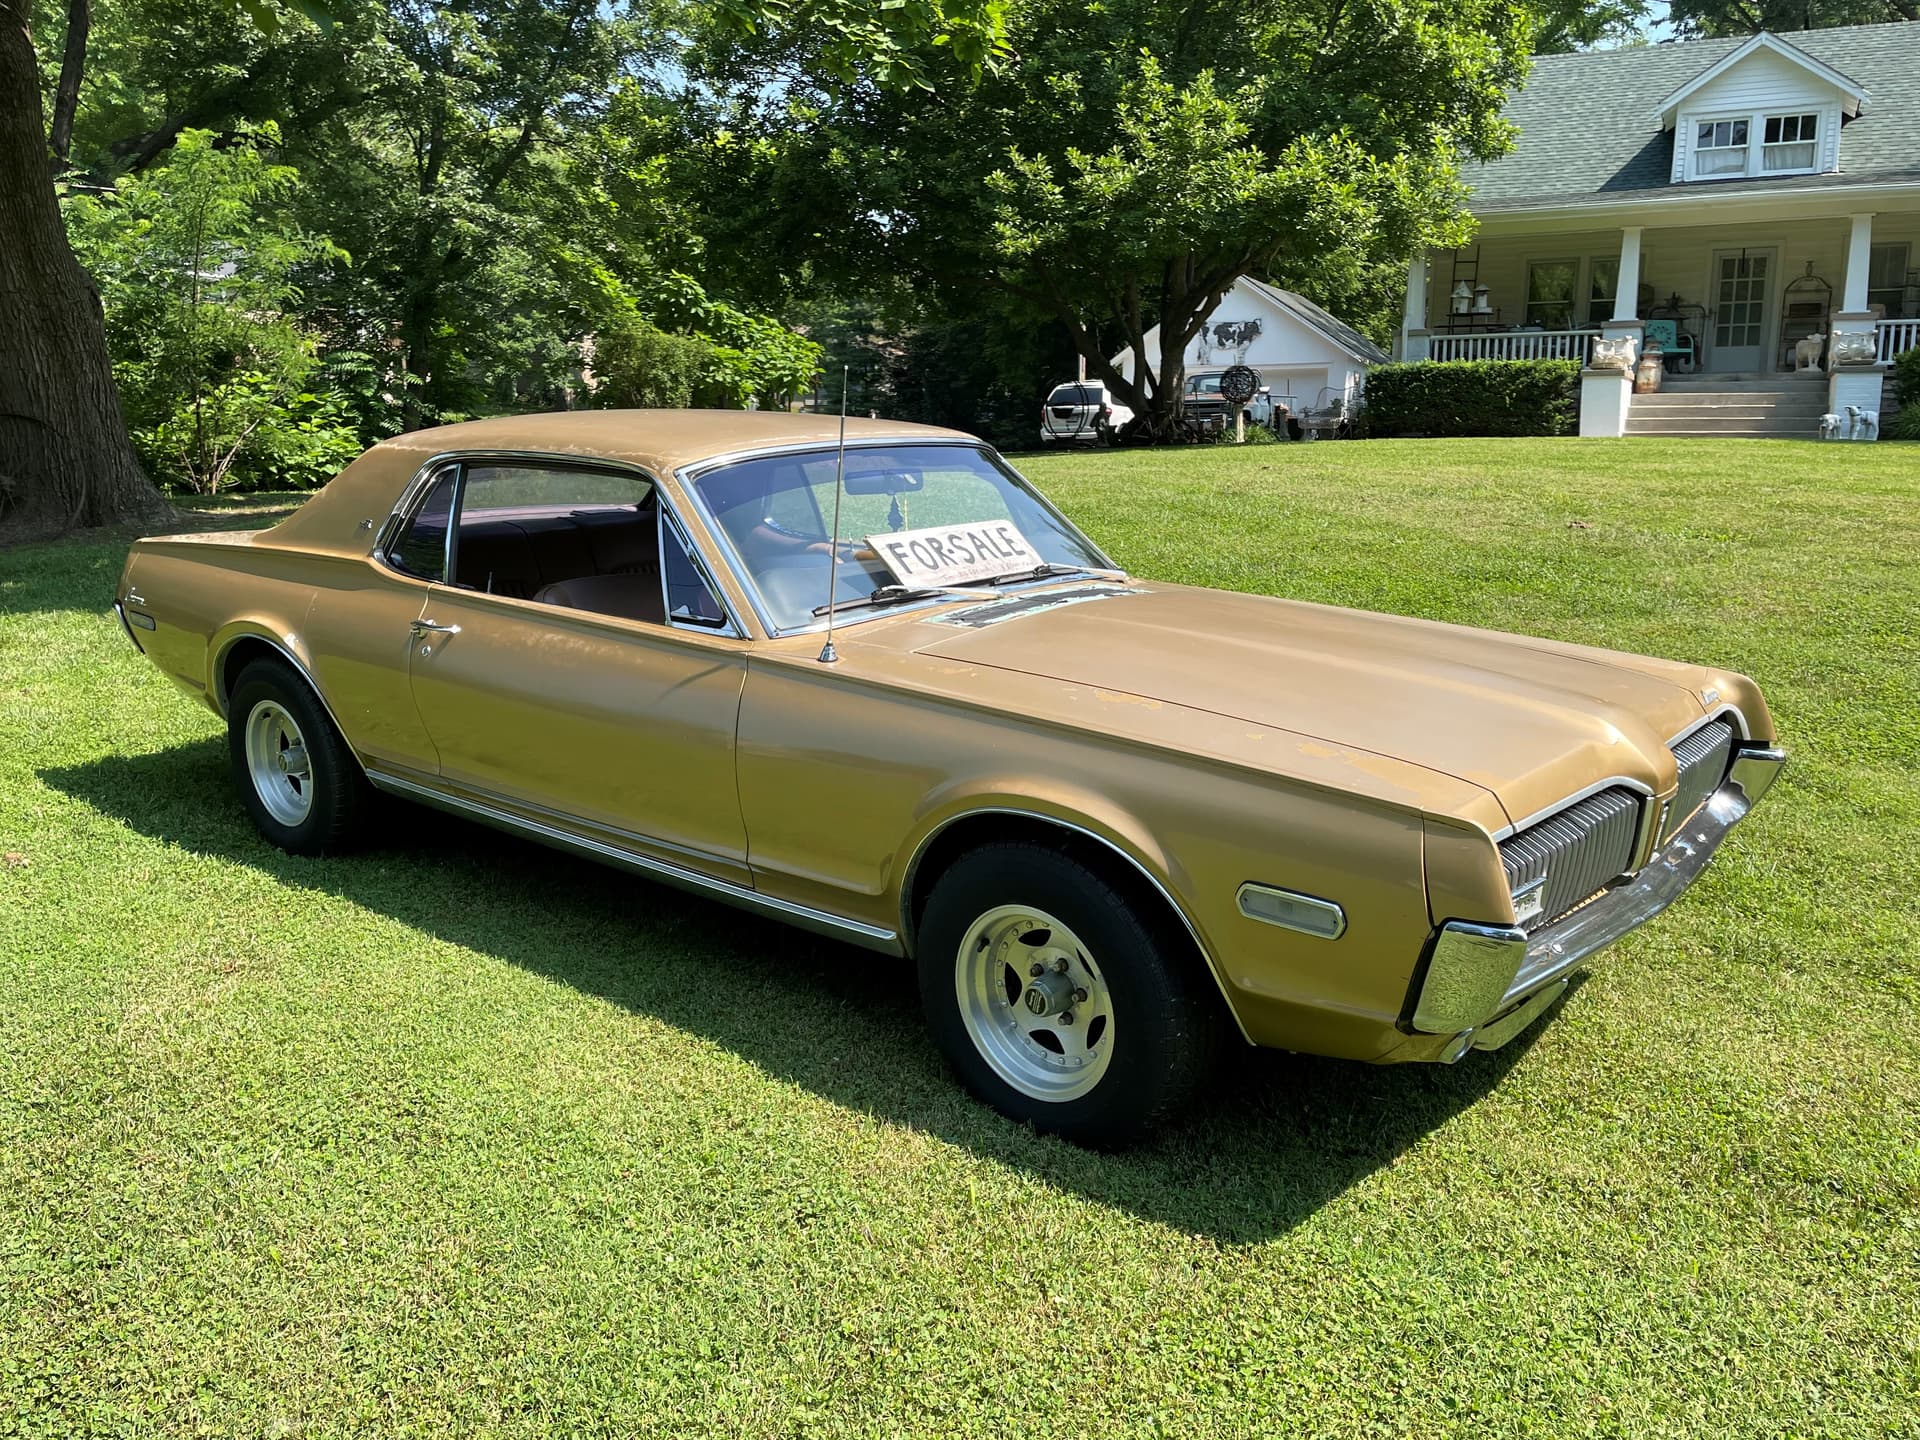
I’ve had my eye out for another Torino or maybe a Ranchero for the last few years but didn’t run across the “right” one. Then a year ago in July I was riding back roads on my dual sport and saw this sitting in a yard beside the road.

I stopped and took a couple of pictures and sent them to my wife, certain that she’d torpedo the idea. But she didn’t. She was willing to take a look. You’d think after 30 years I’d know her a little better, but she keeps surprising me.

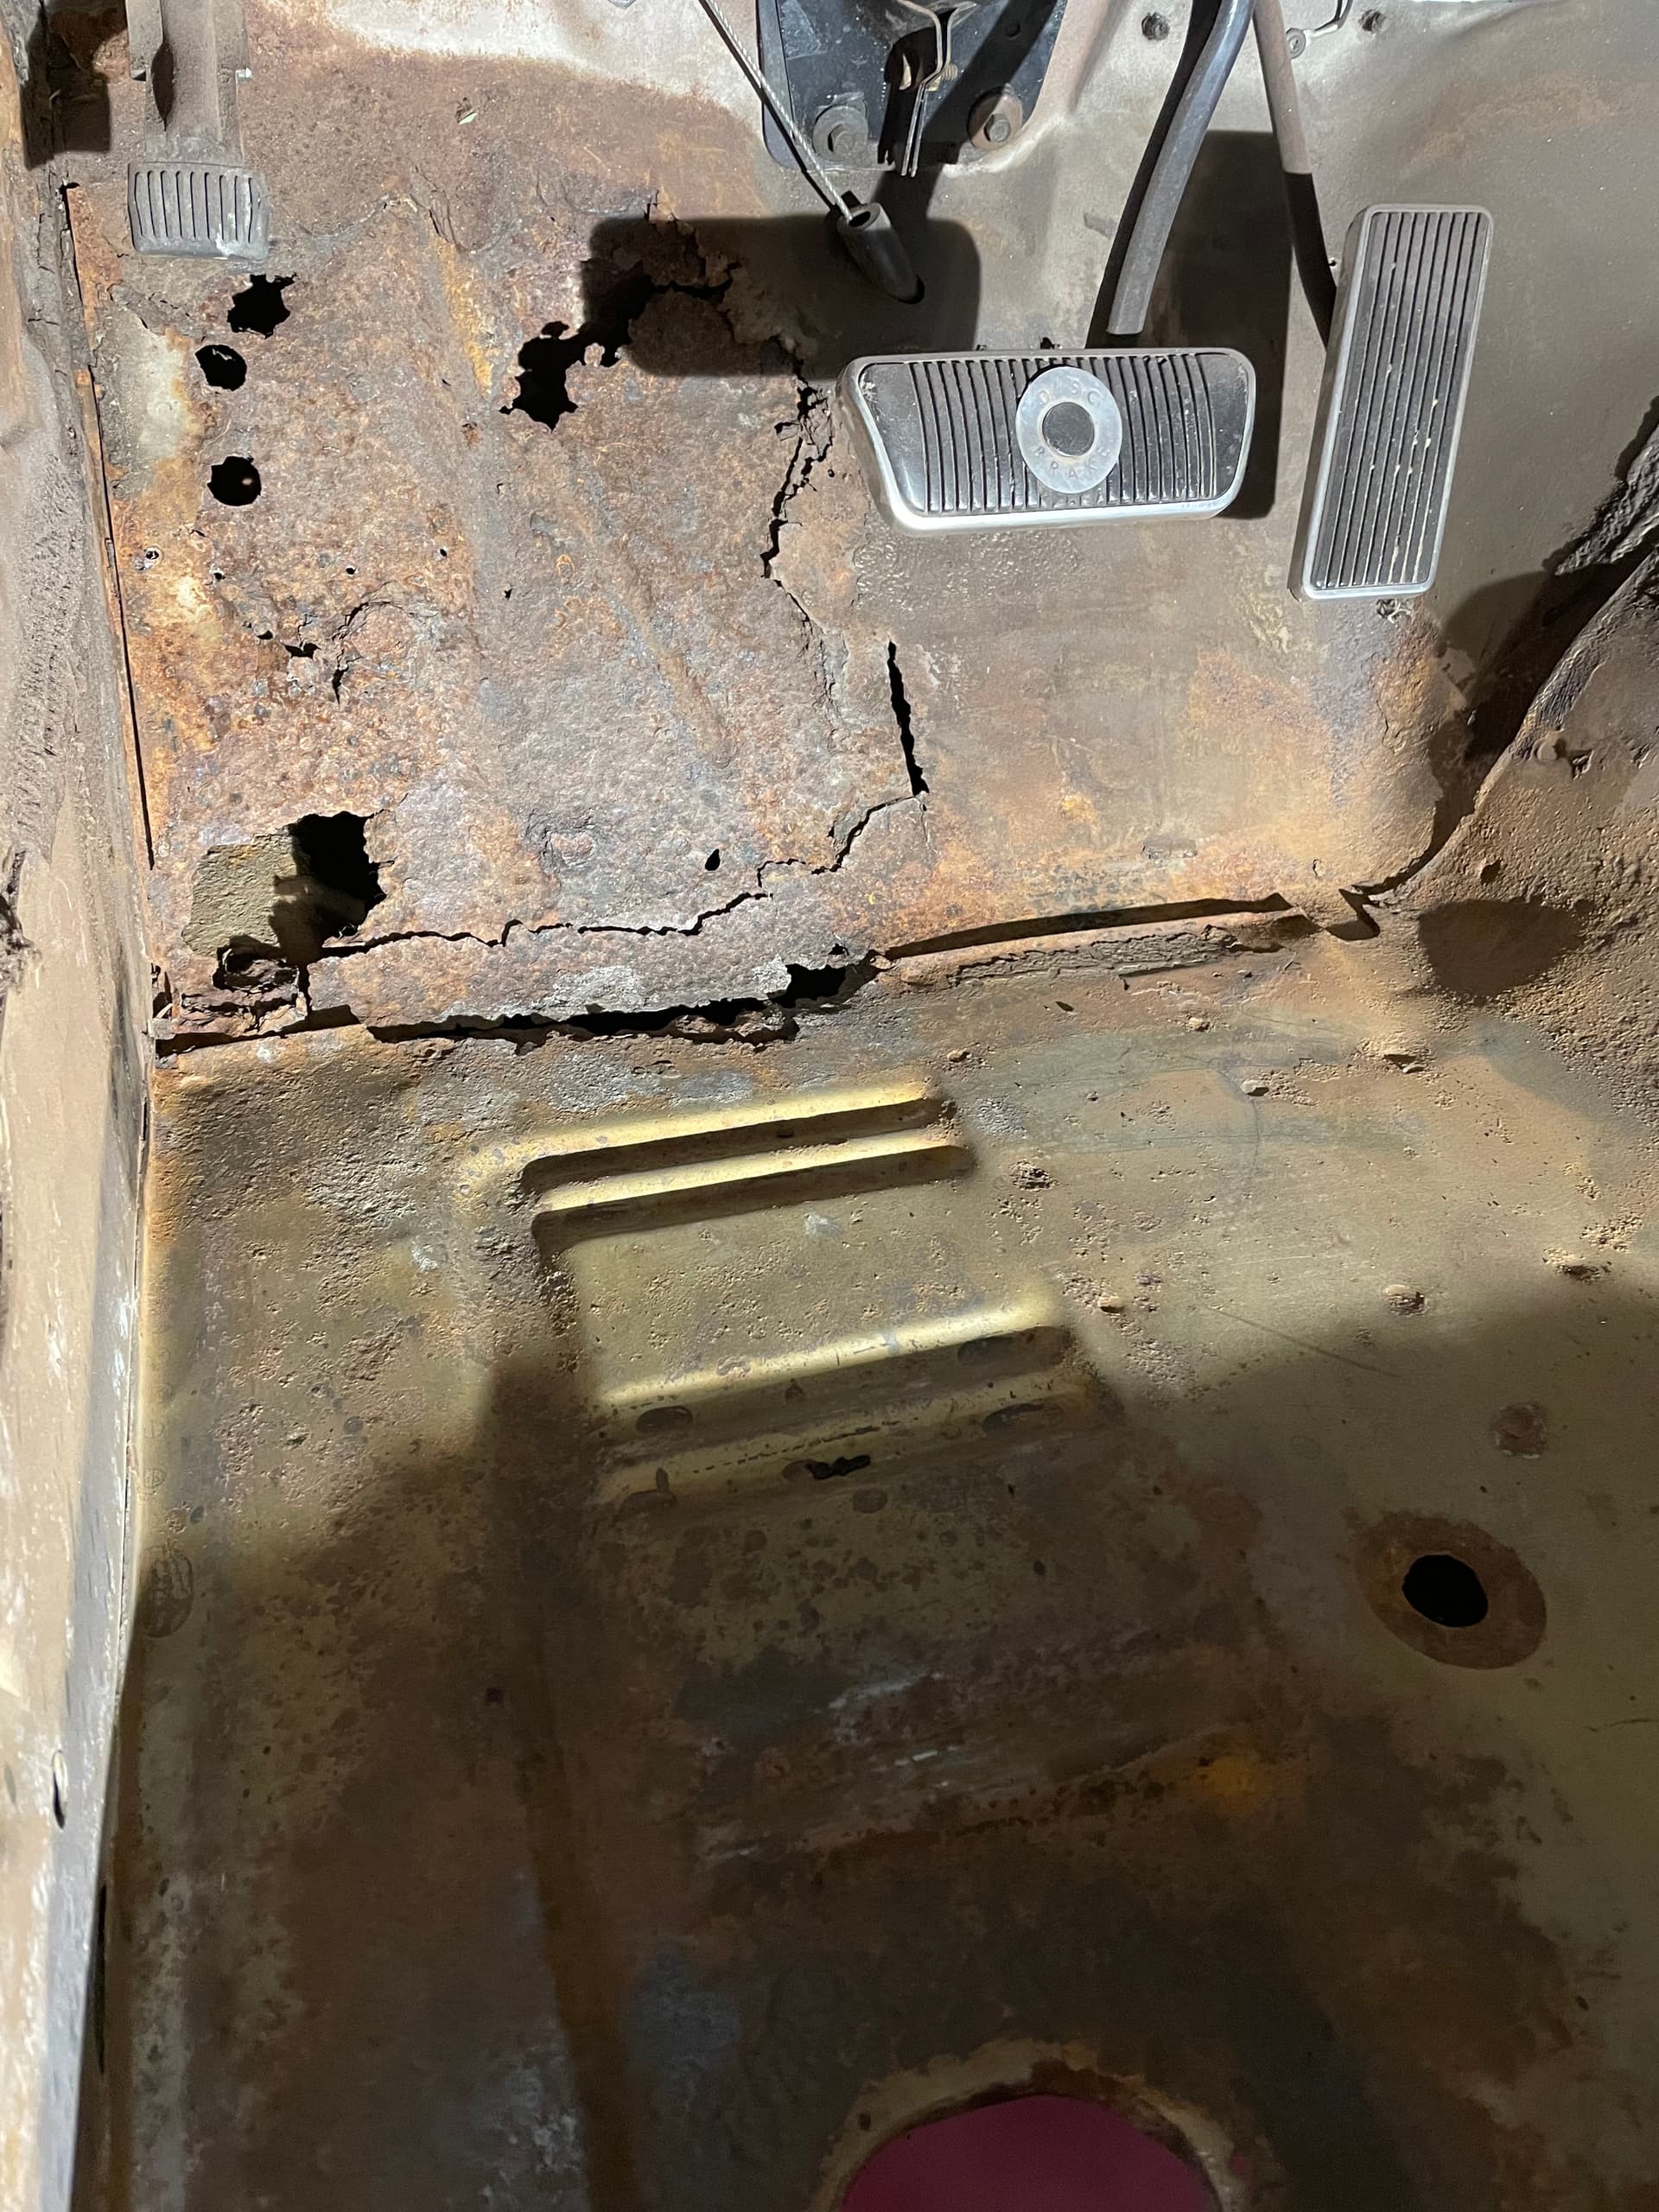
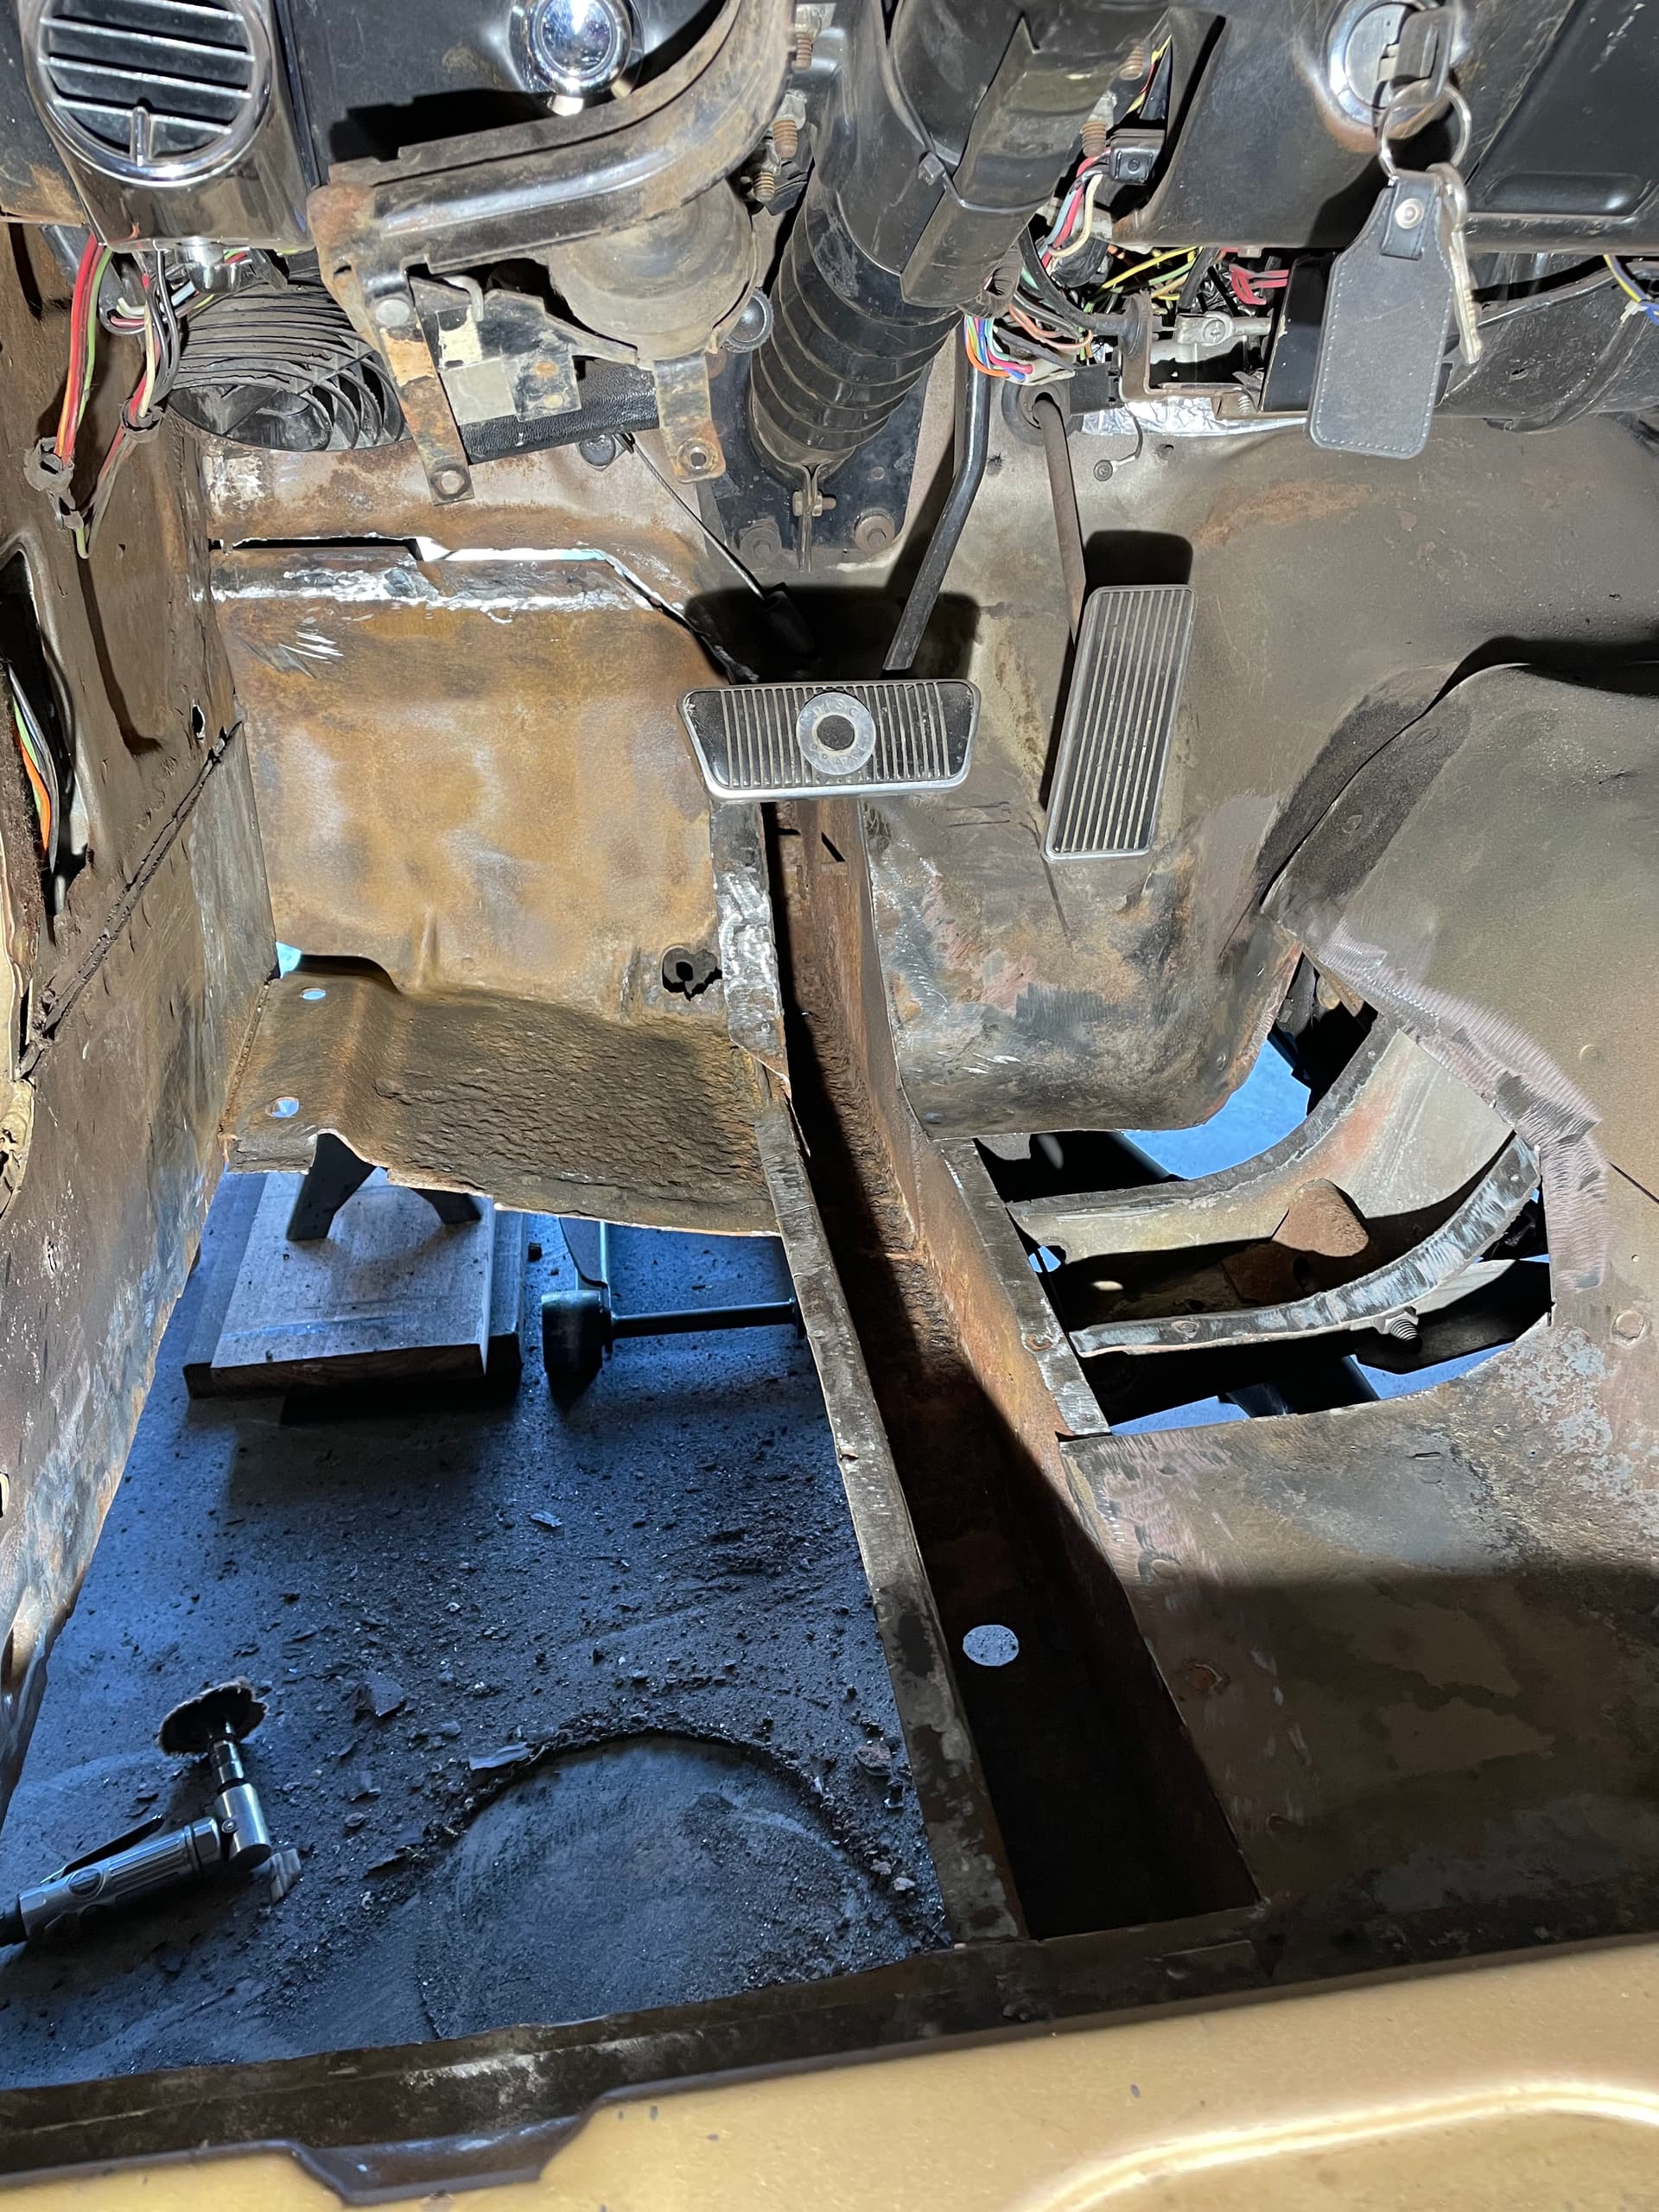
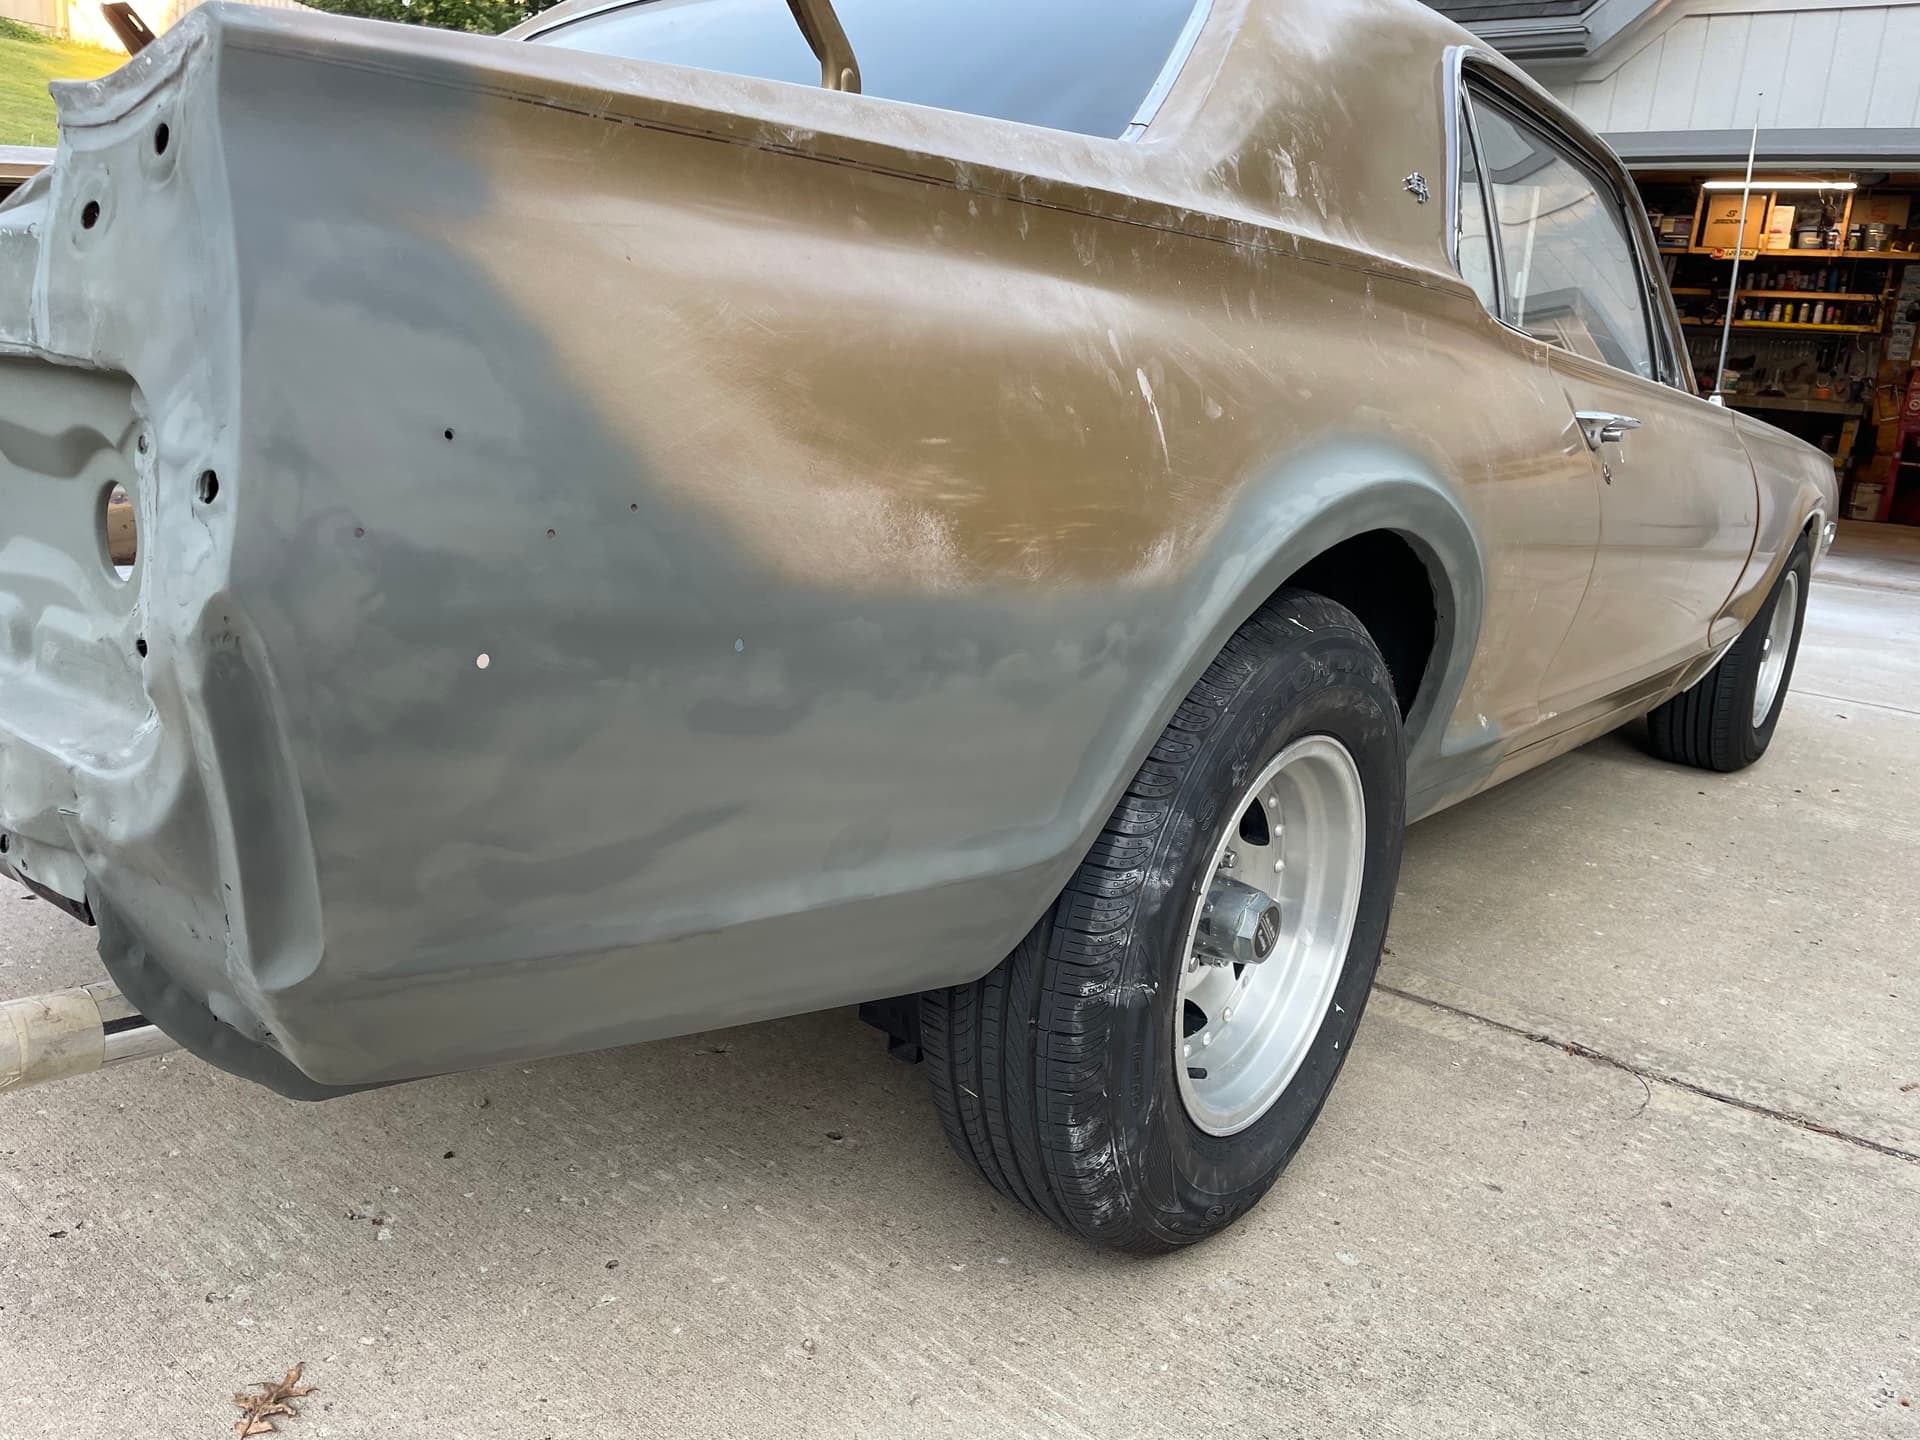
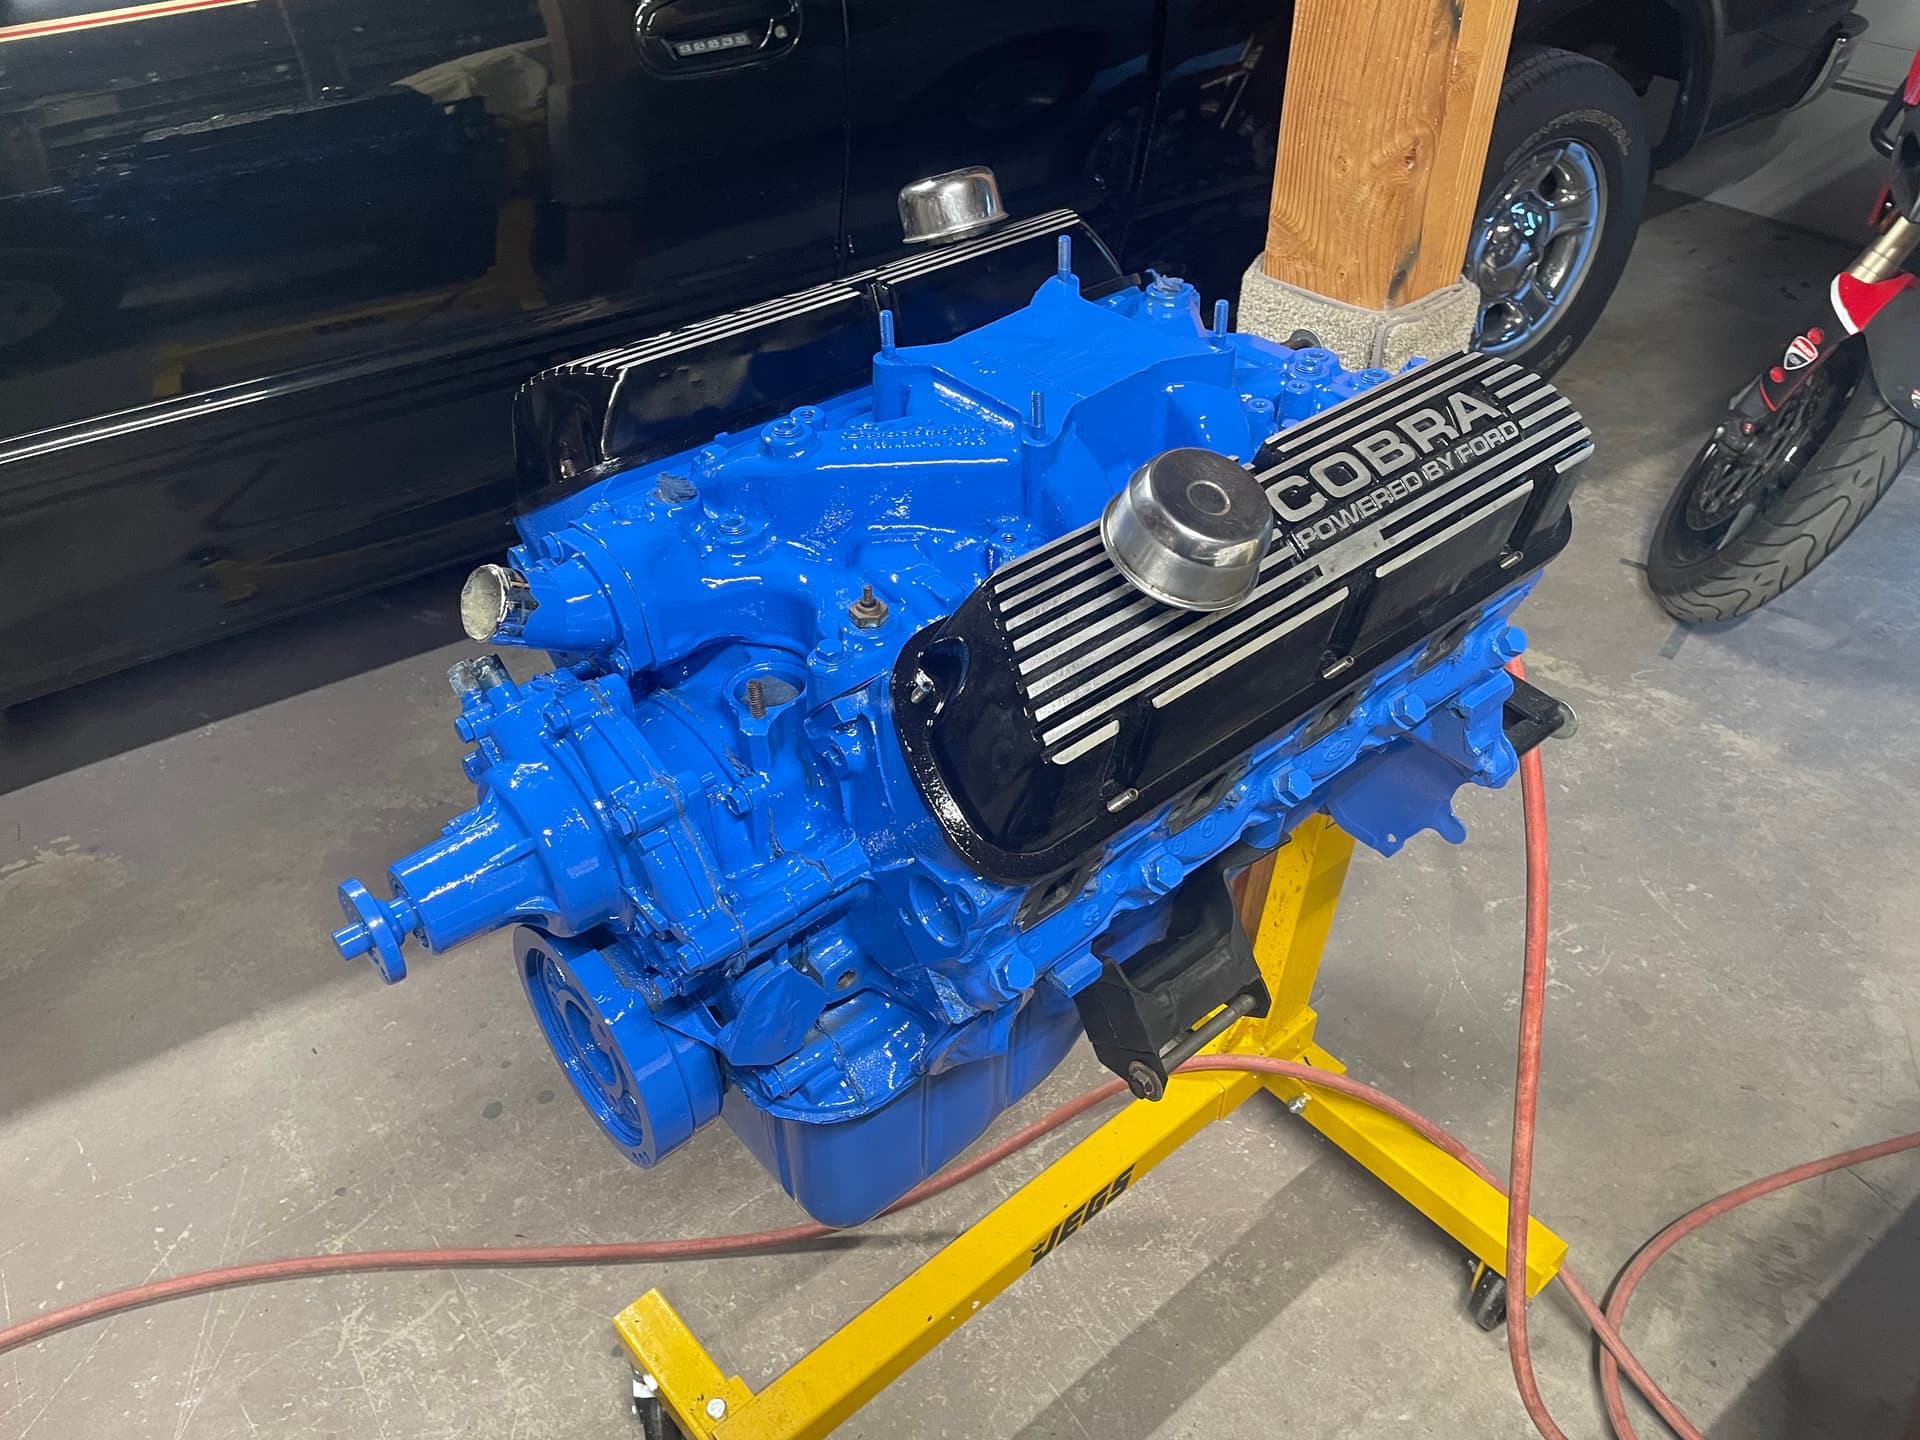
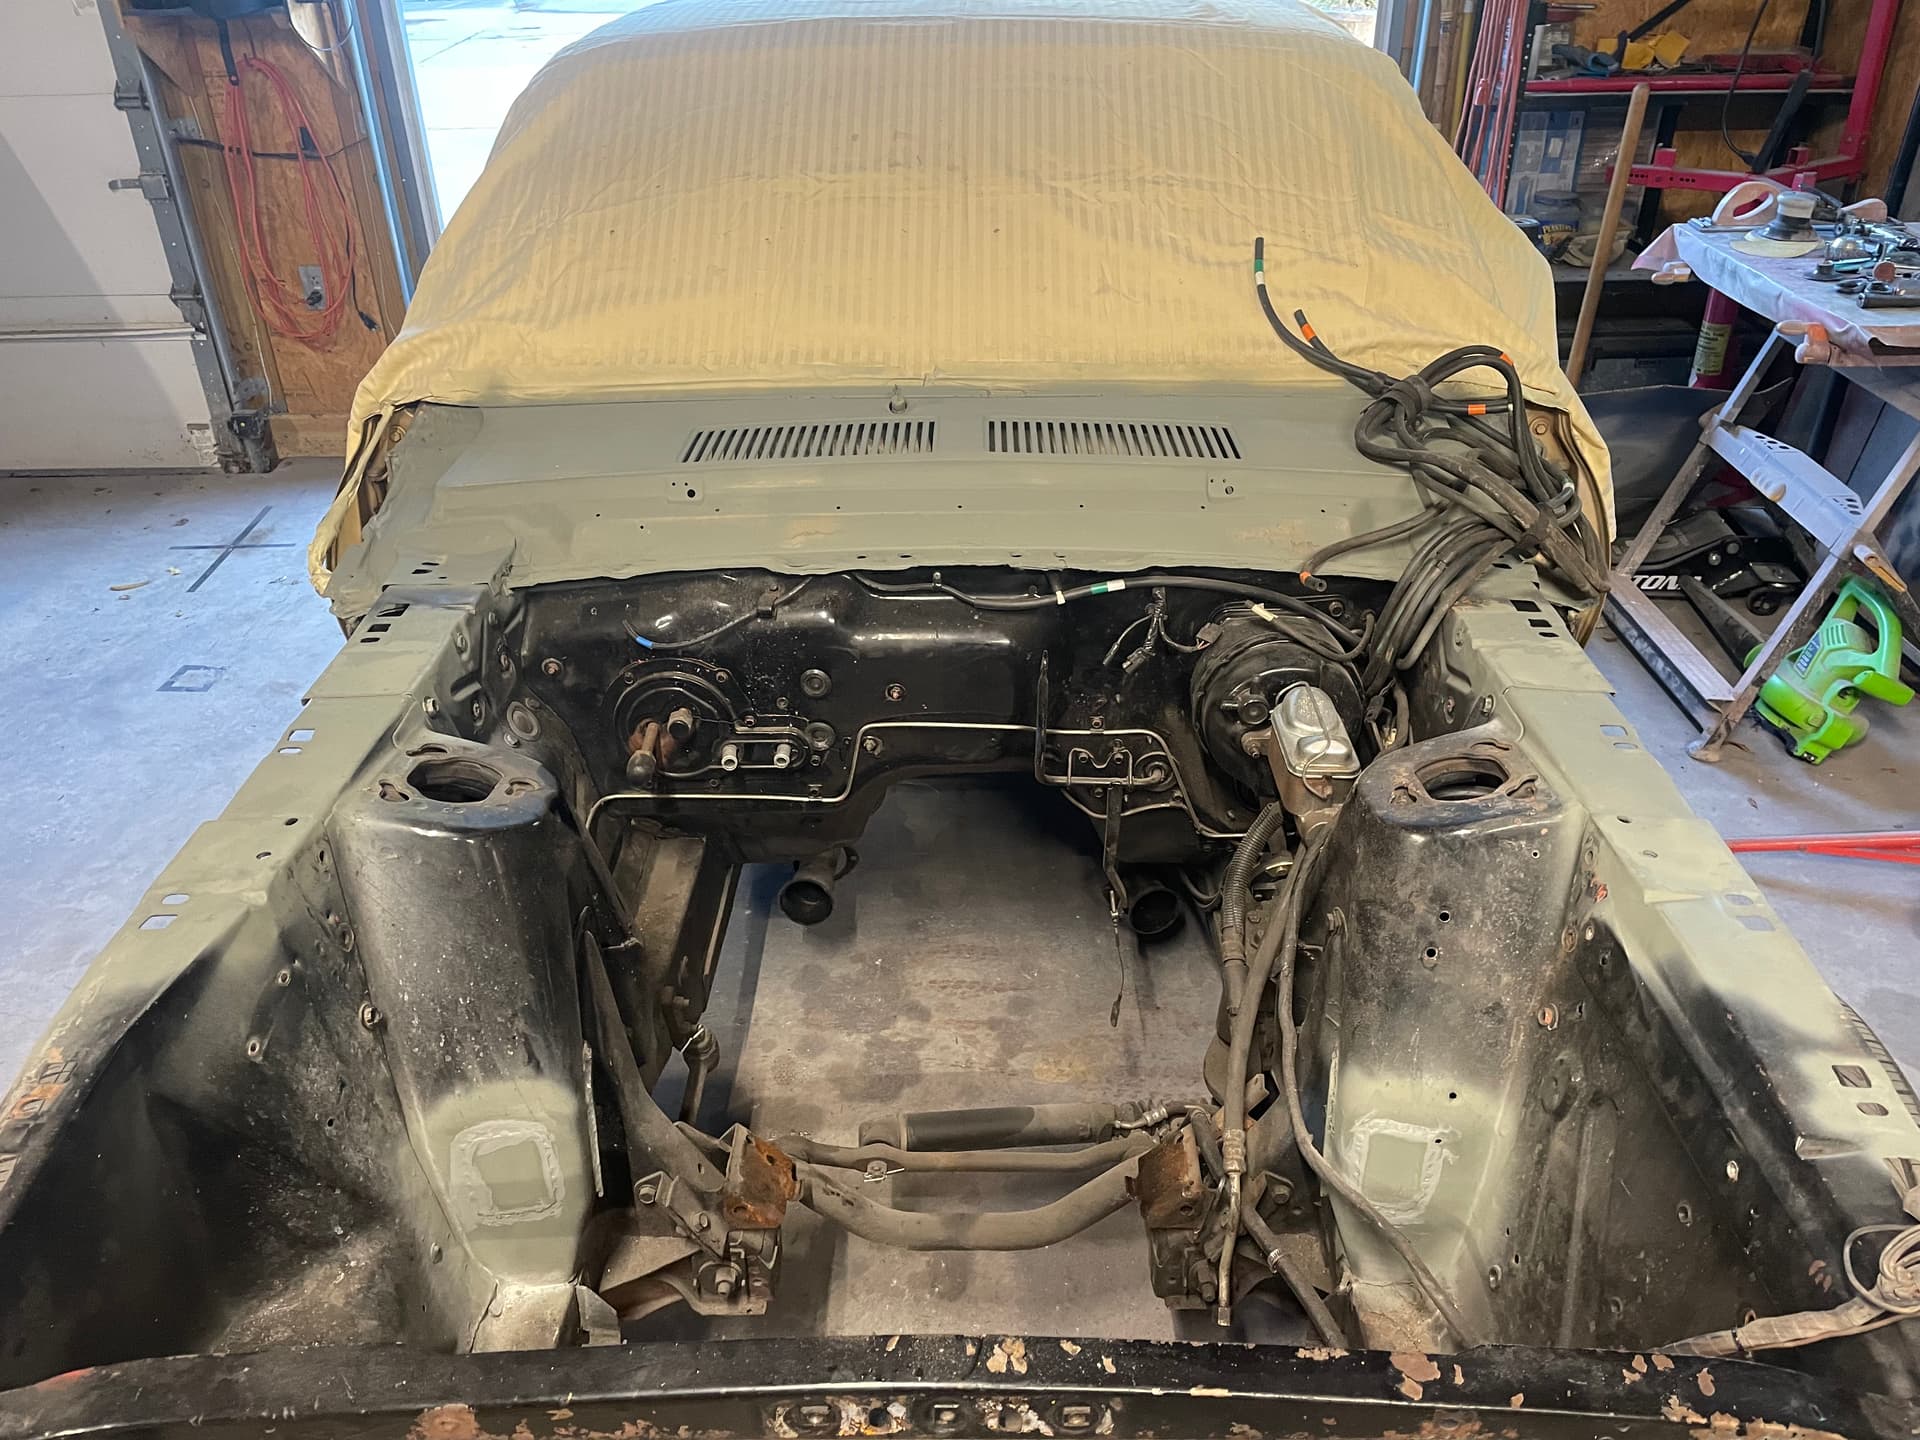
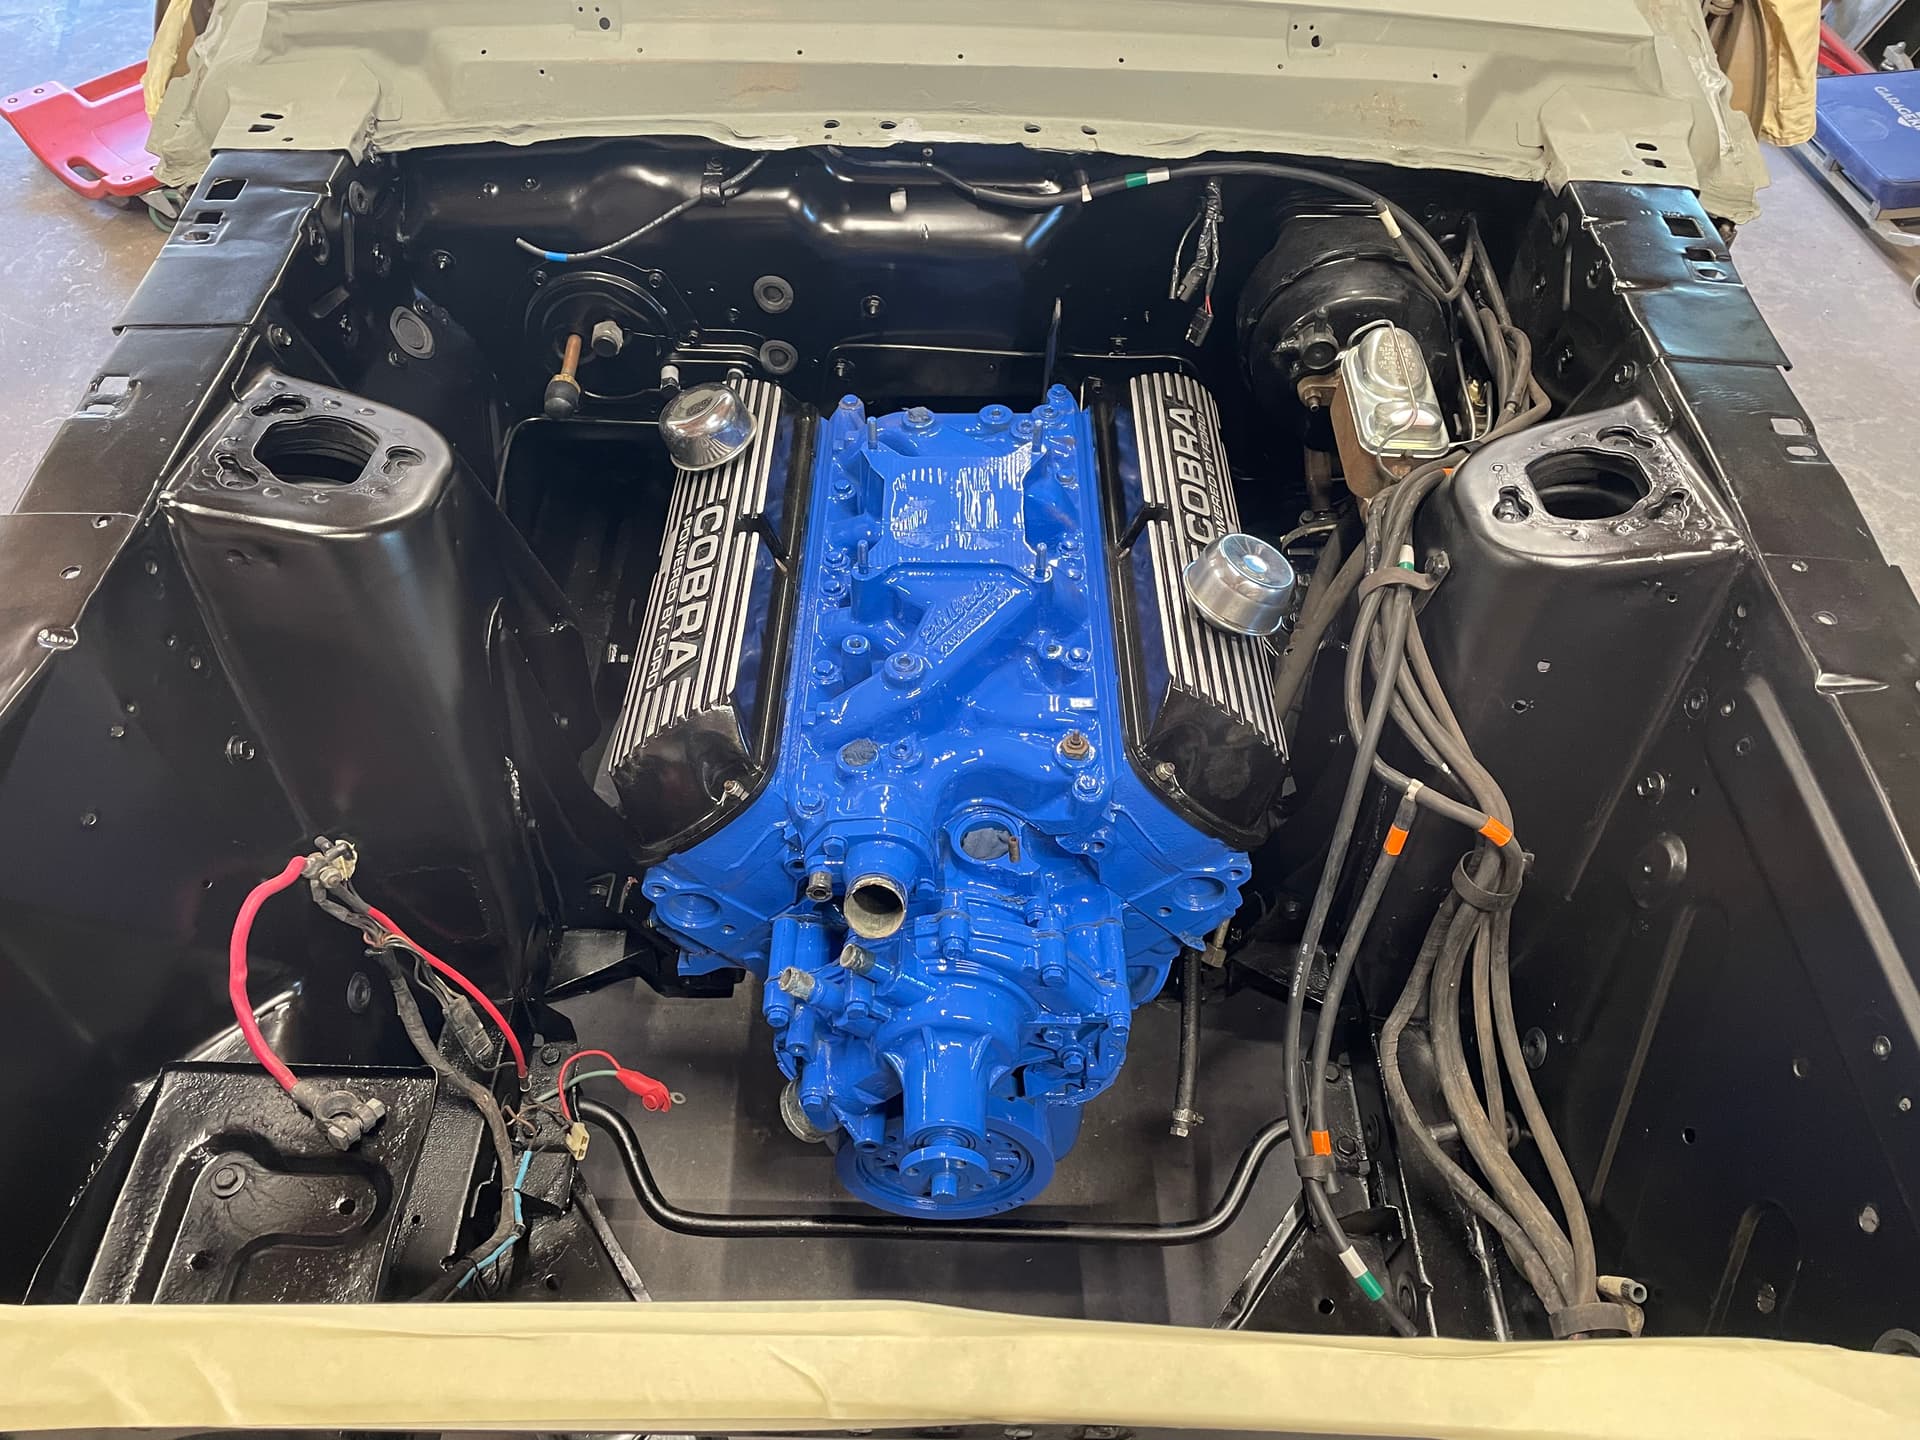
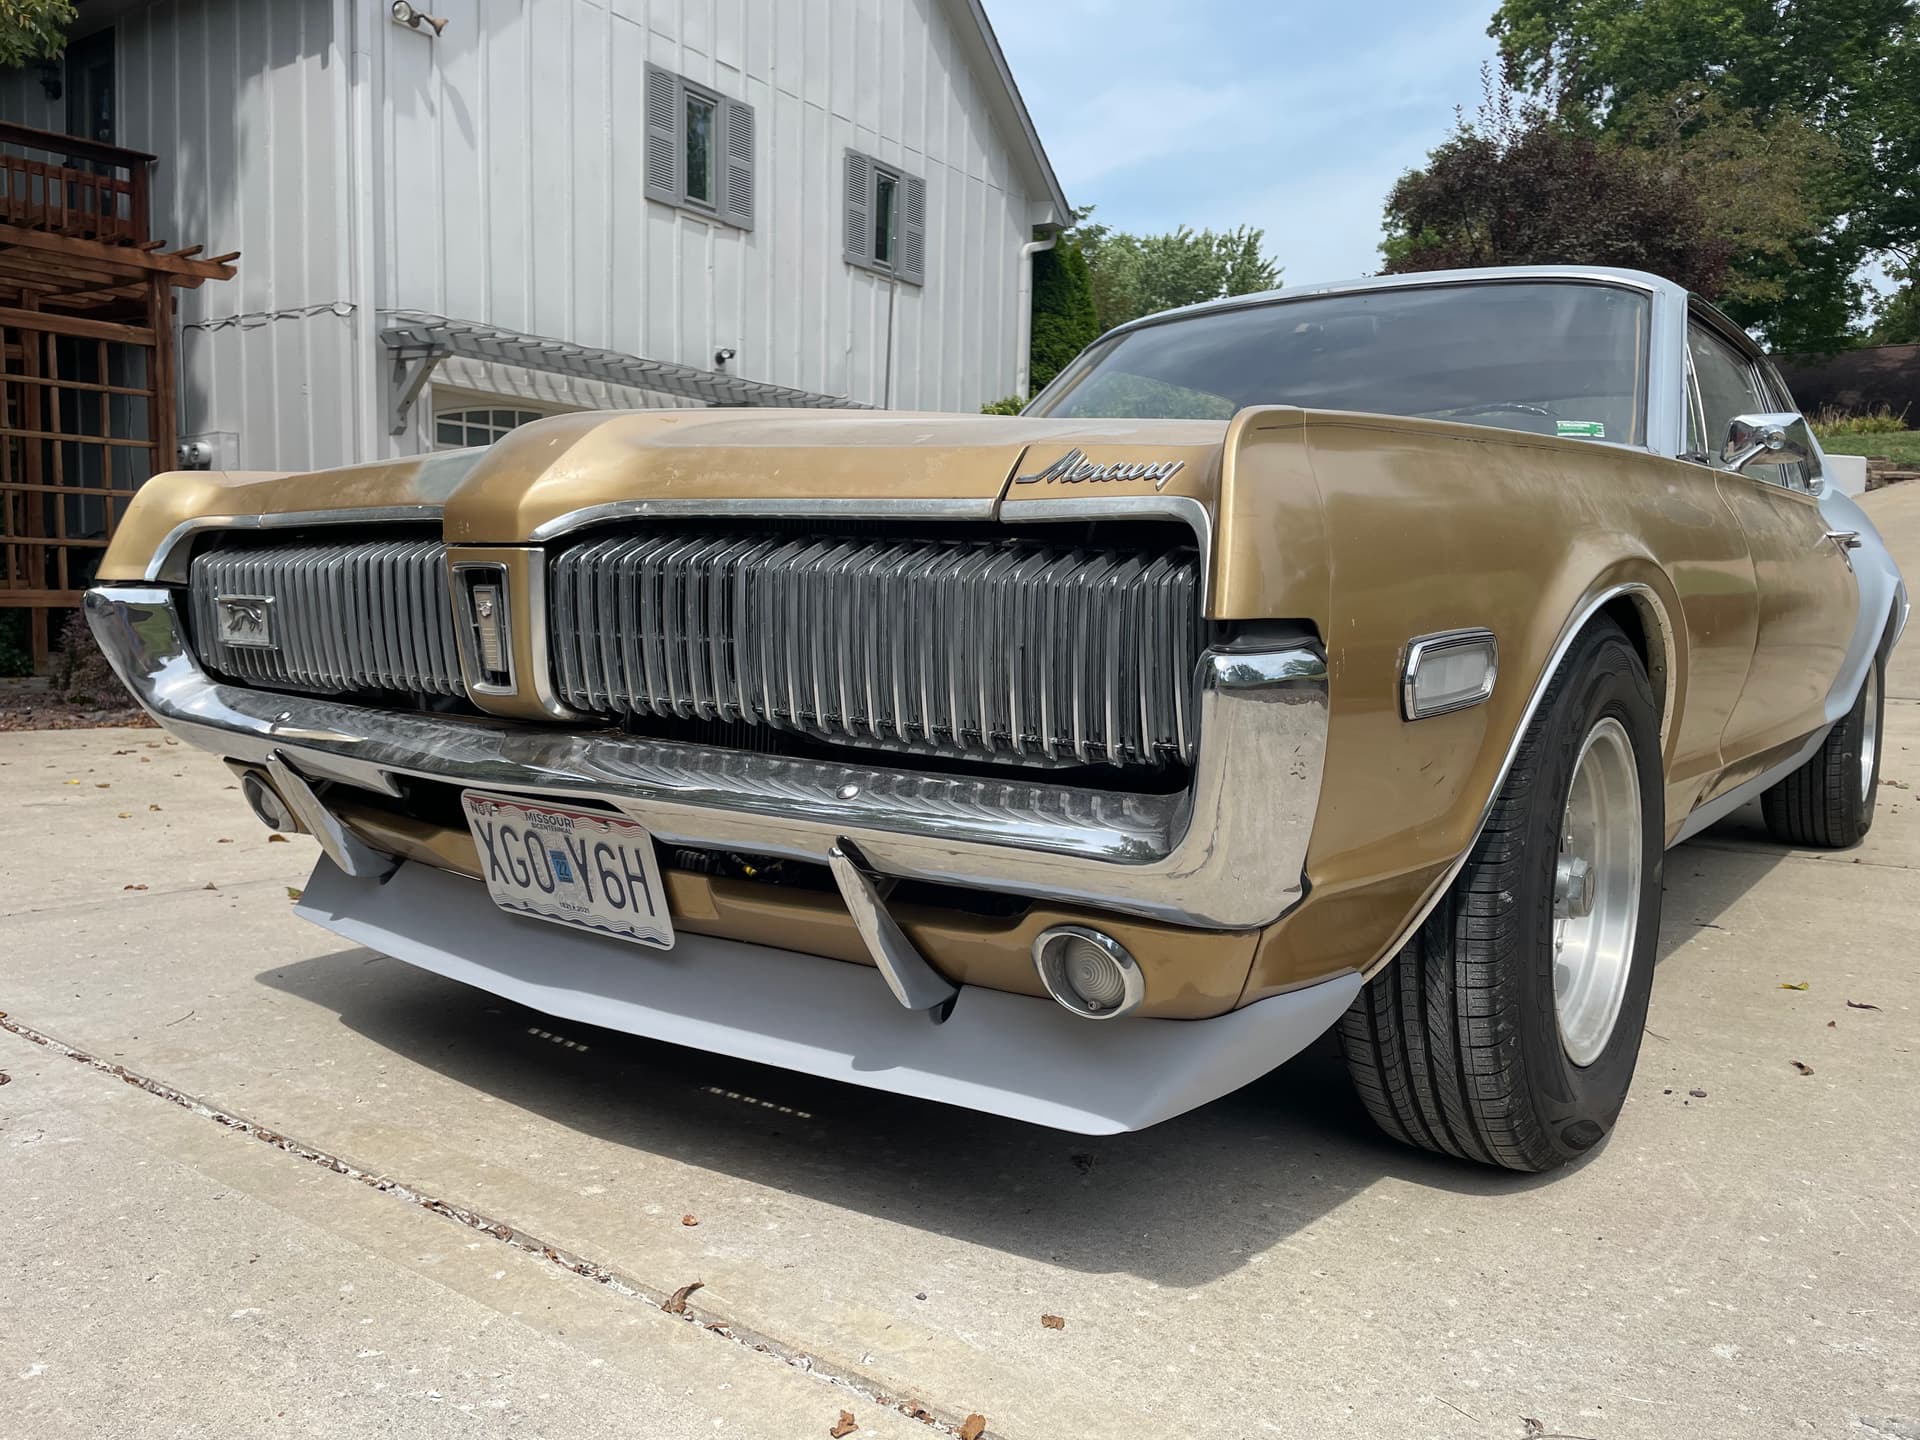
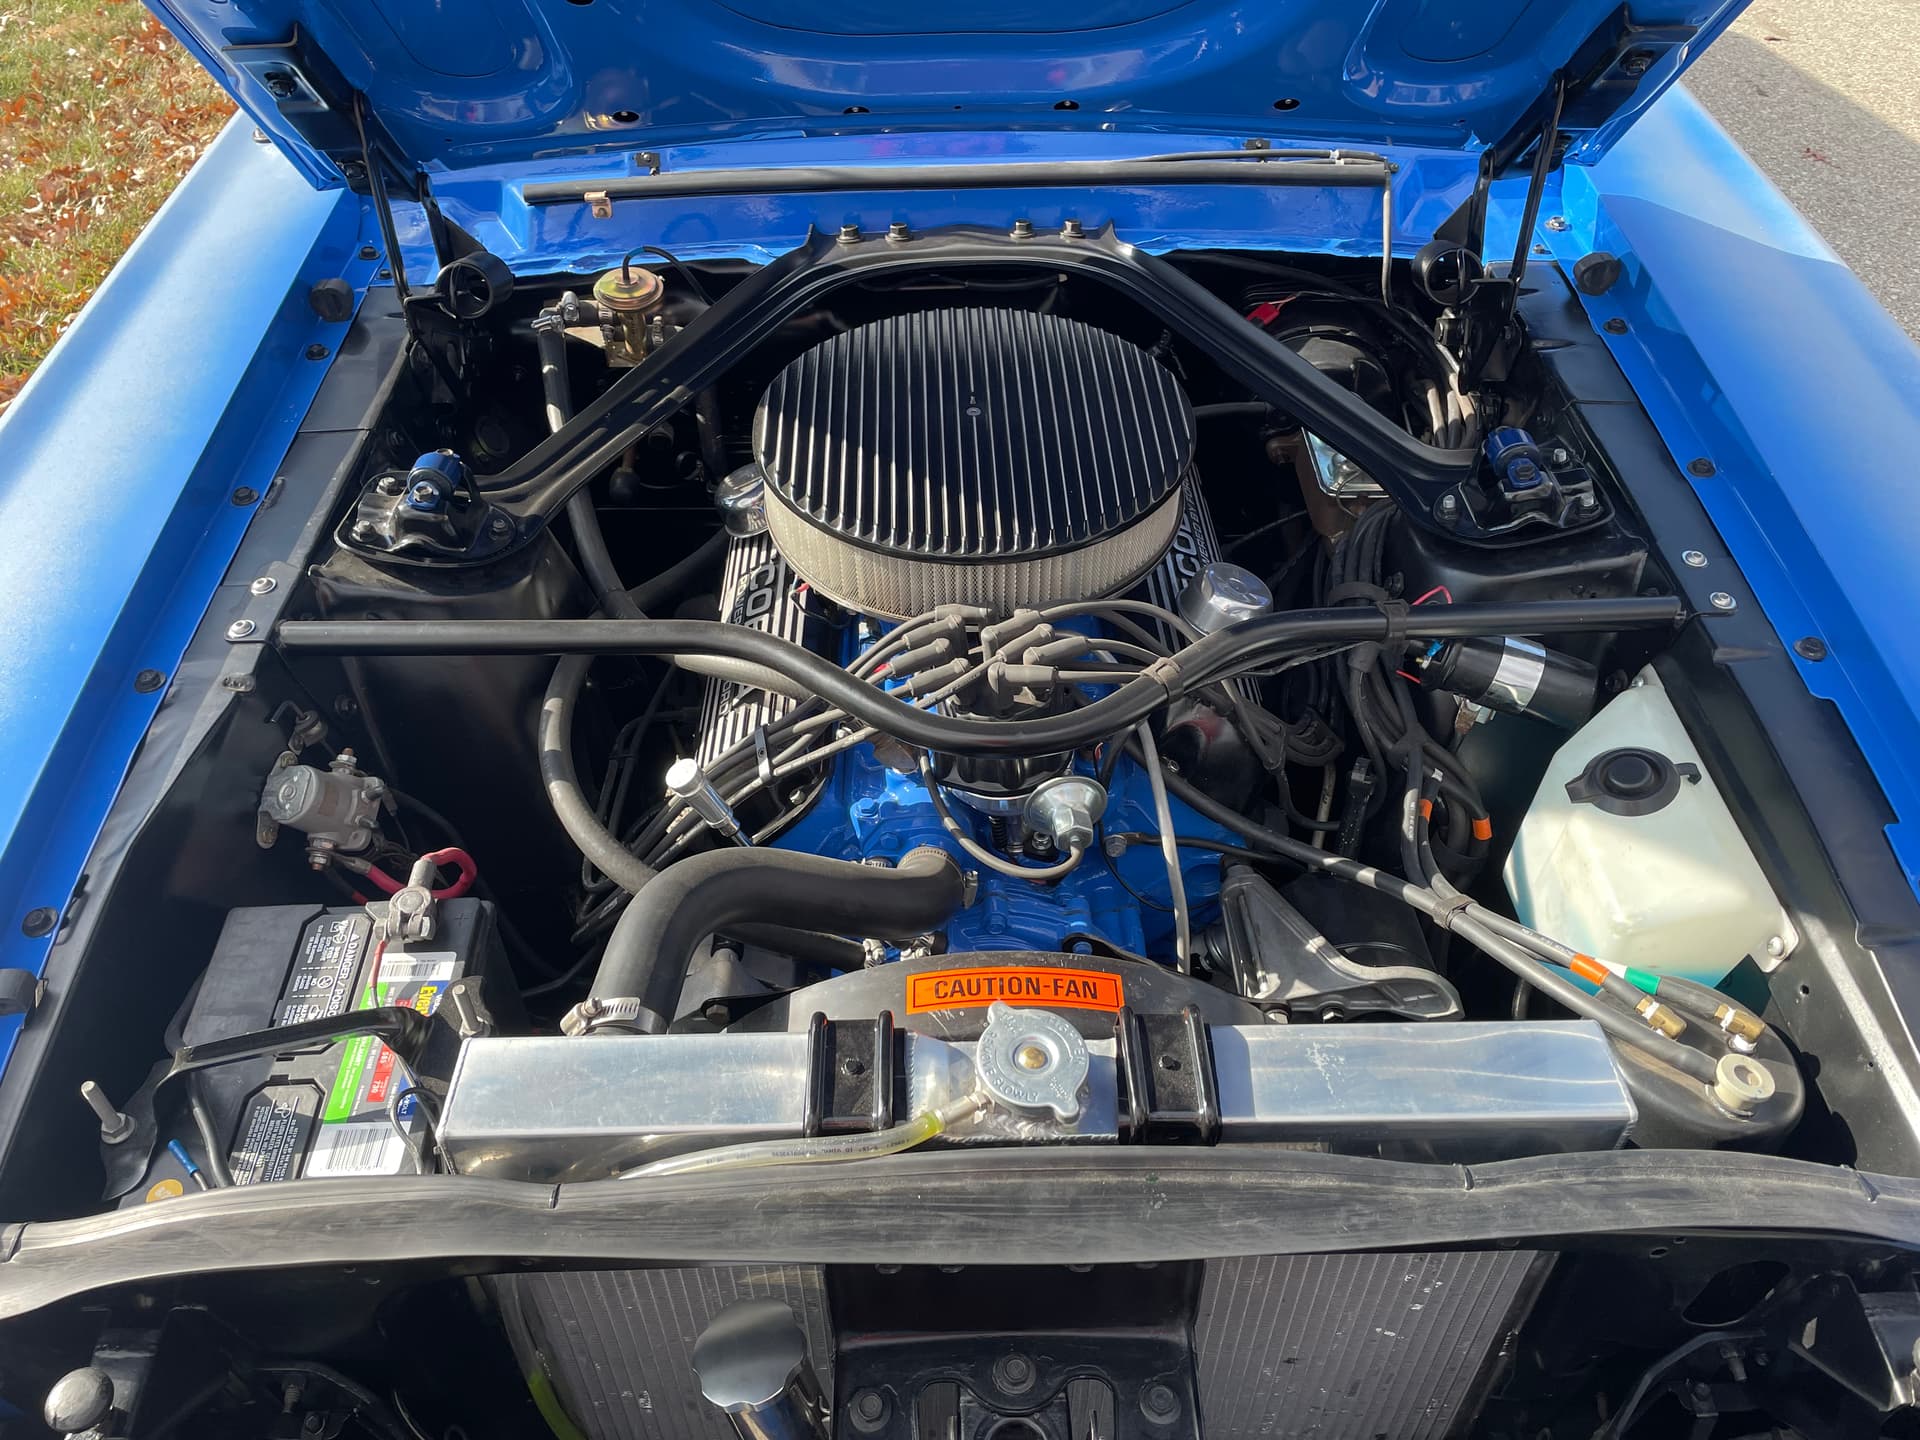
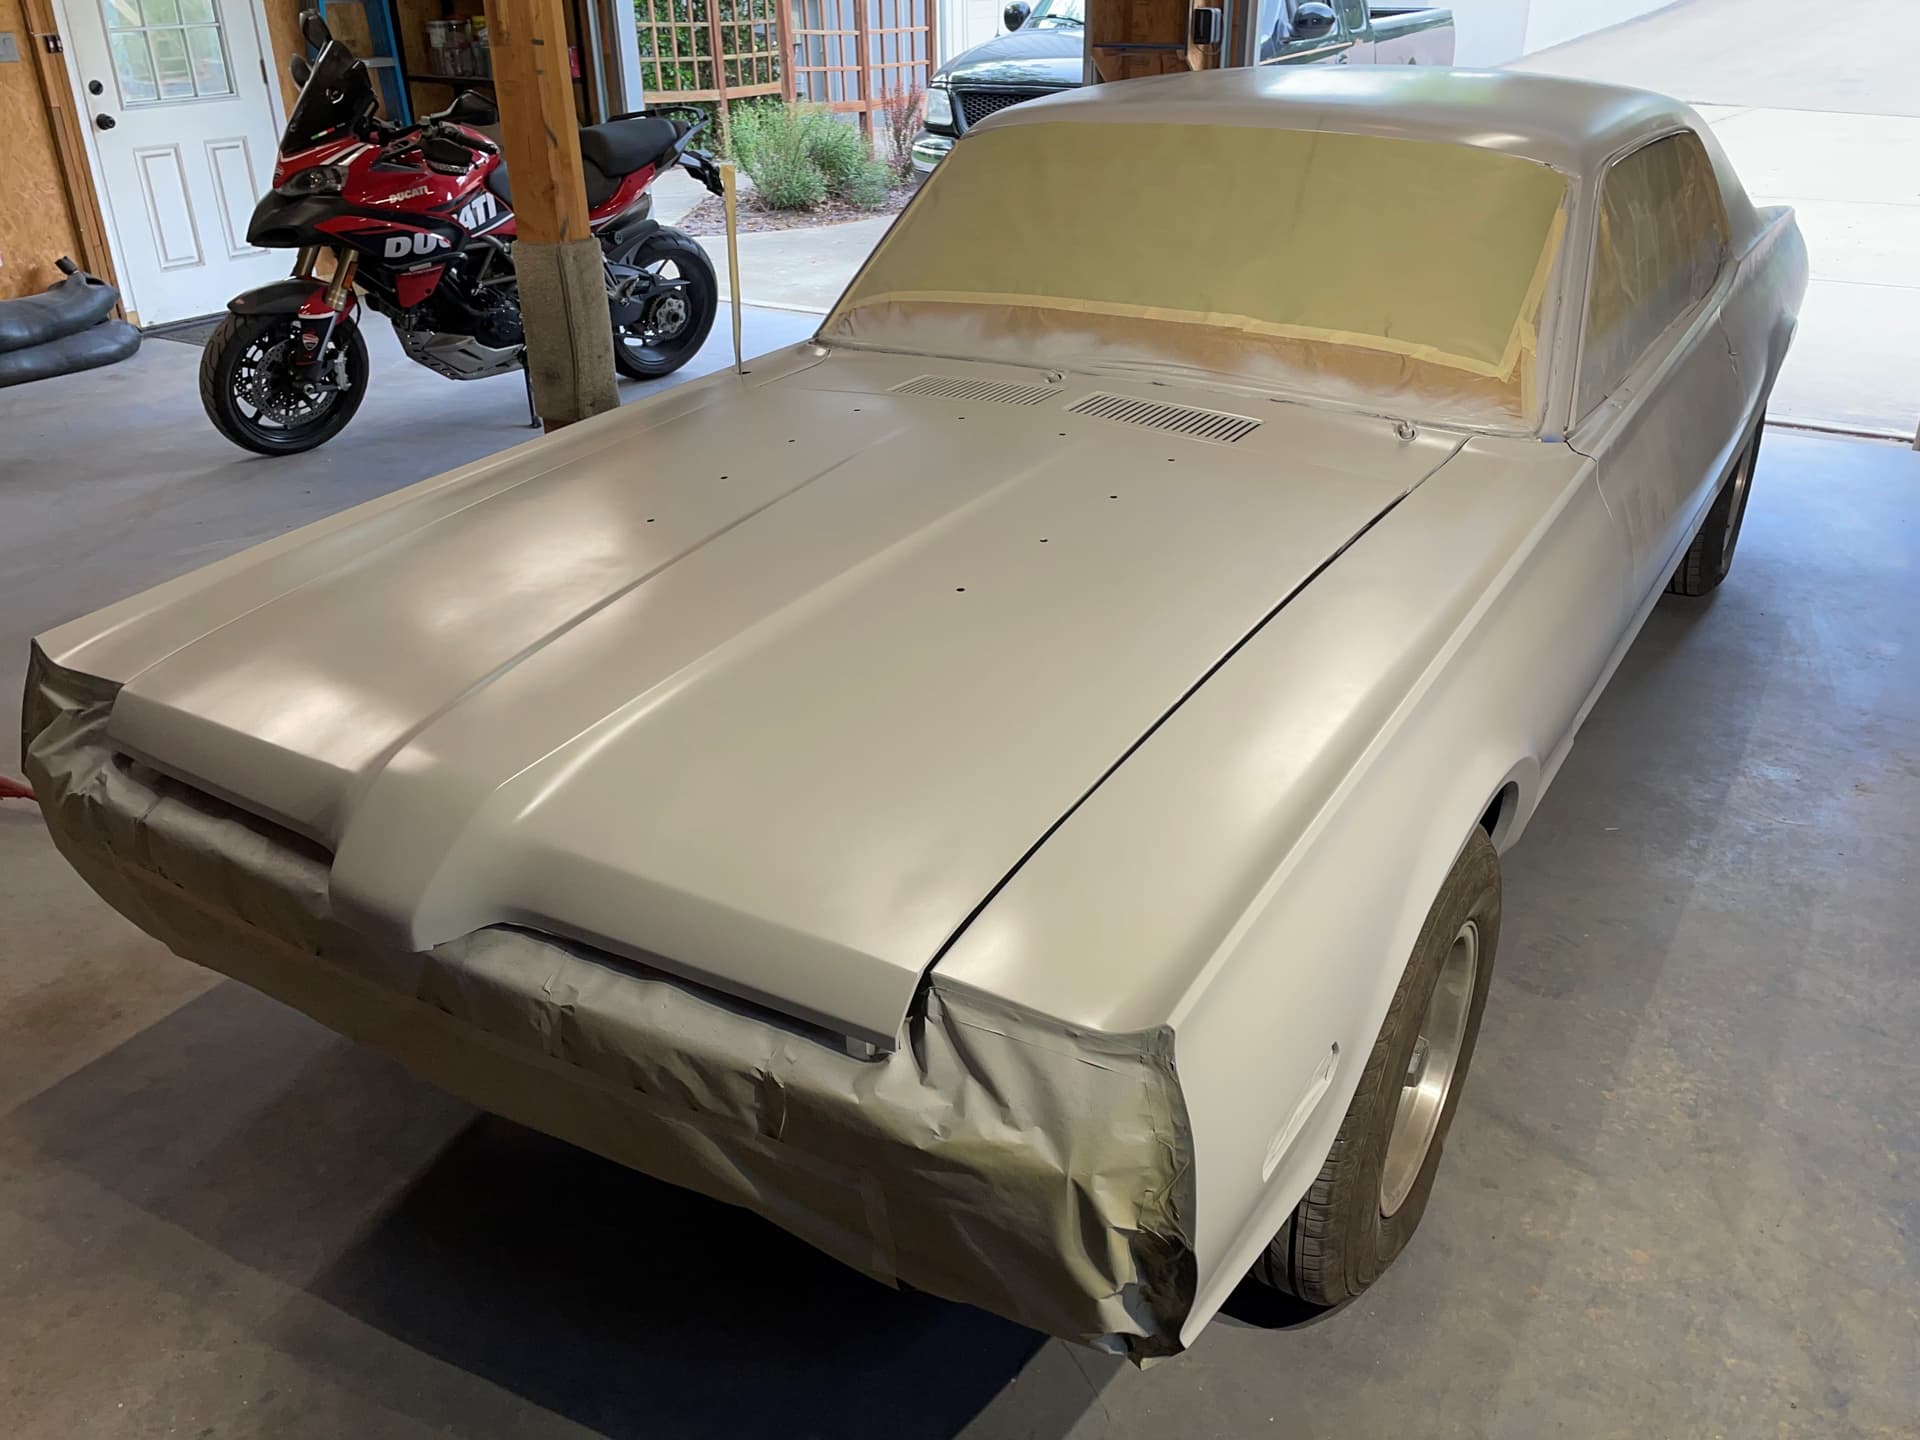
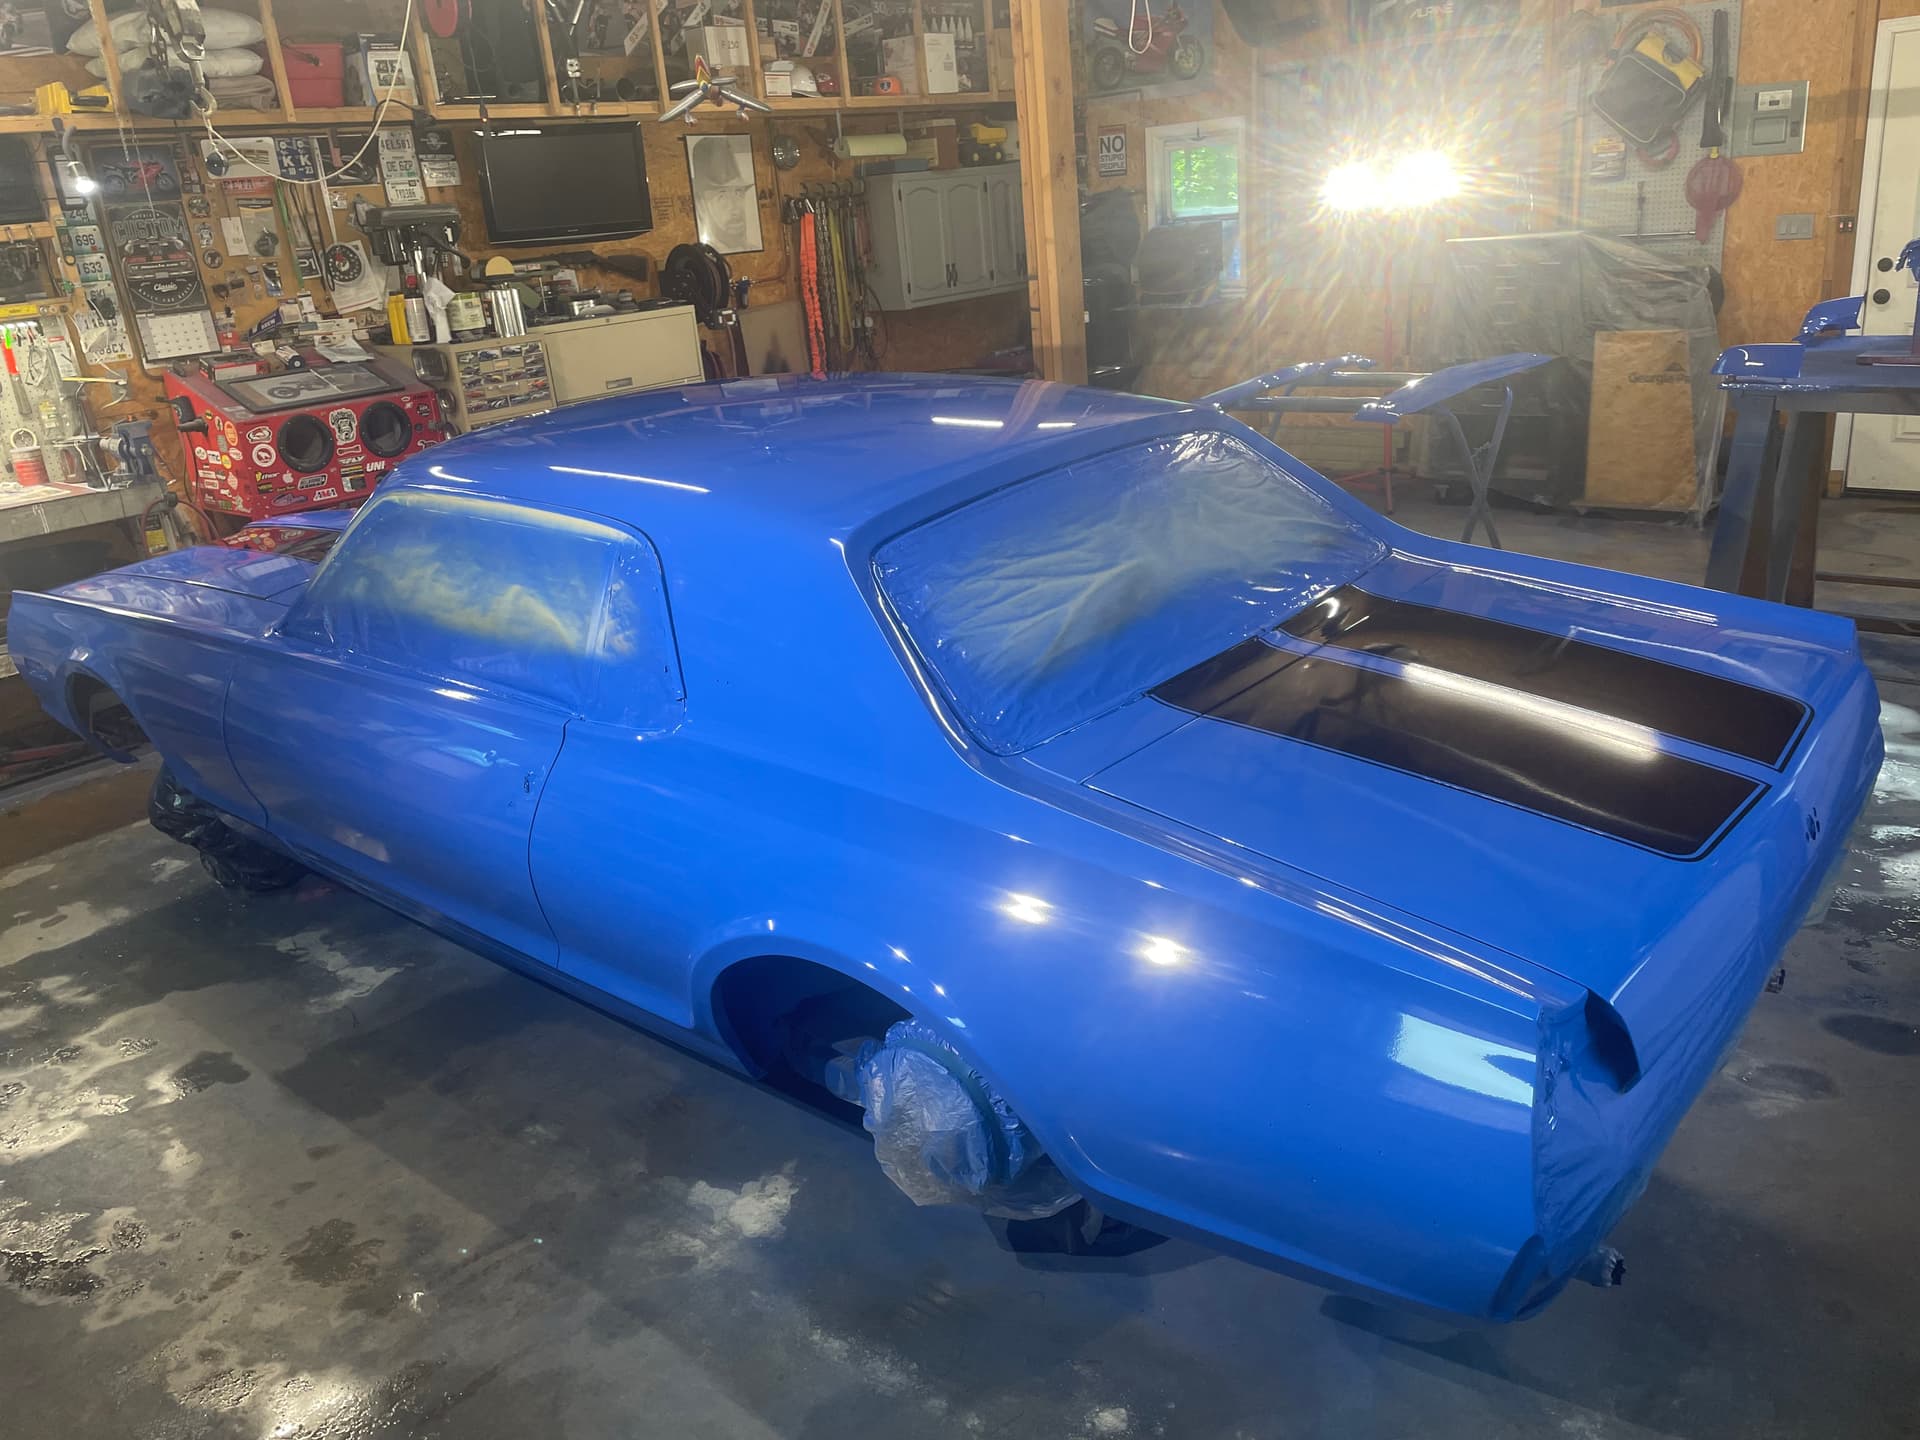
The Cougar had a ~20 year old respray with most of the clearcoat pealing off. It had rust in all the normal places and no brakes. But it was all there and would start if you hot wired the coil and jumped the solenoid. The PO had the headers uncorked so I couldn’t hear the lifters clatter, and she sounded awesome! He had also replaced the fuel tank and lines before he decided it was going to be more work and expense than he was interested in. I haggled a little and ended up dragging it home.

2 Likes

It took me from July until November of last year to get back on the road. A short list of repairs includes basic tune up, battery, new tires, complete brake system, carb rebuild, new distributor and coil, new headers, shocks, steering, alignment and hundreds of hours dinking with wiring. It was a slog, but in the end, she was reliable and legal.

Over the winter things got serious. My son and I replaced the windshield and back glass seals, and we put in a new dash pad. Then a complete gut of the interior so I could replace the front floorboards and torque boxes.


The upholstery was actually in pretty good condition and may have been redone at some point. I added sound deadener to the floor and gave her new carpet, but otherwise reinstalled what she came with. I ditched the 1980’s era cassette player (which didn’t work anyway) and replaced it with a Retrosound deck and Rockford Fosgate speakers. I also found a new in the box solid state turn signal controller that a guy was practically giving away, so I replace the relays with that even though I had the stock system working well.

Looks like a nice starting point. What part of the country are you in?

You’re fast badcatt! I’m not even done posting my pictures. I’m in Parkville, MO, suburb of Kansas City.

1 Like

By springtime, it was back on the road, so it was time to tear it apart again. Maybe some day I’ll actually be able to drive it. My plan was to have it painted before cold weather hit this year (LOL, idiot). As I mentioned, I have some body and paint experience, and I’ve been restoring bikes for the last ~25 years. My shop is set up to paint small stuff, but a car would be a stretch. We’ll see how it goes.

The car was Grecian Gold, and I’m not too fond of it. I’m also concerned that spraying a metallic might be beyond my capabilities, so I decided to change to a solid color. My first thought was red, but there are so many red cars out there. My wife preferred blue, and I’ve had a couple of Grabber Blue cars over the years that I liked. In the end, we settled on a darker shade of blue that goes well with the saddle interior.

I got out the grinder, and I started to uncover past sins. Rust in the quarters had been repaired, and it was rusting out again. This was mainly due to the use of expandable spray foam insulation (Great Stuff from Home Depot) being sprayed behind the repairs and in the wheel wells. It looks like it trapped moisture between the foam and the metal and actually sped up corrosion instead of preventing it.

The car had also been punched in the right rear at some point. The best answer would have been to replace part of the trunk floor and the rear tail light panel, but it had actually been pulled out pretty well and everything lined up nicely. I worked with what I had, improved it a bit, and it turned out pretty well.
It took a couple of months, but I eventually finished the rust repairs and body work on the top, quarters and trunk, painted inside the trunk and got it back together.

I drove it like that for a couple of weeks and then tore the front end apart. There was only minor rust up front, so body work here went fairly fast. While I had everything apart, I pulled the engine and transmission so I could spruce up the engine bay.

She’s a good runner (63,000 actual miles) and the engine doesn’t leak anywhere (wish I could say the same for the transmission), so I just gave it a good cleaning. I was going to buy a couple of rattle cans of Ford blue when I realized that my body color was pretty close. I thought 2K urethane had to be better than Rustoleum, so now my engine matches the rest of the car.

As I mentioned, body work on the front was a lot easier than the back half of the car but putting it back together and getting everything adjusted has been a real bear. There are no signs of collision damage on the front, but everything seems tweaked, and nothing wants to line up like I want it to. When I look at old pictures, I see that it was always like this, but I didn’t really notice until now. I’ve spent weeks pushing, pulling, wobbling out holes, installing, shimming, reinstalling…. It’s getting close, but this is probably something I’ll continue to mess with until paint is done.

When I bought the car, there was a fiberglass chin spoiler in the trunk, so I decided to install it. It didn’t fit worth a damn, and there was no obvious way to mount it. In the end, I cut it into ten pieces, narrowed it, changed its angle and added mounting tabs. And since you can’t have a spoiler without a hood scoop, I bought one of those too. I had intended to go with an XR7-G scoop from Fiberglass Specialties, but they stood me up, and I had to get the credit card company involved to get my money back. I couldn’t find another one, so I ended up going with a ’69 Eliminator scoop.

My license tags were set to expire mid-November, so I was under the gun to get it back on the road and safety inspected before I had to pay a penalty. I got it done with a few days to spare, and I’ve put ~100 miles on it over the last week or so. This is how it’s going to look until spring.

There are dozens of things I can tinker on (that transmission leak I mentioned before, polish chrome, etc.), but I don’t expect major progress until it warms up. Then sanding, sanding, sanding…… PAINT! Then maybe some go fast parts, but that’s next year.

I’ve already received a lot of great advice, and I’ve even bought some parts from members on this forum. I really appreciate your help, and I hope I can return the favor at some point. Thanks!!

Nice progress, I can tell by the quality of the work that this isn’t your first restification.
Is that a vacuum reservoir next to the radiator?

Thanks, and yes it is. It was there when I bought the car. The large tank under the left fender is still good, but the two small cans on the right were both rusted out. This tank back feeds those. I’m not convinced it’s necessary, but if it ain’t broke… Some day I might replace the vacuum eye lids with electric. If/when that happens, I’ll clean all that up.

Great project and progress. Looks like you are having a lot of fun.

Very nice work! I’m a fan of the modern grabber blue too

Thanks guys!

It’s coming along nicely. Thanks for sharing.

I’ve spent the last month and a half block sanding, and I’ve finally got it all into sealer. If I had time and proper facilities, I’d seal and paint over a weekend. As it is, I’ll need to sand it all one more time, and then she should be ready to paint. I’m traveling for work this week and family vacation next week, so it will probably be mid to late June before I’m ready to spray. It’s getting exciting!

Here are shots after the sealer was sprayed and one with the guide coat.

Paint is on! I’ll get it back on the ground tonight and then hours and hours of buffing.

2 Likes

I’m impressed. I’d have stayed with everything original ( incl. the Grecian Gold ) but given the quality of your workmanship and the use of a Ford Grabber Blue + the unique hood and trunk lid stripes, I’ll agree with your choice - it’s a stunning combination.
I’ve never seen the ( XR-7 ) lower dash pad knee bolster - must be quite a rare component, as it was apparently phased out early in the 1968 model production, certainly by the end of the 1967 calendar year.
You also mentioned two smaller ( RHS ) vacuum canisters - one for the A/C and the other is for the tilt / tilt-away steering wheel, although you didn’t mention that it had that option. Correct me if I’m wrong.
Keep us posted - it’s beautiful.

Thanks Gah!. The original paint (respray) was in pretty poor shape, and I wasn’t too fond of it to start with. Also, spraying a high metalic in my garage would have pushed the limits of my abilities. Sticking with a solid color seemed like the best plan. And did I mention that my first car ('71 Torino) was grabber blue? I’ve always had a soft spot for that color.

The stripes on the hood look a little goofy right now, but they’ll make more sense when the hood scoop is installed. I’m afraid the stripes on the deck lid look a little too much like GM SS stripes, but I ran out of imagination.

I’m pretty sure the knee pad bolster was added by a previous owner. The holes in the dash have obviously been drilled after the fact. It’s also kind of squeezed into place. It doesn’t have what I’d consider a factory fit.

My car had both tilt-away and AC, although the AC had been removed long before I got the car. I may add it back at some point, but that’s farther down the to-do list.

Thanks again for the compliments. I’ll continue to post updates when something interesting happens.

WOW Terry, that looks amazing! Looking forward to seeing it at the next car cruise. John

Thanks PUMA. I got the wheels back on and rolled it outside last night. Unfortunately, it was late in the day, so not much sunshine. The pictures make it look better than it really is. I have a lot of sanding and buffing in my future. Hoping that by the August cruise night it’ll be back in one piece.

1 Like

Looking really cool!

  • Phillip

I like it.