No questions; no tips; just a rant. I finally got around to addressing my left upper ball joint (appeared too free, and boot was annihilated), had the new joints, but need that “specialty tool” to hold the upper control arm up (?any comments on that - is there some other way? I think in the past I had chained the coil spring). Since I’m not a welder, I bought one off EBay from some other venturesome fellar. Anyway, today was the day. This is a 130,000 mile car and what do I discover? Rivets. Seriously, am I to believe that the OEM ball joints lasted 53 years!? Or is it possible someone replaced the upper control arms and the “new” units had riveted in ball joints as well? Either way, I forgot how much fun that back rivet head is - especially with the “tool” in place. I’m sure everything after this will be much easier…
I usually compress the spring and remove the arm completely so I can replace the shaft kit which is normally original too.
Ding - (bell ring). Should have thought of that. Thanks, I’ll add it to my repertoire.
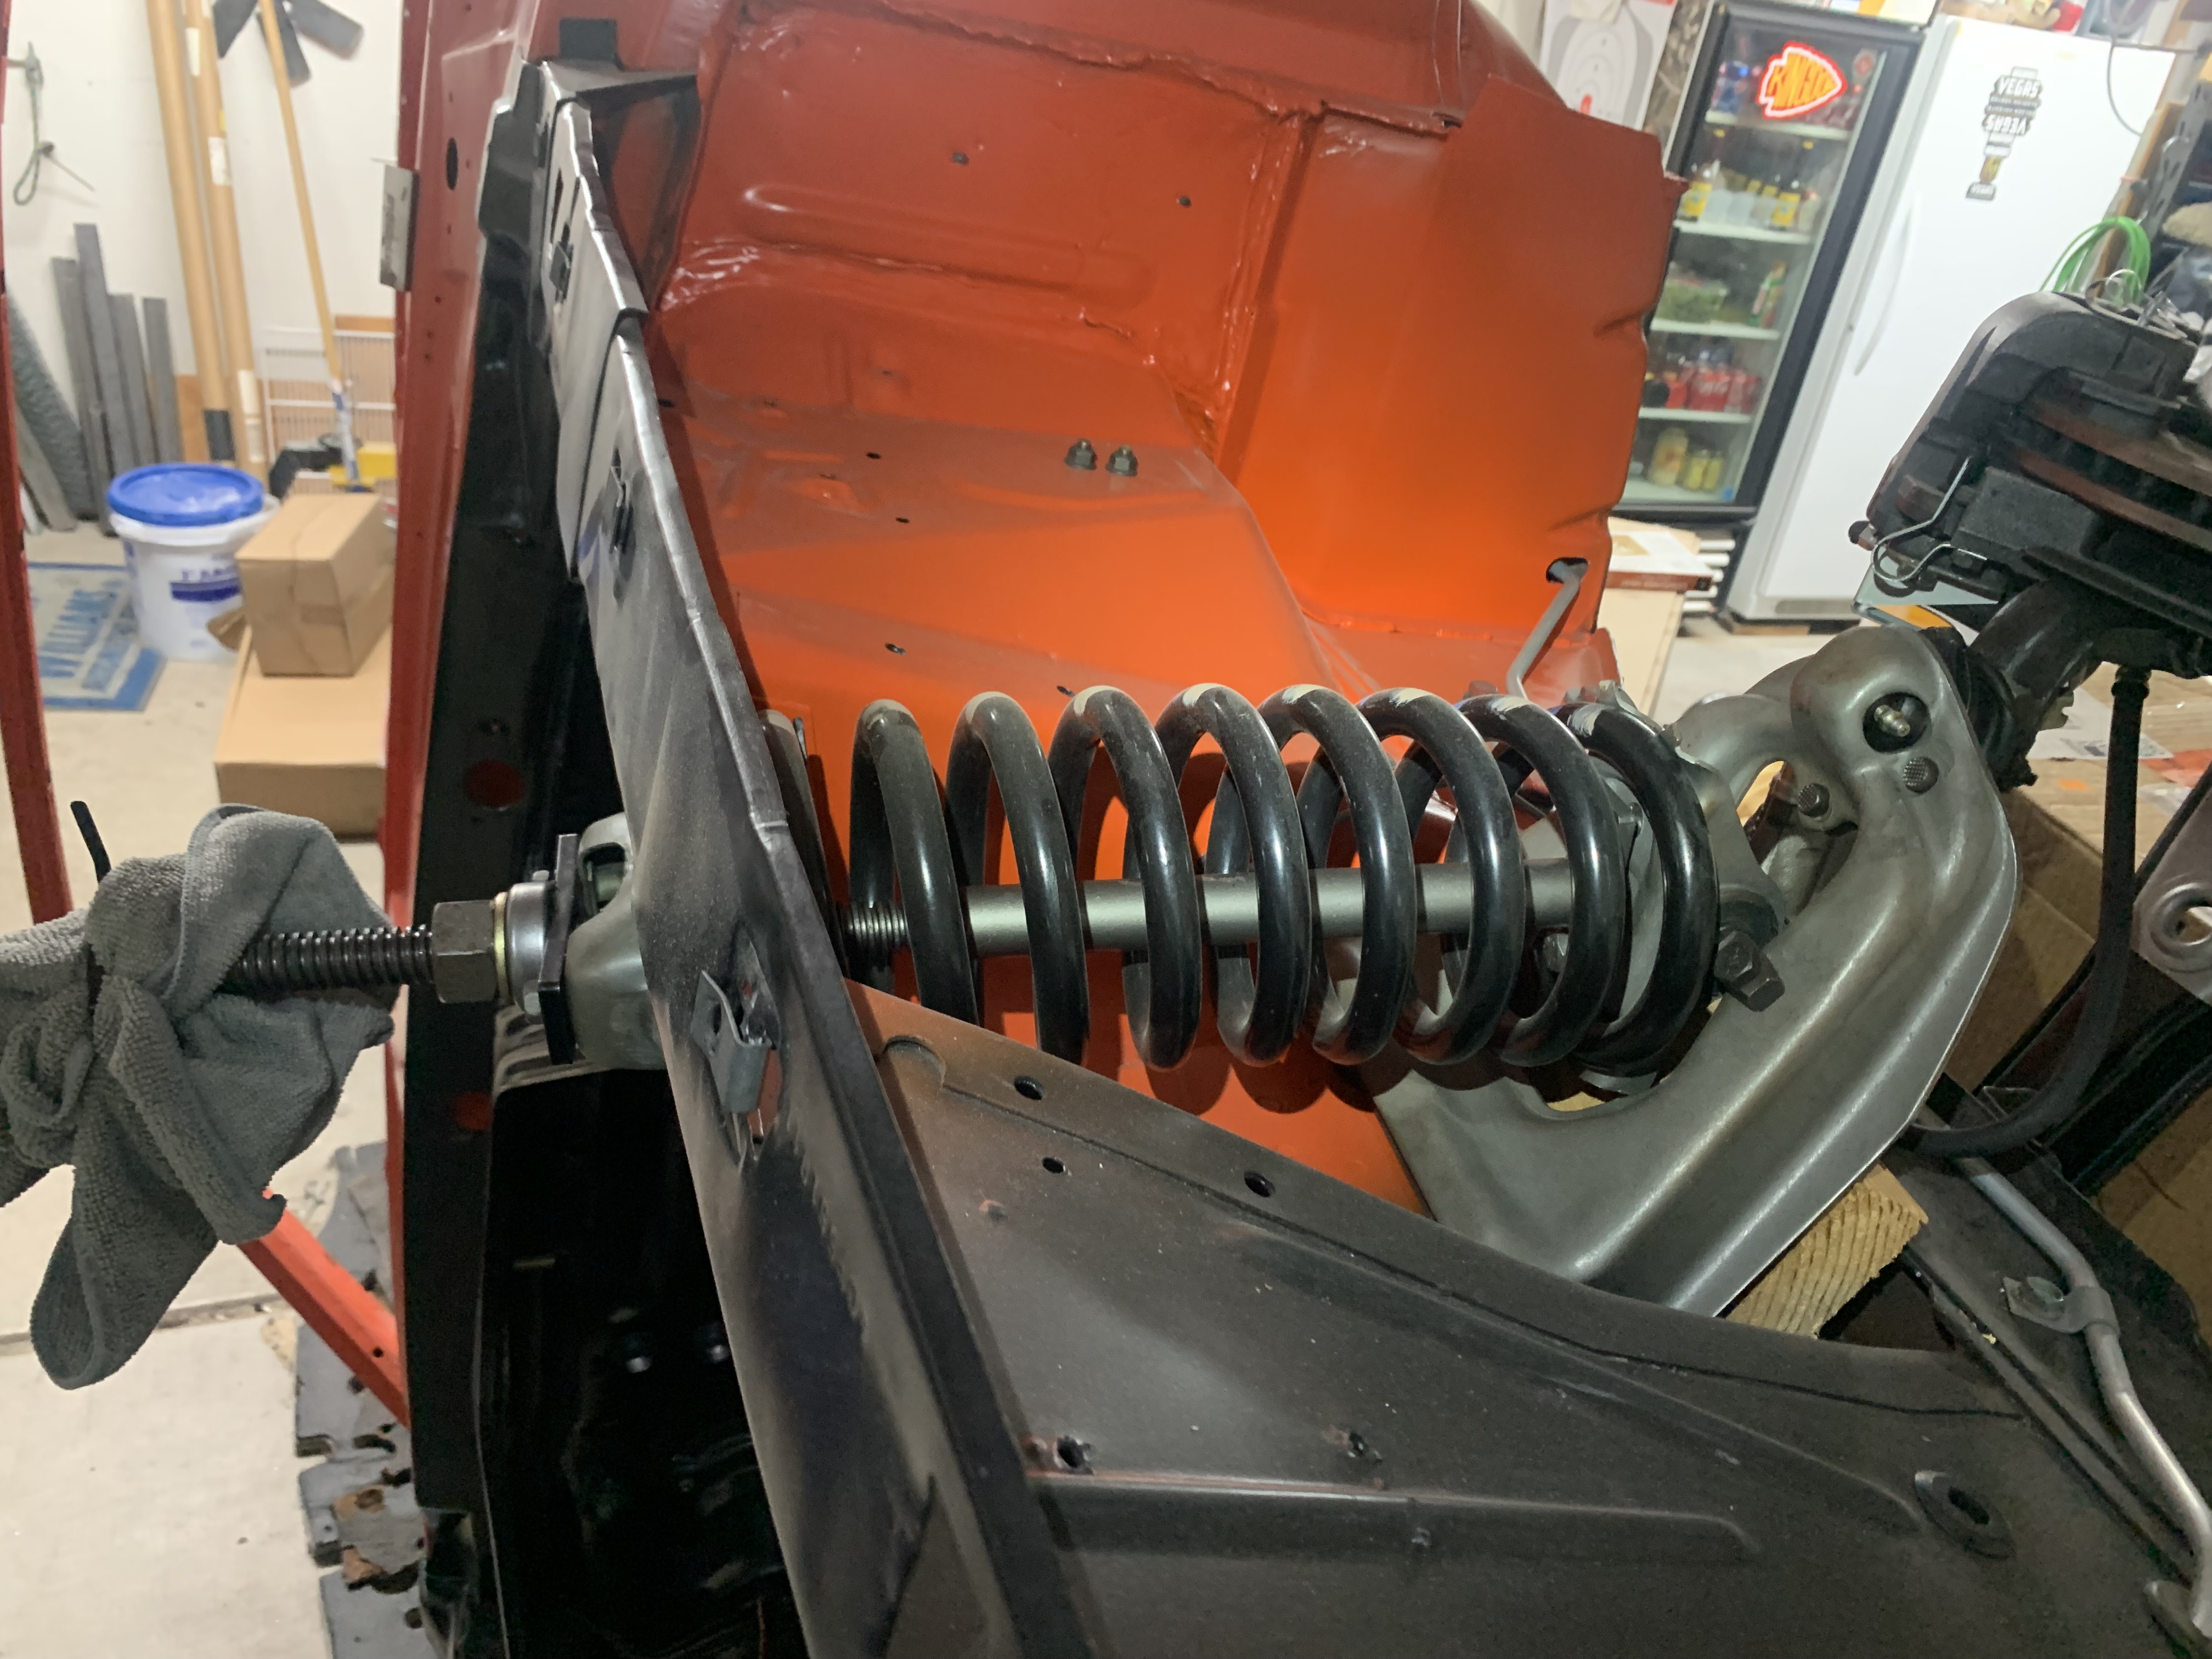
I bought this spring compressor off eBay and it makes taking the spring out a non-issue, Never mind the towel, it’s there to save my forehead/eyes…

Very cool; thanks for the link. I saw this one also, dare I say a little “cheaper” (inexpensive) - but not looking to “chinze” either. Suspension Coil Spring Compressor Kit For Mercedes Benz Porsche Rover Volvo FORD | eBay. The Auto Krafters has one specifically for Ford at about $125, but I’m not sure of the shipping charges. Definitely one of these in my IMMEDIATE future.
I have one like 70scj4spvert has. At $112+ that ebay seller is a decent deal. I have no idea how that Mercedes one works. Just don’t get a cheep Harbor Freight one.
Amen to that. Cheap isn’t cheap anymore when it gets expensive; if you catch my drift.
OK, must continue; accepting a slap in the head from anyone who sees more clearly than I because I can’t figure out what the problem is. I will do this with photographic support.
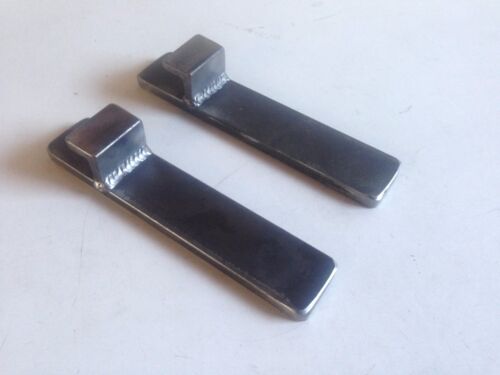
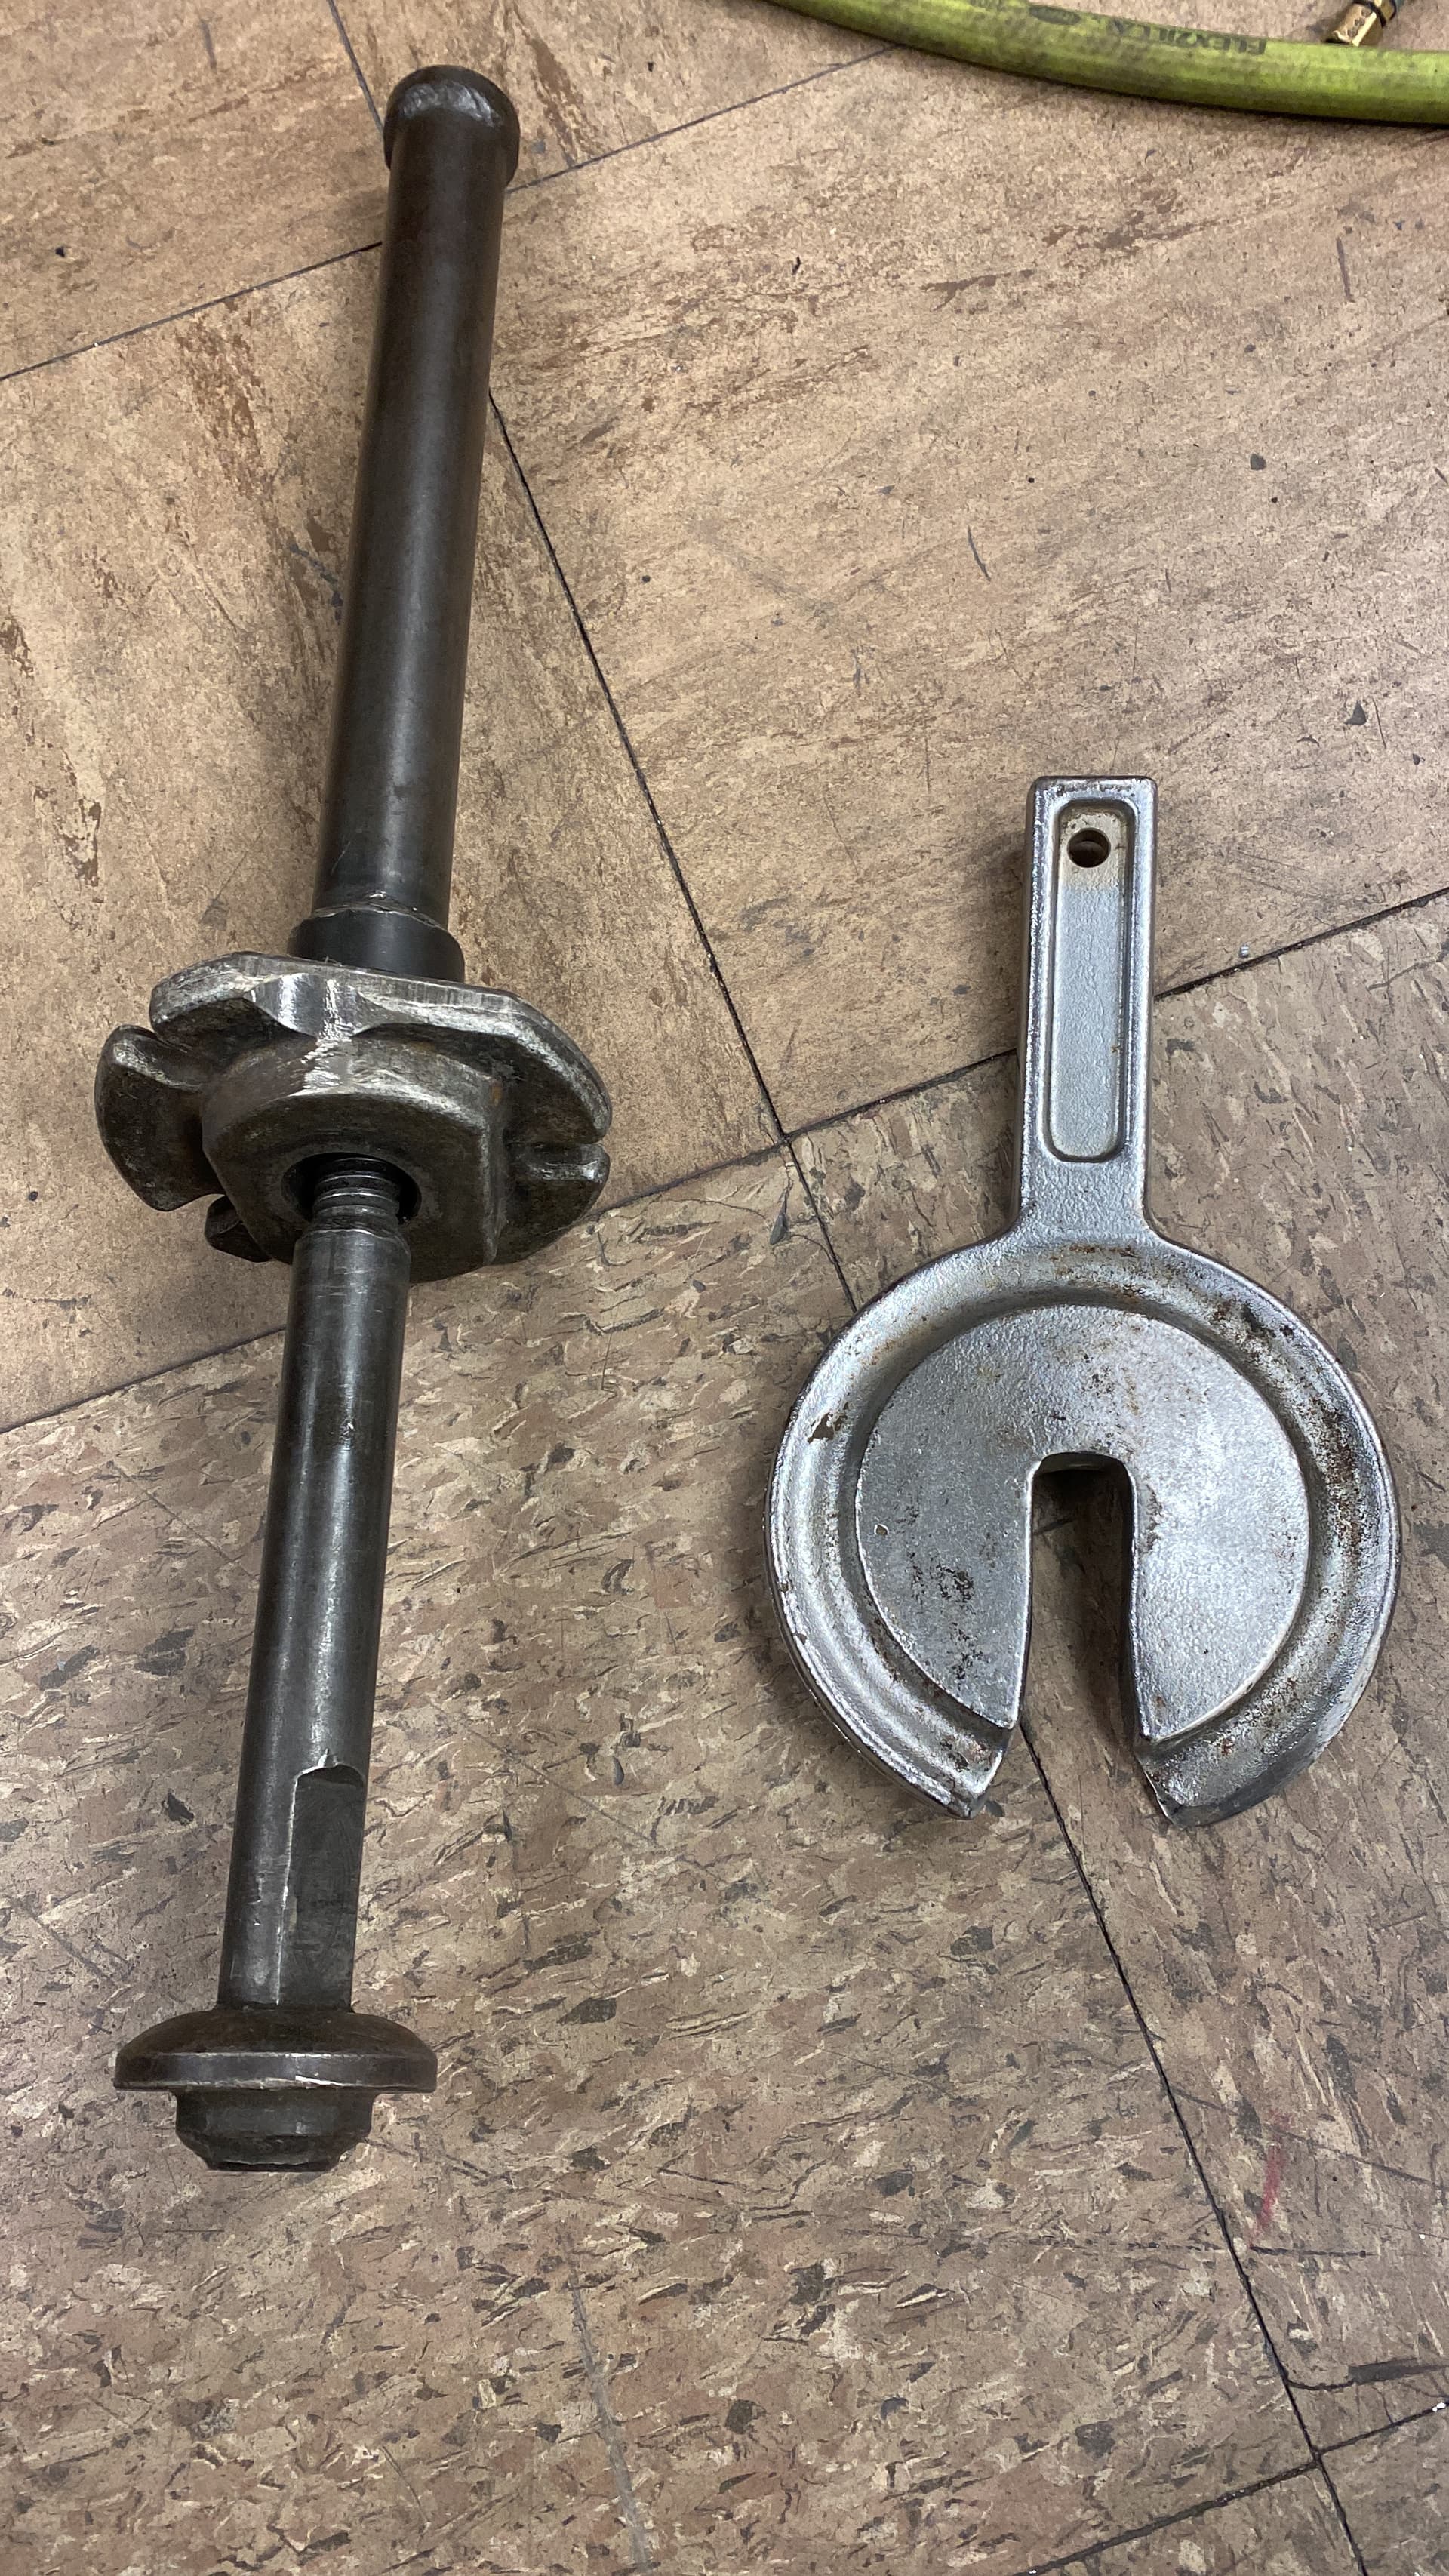
The manual shows the tool and specs for making one, it should look like this:
The manual shows the “easy peasey” placement of the tool:
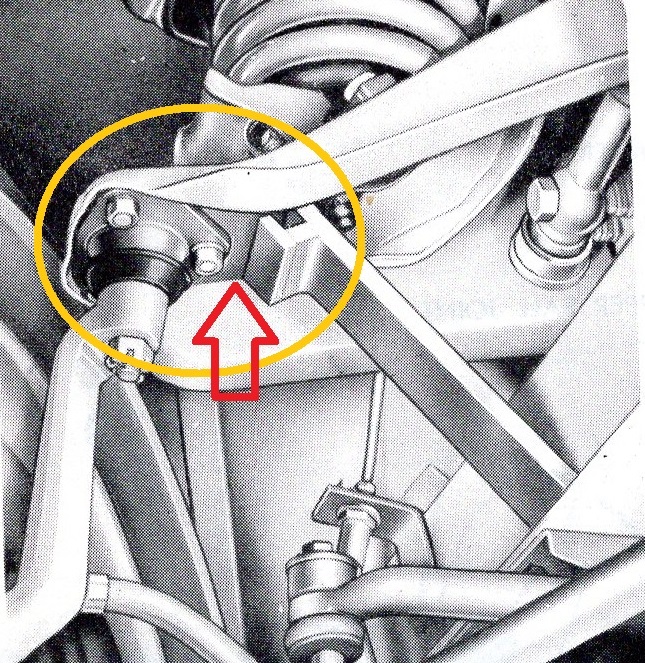
Please note the generous margin depicted around the ball joint flange.
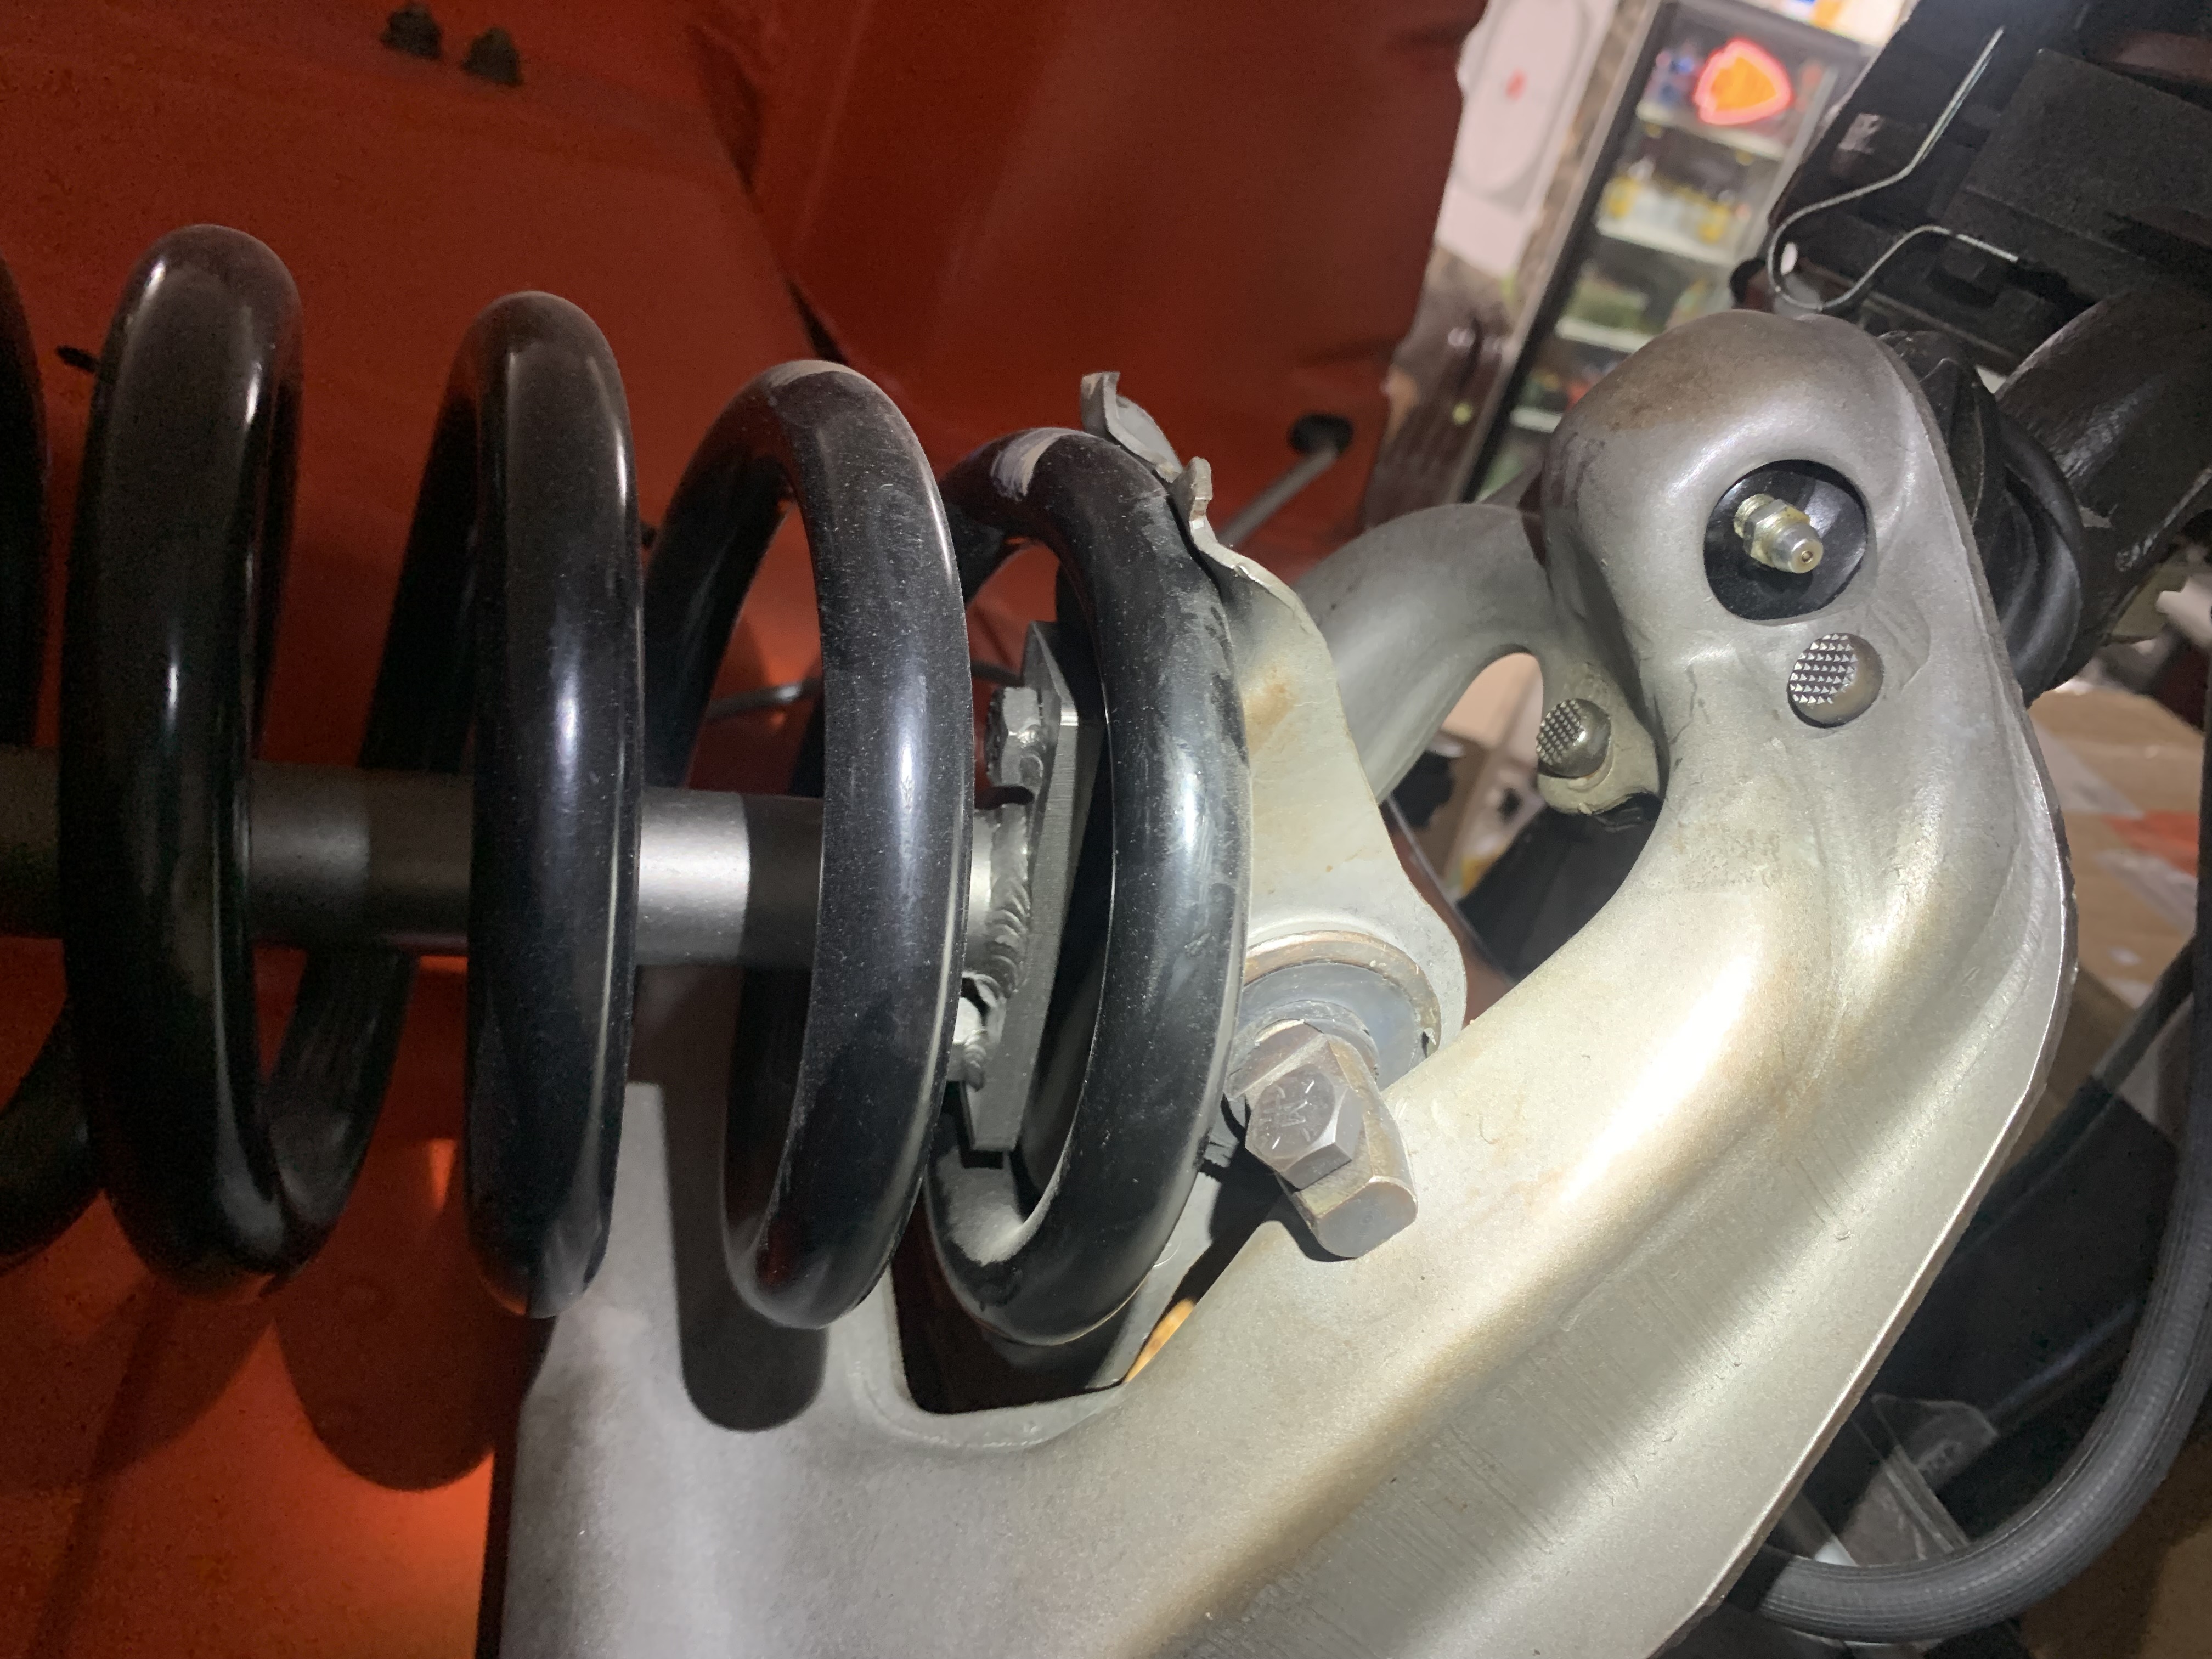
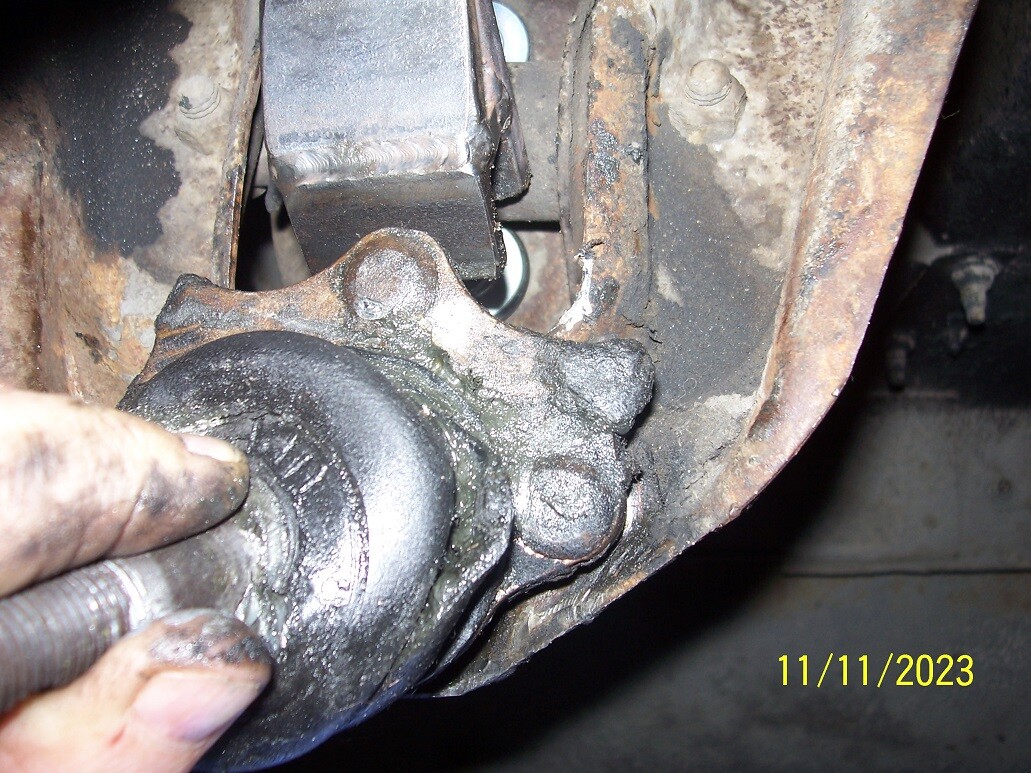
The reality - holding old ball joint in position
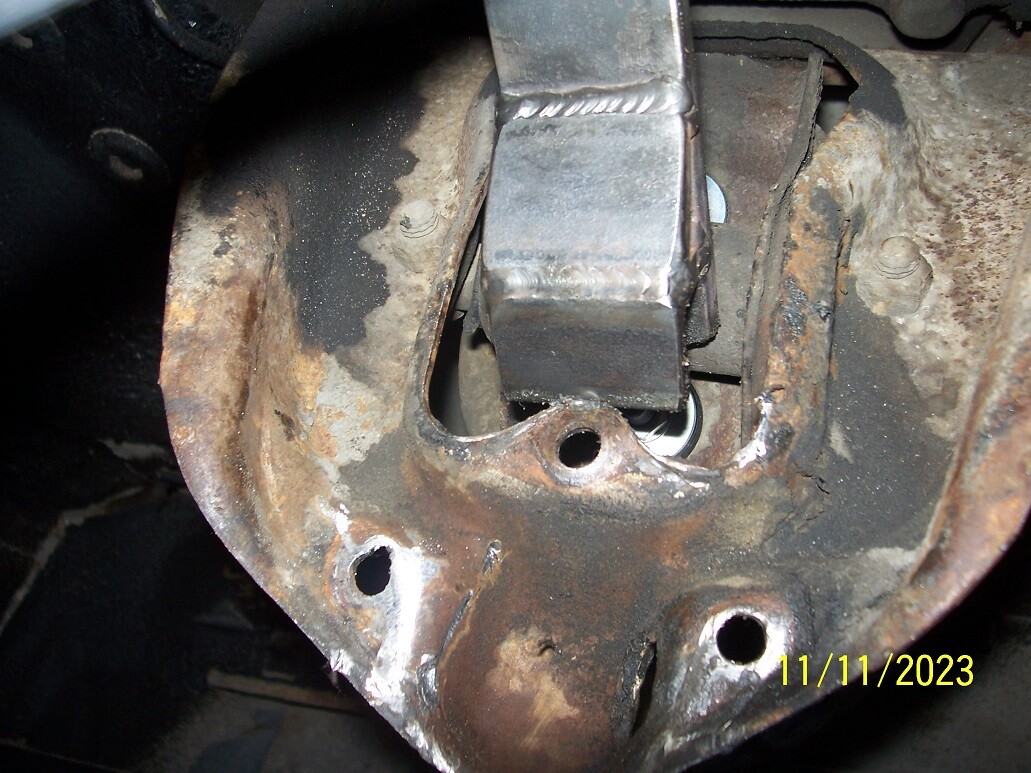
What that looks like with the ball joint out of the way.
Interestingly, now that the new joint is in place, the situation does not improve.
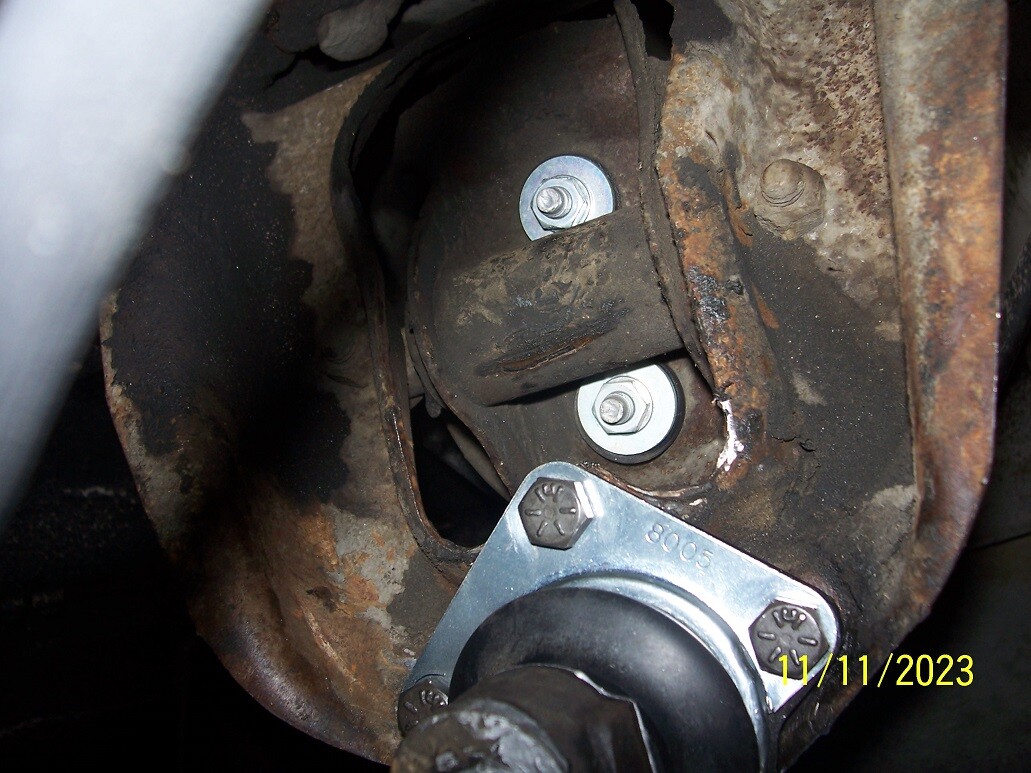
The only “plus” now is that you have gained some flange room on either side of the inboard bolt, but the “required” tool won’t benefit you there, you would need one with a forked tang to straddle the bolt. Or is there something seriously wrong with me?
Replying to myself - I’m thinking I need a piece of 3/8" steel rod about 4" long to bridge the gap between the two sides of the ball joint and let my “tool” cradle it to support the control arm.
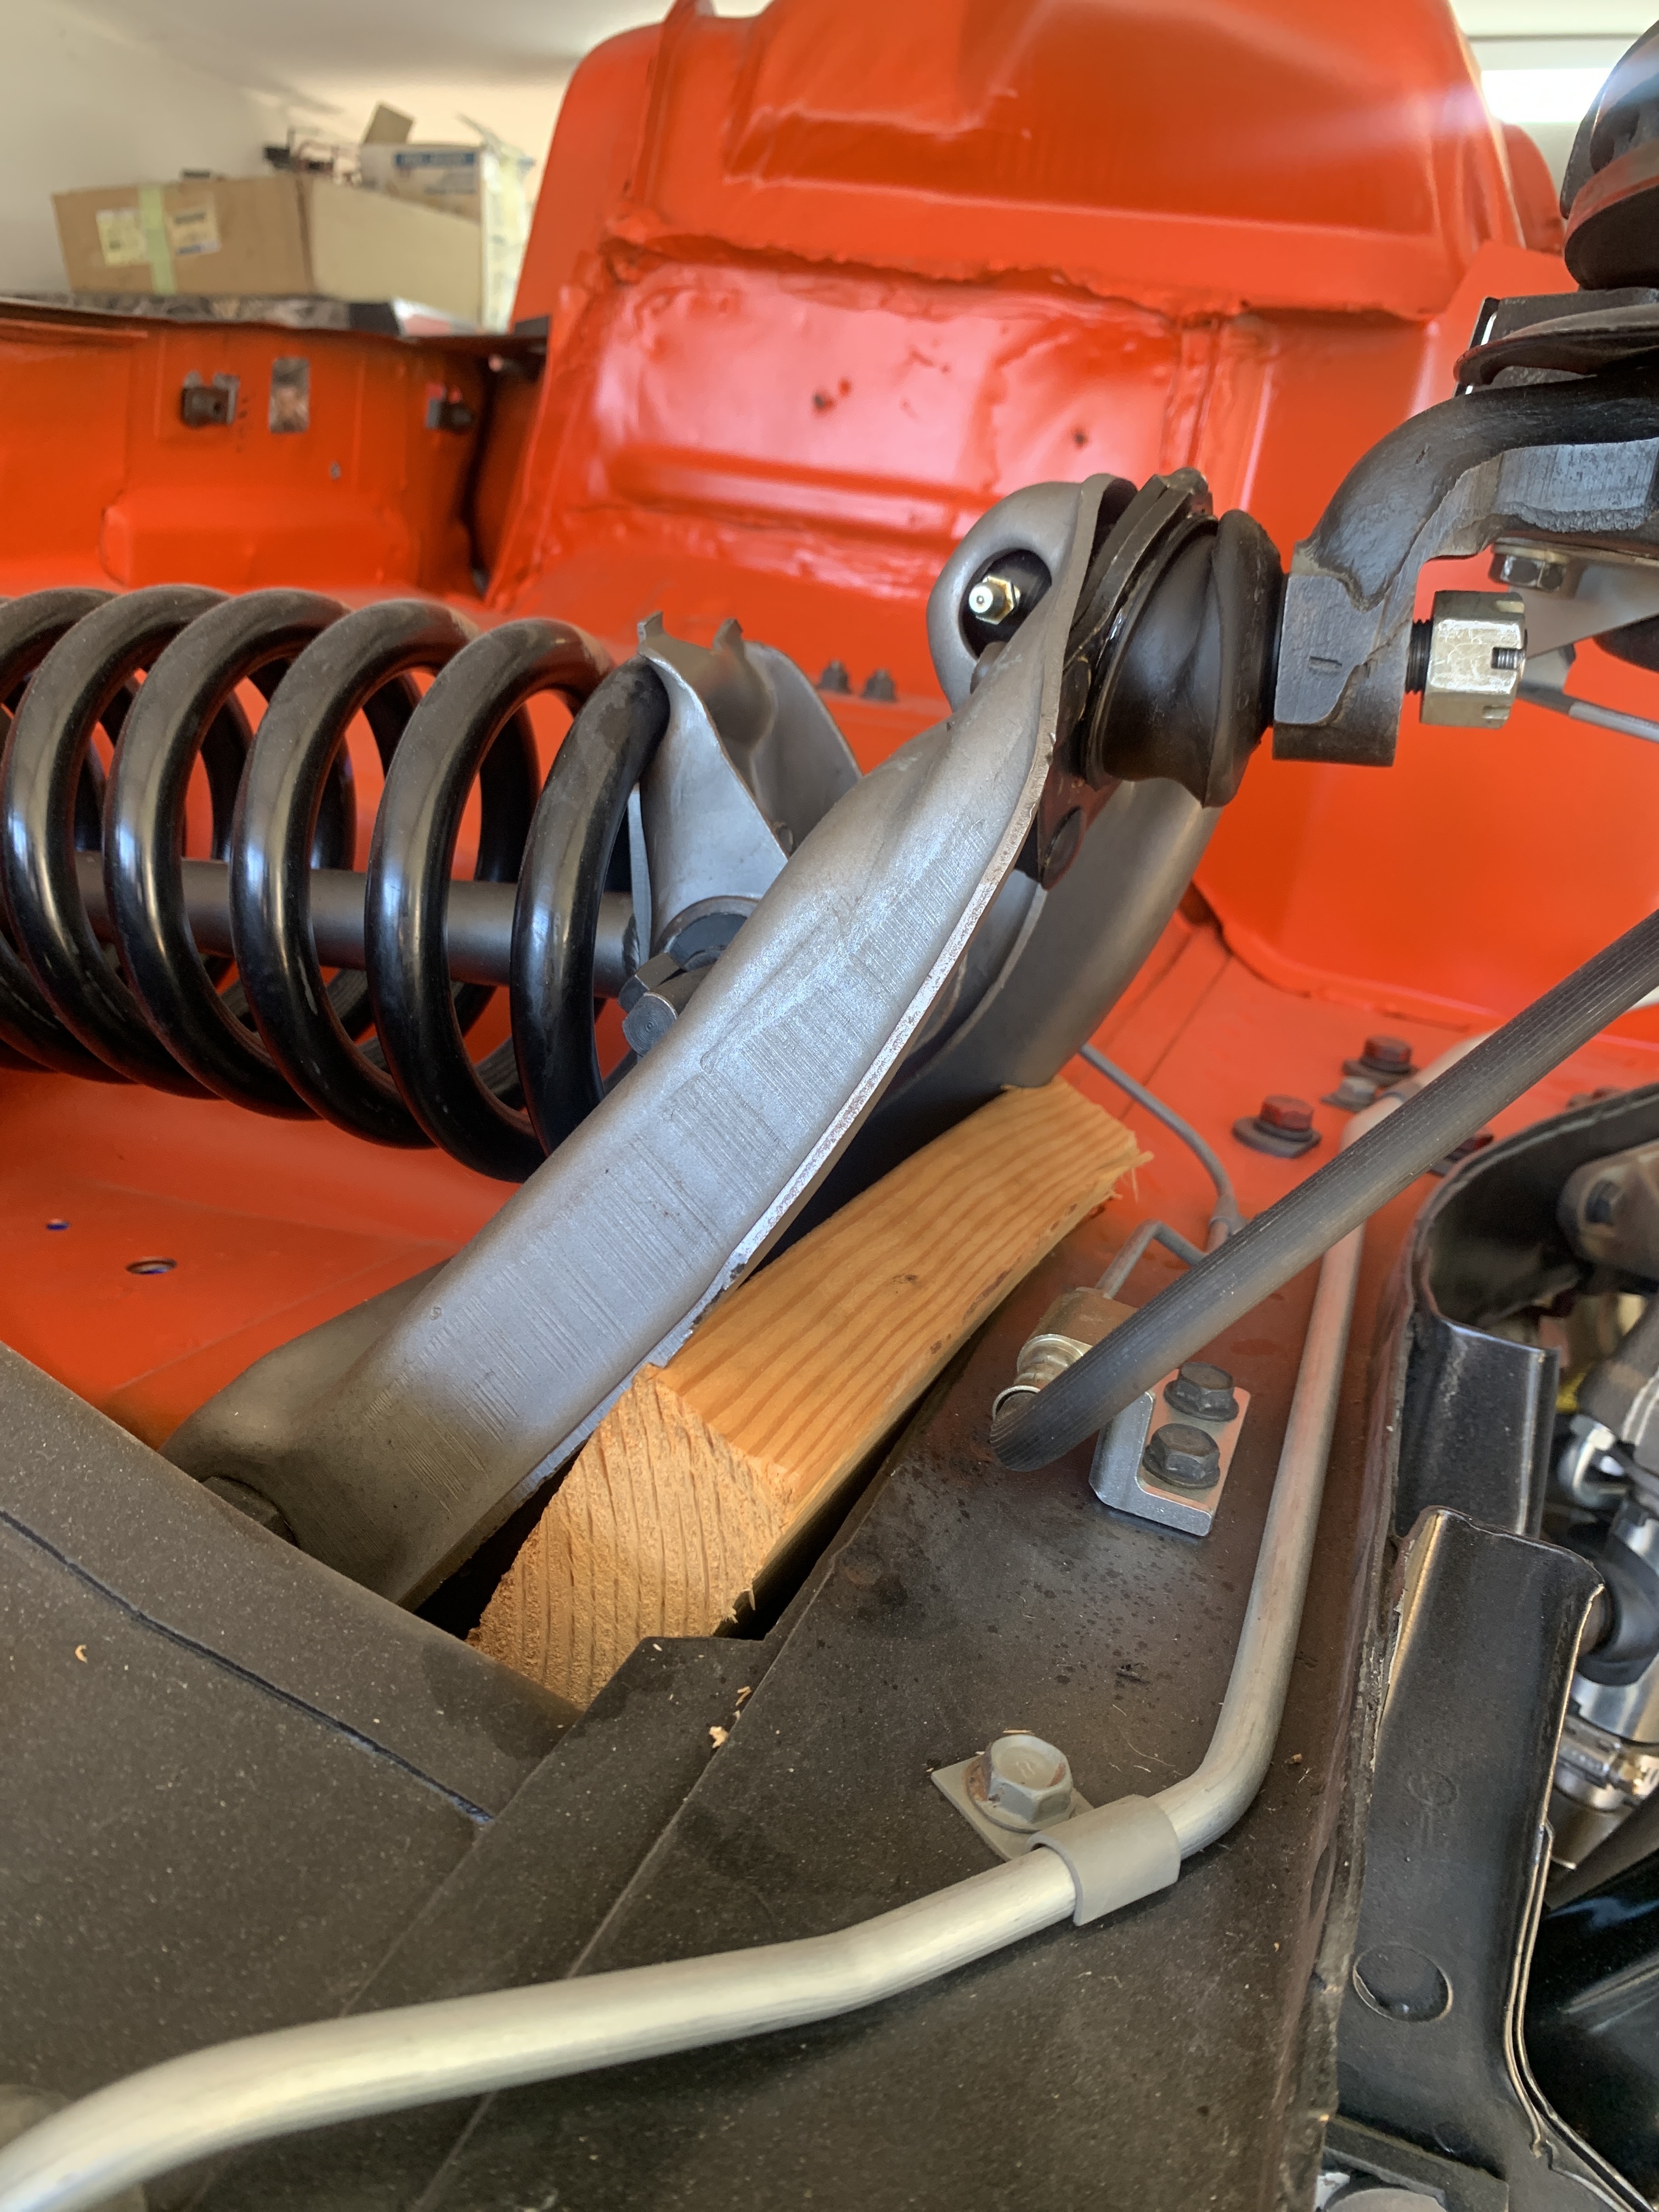
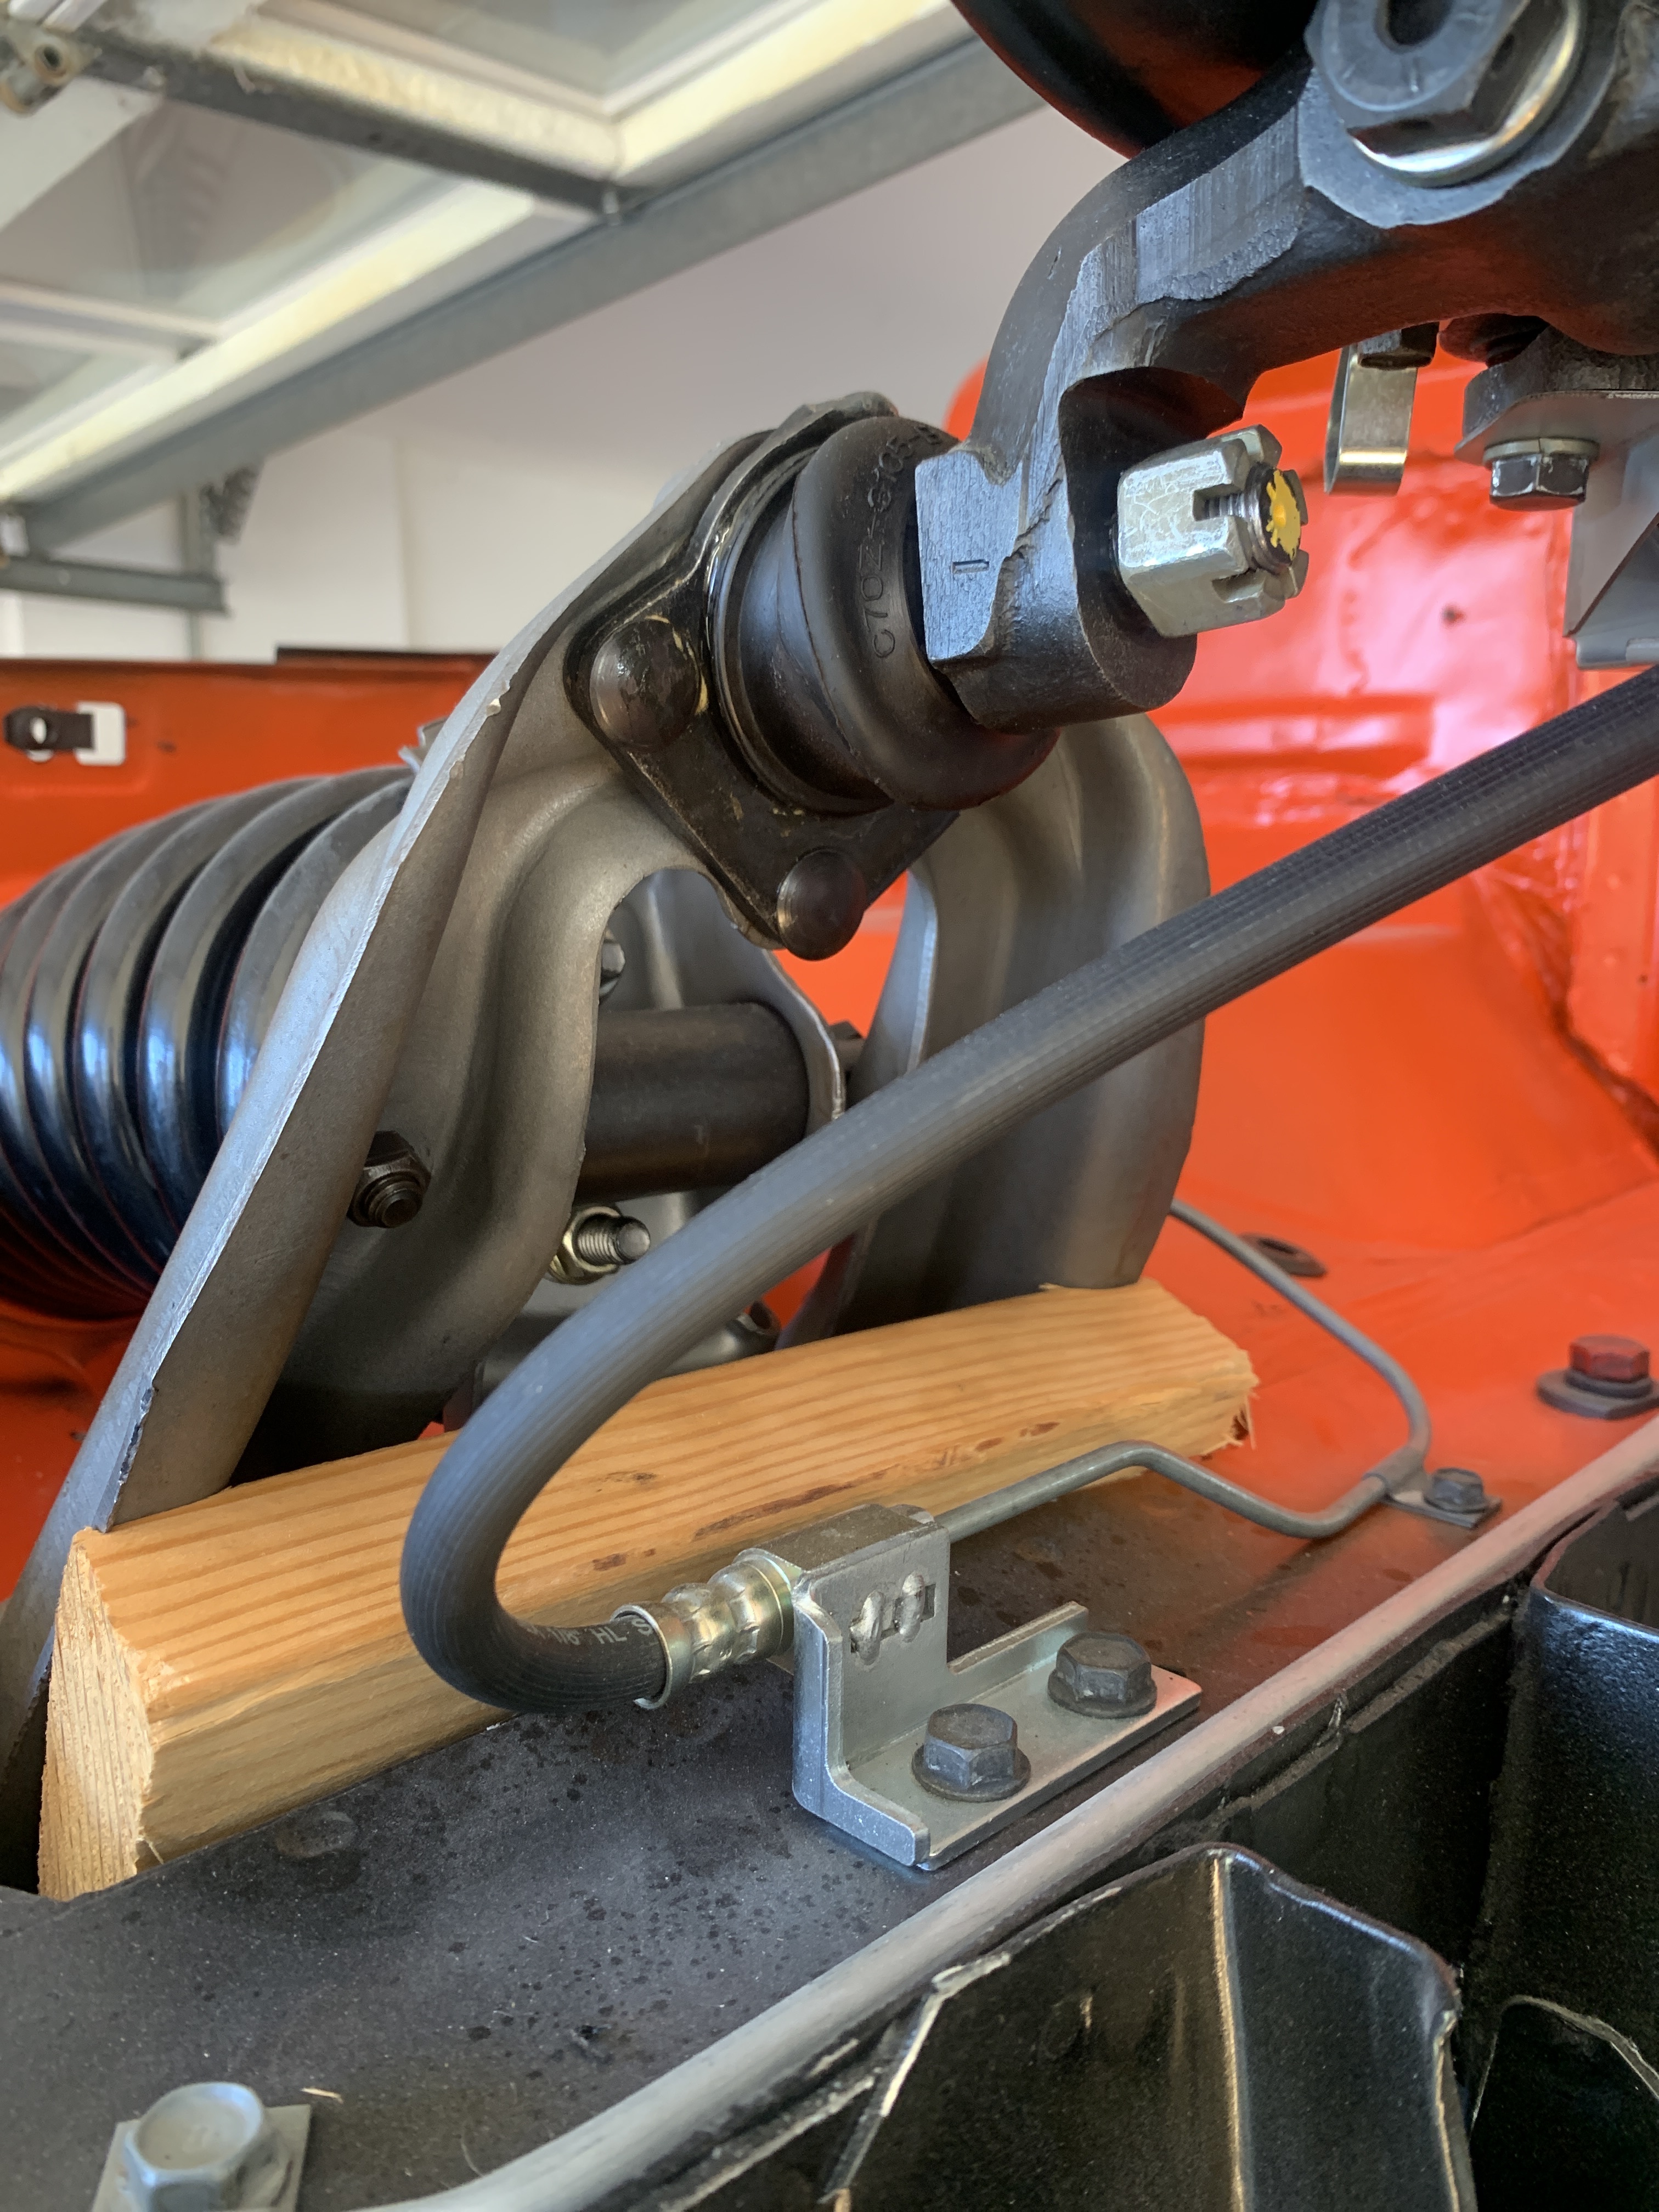
Interestingly simplistic; see, this is why I present my issues here. Me personally, I wouldn’t trust wood, but I bet I have an appropriate piece of steel laying around. Thanks!
Old school ways for old school cars.
The tool for Mercedes won’t work at all.
Thanks for that.
For spring compressor, TommyZees makes a good one that I’ve used. A few $'s cheaper. Like that his has one stud longer to fit into angled spring perchs.
I was looking at that one and wondering if it was appropriate for the Cougar ('70). Appreciate the confirmation.
I just have to point out the pictures you guys posted in this post are outstanding! Thanks for doing such a nice job. Makes the post much easier to understand.
I wonder if you can even buy one anymore.
That’s a good question. I bought one a long time ago for a friend.