You engine just tol you that the timming at idle is not enough. If you can advance the dist an d increase the vacuum, it wants more timming . Go a couple degrees at a time and let it get warm. Shut it off for 10 min. Restat….if it bogs when starting, you went too far , if not , do it again until it bogs after heat soak , the bac it off a couple degrees .
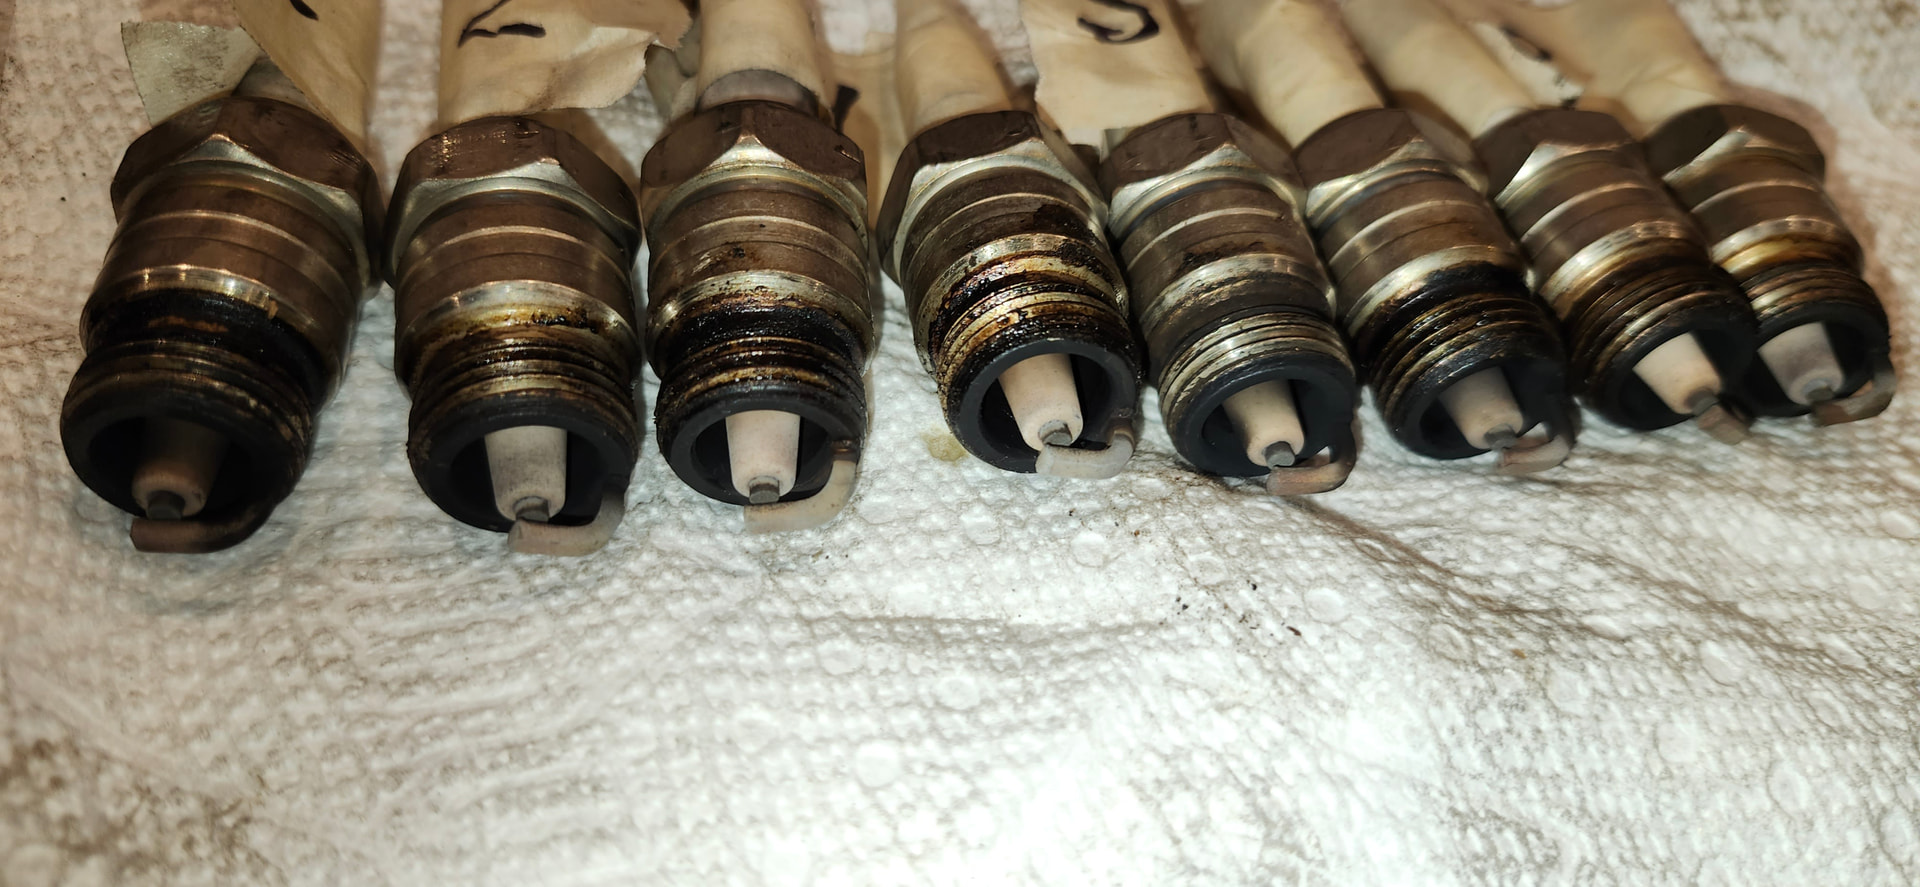
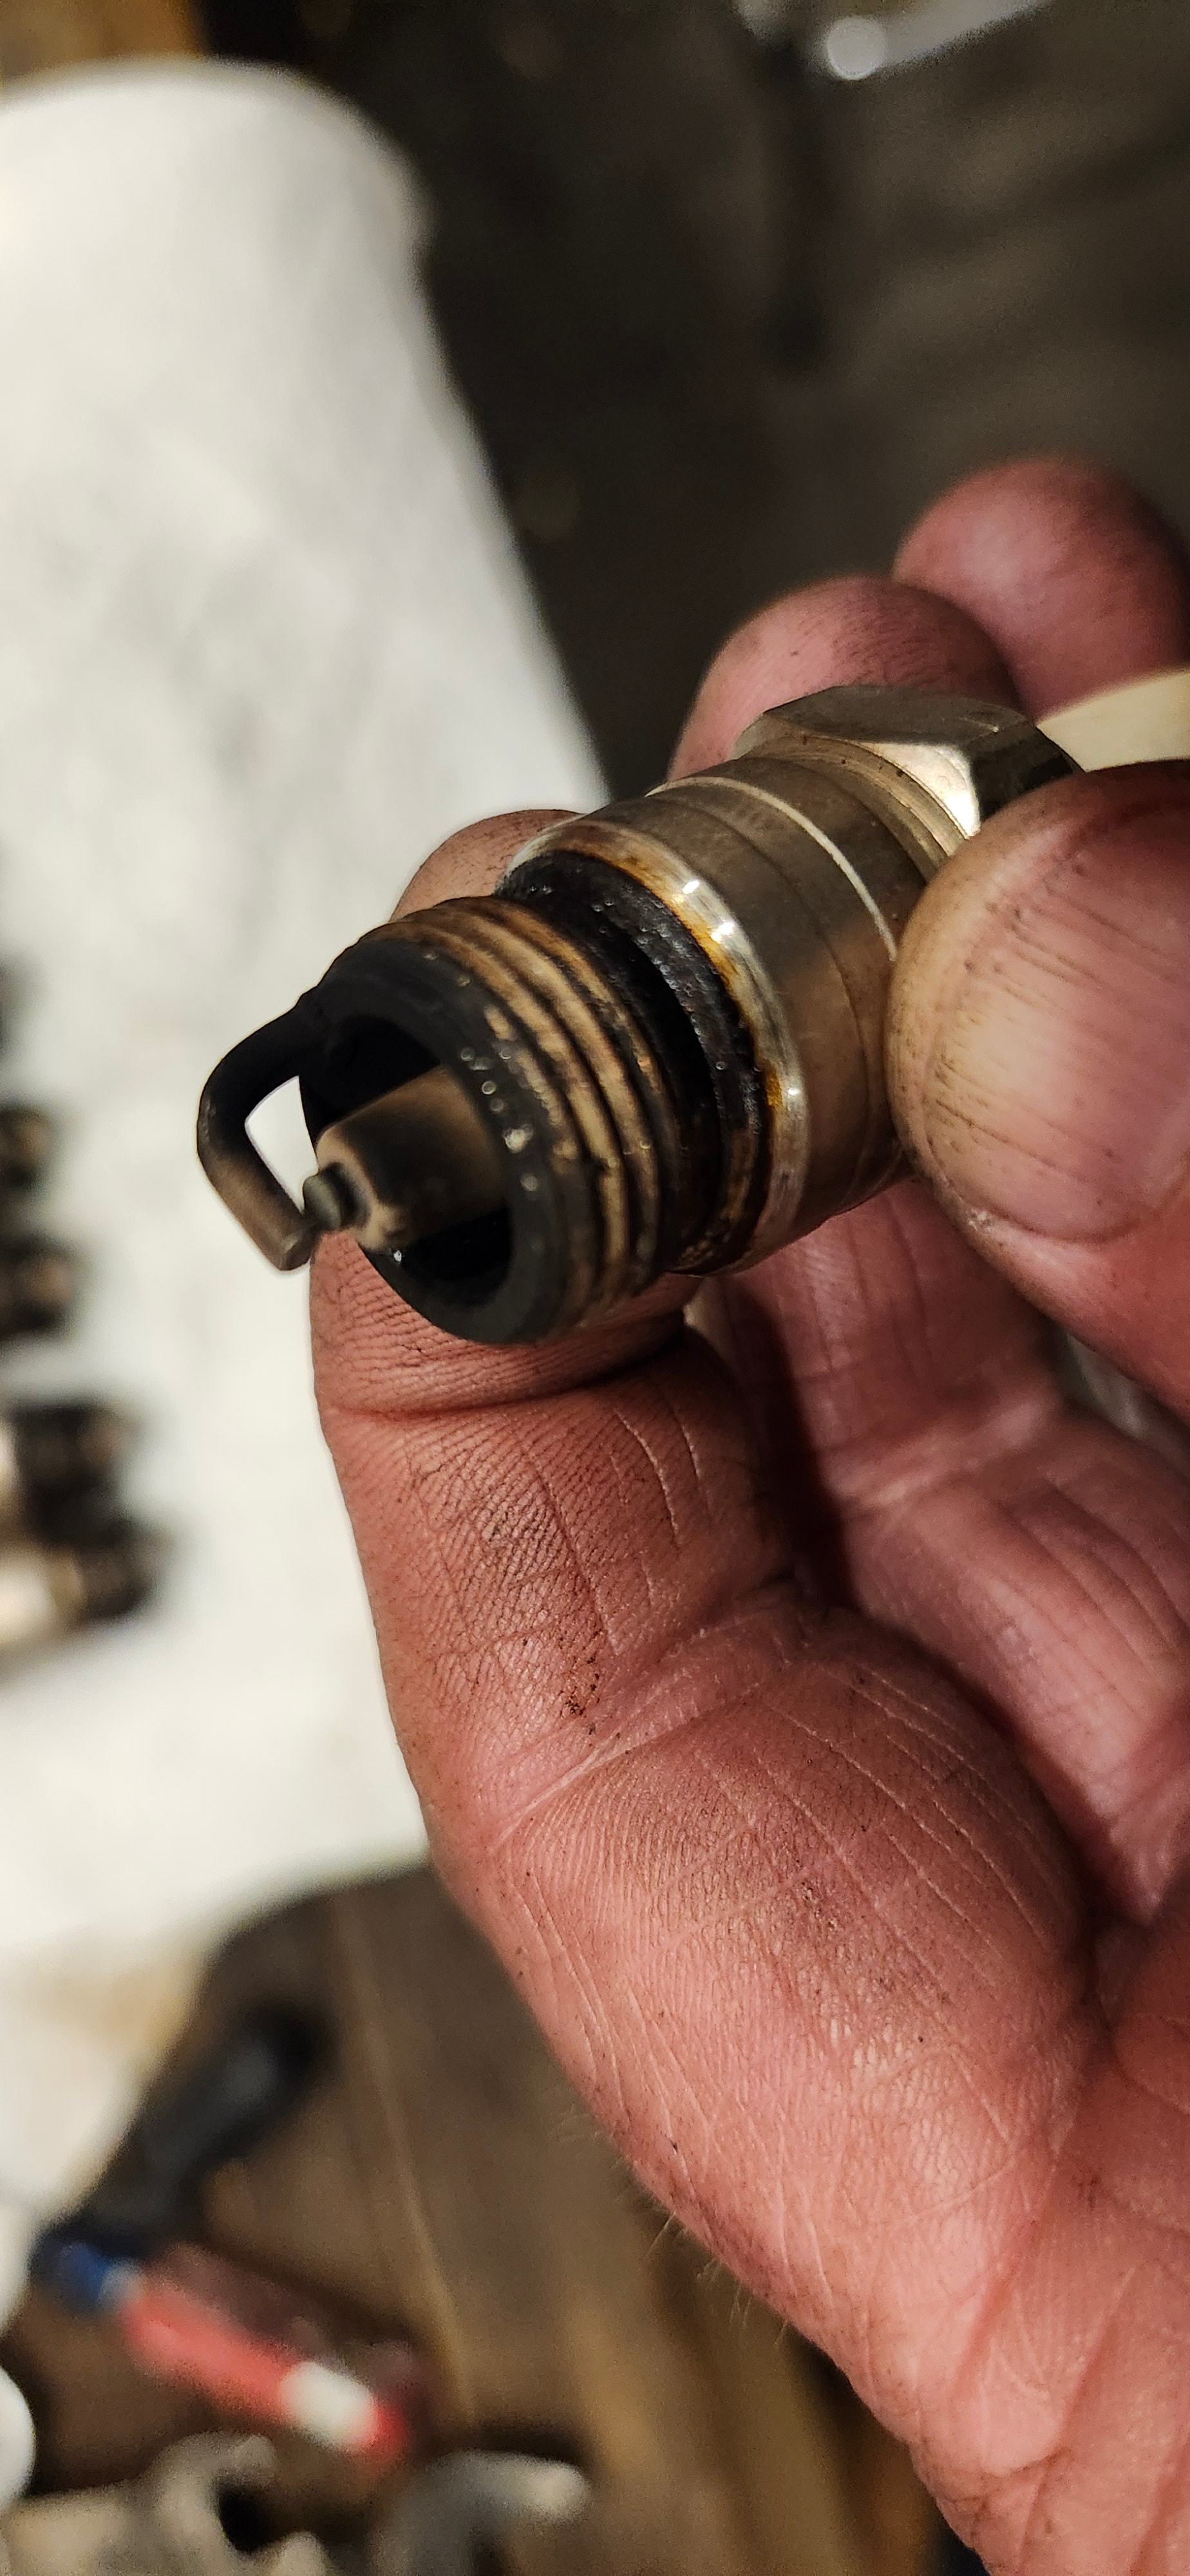
Now you need to solve your ping issue. With the engine running , take a propane torch or map gas torch , without lighting it , aim the nozzle at possible sources of vacuum leak. If you find a spot where the engine speeds up , you found a leak. Propane is much nicer than chem tool cuz it doesnt screw up the paint. If it still pings , you may have to jet up a couple sizes, change power valve , or go to a colder spark plug. To me , the phot of your plug looked kinda lean or hot . To get a good reading , you need to make a foot down blast and shut if off…hard to do with a street car
A couple of thoughts. I set up FEs with the stop in the 10L position. That allows 20 degrees of crank advance plus about 15 degrees initial for about 35 total. I don’t like the 15 l as it provides what in my mind is too much advance with modern gas.
That the carb isn’t responding to the idle air screws is concerning. However the idle air screws would have zero effect in causing ping under load.
I have had several experiences where the mechanical advance got sticky. I stripped down the entire distributor and found tar like oil residue between the two shafts.
Maybe you checked with the vacuum advance disconnected and I missed that. If not lets take that out of the equation.
Check the condition of the balancer rubber. The timng marks may have slipped giving a false reading. Lots of energy in a 390.
That’s interesting about the 10 vs 15. I did take the mechanical advance all apart and cleaned everything. The reluctor arm cam did fight me a little to get off after taking the clip out. But after cleaning and oiling, it comes on and off with ease.
The idle air screws I was thinking might be telling me that there is a vacuum issue somewhere causing the car to run lean those the knocking?
Thanks for the reply
I replaced the balancer a couple of years ago. I was thinking of doing the piston stop TDC test just to rule it out though.
If I rember correctly , 1967 has a remote mounted vacuum switch for the headlight actuators under the left front fender next to the vacuum canister
The 1967 headlight vacuum switch is mounted on the face of the left front inner fender apron. It is about half way between the radiator support and the shock tower. It is visible by opening the hood.
Randy Goodling
CCOA #95
Well I dropped off my car to my friend mechanic in town. He took it for a drive and is pretty confident that the knock is lower and a result of a dead cylinder. He gave me some suggestions. The hope is it’s just the dead cylinder and not a damaged bearing. I may end up having to do the rebuild I’ve been floating in my head.
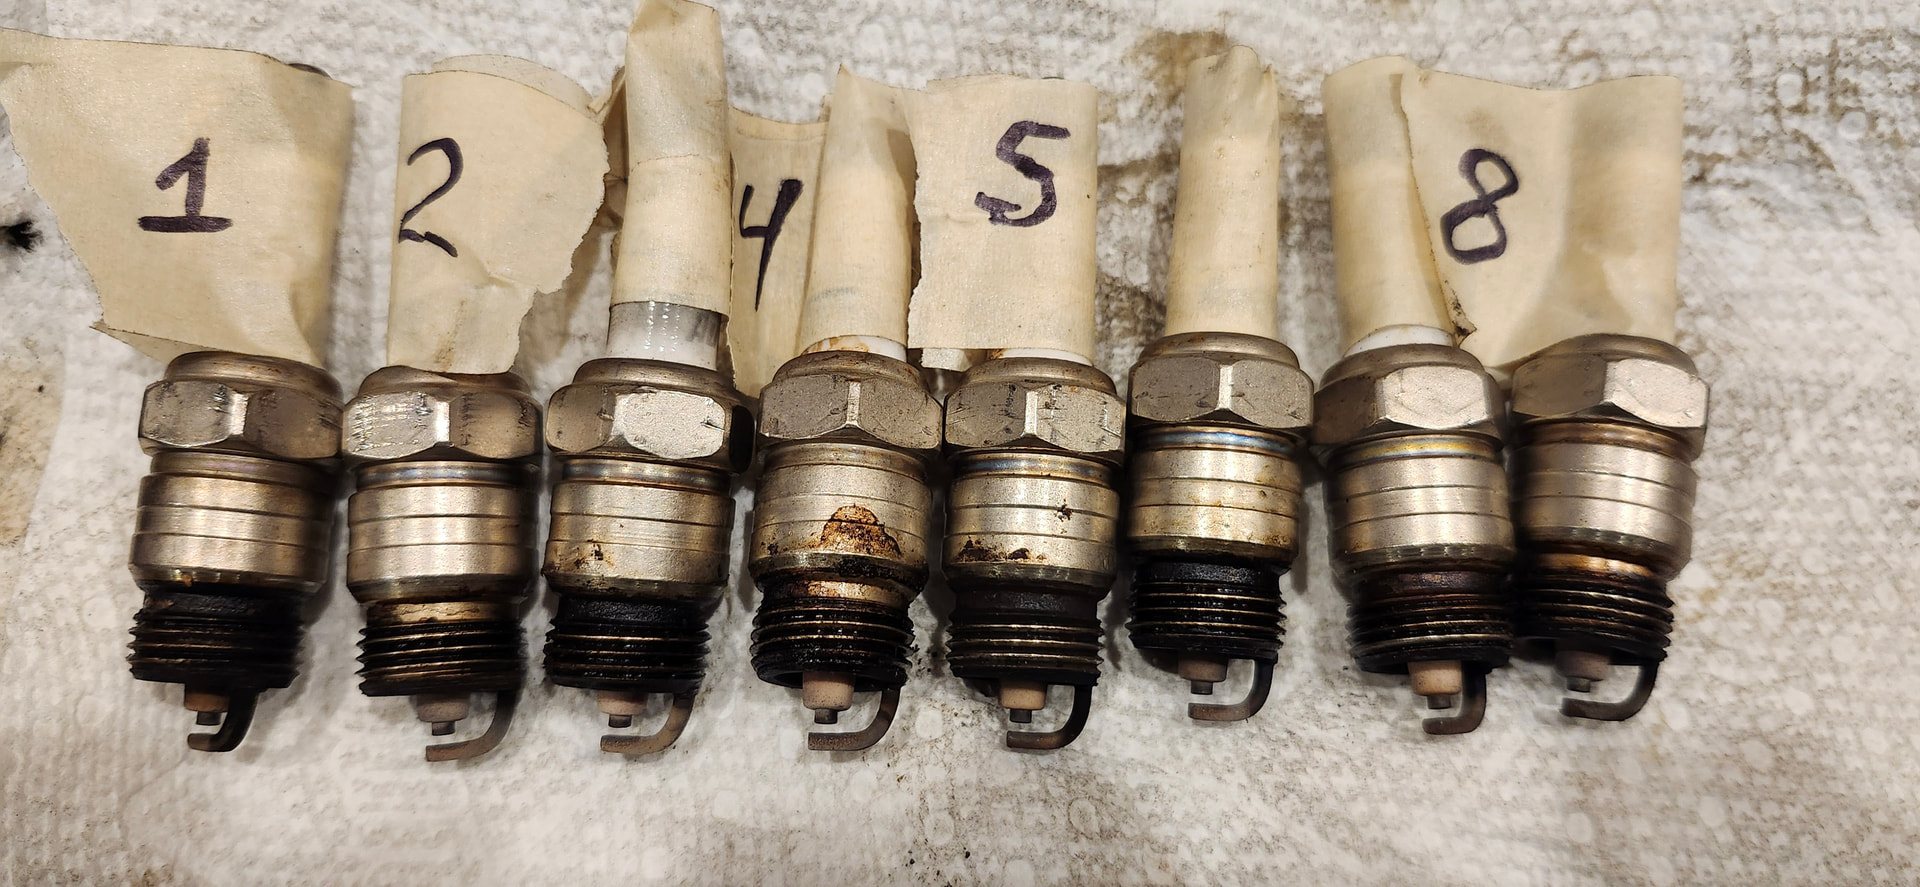
So I took all the plugs out and no real smoking gun there.
#1 looks the worst but it doesn’t seem that bad to me.
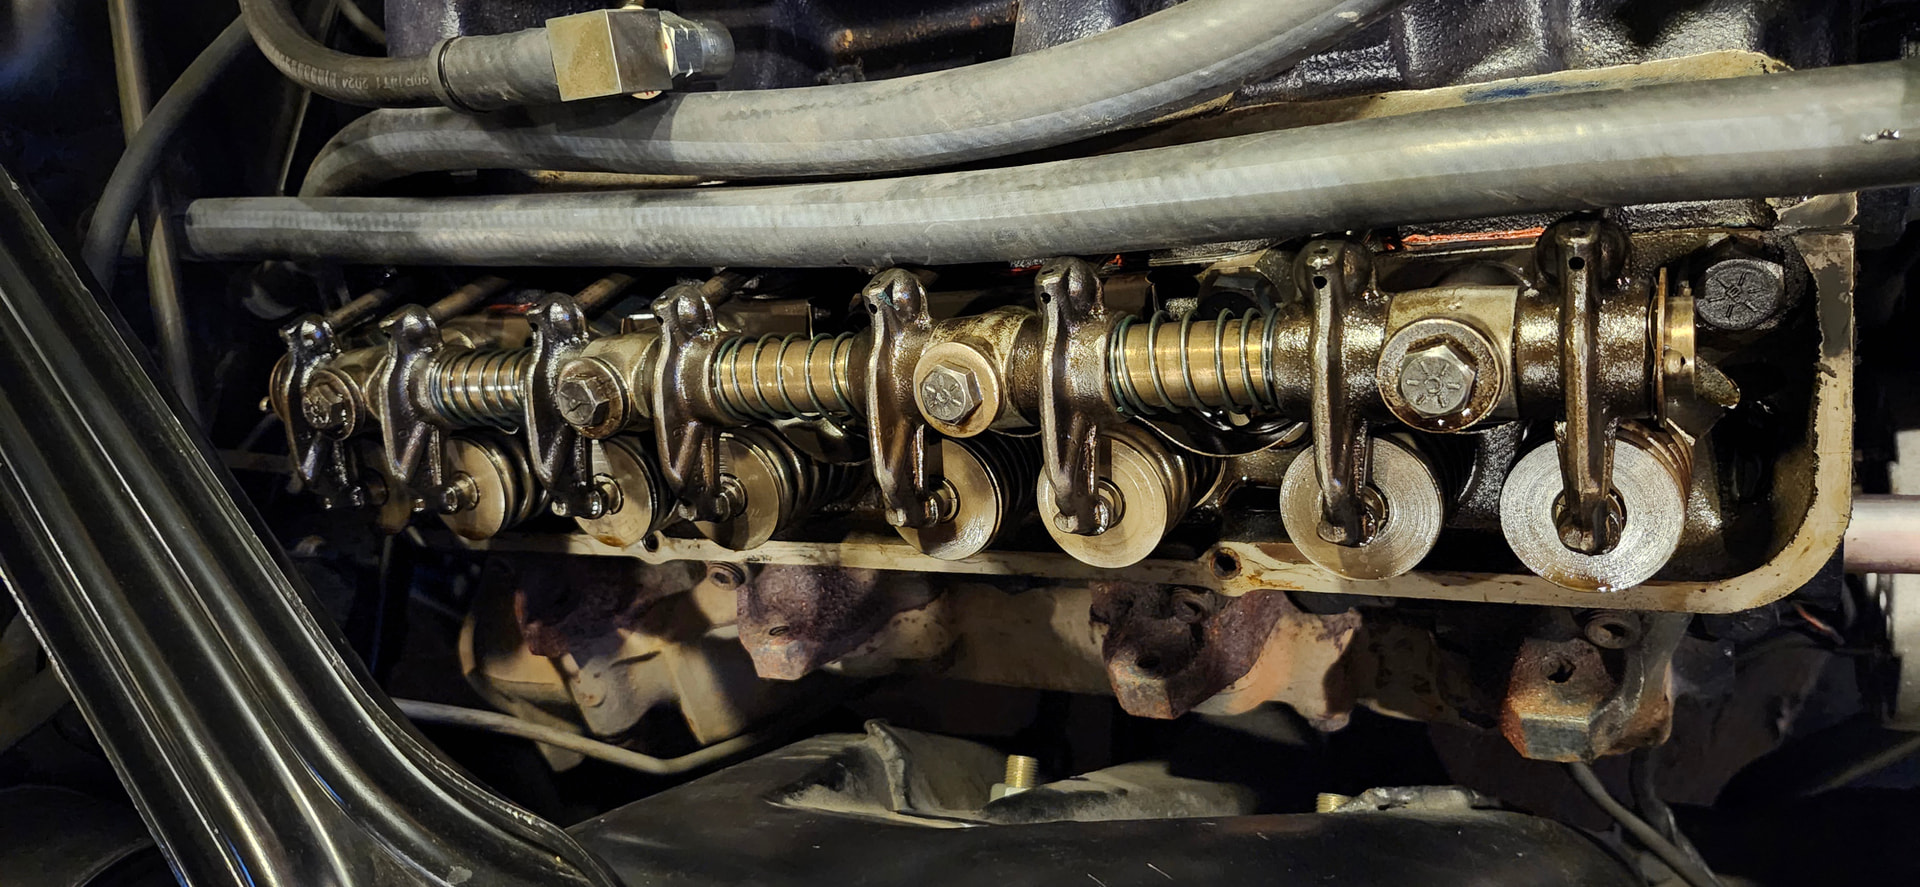
Pulled the valve covers and nothing broken there.
Figured I’d do a compression check next. Thought I had a gauge, but maybe I lost it in the fire I had. So I will have to hit up Harbor Freight for that.
Distributor cap is new so that is not the cause. Figured I’d measure the lift on the rockers. My buddy has one of those optic cameras so I should be able to look inside the cylinders.
Possible causes?
- Bad wire
- Bad lifter
- Bad spark plug
- Burnt valve
I would send your distributor off to Jim for testing, rebuild and curve. It’s the brain and rule it out. Much cheaper than a rebuild if you’re unsure about it.
A timing light on each wire will confirm spark a leak down test will confirm health of cylinders
Well I got up early this morning to find some time to run a quick compression test. I performed this with the carb wired open.
1 - 155
2 - 152
3 - 157
4 - 137
5 - 140
6 - 80
7 - 72
8 - Ran out of time
I started with #1 and after the first three I was thinking, man, this engine is kickin butt. At this time I was just doing the fitting by hand since it was giving good results. Then #4 was a bit of a let down. After the result from #6, I decided to actually wrench the fitting on and retest #4 and #6 and still got 137 and 80 psi respectively. Then it kept getting worse with #7. Ran out of time to check the ever fun to reach #8.
So, Any thoughts where to go from here? Should I drop a little oil in the #6 and #7 and see if it raises the compression? I still need to get ahold of my buddies camera so I can look inside the cylinders.
Good find! Sounds like that rebuild in your head is about to become real.
1 Like
Two low cyl next to each other makes me think head gasket also. I’d try a leak down test on 6 and 7 leaving both plugs out , air cleaner and breather cap off and radio off. You should be able to hear the escaping air from one or more of those places to help you diagnose your weak cyl
1 Like
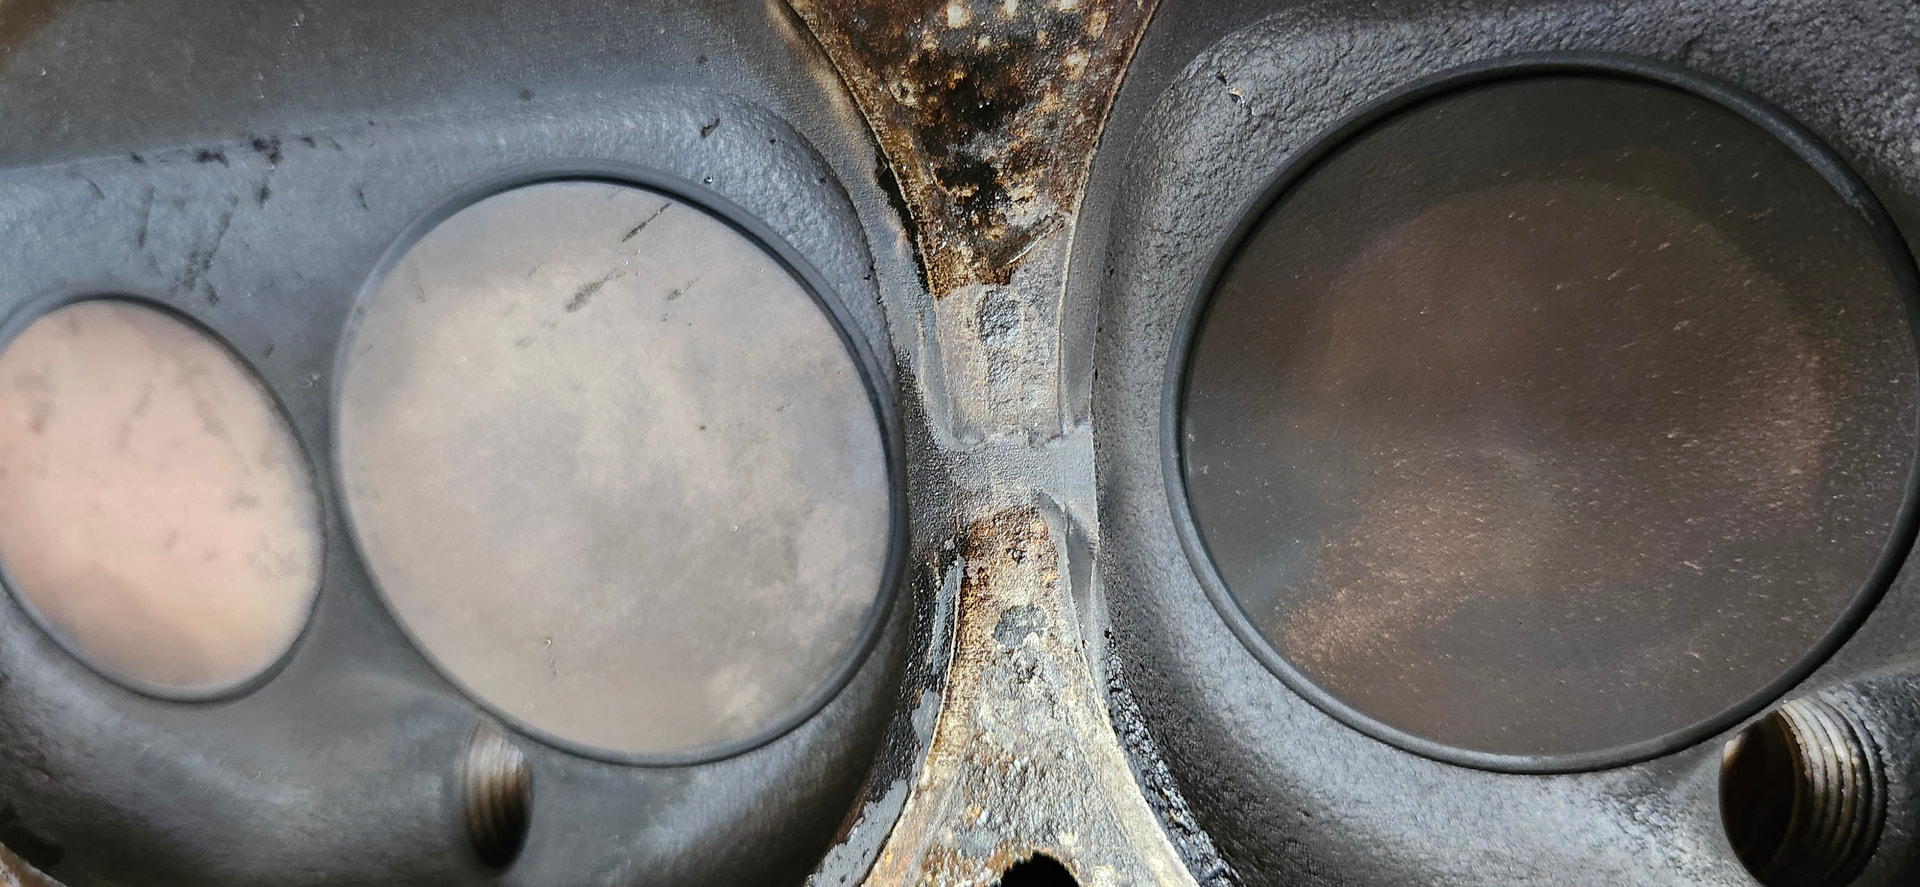
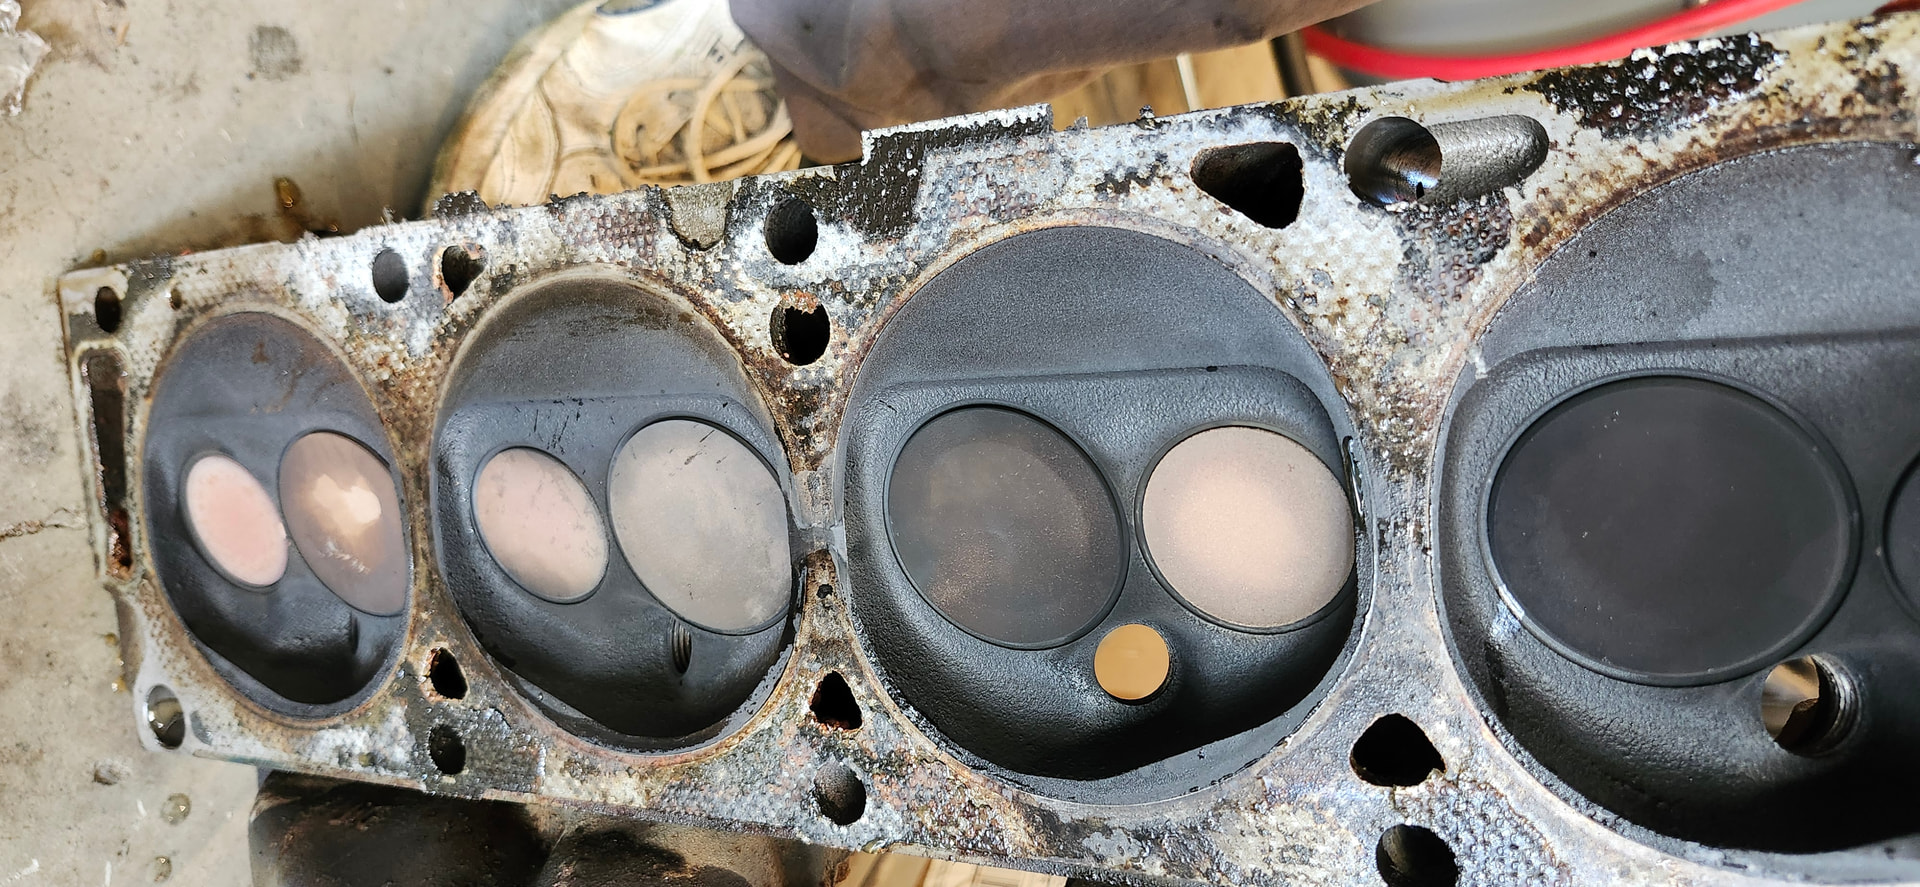
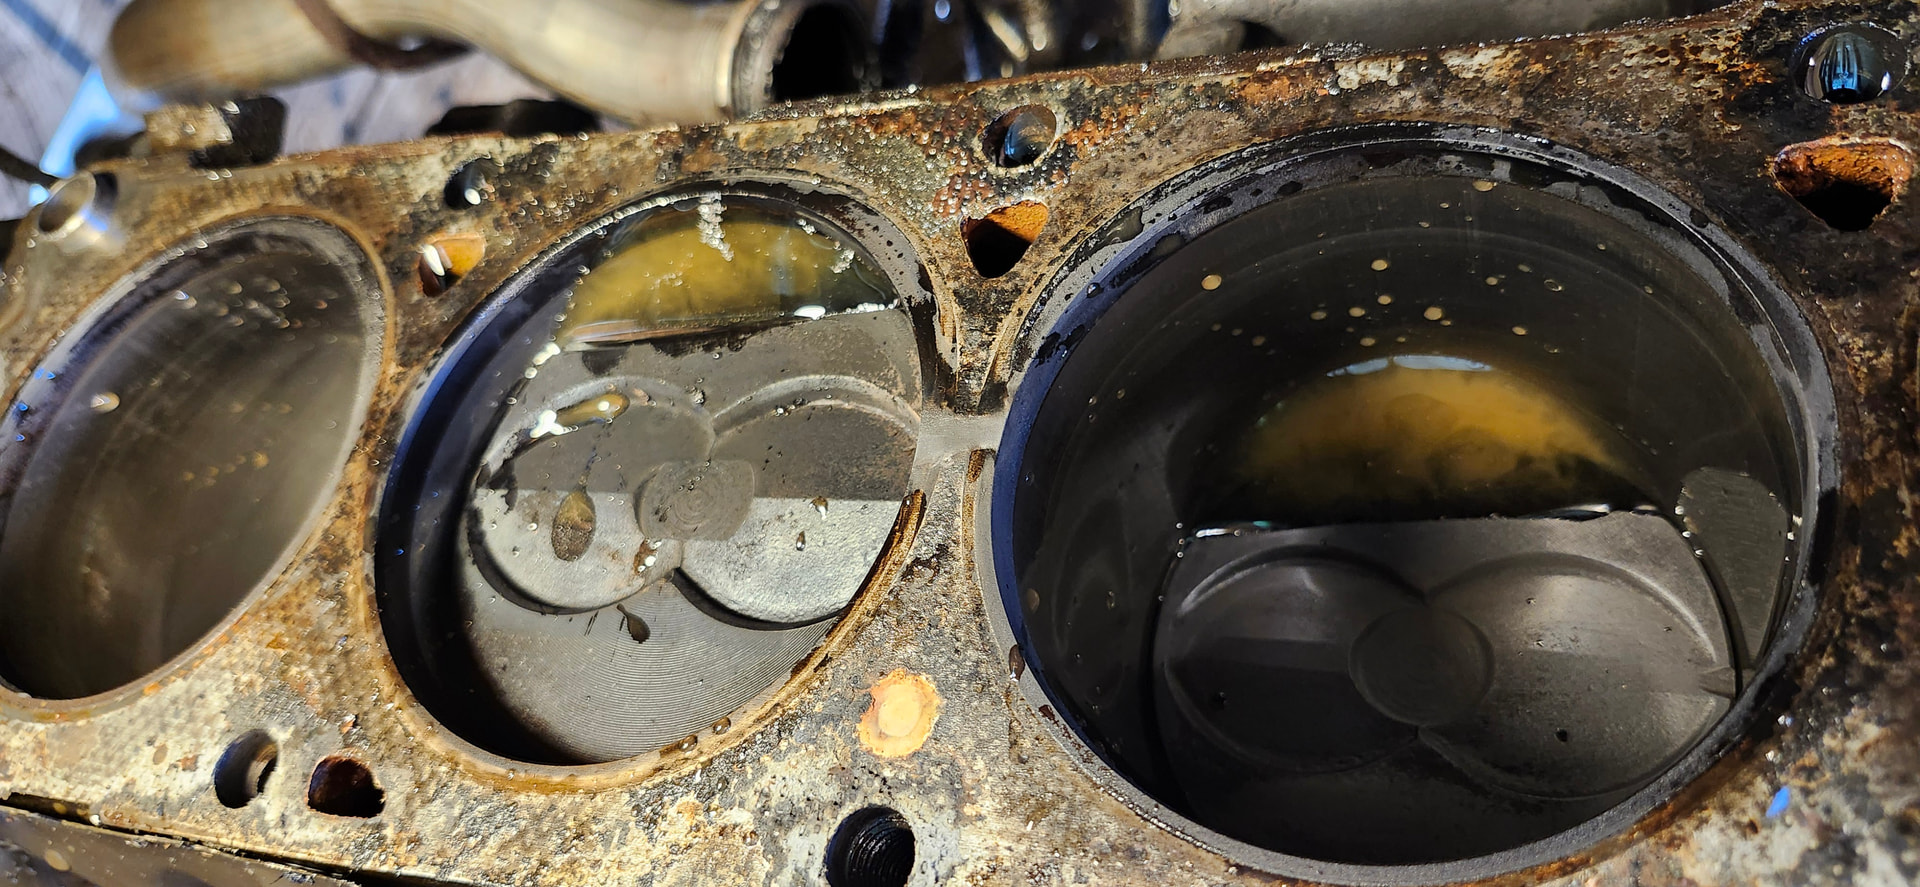
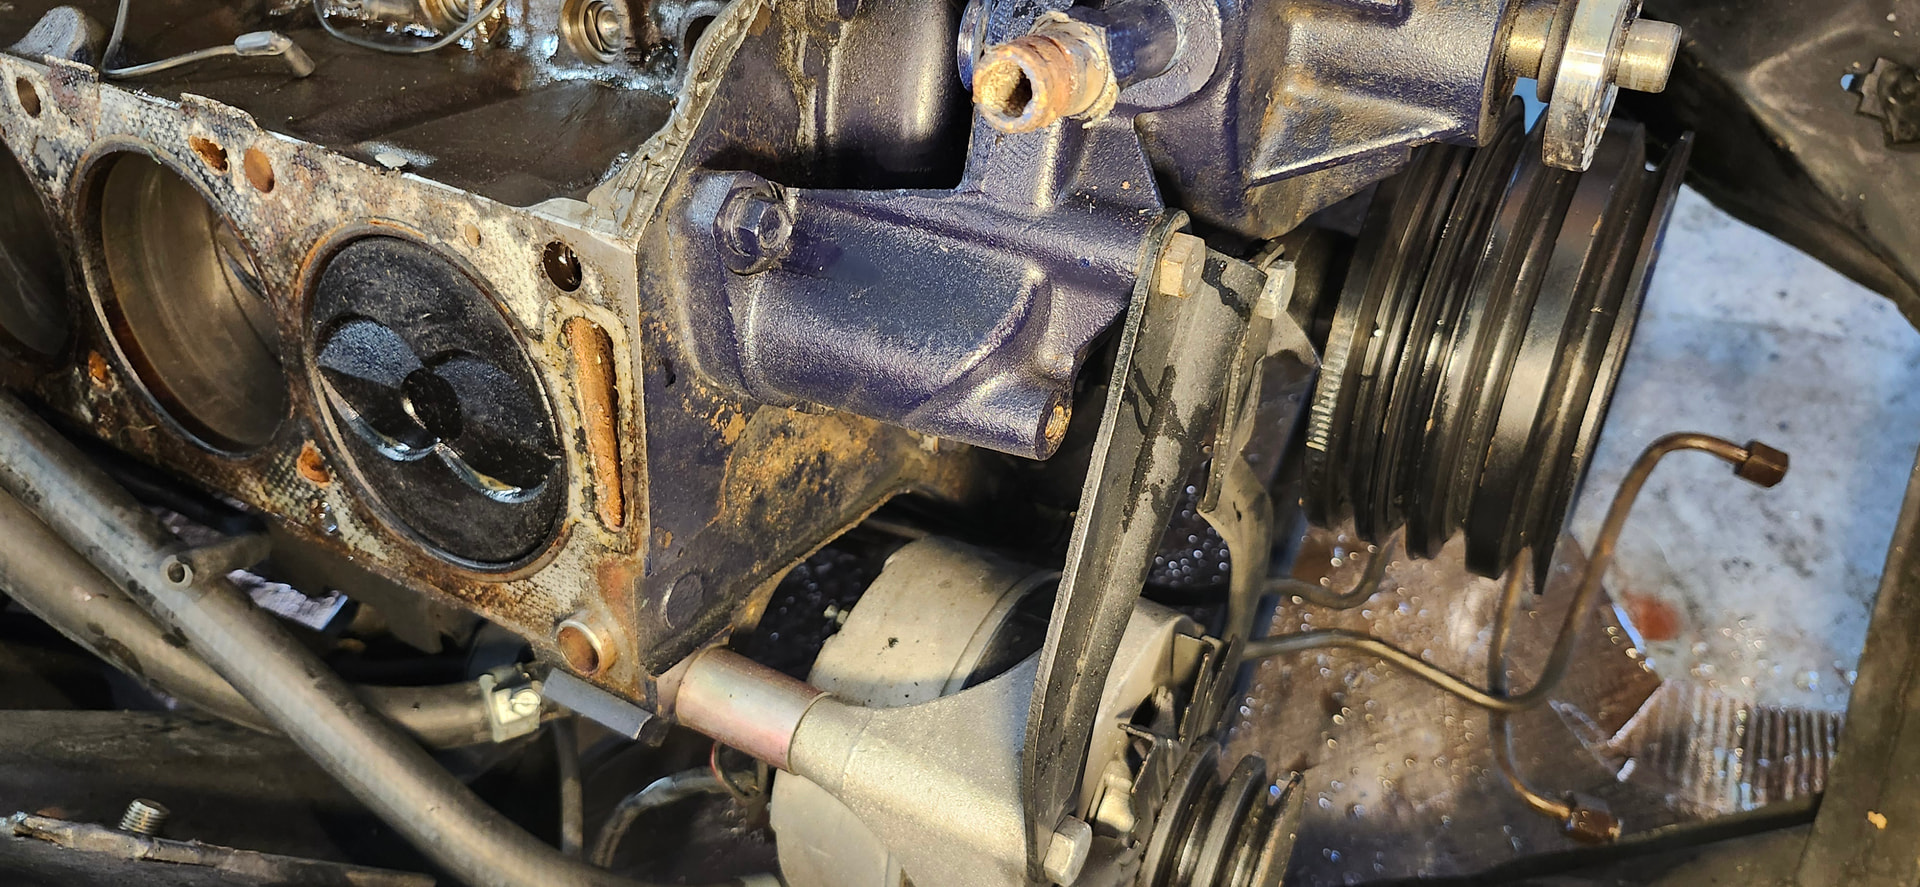
I got the heads off this weekend and learned a couple of things about this engine. First, I definitely had a head gasket issue. Check out these images and the area between cylinders 6 and 7.
And check this out. No wonder I’ve been so confused when trying to set the timing. The harmonic balancer marks are way off from the pointer at TDC. The pointer is at 20 degrees!
I got a spring compressor and pulled the valves from the head with the bad gasket. Check out the interesting pattern on both cylinder 6 and 7 exhaust valves. I assume this was caused by the knocking.


Intake valve from cylinder #5.

So now my questions:
1 - What’s your view on valve polishing? Is it worth it? I found one guy who almost had them like a mirror. Most guys just seem to scotch brite them. I have the lathe so I should be able to clean them pretty easily.
2 - Definitely will be lapping the valves. 600 grit followed by 1000?
3 - Since I have the heads apart, any thoughts on some easy improvements I could do?
4 - Do you think there’s any need to put the hardened exhaust seats in? I don’t really want to dump a ton of money into these heads since long term, I have a set of Edelbrock heads I want to put on. They are set up for roller cam and CJ exhaust so that will have to wait.
5- Plan on getting new head bolts since it can’t hurt.
I plan on bringing the heads into work and scanning the head gasket surface to check the flatness. I also plan on pulling the oil pan to see what it looks like in there and to try to fix the oil drain threads.
Jim
Looks like your #8 exhaust valve might be sunk a bit. Hard to tell from the pic. If you have a means, you can measure from the valve stem tip to the spring seat on all the valves. If #8 ex or any others are significantly higher, that would indicate the valve seat could be eroding. Which would then mean new seats. New guides. Possibly new valves. Update to better stem seals.
If you have the Edelbrock heads, it sounds like now be the opportune time to put them on.
I have the heads but too costly to put them on right now since I will need; Roller cam, Roller lifters, Push Rods, CJ exhaust manifolds, New exhaust system.
Jim
Why would you need roller cam? Put the heads on with the current cam. Then change the cam later if you want. I have the feeling these cast heads are going to need full rebuild.
Maybe the exhaust manifolds, not sure. Is the bolt pattern different that the current manifolds won’t fit the Edelbrock?
2 Likes
I got the heads with the roller cam spring set up and yes, the exhaust bolt pattern is different than the stock GT exhaust manifold.
So I’m getting closer to re-installing the heads. The gasket set I have is from Mr. Gasket and it uses an MLS style head gasket. The research I’ve done on it states that theirs is more forgiving to surface texture than a standard MLS Gasket. Has anyone used this gasket for an in car head gasket replacement? Any issues?
Thanks,
Jim
1 Like