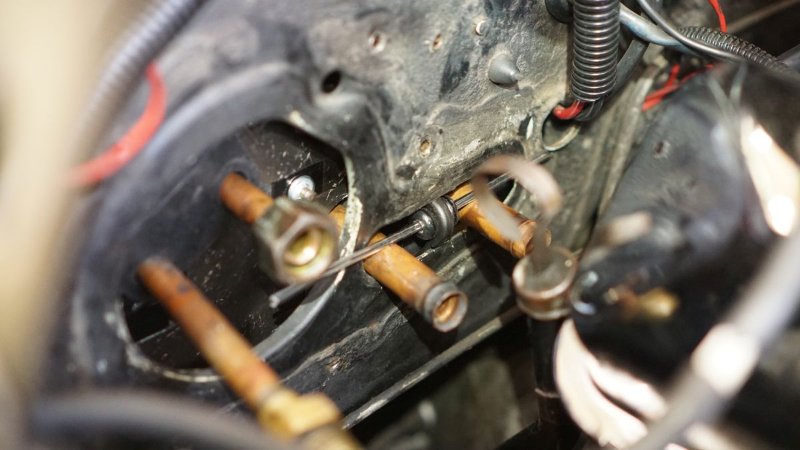
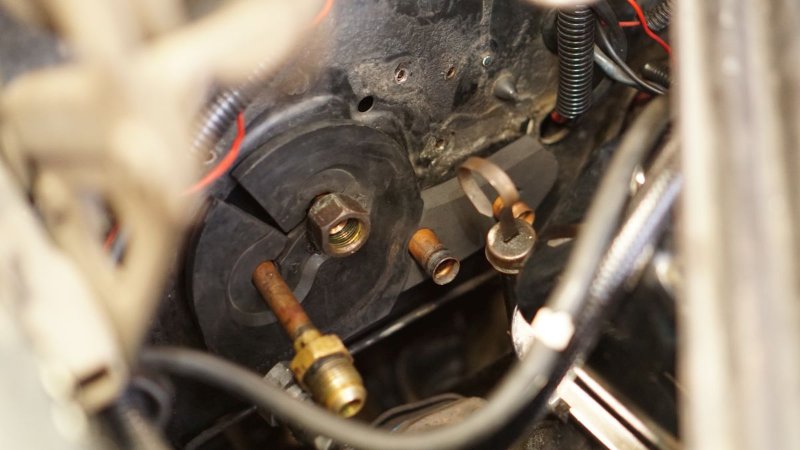
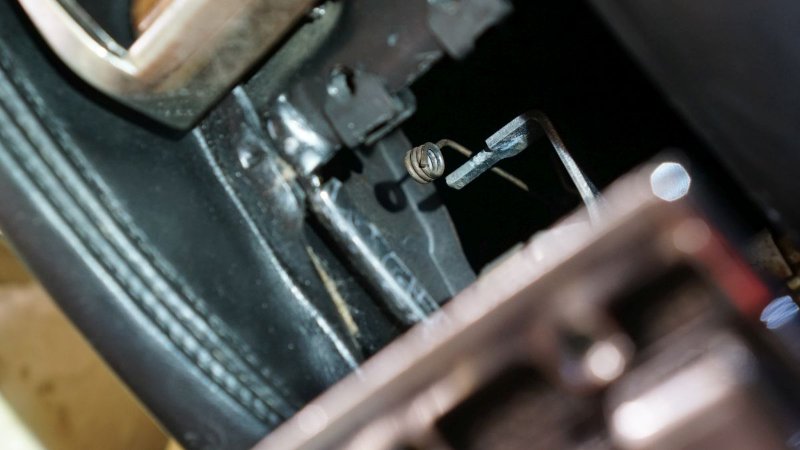
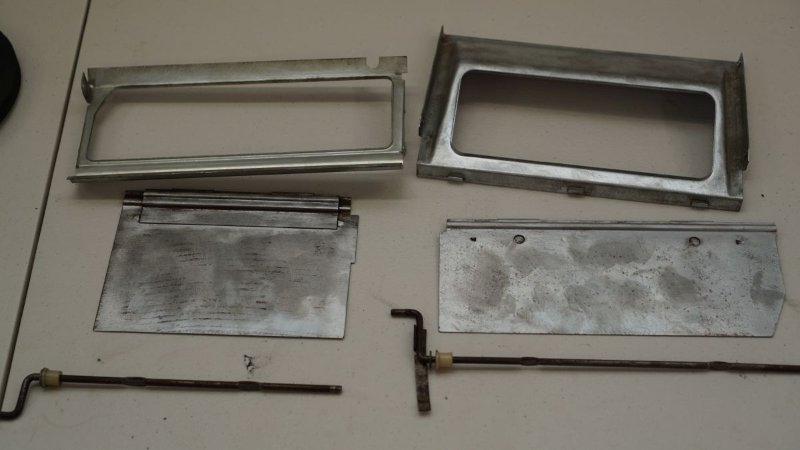
I have gone though the heater box and restored all that I could. Perhaps a few upgrades along the way. I do have two simple questions for those in the know… How is the cable suppose to attach to the heater/AC (cool/warm) door? It’s been off since I purchased the car. Also is the cable suppose to have the wire bend? Looks like about 45° angle. My repair manual doesn’t go into this level of detail. I’d like to just pop it back in place but am curious if there should be any outboard retaining clip.
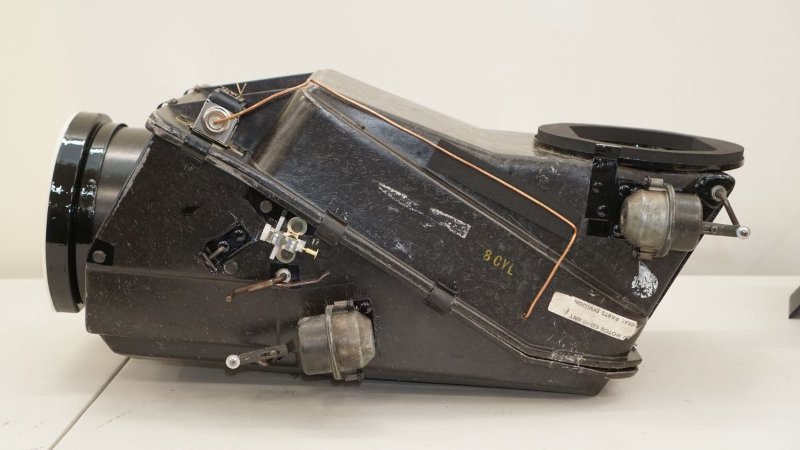
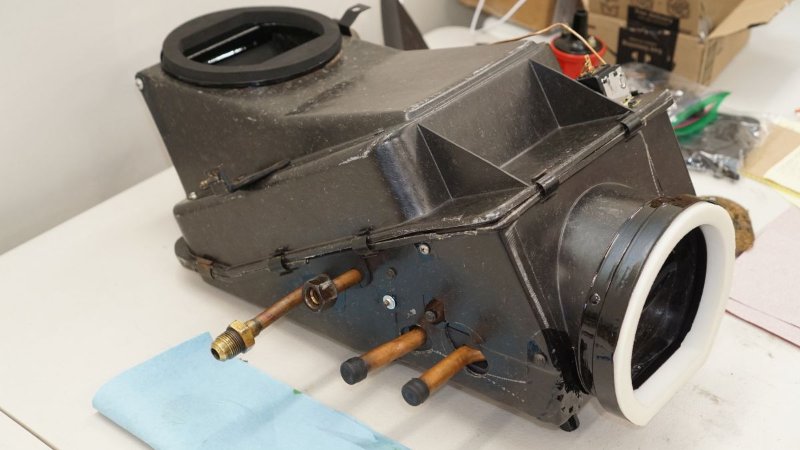
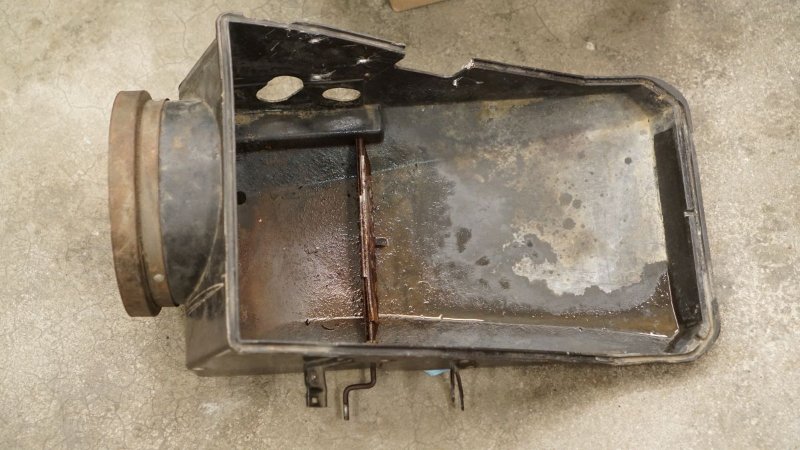

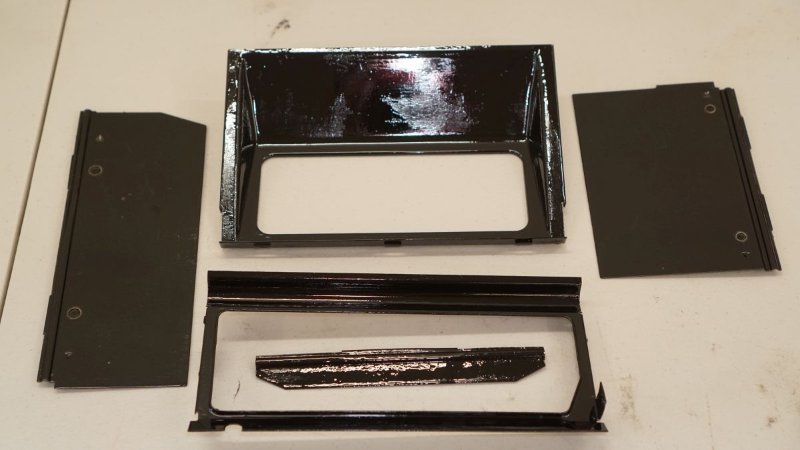
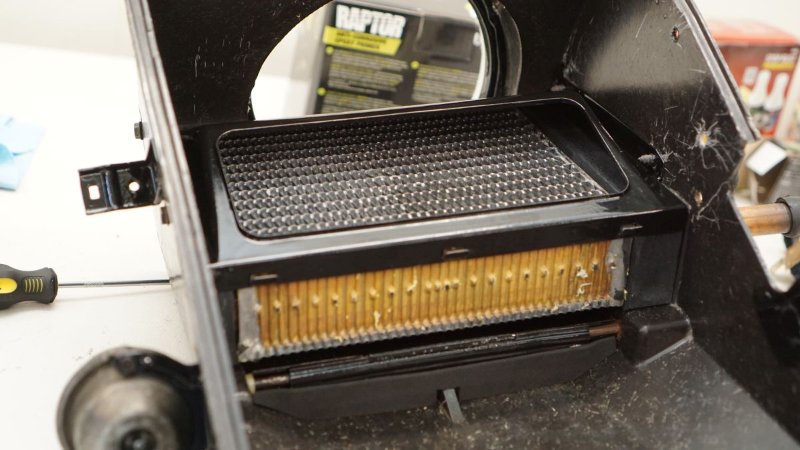
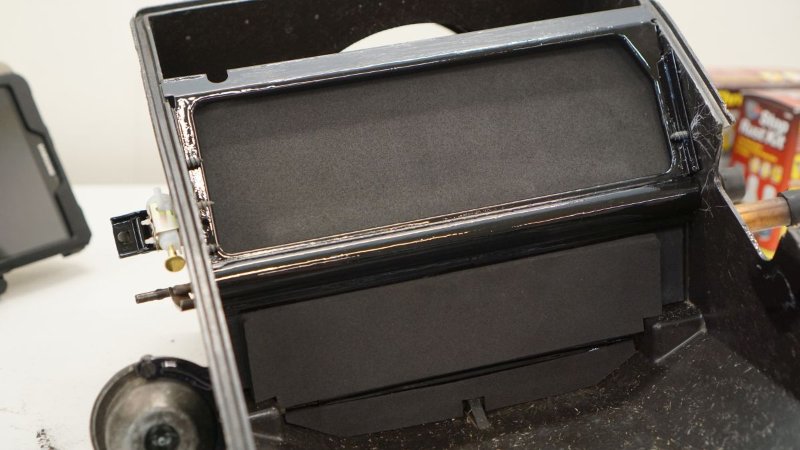
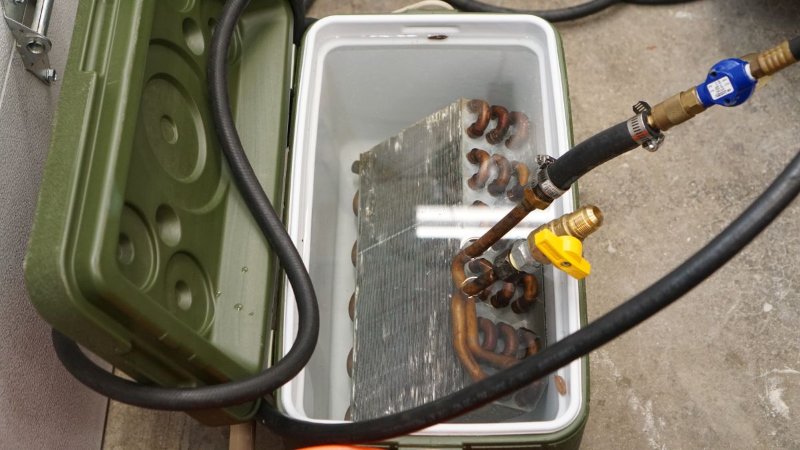
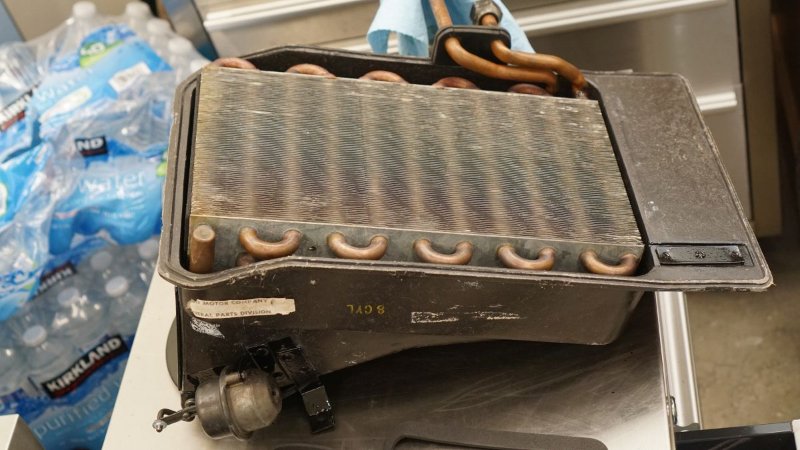
I may have went a little OCD by using POR15 on the internal heater box metal parts. I really like how it turned out though. The cowl treatment was a must do of course. Also applied POR15 to seal/reinforce cracks in the fiberglass. It’s meant for metal and won’t bond to fiberglass but figured I would give it a try. The AC evaporator held 60psi for 24 hours so I deemed it all good. Heater core is new brass type.
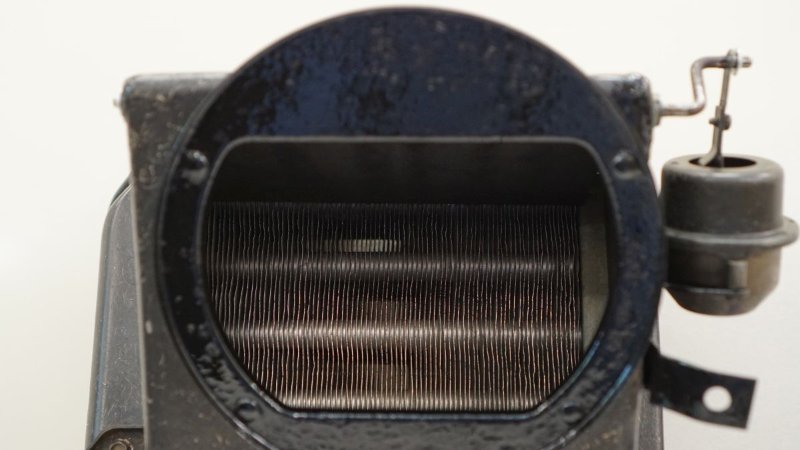
The cable should be straight, not bent like yours. Originally they had a PAL nut holding the cable in place. Normally they are fine without it. I suspect there are some PAL nuts out there if you searched hard for one that fit a 3/16" shaft. These might work:
Thank you Sir! I have a bag of new push nuts from WCCC plus some originals. Originals are spring steel and will push on easier but I may have something even better since I don’t have much room for access.
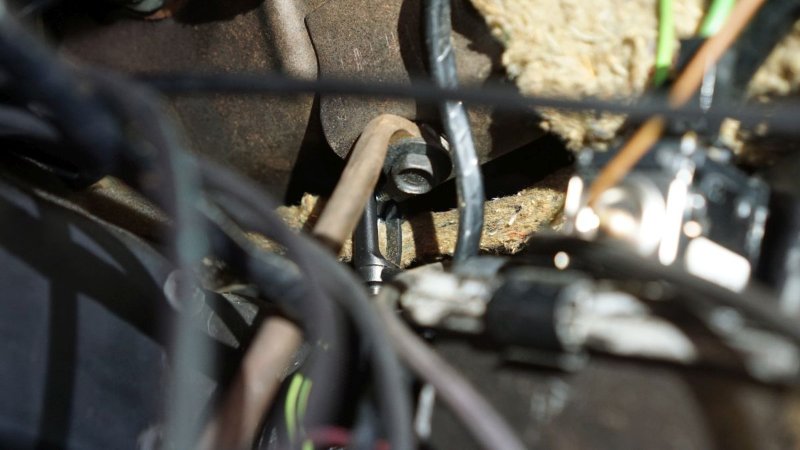
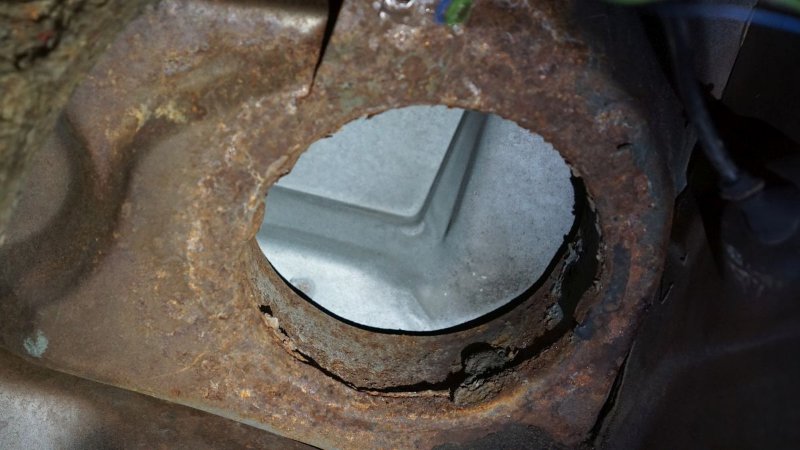
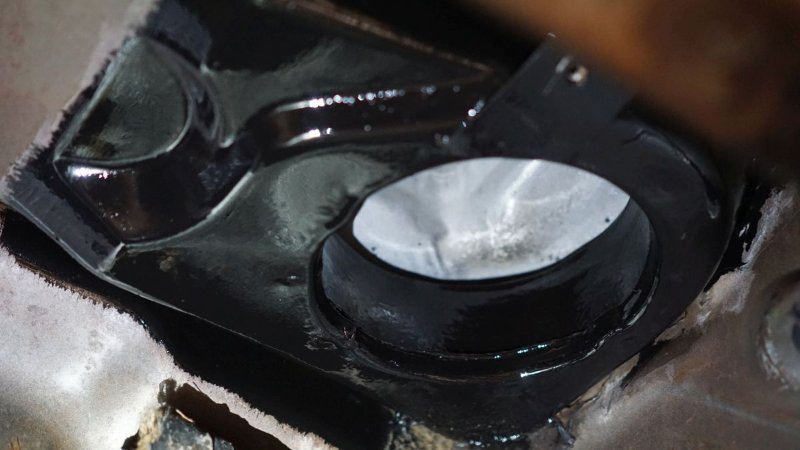
Where does the defroster go on heater box? I suspect the vacuum line fell off of mine.
Everything else works.
What’s the best way to get to it if it’s fully installed?
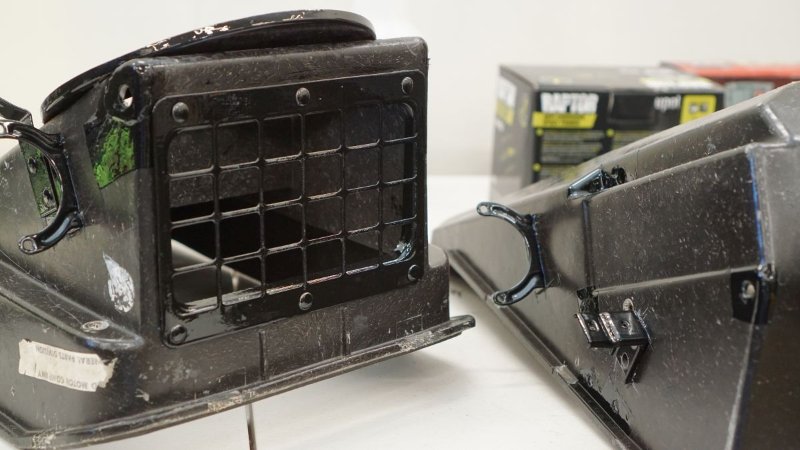
In addition to the pair of vacuum actuators on the heater box there is also a pair behind the radio on the blower motor that controls the airflow to the heat, A.C. vents and defroster. I was able to pull the hoses and use my vacuum pump to check operation. Both moved with maximum travel around 17 inch hg of vacuum. The A.C. vent seemed a little sticky.
The lower actuator should be the heat/defrost door and is just to the drivers side of the blower motor.
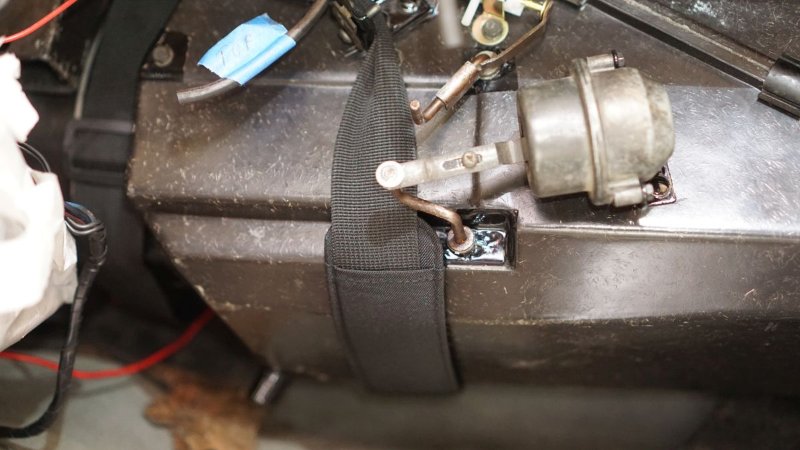
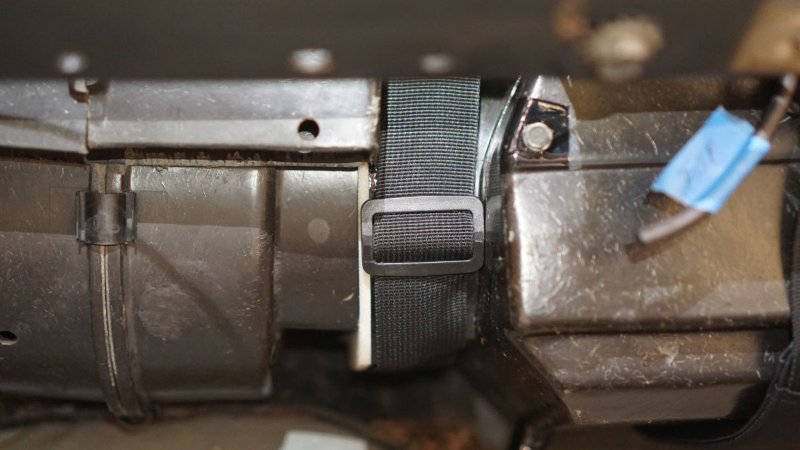
Putting the heater box back into the car was a chore. Thankfully I got Don’s video with good hints to help out. I did add an additional support that holds the box into the vehicle. Not overly impressed by the number and strength of the OEM mounting screws. Over the years and from several brands, I have seen several heater boxes that tore out of the dash with a car that launches hard. My car doesn’t have anywhere near that kind of power but I can dream. So I spent all morning devising an additional support. Basically repurposed a shoulder strap from a laptop/chromebook bag. I looped it around the output port and base. The upper clip hook is mounted to a support bracket at the top of the dash - 3rd picture. The lower clip is T-Barred to the firewall. I had originally planned to mount the drain tube with an eye loop and connect the lower clip there. However this strap was too long for that approach. I’m a little concerned about the metal pieces (chrome spokes from a BMX bike) laying over the heater core tubes. I fashioned a leftover piece of heater box foam to block heat and keep anything from rubbing. I realized this is a bit of a hack and not everyone’s taste but I figured I’d throw it out here anyway.