Instead of adding this to my GT-E thread, since it’s not relevant there, I figured I’d start a new one here.
For those that don’t know, I have 3 Cougars to restore. I gifted a J code to each one of my boys and in addition to the GT-E I have an X code that I’m keeping for myself. When you have multiples of the same projects I find it’s easier to tackle them all at once. Of course that might be personal preference, some people might find it easiest to work on a single car. Then again maybe I’m the only one dumb enough to have this many projects in the first place.
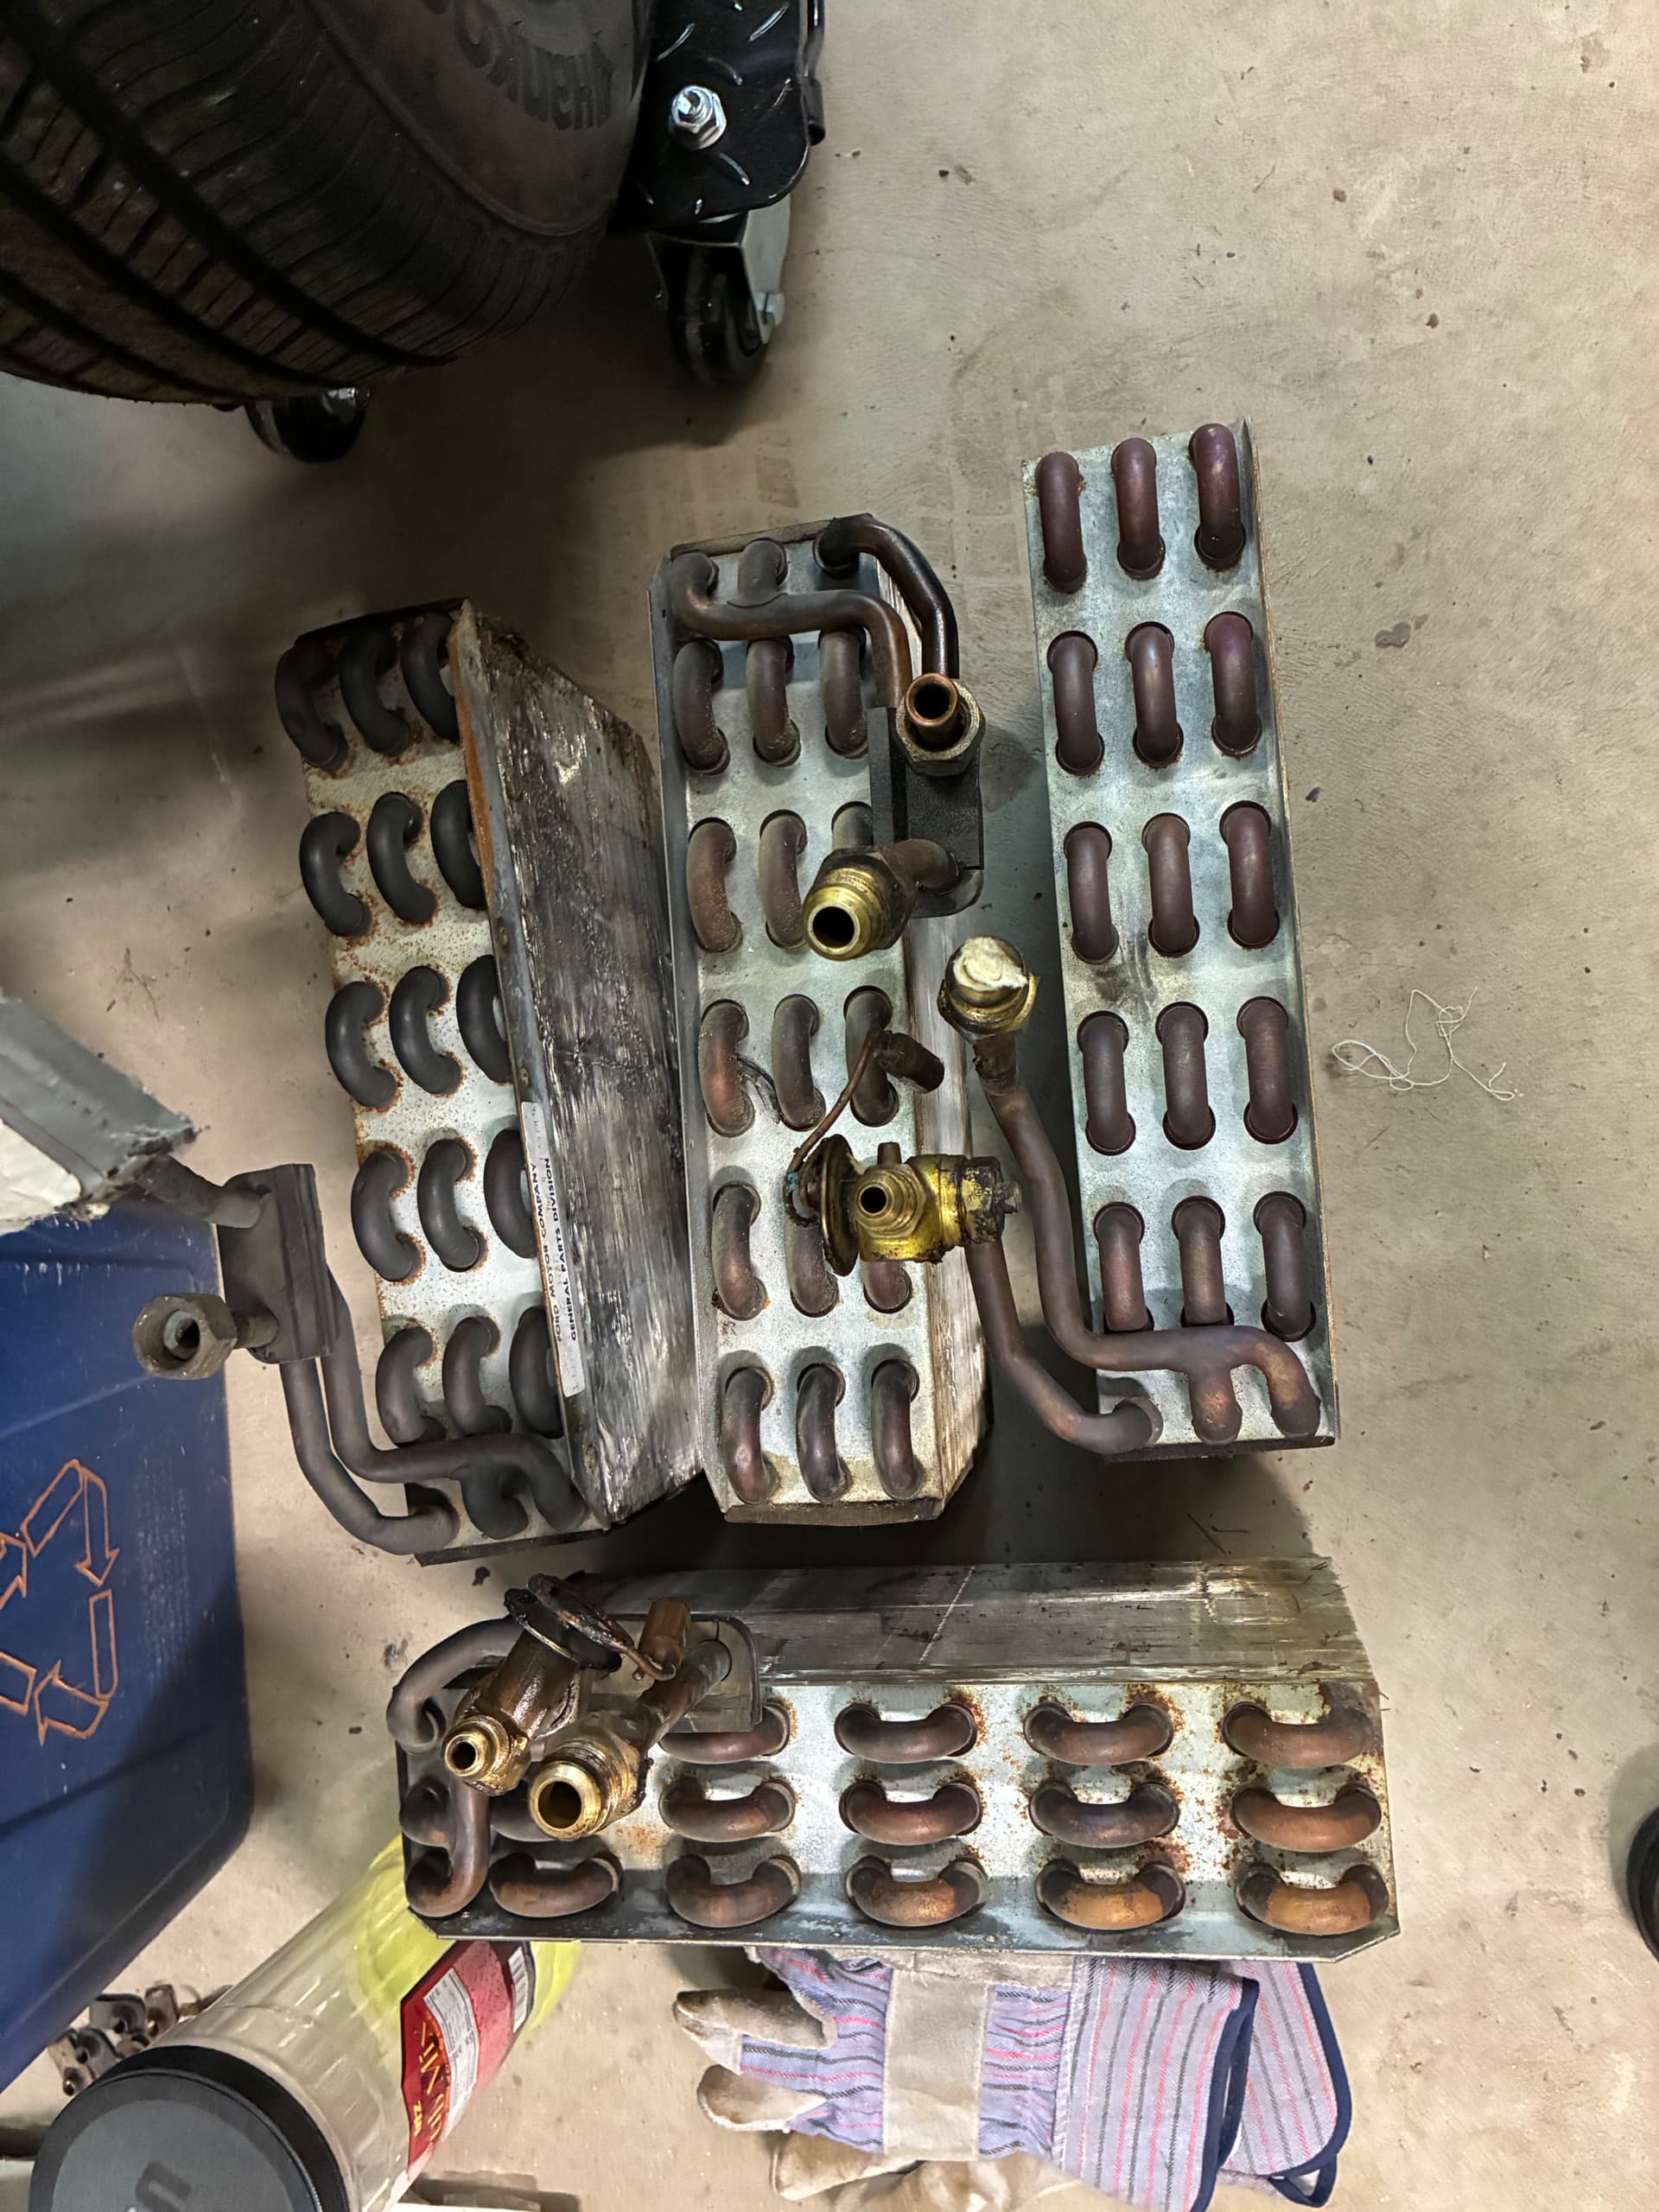
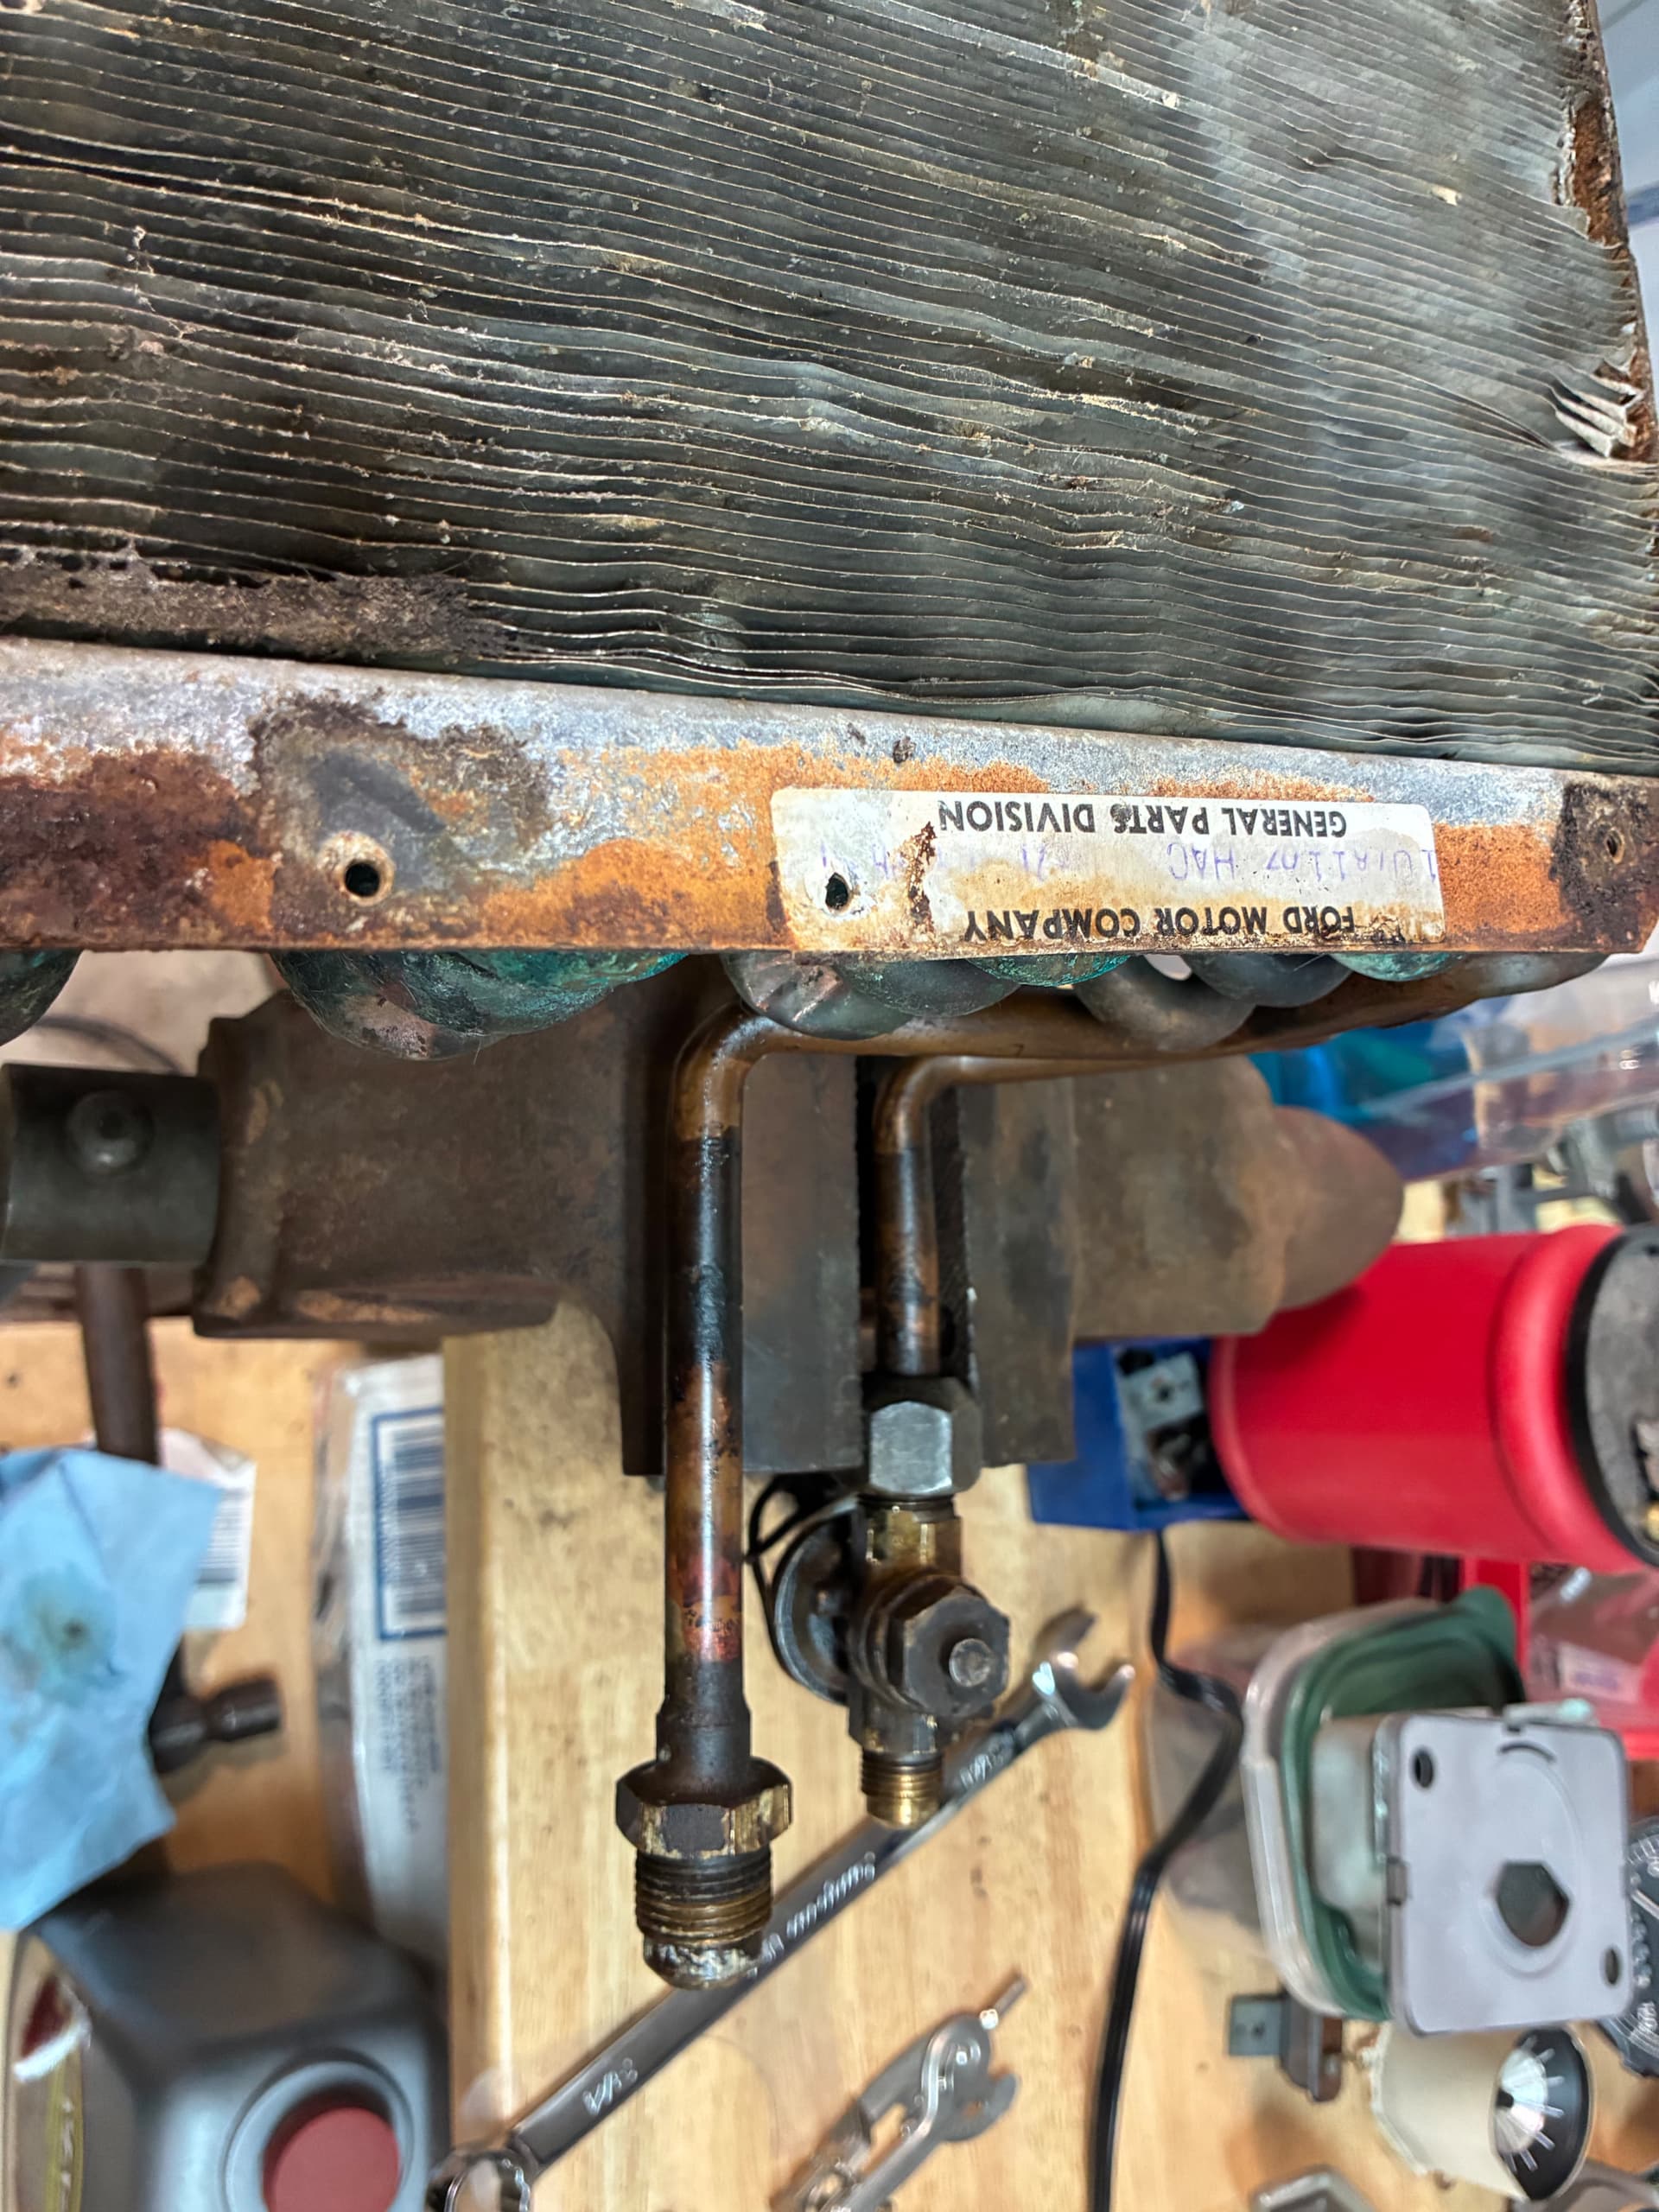
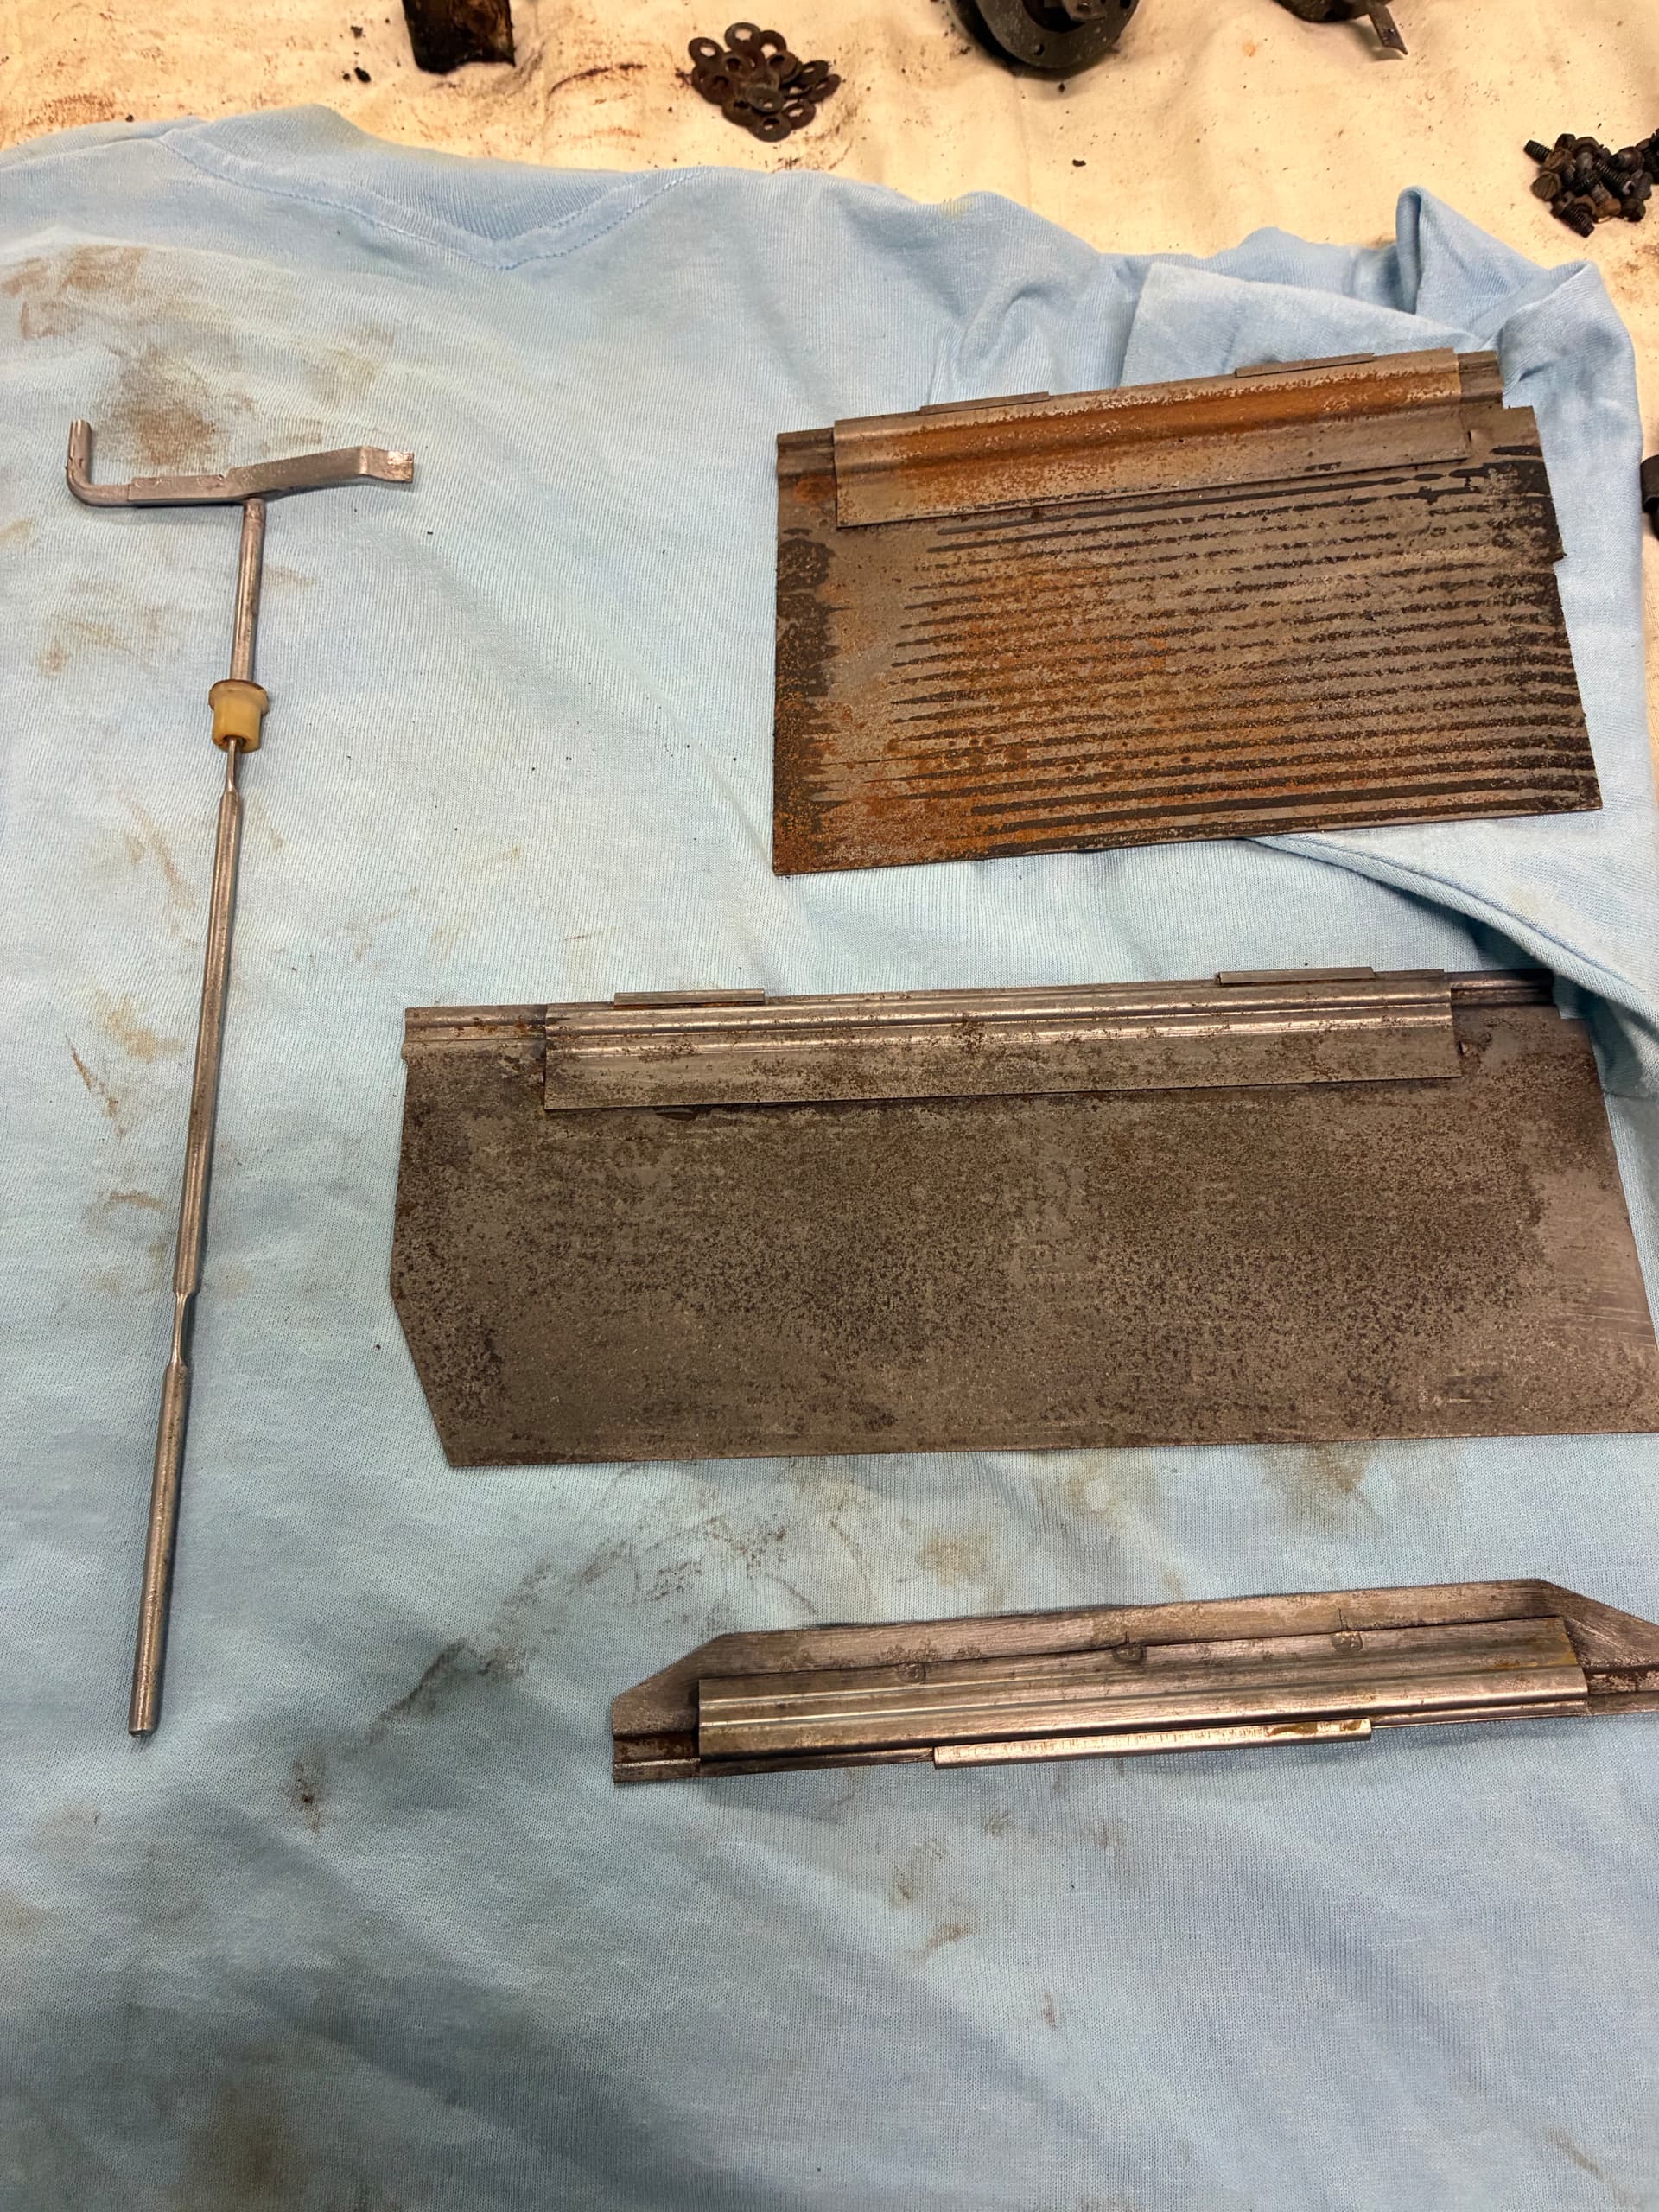
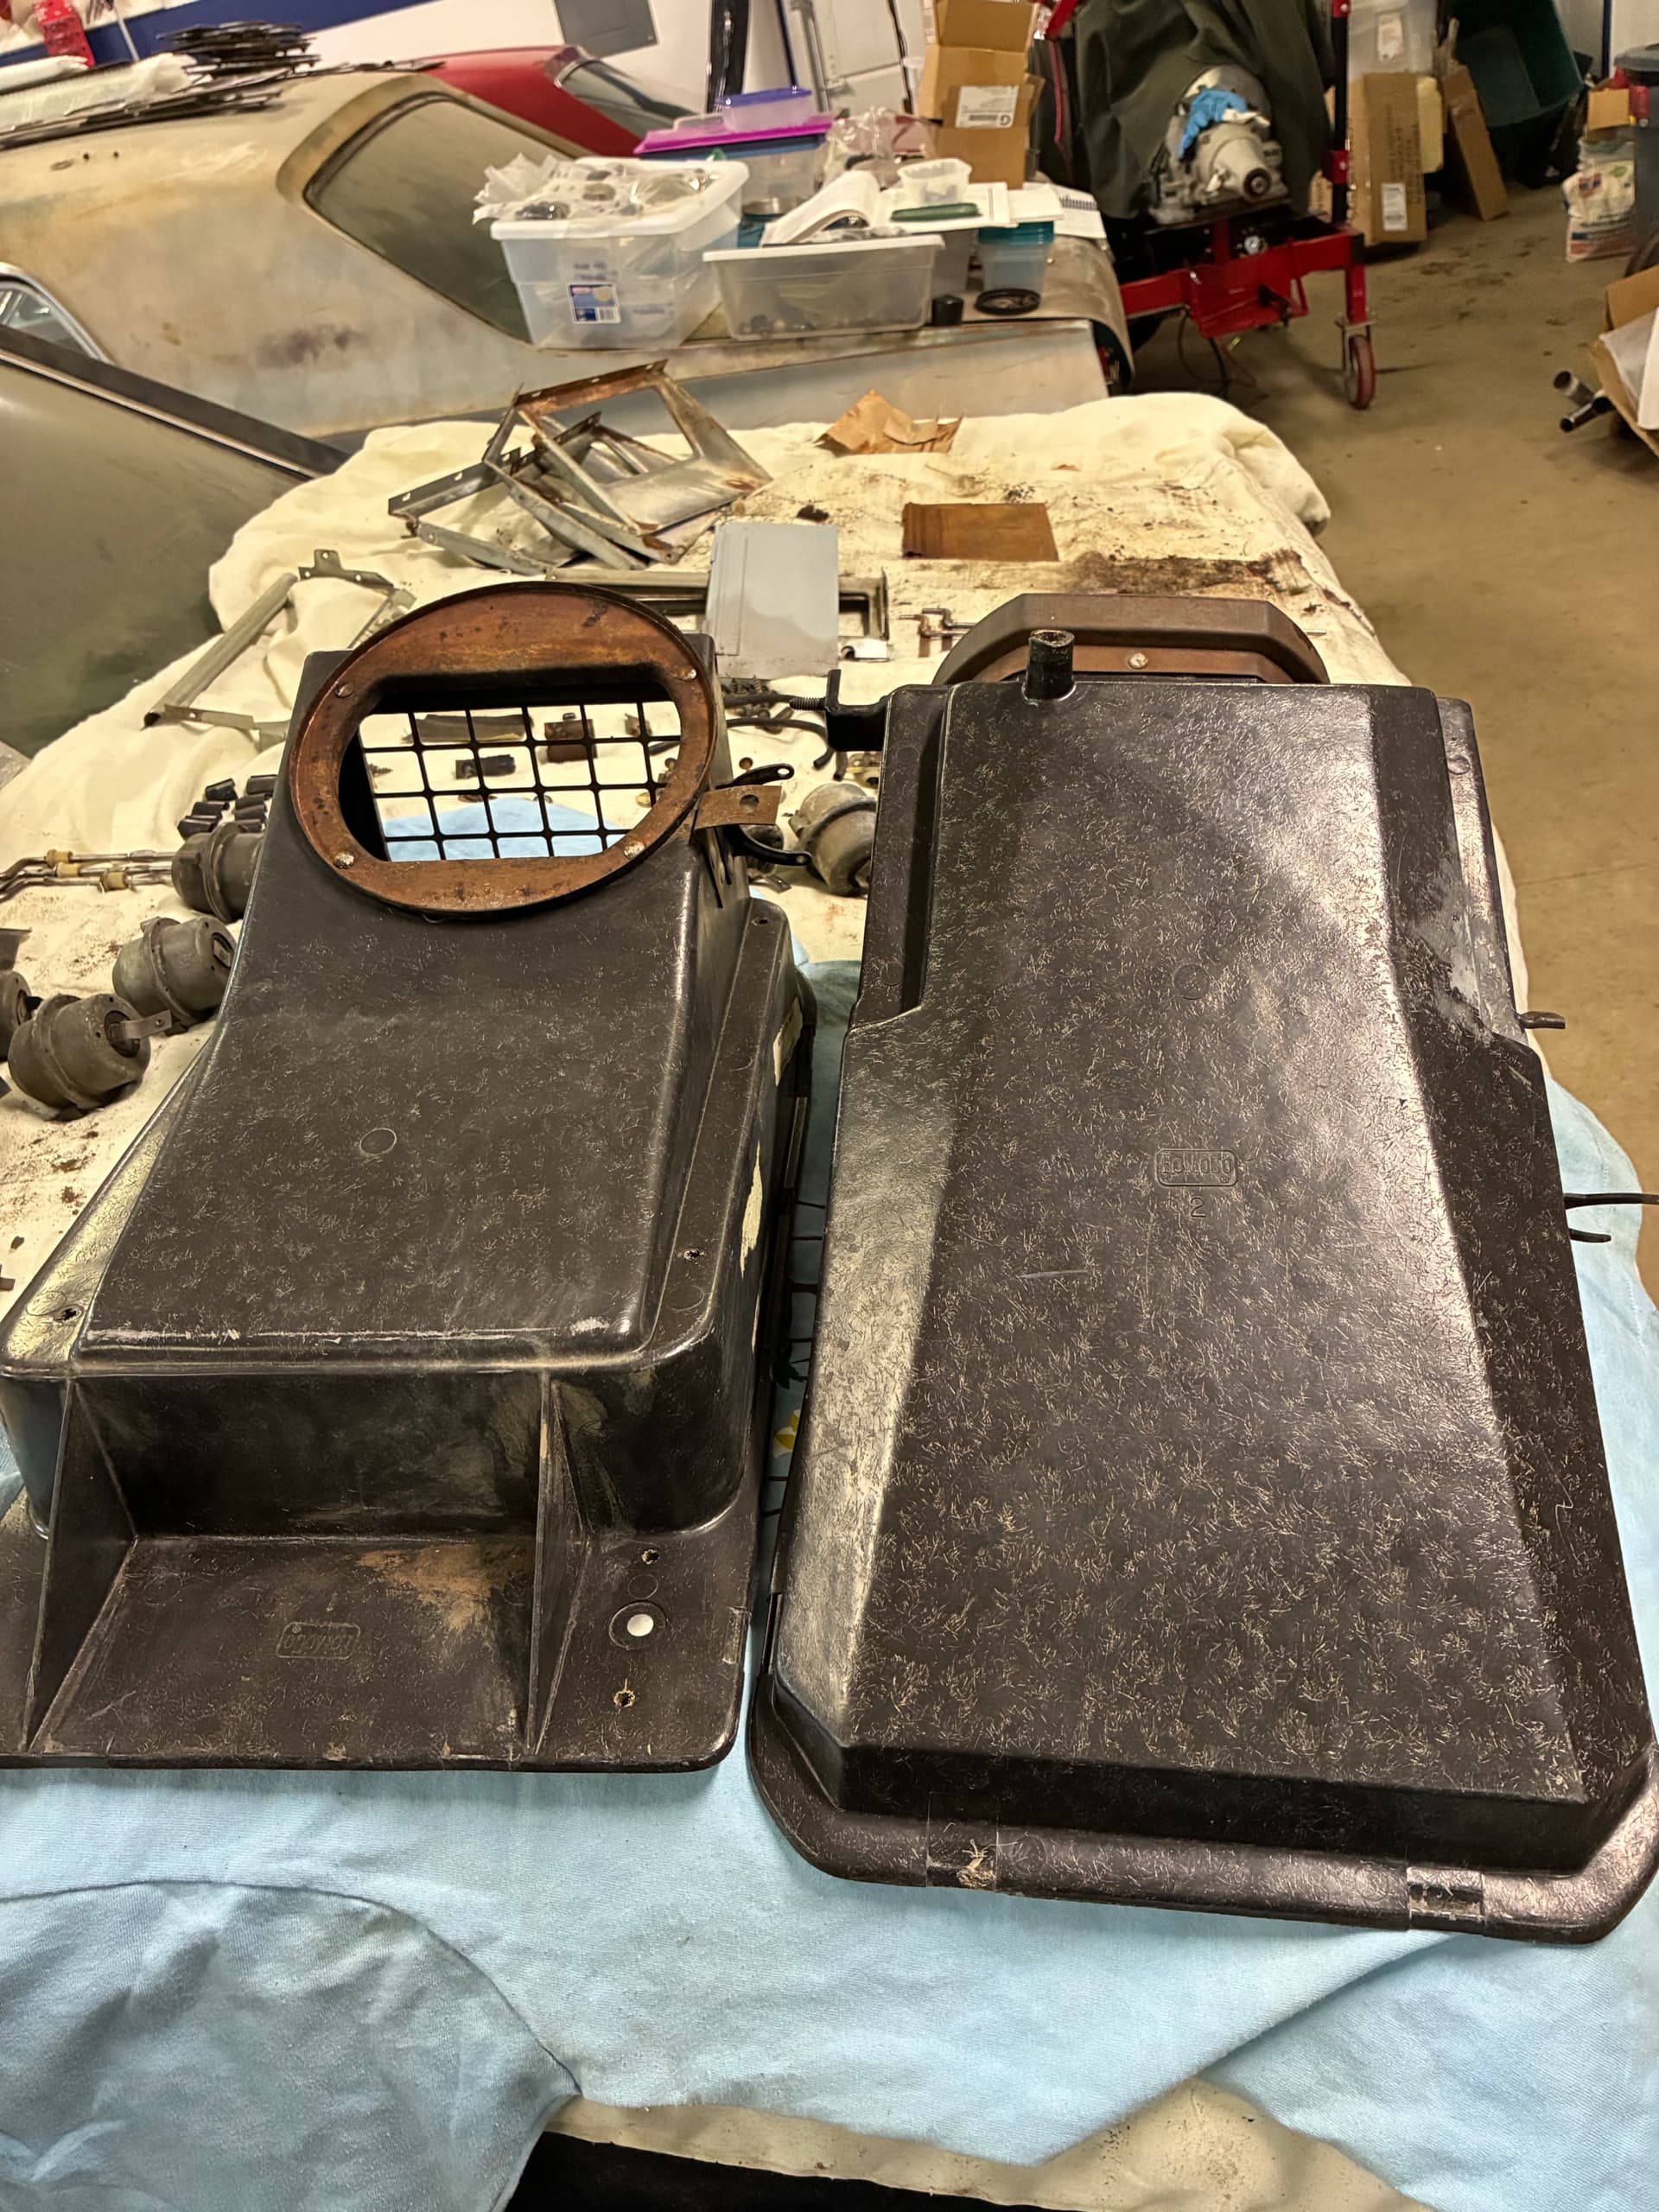
Of course first was removing them from the car. Pretty straightforward except for one minor snag. If yours has never been apart you’re going to find removing the expansion valve to be near impossible at best. In fact I still haven’t figured it out. Even the best Snap On wrench will slip eventually. Of course destroying the valve isn’t an option otherwise I have a big pipe wrench that I’m sure would take them off. Putting some heat to it would probably work, but I’m not sure how the valve functions so I don’t want to ruin it with too much heat. Hopefully this is where someone jumps in and solves this problem for me.
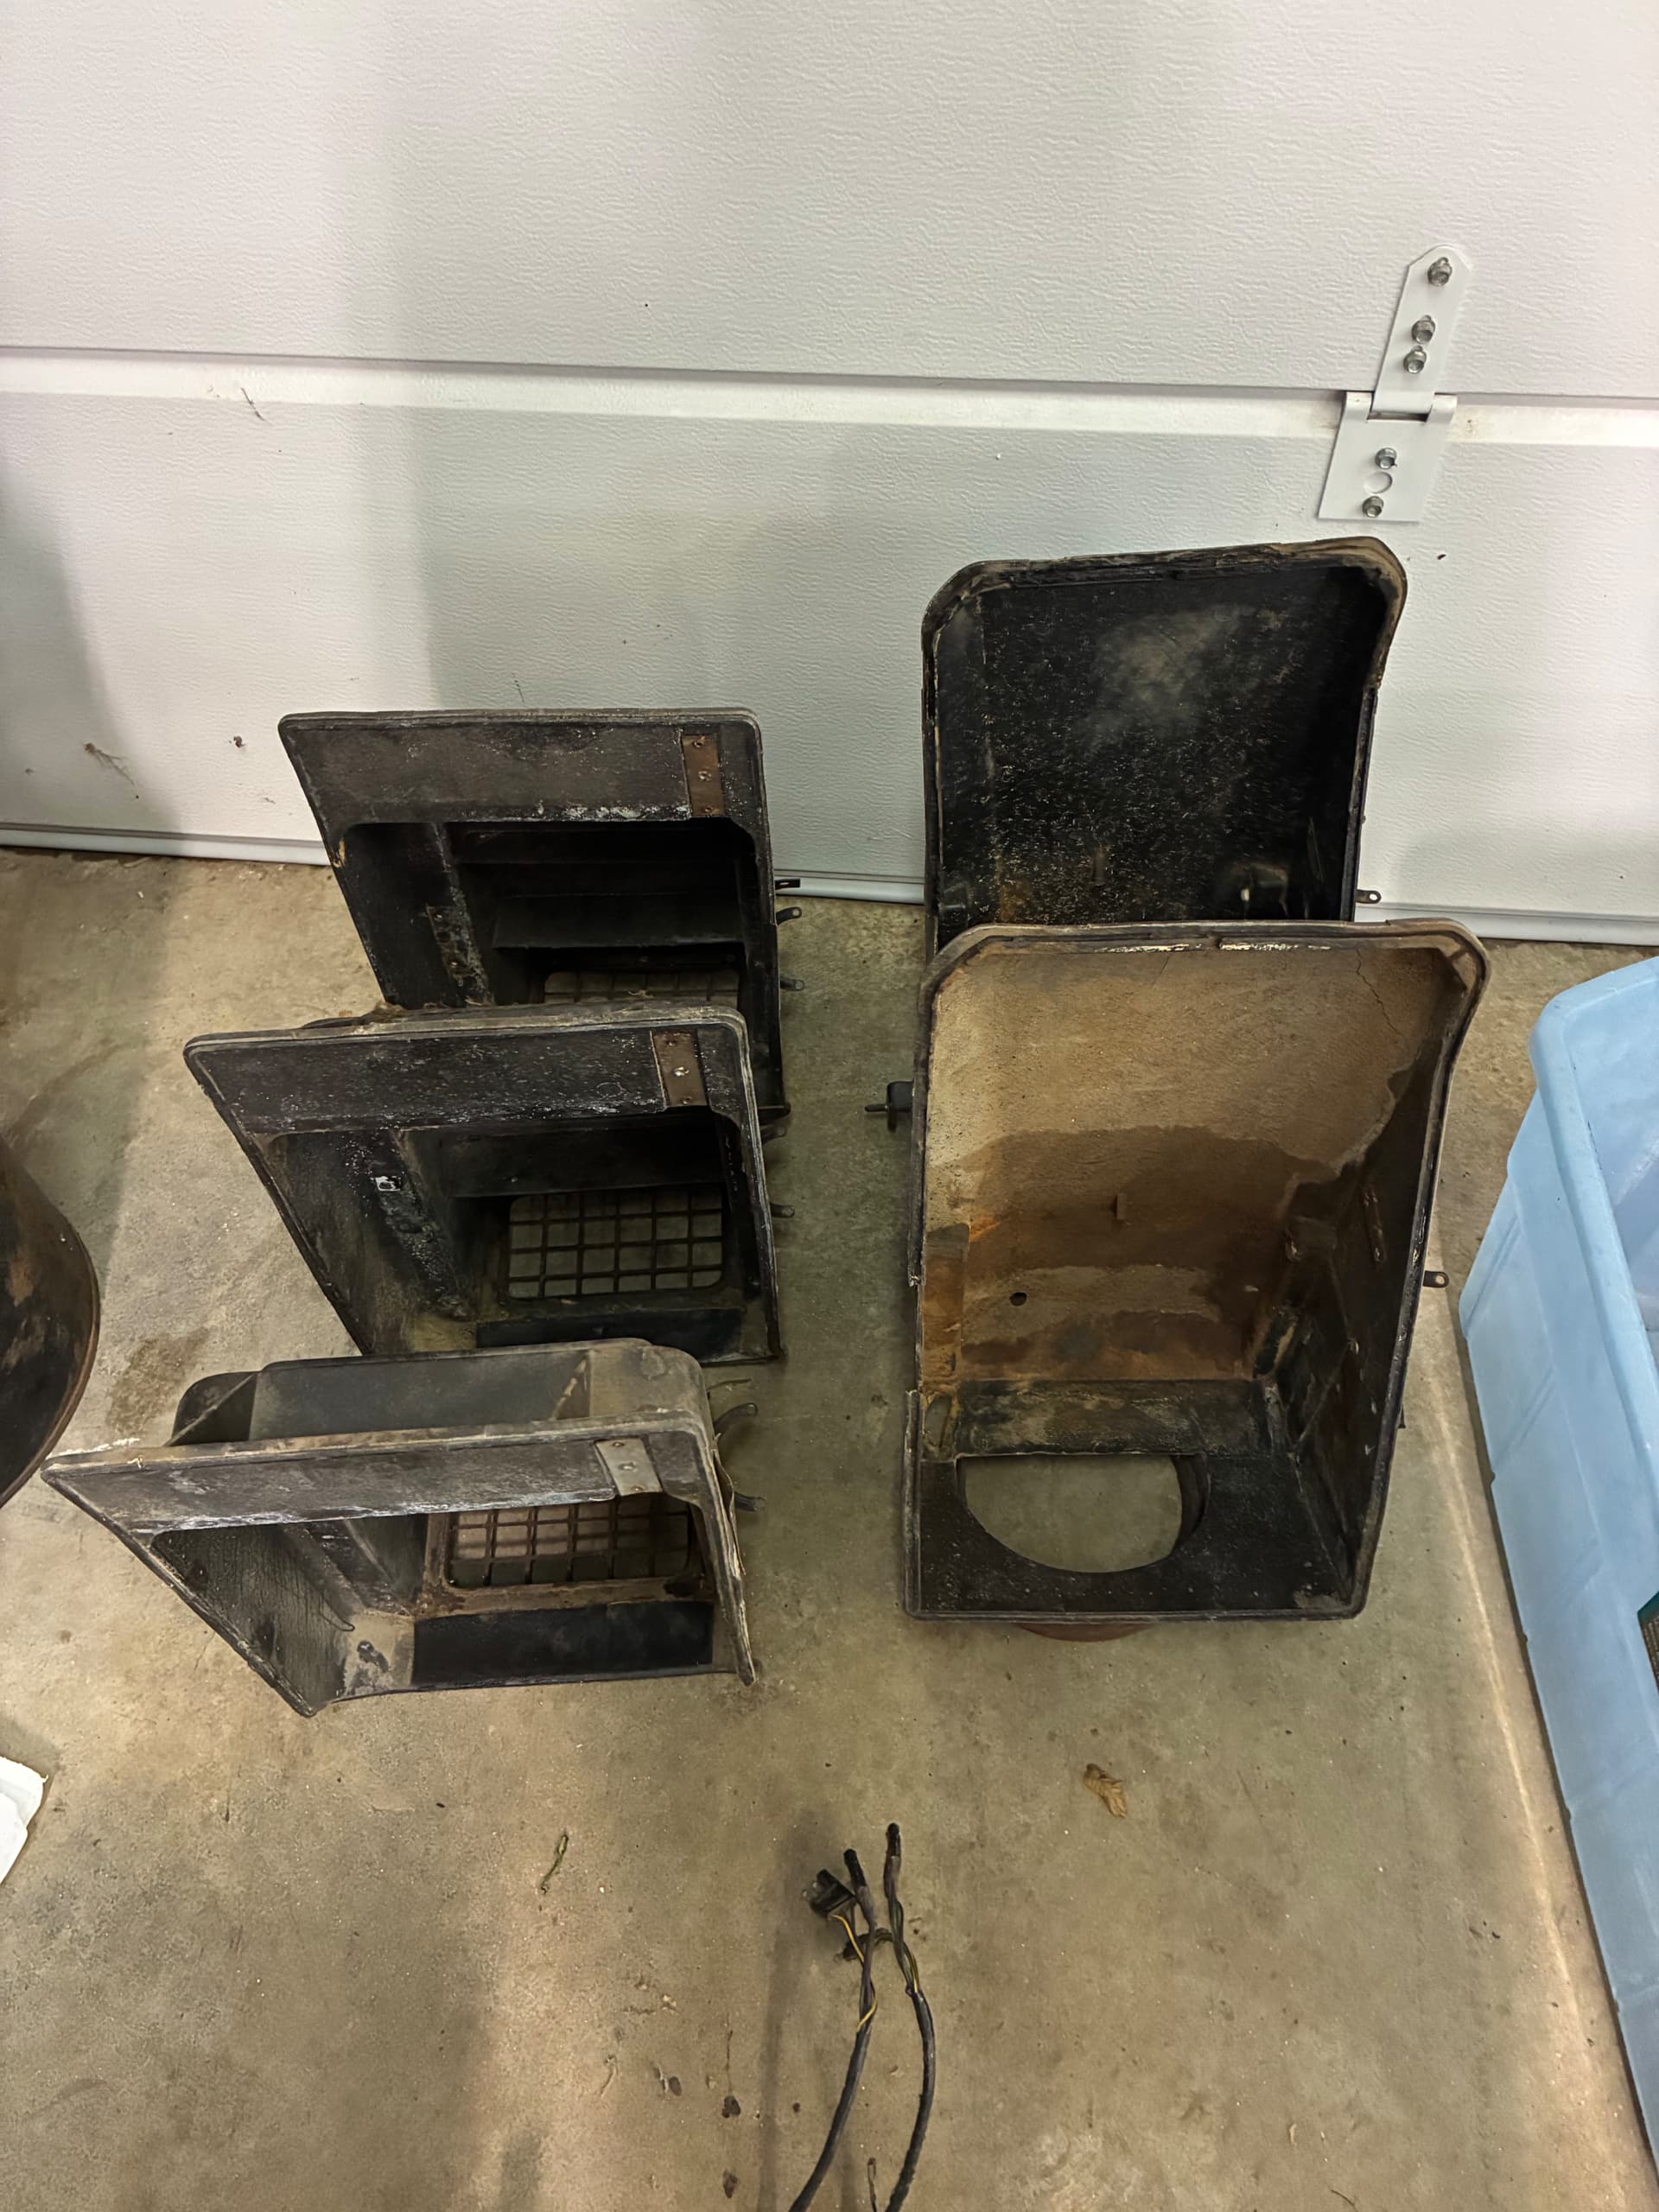
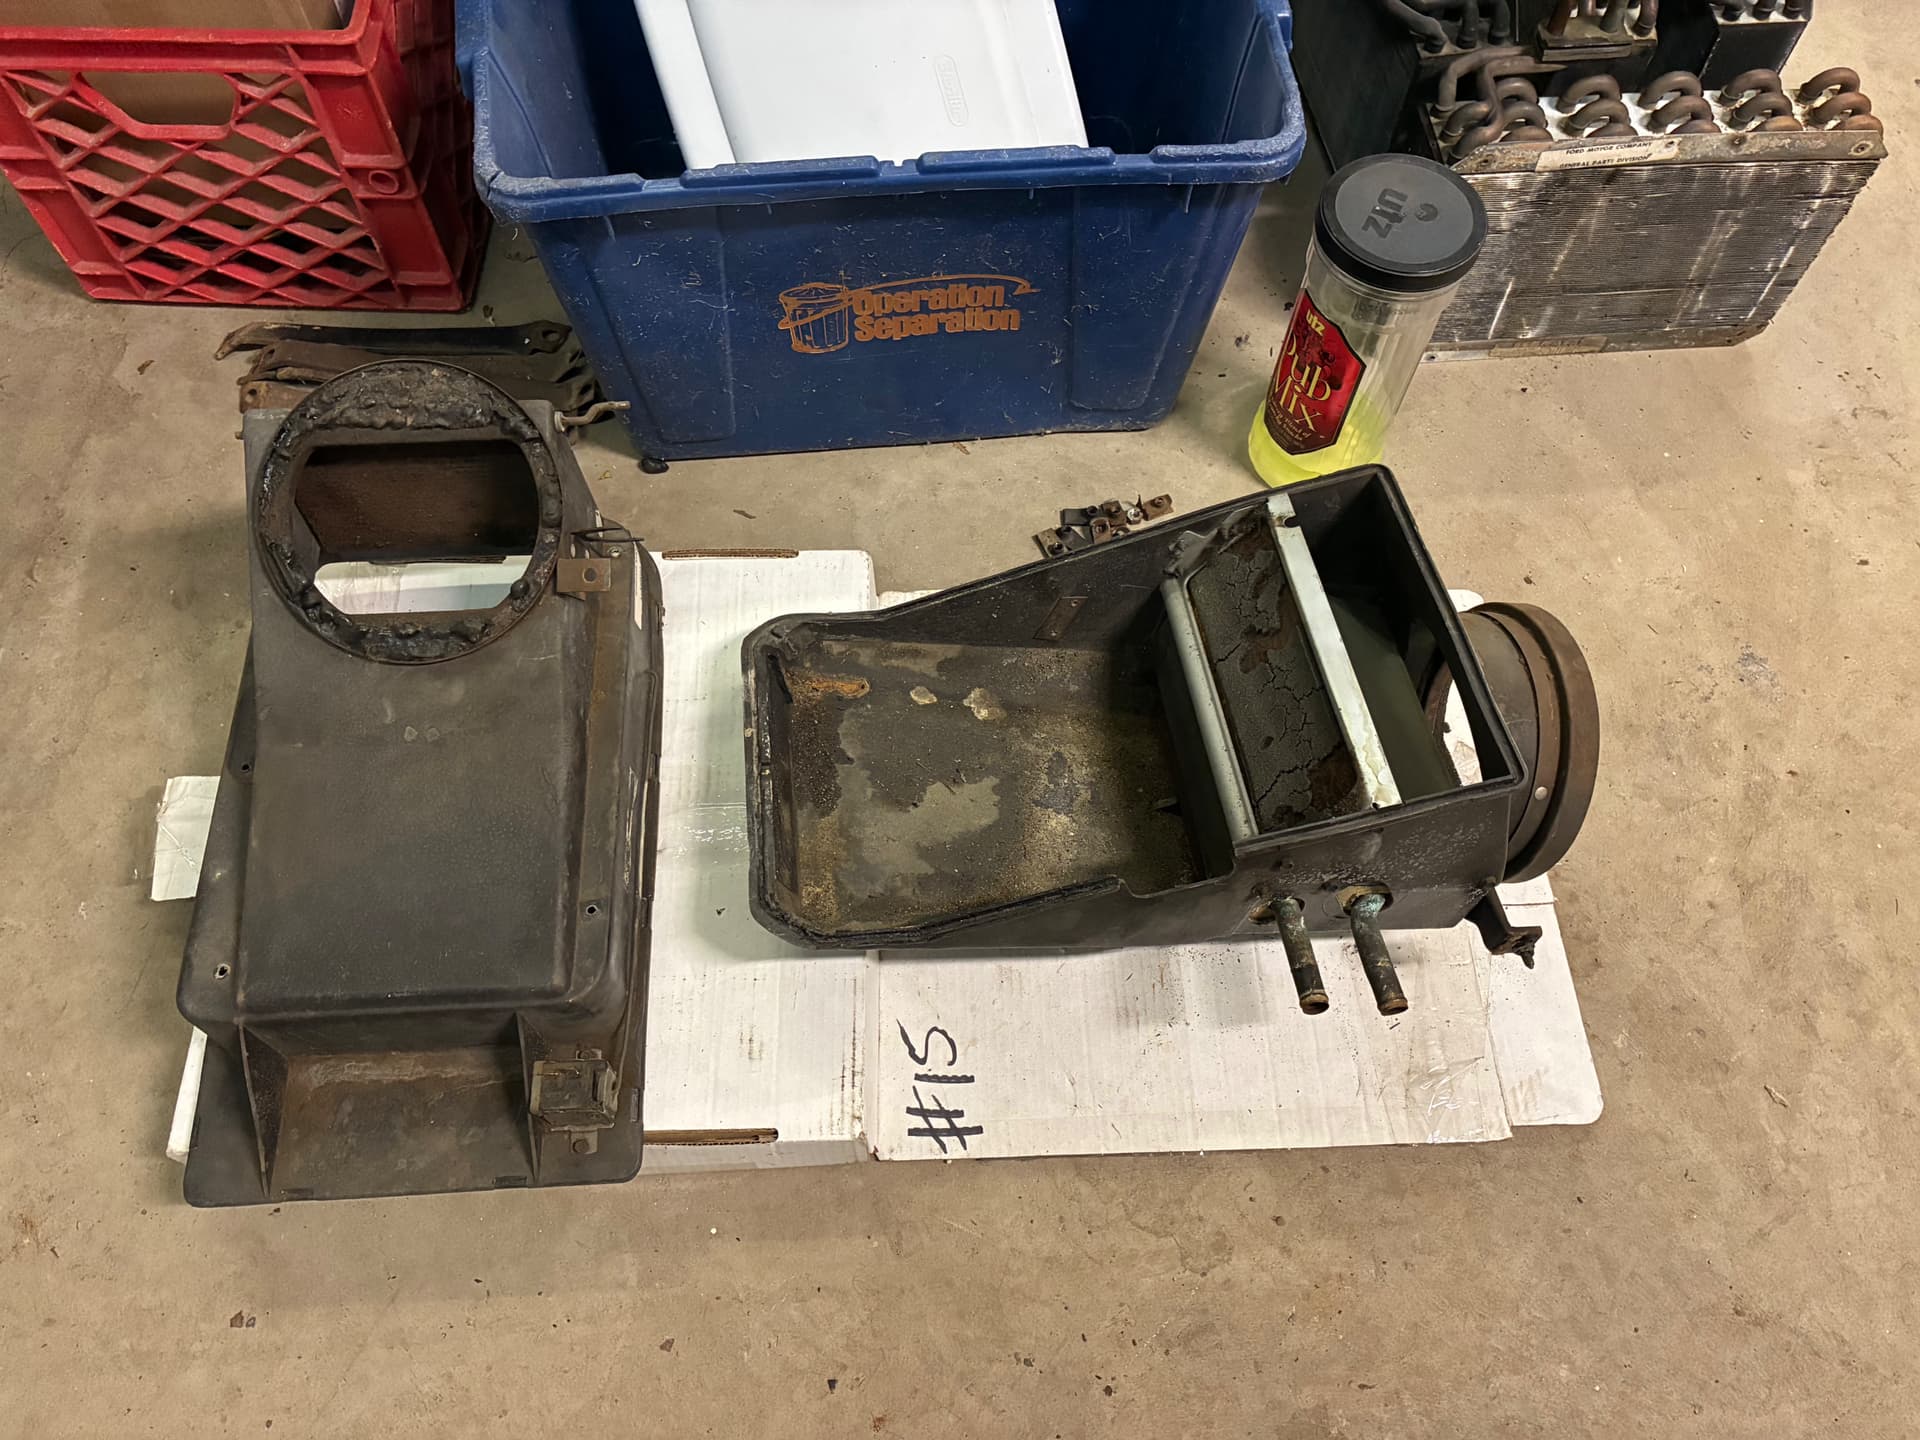
I have 3 boxes completely disassembled and one that I’ll use as a template to reassemble. I probably could take that one apart as well since Don did an excellent video on restoring them. But I just chose not to.
Here’s the 4 good evaporator cores that I wound up with. I haven’t tested them yet but I’m confident they’re ok. I also have one that I’m sure is trash. I’m using that as my learning tool to try and remove expansion valves without destroying them.
Next steps are cleaning everything up. I don’t care how rust free your car is, I’ll guarantee if you have an untouched heater box it’s going to be rusty. For the various shafts I used the wire wheel on my bench grinder. It works pretty well but it does require some care and a lot of patience. The larger parts like the doors went into the Evapo-Rust. That works very well.
Keep in mind this isn’t cosmetic, I just want everything clean and functioning properly. Hopefully no one is going to be in here looking at this stuff again for a very long time.
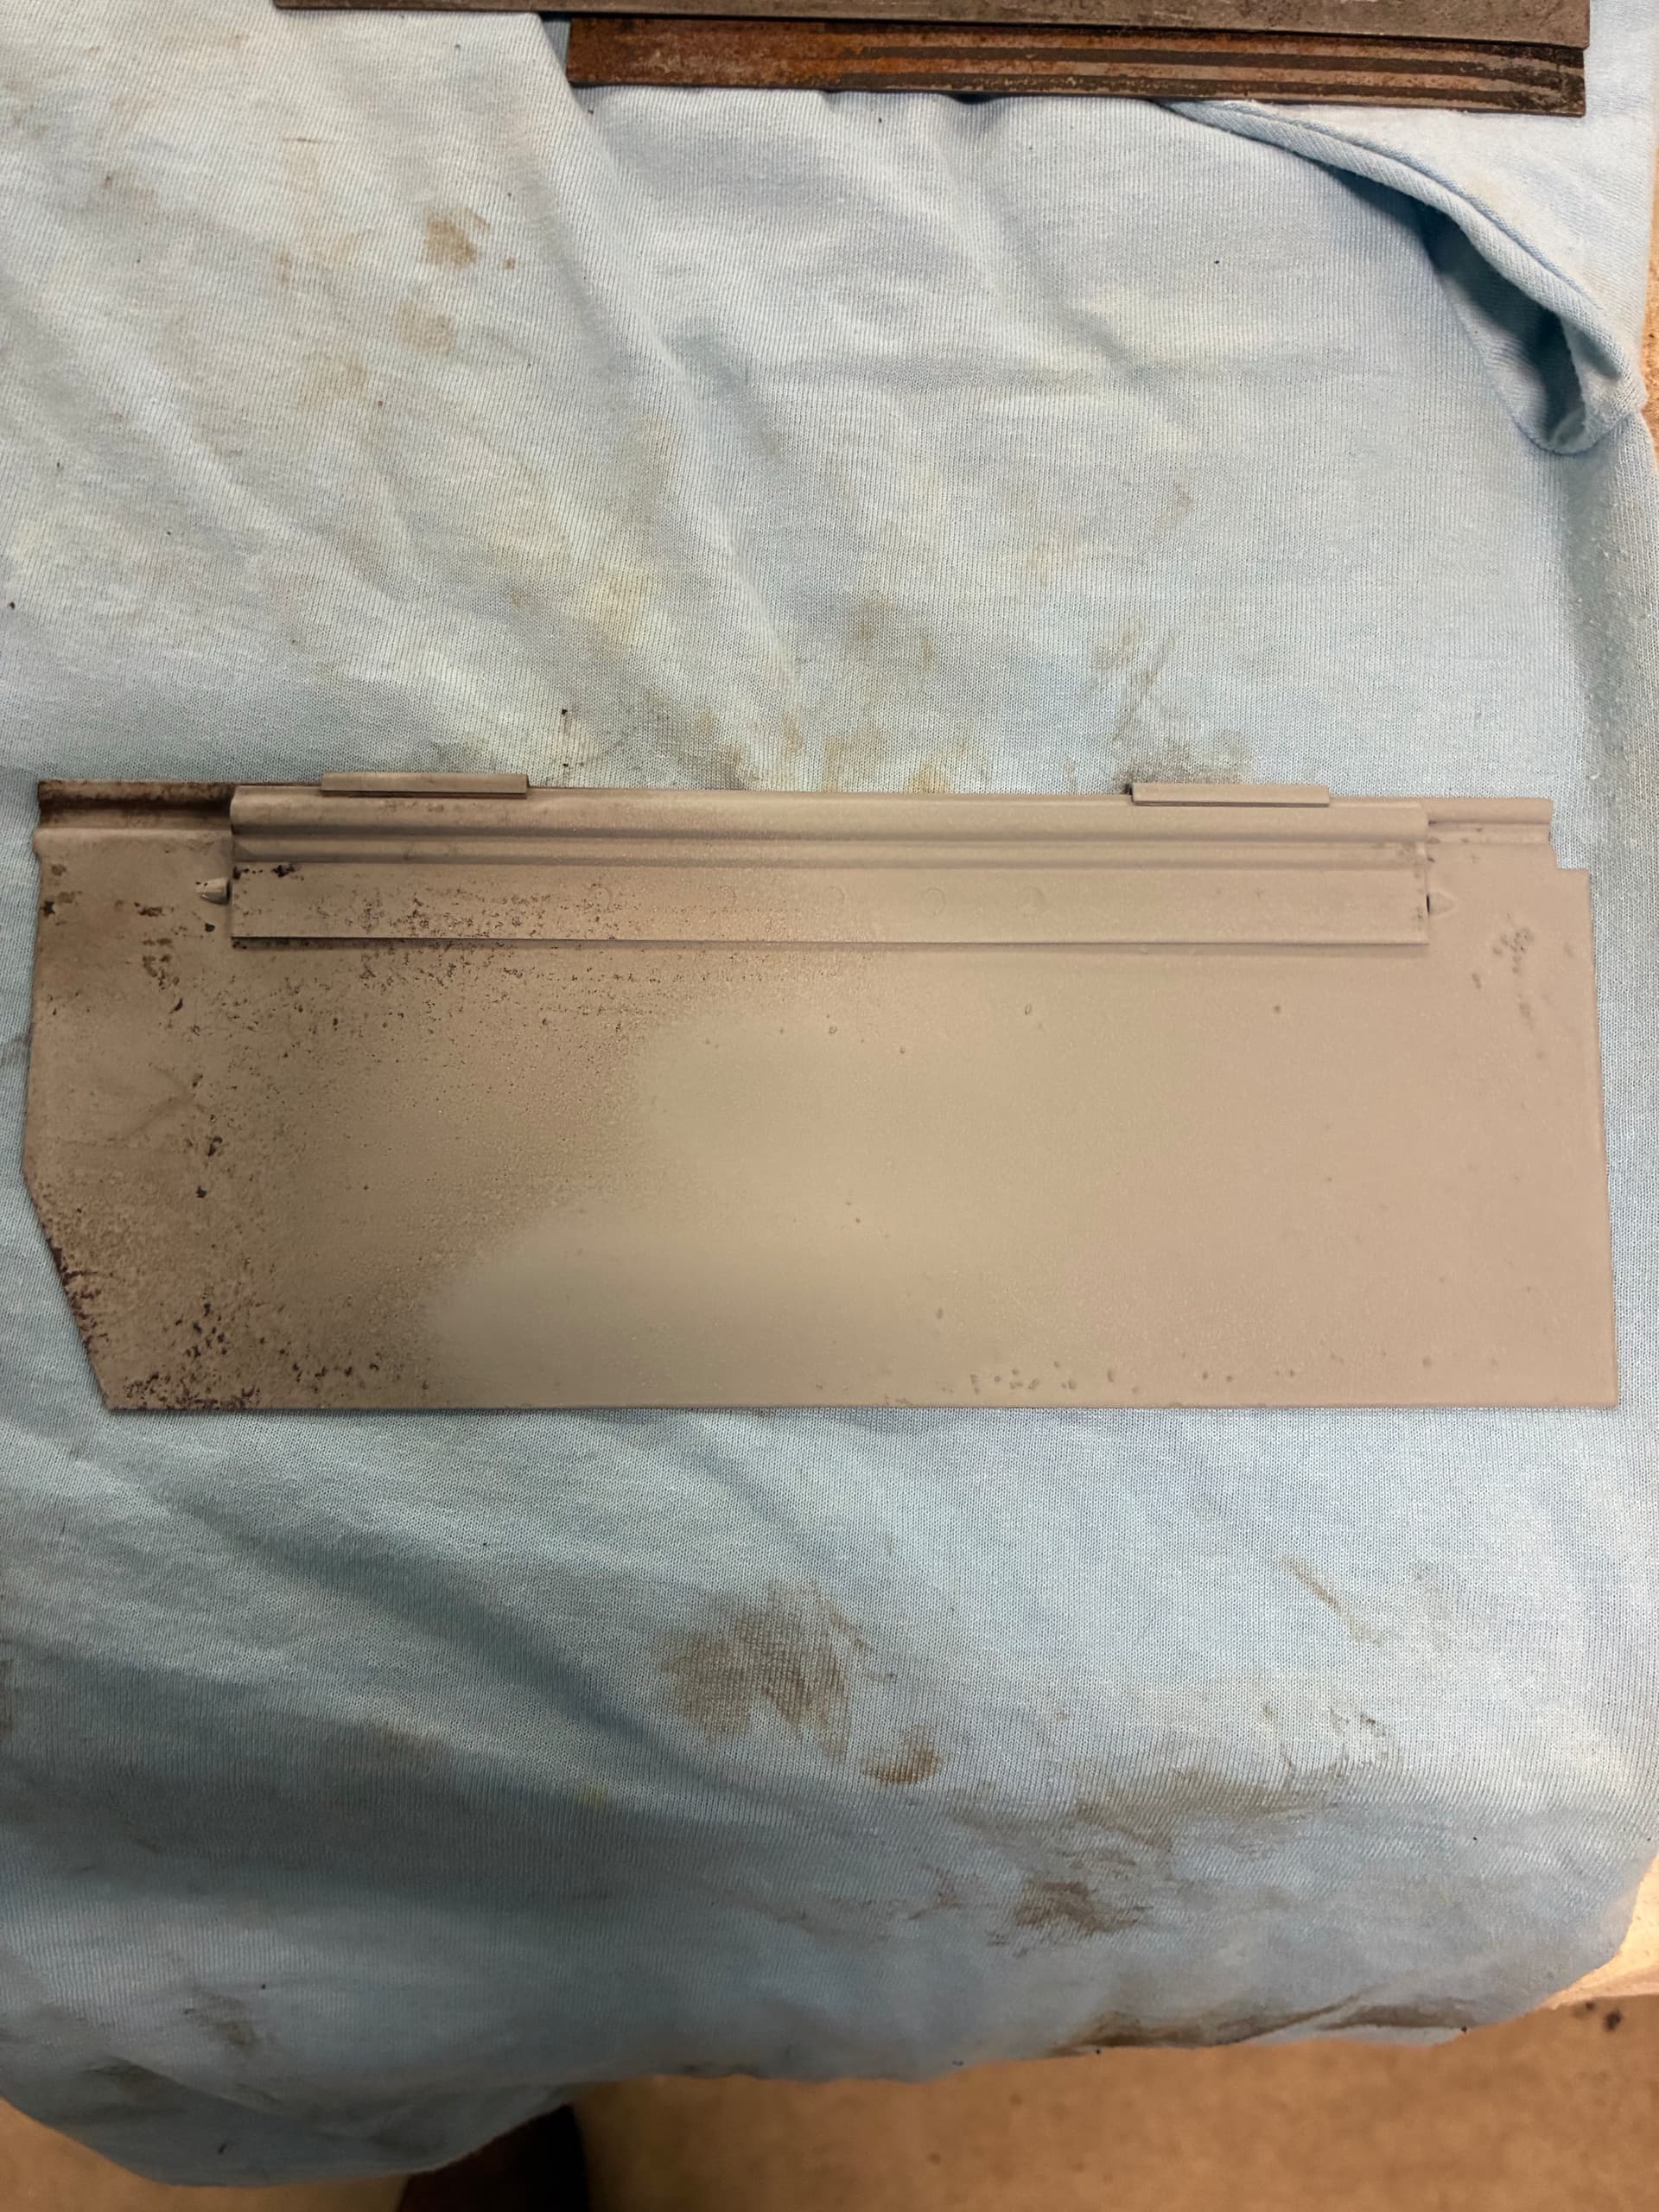
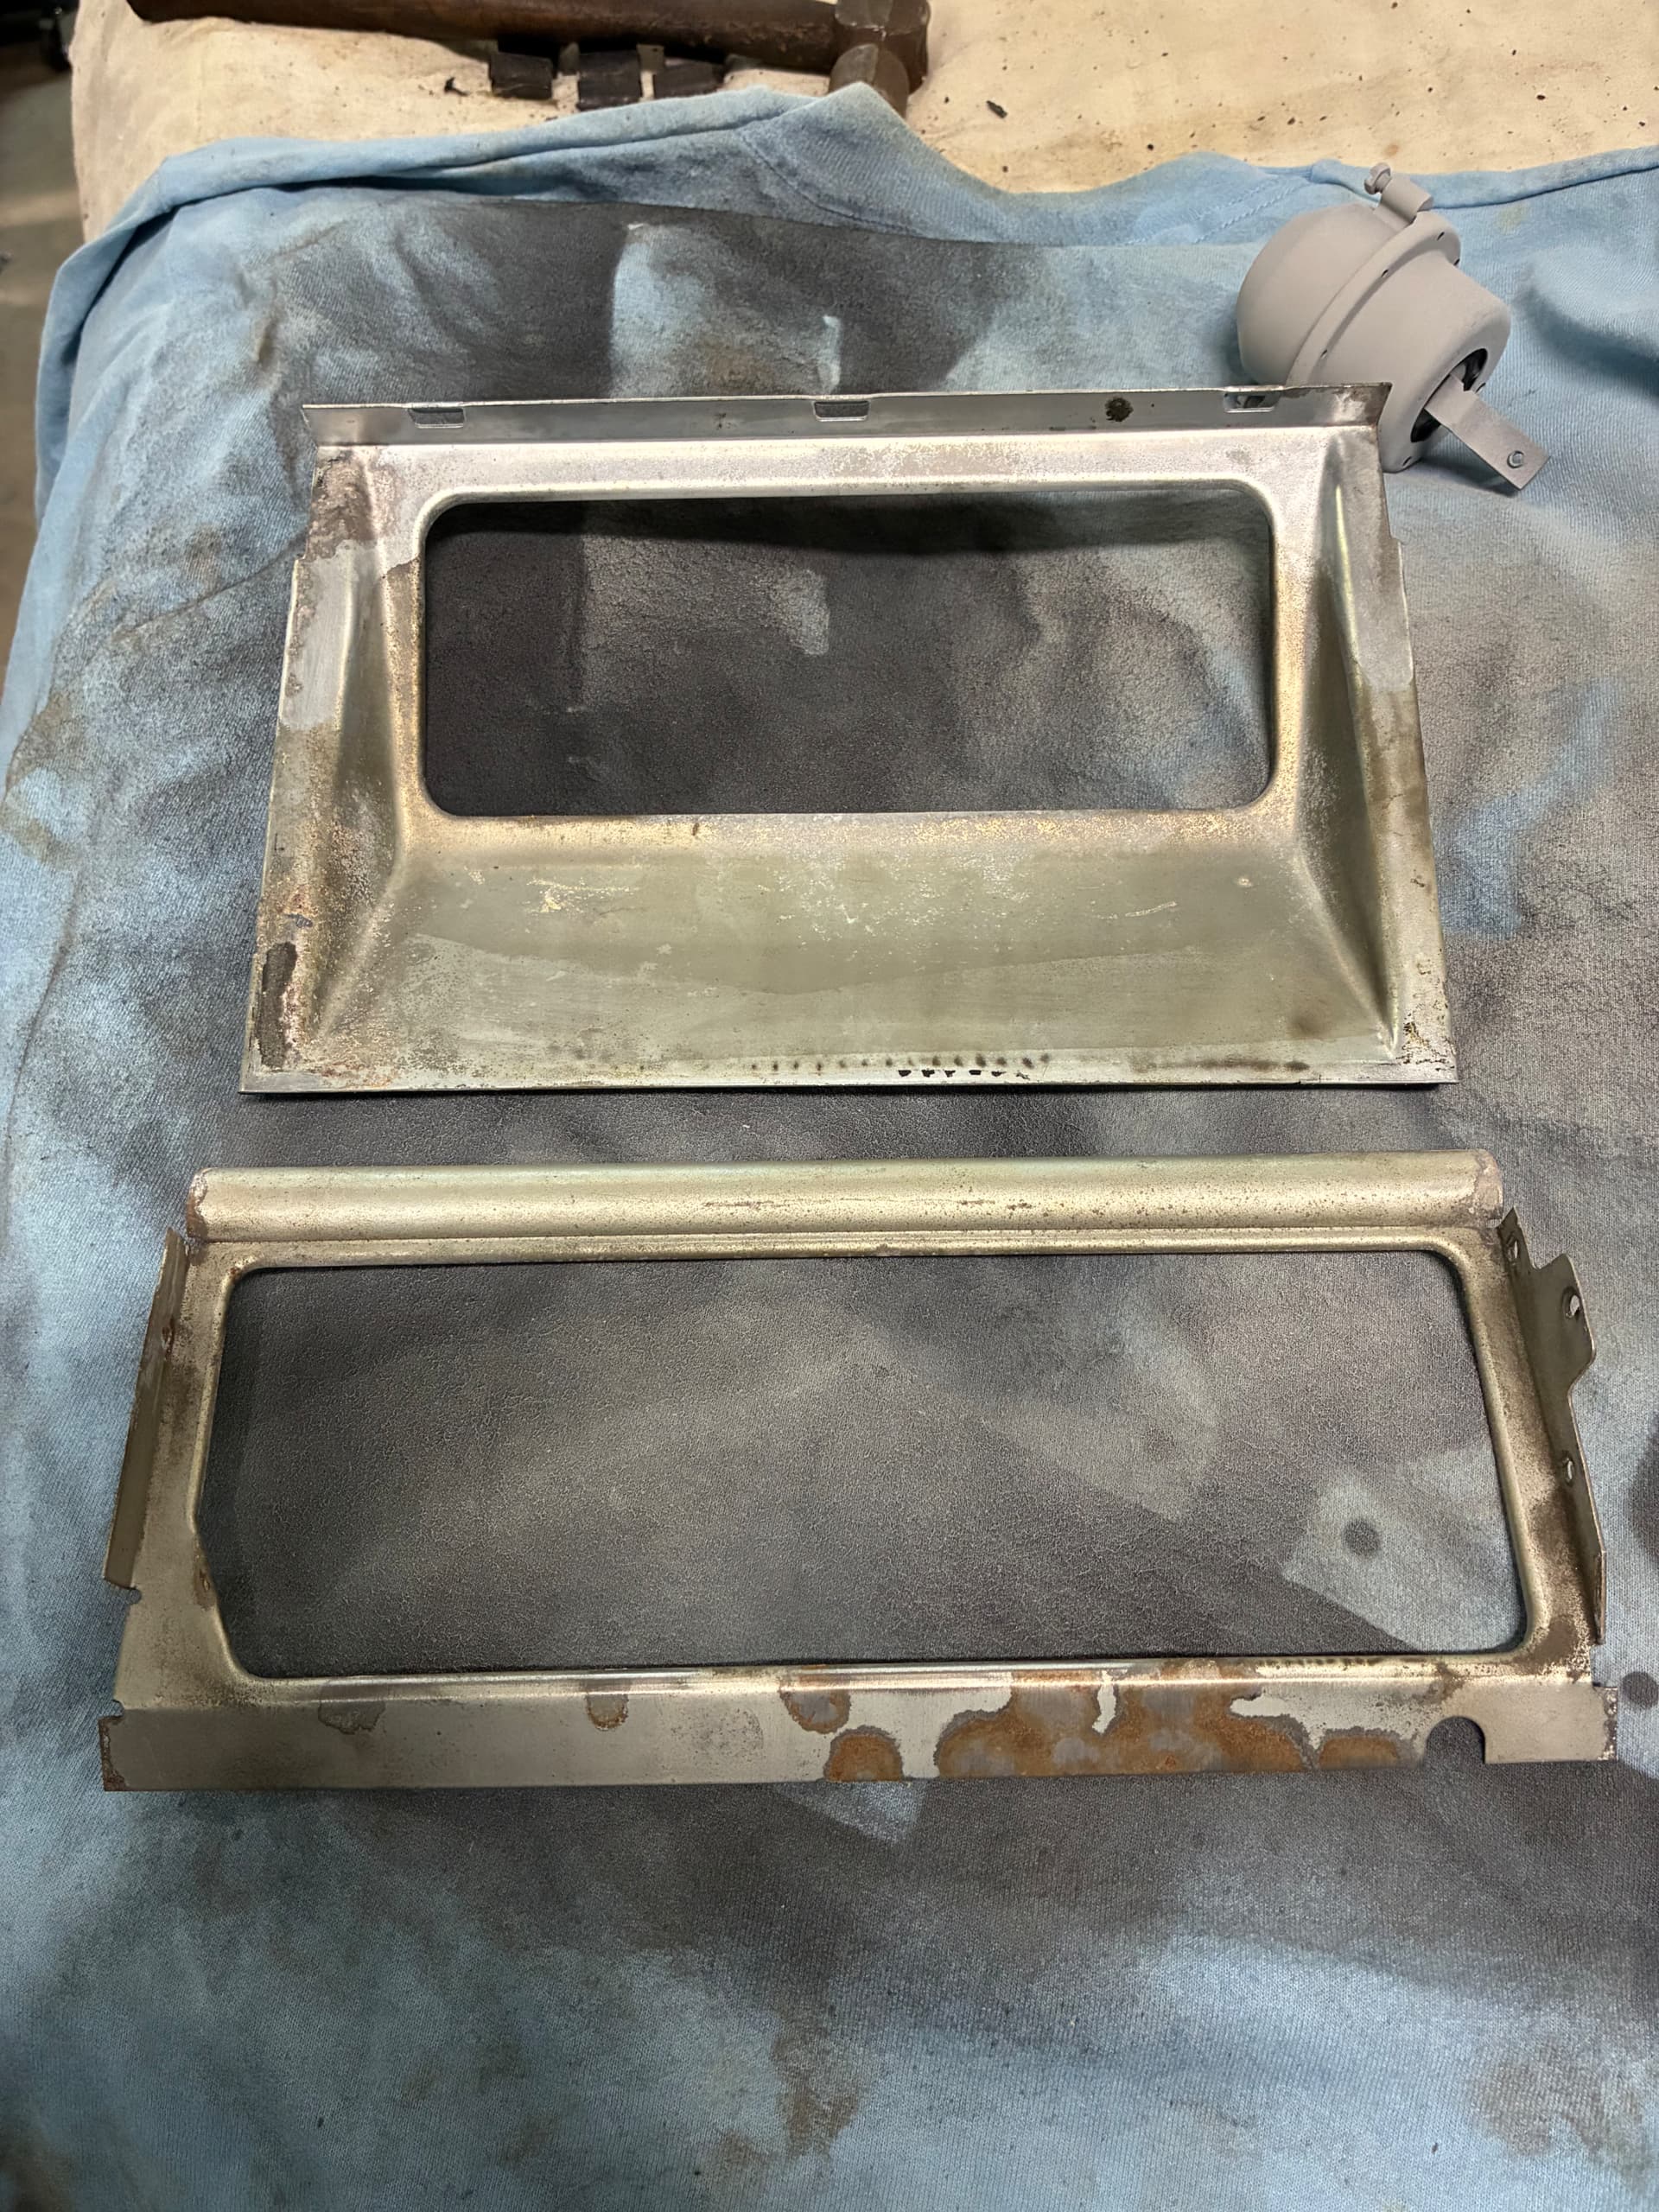
One of the doors that was particularly rusty went in the blasting cabinet. Of course that removed virtually all the galvanized finish. So as an experiment I picked up a can of cold galvanizing compound. It looks nothing like it should, but I guess having something on it is better than nothing.
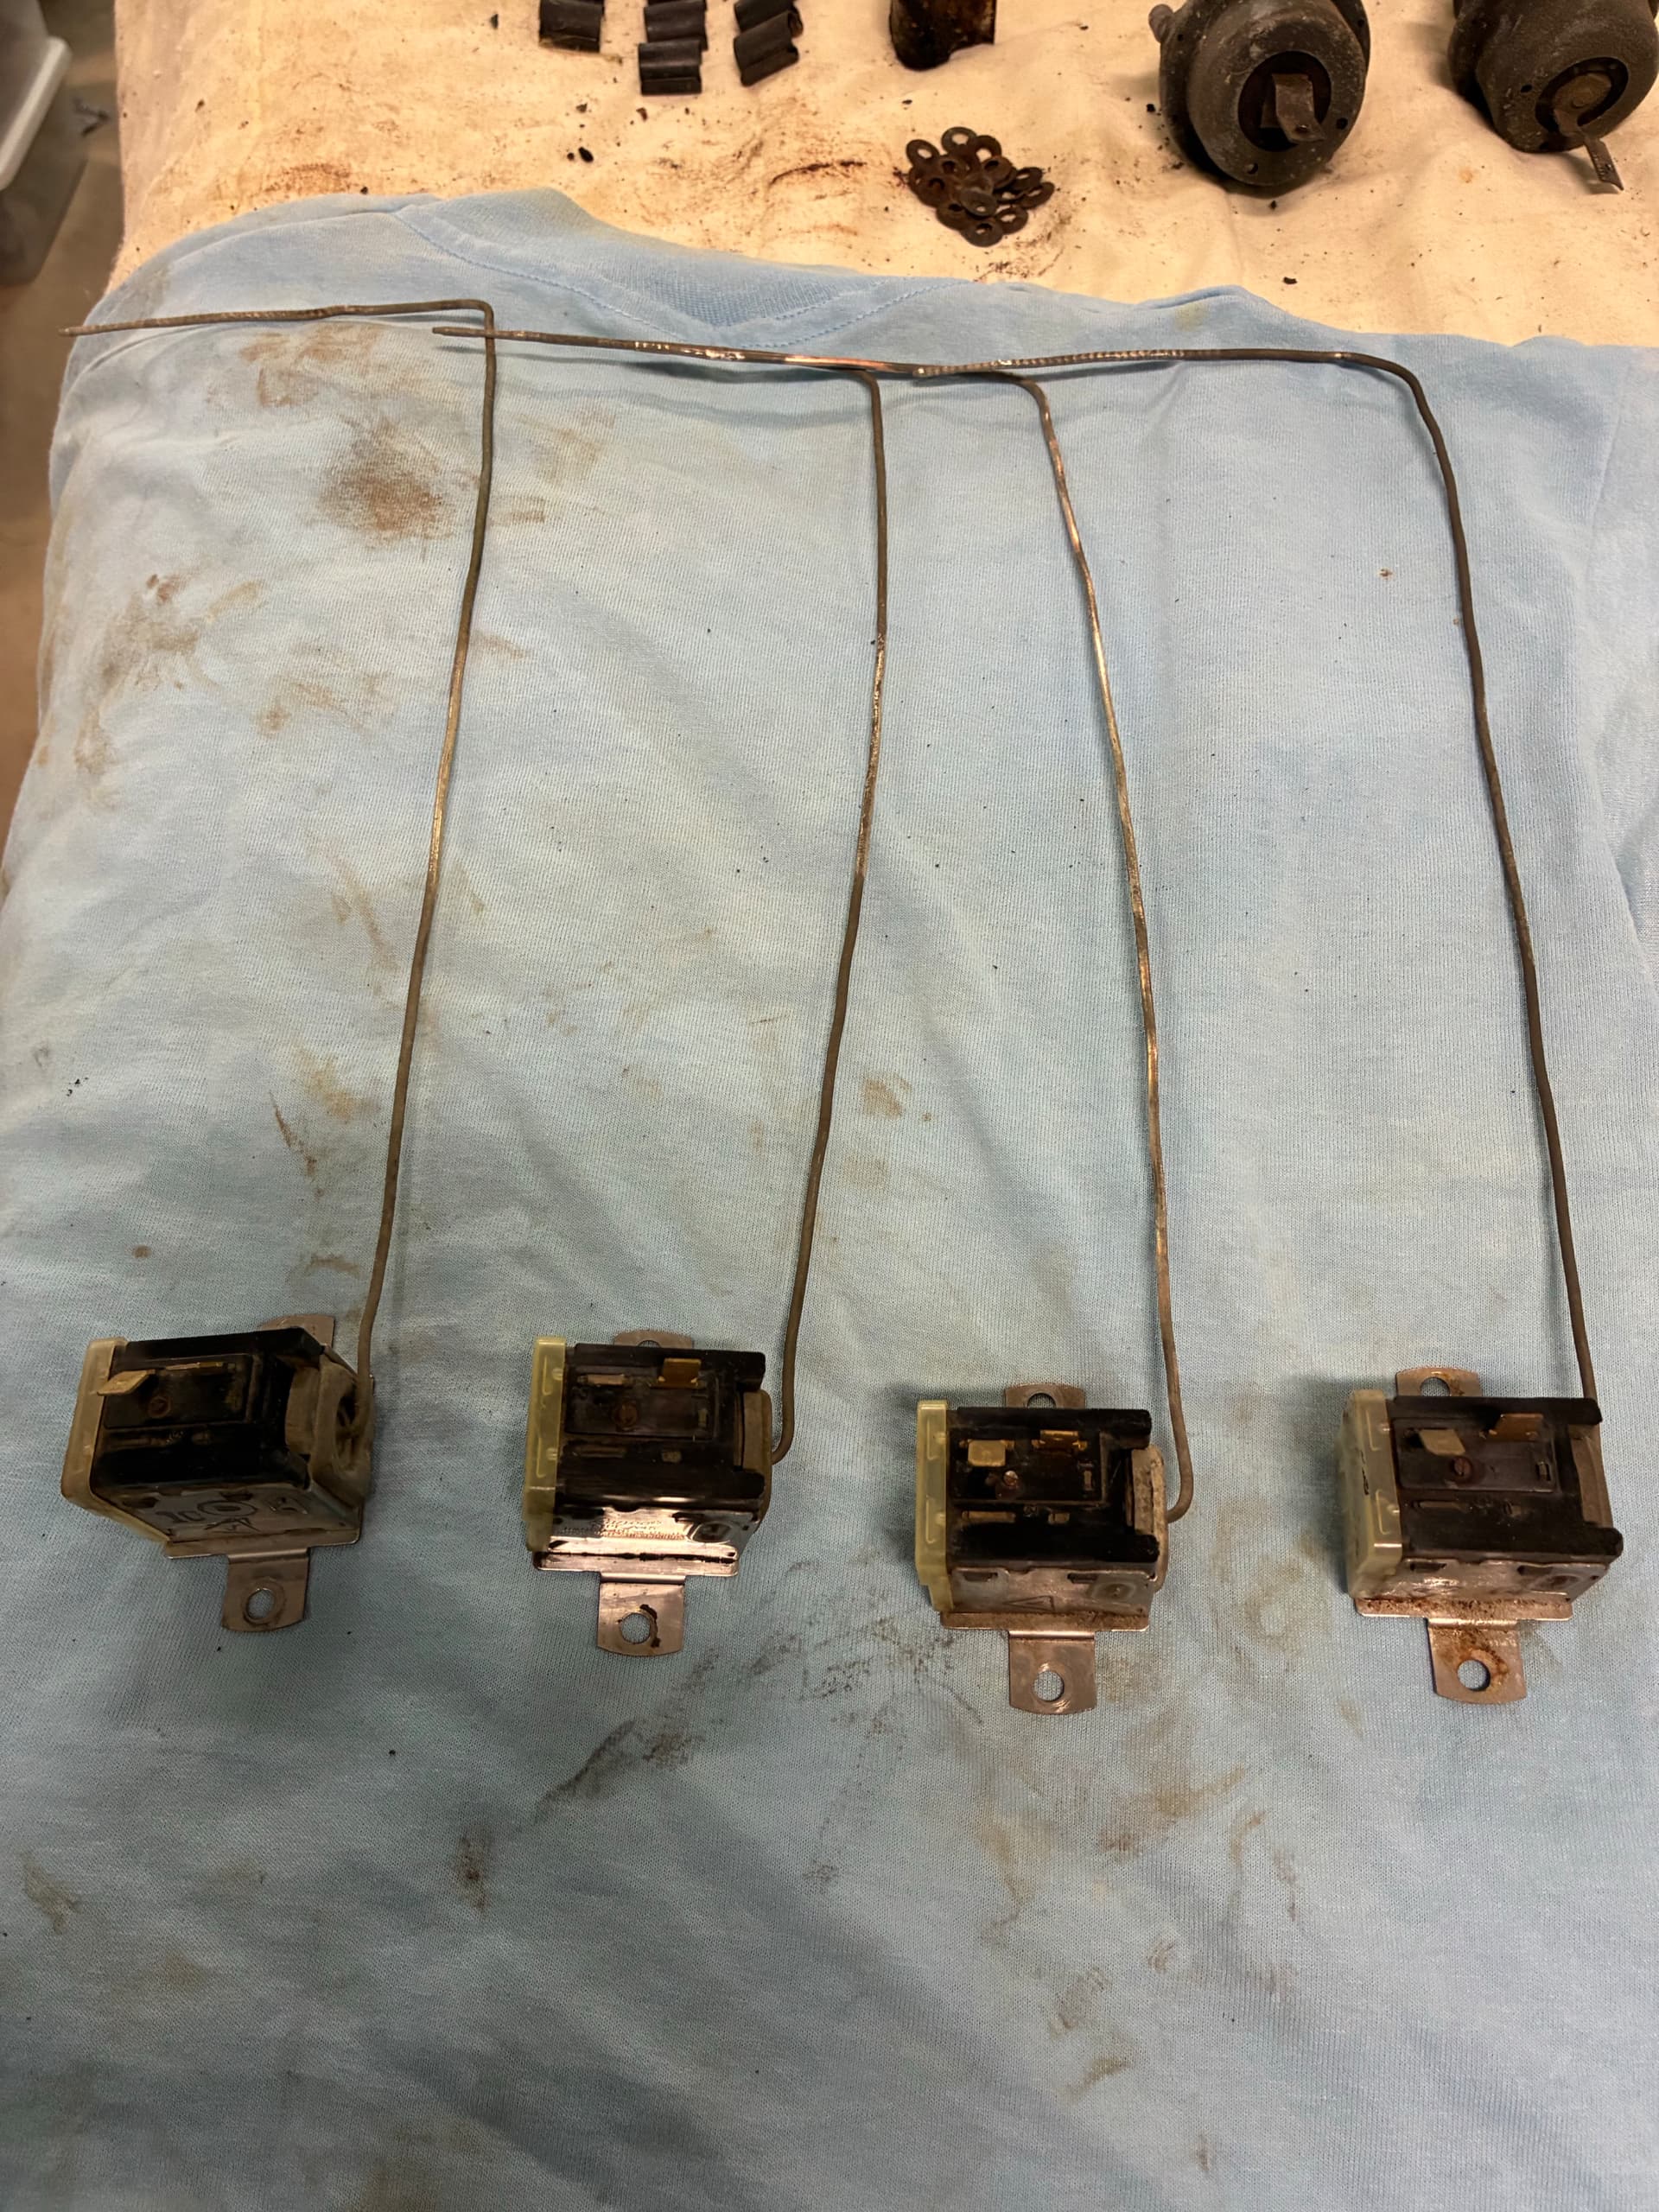
Here’s the remaining pile of parts I’ve yet to deal with. I’m undecided whether or not I’ll paint the vacuum switches. They will require hand sanding and I’ll have to get some appropriate brown paint.
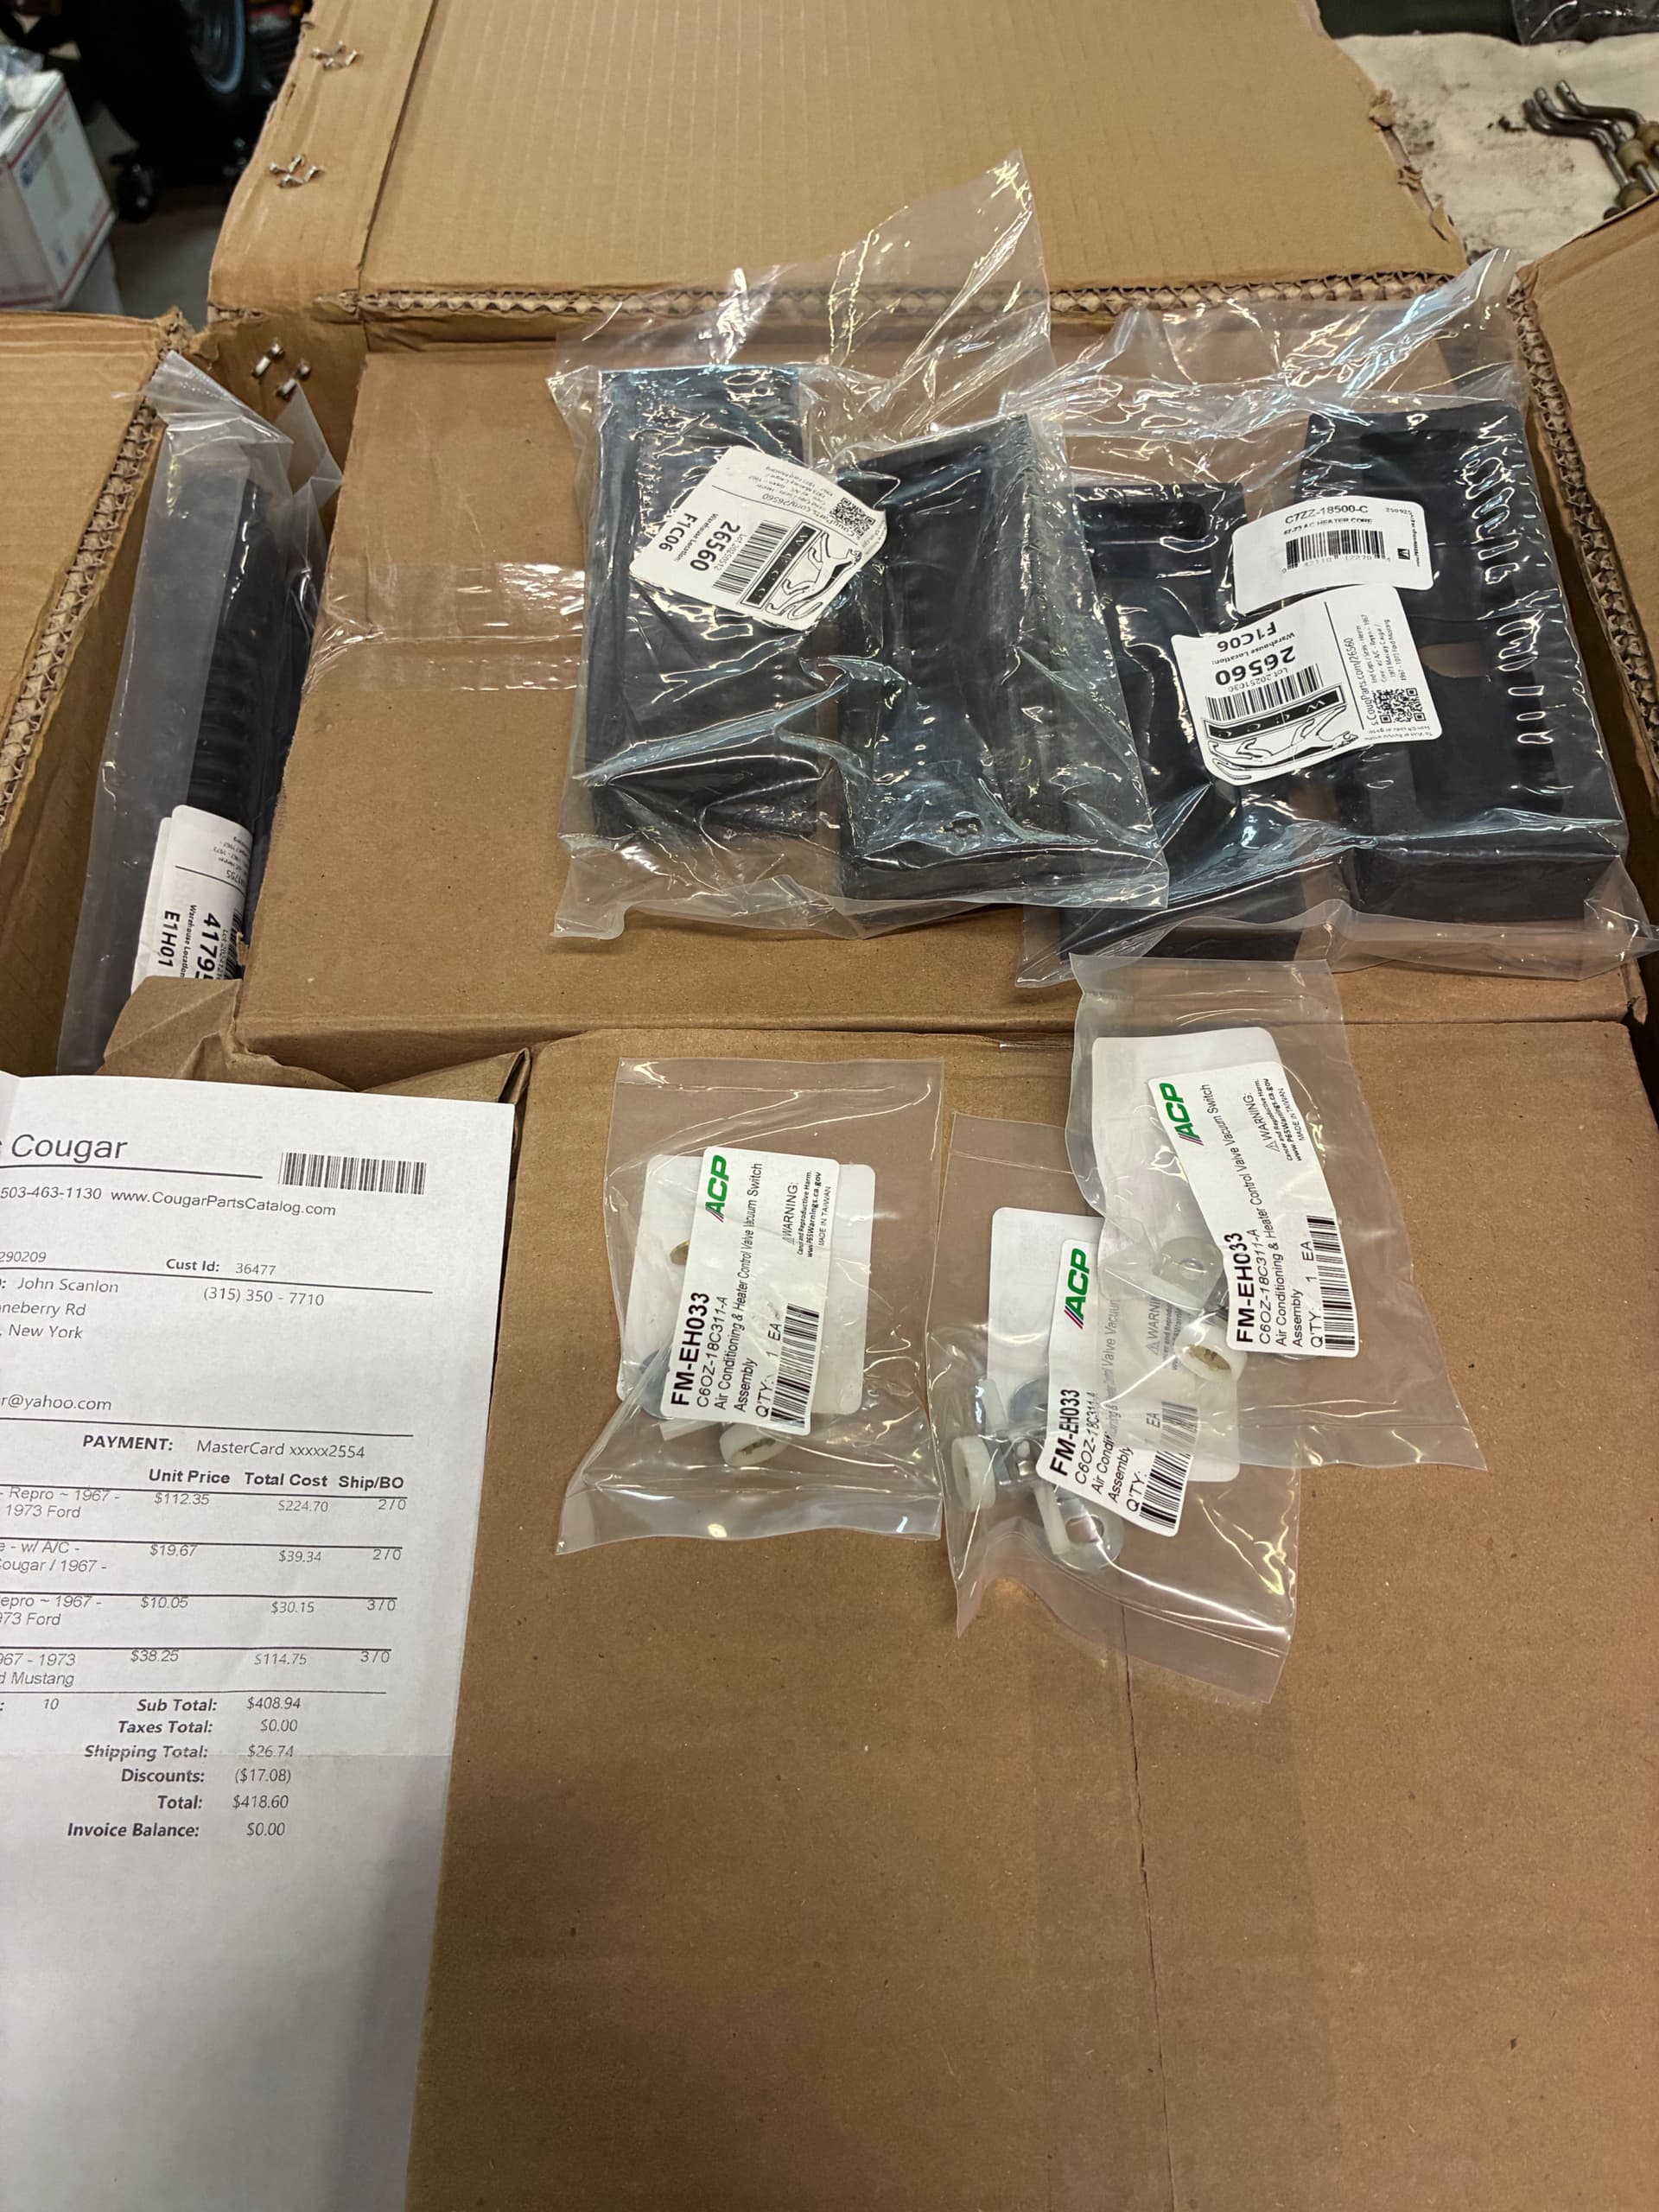
Progress is going to be a little slow waiting for parts and materials. WCCC order with heater cores and switches is on the way. Adhesive, plastic repair kit, on the way from Amazon.
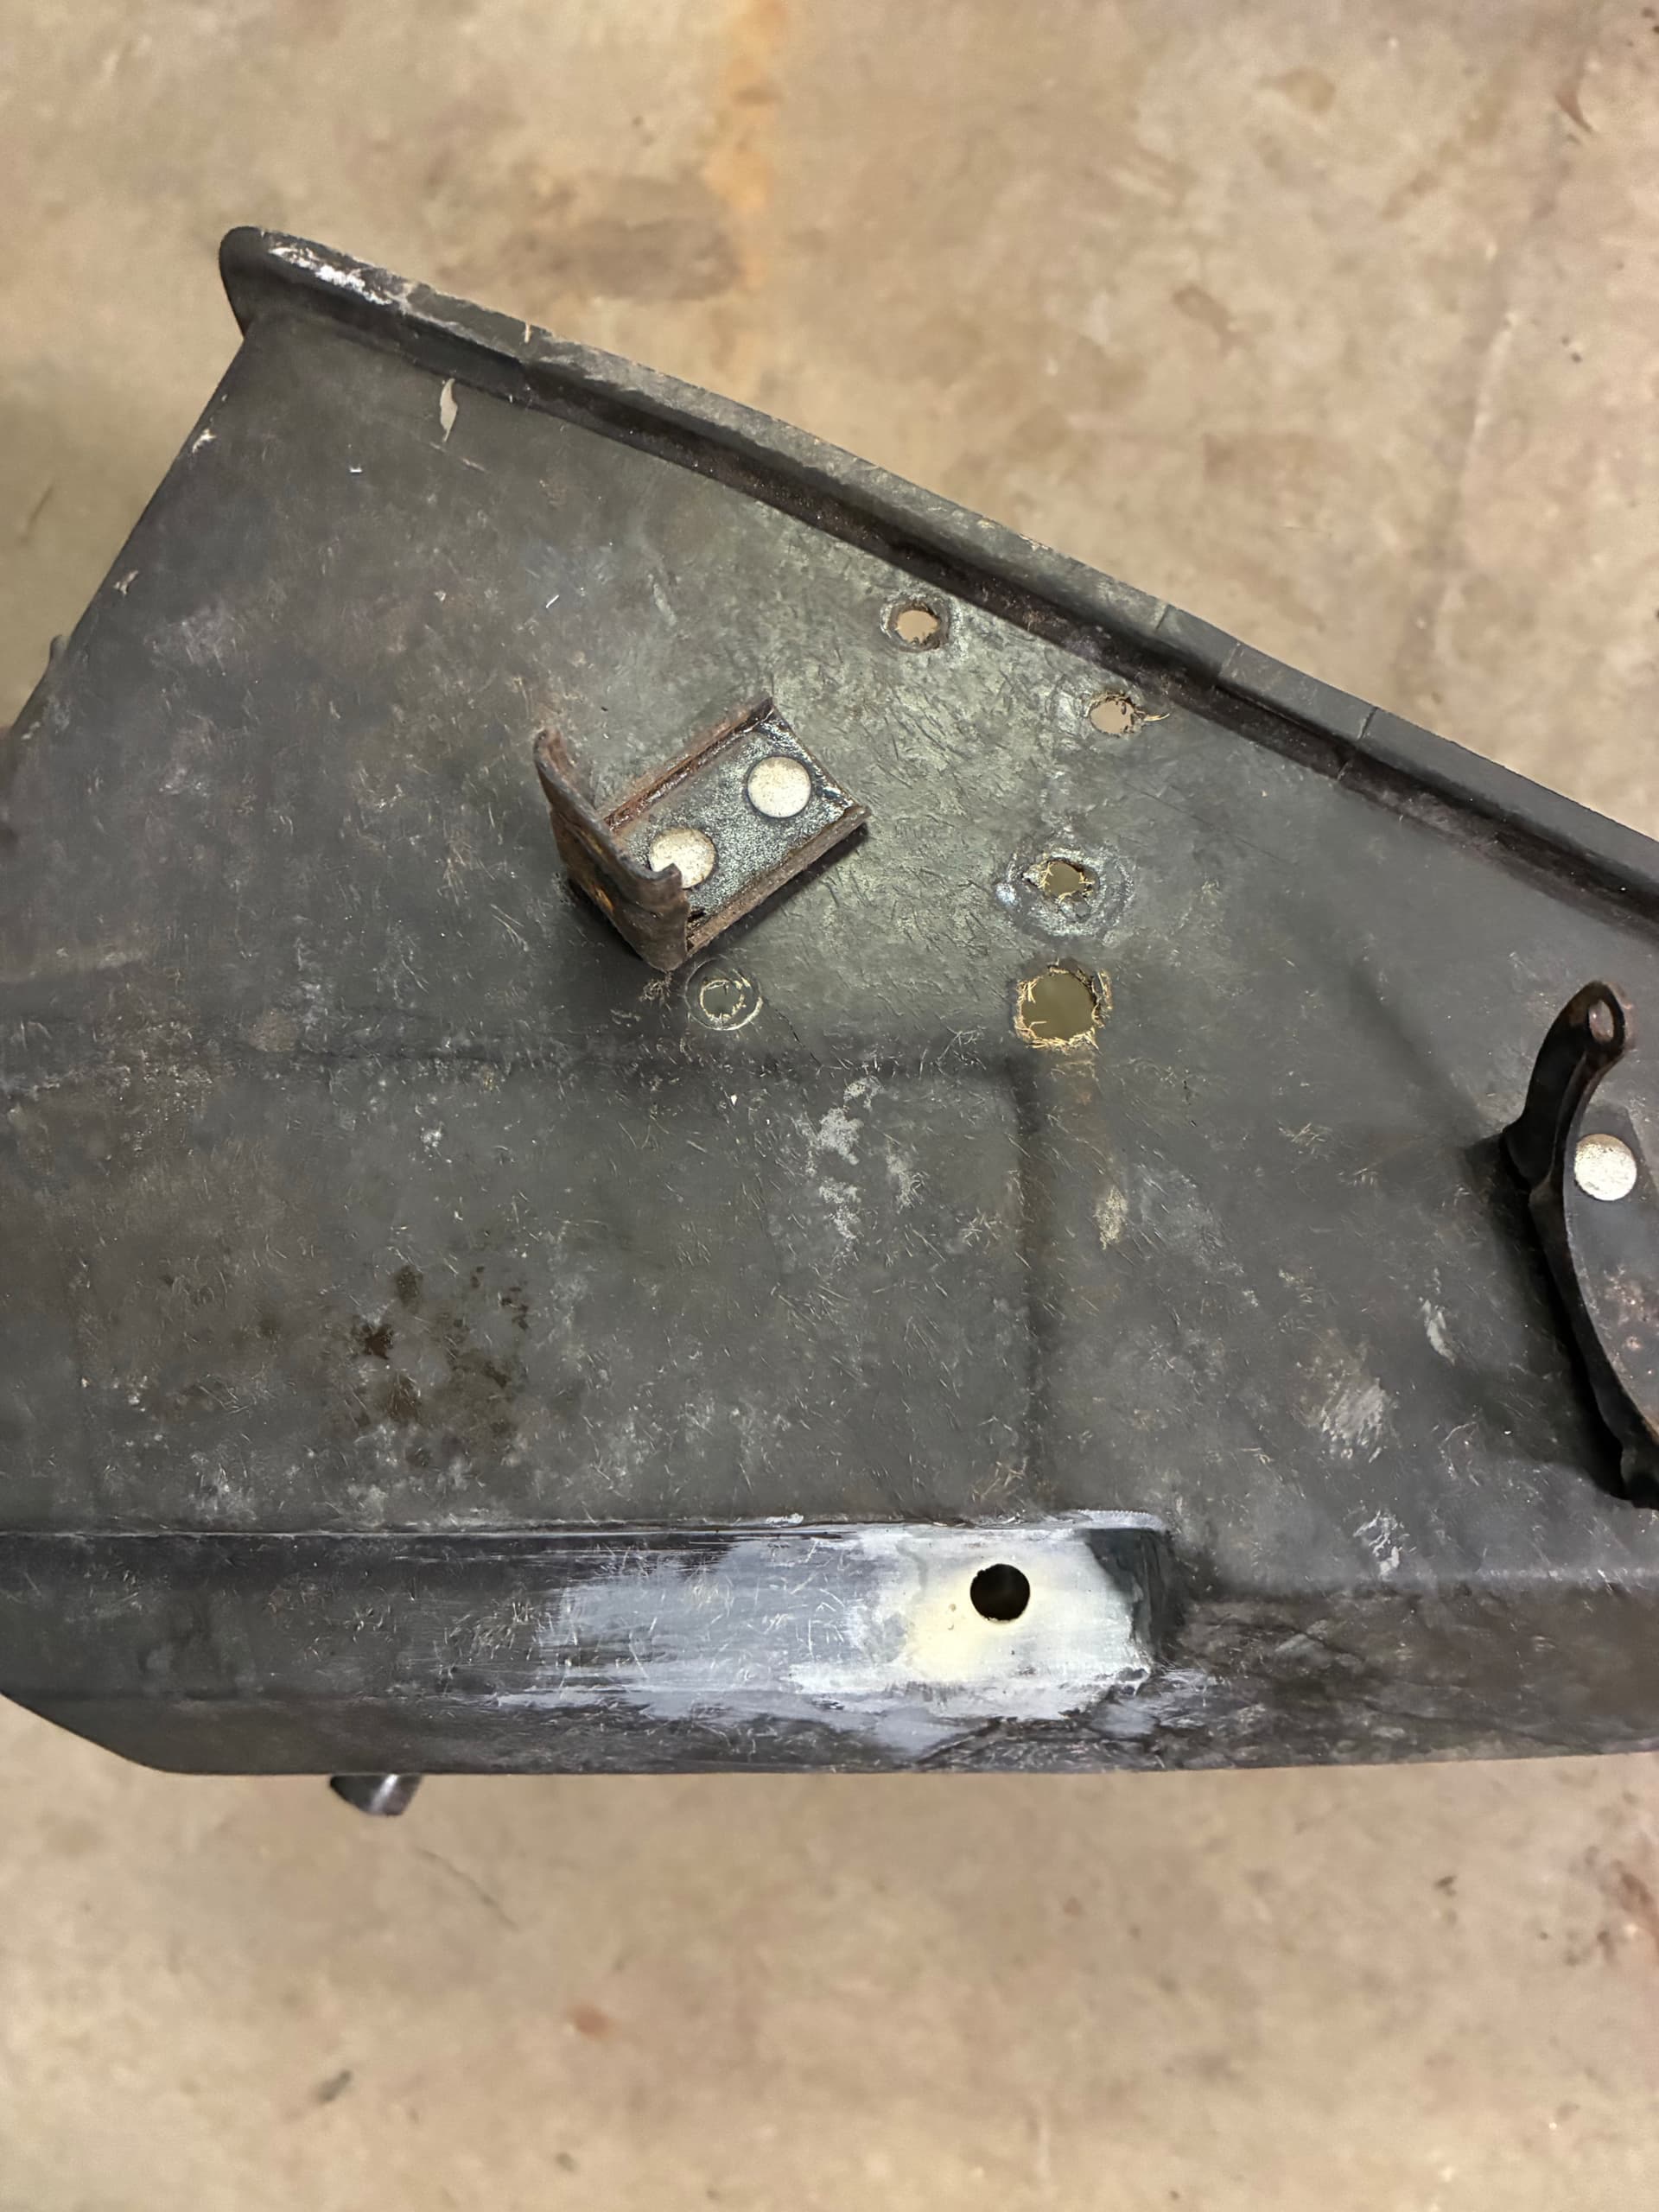
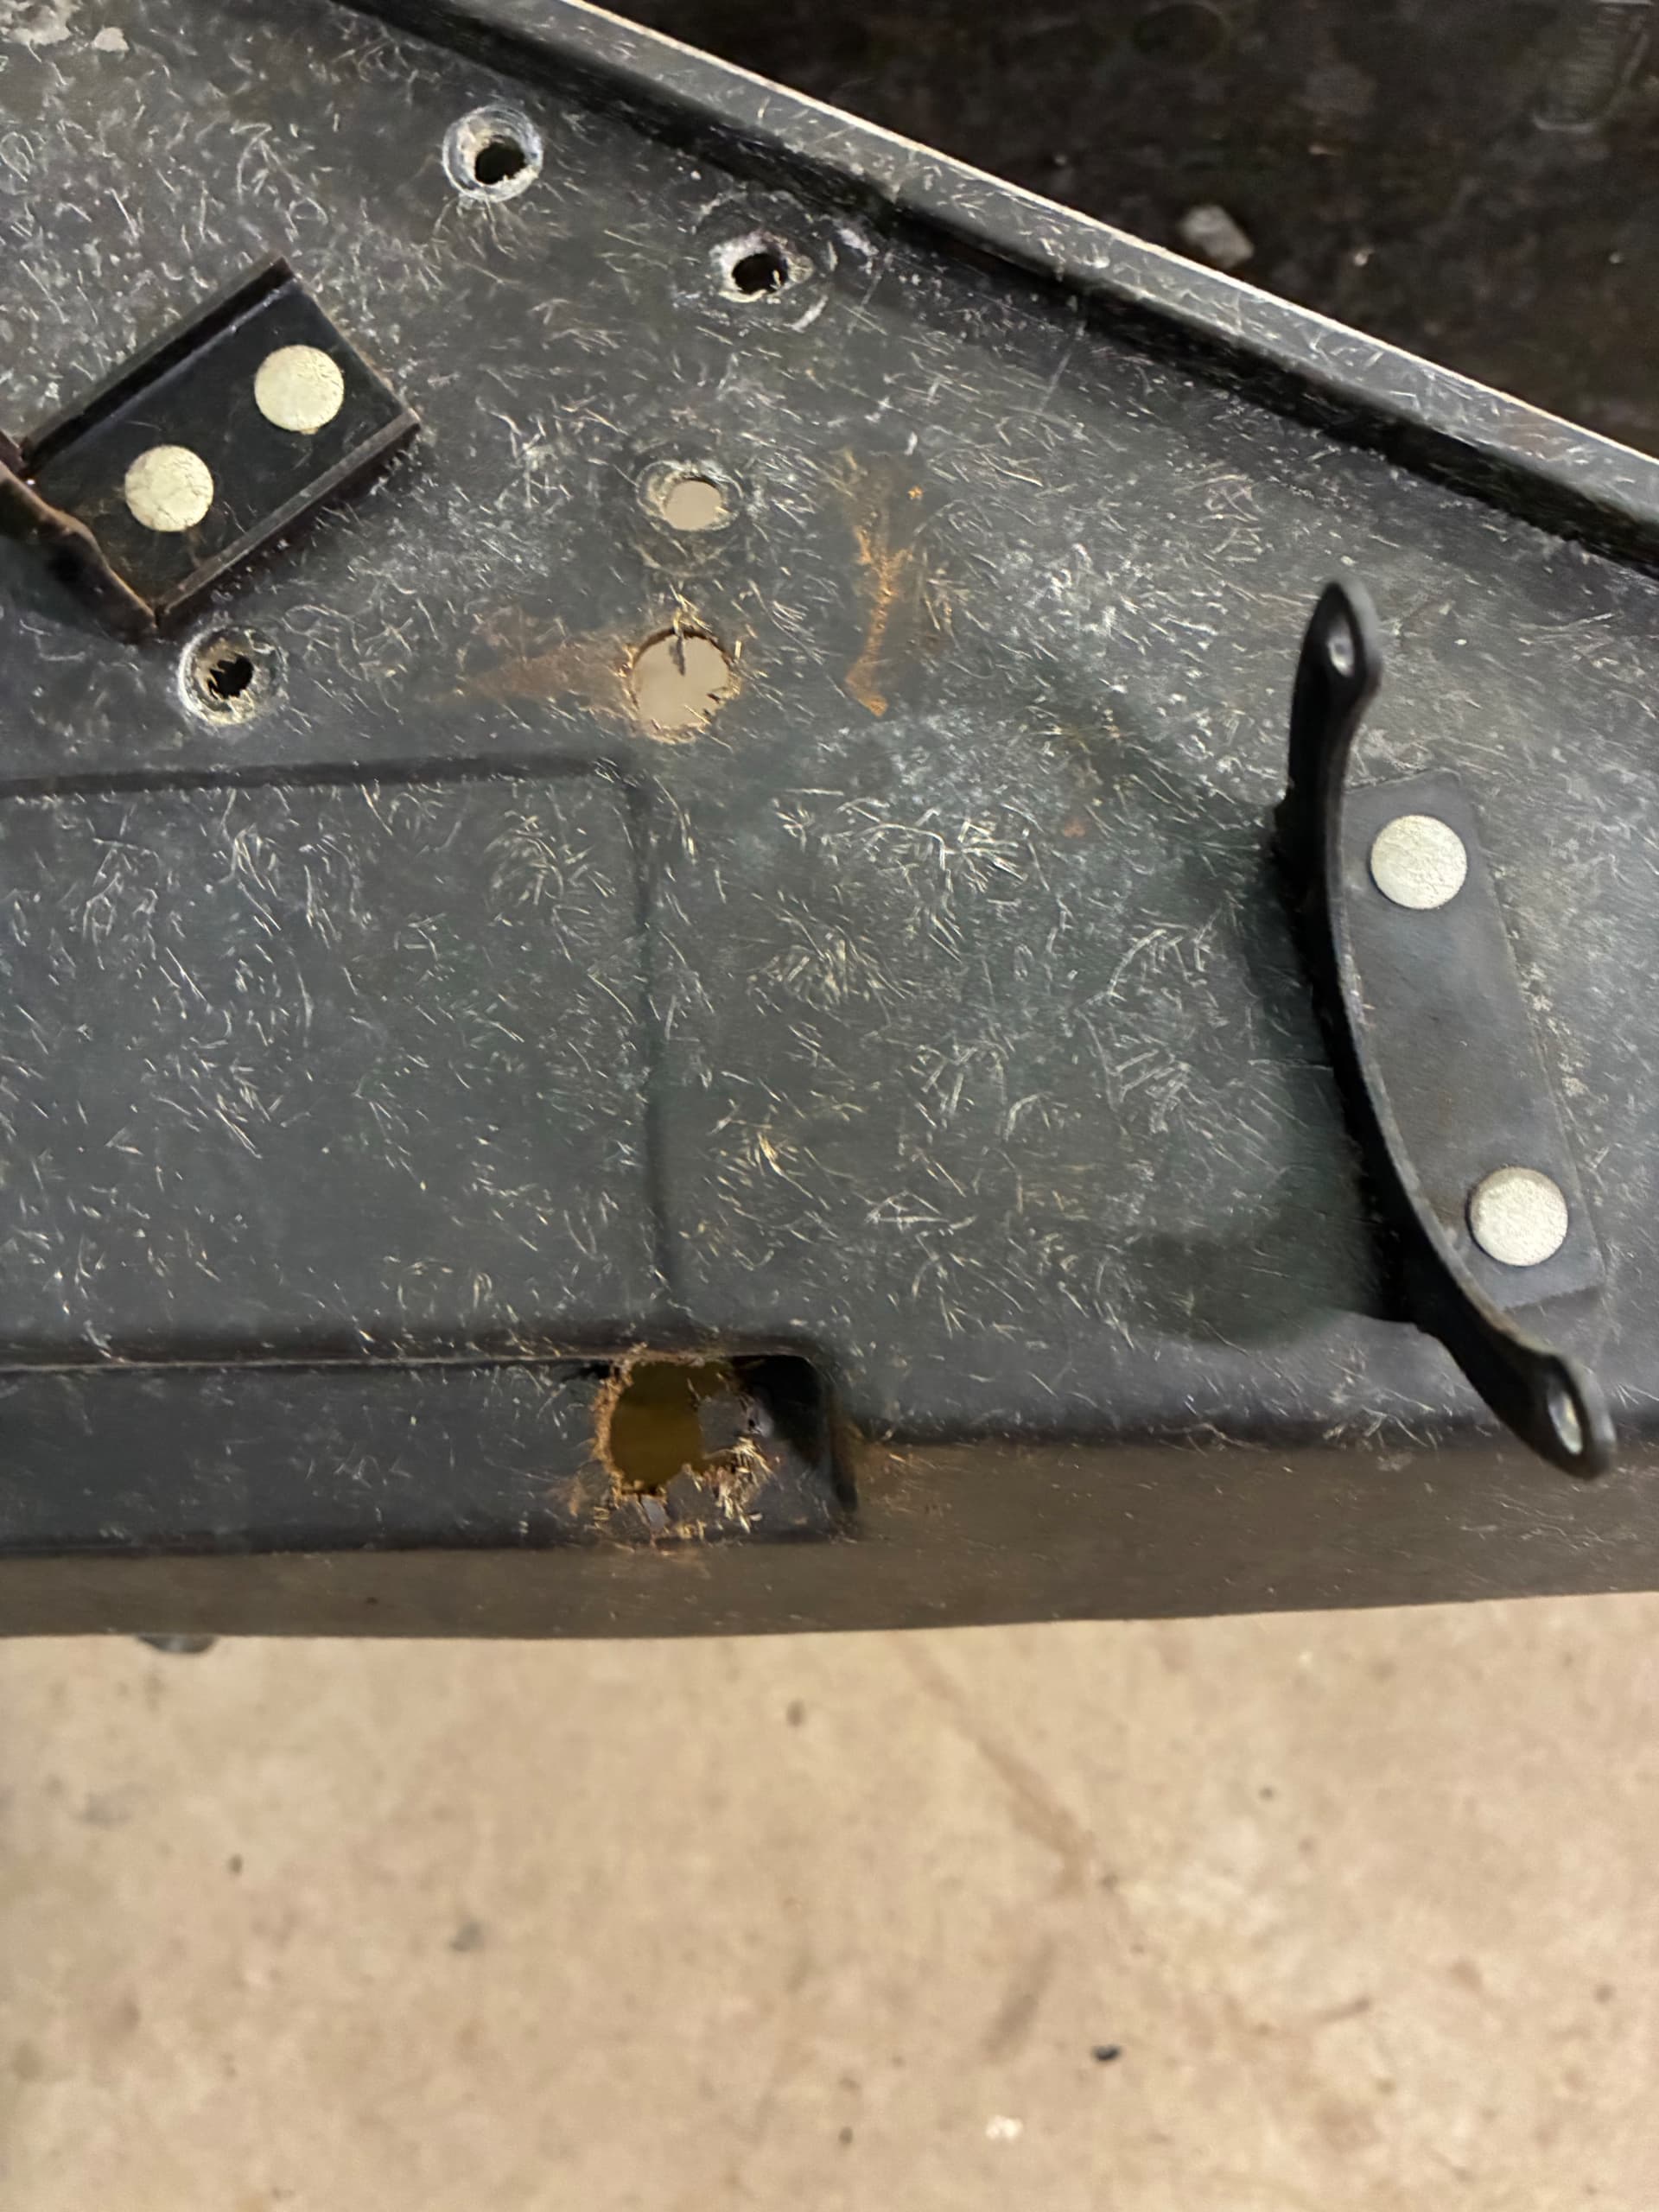
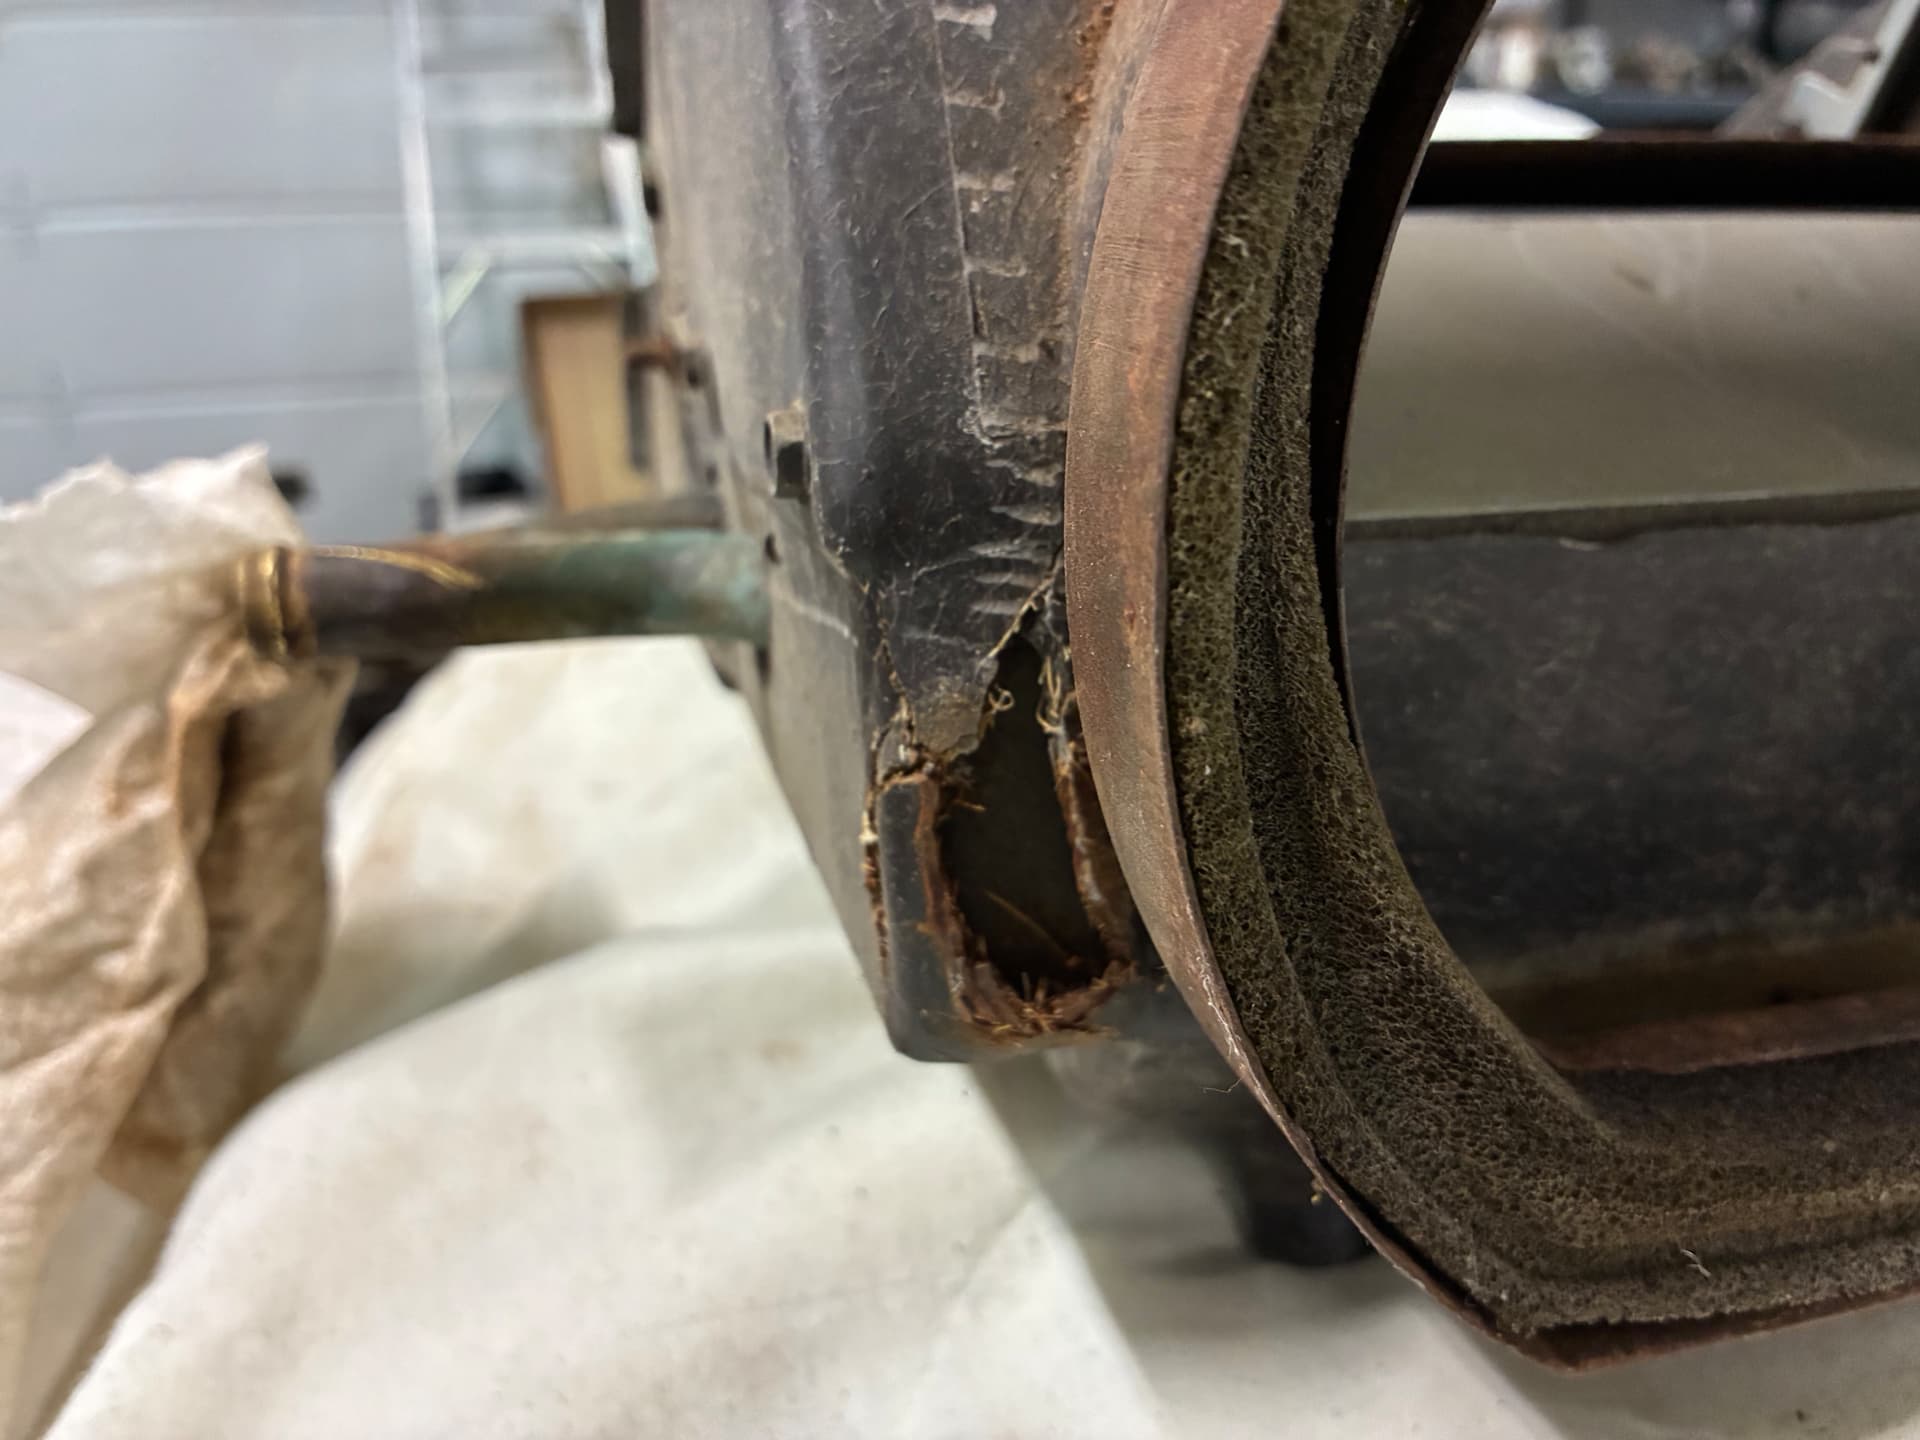
One box has already had repair completed. This was done with Fusor which make a lot of great products. The hole was blown out a little from disassembling it. Sometimes causing damage can’t be avoided since these are so fragile.
My neighbor repaired this with his material but I don’t want to be that guy and use his time and materials for everything. So I’ll just need to be patient for the next one.
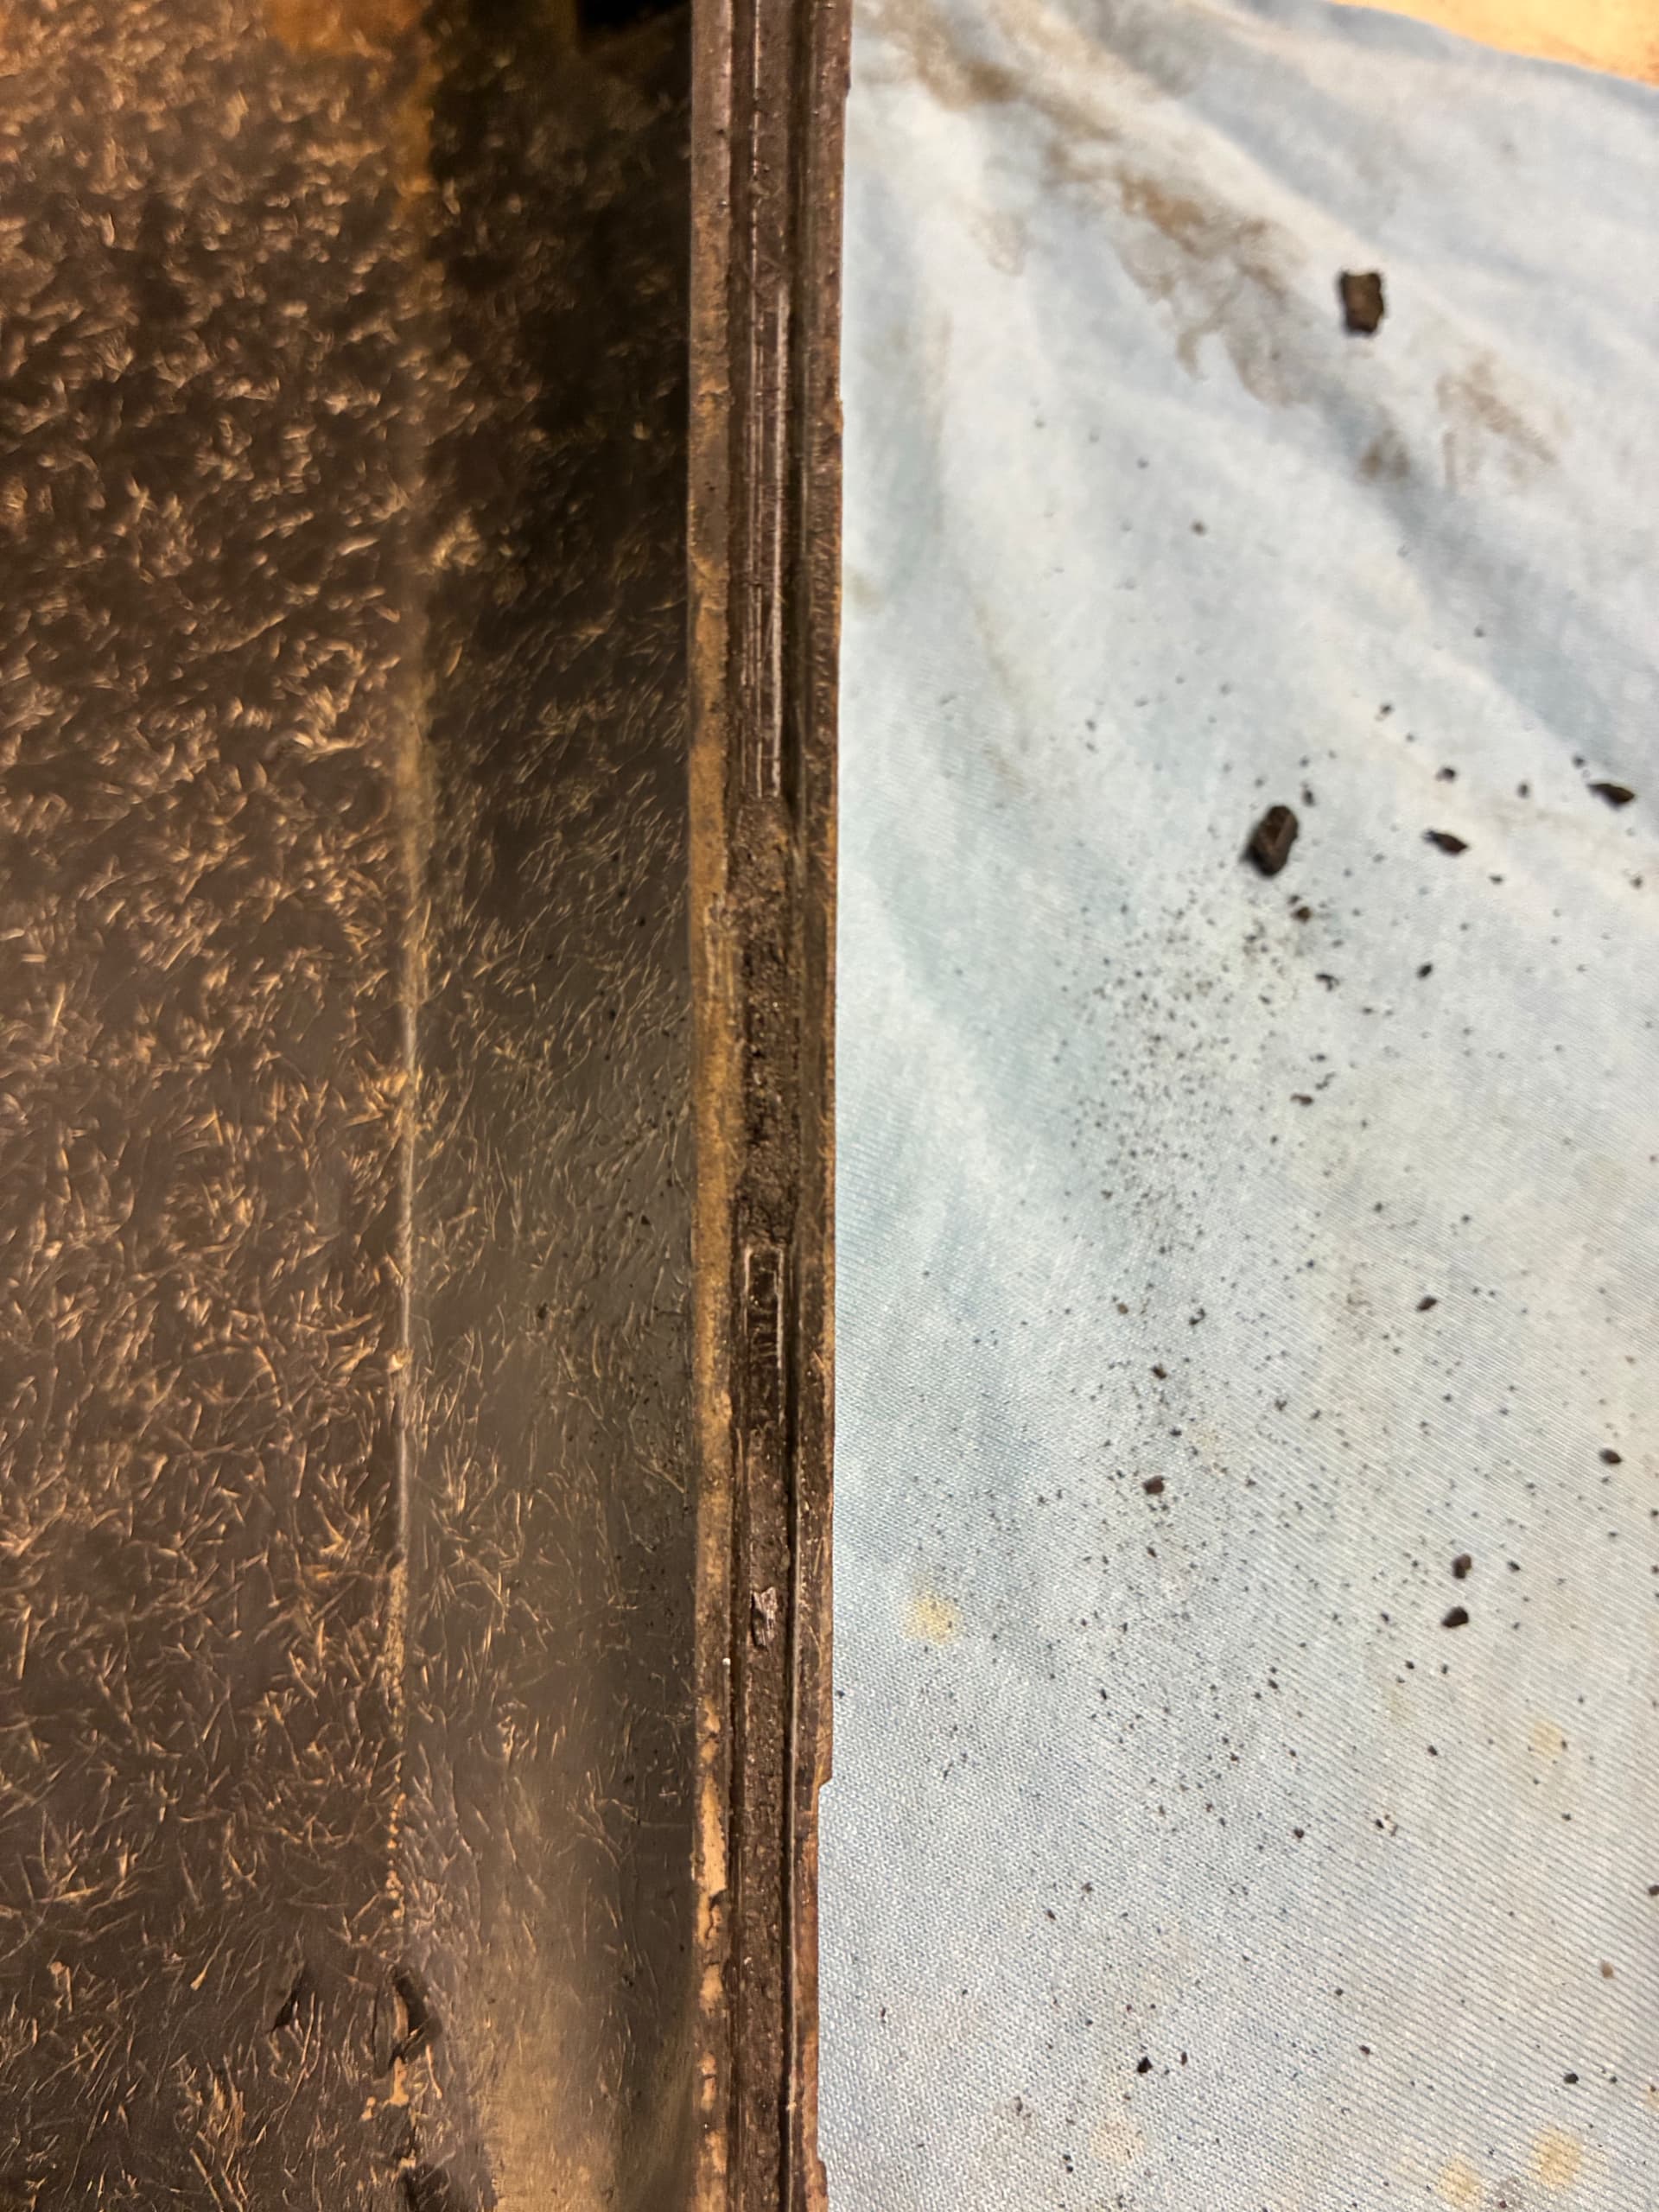
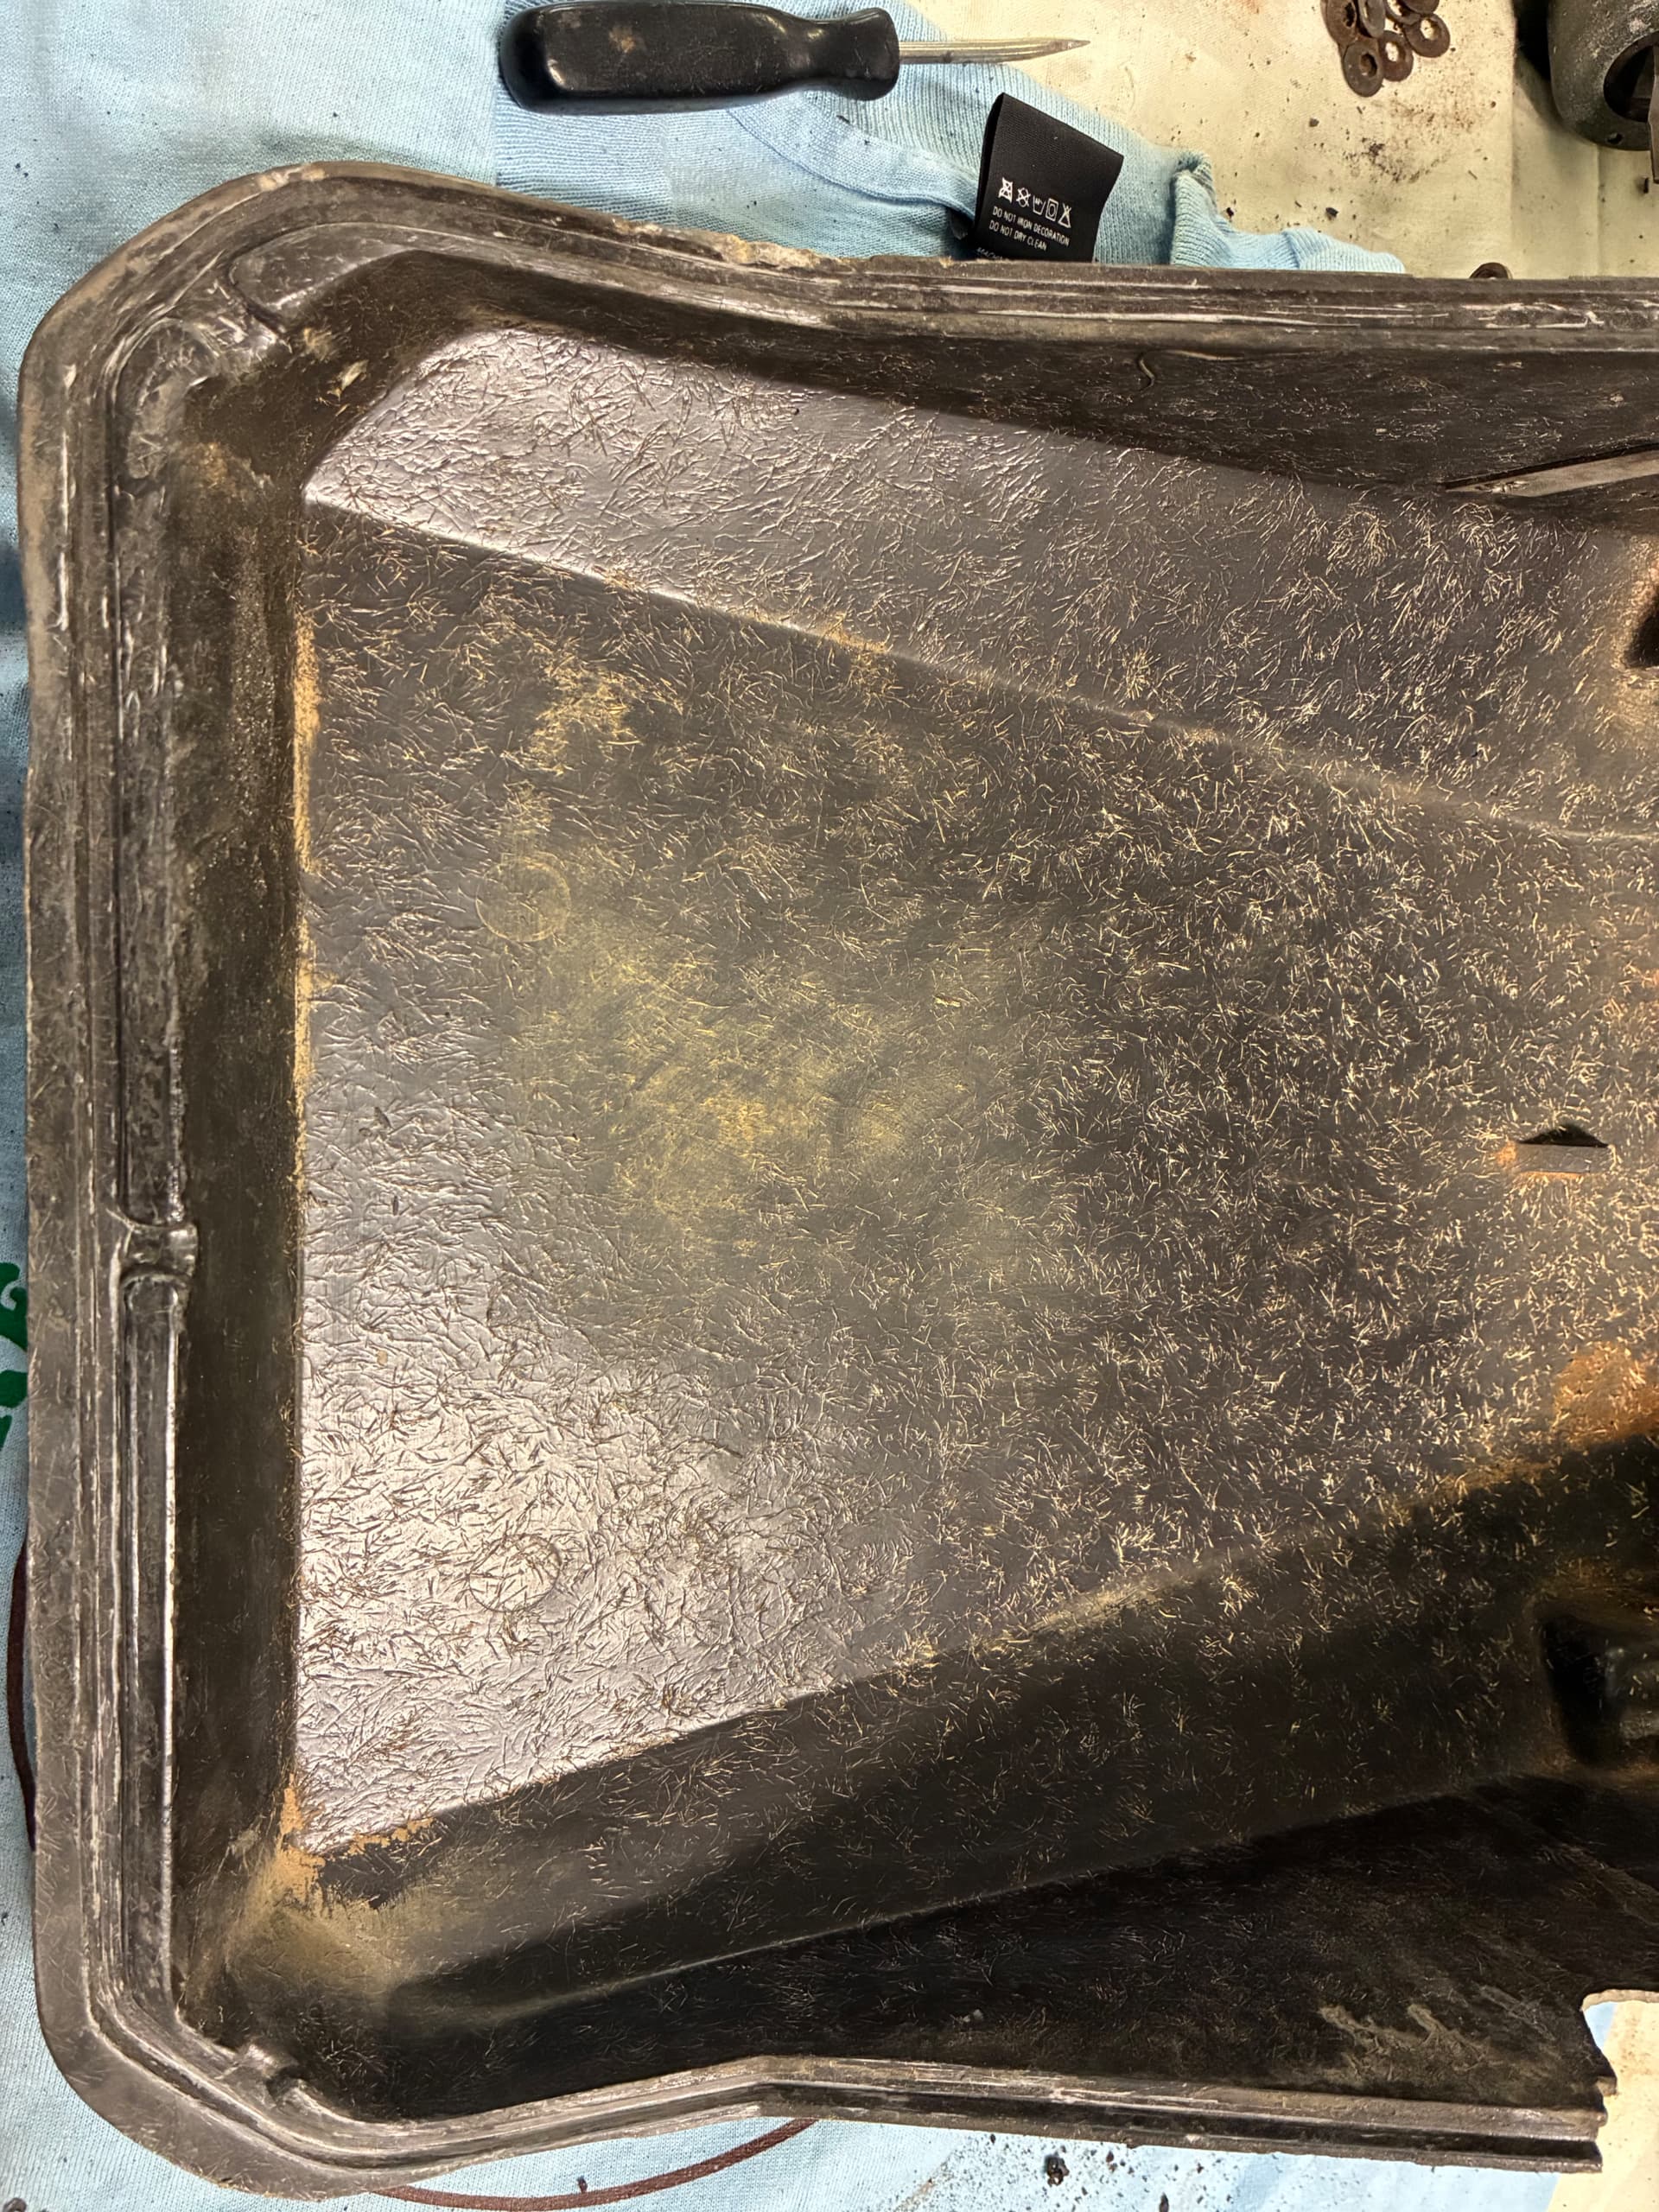
The bottom picture is an area that’s completely covered when the heater core is installed. I’m going to attempt to fix it anyway even though it won’t affect the functionality.
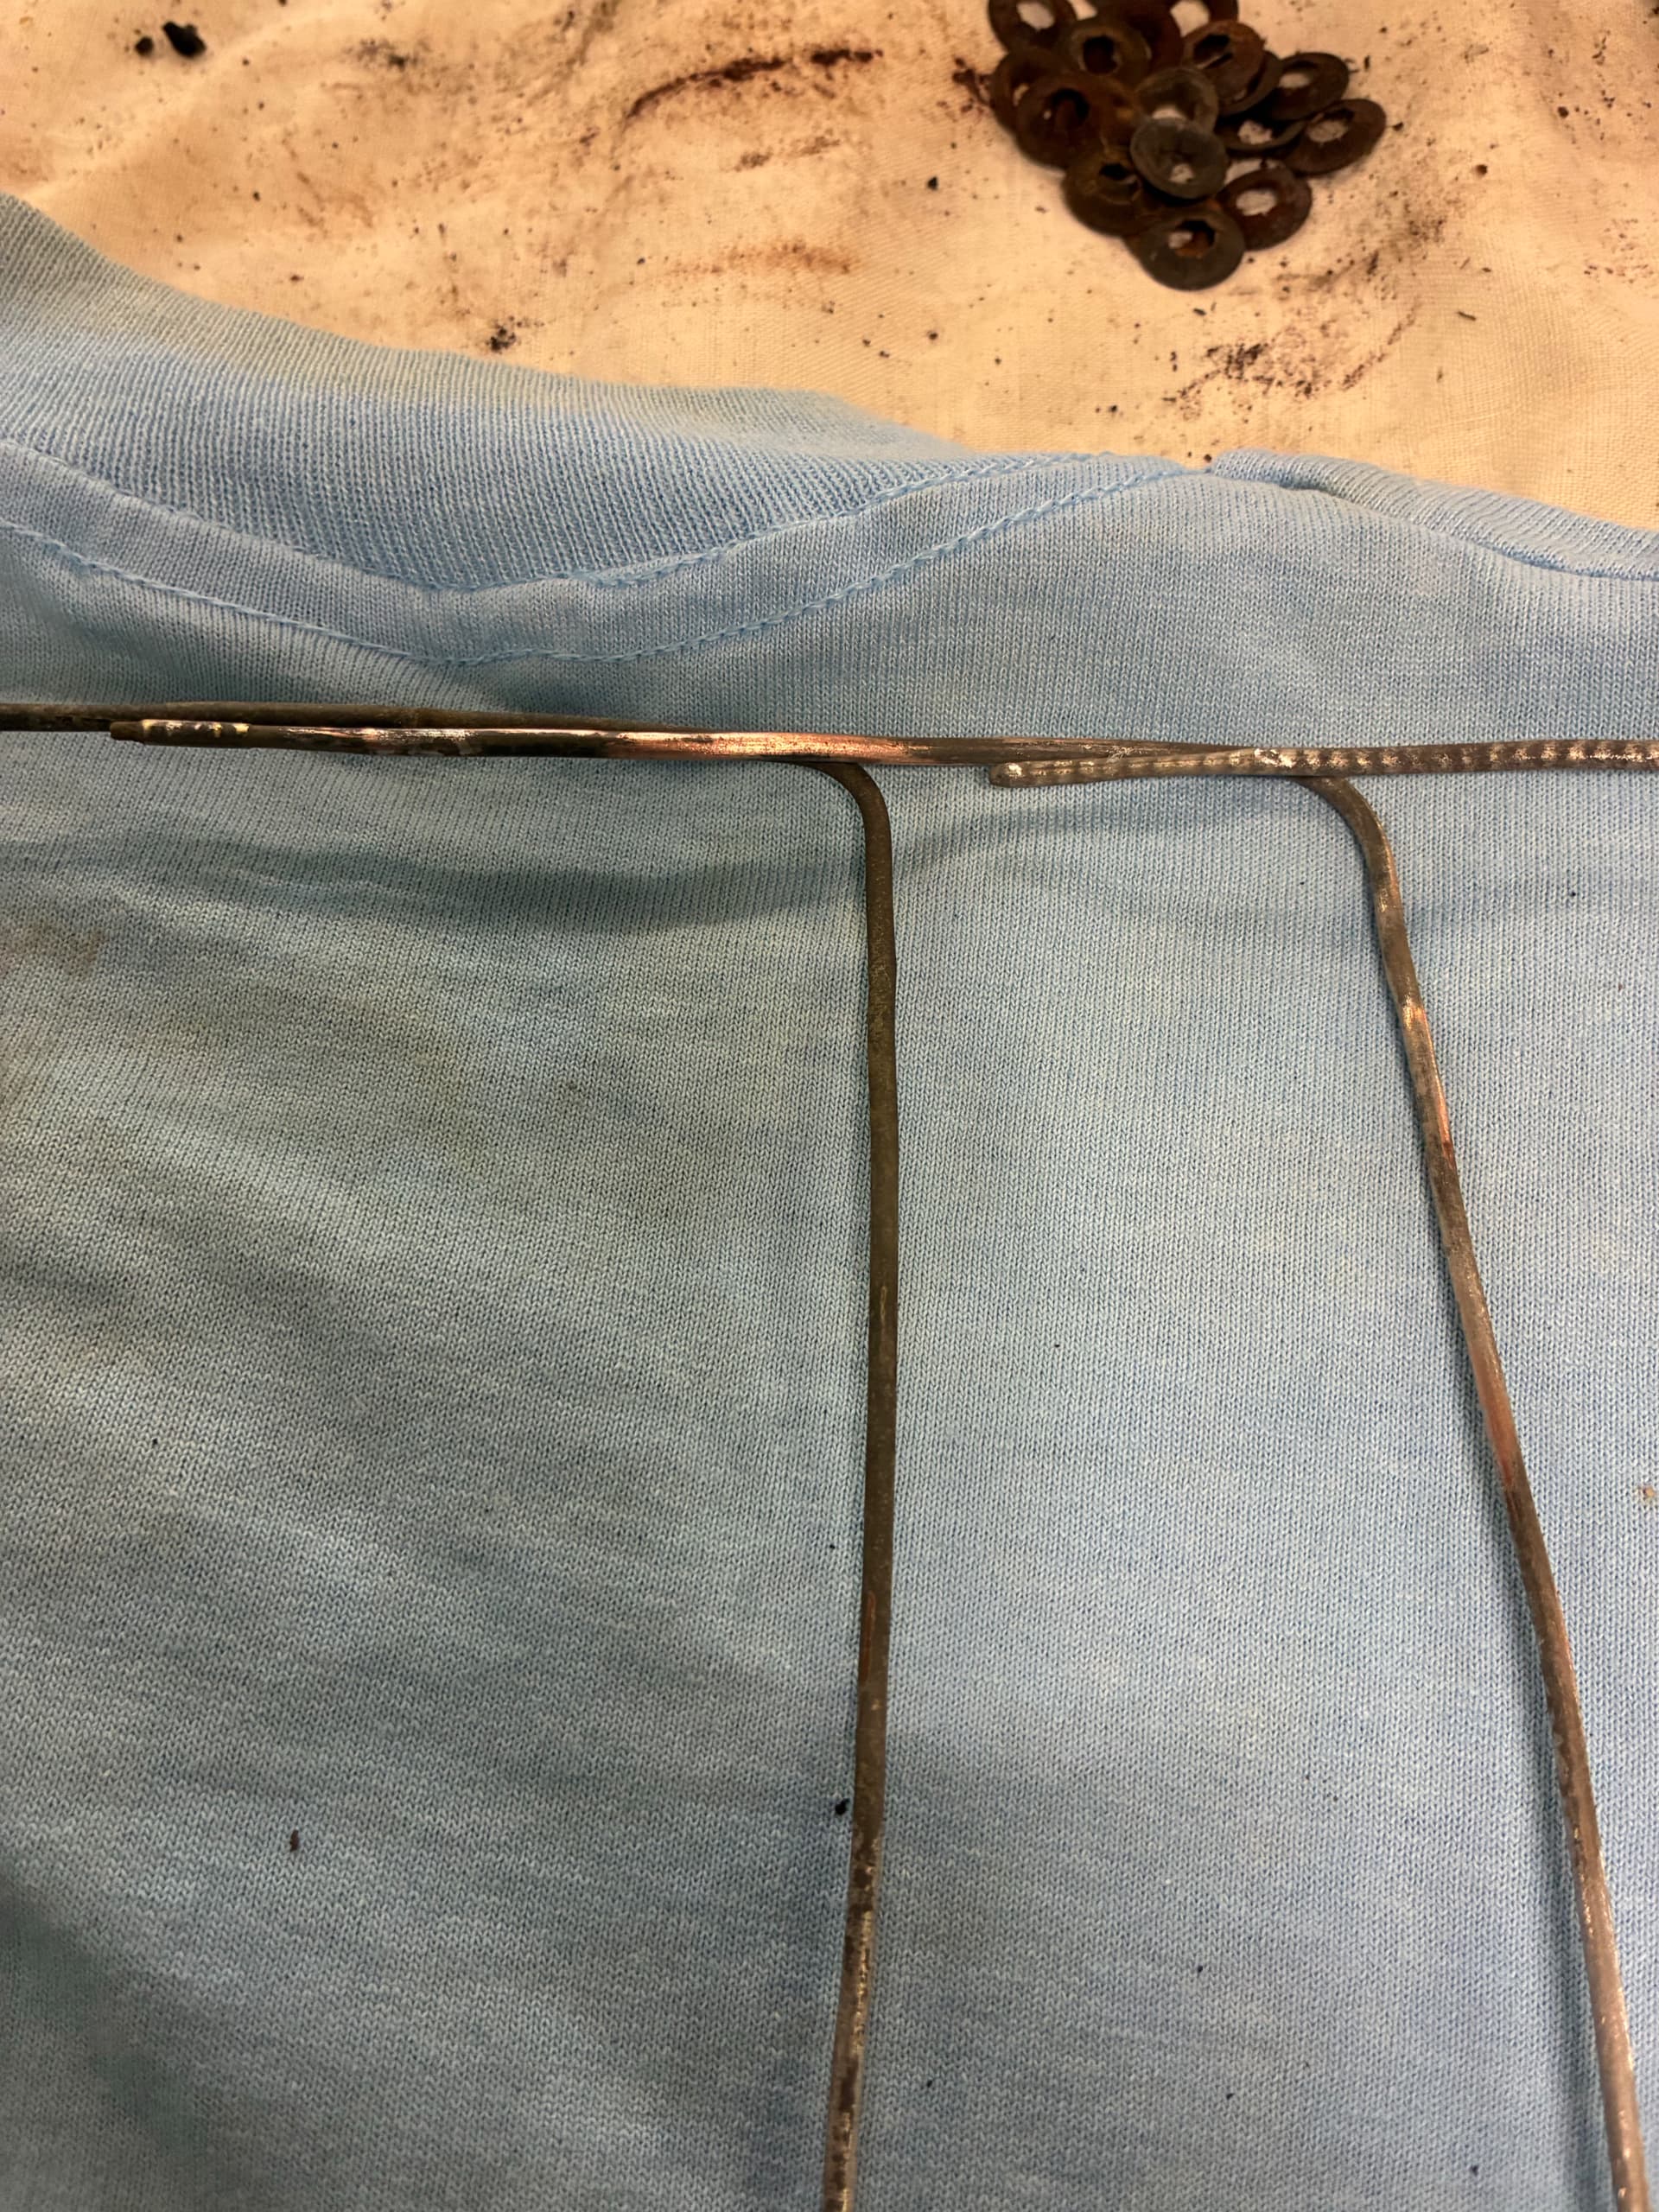
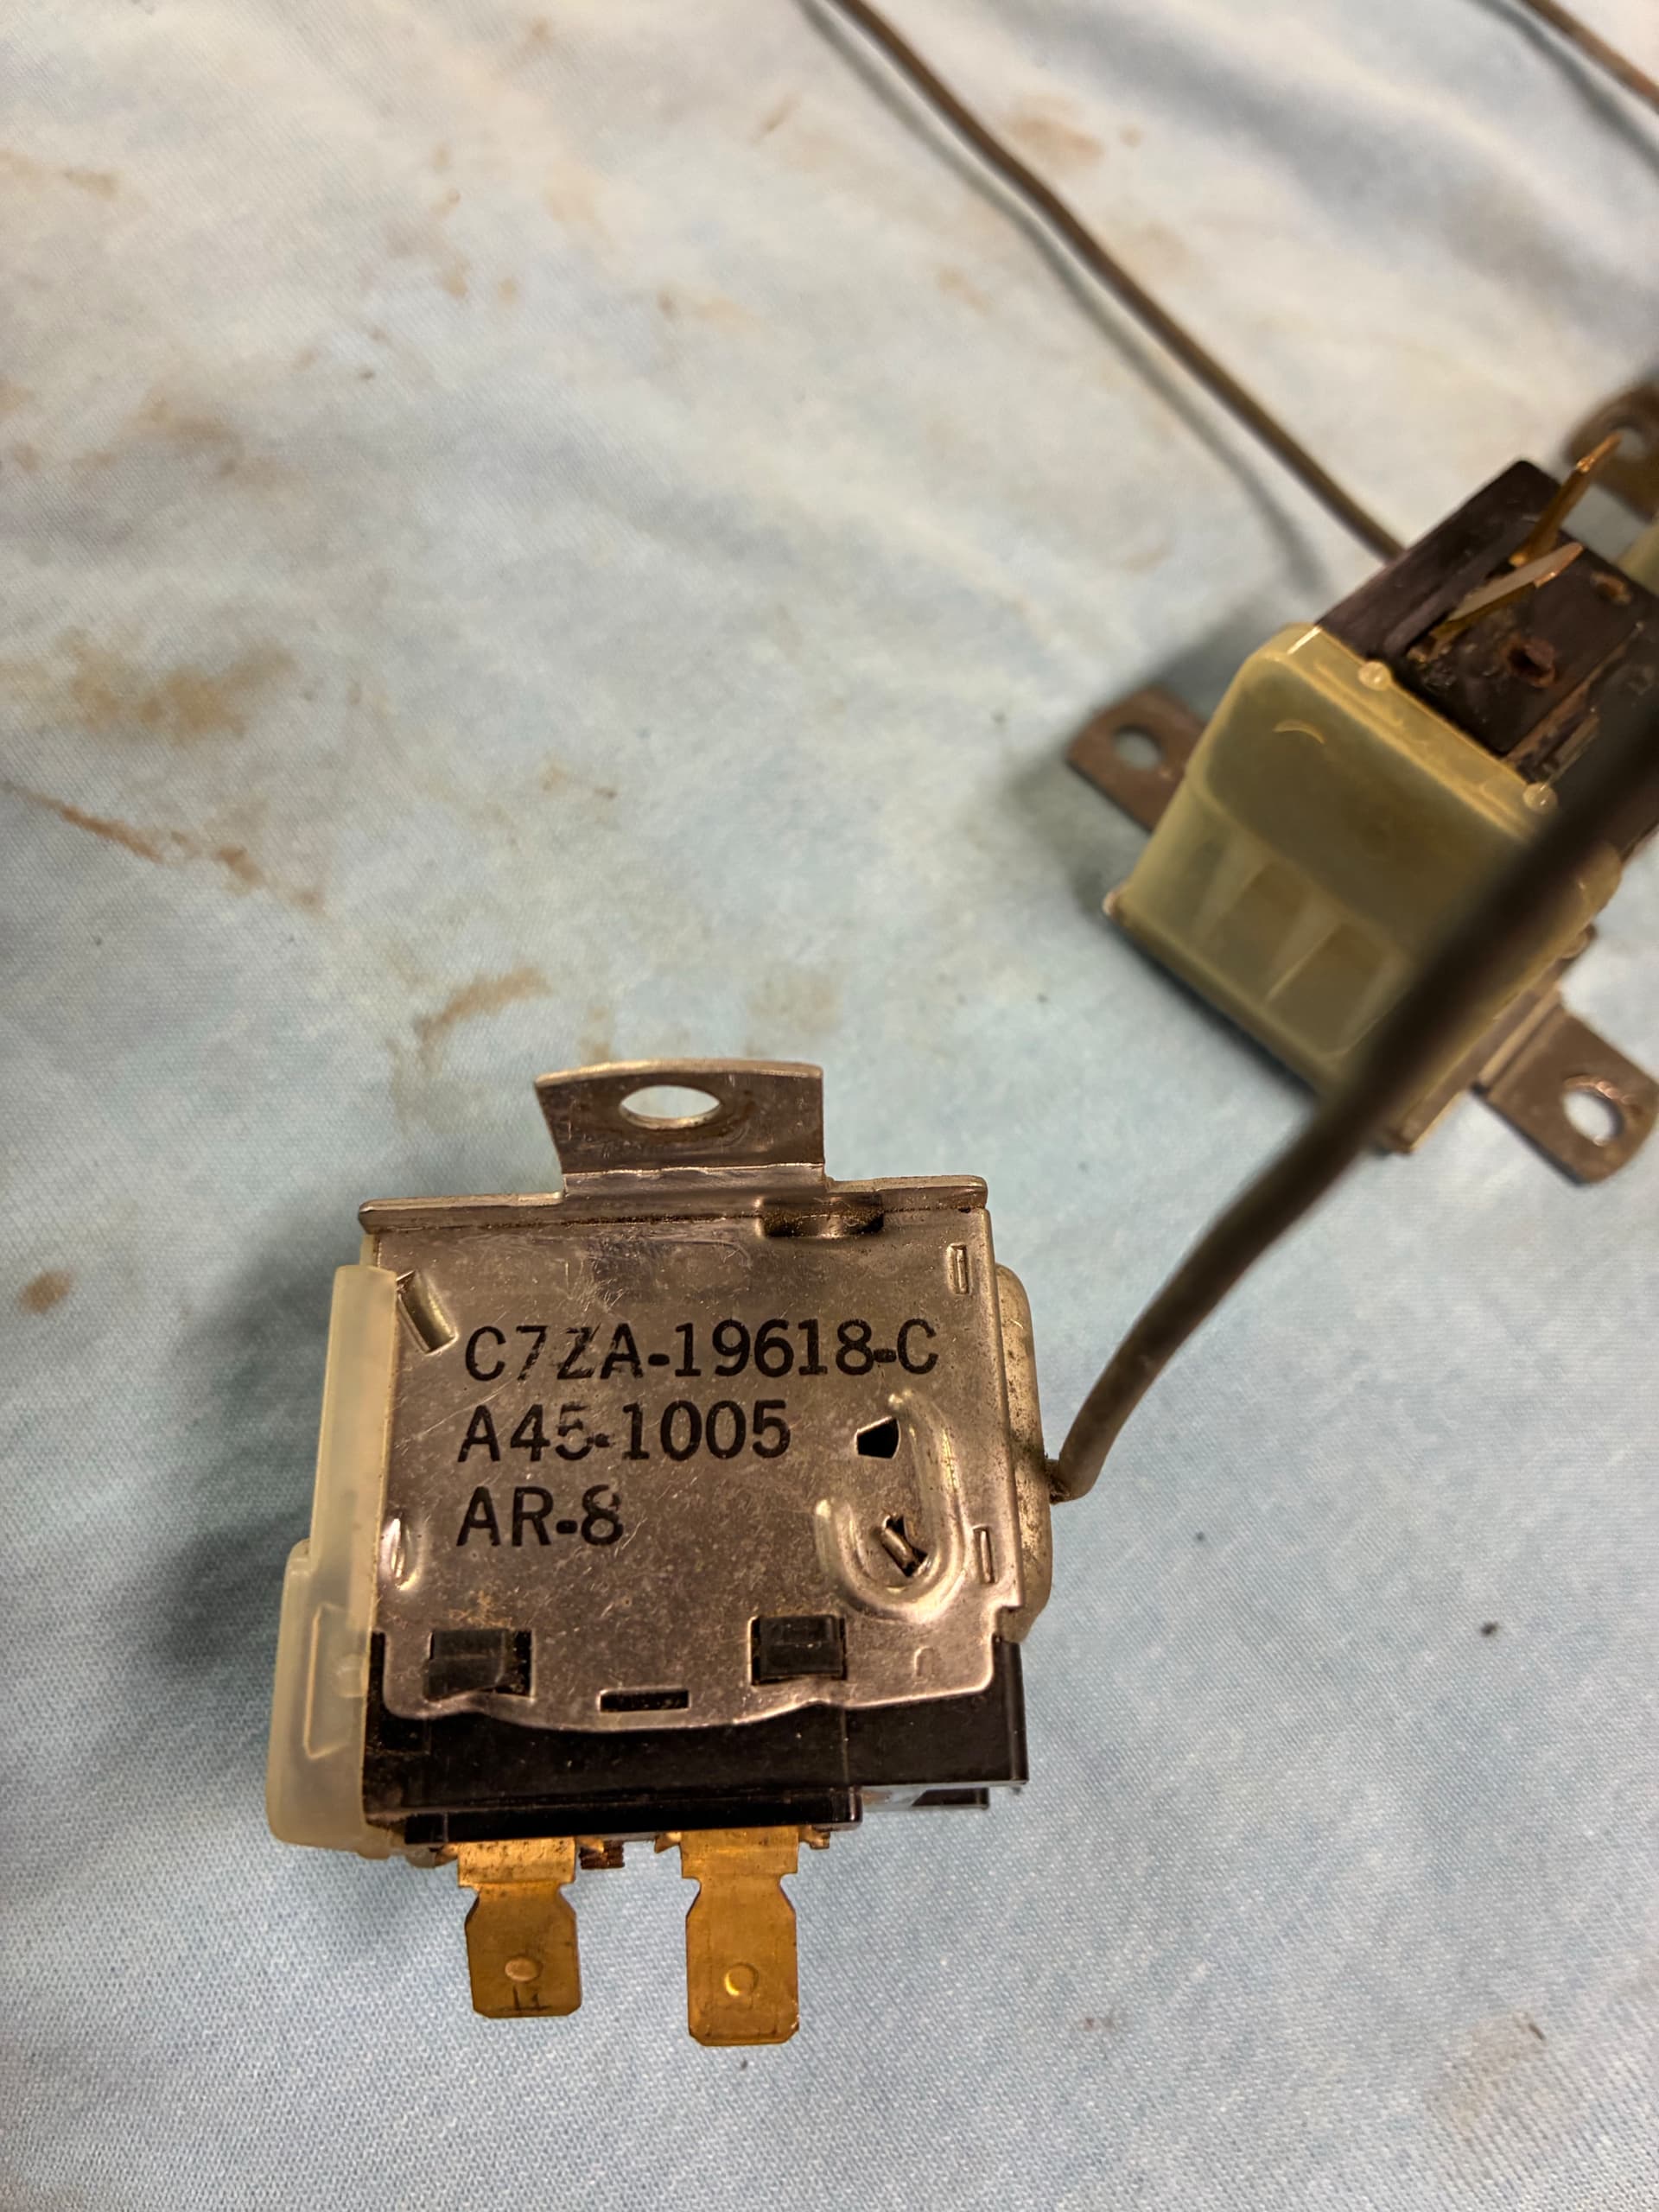
There was a little corrosion on the sensor wires. You’ll notice that when you remove that it may expose some of the copper. I don’t think that will affect the function, but I’ll find out when I figure out how to test them. A word of caution about the housing, don’t use any type of degreaser to clean them or you’ll wipe the part numbers off like an eraser on a chalkboard.
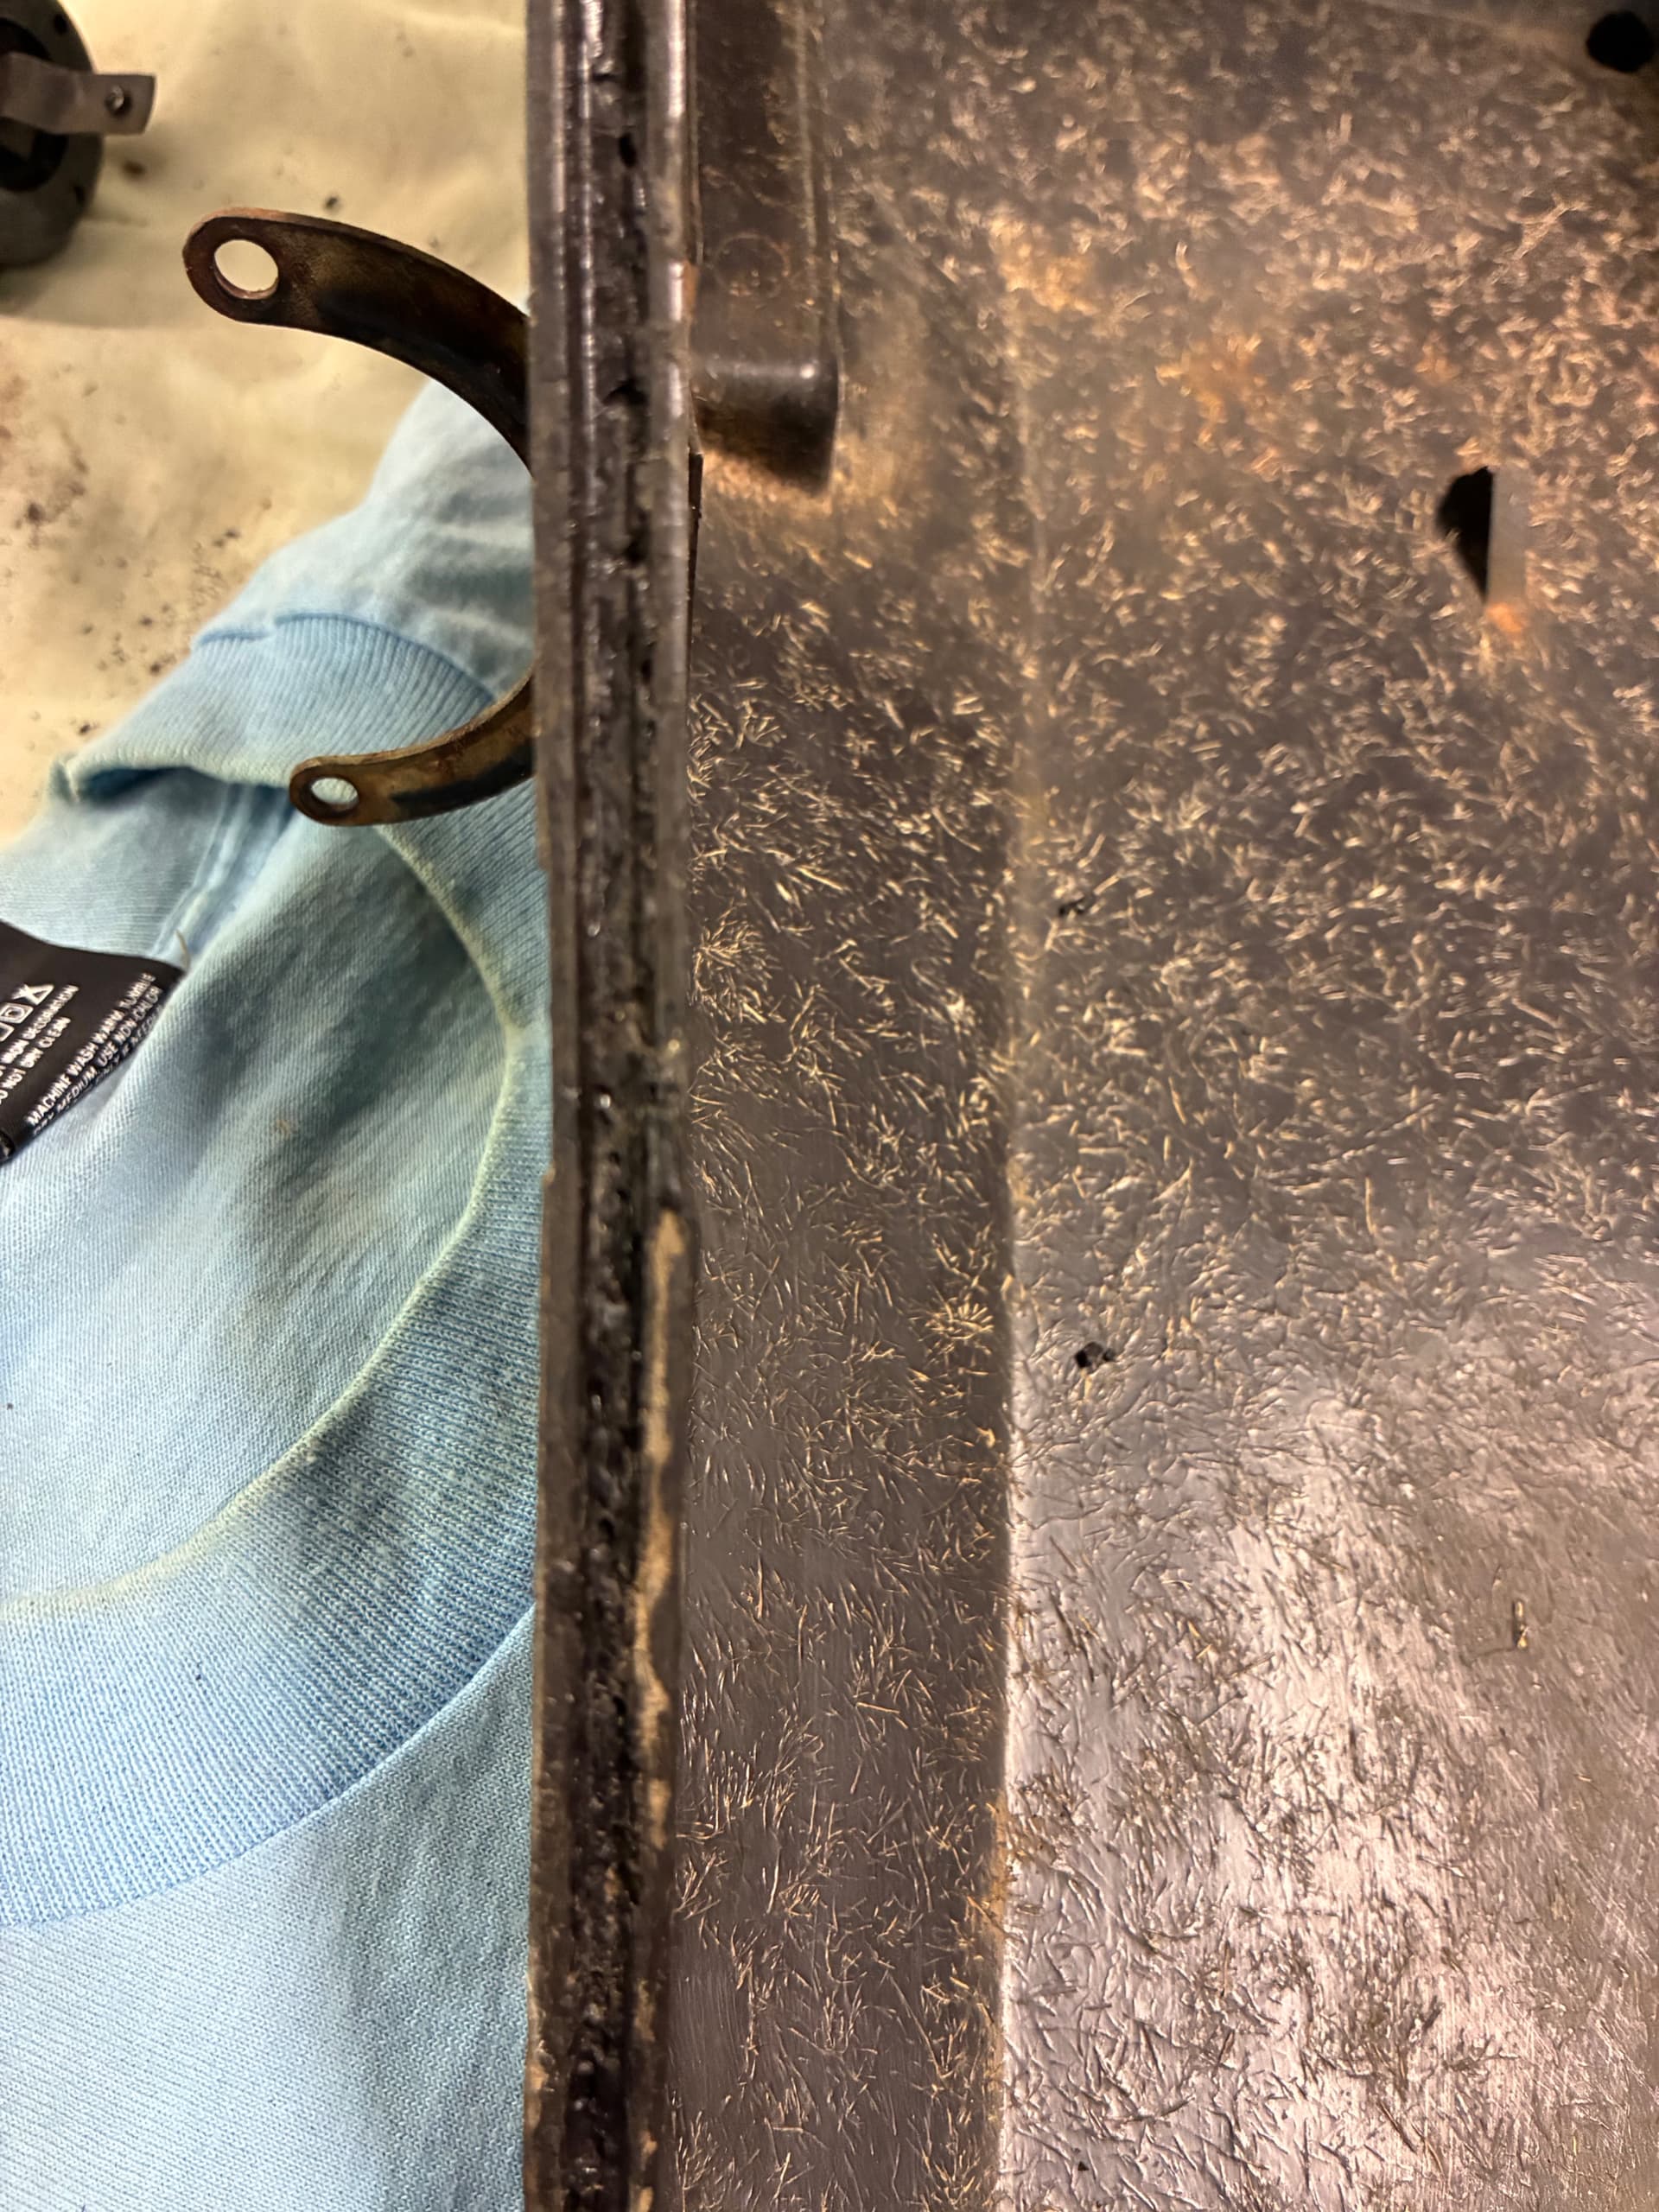
Needless to say if I want the other half of the box to fit as it should that needs to be cleaned out. Fortunately a small Snap On screwdriver is the perfect width. After a lot of picking and scraping I got it clean. And I didn’t even stab myself. It was close a couple times.
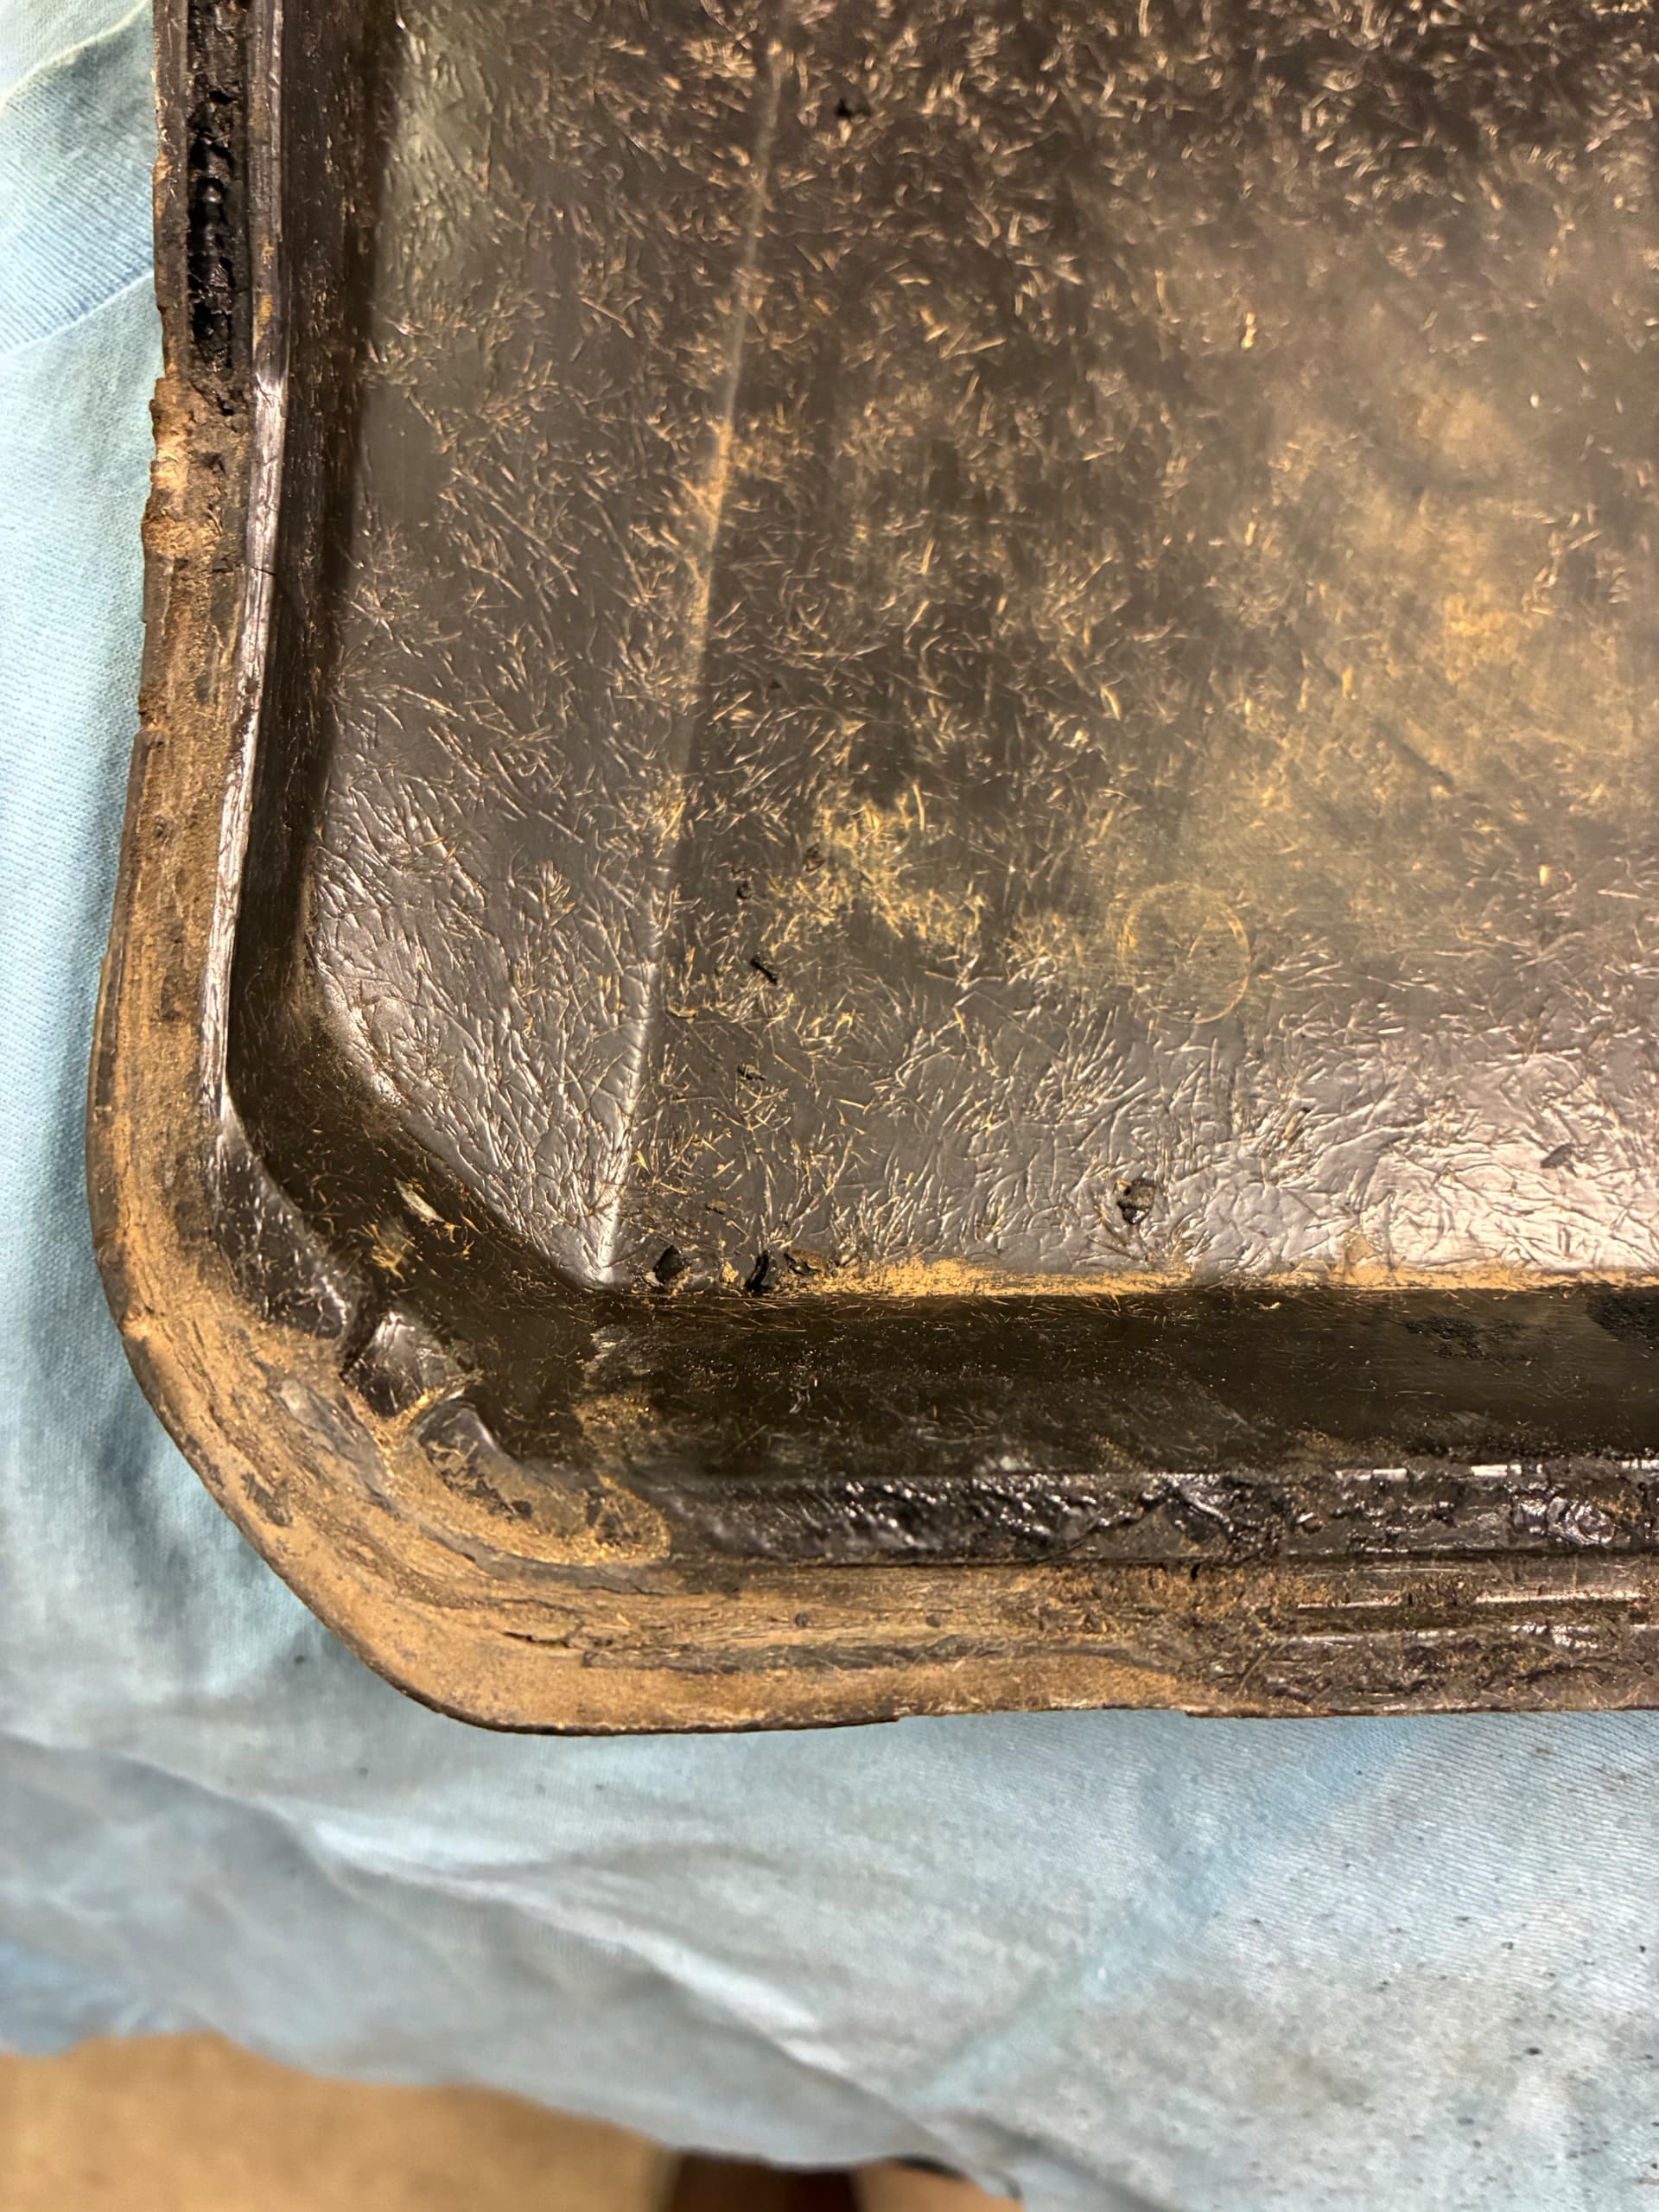
I’m sure everybody’s least favorite part of this or any restoration for that matter is the cleaning. It’s amazing how something from under the dash can accumulate grime and how difficult it is to get in clean. I should have taken before and after, but this documenting stuff isn’t my forte. The top of the box isn’t quite finished but it’s close.
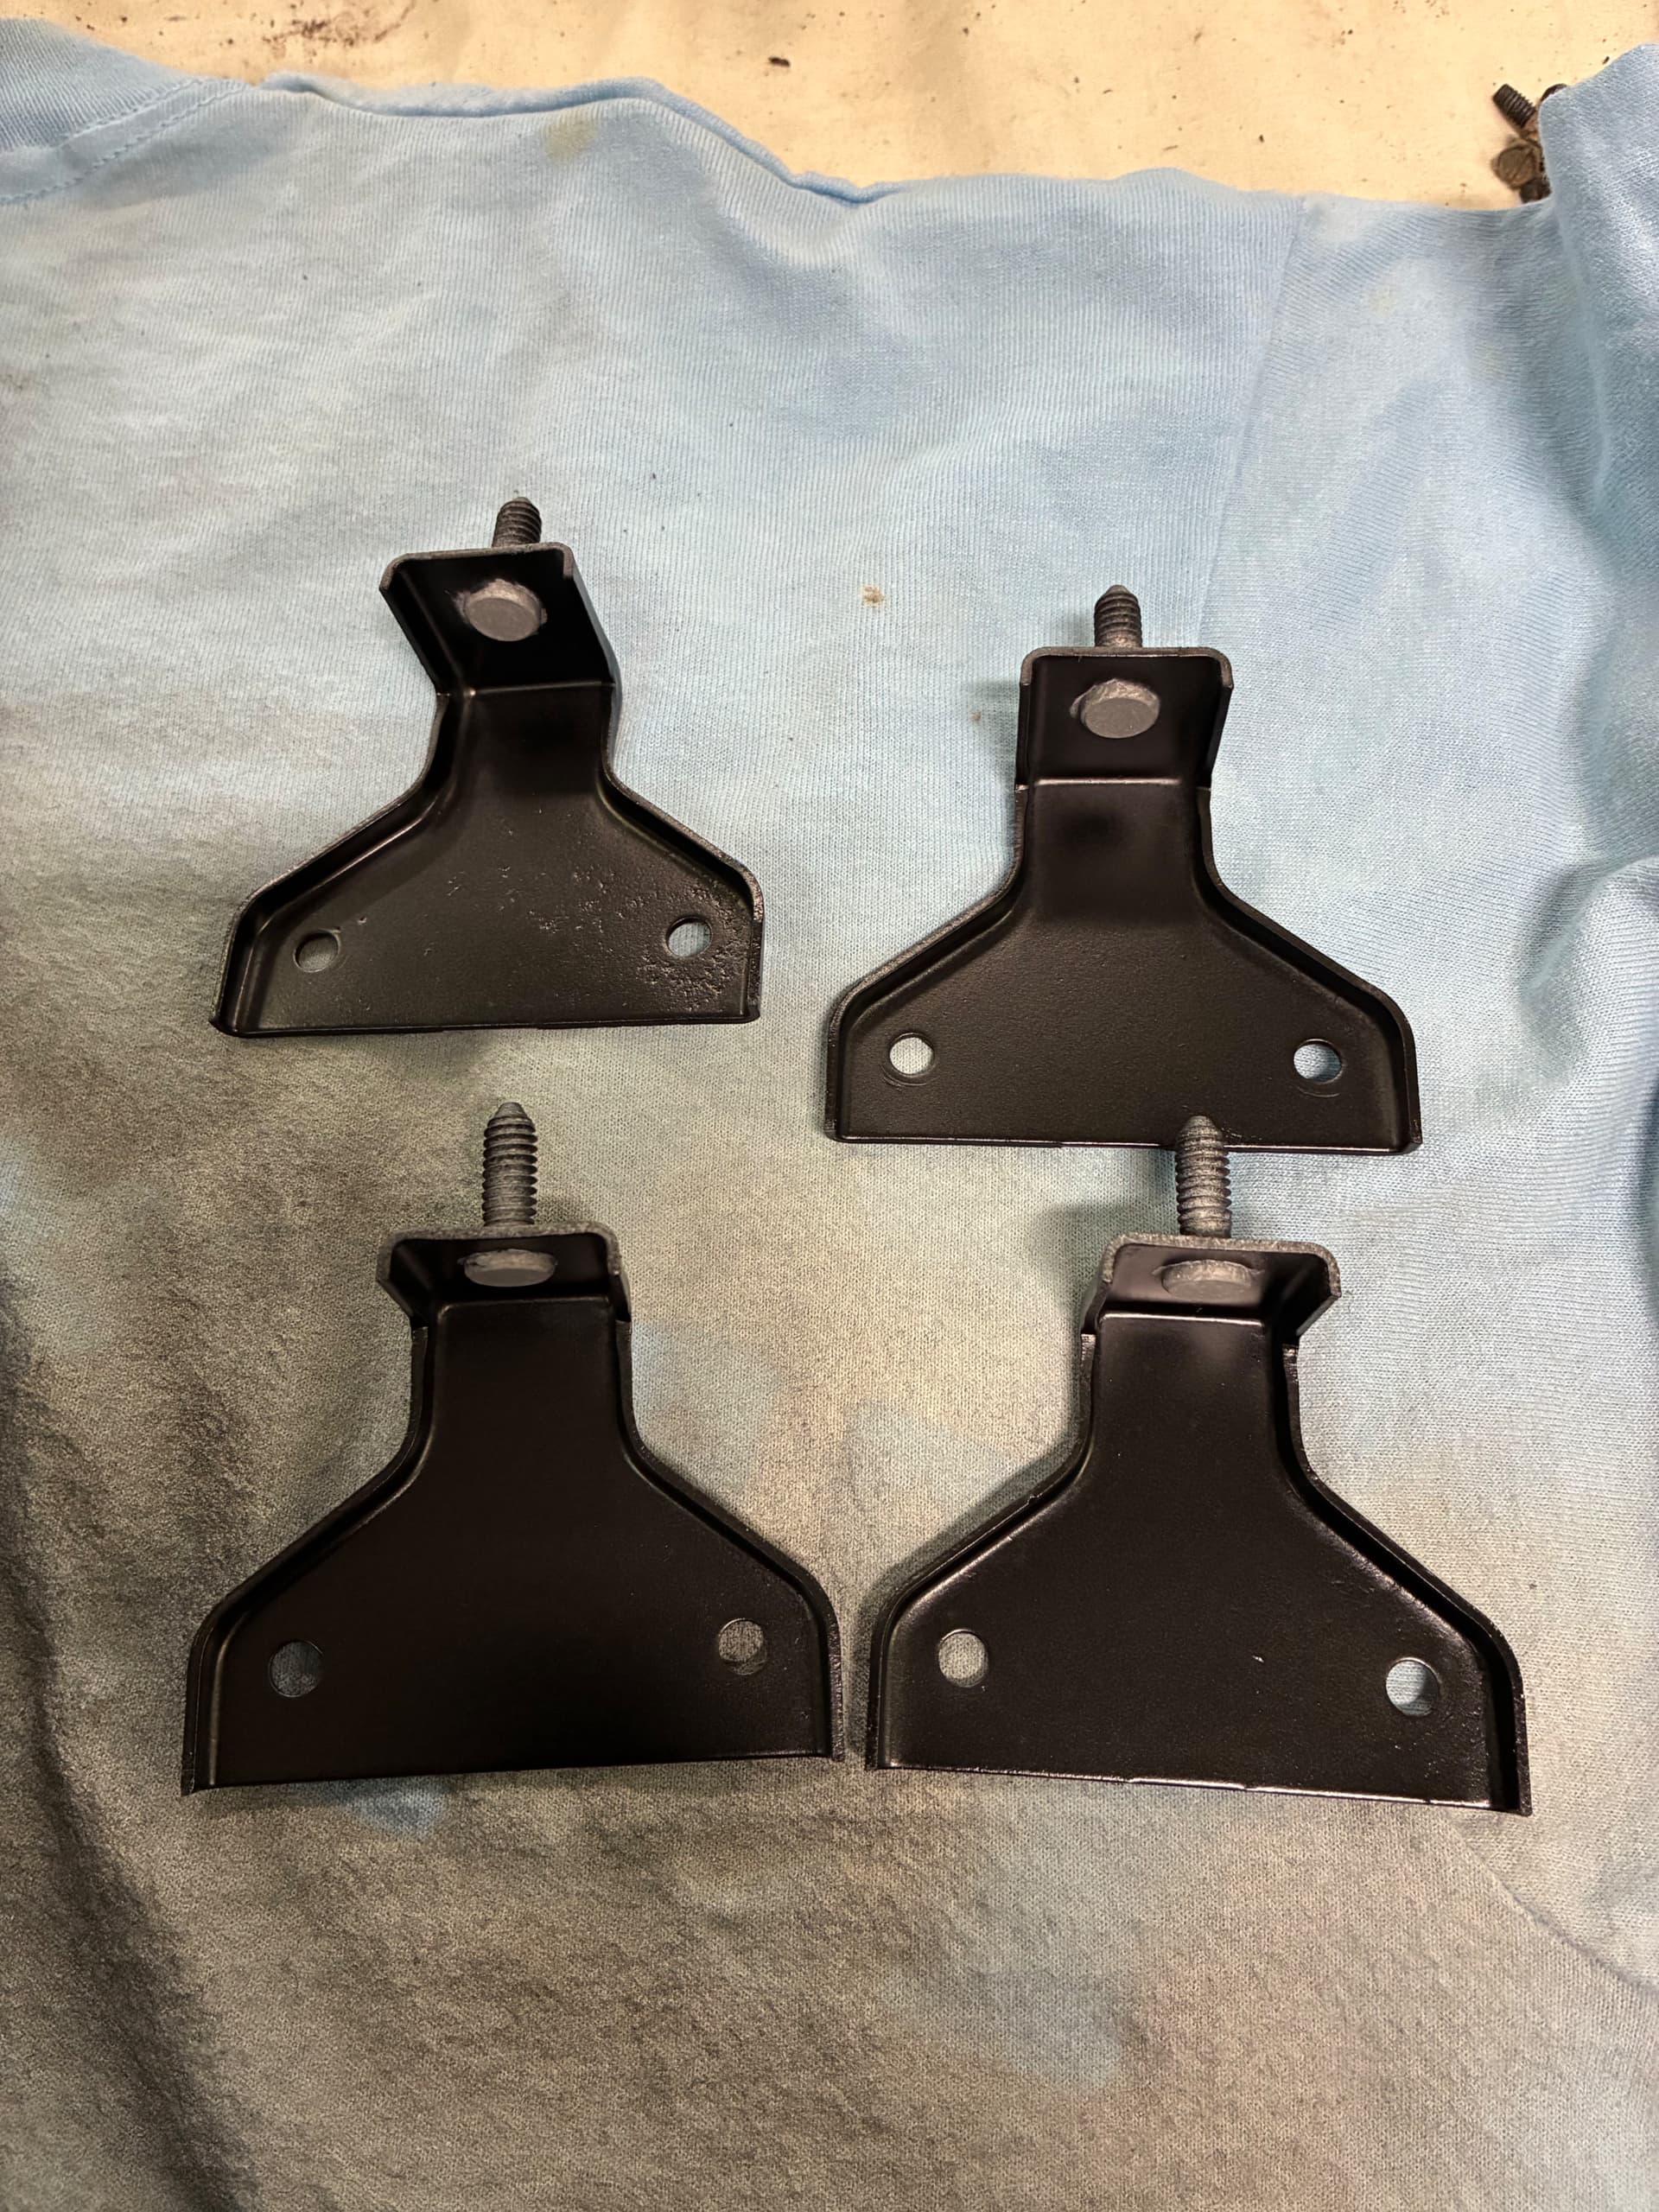
A few parts refurbished with some ready to go. Not perfect but good enough for what they are. There are multiples of course but I didn’t take pictures of all of them.
A vacuum switch blasted and primed. I’ll take a picture of the finished product when it’s painted. The closest I could find handy was an oil rubbed bronze metallic paint. Not exactly correct but it looks good enough. If I was doing a high end restoration I’d find the exact paint. But then again I’d do a lot of other things as well like having all the galvanized pieces recoated.
Nice write up. I enjoyed restoring my heater box a few years ago. Lot’s of patience and being in the right state of mind are important. I don’t remember fighting with my expansion valve so it must have been removed at some point in the past.
Unfortunately not a lot to report. The holiday season was challenging to say the least. Christmas week the boiler decided to give up serving us so a new heating system got installed. Then a couple days later the whole house including my oldest who was home on leave came down with the flu. Then for good measure the day after New Years the refrigerator gave up the ghost.
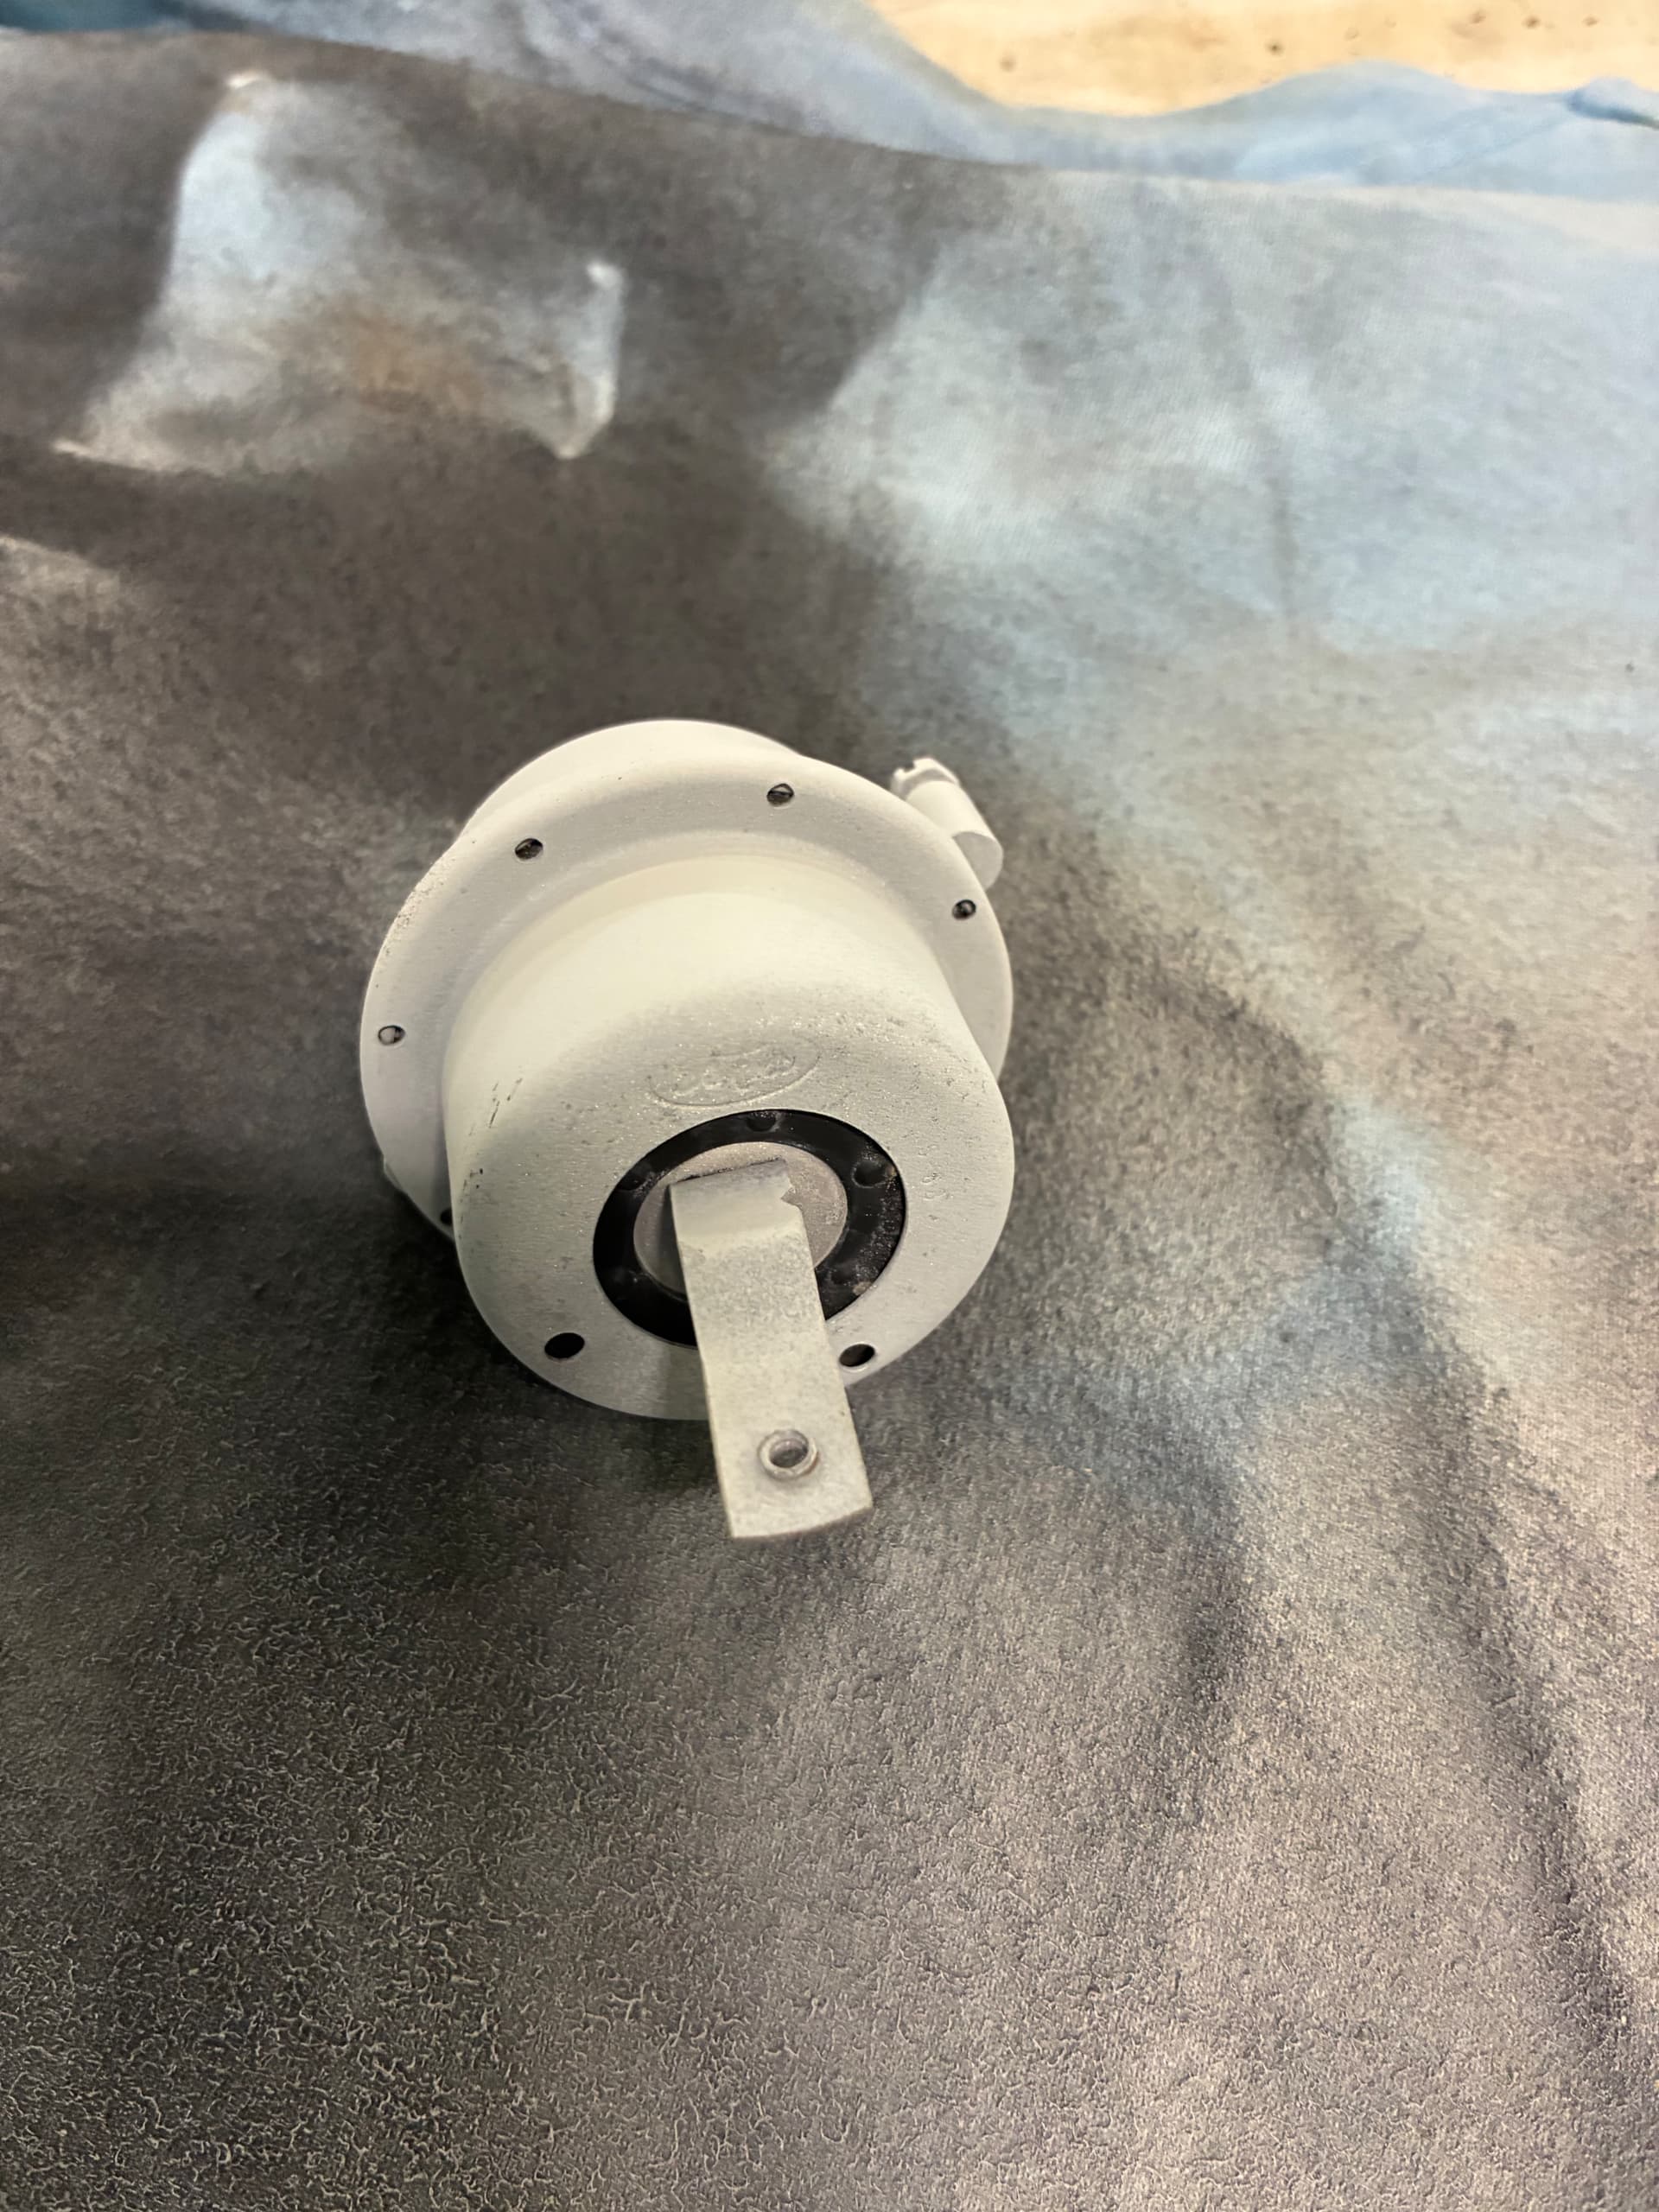
Anyway here’s the vacuum actuator with fresh paint. It came out OK though I wish the paint had a little less metallic. Not sure if I’ll look for something different or just use it for the remainder.