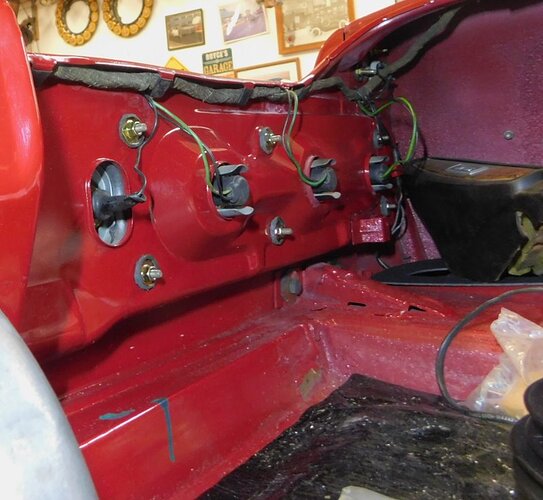
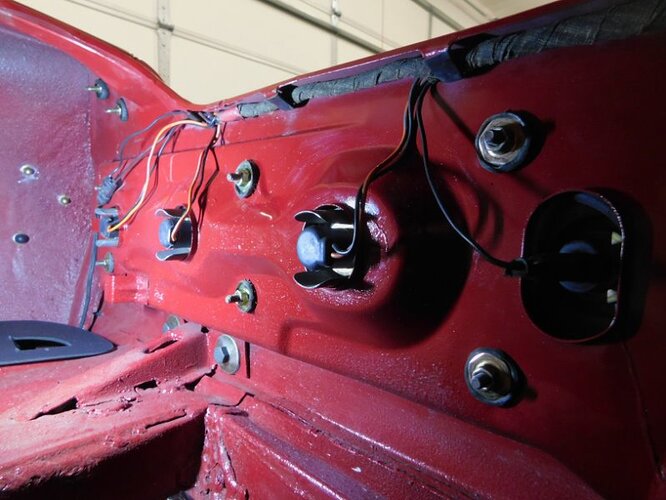
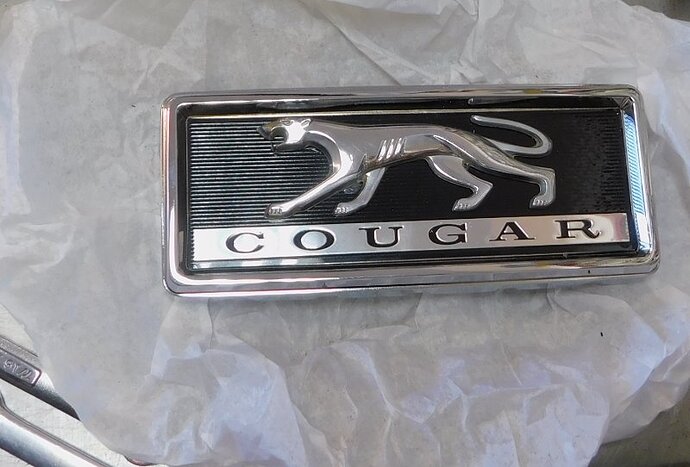
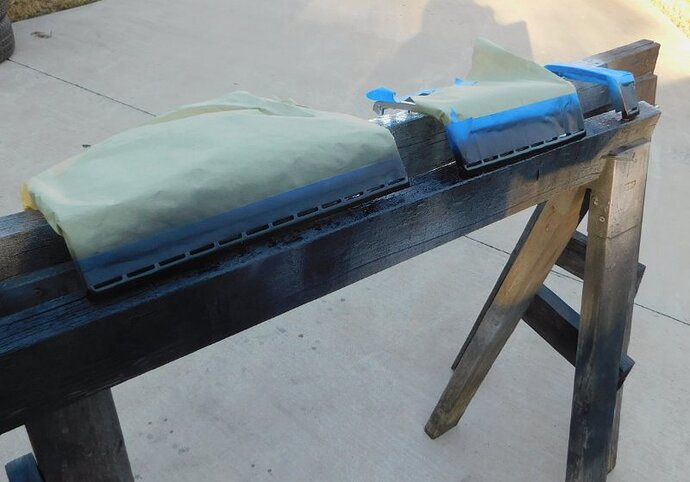
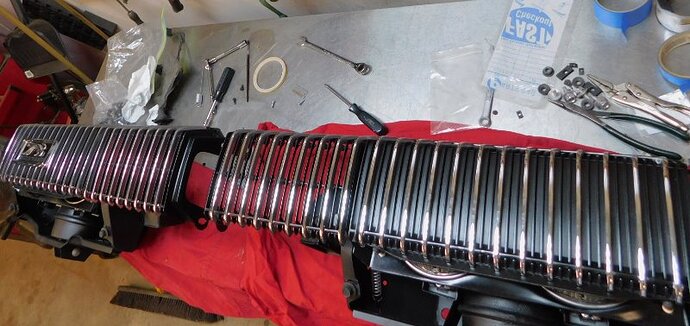
And while waiting for the paint to dry I realized the trunk was ready for final assembly. Had to snap a couple of photos of the area under the cardboard. It will never be seen unless a light bulb needs to be replaced. Lots of work went in there.
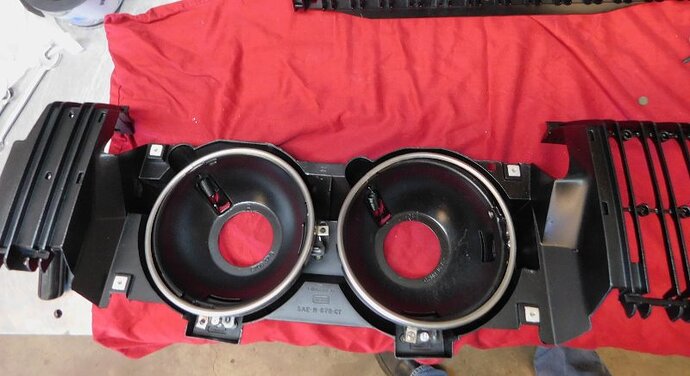
Interesting choice of the Duplicolor semi gloss. I’ve heard the SEM trim black is the closest match to original. Disagree or do you like that finish better?
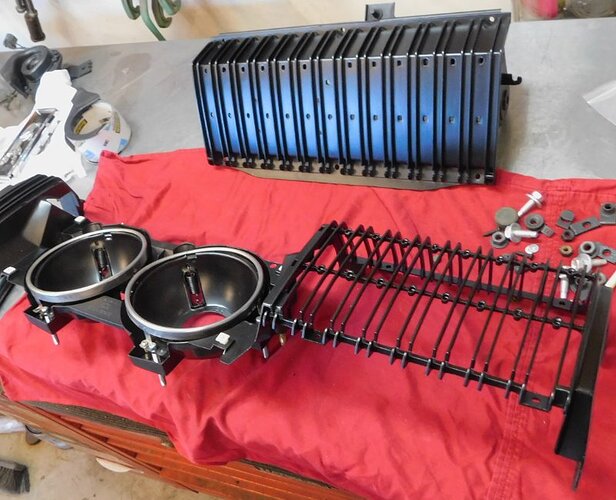
I found it matched the original NOS headlamp door best out of several paints that I tried. I have used the SEM trim black in the past, and while it looks great, it is a little too matte.
I am trying to use the NOS RH headlamp door with the restored grilles and restored LH headlamp door. If the match doesn’t work out, I may be using everything restored. In the past I was able to find complete sets of NOS grilles and headlamp doors, but not this time. They just are not out there to buy.
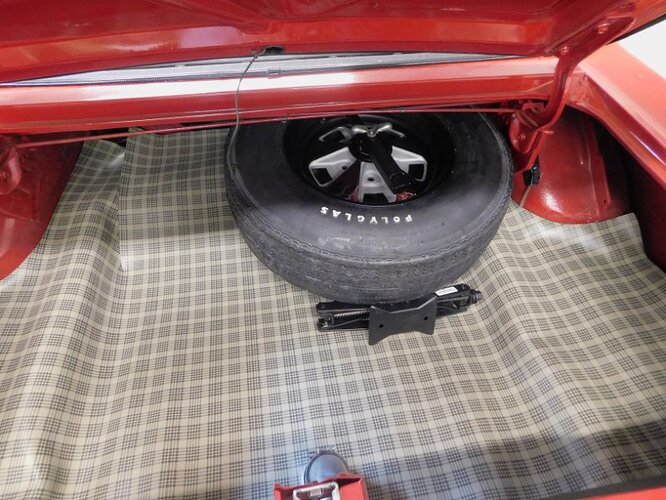
Well I got the spare wheel and tire mounted and balanced and the trunk mat installed. Still need the felt piece so the spare looks right.
The grilles are done as of today. I ended up using the restored RH eyelid as it matched the rest of the grille better than the NOS one did. I probably have 2 full days of work in the grille assemblies.
Royce,
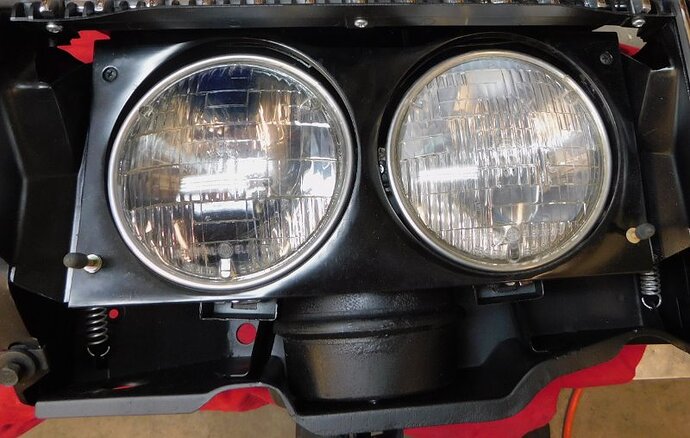
You gonna aim those headlights later or not figuring you’ll need them? Mine are just in there so the look good. I was reading the whole thing in the big blue book about aiming them, and having at least a 1/2 tank of gas, and the equivalent of weight in the car of two people I think it said, yada, yada, yada, and said forget it. Maybe I will do it someday if I hear of a easier foolproof way ![]()
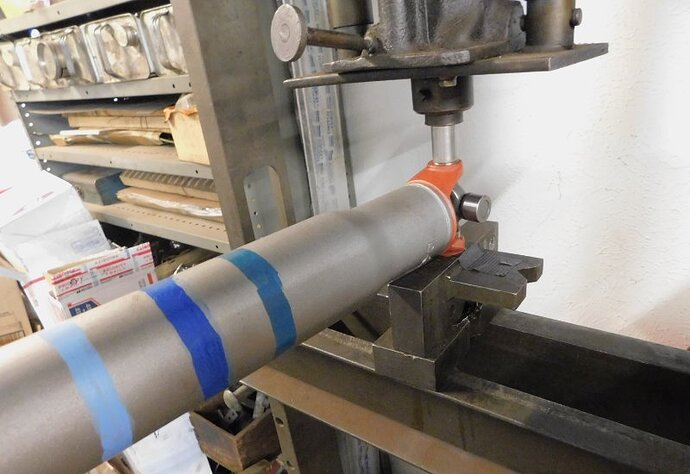
Did you just blast your drive shaft to get it to look that way, and if so what product did you put on it to keep it from rusting again. I redid mine like that years ago, putting all the original stripes on it, and just sprayed clear coat on it, and it’s all light surface rust just from moist air.
When the car is all back together and driving I will aim the lights. I get them close shining them on the closed garage door. Then go for a drive and keep adjusting until I am satisfied with the pattern.
The driveshaft was cleaned in mineral spirits so I could get the locations and colors of the original markings. Then it was bead blasted and painted with cast blast. Then I painted the stripes and letter on. I have not had luck with clear coated items that are exposed to moisture either.
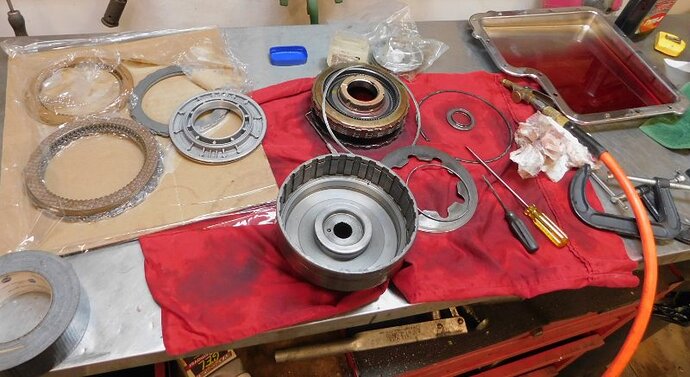
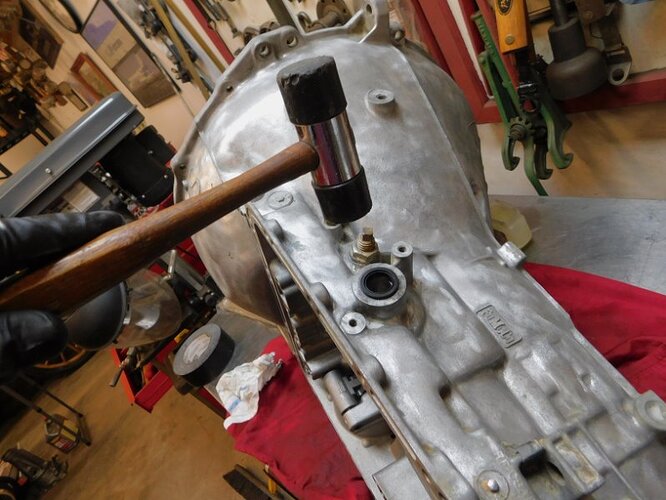
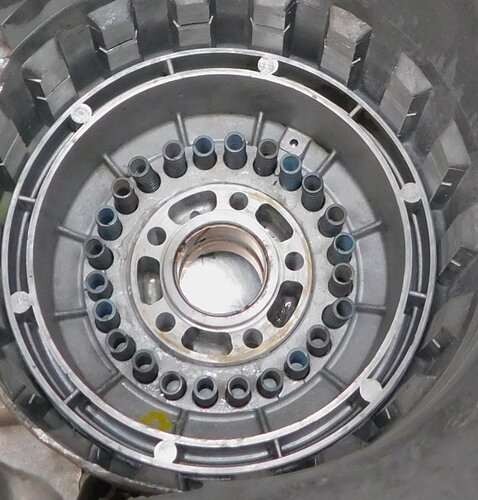
After studying online instructions, the shop manual and some You Tube videos I am starting back together with the C6. This is step one, resealing the forward clutch apply piston.
Every time you post I want to respond with superlatives. So just know you get a big cheer from CA each step of the way!
Rebuilding an automatic trans??? You are fearless!!!
Yeah, I will be watching closely to your progress in the C6 rebuild.
I see the duct tape and Vaseline, I’m assuming the bailing wire is just out of the picture.
Seeing the duct tape next to transmission parts just struck me as funny, I know Royce knows what he’s doing. All these pictures are great, I am really enjoying following the progress.
Not sure why the duct tape was on the bench. Not part of the transmission assembly process.
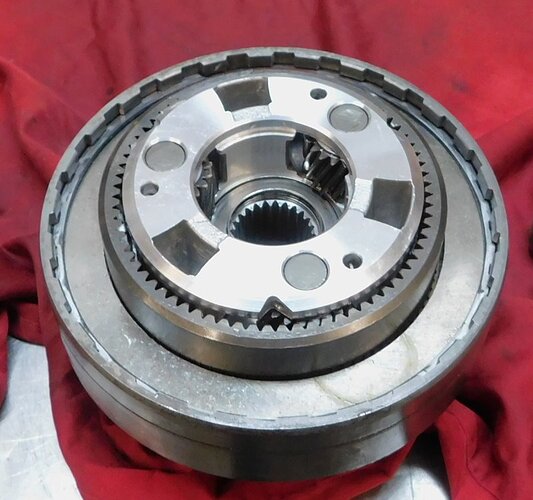
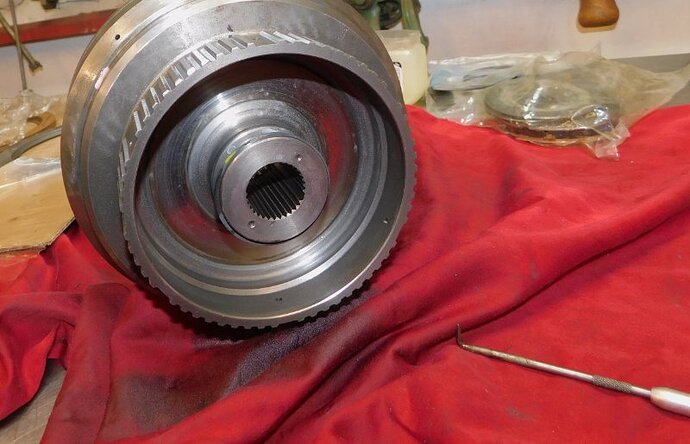
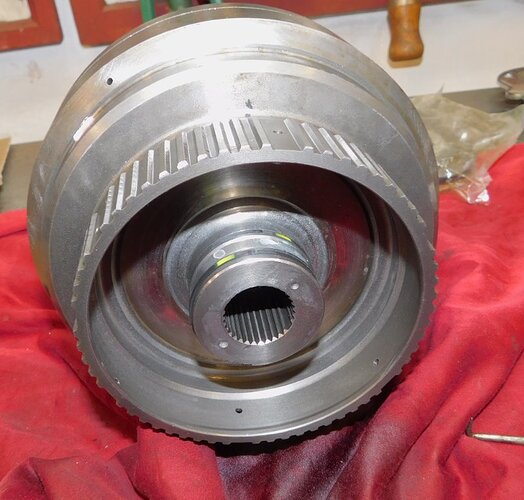
This is the completed front clutch assembly assembled with its planetary gear set installed.
Someone once described to me that rebuilding a transmission was sort of the same as rebuilding a carburetor. I say no, it’s more like rebuilding 5 carburetors that either all work or none works when you get done.
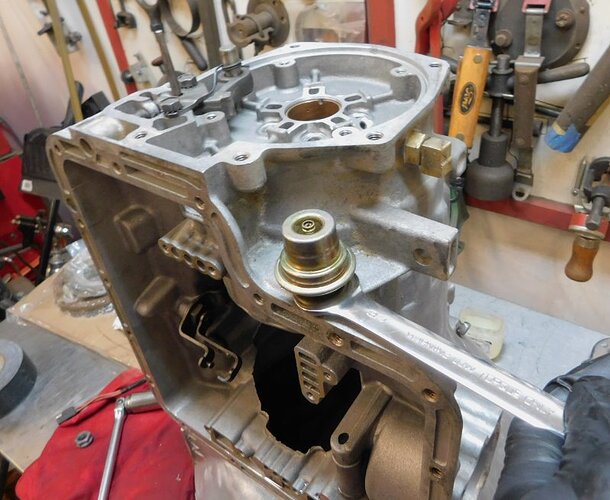
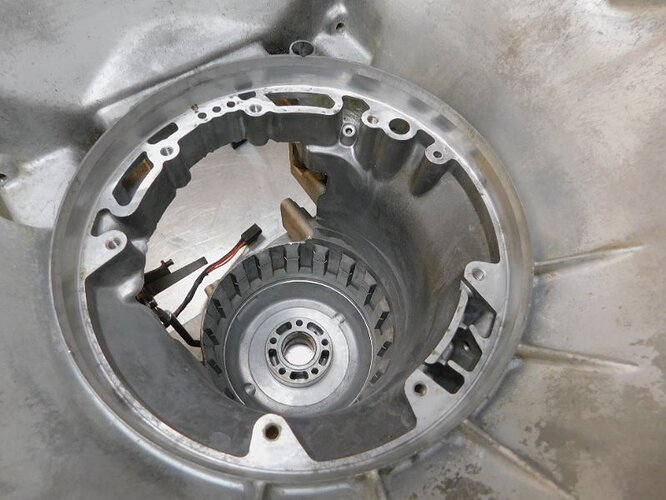
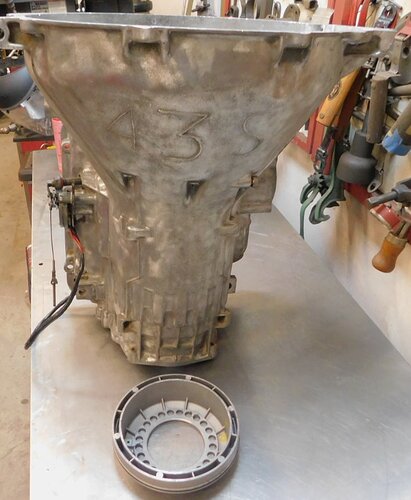
Next I put the case on the bench and installed the new shifter seal, park / neutral start / reverse switch, and kickdown O-ring. You can see the intermediate band adjuster just forward of the shifter seal, I also replaced the nut with a new one but left the adjustment loose for now.
The paper gasket on the throttle modulating valve was replaced after I slipped the cleaned valve and detent pin in place. The gasket gets lubricated with Vaseline and then the modulator is tightened with a low torque wrench.
The reverse high clutch assembly is next. It had to be disassembled to replace the piston seals. The inner drum has these little zero gap cast iron ring seals that are quite fiddly to assemble. You have to be really careful to depress one end so that the other end can slide on top letting them lock together. There are six such rings in the transmission that get replaced during the overhaul.
The top photo shows the ring just slipped in place, the bottom photo shows the new rings locked to make the seal gapless.
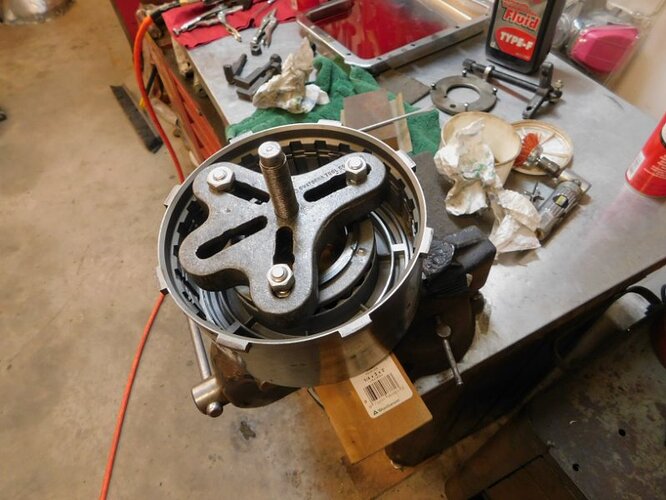
The rebuild manual tells you to use a transmission spring compressor to assemble the 11 coil springs on top of the reverse high piston, securing the spring plate with a snap ring. Well I found that my harmonic balancer puller with a few added bolts and nuts worked fine for the job. You can’t see the block of wood clamped in the vice below the drum for the shaft to pull against.
I found out that the online tutorial on reassembling the C6 ended right there and so I had to order the book. It came yesterday so Onward we will go next week on that.
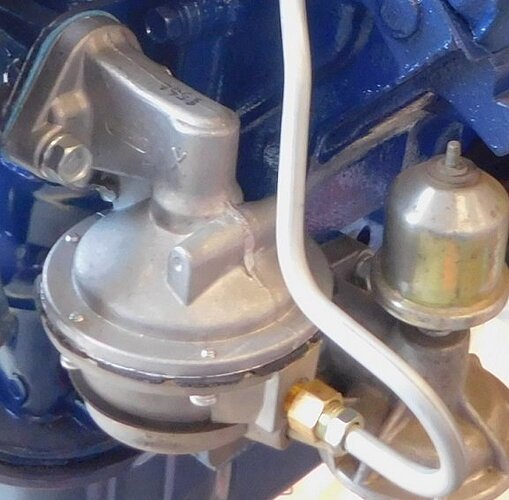
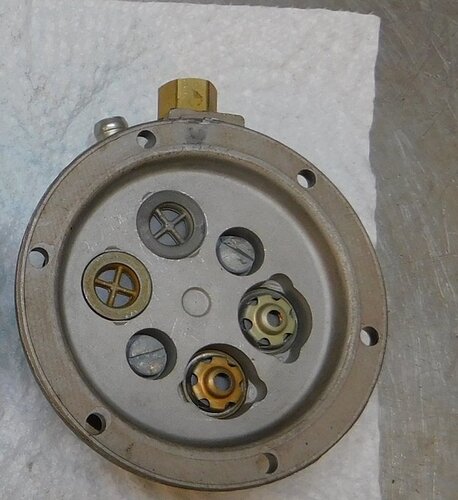
In the mean time I upgraded the fuel pump. The original 4441S pump had a three valve body. I substituted a four valve body from a modern Carter M6905 which will allow higher volume yet externally looks identical.
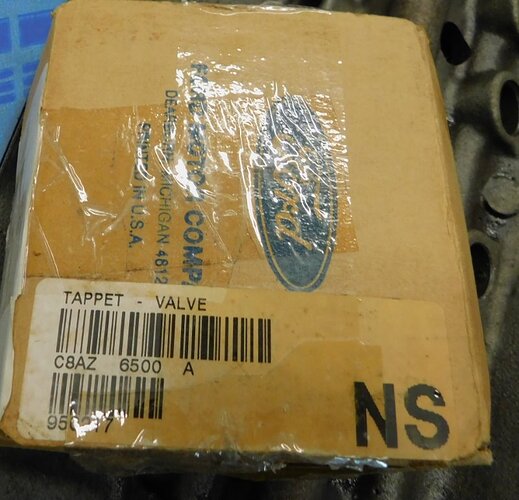
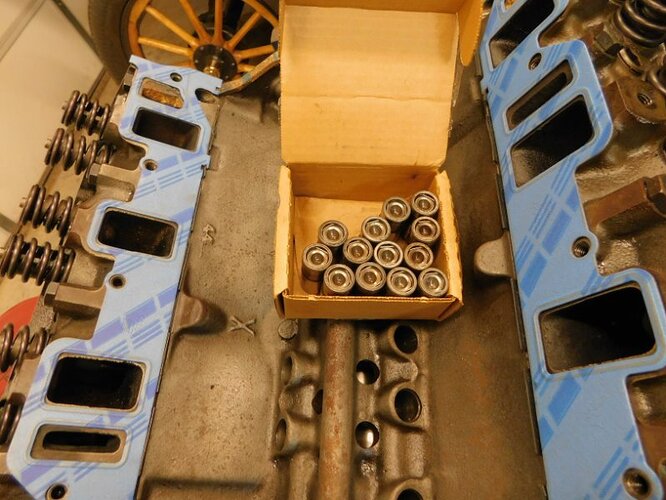
I disassembled the engine and found it had been rebuilt just a few miles previously. It was clean and pristine inside, and ran great prior to disassembly. I ended up replacing the timing chain set, oil pump, oil pump screen and all the gaskets just because it was all apart. I also installed an NOS set of Ford lifters, again just as a precaution. I kept the OEM Ford windage tray that someone had installed previously just because it’s a good idea and it allows the oil pan to hold an extra quart of oil.
The transmission book showed up Saturday. I read through it several times, and practiced assembling and disassembling portions of the transmission that I was unsure of. Today I decided it was time to get finished.
I started resealing, then installing the reverse - high clutch in the case, along with its 24 springs. I used a transmission spring compressor ($29 on eBay) to compress the spring retainer enough for the snap ring to be installed.
