One more small step ![]() with one of West Coast Cougar’s rechromed front bumpers. Hood latch striker is not installed yet - the reason the hood sits up a little.
with one of West Coast Cougar’s rechromed front bumpers. Hood latch striker is not installed yet - the reason the hood sits up a little. ![]()
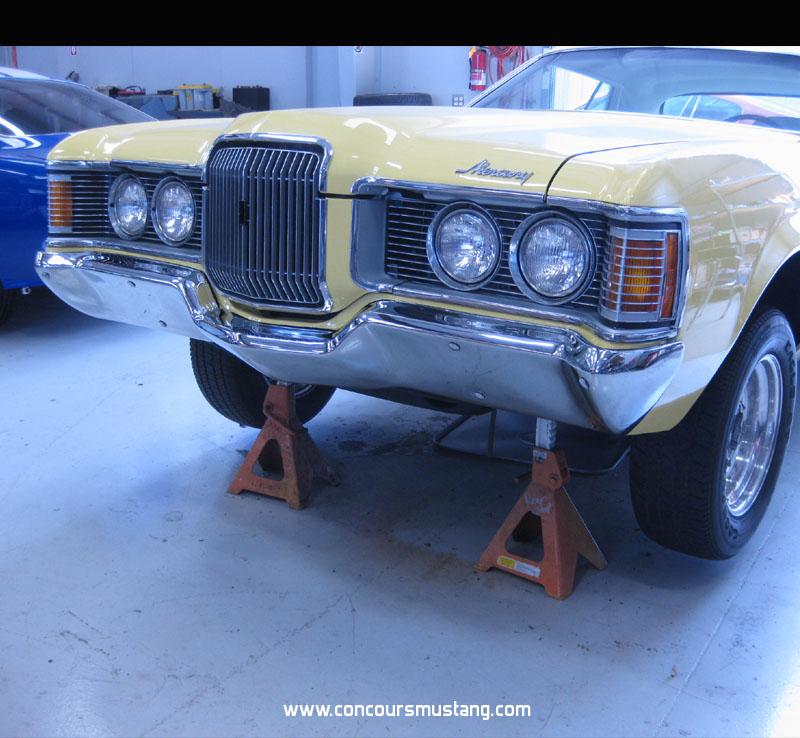
how did you get the bolt inside the frame off???
Sorry don’t understand the question. Which bolt and or what was it designed to hold to the car?
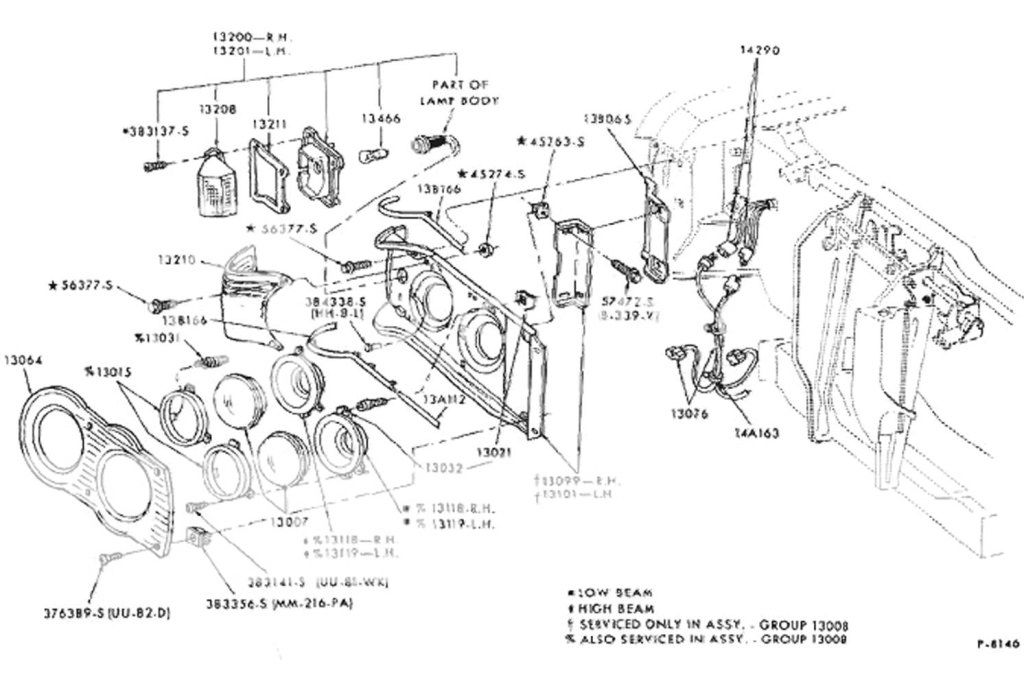
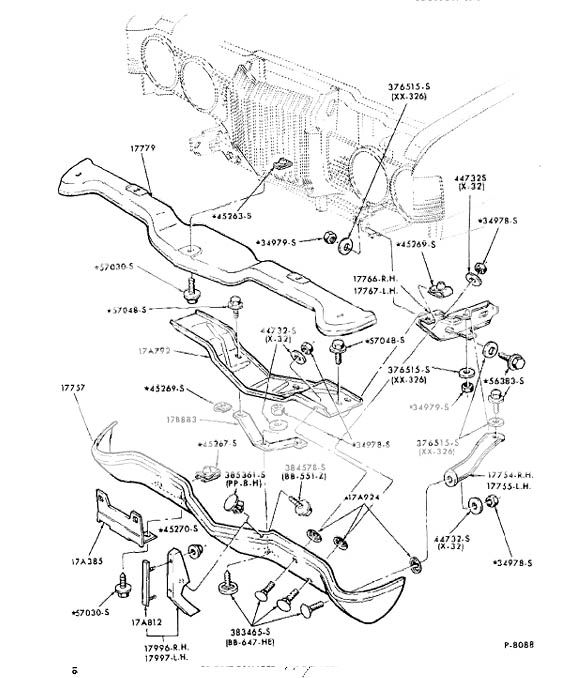
The bumper is attached to the frame with two large bolts per side - one is threaded into the frame rail and other passes through a hole to which you add a washer and large nut .
Where did you hide the speakers?
Sent from my SPH-L710 using Tapatalk 2
its the bolt that holds the front bumper. its inside the frame with only a small hole which none of my wrenches can fit.
I used some adapters I found on line that allowed me to adapter larger speakers to the small radio speaker hole in the rear package tray metal structure on one side and with four small holes for studs to the defroster hole on the other side. Not perfect but it allowed the speakers to be mounted with minimal mods to a very narrow area.
Local guy that makes the precut sound deadener for the interior used my car (original panel) to make some textured insulated rear package trays for the 71-3 Cougars.
Took that panel, marked it for the speaker shape and drilled a bunch of holes over the speaker and removed the insulation/padding from that area.
Purchased some speaker cloth and glued it to the top surface and you can’t see anything at this point.
Now its not perfect and the audio boys will explain that I’m loosing allot of definition but it works for me
Mine was not originally attached that way. I’ve found a number of differences between the later and early 71’s so far don’t know if this is another
This one had the front bumper brackets attached to the front frame rails as shown with two of the 56383-S on each side - one into the frame the other held by a nut on the back side. Narrow access on the nut one but not too difficult. Had allot of fund (with all the adjustment in the whole assembly) getting the parts to line up left and right - where I wanted it - then had to pull the assembly forward to access and tighten the bolts under the stone guard, then slide it back into place and tighten the mounting (to frame) bolts one again - pushing upward to get my bumper to stone guard clearance/gap where I wanted it.
Ran out of time but still need to tighten the two nuts out at the outer wings. Looks like that will need short sockets and a couple of swivels
What a great project. Finding the time is the real trick.
This one gets one day a week so it takes a month and a half to get a weeks worth of work done but its a balancing act with other things. Currently helping with a 67 GT500 resto and a house remodel.
Need to get this one done - so I can drive it and get started with the next project - putting a new (original) engine and fix a few items on the Boss 302
After that its on to the wife’s car that has been waiting for almost 30 years for attention
Ok the job is pretty much done - well at least for now. Got a few bugs to work out as I start driving it more.
Did have Boyds on it ( what I had sitting around) but they just didn’t look right. Really wanted to run the original rally/style steel wheels but they were a little small and not allot of choice for tires.
Choose to have them punched out and enlarged a bit ![]() Now I need to find some trim rings to fill in that new gap. Right now they certainly give a cop car look Believe they will soften the look of the rims a bit
Now I need to find some trim rings to fill in that new gap. Right now they certainly give a cop car look Believe they will soften the look of the rims a bit

Couple of shots of the car. Still have to find a good angle to shoot the complete car from - not really happy with the angle so far.

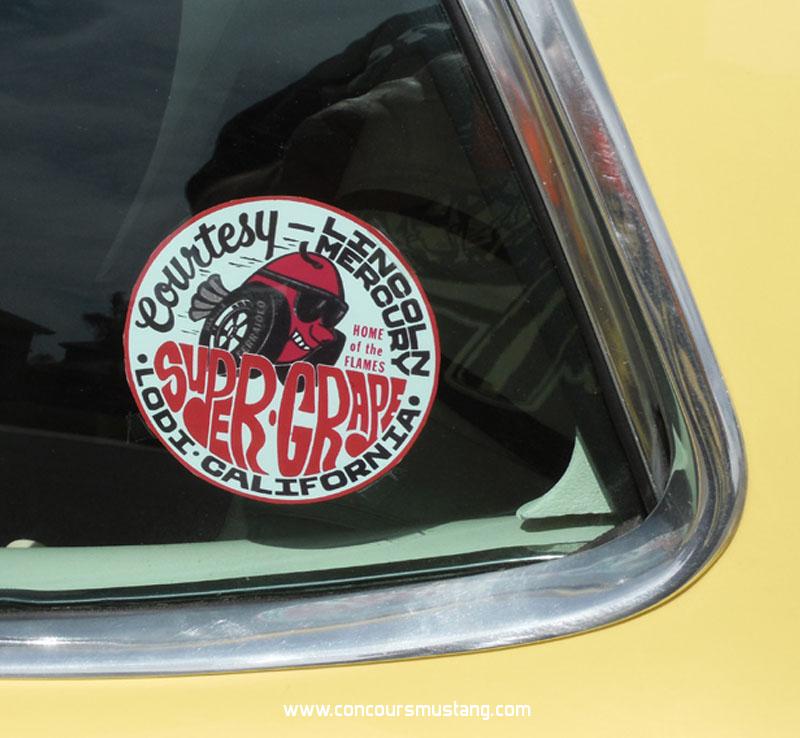
Not the original dealer but a local one. Found this decal a long time ago and figured this was a good place to use a reproduction of that decal - sort of fits
Looking real good ![]() and with the 220 kph speedo and those wheels all you need is the police interceptor tag on the trunk
and with the 220 kph speedo and those wheels all you need is the police interceptor tag on the trunk ![]() Thanks for posting the progress
Thanks for posting the progress ![]()
Looks great!
It is too bad Photo bucket kicked the bucket.
Odd I hadn’t notice the links were dead… they were all there yesterday. Checked before I provided the link
Will move the pictures to CMF then relink them. Doesn’t do anyone any good without the pictures
I see them, but I did a patch thingy on my computer.
What patch thingy? I must need it.
(I am not going to pay photobucket and thing).
Think that takes care of most of them.
Hope it helps others
Thanks. Some of the factory marking on the fenders are different than on min. But mine is very late. Drive line marking are not the same as mine is the mundane 351 2V. Nice documentation,