Not really a restoration as I’m taking a few liberties with this car. Nothing that can not be correct with little effort.\
As always never progressing fast enough (too many other projects) and had problems with the first paint shop I used.
Hope the pictures and details help someone else along the way with their efforts.
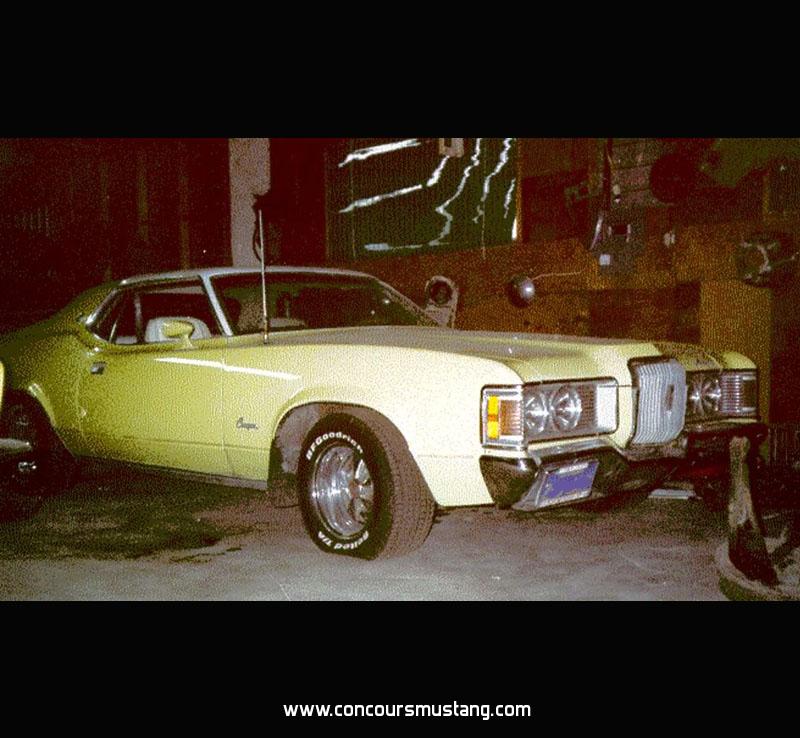
What I started with.
Purchased this Cougar (only older version I’ve ever owned) back in the 80’s when I was buying as selling allot of classics (mostly Mustangs and Shelby’s) Got it from a local guy who’s parents purchased it originally. He had been a bad a** as one point and had (at time of purchased) started attending a local church and wanted to sell the car to have the tattoo’s on his face (did the Charley Manson thing) remove as the other church members were looking at him a little funny.
Car was pretty original (most of the original paint was still there) and fairly rust free (not as perfect as most of the local car but not bad). Drove the car a few months and it developed some piston noise so I parted it with the others for about 25 years.
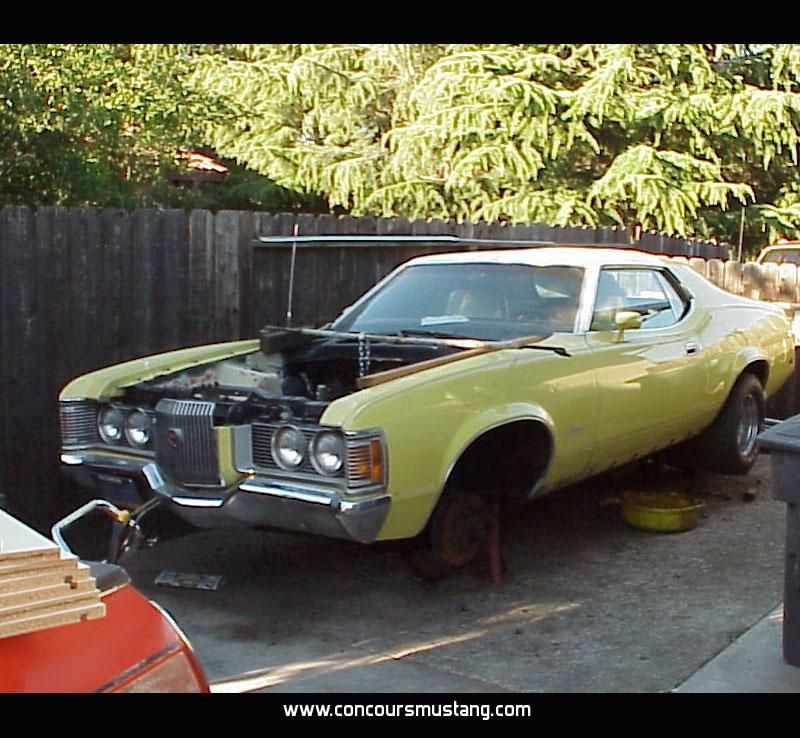
Then about five years ago I figured I would rebuild it as my daily driver and the fun began
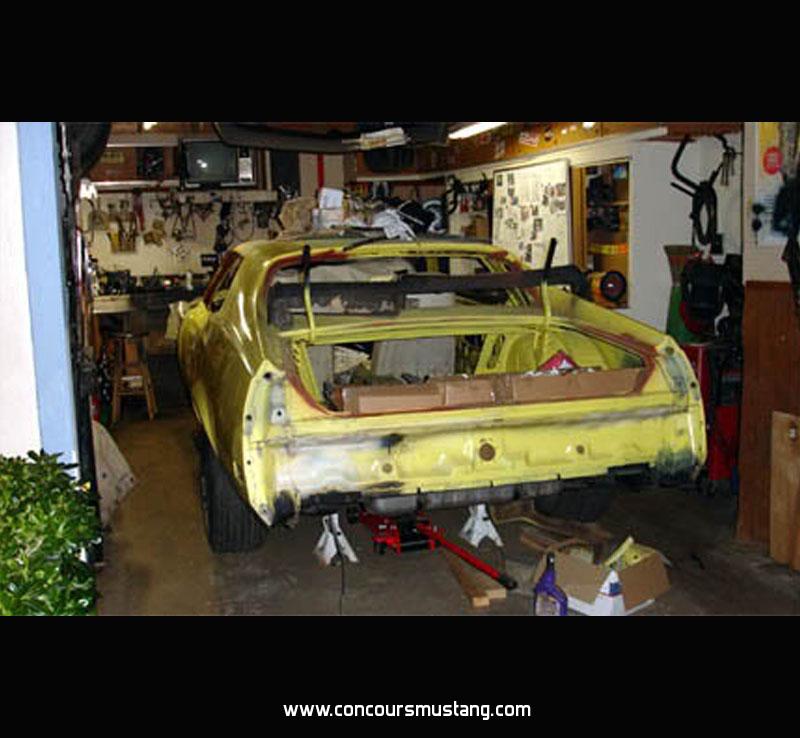
Engine went to school with my son as a shop project. A big change from all the little 4 cylinders and import engines the other kids were working on
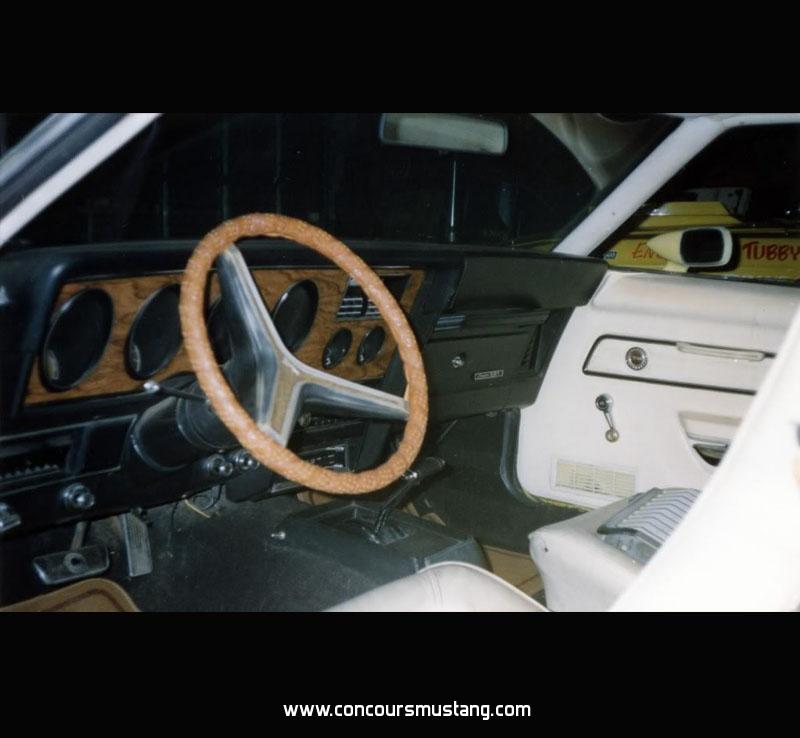
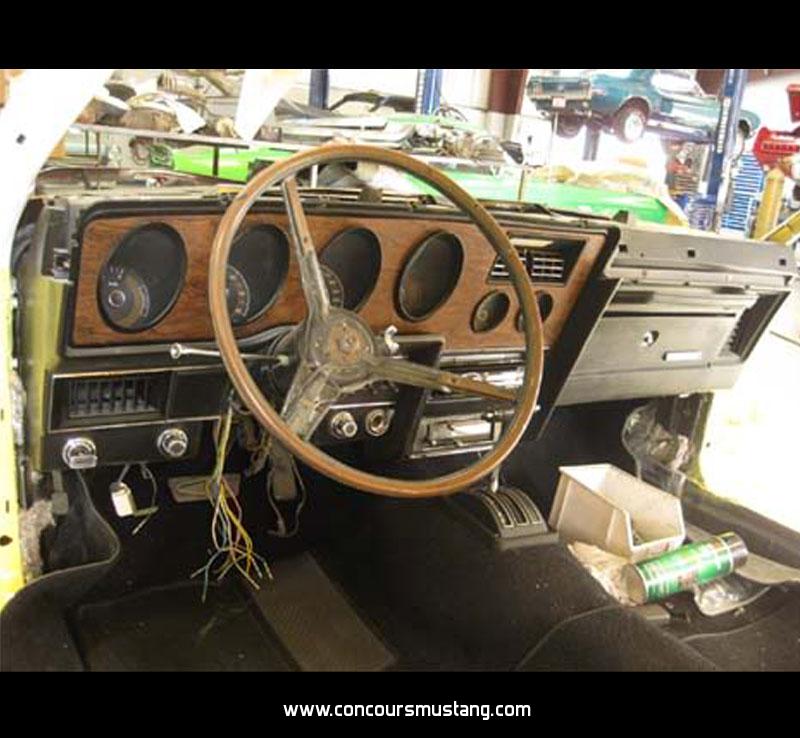
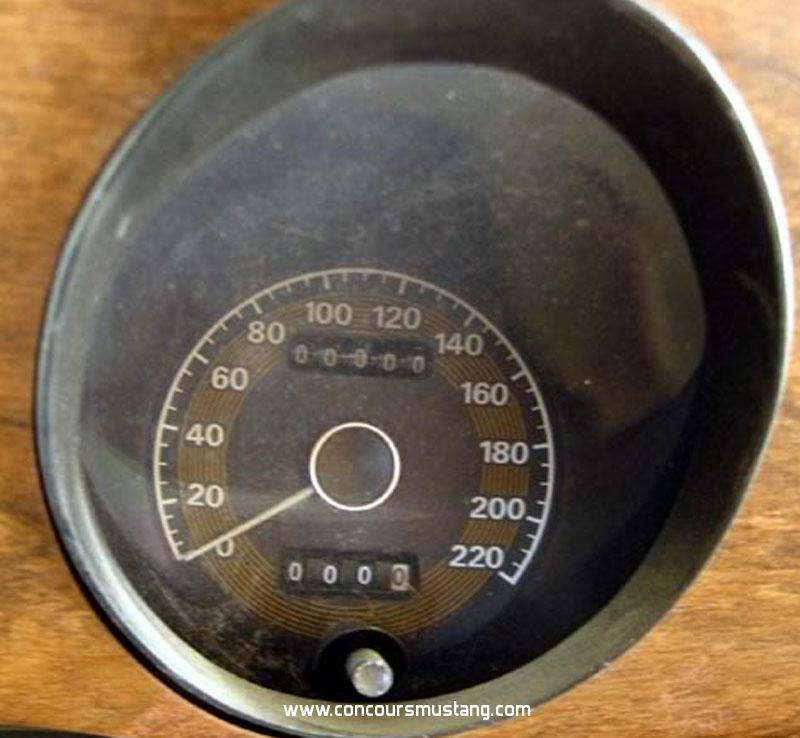
One change was to a NOS XR7 kilo speedo (export/overseas speedo) I found years ago. Get a fair amount of comments about it when they see “top” speed and think is mph
Oh this is taking for every by most of you know the tune. Lately its the power steering
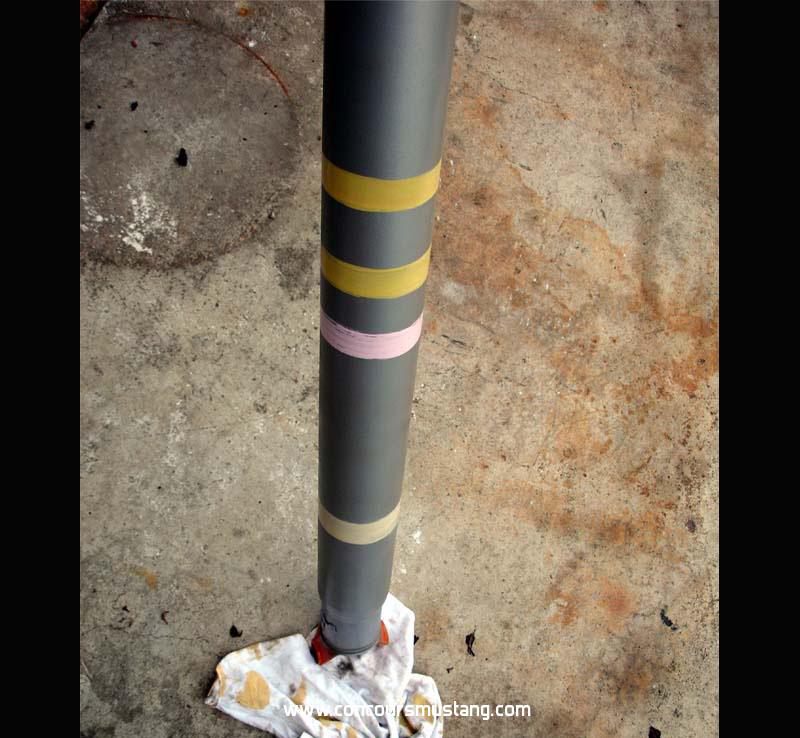
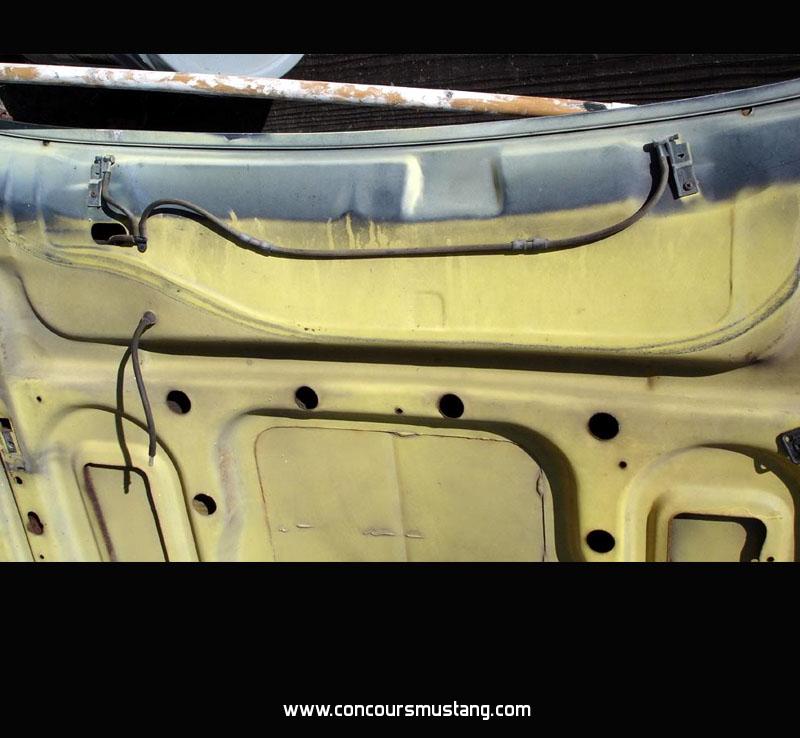
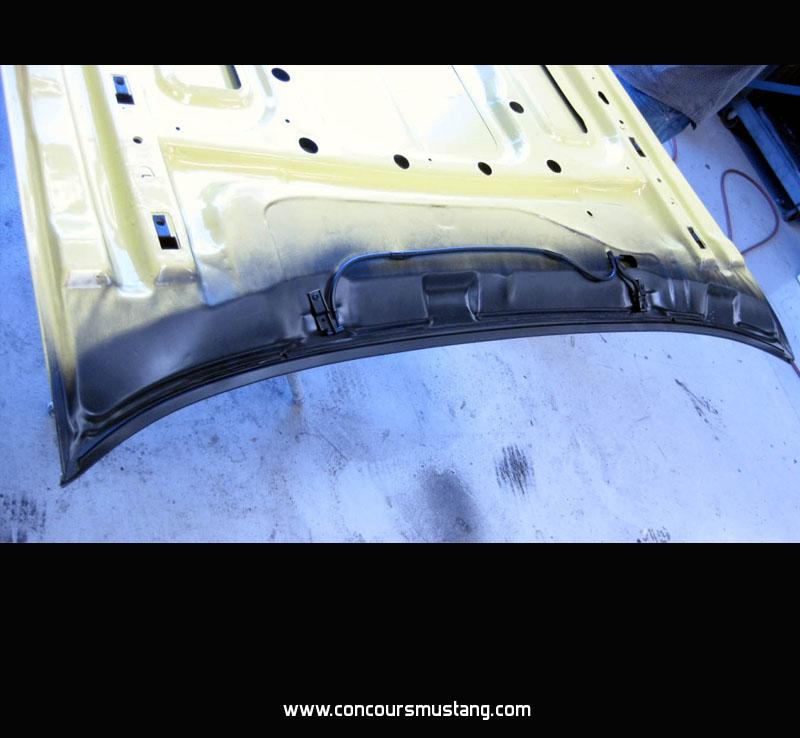
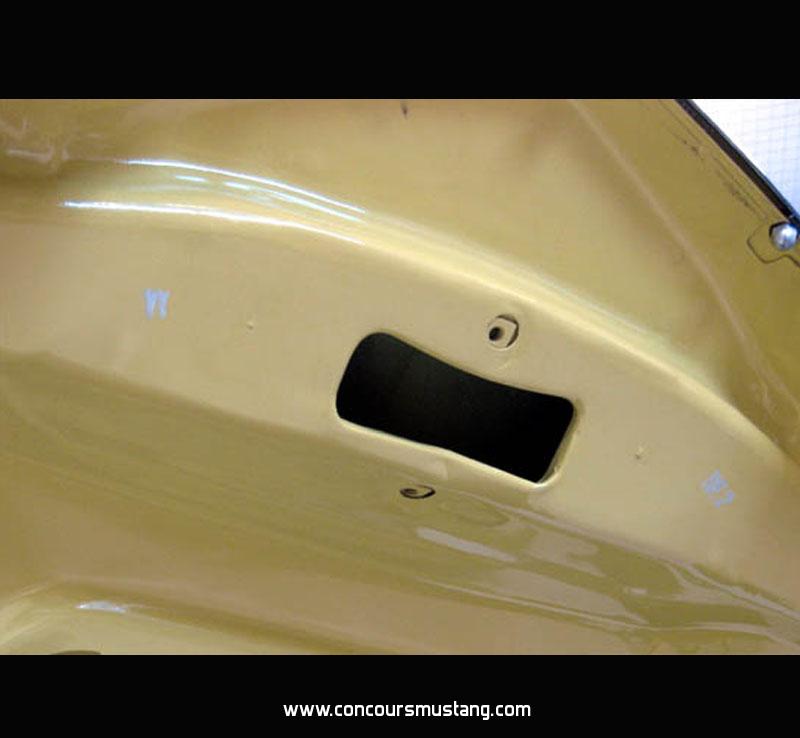
Anyway - bottom of the hood detailed (will post pictures of the inspector stamps that were returned to the bottom) with the windshield washers and the black out. Ready to be installed. Though it’s being built as my daily driver its hard to ignore the concours details after doing it for all these years. Guess its will not hurt the final product much
Another installment - Progress is slow as usual. Only getting one day a week in on this one
Basically got everything done under the hood other than charging the AC. All new (new style) seals in place last week, carb rebuilt and all the settings done. Again - not a full restoration - did take a few liberties, sort of in the spirit of the original Resto Mod or in some areas Day #2 idea. At this point only intake, carb and ignition along with the supporting hardware. Should have the Quadrajet but it’s sitting on the shelf for now. Interior I did the Kilo (220 kph) and the radio (with hidden speakers) as changes.
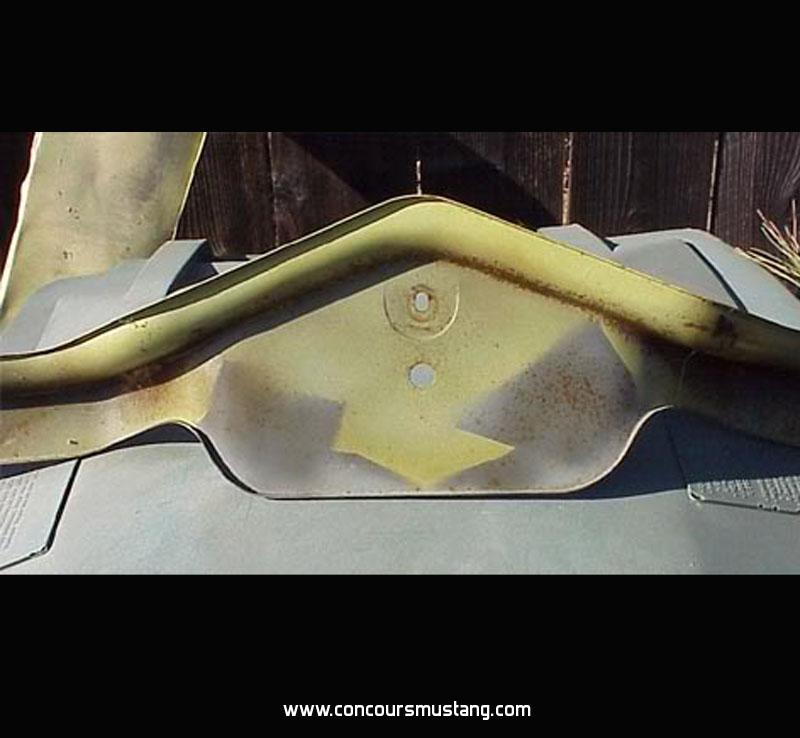
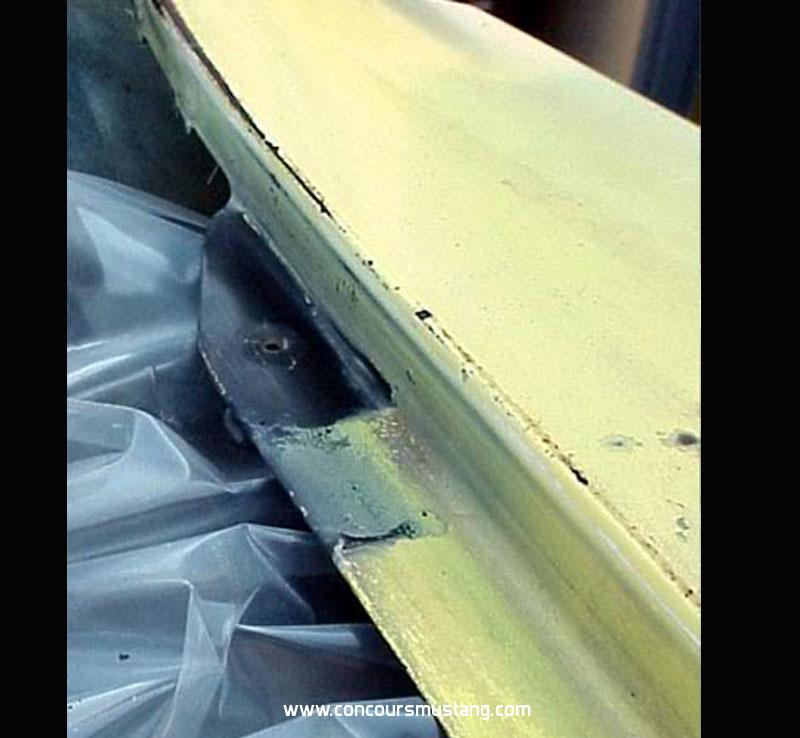
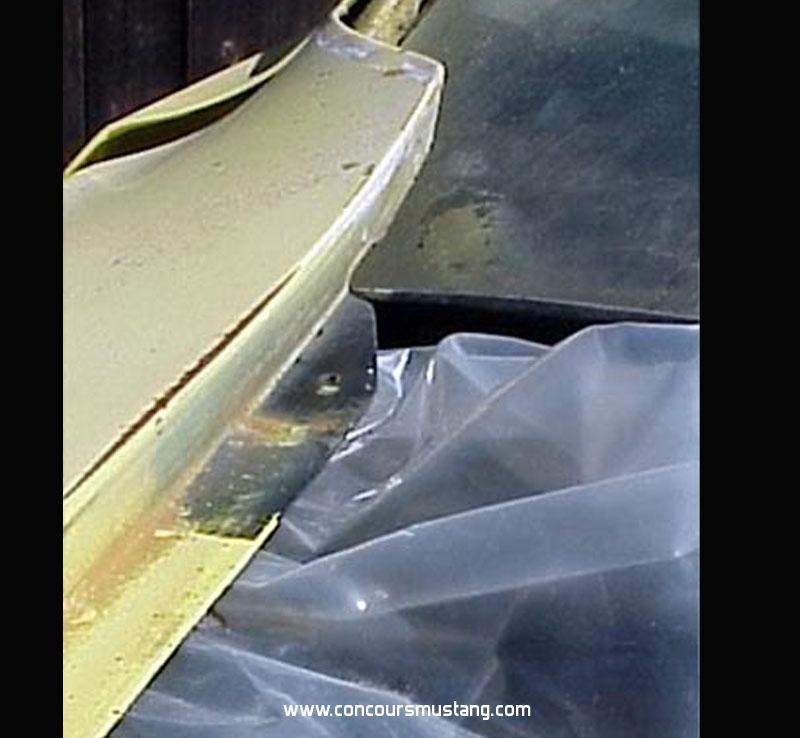
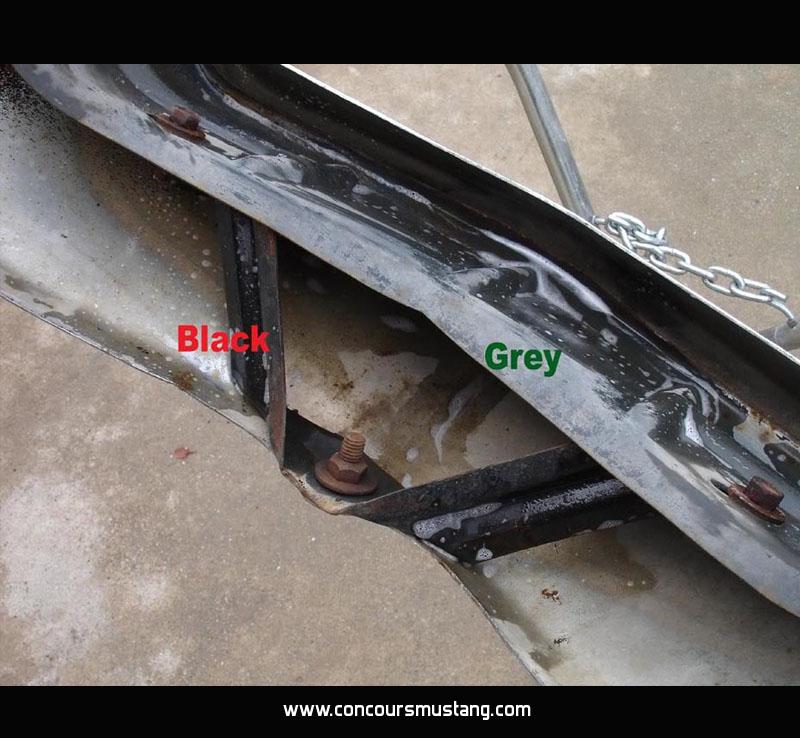
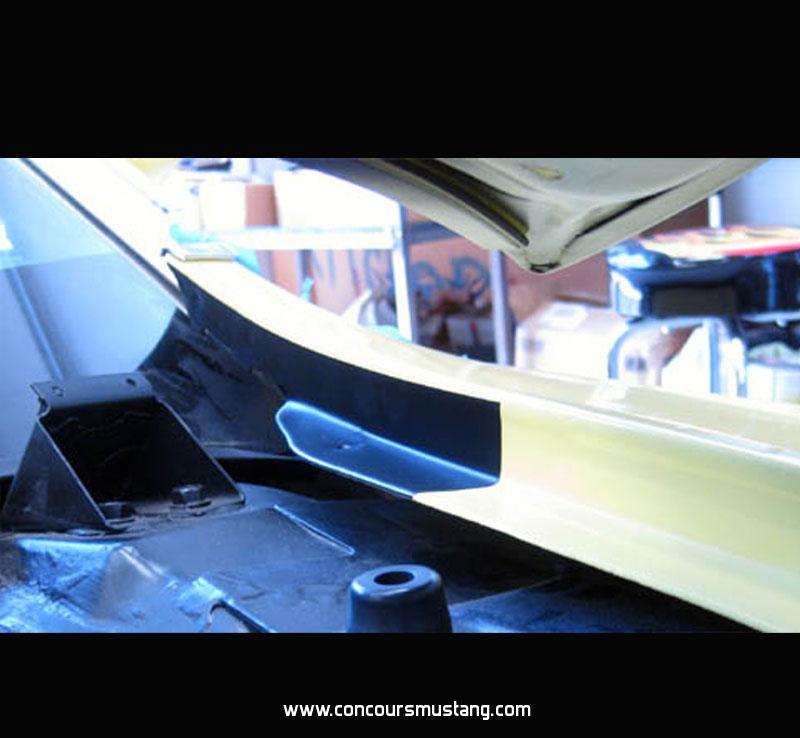
Time to install the fenders - but have to prep them first. Rear edge black out returned.
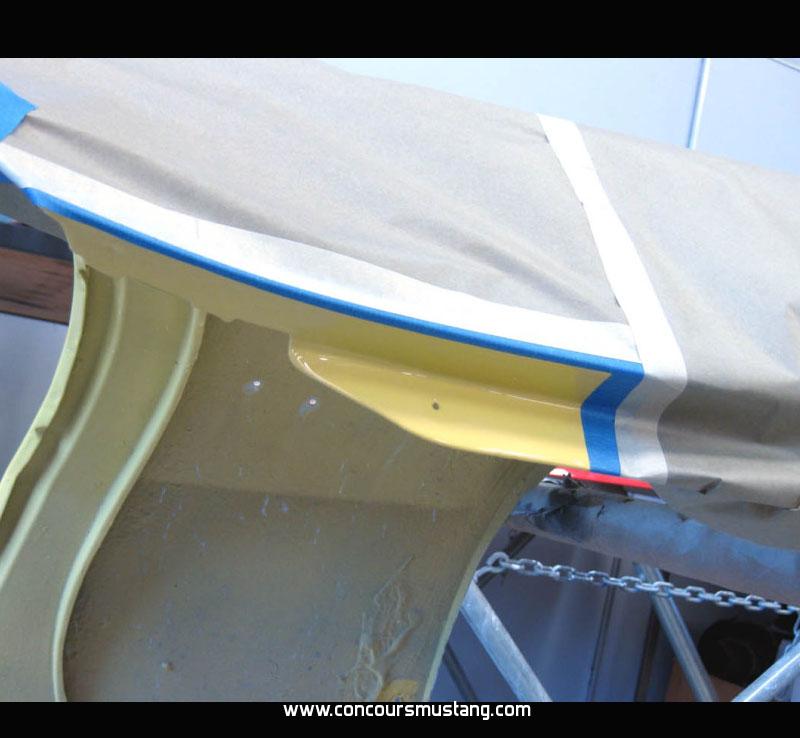
Mask, rough with a pad, clean and shoot. NOTE - I left on the original sound deadener on the back side of the fender. This will be overcoated with a fresh coat once the fender and splash shields are installed to give the factory look
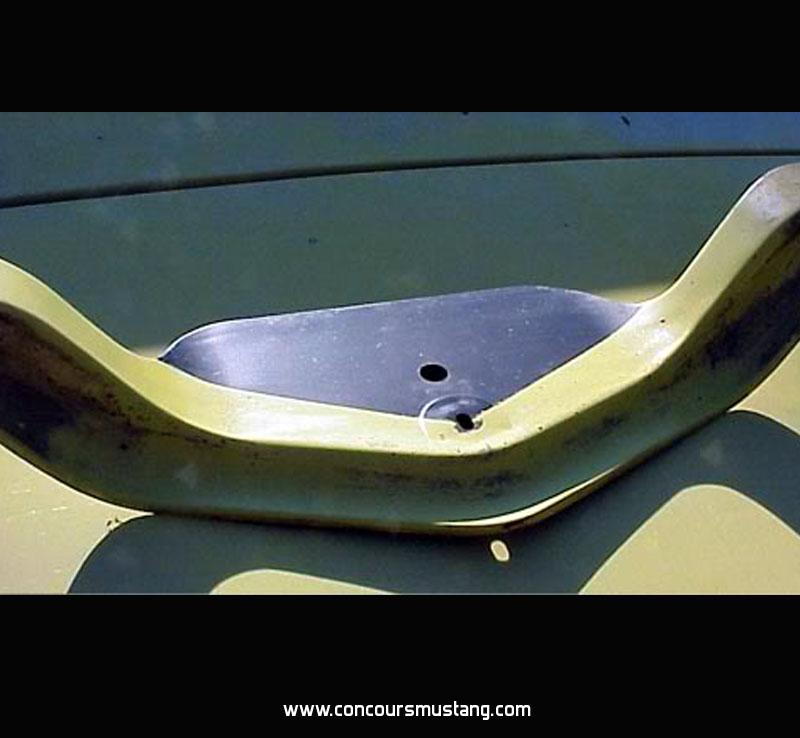
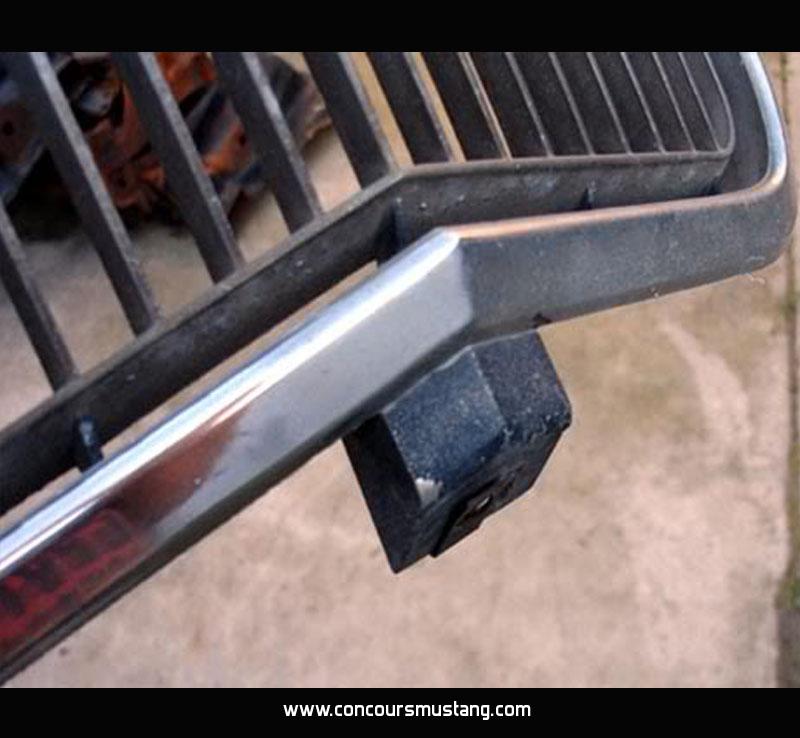
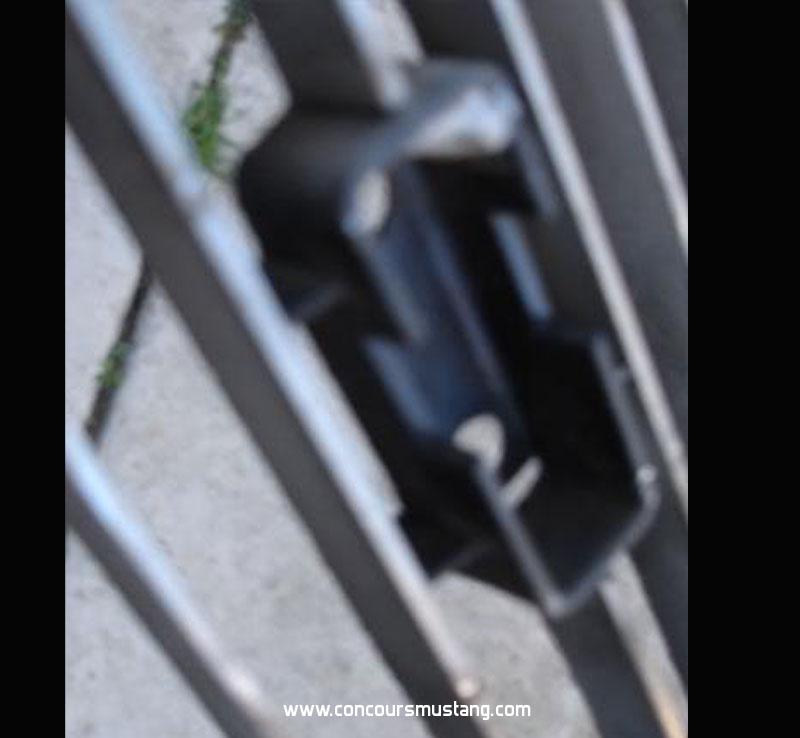
I am missing one side of the fender rear edge filler piece. Too bad someone is not reproducing these but understand since they were used only for a short period - not many to sell to. Will leave the one off until I get a pair
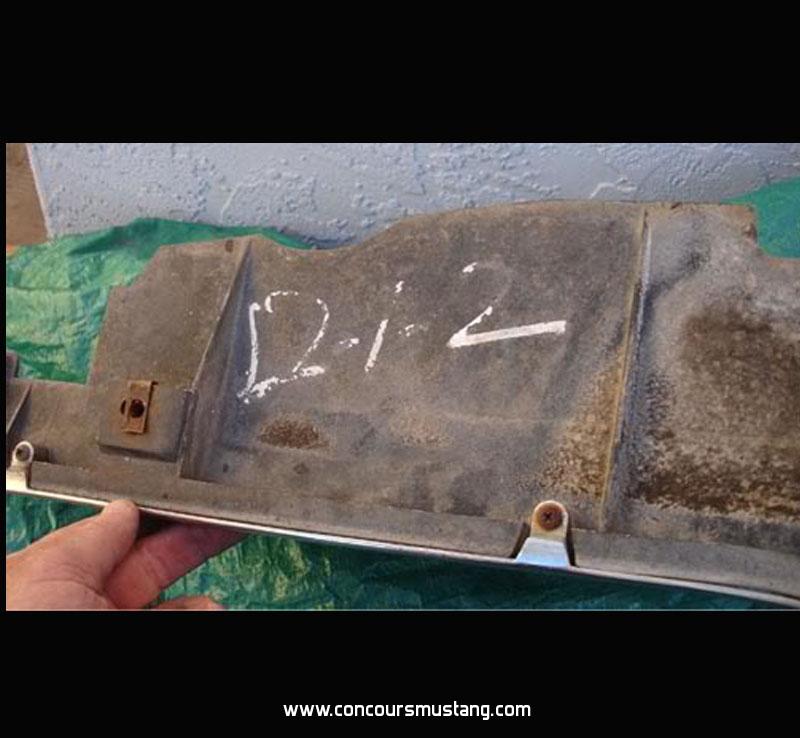
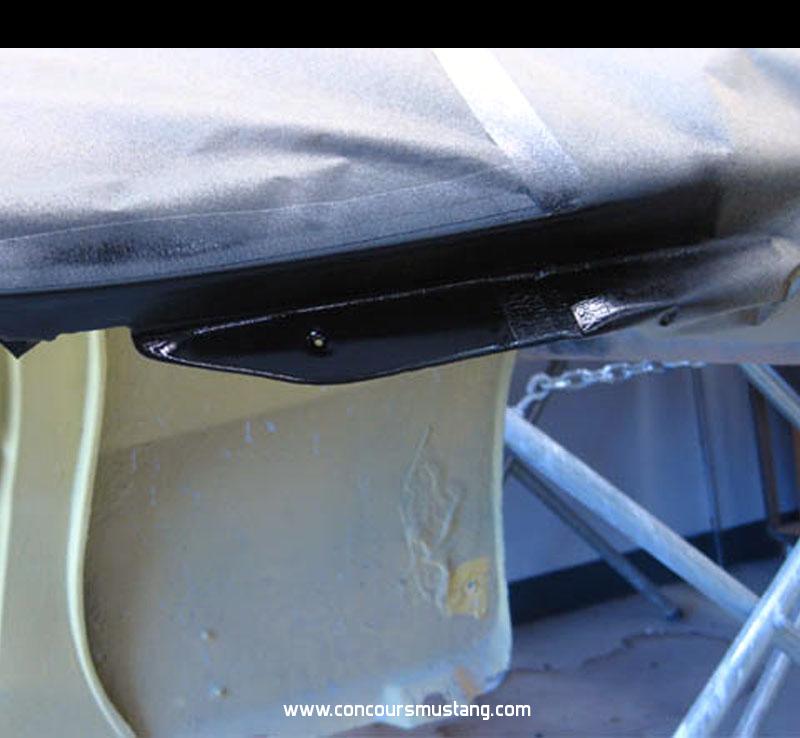
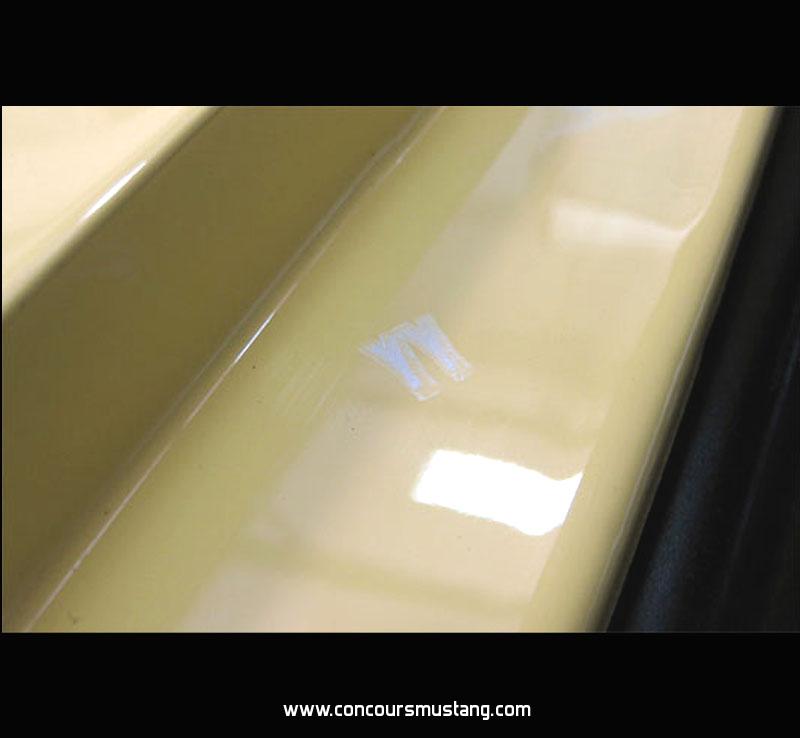
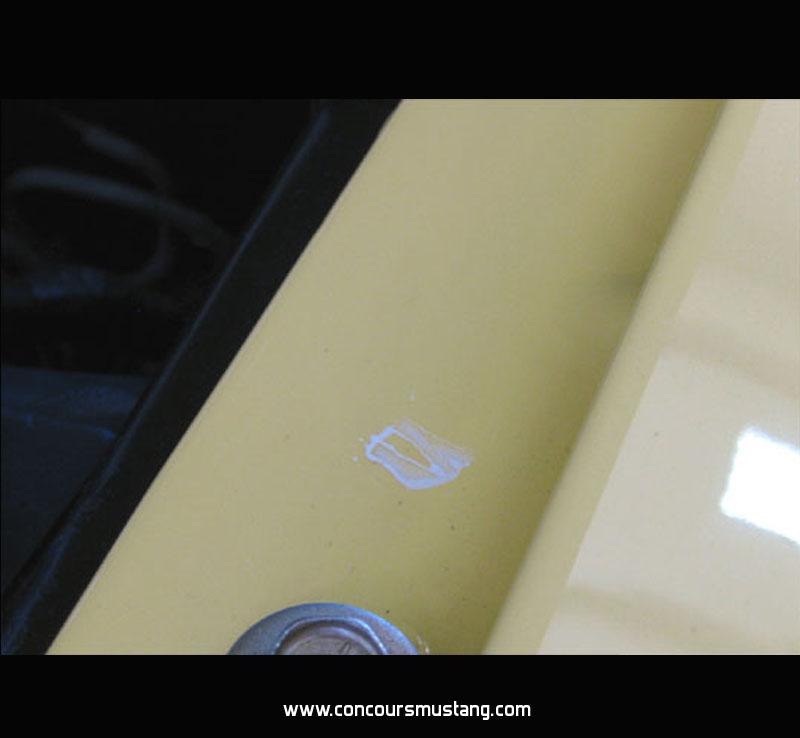
Could not help myself (considering my background) from making up some paint inspector stamps and laying an a few in the proper location. Still need to make a different one for the doors. Not easy to see the white on the bright yellow