I can post pics of a box Im redoing now if you need . I had to do fiberglass repairs & replace missing mounts. Waiting on A/C kit, so it is in pieces.
Did or 67 in about 2008. The available seal and foam gasket kit was pretty much junk. Replaced most of the self adhesive foam with industrial foam from McMaster Carr . Hopfully the kits are better now
I believe that. I know the foam on my recirculating door is powder and I would assume all of the other foam is in the same condition. It might be something I would do in the future but don’t think it will be this summer.
If it’s not a big deal to post pics of your box I would like to see inside it. What A/C kit are you waiting on?
I saw the foam gasket kits and thought that was great to see they were available. Sucks to hear the foam kit you used was junk. Hopefully like you said they have improved them since you did yours in 2008. I’m guessing the self-adhesive foam from McMaster Carr worked well for you?
One of the bonuses of rebuilding/resealing the heater box is you can also pressure test and clean the AC coil. I redid mine about two years ago and was able to leave the coil under vacuum for a couple of days to test it at home. If it’s holding freon it should be okay, but sometimes they get bumped and dinged upon removal and you don’t want to find out it’s bad after you pull, rebuild, and reinstall all that. FWIW, mine had a small mouse nest in the fresh air opening, but it had several shed snake skins in the ac coil, which explained why I had no continued rodent damage. Point being: you kever know what you’ll find in that box, and it might be a pain but it’s really worth it to pull it and redo it.
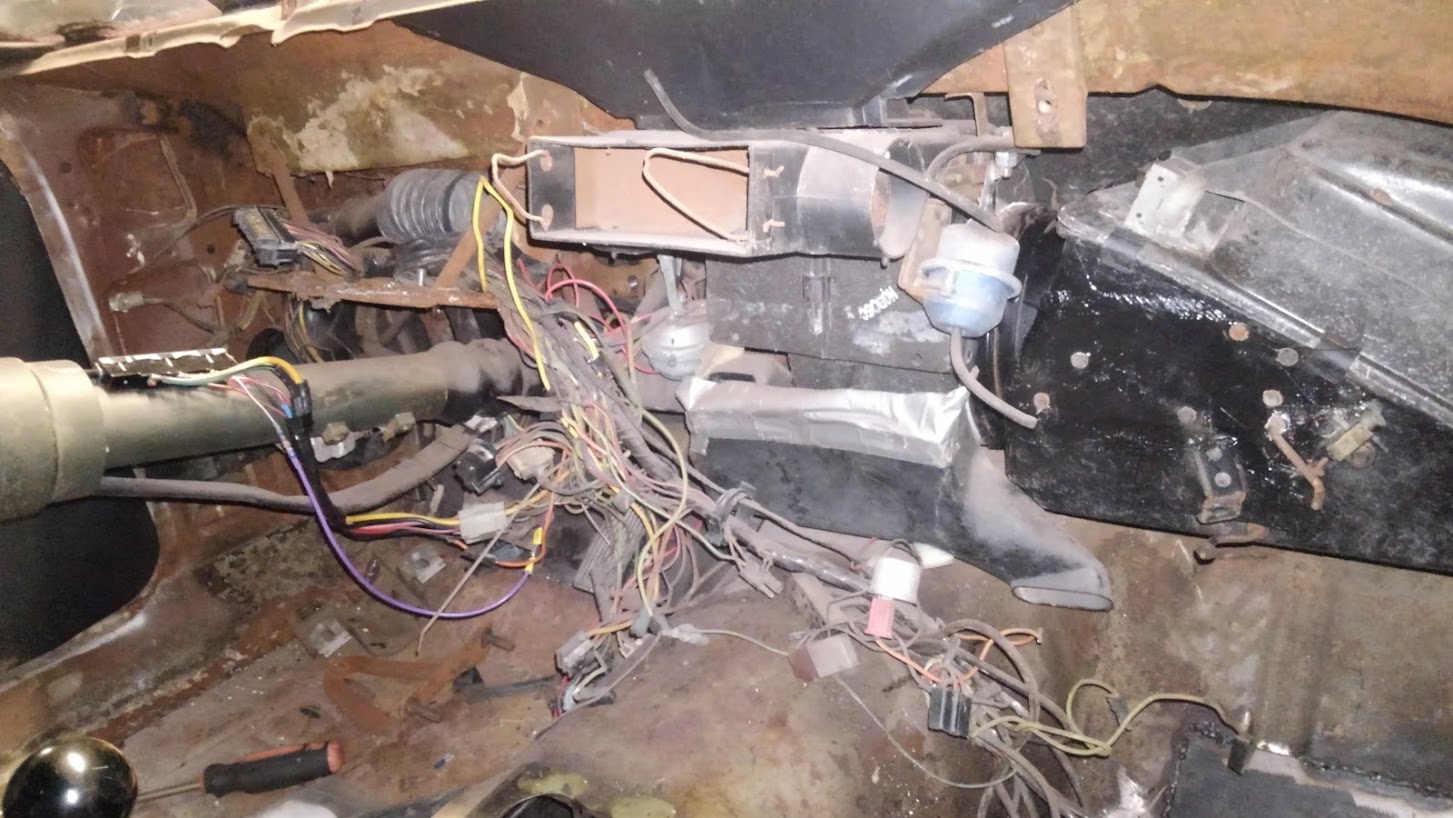
Additionally, I had a vacuum can in the fender that was rusted through and lines that were bad. So, I replaced all the old vacuum lines with new ones, cut the top off the old can and used it for a correct facade, and then used a newer round vacuum pod from an F150 inside the inner fender to sidestep the poor quality of repros. I did a similar deal with the headlight door vacuum tank which was also in poor condition. I checked the vacuum motors on the hvac box with a hand pump and had to replace one that was bad.
The vacuum actuated stuff is a whole system. I wasn’t keen on running an electric or engine powered vacuum pump, so when I selected a new cam I made sure I was going to pull at least 15 inches of vacuum. A lot of Cougar owners who hop up their cars wind up realizing too late they don’t have sufficient vacuum to run the hvac, headlights, and brakes because we are now in the age of lopey cams that EFI tends to bandaid. But you can get an electric vacuum pump to run the entire system independent of engine vacuum if you want a lopey cam.
The systemwide test can be done by pulling the vacuum line from the carb or spacer, pulling a vacuum on it, and seeing if it holds, how long it takes to leak down, how long it takes to pull the headlight doors shut, and how long the doors stay down. Any leaks will impact the heat control valve, hvac doors, and even power brakes in large or small ways. This will make the AC temp warm, the vents not operate properly, and generally have poor function instead of the snappy way they should work with a slight hissing noise. These were OP’s complaints.
It’s easier than a Fox body Mustang but still a bunch of work. I just did my '84 Mustang GT350 Air Conditioner so I know the drill. Not much can be any worse than what I just did. Still the 67 - 68 Cougar AC unit is a lot of work. Maybe 2 days compared to 4 in the Mustang.
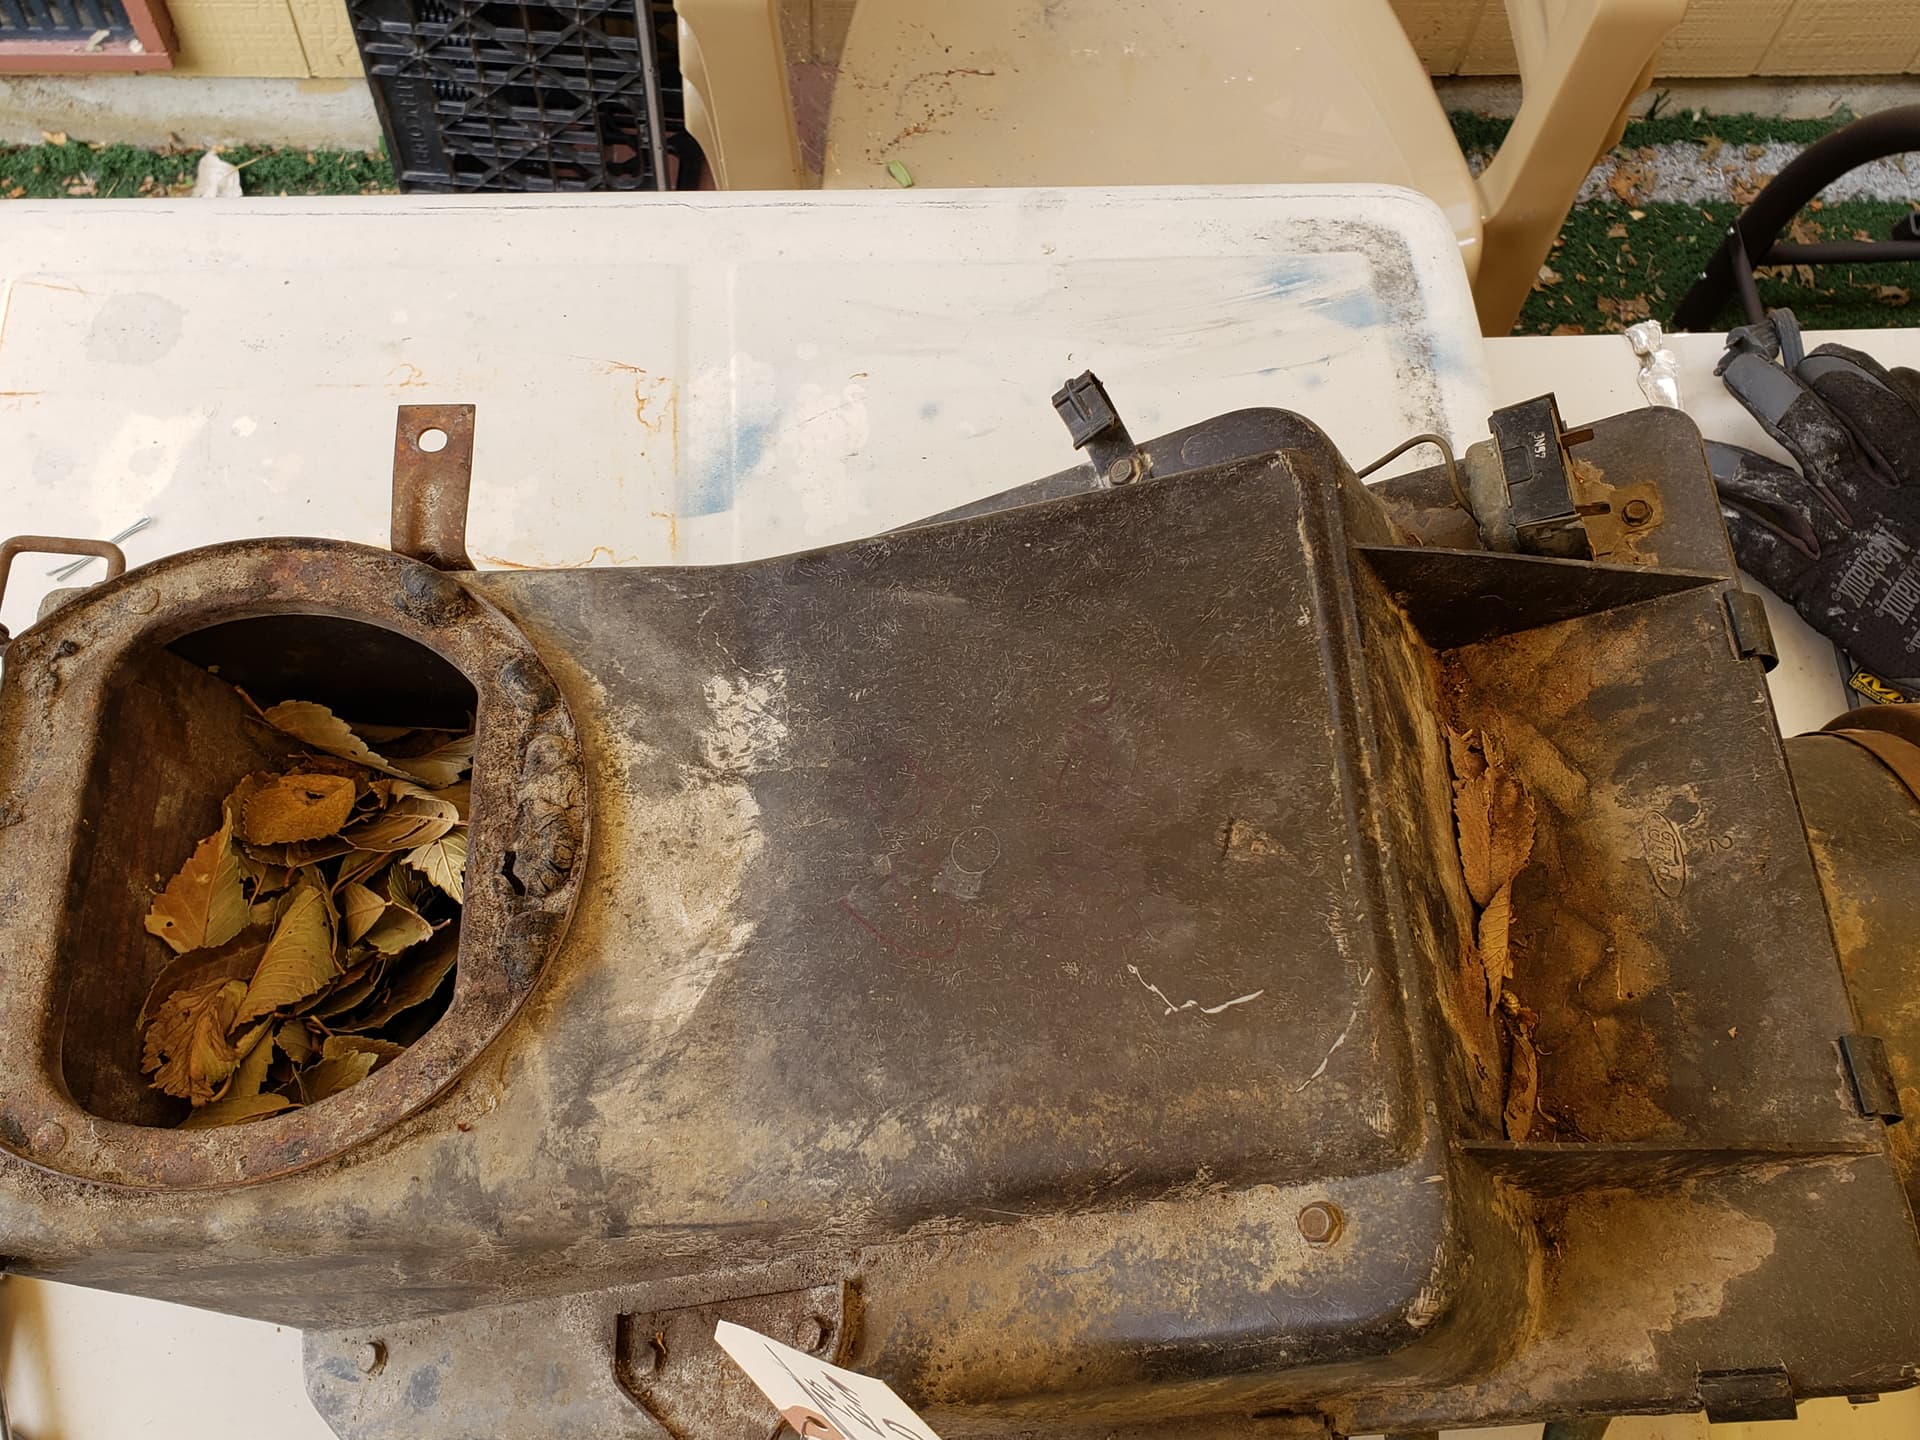
I bet mine has a few mice nests in it. I get mice in my car pretty often despite the poison I’ve put out, mouse traps, dryer sheets, cut up Irish Spring soap bar, etc.
That’s a good idea you had of using a vacuum pod from a F150 and cutting the top off of the original vacuum can to keep the original look. Fortunately the vacuum system in my car seems to work well. The HVAC controls all work properly and my headlight doors stay down for a long time. One winter when the car wasn’t run they stayed down for a couple months!
1 Like
Yeah the foxbody Mustang isn’t easy. My Cougar is a 69, not sure if that is any easier or harder than a 67-68 Cougar but I’m sure it’s not as bad as a foxbody.
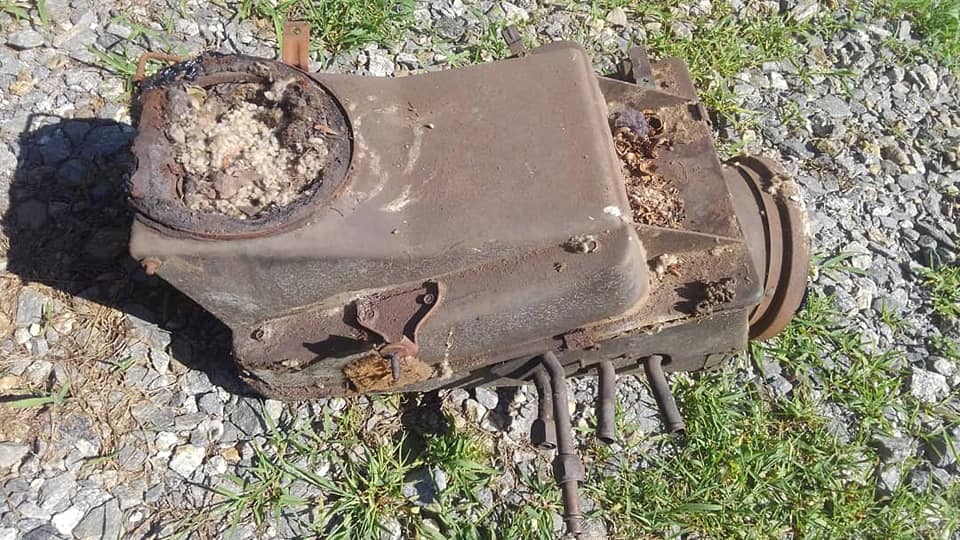
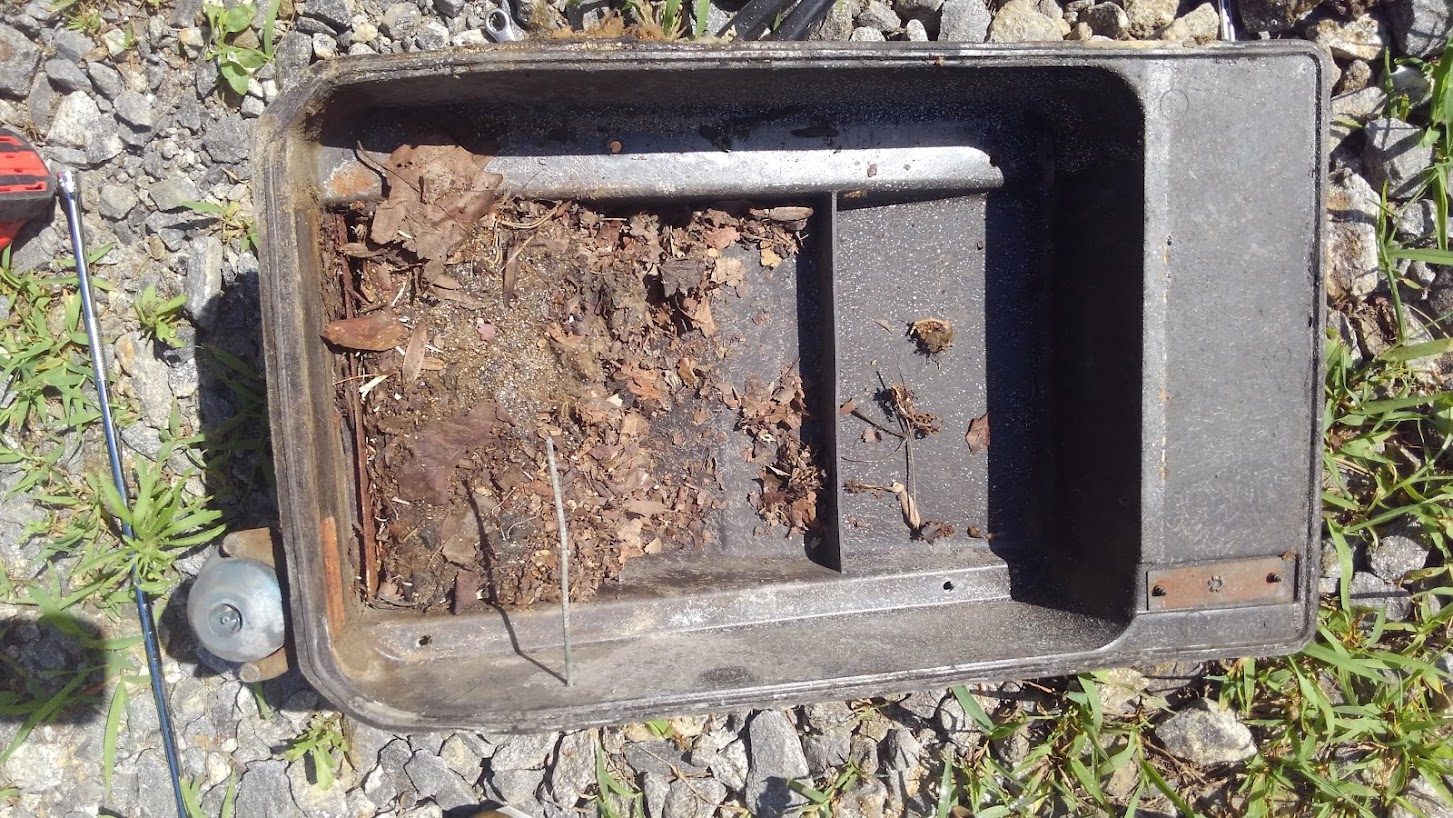
Just for conversation purposes, this is my box when removed. It was still drawing air fine through this Hanta Virus factory. You just never know til you know.
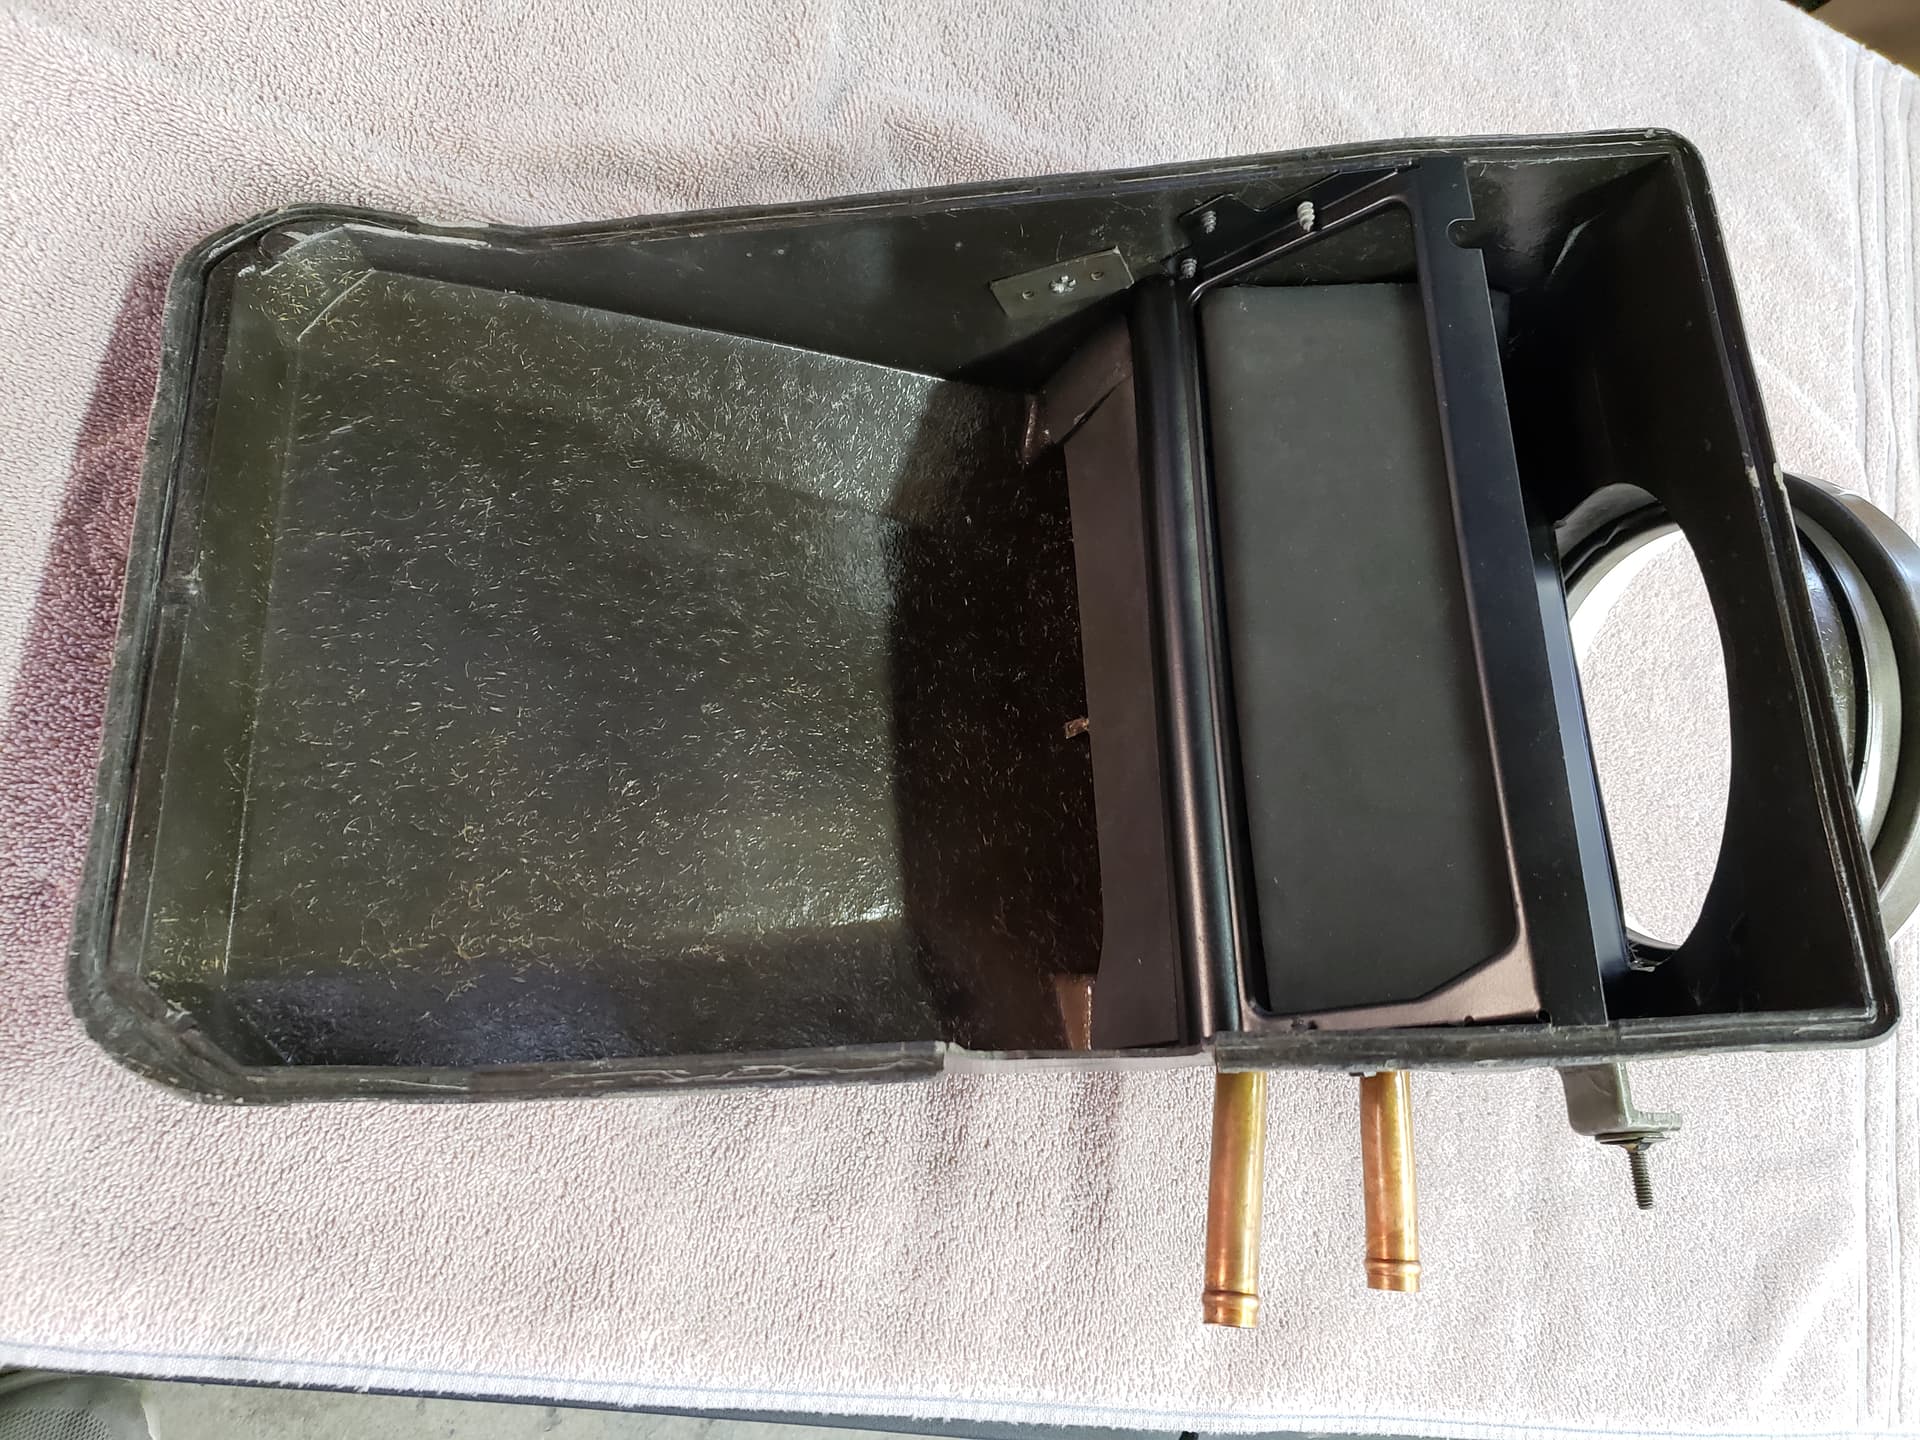
OK, so here’s the box out of a 70 Eliminator.
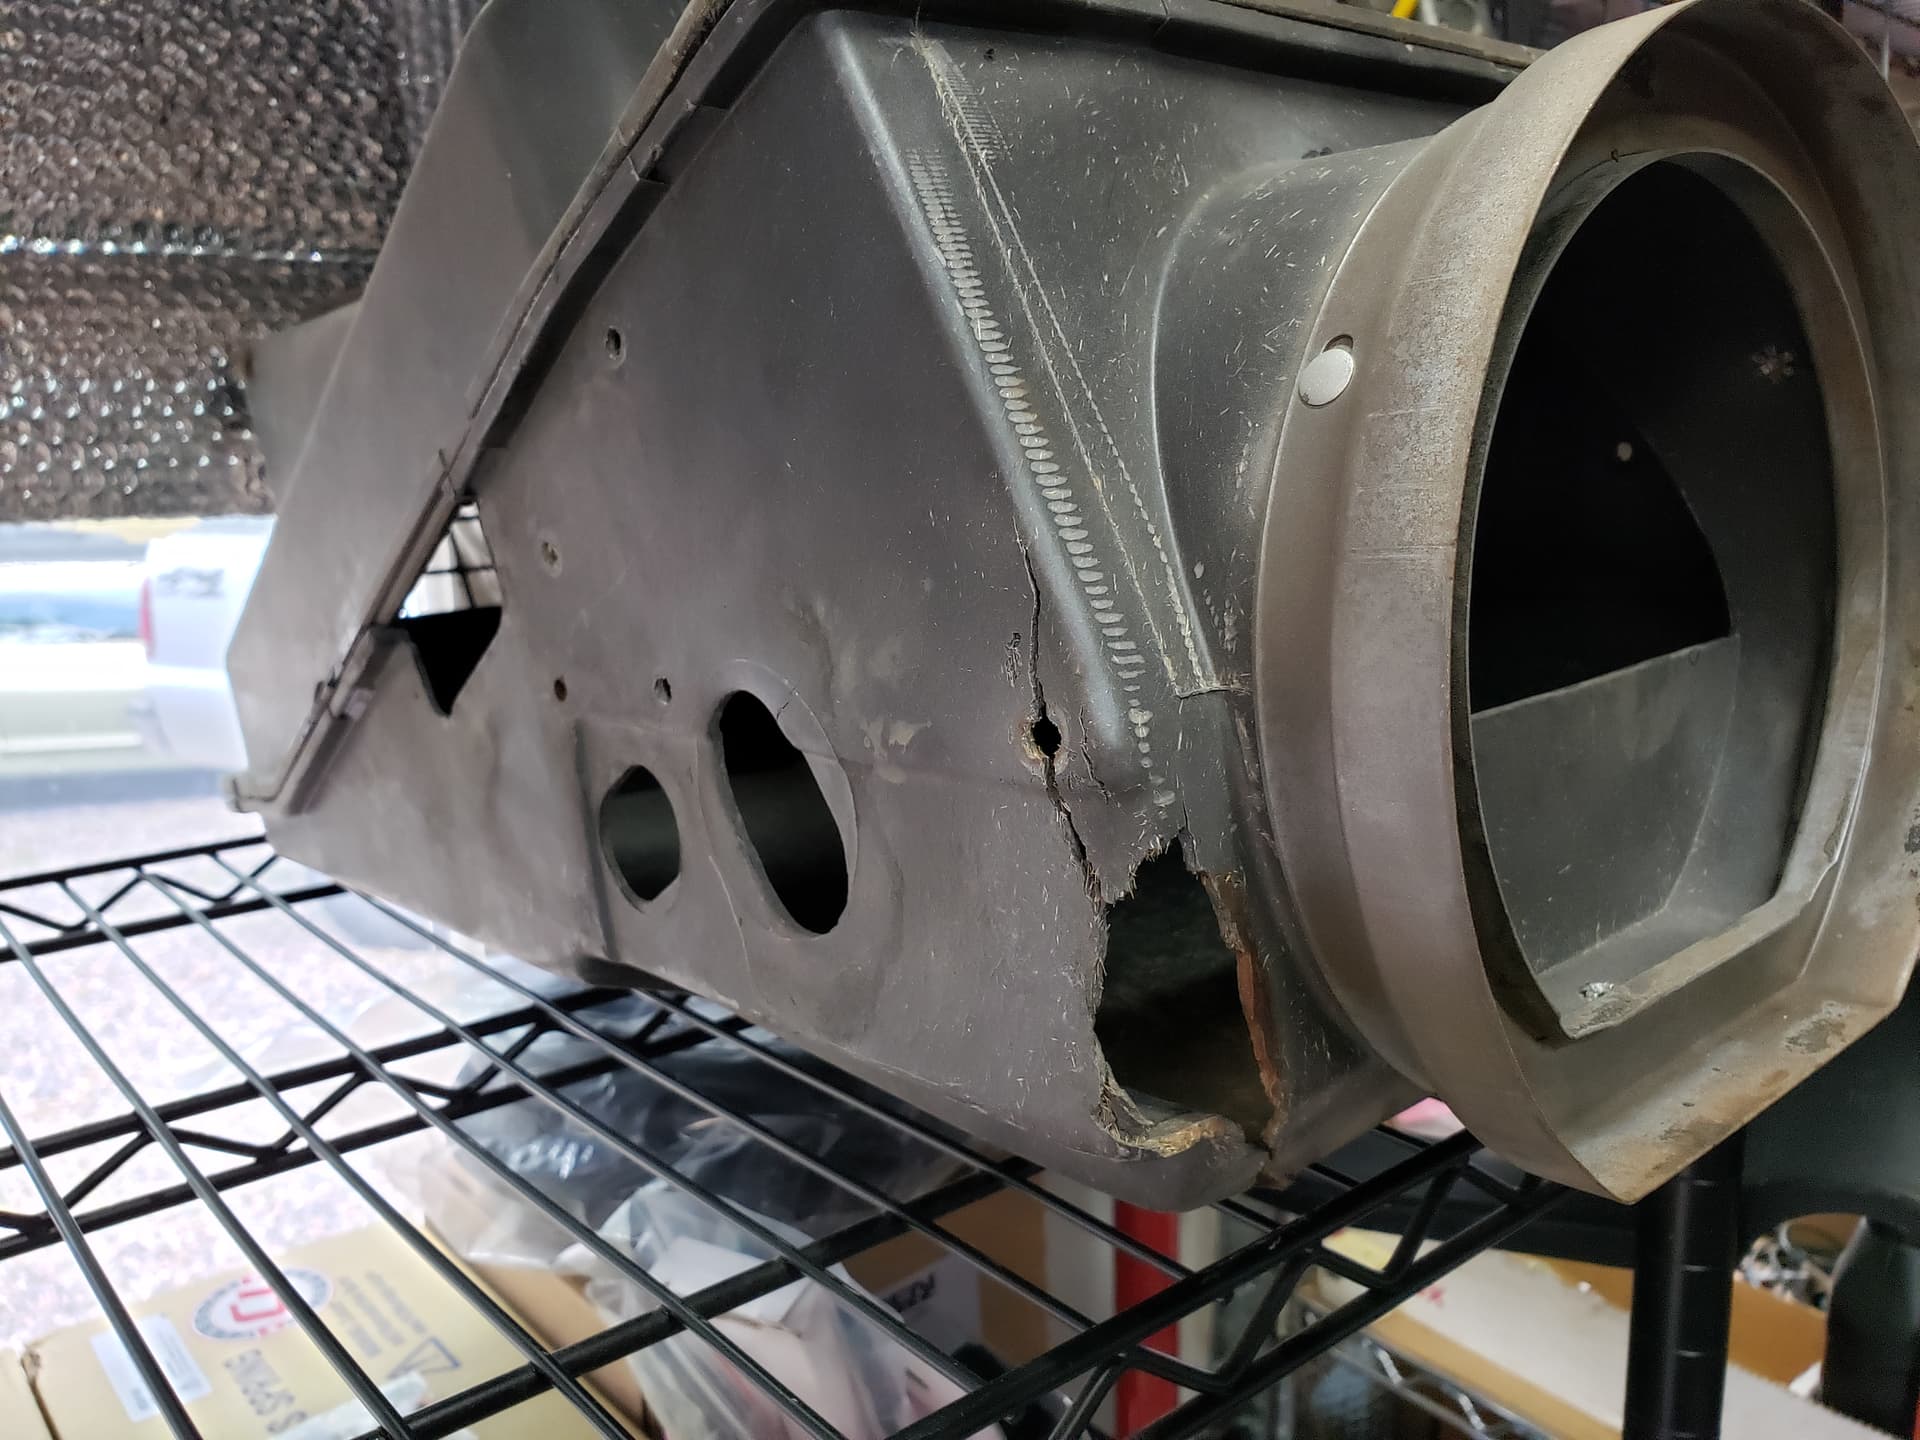
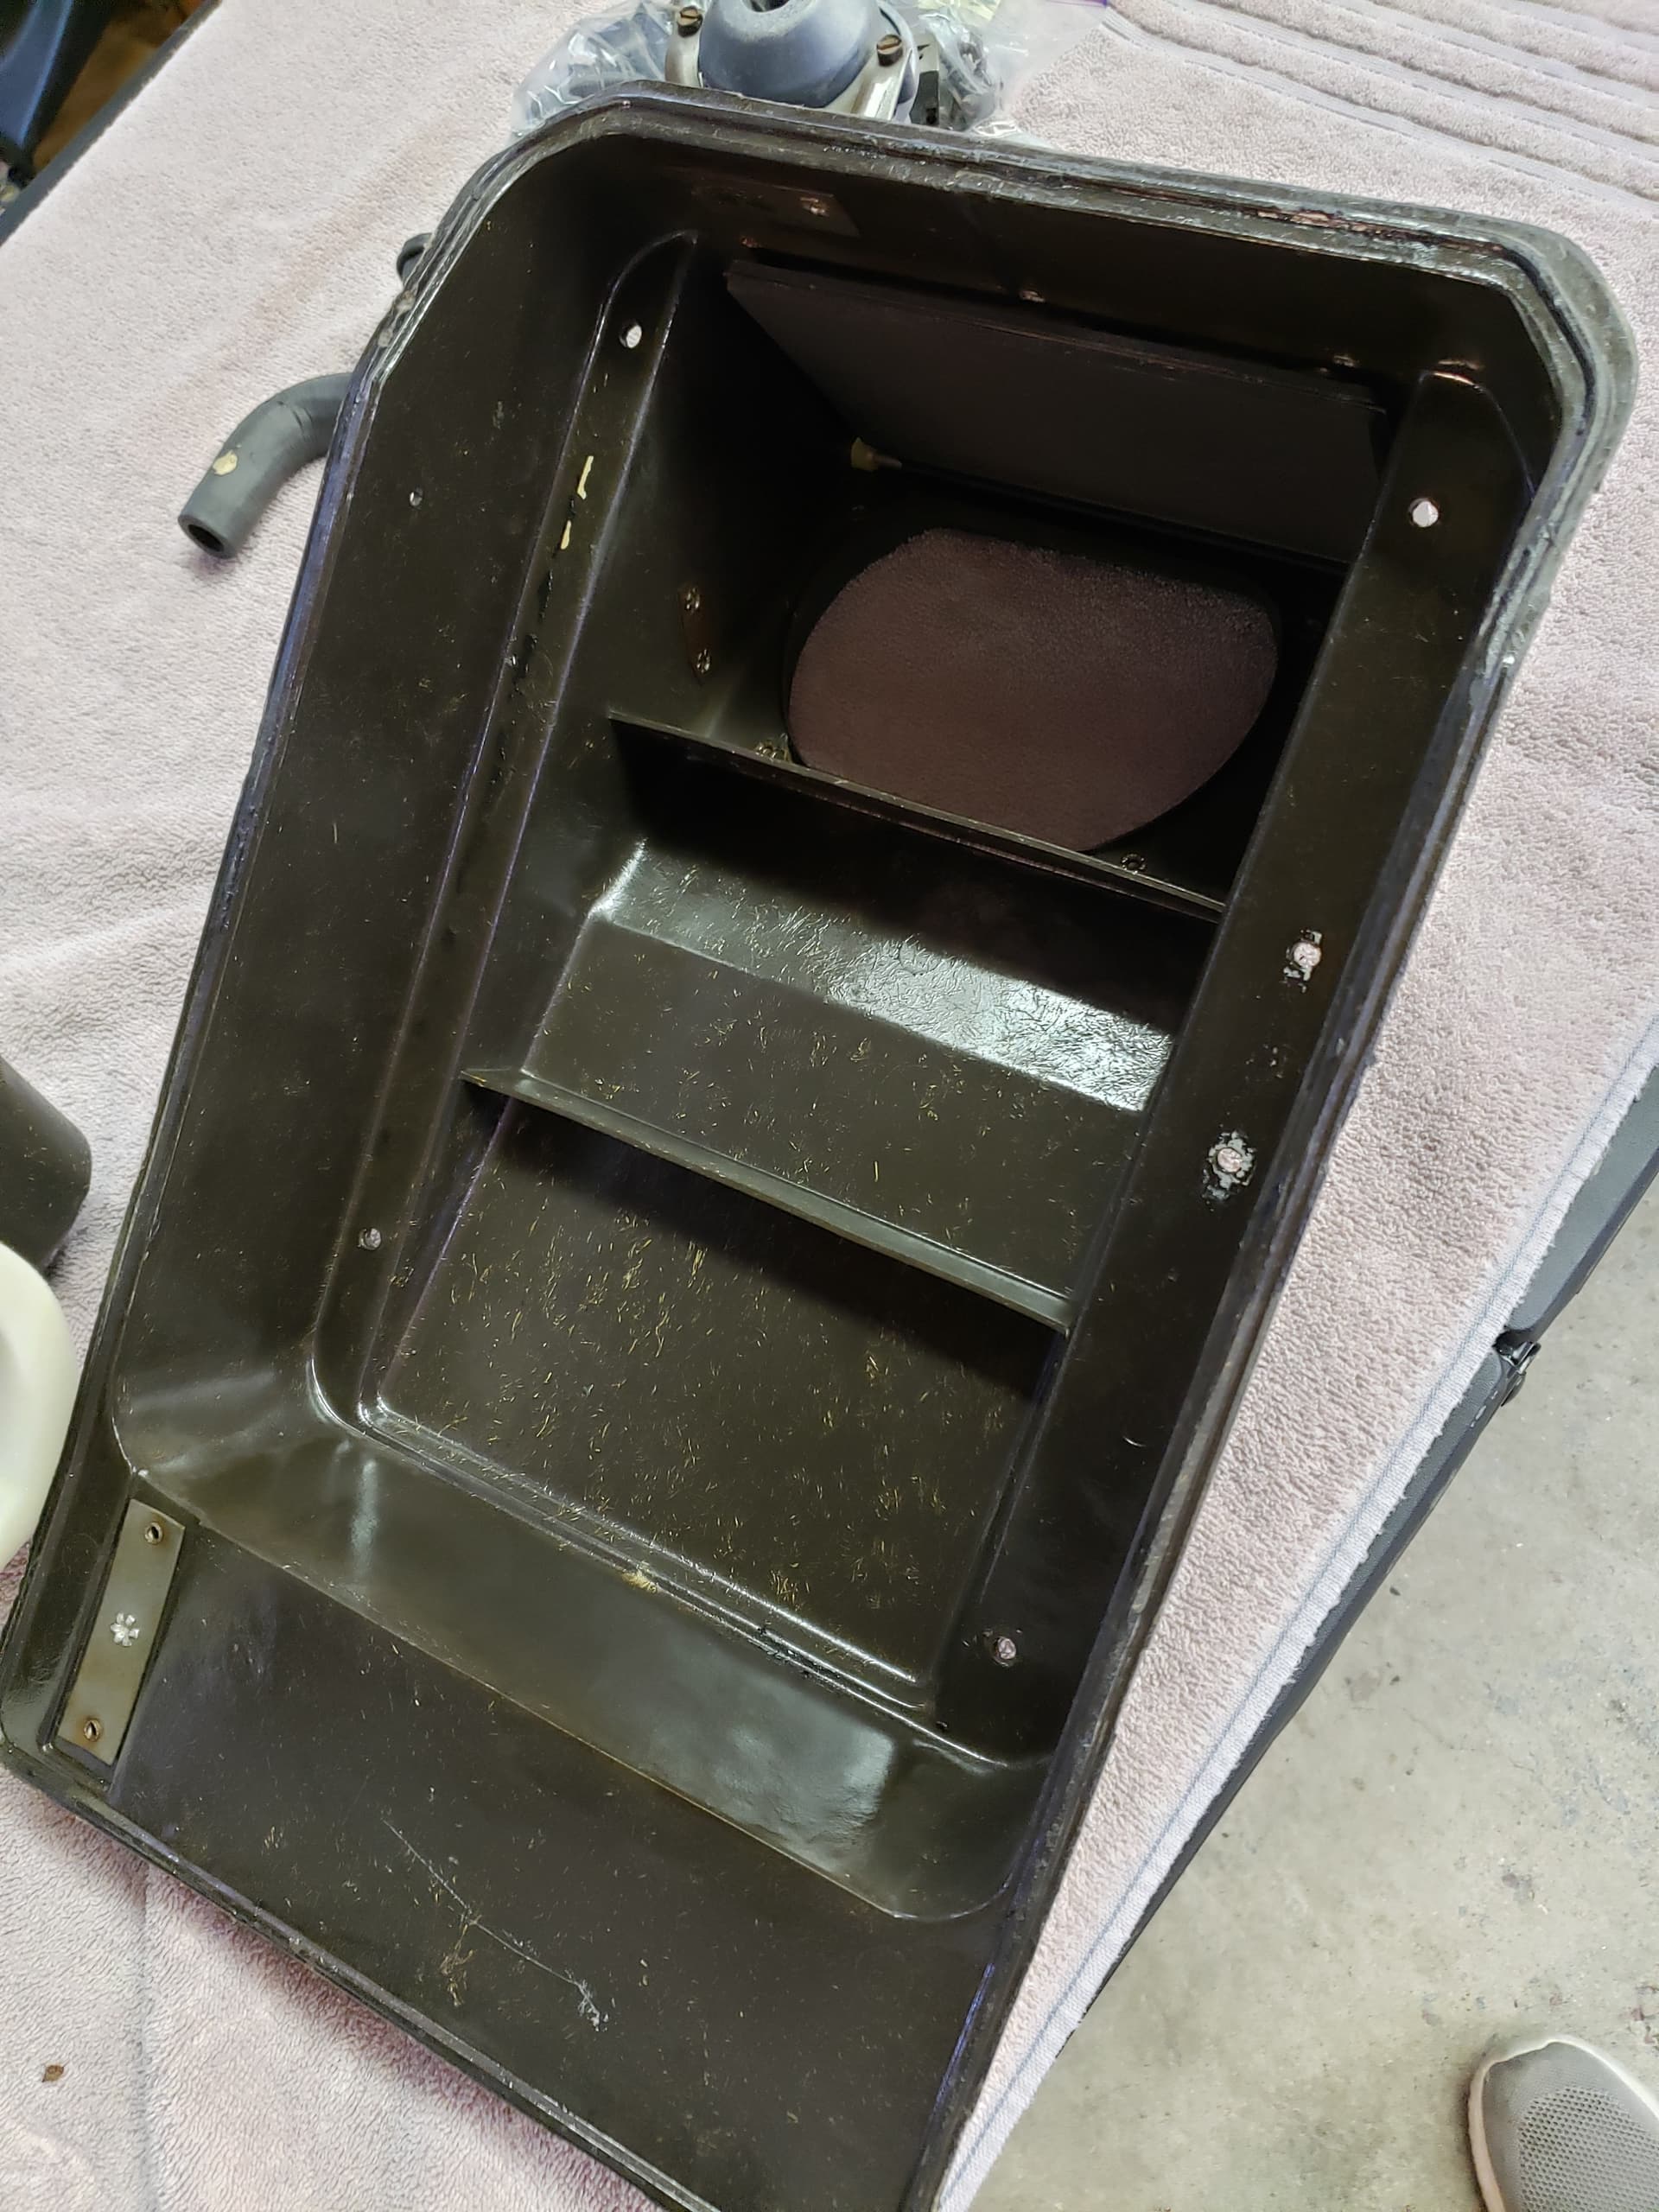
The parts were media blasted (low pressure glass bead) cleaned & clear coated. I used a can of gloss Rustoleum spray.Under $5 at walmart
Foam kits : The "RePops kit (comes in a box) is very poor. More like original foam. Low density.
Daniel Carpenter is the best one Ive found. Has the high density foams seals.
1 Like
Your heater box came out nice! Thanks for posting pictures of it.
Pretty amazing it was drawing air fine with that big nest / obstruction.
Do you have any pictures of the box taken apart? If so, I would like to see what the inside looks like and more importantly if I can access the evaporator core area by removing the blower motor.
This is what’s behind the dash. You can see the cores aren’t easily accessible by removing the fan.
Bottom of the plenum box.

The evap core and both halves. The core bolts into the plenum, so there’s no easier way to do it unless you use a rotary cutter to remove the bottom of the fiberglass plenum and then vacuum the thing out. But then you continue to have 50 year old foam seals leaking and questionable blend/directional doors maybe needing work. And you also have a fiberglass job to do upside down in a very cramped space.
Thanks for the pictures.
The thought of cutting the box open crossed my mind but I don’t want to do that. I think I’m just going to leave it alone for now and when I have time / feel like doing it I’ll remove the whole hvac box, do it right and re-foam everything.