Classic Auto Air Install for the 69 Cat Part 1

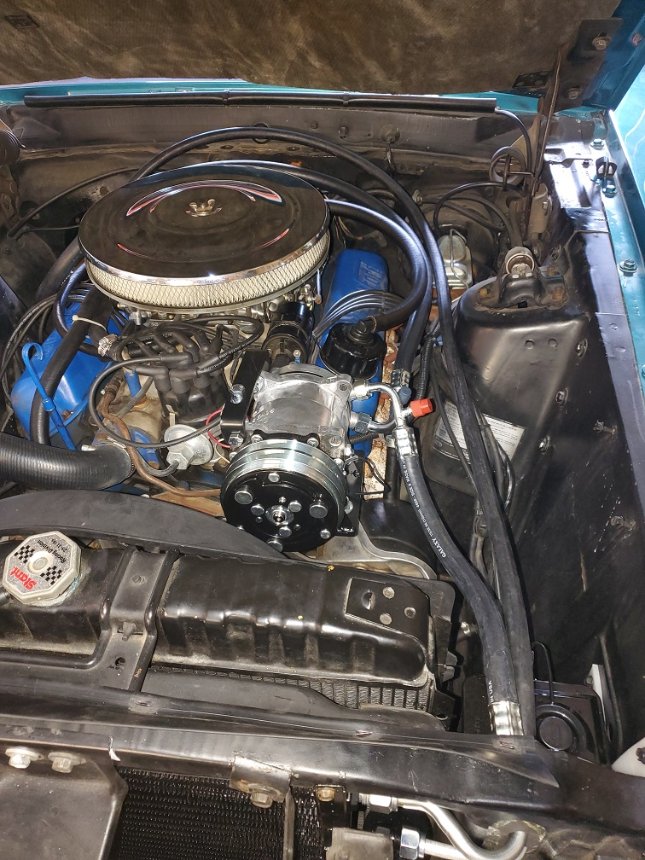
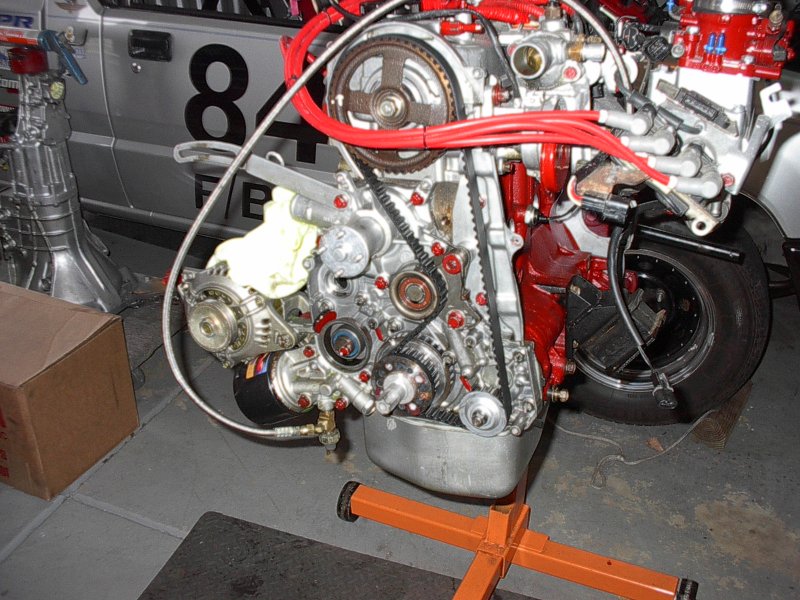
My 69 Cat is a non factory air convertible with a 351W. While searching for others who may have done this job I didn’t find a whole lot of information either for 69 Cougar or Mustang.
What will the finished job look like and is it worth all the money and effort?
I’ll break this post up into a couple of installments to fit it all in.
So, if you’ll forgive some of the blunders I stumble across, I’ll try to share my experience installing the Classic Auto Air Perfect Fit kit. Please let me know if you have any thoughts or suggestions.


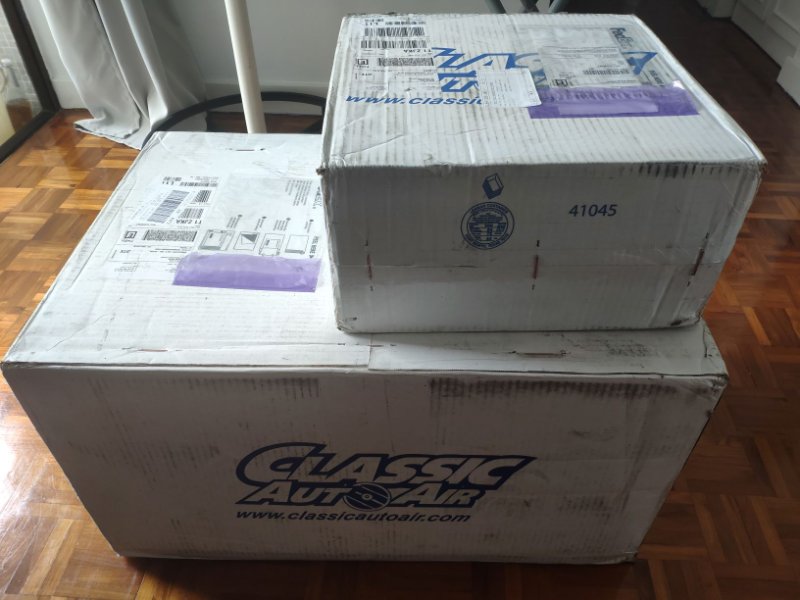
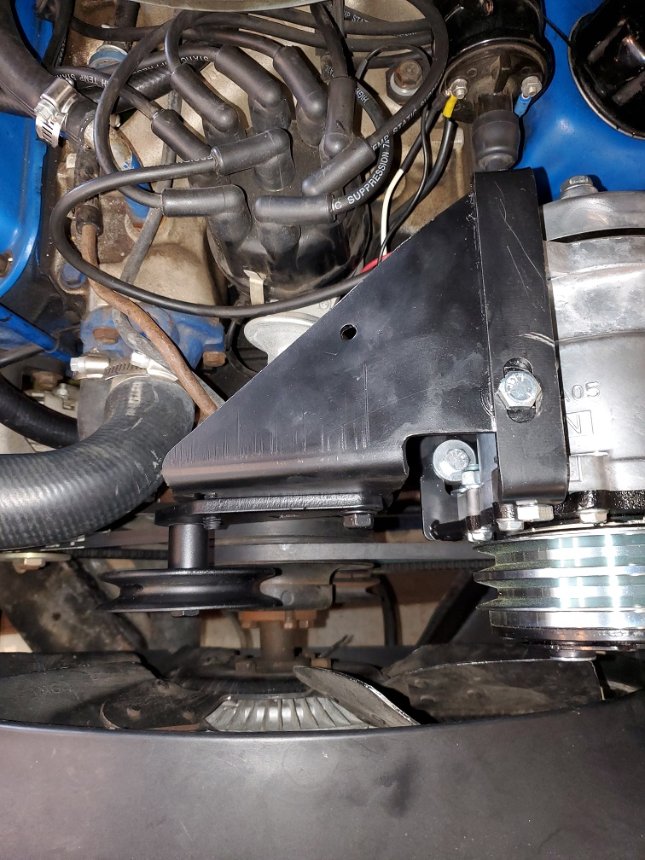
As above, this kit ships in two boxes….which does add to the shipping cost. The big box contains most of the components, the smaller box contains the compressor and engine mount bracket. It’s well packed……after traveling a considerable distance, it arrived in good condition.


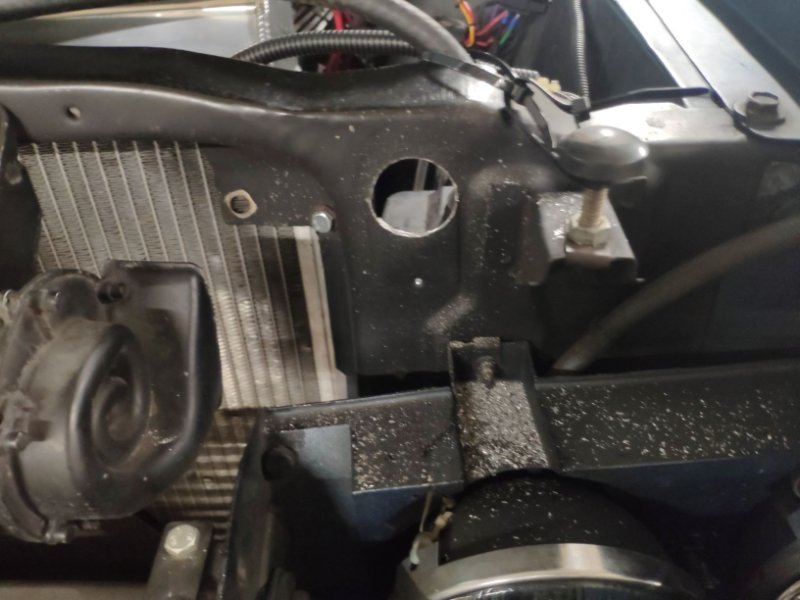
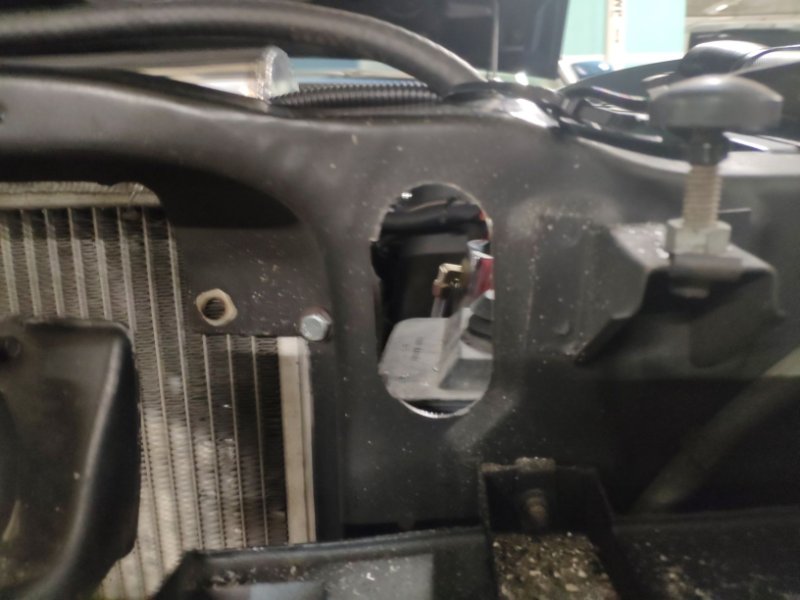
I started by punching out the holes in the core support. My support is an original, so it conveniently had the pilot holes marked. Even better, the cut-out was partly stamped so when I cut out the bottom hole the whole thing popped out making a near perfect opening….thanks Ford!

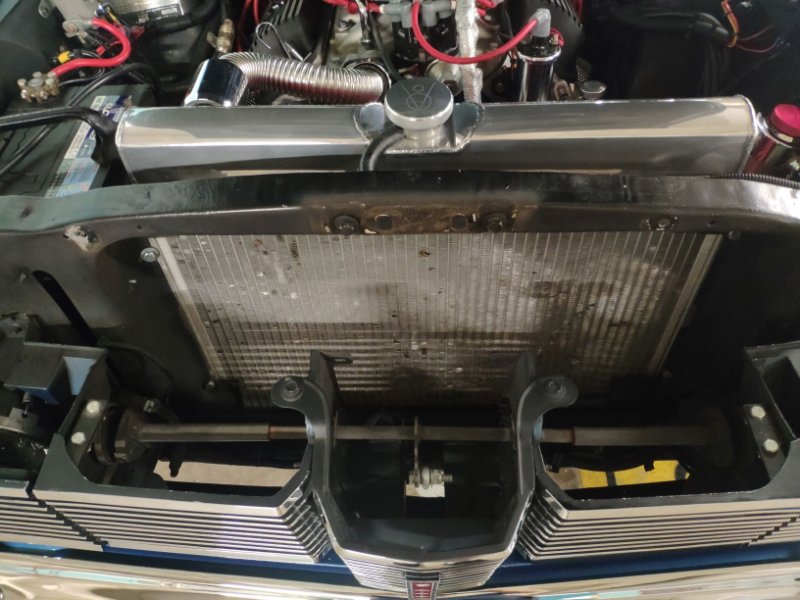
Next thing to come out was the hood latch and horns, for the Cat I think is a bit easier to remove than the Mustang.
One major concern for this installation is the potential interference between the headlight actuator and the condenser, once installed. I didn’t run across this problem as I have an electric headlight conversion kit mounted. It may, however, be an issue for those with a vacuum dashpot.

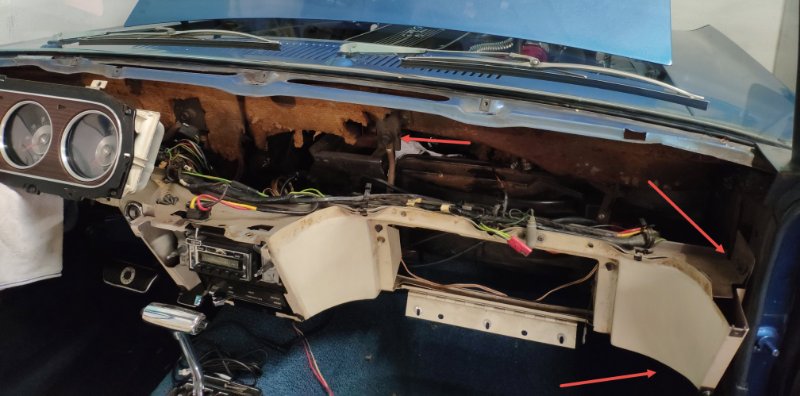
Next, off with the upper dash and disconnected the lower dash at the arrows shown. That gave me enough wiggle room to get the heater box out and new assembly in, without removing the whole lower dash assembly. A big job otherwise.

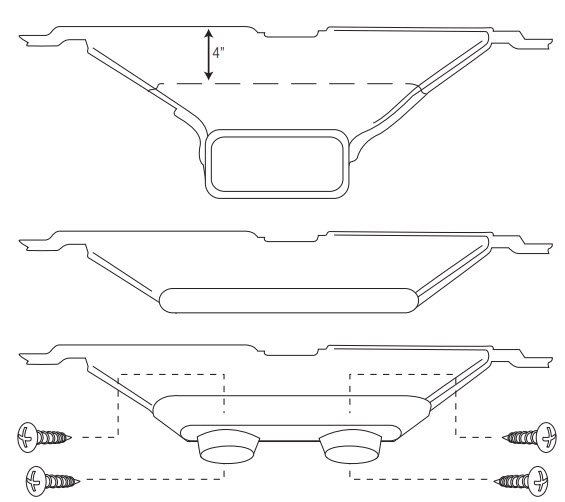
The defrost duct has to come out for modification as shown above. The instructions ask to measure 4 inches from the top and cutting off the bottom half to fit the supplied adaptor. Exercise care where this measurement is taken. The instructions are not clear on this.

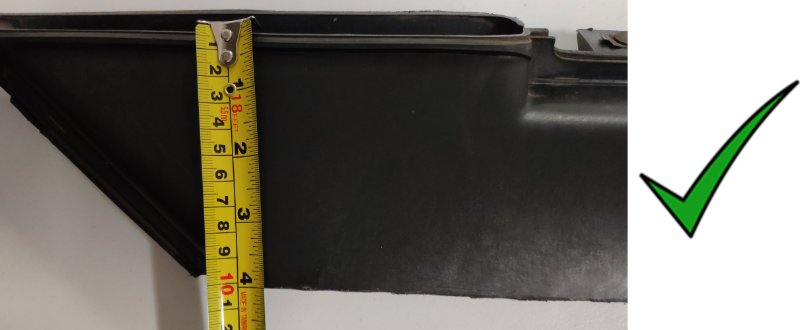
Measure from this side (front side)….

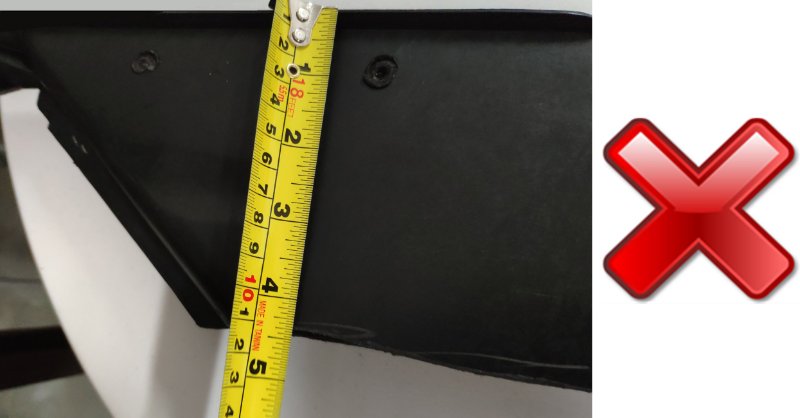
Not this side (back side)… otherwise you’ll take too much material off and the adaptor will not fit.

End Part 1

I had the opportunity to do this on my Factory Air 69. I had the luxury of doing the Heater Core also. No issues on the Condenser. Some parts had been removed by the P.O.

Here’s my system Roughed in.


.

I also got the Heater Box foam seals and replaced everything in the heater box. Watch the video on Heater Core replacement for the 69. Also check all of your Vacuum motors, I had a bad one.
Have you checked your Heater Core? Now is the time!
Also are you modifying the heater box? there is a firewall seal and a Heater Box seal you may need.

I had to find this bracket & tensioner Pulley, It was missing from My car.


Expansion Valve and Hoses at the firewall. You are going to have to order the Copper Sleeve/clamp that holds the bulb against the return line. One doesn’t come in the kit, I re-used mine.
Also are you modifying the heater box? there is a firewall seal and a Heater Box seal you may need. reference the freshly painted Black panels on the firewall.

With the Cork tape applied. don’t try and do it in one complete strip, you can tear it into manageable chunks. Sticky stuff.

Ok here was my one Rub. The below connection on the condenser (hose end) the Nipple that went into the condenser was too long and it did not seal, I found this out when I took the car to have the system charged with R134a.
I had to rework the end of the hose to make it shorter (cutoff wheel & file). all is well now.

Lastly I picked up a Duralast Vbelt #17540 at Autozone. My car is a 351W like yours.

Wow, what a comprehensive write up! My 69 is a factory AC car, and I believe I still have all the brackets. I have been contemplating a modern replacement that is compatible with modern refrigerant.

I installed a Classic Auto Air system in my 69 XR 7. The car did not originally have air conditioning. I installed an a/c lower dash and used factory vents connected to the CAA box. I had to cut an unused mounting ear off the compressor so it wouldn’t hit my Monte Carlo bar.

There was no clearance issue between the vacuum actuator for the headlight doors and the condenser.

Installation was straightforward and the system works well.

Gentlemen,
Thank you for your feedback.

LSR MIKE,
I suspect you worked with the Original Air Group of Classic Auto Air. The pictures you supplied are a great help and always an asset for anyone looking to do this same job on a Factory Air Car.

sfhess,
Thanks for the feedback on the vacuum actuator, one of the folks at the Classic Auto Air help desk wasn’t sure if it would be a problem, cheers.

Part 2 coming up…

Actually I didn’t work with them or for them. I developed the habit of photo documenting projects when i was racing.
It helped me “remember” what I did later if something screwed up, and also helped other people on the Internet when they were doing the same things and ran into issues. Just trying to be a good citizen where I can.

Gratuitous Engine Porn Below.

That’s a wicked engine! Thanks for your feedback, much appreciated.

What in the world is that engine? It looks like nothing I’ve ever seen before…

Highly Modified Mitsubishi 2.4L SOHC