After bolting on the supplied adaptor to our modified defrost duct…
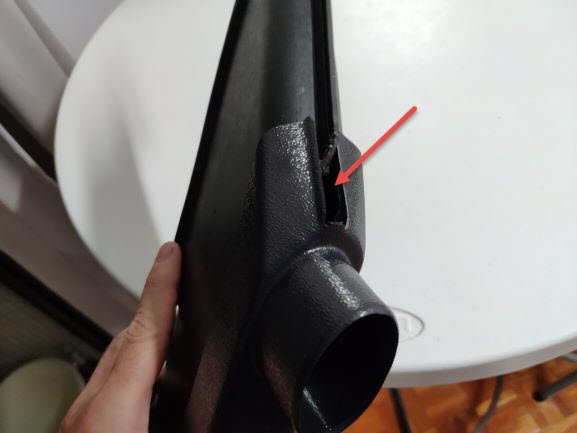
…I could have used another ½ inch in length (so make that cut at 4½ inches) to make the adaptor fit a bit better. I filled the gap with black RTV.
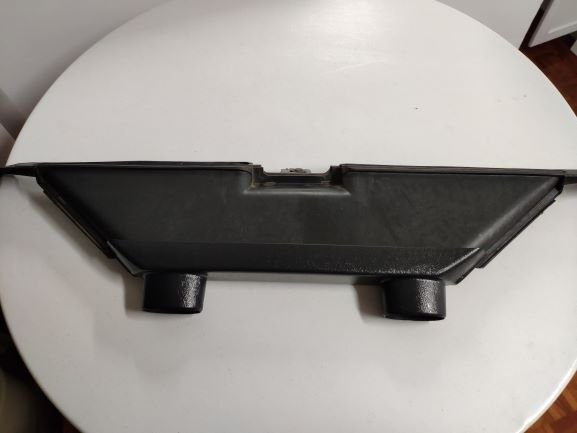
Finished duct.
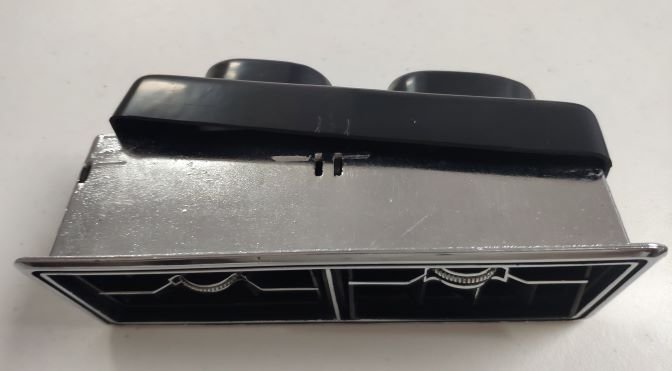
Another modification was for the original cougar center vent that I purchased (the kit came with a plastic center vent….I didn’t like the look of it). As you can see, the supplied adaptor is too short. Gently heating the adaptor ends, little by little I was able to stretch it over the original vent assembly. Not the best seal, but nothing a little duct tape didn’t fix.
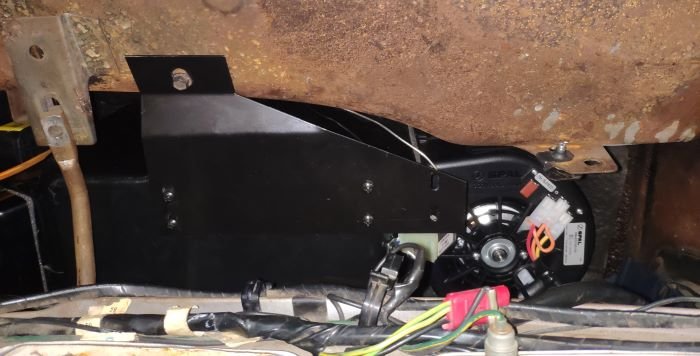
The biggest problem was getting the evaporator mounted. It just didn’t want to mount up with the considered attachment points. After a bit of modification, the final fit as shown above.
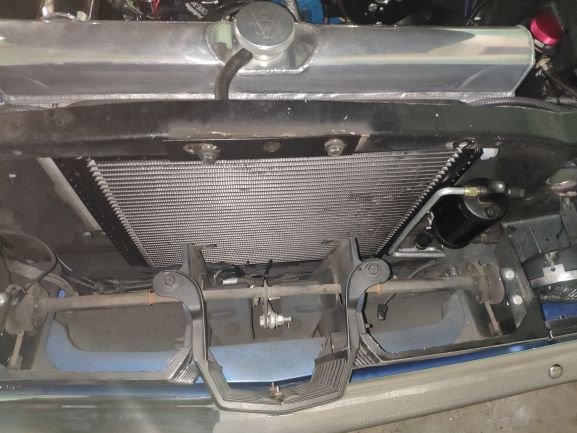
The condenser was next and easily dropped into place with no issues. A pleasant surprise.
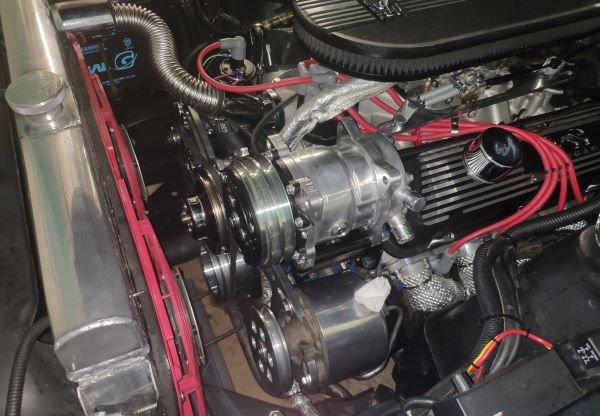
The compressor mounting Bracket bolted to the cylinder head without trouble. It arrives in bare metal, so you’ll want to paint it before installation. I like this bracket; it gives a lot of adjustment for alignment and belt tension.
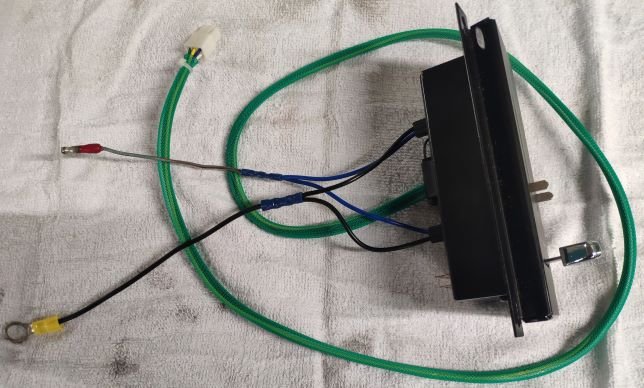
One other item the instructions fail to mention is wiring up the control panel integral lighting. The two black wires joined together to a common ground and the two blue wires joined together and plugged into the original lighting power supply.
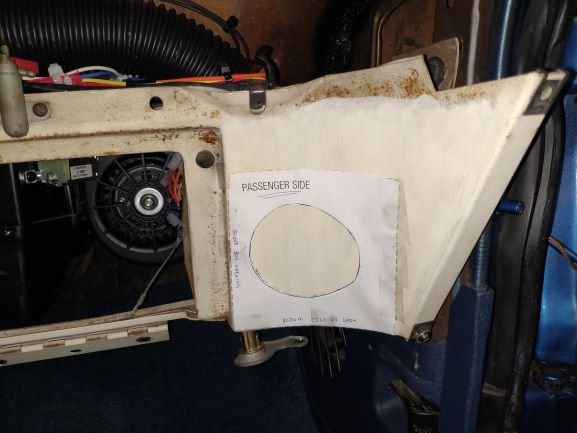
The biggest worry, I left until last……punching holes into the lower dash. Like many of you, I do like the interior of my Cat to look original. So this was a big step and not an easy one to fix if I messed it up. The instructions came with two templates, one for the drivers side and one for the passengers side. Ensure both sides are positioned vertically equal from the bottom edge. I found the drivers template tends to place the hole a bit too low…. check that.
End Part 2