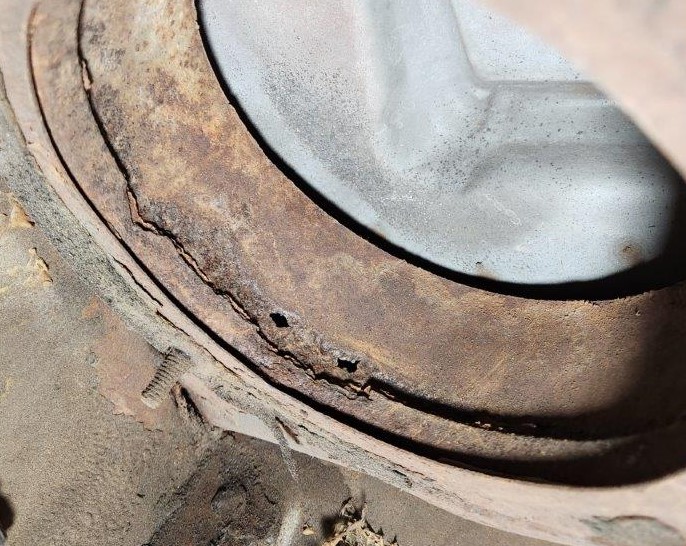
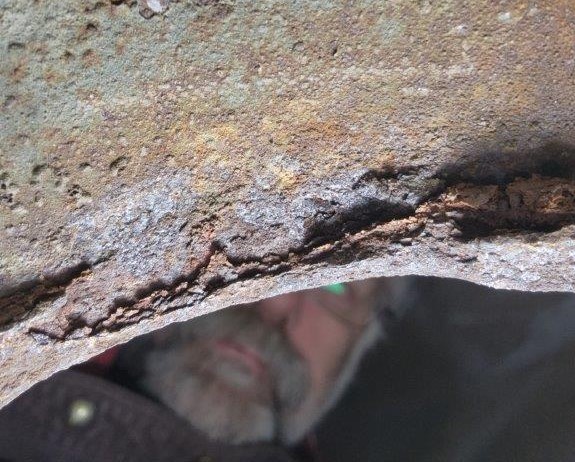
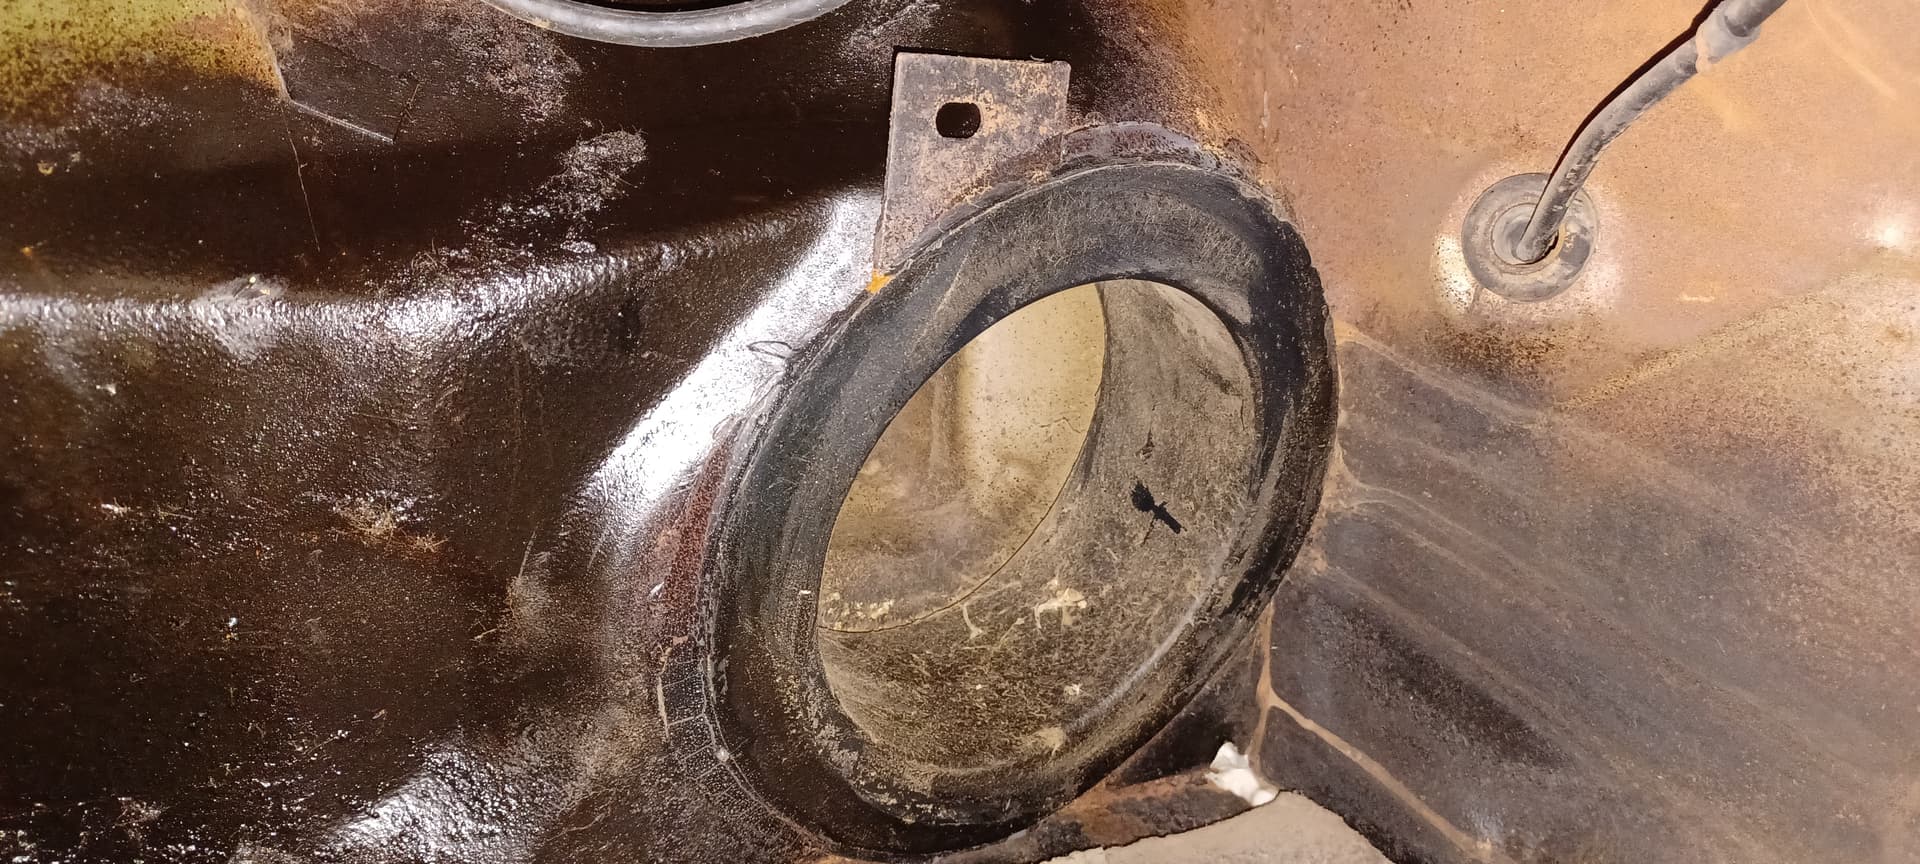
The chimneys on vents on my 67 are rotted out as are the “flanges” holding the chimneys. The actual pans look good from the inside (thanks to cheap Amazon snake camera).
Has anyone had good experience with the plastic vent repair chimneys from WCCC or others?
My plan would be to remove the old chimneys, clean the interior and add rust convertor, then install the new plastic top hats with seal sealer. Lots of folks on the the Mustang forums say do not use silicone sealer/adhesive.
That looks about like my 66 Mustang did. I used a Dremel cutting disk to cut away the water dam. That made it easier to get the rust converter into the cowl. I put it in with the supplied silicone, but a non-acidic goop probably would have been better. I had the car for about 15 years before I unfortunately sold it, but did not have any problems with water leakage up there.
I did a write up w /pics of the wifes 67, but I cannot find the post. The goop I used was roofing tar material. It sealed up and stayed soft. If anybody can find my old post please post the link!
Thanks!
After a long review of the huge variation of rust treatment products and videos, I got smart and spoke to a friend who is a coatings/paint expert for Newport New Shipbuilding (he works on painting aircraft carriers and nuclear subs immersed in salt water). His advice is to forget all of the rust convertors and encapsulators which in his opinion are s*** and do the following:
Do as much mechanical removal as possible. Strip, grind, sand.
Rinse, wash and finish with an acetone rinse.
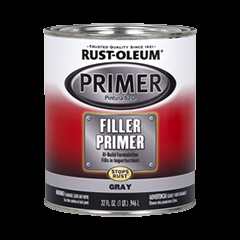
Use a good general purpose primer, alkyd preferred
Overcoat with an alkyd based paint preferred.
Since the cowl will have different surface conditions: clean metal, small rust pitting, remaining paint, and remaining primer he strongly recommended against specialized rust primers and DTM primers unless one was trying to spot prime and sand individual regions inside of the cowl. As an end note, he said:
Clean, prep well, and paint it with standard Rustoleum!
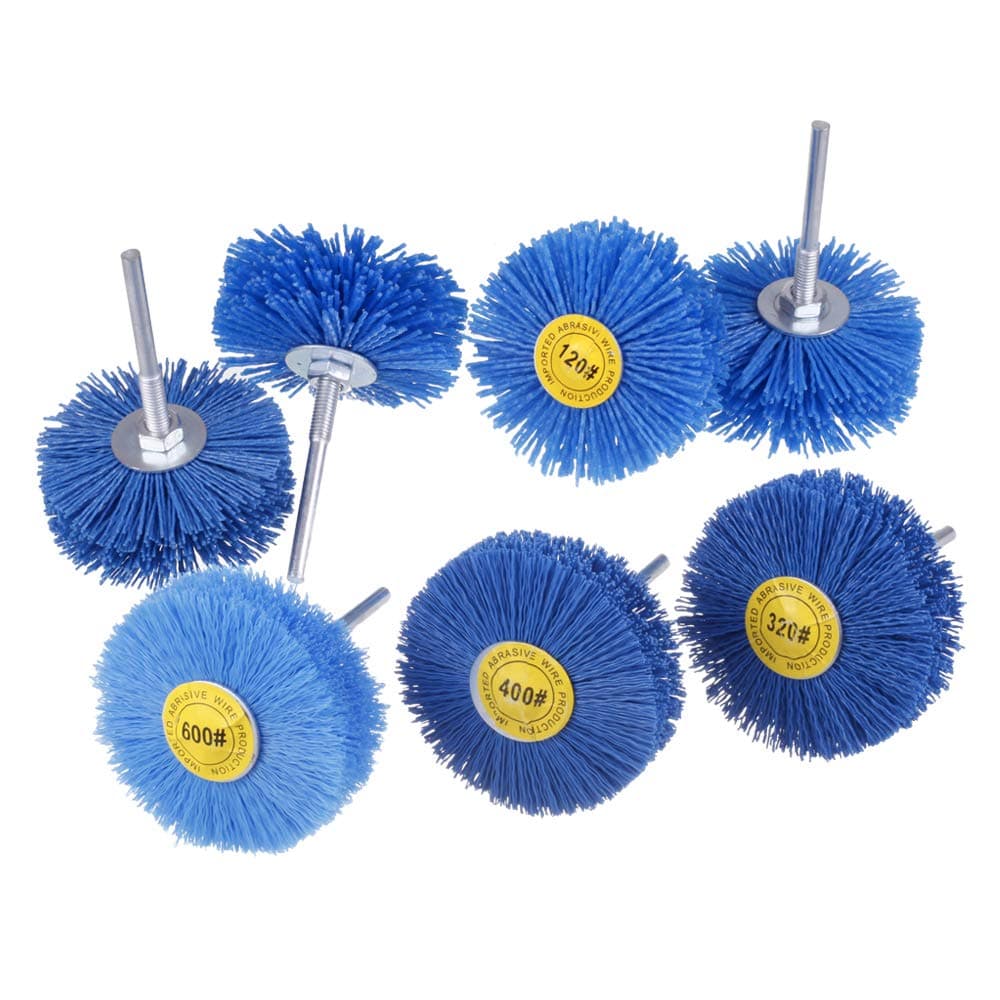
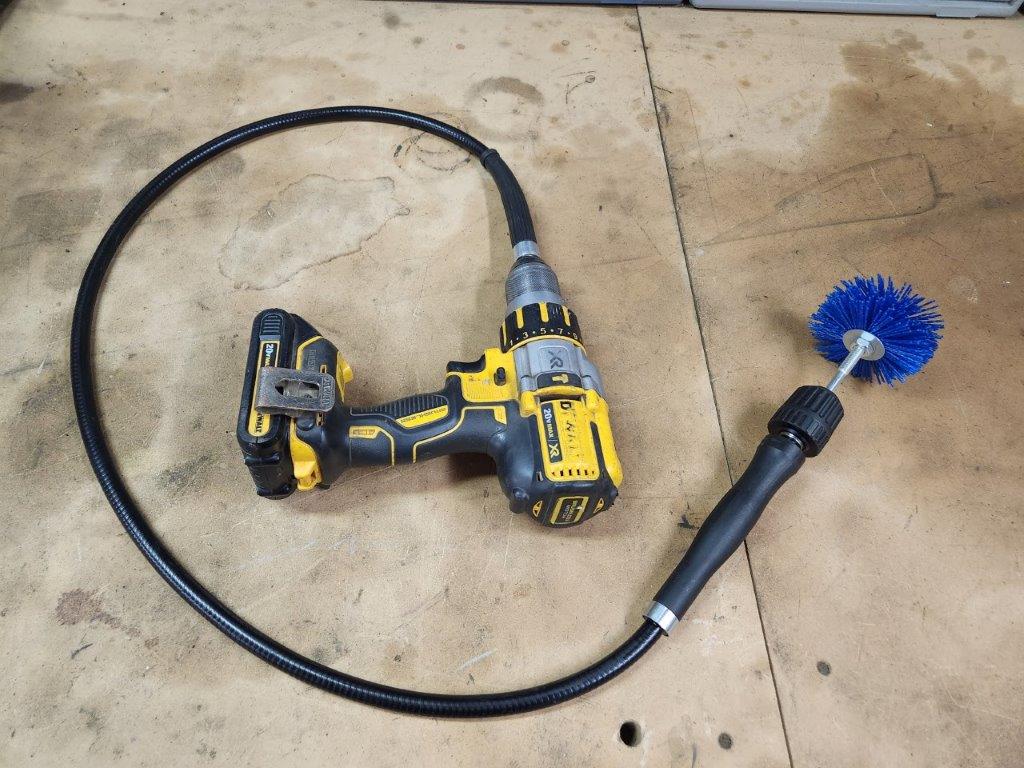
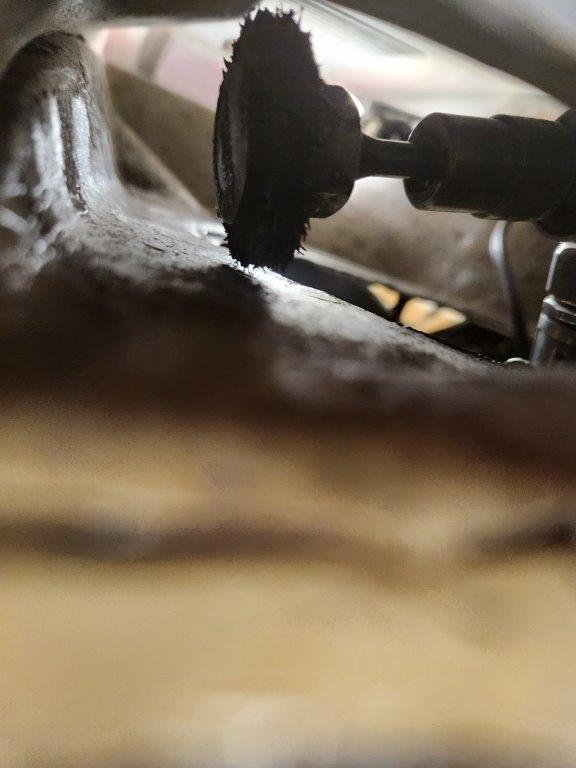
With the top hats fully removed and the fender off, there is easy access into the cowl via the drain holes permitting guiding of a flex-shaft mounted nylon abrasive brush wheel.
Just feed the flex shaft into the cowl via the drain and have a second person control the cordless drill while you guide the brush on the working end via the big holes in the cowl.
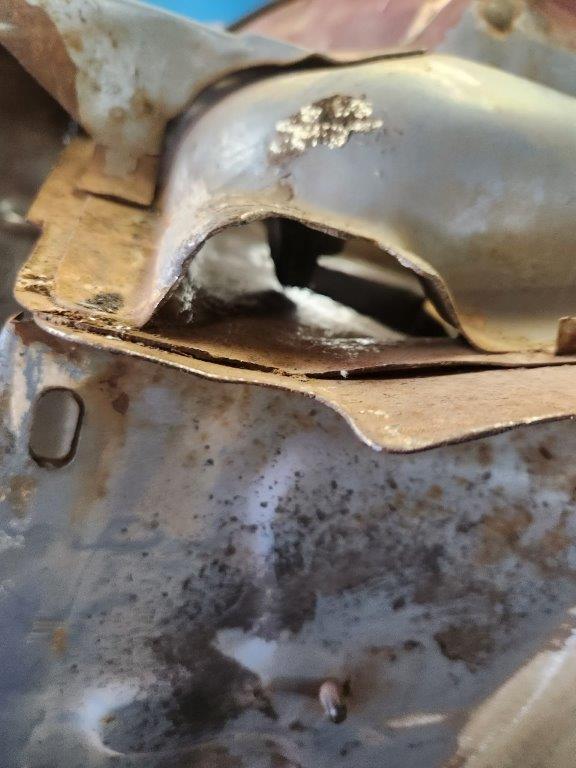
I too had this problem and didn’t want to rip out the cowl so from inside using a small dremel cutting wheel, I cut off the tip inch or two of the metal top hat. Then I could get my hand in the cowl area with a modified paint brush handle to sweep all the debris stuck around and behind the top hat. Once I felt good is was at least clean I used Ospho (phospheric acid) to treat the rusted metal as best i could.
Then put in the new replacement using a sealer. I used Rustolum Leak Stop, which is like a liquid black rubber, fast drying and called it good. It is a tight place to work upside down but had to be done.
Turned out real good.
I’VE had a good experience with the plastic repair. I did both sides in 1998 and the took this 68 Cougar with me to the U.K. for almost 9 years. This picture is from December 2022. No leaks yet. I used a wire brush, a vacuum, and RUST-OLUEM. It was outside every european night. No areas I prepared and painted have gotten worse with RUST-OLUEM.
A few images to show access and tools and access. Also used small wire wheel on flex shaft. For some very stubborn areas, I welded the wire wheel to a 3ft-1/4" rod. The rod was fed into the cowl by the vent and attached to the drill through the drain hole.
I removed the flange portion of the top hat using a very sharp old wood chisel with a welded on 12" extension and a right angle die grinder. Luckily no holes in the lower cowl under the flange.