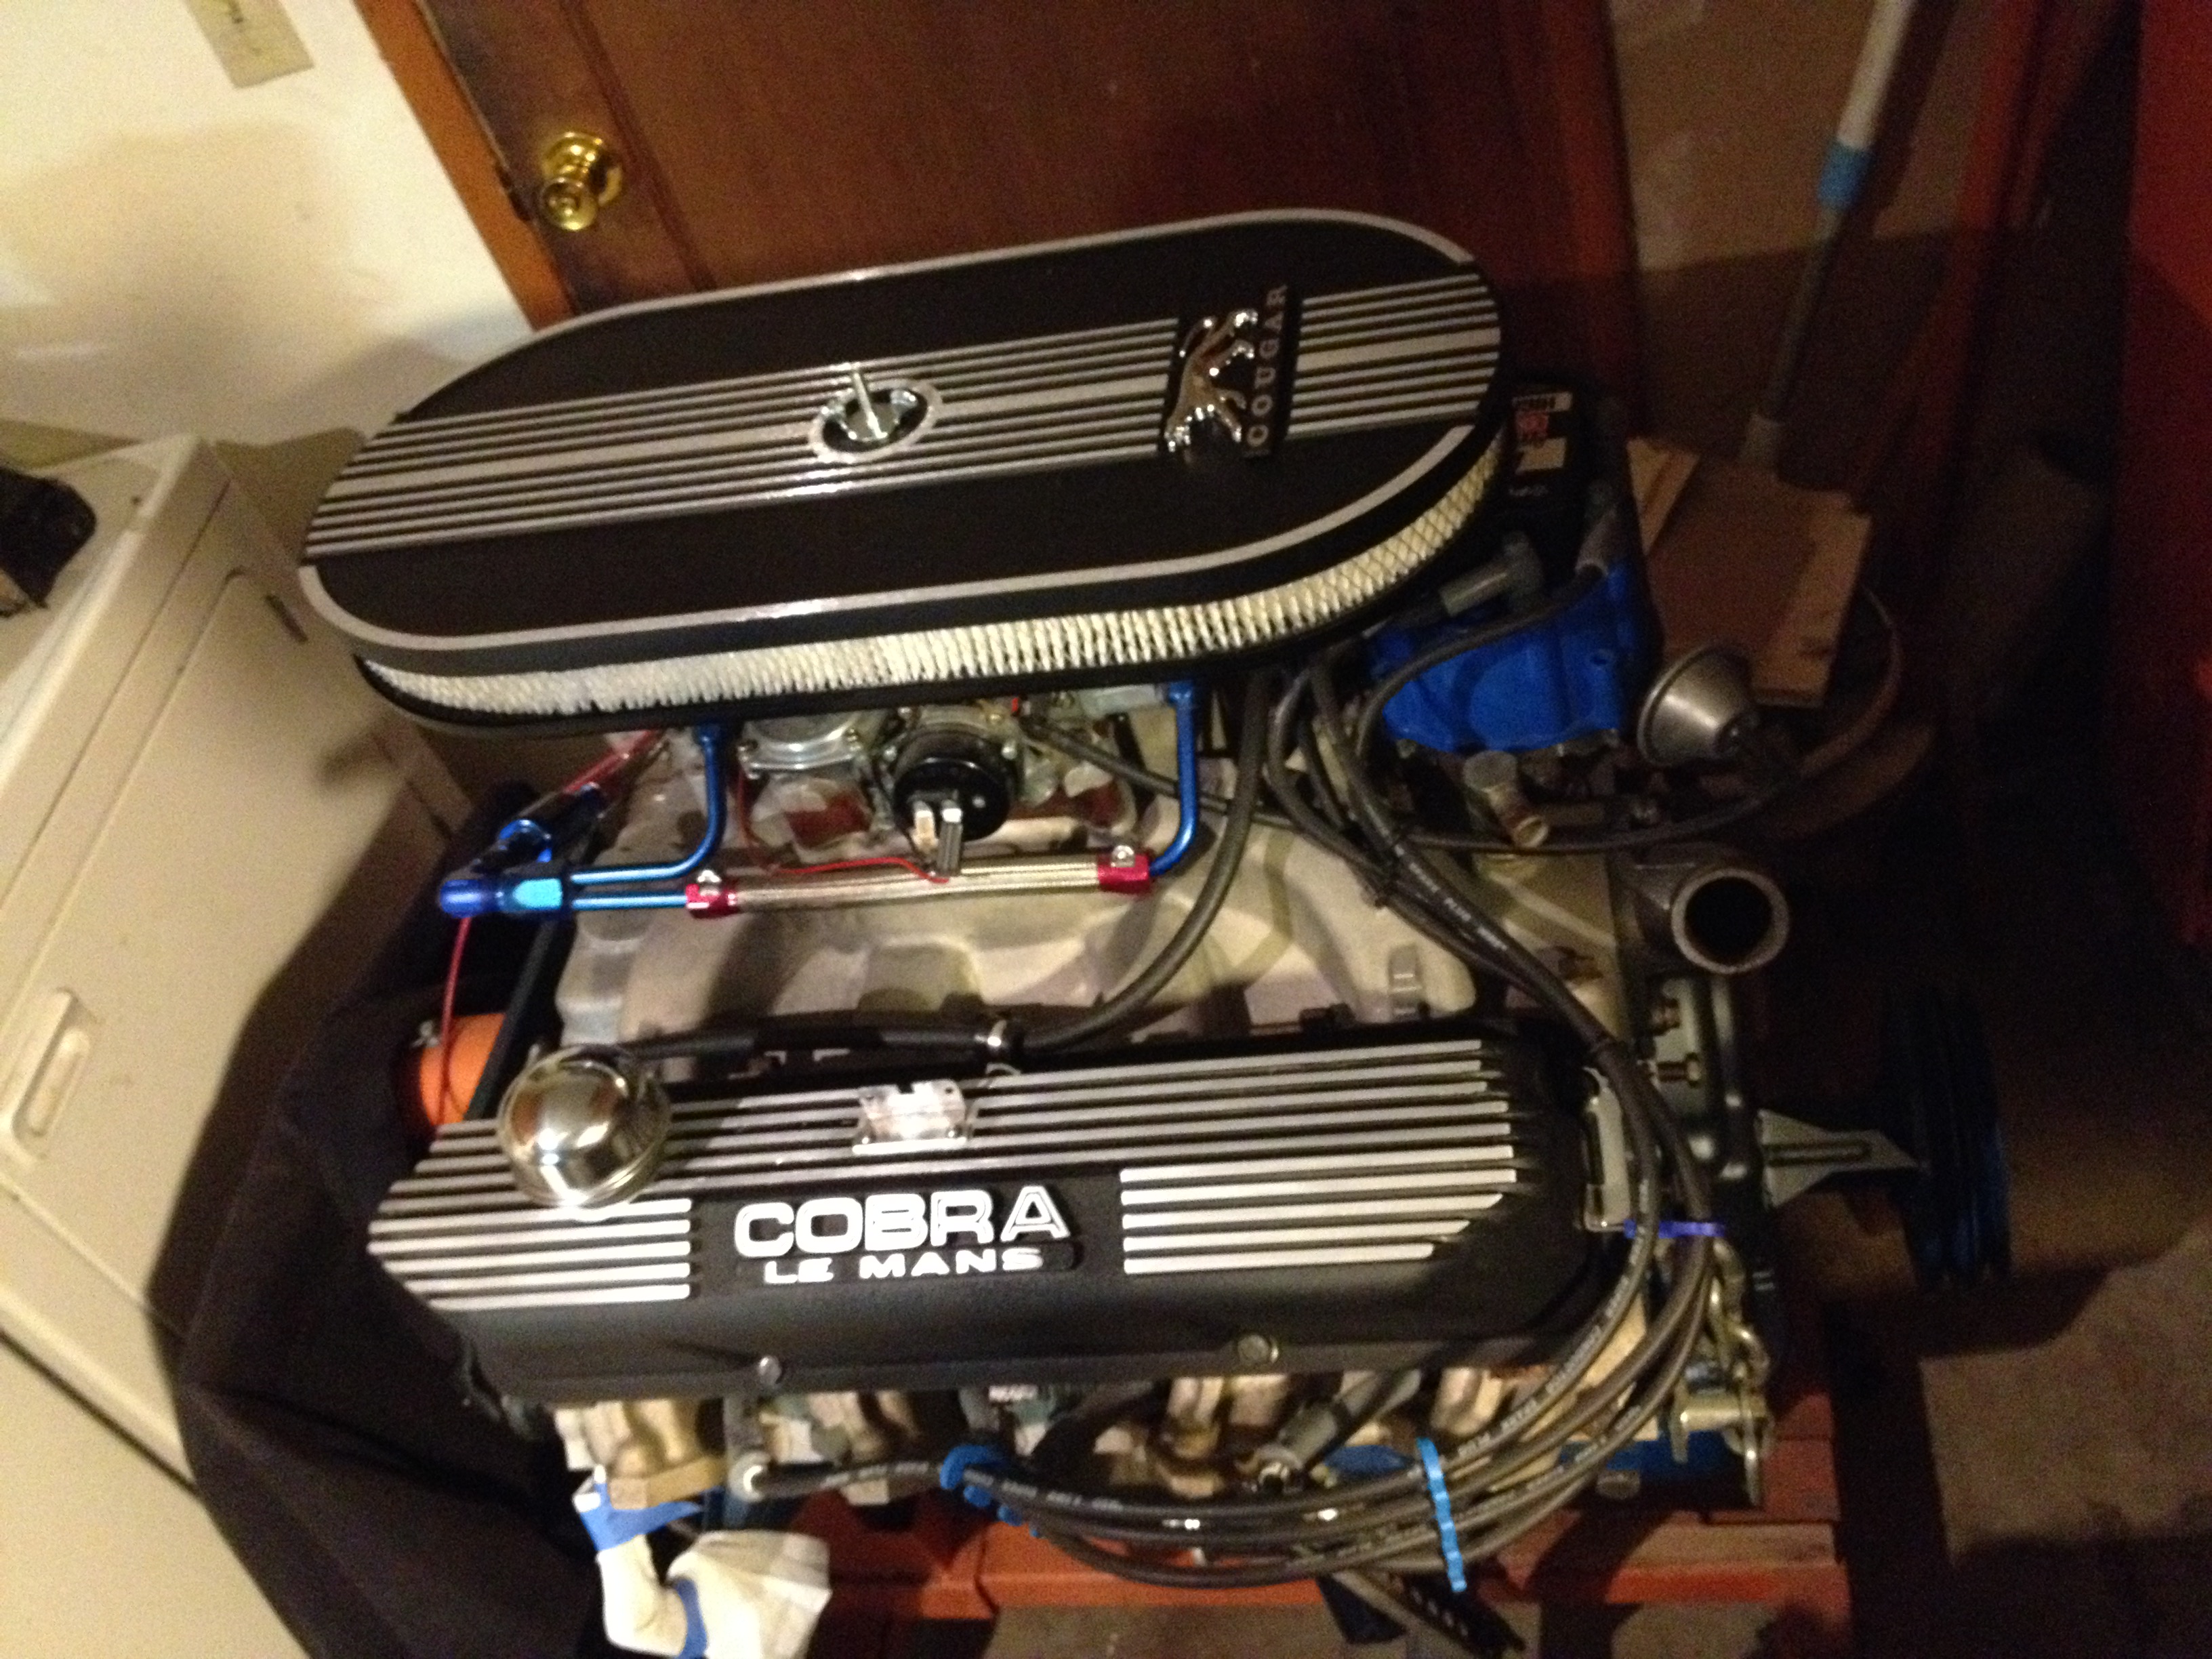
I was wondering what other people’s experiences with these products was. I picked some up (Rustoleum) to shoot my valve covers to be closer to the Cougar finned air cleaner I purchased at WCCC, as they were all aluminum and shiny but a tad uneven in that.
I decided to try it out first on a scrap part, and when I sprayed it, it didn’t look like what I expected at all. Very ‘gloppy’, did not go into recesses well, and it was either too sparse, or looked like too much and was smooth and wet.
I wrote off the paint as a fail and went off to bed. When I went to look at it the next morning, it was like night and day fully dried and low pile wrinkled!
It still needed evening out in the tone and reflectivity.
I knocked that back by shooting some regular flat black enamel over the top and it looked like what I was after, so I went ahead and shot one of the covers. It has been 2 hours and it is still very tacky and wet, takes forever to dry. It will look OK, but what a PITA.
Any one had better luck?
Primed with etch and sprayed with the wrinkle coat, watching paint dry…
Still wet…ugly
Above and below, the left side is over-sprayed with the flat black to even out the tone in the recesses
You’ll have better results if you can heat the part after apply the wrinkle paint. Put them in an oven on low after spraying. I use the wrinkle paint from the Harley Davidson dealer.
Well, I have just the unit for heating. My oil radiator sits in the garage keeping baby (and me) warm. It was just the right size:
This got a second coat after about 5 hours, when the wrinkle was starting to appear. Heavier seems better as thin areas don’t have enough material to wrinkle up good.
When you first shoot it though, heavy areas look like they will have no texture, so you want to back off and stop. It’s kind of counter-intuitive that way.
I’ve used a lot of the hammered paint from Rustoleum. I’ve found that following the directions is a must. I messed up and did a recoat about 8 hours after I started a project and the paint wrinkled up. Going off the top of my head it’s a recoat in one hour or wait 48 hours. Full dry for is 24 hours.
I used several light coats to get the hammered look on my caliper.
Steven
No wife…no strife…hehe…but then again no one keeps me from putting car parts EVERYWHERE…so if that’s a bad thing…oh well.
My water-pump is currently sculpture on a small end table in the living room
So anyway…
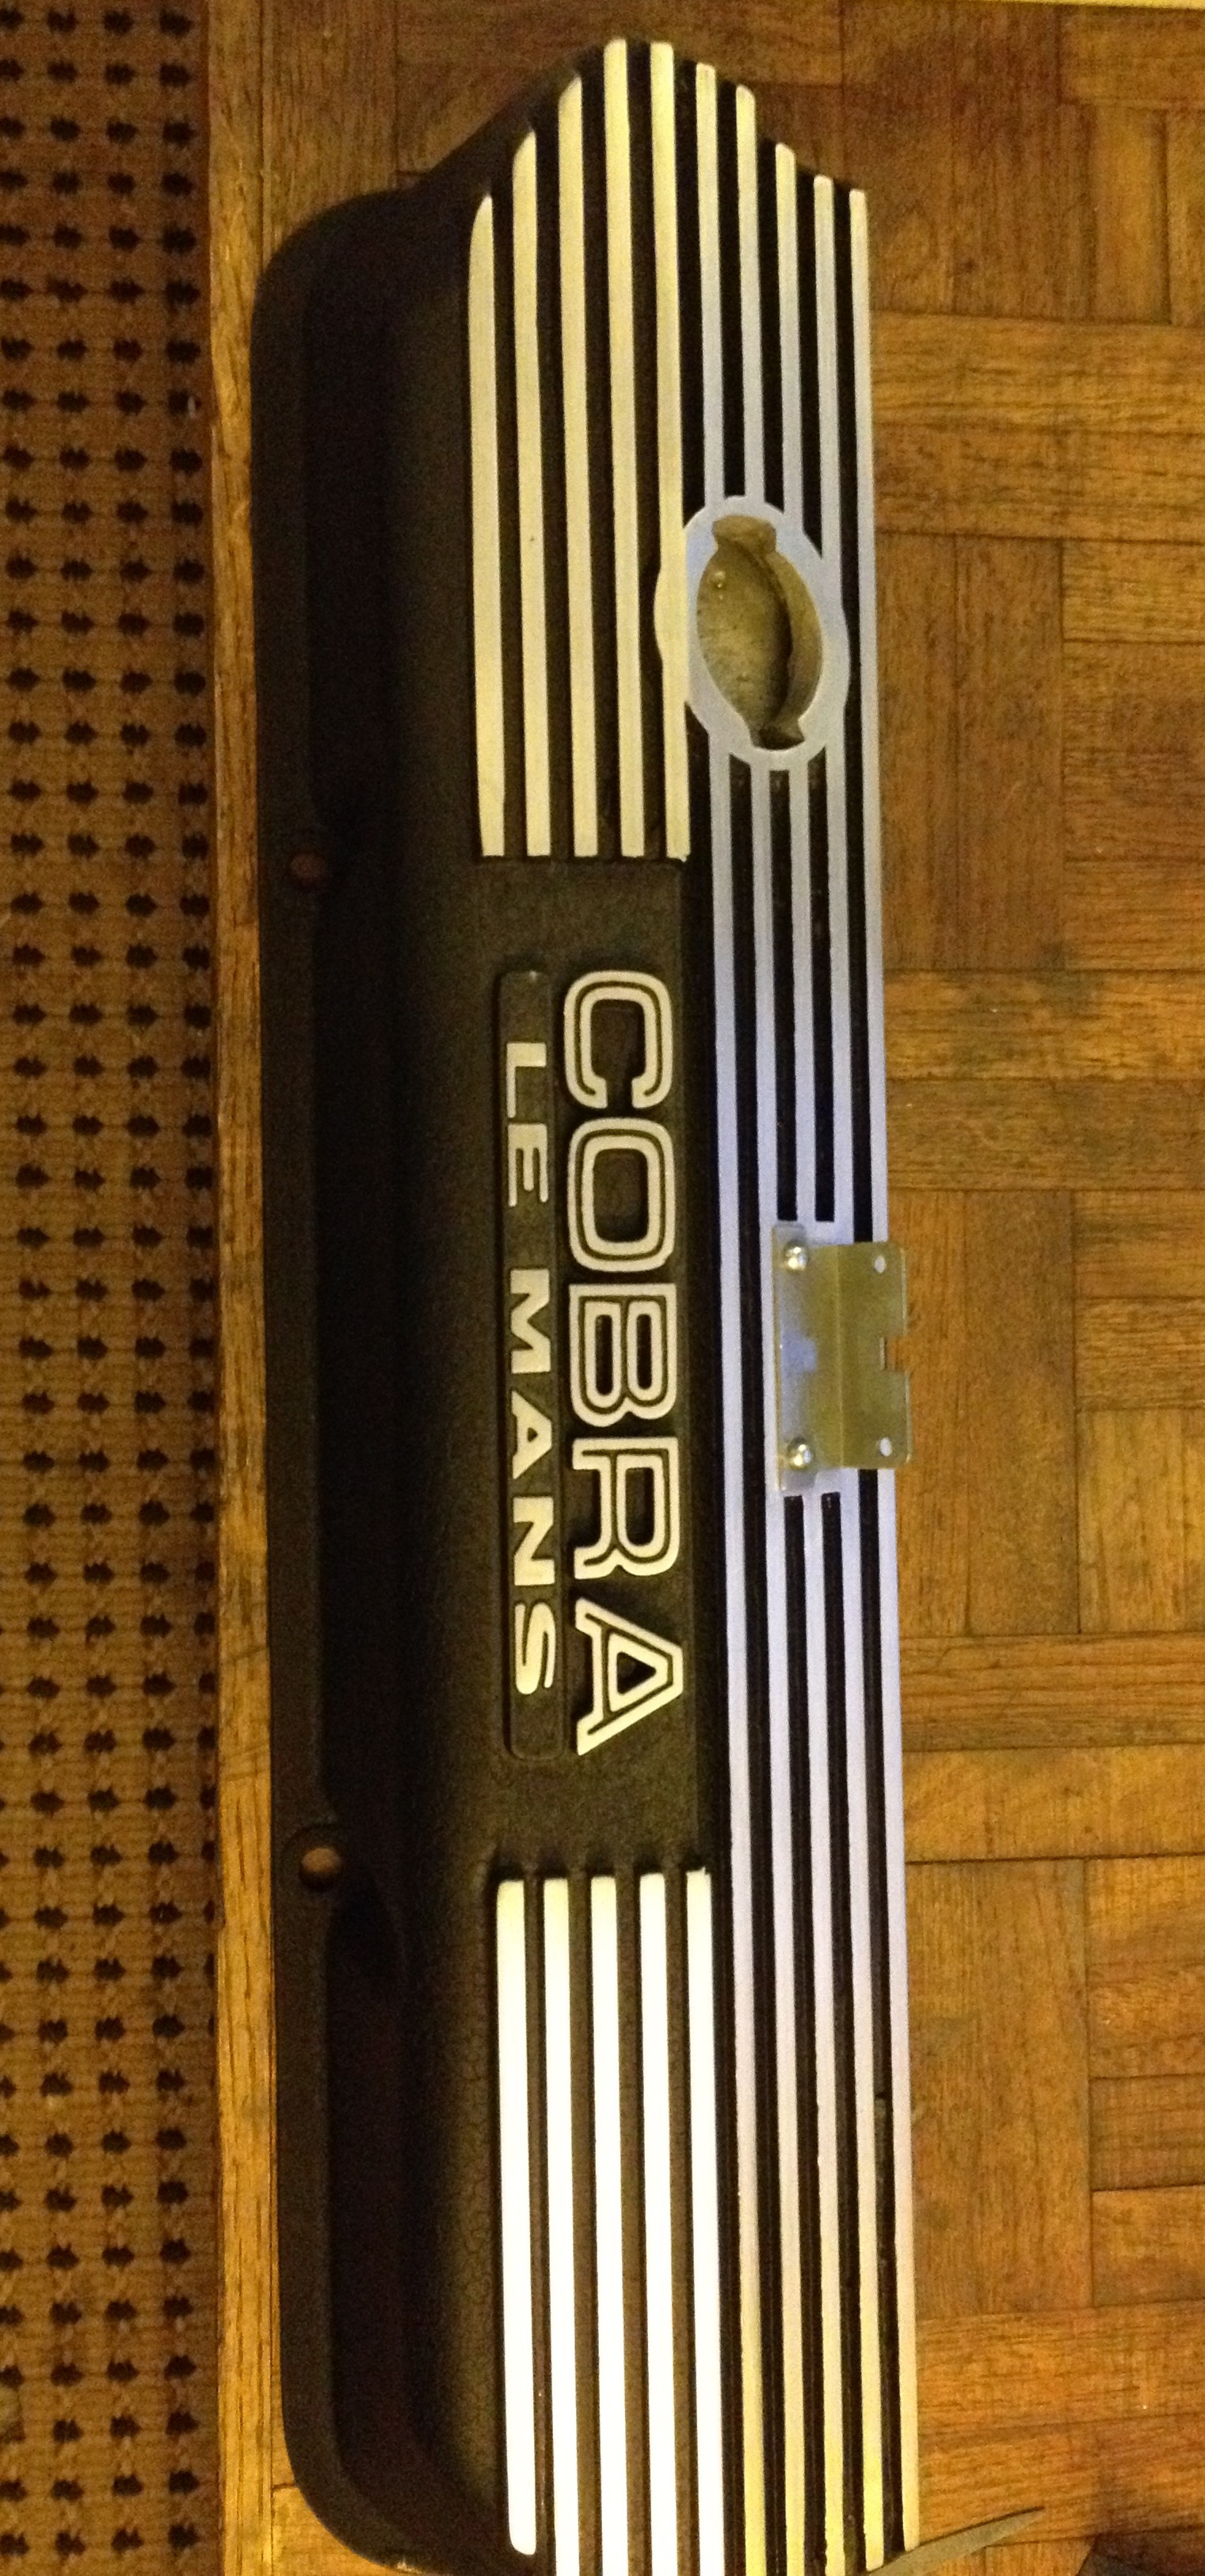
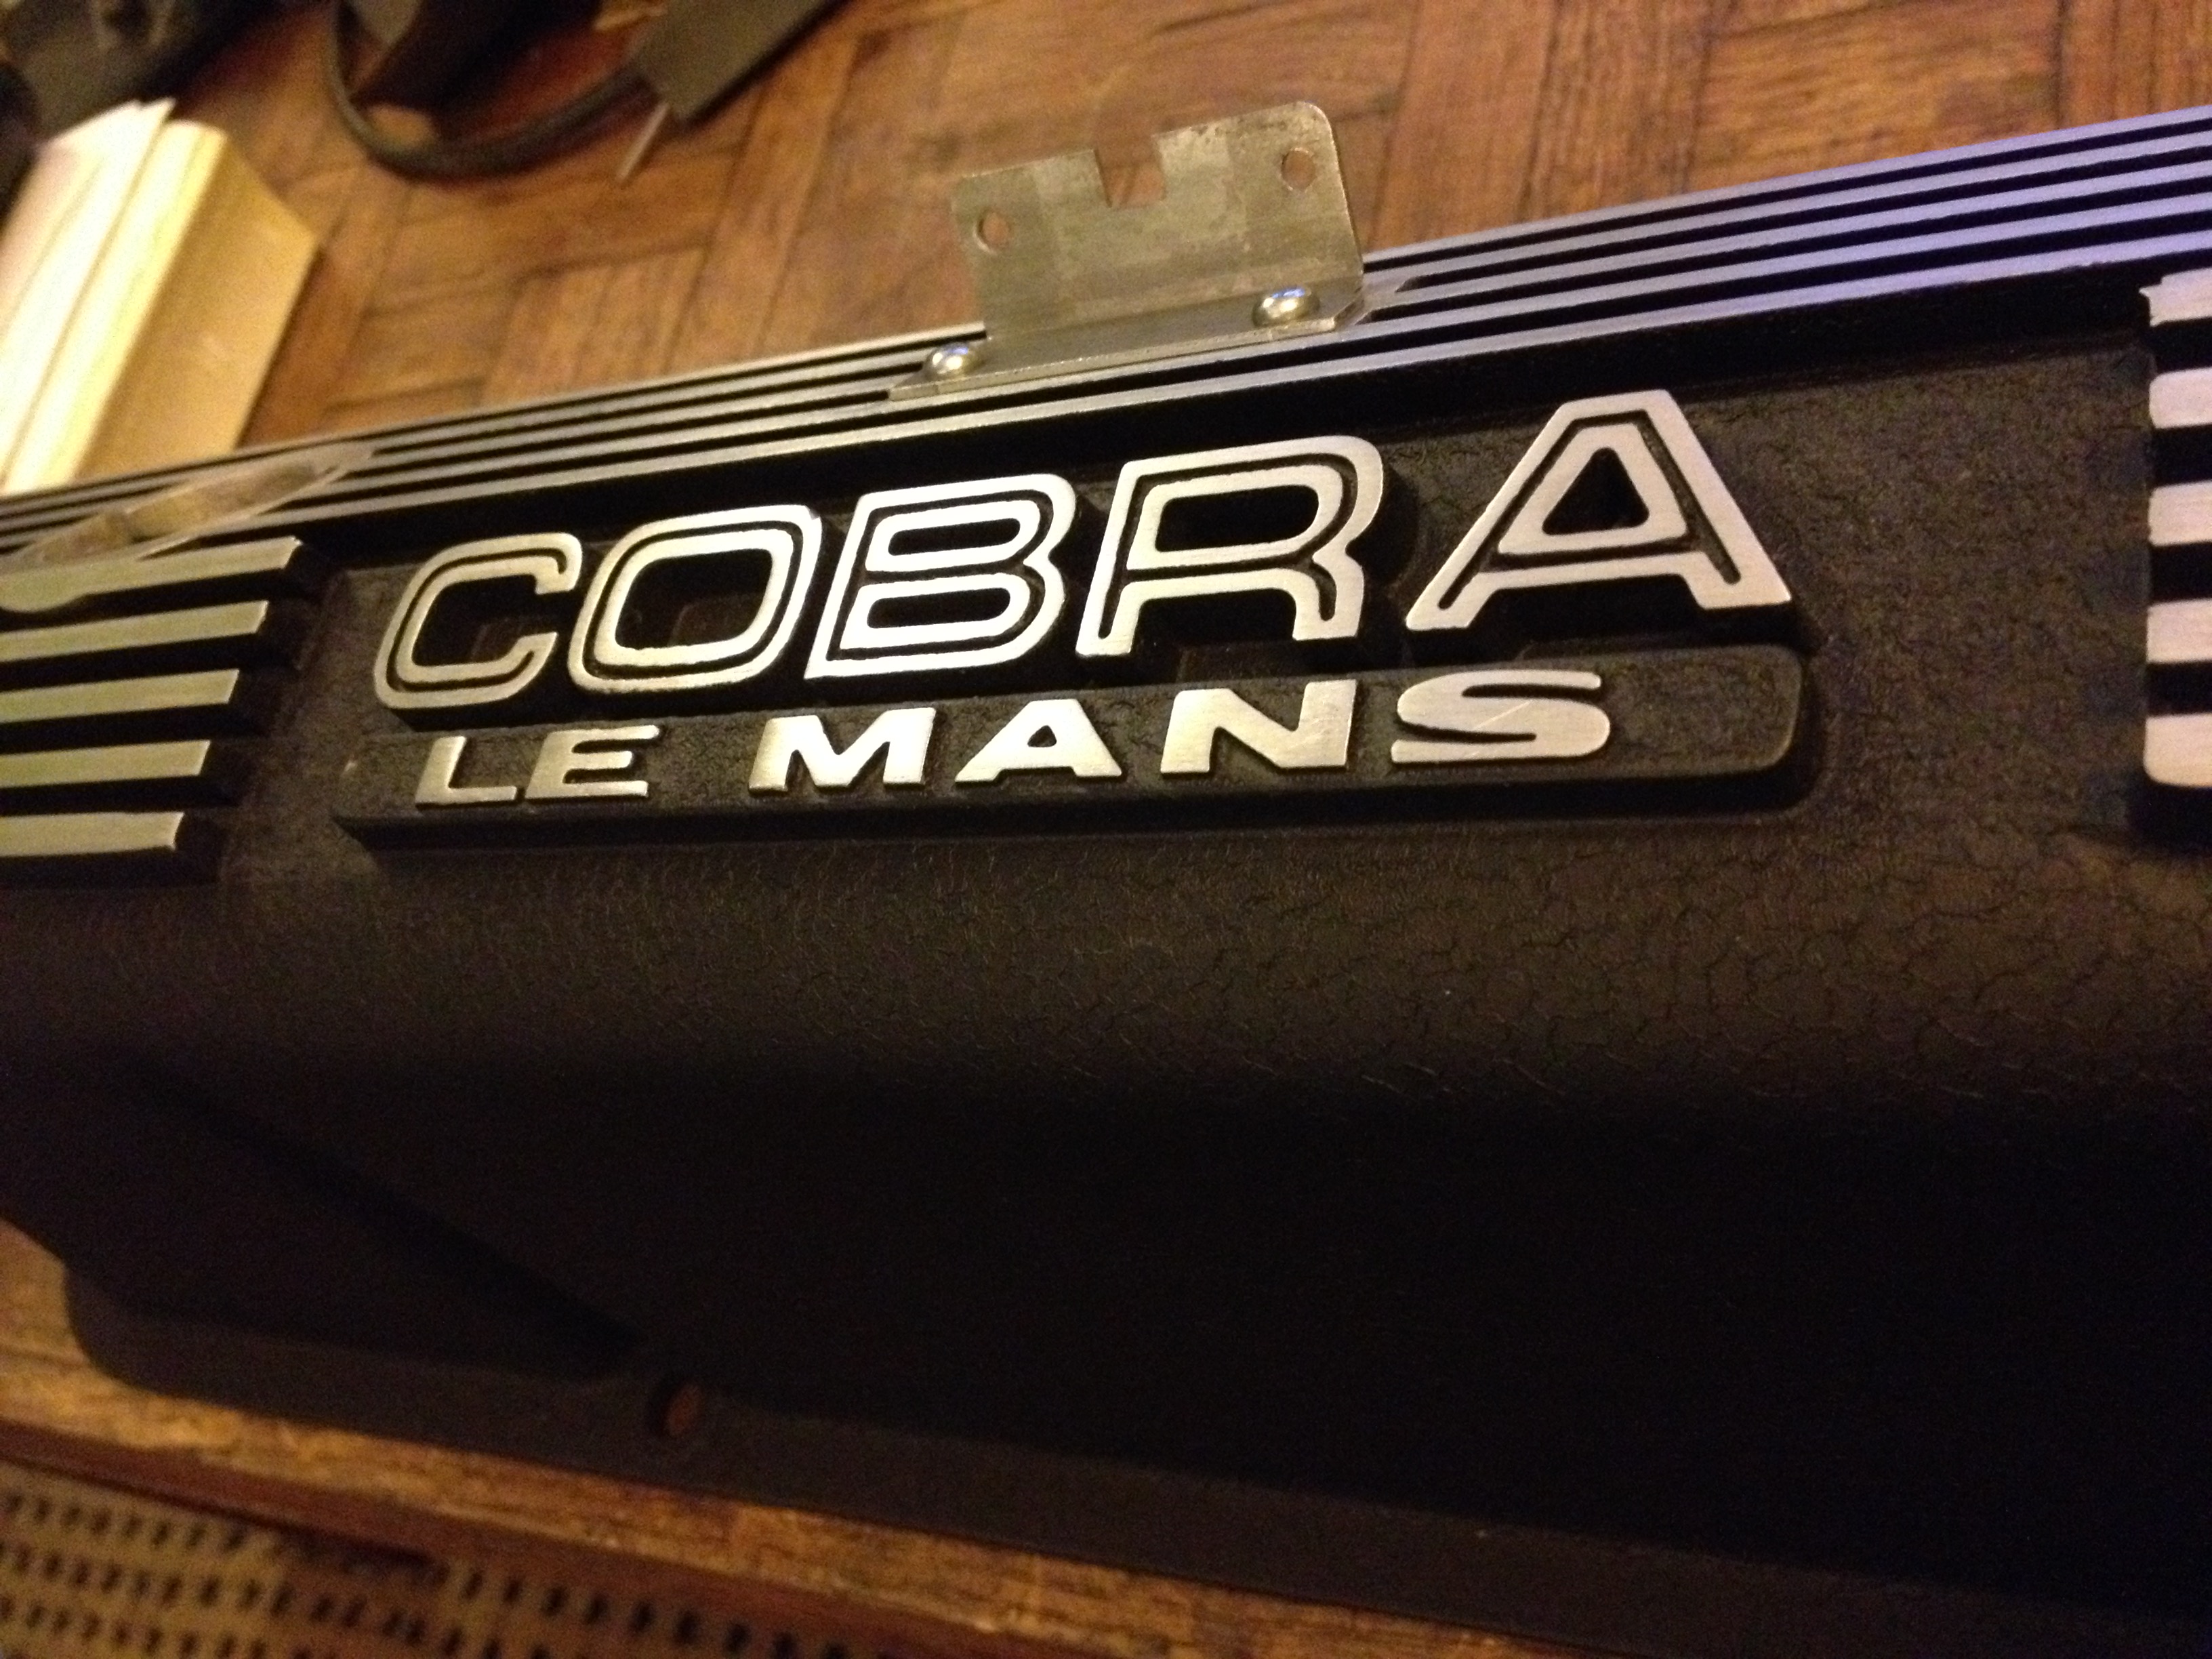
The first cover is finished and I am happy with the results, just a couple nicks to clean up.
After drying, as before, it was still a bit too glossy and uneven for me, the picture makes it look even, but end to end not so much:
After the flat black coat, it was a nice even finish. The last pictures are in better light, the flourescents make it look pale here:
I scraped the top sections with a razor blade, but it was only 24 hours since painting, so they were still gummy and sticky. It meant no cracking or chipping on the edges, but made for a mess.
That left only some primer on the surface, and the deeper scratches, which were still filled with paint. 220 grit cleaned those up nicely, 400 was a bit too weak.
Thanks P! These came with the motor, while they have Shelby stamps inside, I am not sure if they are late Shelby production or early. Either way, they were a keeper, and I wanted the crinkle on them, but getting the Cougar air cleaner sealed the deal.
I guess I should put up a before photo in the thread, for perspective:
…and then, with the Cougar air cleaner, they just had to be done, it was kind of a mismatch as bare aluminum!
 fully dried and low pile wrinkled!