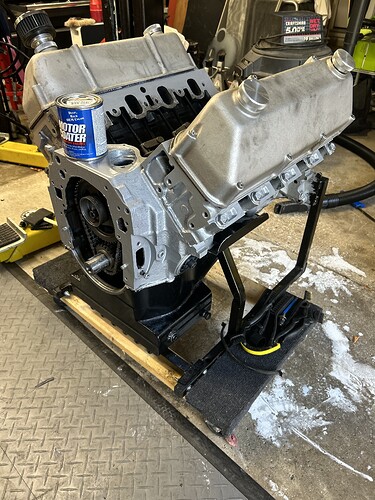
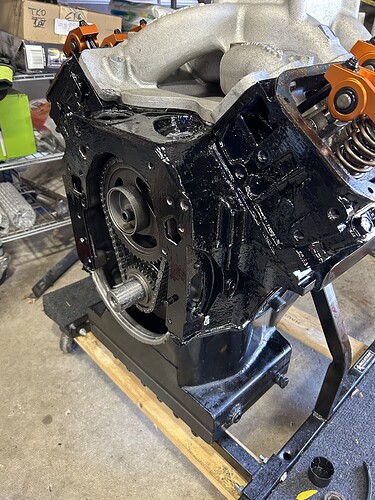
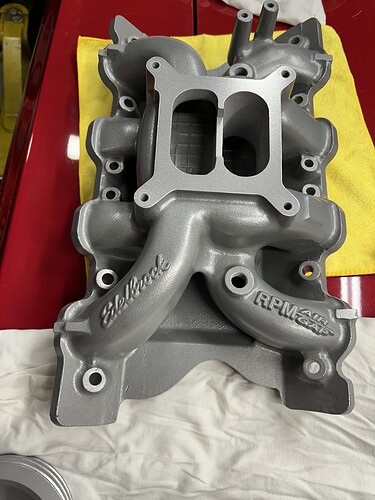
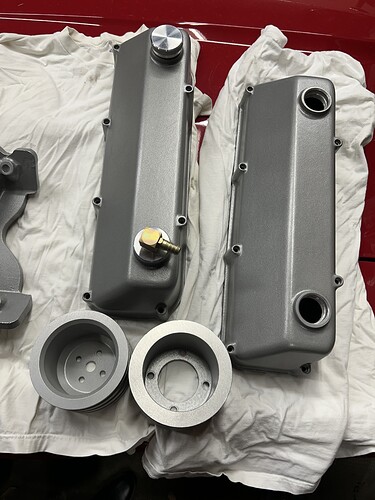
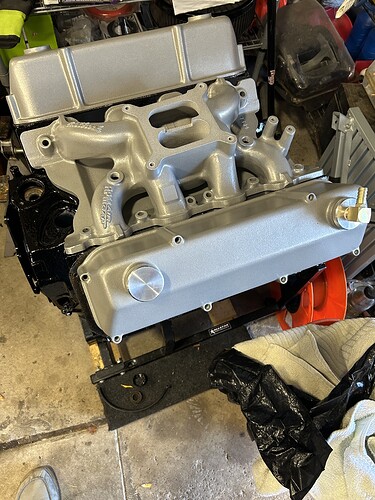
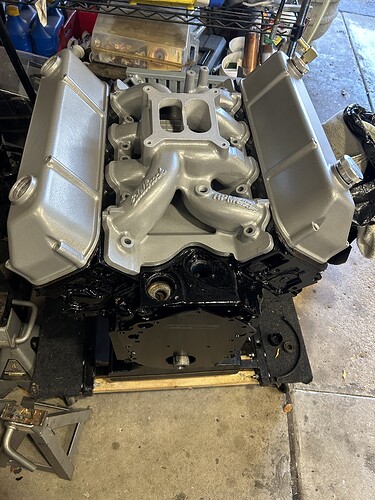
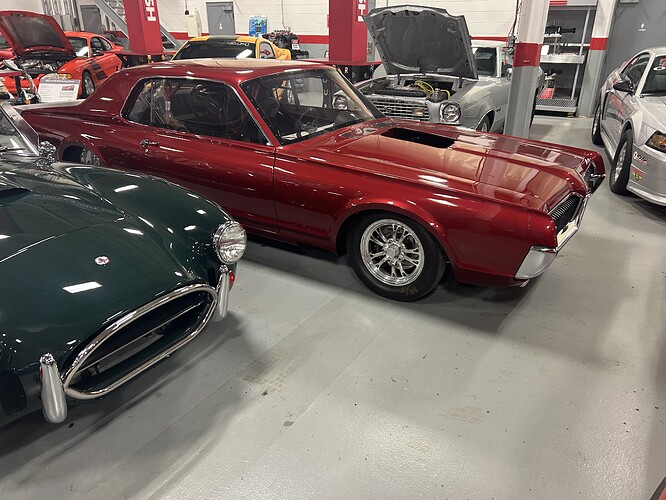
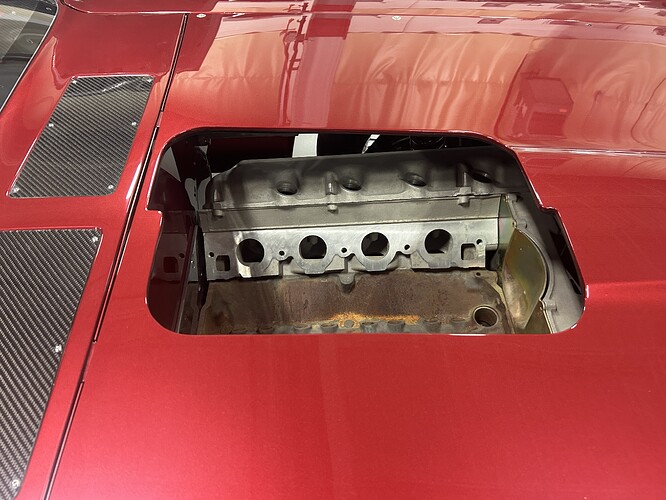
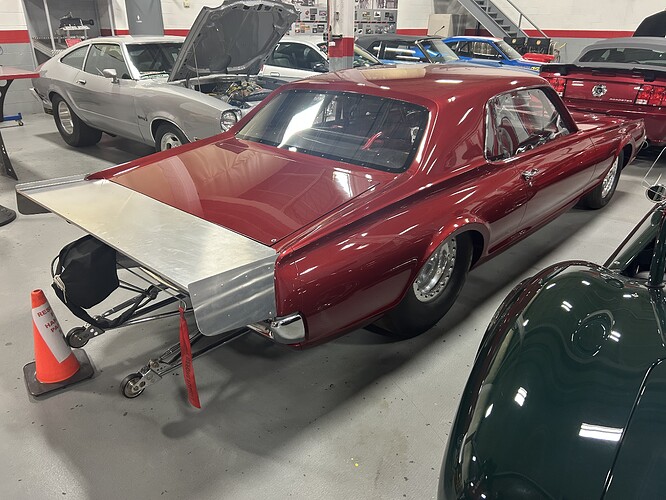
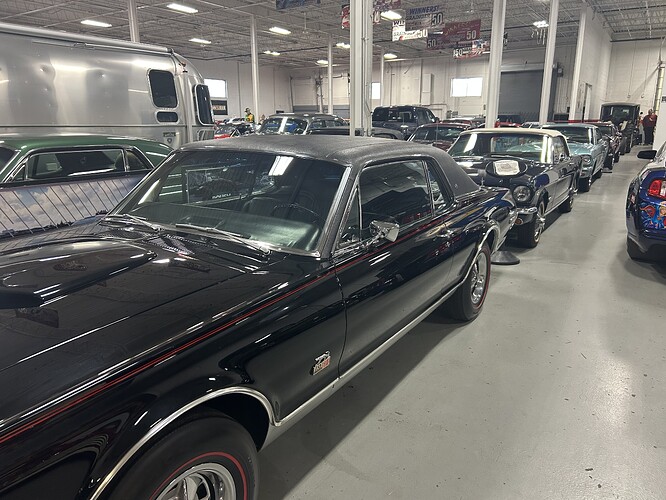
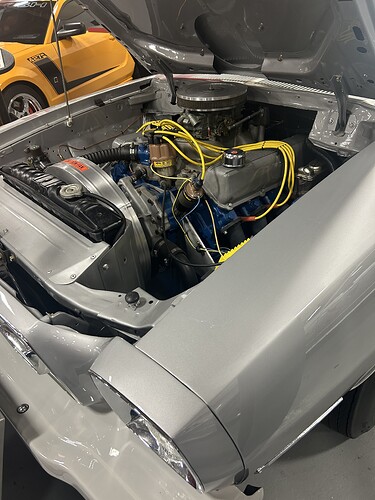
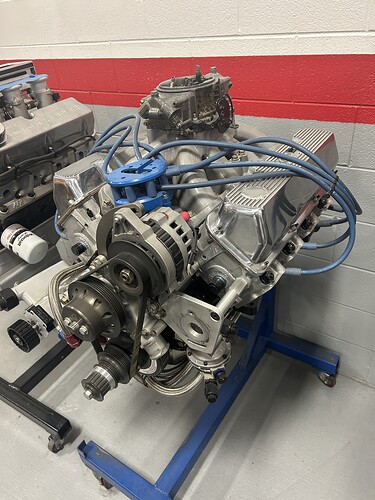
Lot of little tasks taken care of recently-replaced a bunch of rubber bits, fixed my flaky brake lights with a new ground, replaced the factory 7/16-14 export brace bolts that were pretty crusty with new 316 stainless bolts, vacuumed the trunk and interior and a few more. Working on the new to me 393” Cleveland prepping it for paint now. Next week I’m going to drop off the intake and valve covers for the 393 for blasting and powder coat and get some trim bits to a local restoration place for a repair and polishing.
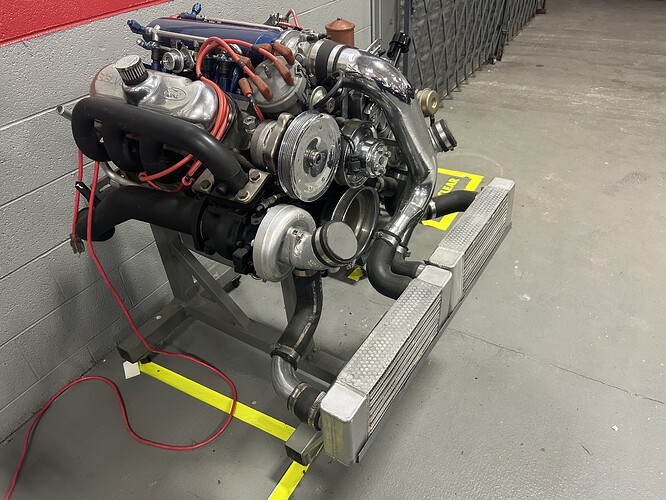
I’ve been spending more time driving this summer and fall than working on projects but I finally did get the engine cleaned, prepped, primed, and painted. I used the KBS Coatings Motor Coater system. Prior to that process I used a variety of mechanical and chemical cleaners to remove the old paint and grease. The KBS stuff had a cleaner, a rust neutralizer, a rust seal primer then the top color coat. I’m pleased with what it looks like now.
Silver rust sealing primer
Gloss black top coat
These are going back on to the engine pictured here. While I LOVE the raw aluminum look it gets dirty easily and is then hard to clean. My powder coating guys blasted them clean and then tumbled them in their ceramic coat polishing tank to close up the grain a bit. After that they got a coat of satin clear to make them easy to wipe down.
Those look great!
Thanks! I’m going to set them in place today to grab a couple of pics to show Shaun at Street or Track (engines PO) what it looks like all cleaned up. I showed him the valve cover last week when I was at his shop looking at his stunning 1970 Mustang.
Finally was able to get back on to working on the car. Holidays and family medical issues with my aging parents left me with less time than I thought I might have.
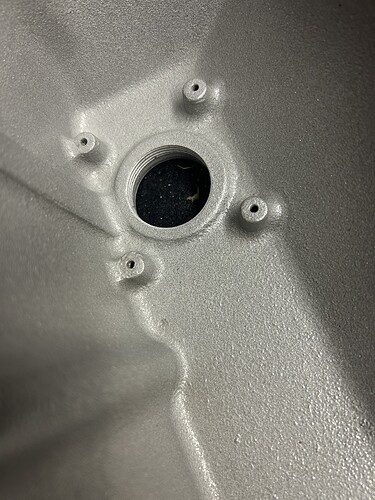
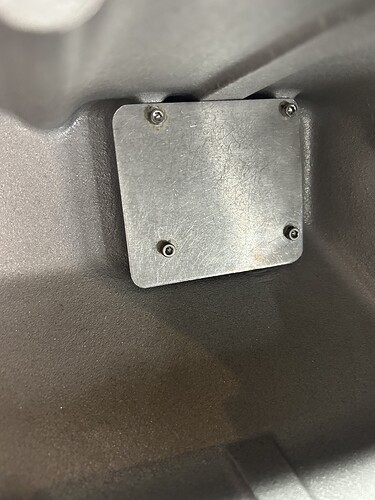
When I pulled the Blue Thunder valve covers off the engine above I noticed that the baffles were flat plates bolted to the cover. These needed to be removed prior to coating as I mentioned above. I wanted to avoid thread locking compound due to fear of lost fasteners so I decided to safety wire them in place. McMaster had the correct 6/32 stainless steel SHCS pre-drilled for wire and I had both the wire and pliers already on-hand for motorcycle projects.
I want to verify fitment with the baffles in place prior to wiring as I neglected to take pre-disassembly photos.
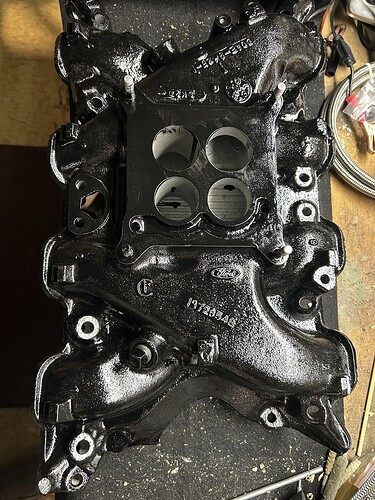
I sourced a Ford cast iron 4 barrel intake and had it sand blasted to get it clean then painted it black with the remaining engine paint. I will be pulling the engine and the trans as a unit and don’t want to damage either the aluminum Performer on the engine in the car now nor the RPM Air Gap I had blasted and powder coated last fall. I’ll use the iron intake for R&R purposes with my Mac tilter then reinstall the aluminum intakes.
Pictures just because.
I’m amazed at just how heavy the cast iron intake is! I’ll weigh it soon but OOOOF!
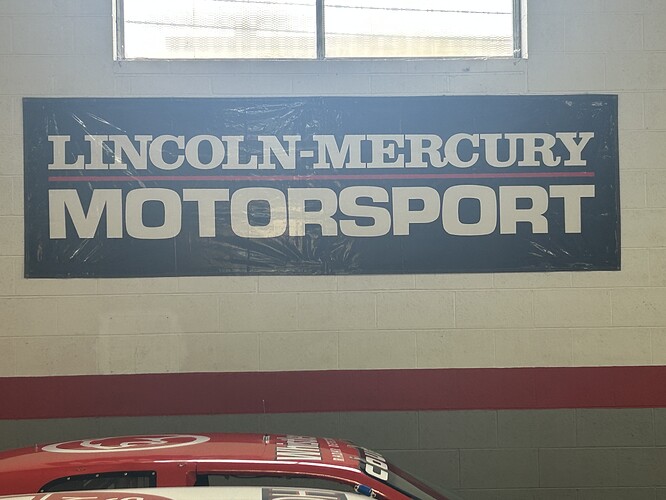
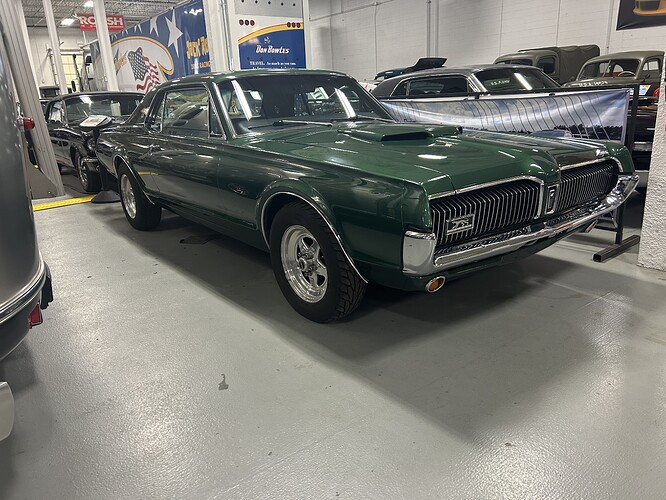
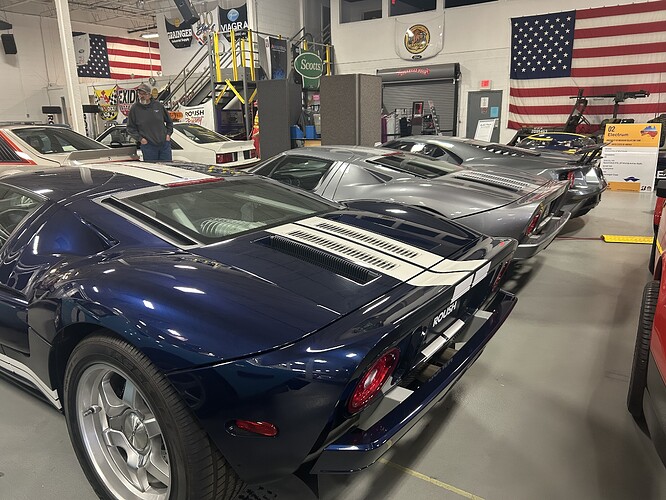
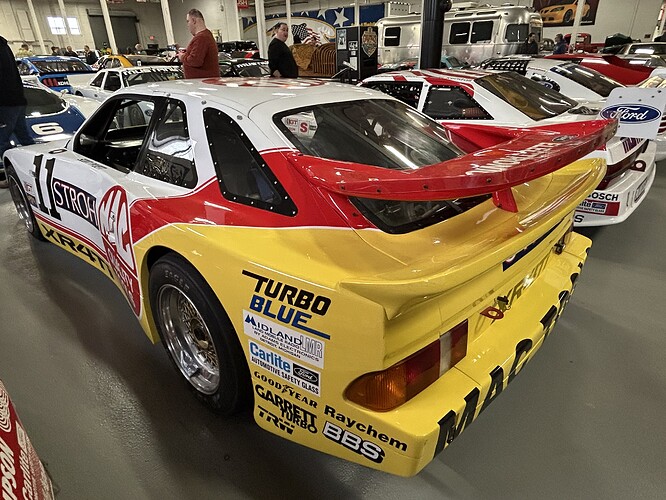
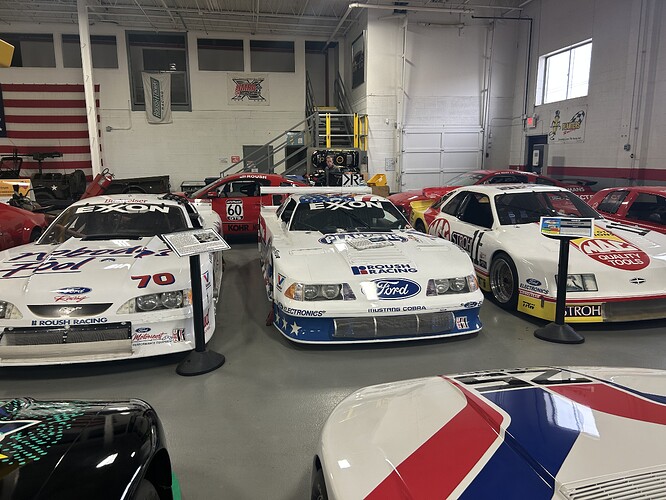
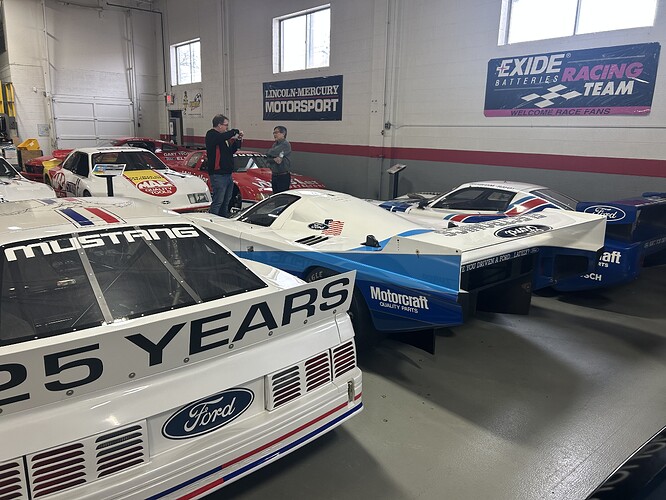
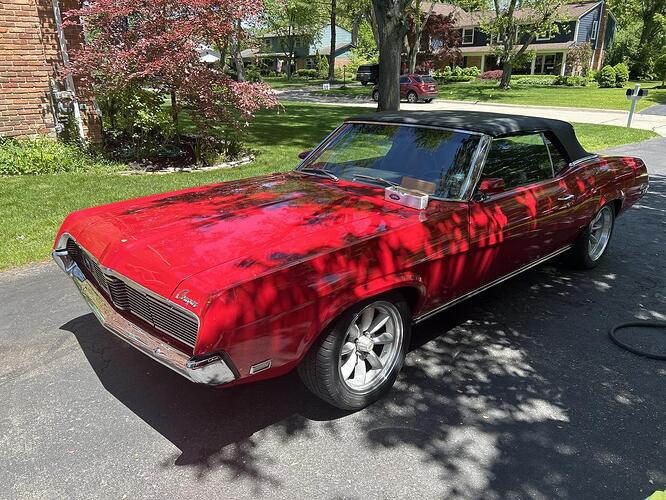
Breaking the Cougar out of winter storage today. Roush Museum tour tomorrow morning with Detroit Region SCCA. This year the Cougar is going to make some runs in CAM-C…and promptly get destroyed by the competition. Fun nonetheless!
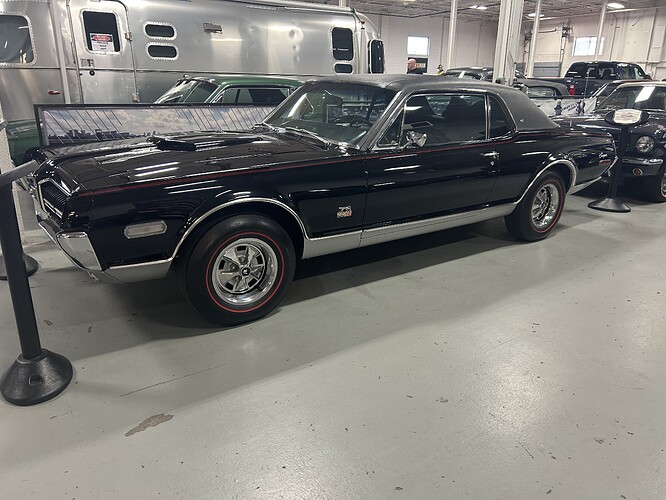
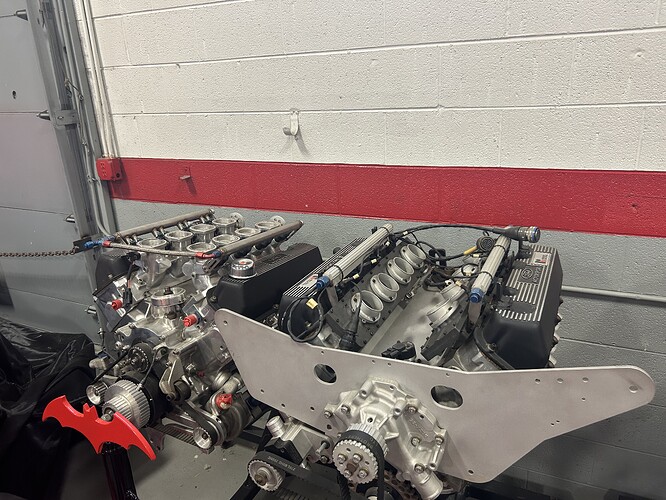
The Roush Museum is a great collection of automotive history with a strong focus on racing. I’m no fan of NASCAR but it has a huge number of cars from that series. I also did not focus on the late model Mustangs or 1930s/1940’s Ford vehicles on display.
I thought the GT-E in front of the Mustangs was a nice reminder of Cougar ahead of Mustang! Thanks Jack!
70f and overcast in Detroit today so I said why not. Dropped the top and went to see my Mom in her nursing home. Fired up quickly and ran well-Thanks FiTech! I got a delivery from Summit today and I’m all jazzed about driving it again. Time to bust out the credit card for tilt column, headlights, taillights, trim and rubber bits, etc. I’d love to order the Street or Track drop spindles so I could mount the 17x9.5” wheels up front but maybe not quite yet.
I was able to locate a pair of new Trans Am Race Engineering Superlite wheels in 17”x 9.5” for future front mounts. I’ve now got 4x 9.5” wheels and 5x 8” wide as I bought a 5th wheel for a spare as the 14” steel wheel with its Montgomery Ward bias ply spare wouldn’t fit over the brakes. That wheel and the other 14” steelies with their Chinesium radials were left at the curb after placing a FREE ad on Craigslist. Gone in 30 minutes.
Happy Memorial Day everyone!
A couple of months back I spotted a notice about a car show tied to the upcoming Detroit Grand Prix. The show organizers were requesting an application and some pics so I sent them in. Last week I got a notice that my car was selected and that the show was to be held on the course itself. This event has been held on the streets of Detroit as well as the streets on Belle Isle in Detroit. This year it returns to the downtown area. These are streets I’ve driven on many times in the past but it will be interesting to see where the show will be held on the course.
Today was wash and clean up day in preparing for Friday evening.
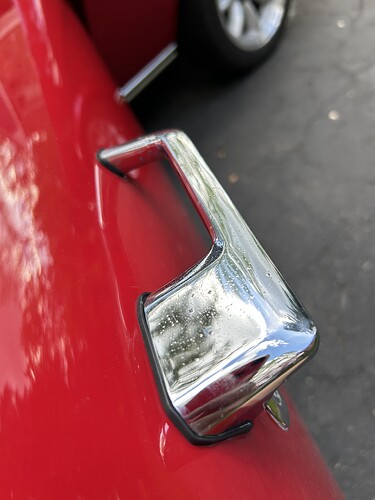
Old pitted exterior door handle was replaced with a new pre-tariff handle my sons got me for Christmas last year. Thanks boys!
Replaced one of the low beam headlights sourced from the spare grille assembly I bought locally years ago. I’ll use this old assembly for the new LED headlights when they come in.
New to me center grille will go in this week as well. Thanks Gary!
