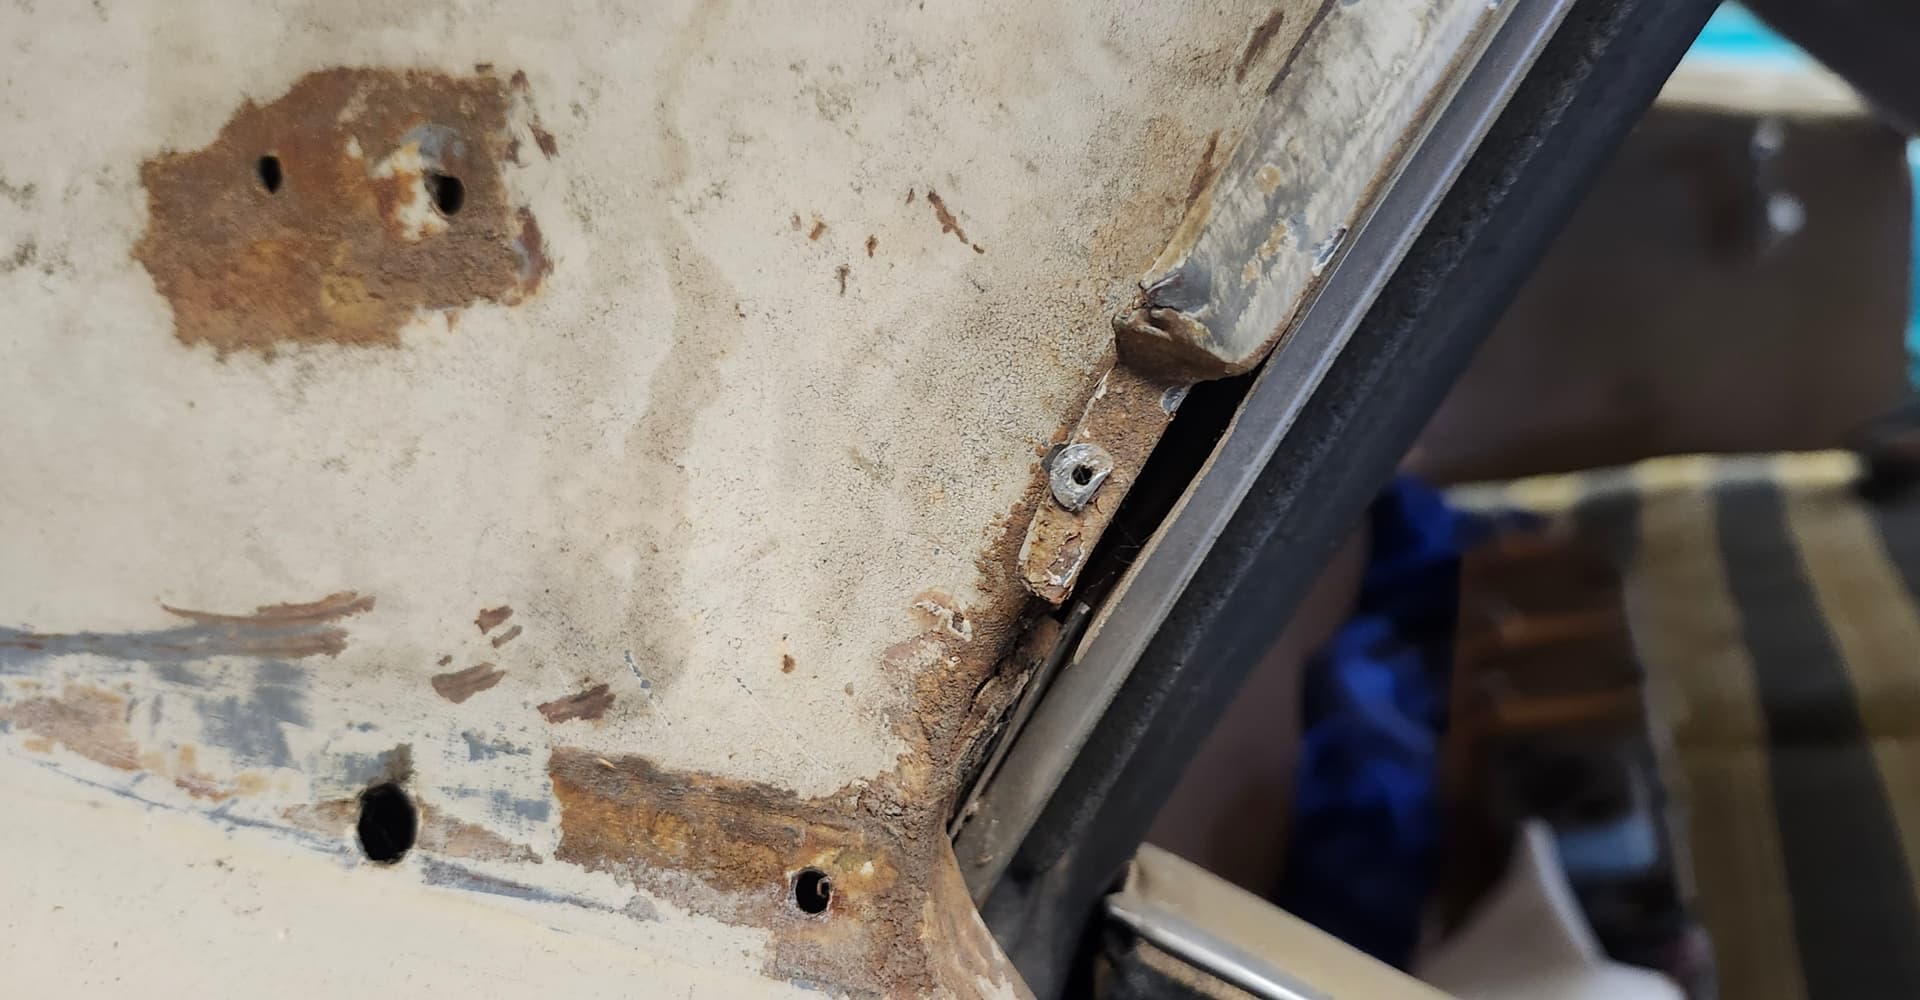
I only know 67-68’s but I believe that slot gets a screw to the body and then lies underneath like a shingle. Water wiil get behind pictured setup easily.
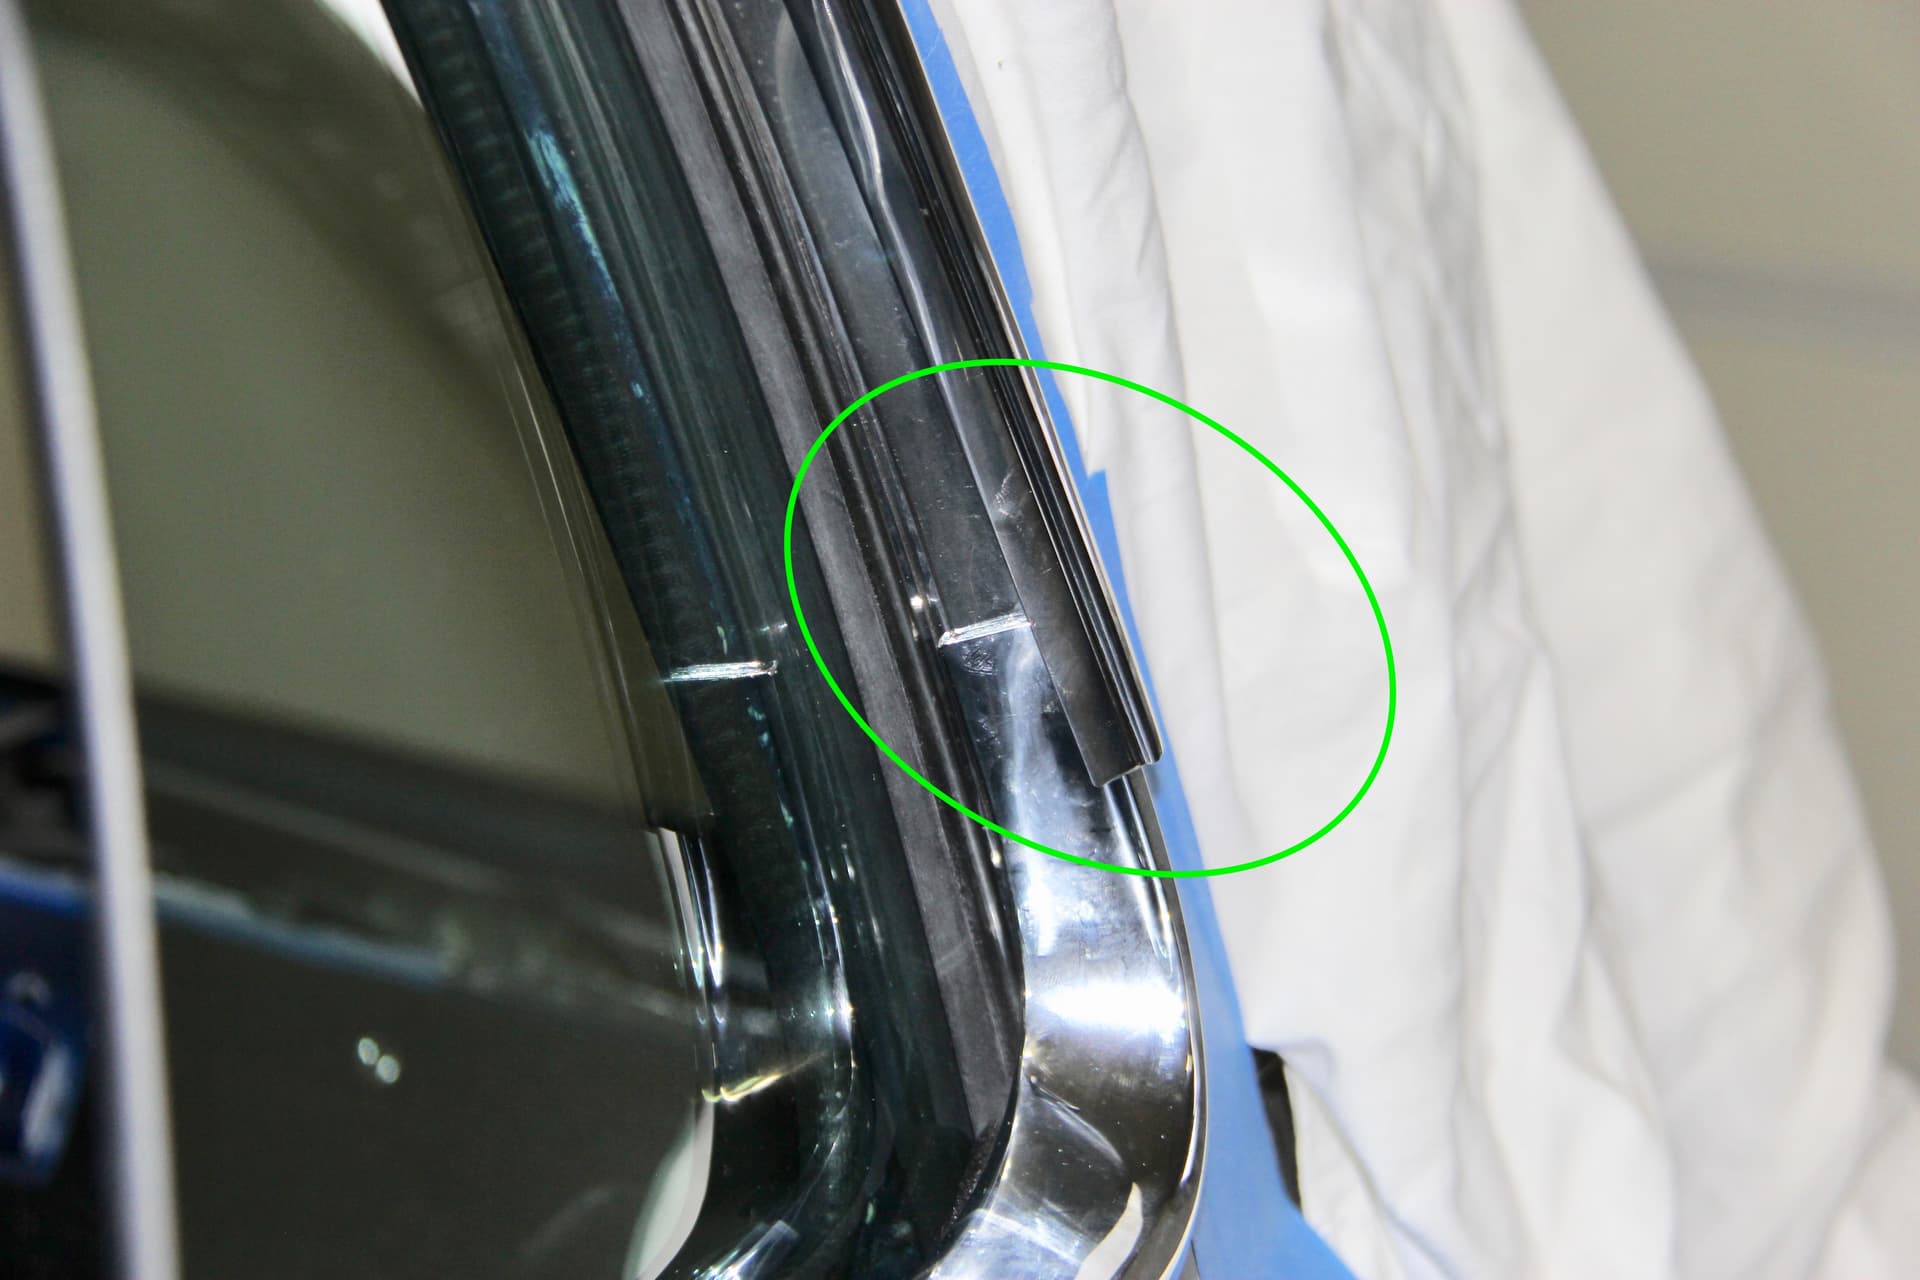
Thanks Neil. Am correct in thinking the drip rail moulding terminates at the flat where the slot is located and matches up with the contour of the hockey stick trim? The drip moulding snapped in perfect in each upper bend and all the way to the front.
The drip rail is about a 1/2" overlap past the flat on the hockey stick. I doubt there is that much adjustment in the hockey stick but I will pull the screws and see if it will fall into place.
I may have to cut the drip rail if that does not work.
I agree. Either the hockey stick isn’t down all the way or the drip rail needs to be moved towards front. This is best photo I can find of mine, but the drip rail stops in the recess
I pulled the hockey stick screws but it still has no more adjustment. Still over 3/8" overlap. The folded over lip at the front of the moulding is up against the leading edge of the rail at the front. The top door opening corners fit perfectly. I checked the other side of the car and same situation. I bought restored moulding from WCCC. Did the moulding just come a little longer than what was on the car? The simple solution seems to be cutting the end to fit with a hack saw.
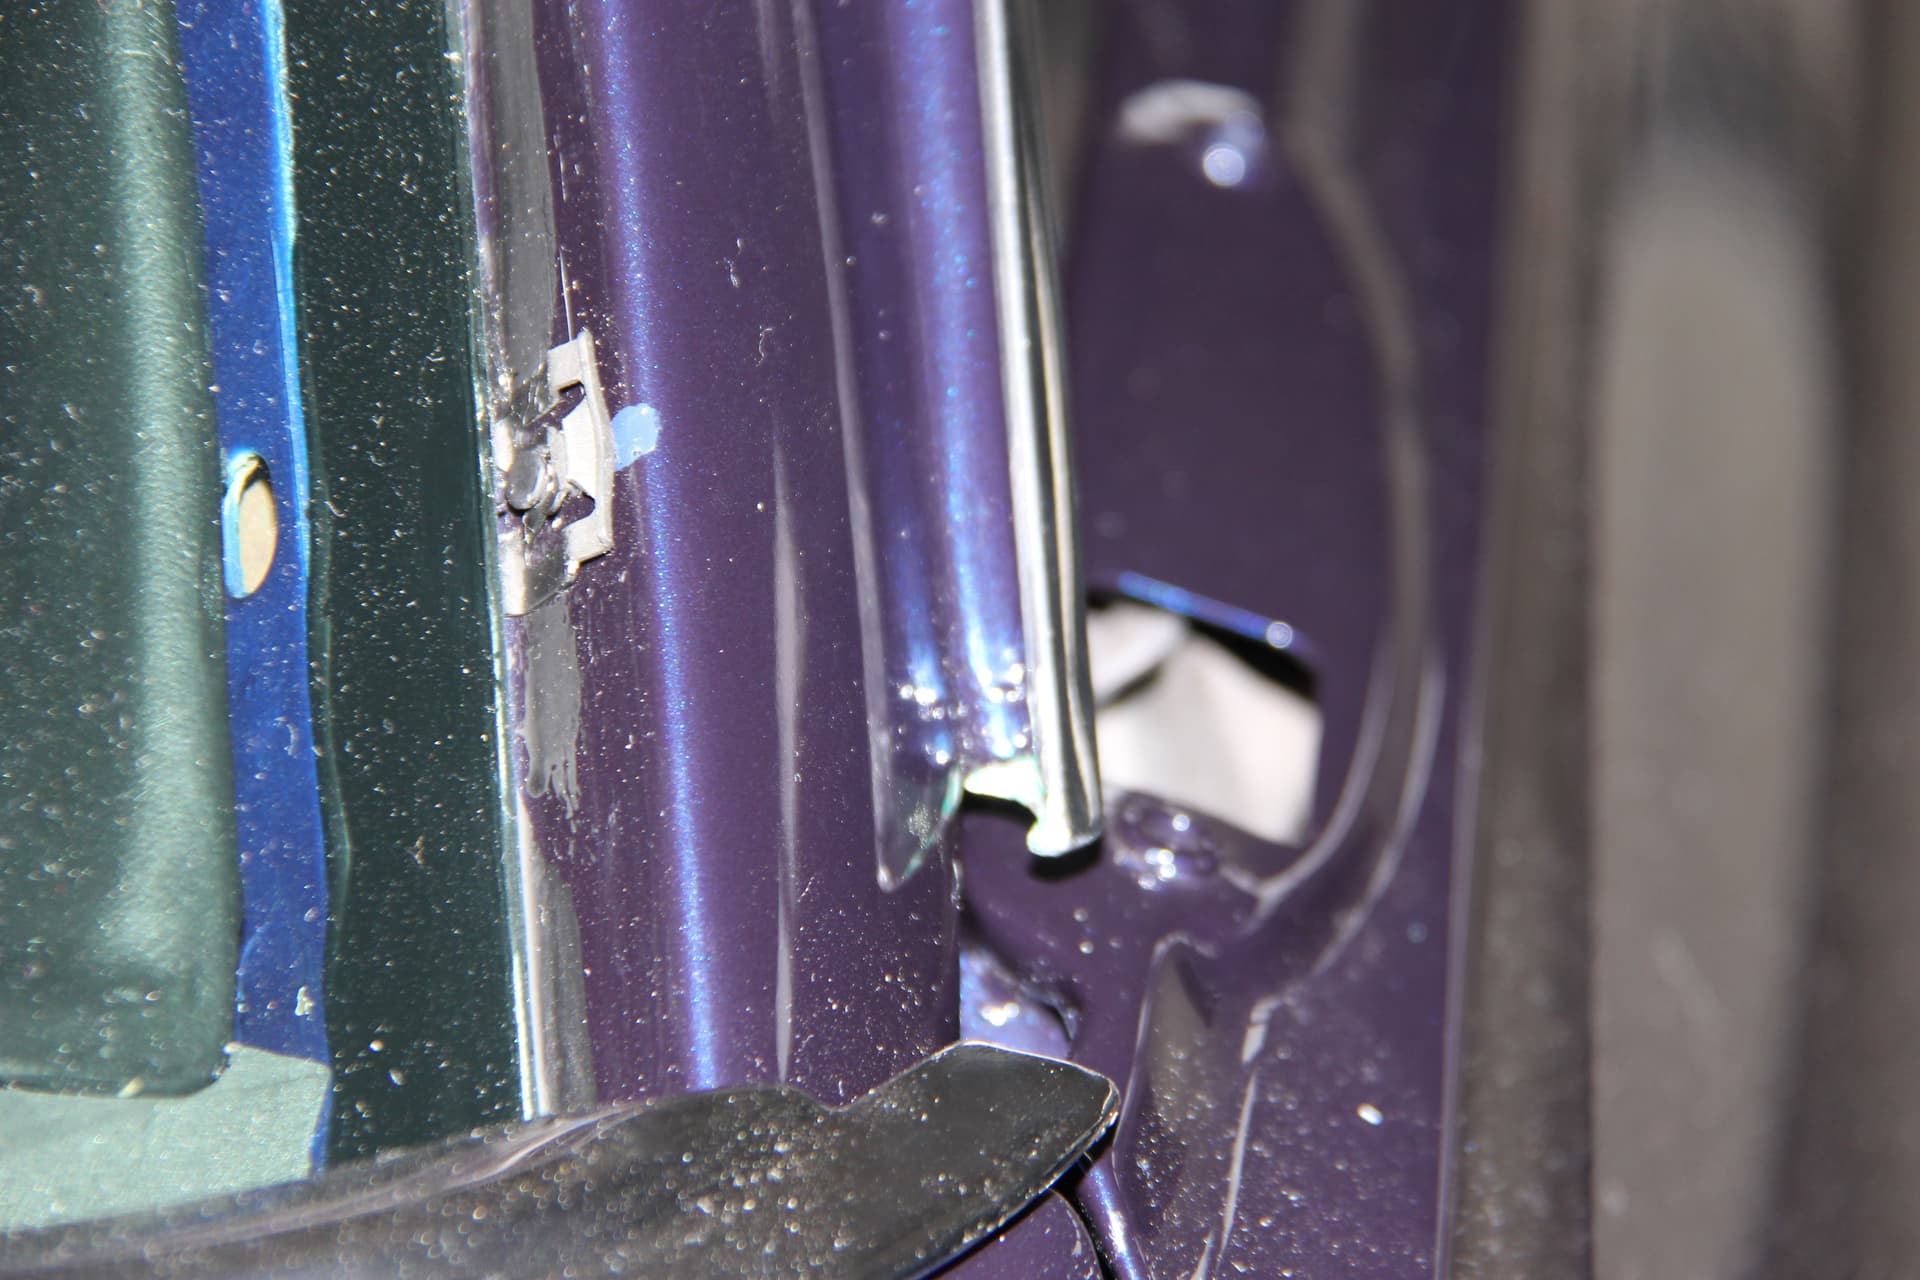
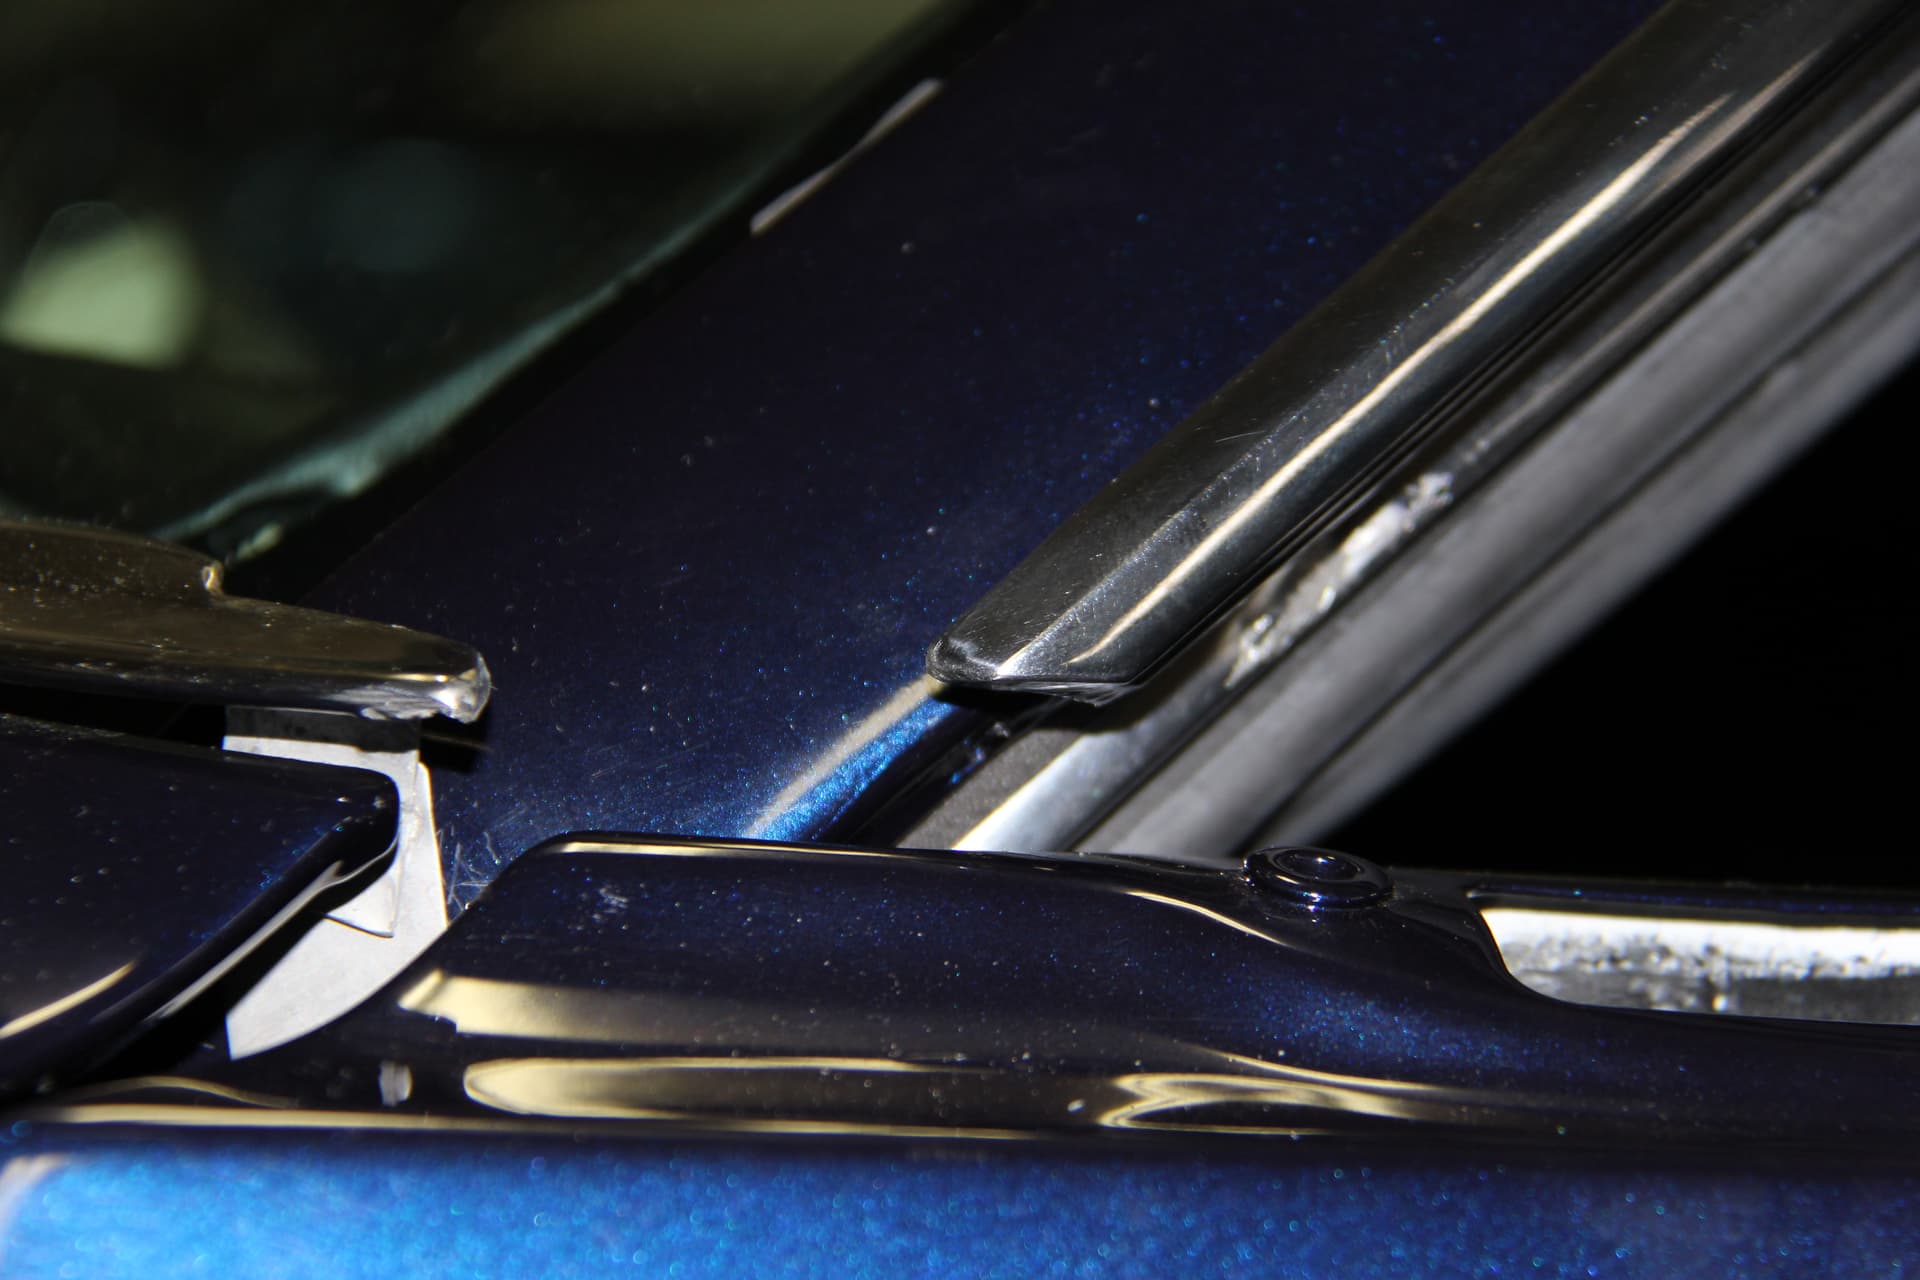
I just looked at my Yellow 428 Cougar and my White XR-7, Both look like the Drip Rail trim is about the same as you have. On the yellow Cougar the L/H trim is not fully engaged to the lower trim and on the White one the R/H one looks that way. I can post pictures this evening (Pacific time). But now I need to go hang some sheet rock…
Yeah. I am starting to see that as my best option. I will try the other side of the car in the morning. I only need 3/8" so hopefully the corners will still go in easily.