Dan,
Yours looks to be paint code “6”,

I don’t think it is paint code “J”

Dan,
Yours looks to be paint code “6”,
I don’t think it is paint code “J”
Thank you much guys for sharing the info.
I had not realized that the springs were aging that bad since suspension is smooth typical to the 70’s while not too soft.
You are right Dave… no such J code “fans” hanging around my car so it’s got to be 6!
When I look at the exterior resto thread that Steve O (70 Cougar) is carrying, I realize the gap that exist between a pro like him an the amateur that I am and I am truely happy for him to be so talented… but at the same time I keep in mind that my objective is less ambitious as all I want is a good 20 footer to be driven on a daily basis (during summer) while maintaining budget under control.
Here is the vaccum actuator before and after refresh. I made it all black… not sure though if I am not going to redo it Alu after seing what Steve has done… we’ll see!
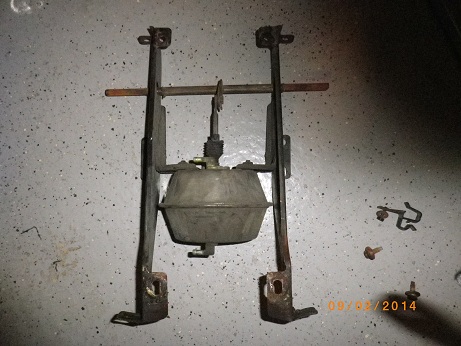
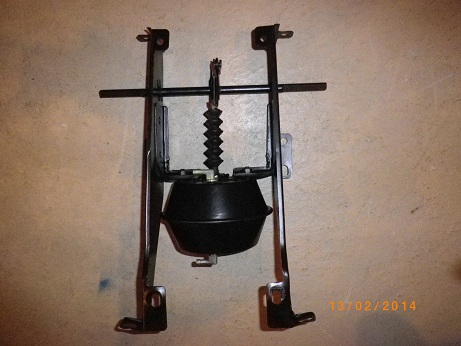
Never forget: the goal is to have fun doing it what ever you do. I like driver cars.
The vaccum reservoir is more of a problem since rust has quite badly eaten the “ears”.
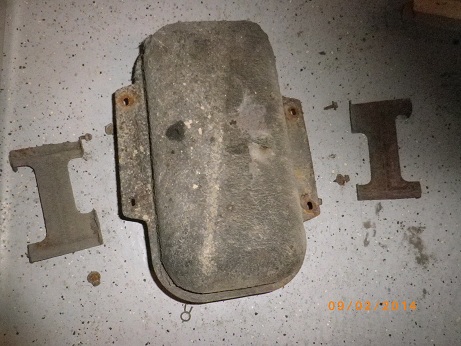
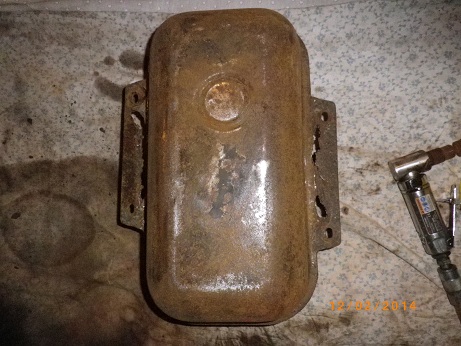
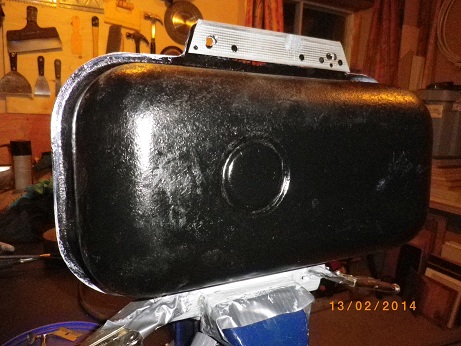
The bottom ear is hardening at this moment and the top one will be glued early next week. I hope this method works as I want to fix this reservoir by myslef and I absolutely wish to avoid getting a new one… it is 43 years old and I want it to stay on that car!!!
Buffing the cured epoxy won’t be easy I know, but it is doable.
My wife smiled at me when she saw the assembly earlier tonight…
I guess the fun is going to be with her for the next little while hehe!
Good night Cougar addicts!
Dan I think your work looks great. You’re doing what makes you happy and it is cost effective. A win-win in my book. 
Steven
I agree! Fix it / clean it / paint it - use whatever means you need to so you can stay on budget, keep the car on the road, and have fun. I figure you can always “make it correct” (or replace parts if needed) later on, when there is more money in the budget.
Keep up the great work!
Ditto. Looks fine from where I sit. Not all of us can(nor should) be paint-daubers!
I’ve been impressed with all of your work so far and no exception with this project. Good work!
Thank you all for the good words. You bet if I have fun!
Dan, your work is great and you’re doing a fantastic job. Your front grilles turned out awesome. That’s not an easy task to do, I spent hours and hours of labor on mine.
Your vacuum actuator and support brackets look great in black. Can’t tell in your pictures but do you have the bushings for the vertical support brackets? These guys are always missing on our cars. You can get away without them but if you’re doing a parts run I’d suggest adding them.
http://www2.cougarpartscatalog.com/store/p/14035-Shaft-Bushings-Grille-Headlight-Eyelid-Door-PAIR-Repro-1969-1970-Mercury-Cougar.html
Keep having fun chipping away piece by piece and can’t wait to check out your next pieces.
Thanks Steve, you are right I do not have these bushings. In fact, as stated in their description, I did not even know they existed. I actually have an order in process with WCCC so I will get them added, no point missing theses for a few $$.
OK looks like the vaccum storage tank will be saved… however cosmetic will be sacrificed (fortunately not a visible part so will do for a driver).
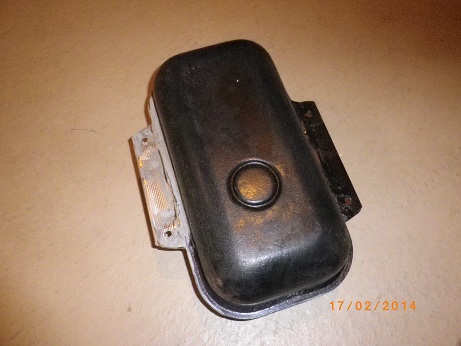
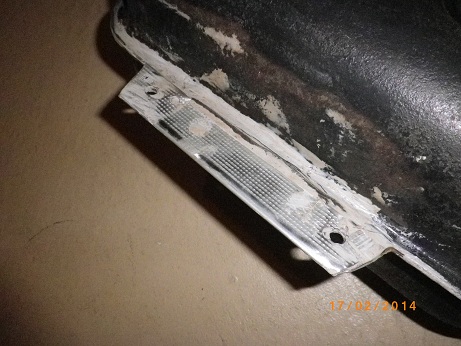
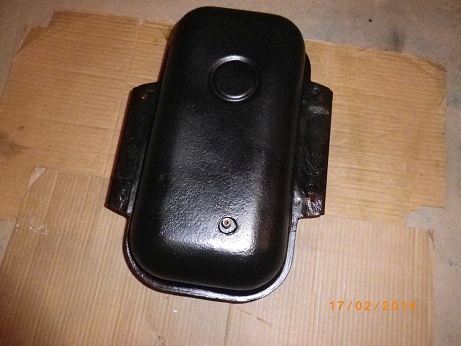
Nor sure though how long it will last since there is some loose dust particules inside the reservoir that I can ear move when I shake it. I was able to get most of it out of the reservoir through the vaccum port, but some still remains. Hopefully they will not get in the line under turbulence of air moving in and out of the reservoir.
On my way to the firewall I found 2 electrical wires that are loose (not connected)??
Everything works on the car except the trans console bulb, but wiring has already been identified not to be any of these 2.
As usual, advises will be greatly apreciated.
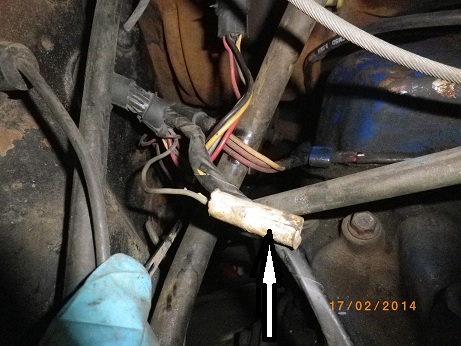
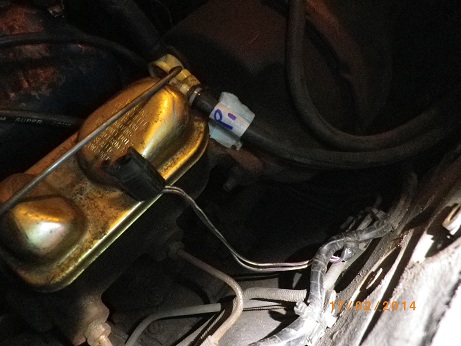
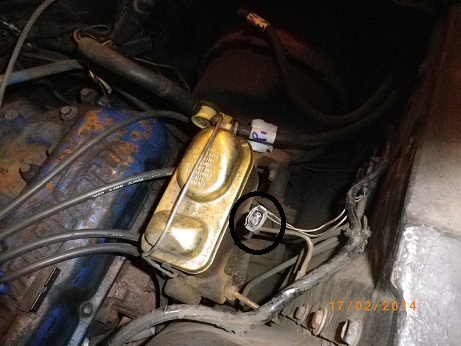
The wire that appears to be the purple with white stripes connects into the distribution block for the brake warning light.
I believe that the single wire in the first photo is to provide power to the gear indicator light in an automatic shifter. I agree with 70 Cougar about the one in photo #2 & 3, it goes to the brake distribution block.
Randy Goodling
CCOA #95
No connectors at all on my brake distribution block… probalby was an option, unless my distr. block is a non correct replacement.
I thought shifter gear light was the wire pointed by the thick white arrow. The wire connected to it is same color (black) and enters under the firewall toward the shifter gear box (with other wires that I assume are for back up lights).
Both these connectors originate from the same harness and are same size & shape, only the colors are different (black and white). Can you think of any optional “lighthning package” that would have had that kind of connector?
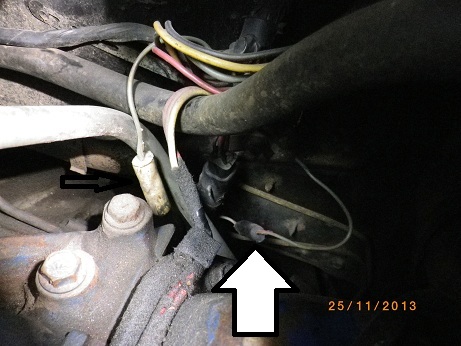
Thanks for your help.
I don’t know what the white plug is for but it isn’t connected to anything in my car which has about every available option and all of them work.
The brake distribution block should have three ports on the side facing the front of the car. The two outboard ports are for brake lines and the middle post should have a pale green switch in it. The connector you show goes into the green switch. If you don’t have the green switch or an empty middle port, you may have the wrong block.
I was thinking about that white plug some more and it might be for the underhood light. That is one option I don’t have. Anyone with an underhood light that can verify?