I could be wrong on the white plug being for the shifter light. If yours is working then I probably am wrong. As for the brake warning light I do not believe that this was an option, rather it was a standard item included on all cars.
I was able to connect into the brake distribution block… I never thought the pale green switch could fit into this connector. In fact it was tough to insert and I had to put good pressure to lock it in.
After revising my old brochure describing the options, I come to same conclusion as you Jeff, the white connector must be for the optional engine compartment light.
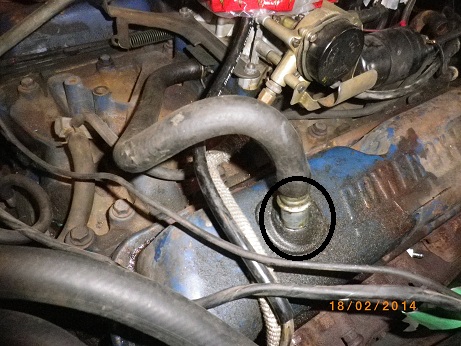
Now here is another question: I noticed the hose running from under the carb into the passenger valve cover can be removed freely from the valve cover in such way that there is a lot of oil that breaths out of the valve cover around the entry port. Is this normal?
As mike stated that’s the PCV valve (Positive crankcase ventilation). Usually over time the grommet that holds it in the cover becomes oil soaked and hard/brittle and doesn’t seal well and seeps oil. Also check that the PCV valve is working. One test you can do is remove it and give it a shake. The ball inside should rattle freely. if not replace it. If the PCV isn’t working it can create too much vacuum in the upper engine and allow excessive amounts of oil to get sucked down the valve guides pass the valve seals. Causing oil consumption and some blue smoke out the tailpipe.
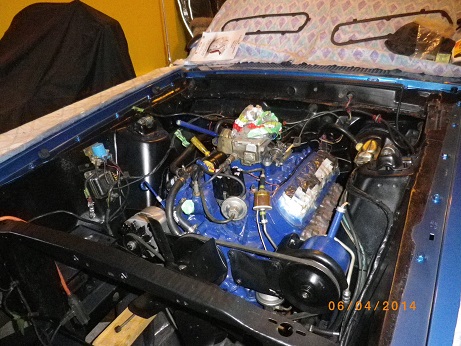
Hey Gents… I did’nt post for some time but does’nt mean I had abandonned! In fact I have been pretty active but there was so much grease oil and all kinds of sh…tt you would not beleive!
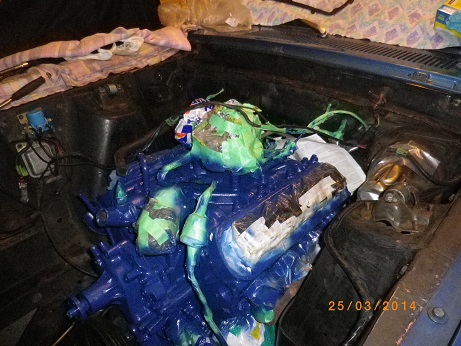
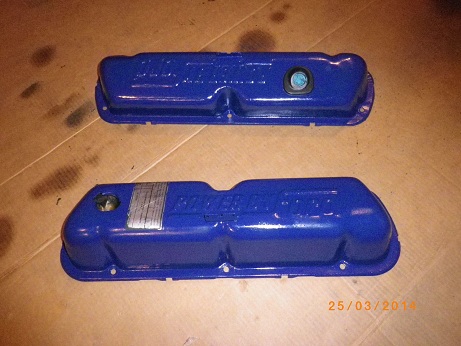
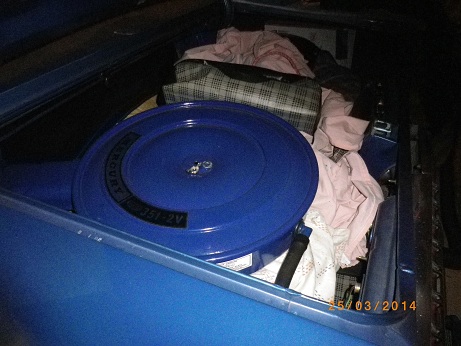
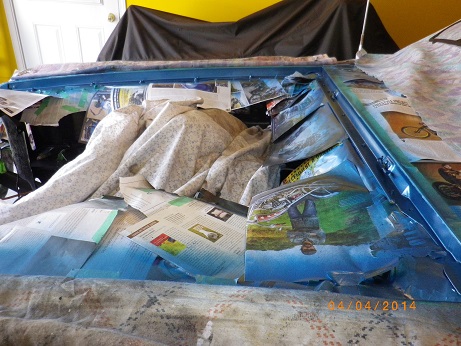
I removed almost everthing that is not mechanic and masked the reminder… then painted the visible part (from the top) of the engine and stacked a whole bunch of parts in the trunk. My wife has her doubts that this engine is going to fire again…
The garage permanently stinks rust, dust, paint and solvent… I hope warmer temperatures comes soon so I can get some fresh air in there.
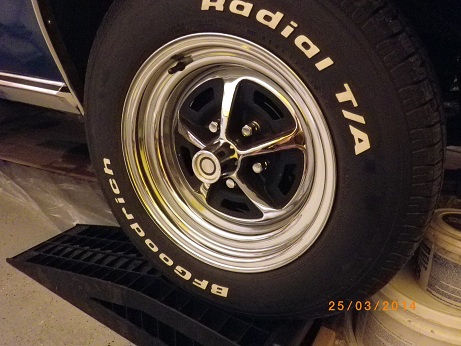
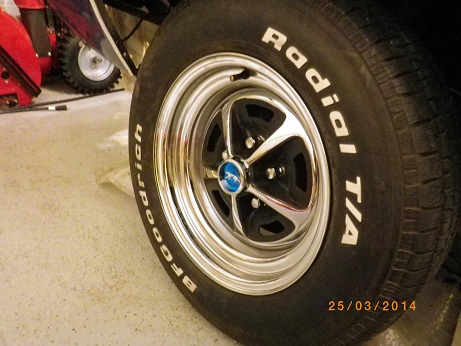
And finally for tonight, new walking cat center caps replaced the former Plymouth/Dodge center caps that the PO had installed. However, in all honnesty I am not sure there is a net gain here in terms of appearane since the Plymouth/Dodge ones were pretty cool… But the walking cats belong to the cats familly so there they are to stay. I posted the Plymouth/Dodge ones for sale on a Canadian small adds web site at $150: they are not show quality but excellent for a driver.
Looks good, but at the point you are at I think I would have just pulled the engine. Cleaned the whole engine and painted and then with full access to the engine bay tape things off and painted that as well. The wheels will look nice with the blue caps and the blue paint.
I agree with you Brian results would be much better if I had pulled the engine out, but I am no mechanic nor am I equipped and have the space for that… + I want to do this project by myself even if I am newbe to this hobby, so I had to start with who I am! The good thing is since I retired from work last year, I have time available and I love to spend it on that car.
Today, I started to clean firewall, fenders, shock towers engine supports and frame… should be able to finish tomorrow, then hide everything and may be paint during weekend.
Ok Dan, you are going about it the correct way and not getting in over your head. To many times we see people go at it and tear it all apart only to get lost on what to do, and over their head on how to put it back together. The result is it never does get finish and sold as a dissasembled project at a loss. Keep up the good work and look foward to seeing your continued progress!
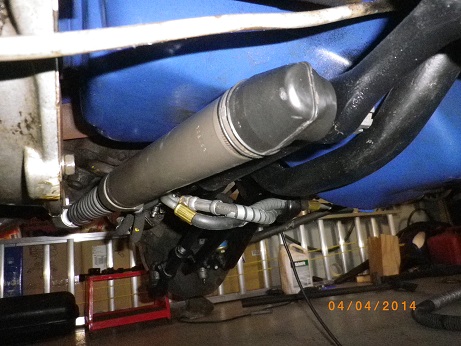
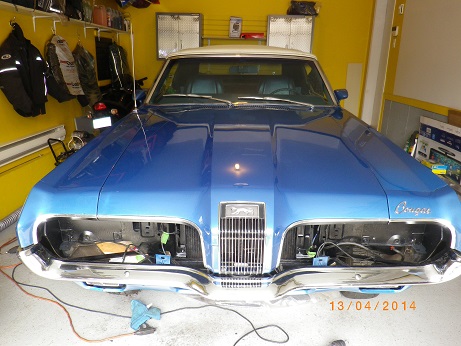
I am now at the turning point of this “project” i.e.: paint top perimeter of the engine compartment (where the hood lays in) while beginning to reassemble on the underside (PS cylinder & hoses).
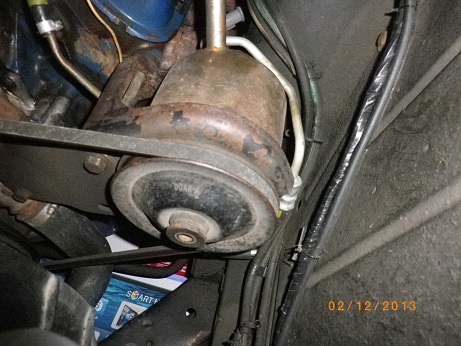
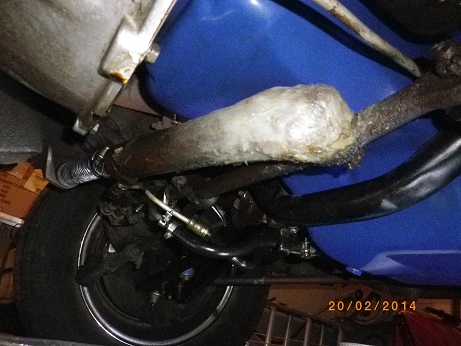
When I purchased this car in 2012, it was obvious that a new PS cylinder would be mandatory, see how it was patched with silicone.
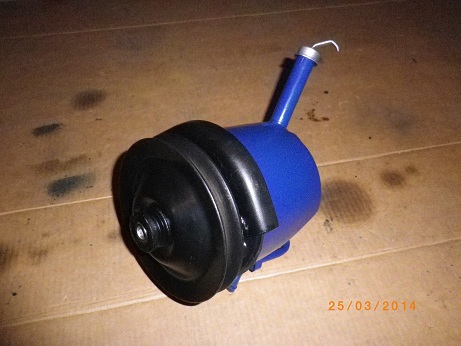
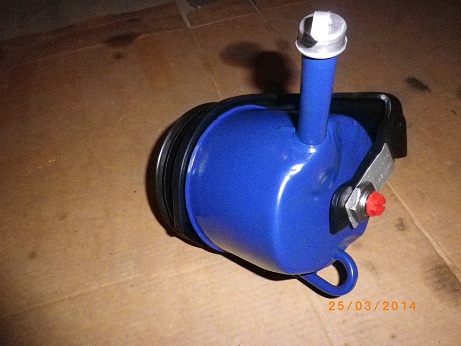
I decided to rebuild the whole system (except control valve) at the same time since the rubber portion of the pressure hose was beginning to crack and the pump started to be quite noisy last fall. I think I did it OK but what a pain!! Especially working under a car that is lifted only one foot high (just enough to turn the wheels freely when will be time to fill fluid and exhaust air pockets).
Next step this afternoon - continue painting (1 more coat blue + 2 clear) & install vacuum reservoir.
On its way back to fire… should happen this week!
Today: install rad, shroud & fill + fill in PS fluid.
Question: PS pump in not primed yet. Is it worth, before ignition with loose belt, to manually turn the PS pulley while adding fluid to full or is it easier to simply start and stop on power while adding the fluid?
Hey Gents, for the ones of you who followed this thread, be aware that the car has fired up last Friday and that there seems to be no leaks + PS pump was manually primed before attempting to start!! This Cat, my Cat, will for sure get back on the road this week, after I receive a couple bushings and anti-rattle pad from WCCC.
I needed 7 hours to adjust the hood, still a little high near the cowles on passenger side, but will stay like that for now!
The trick that mystified me so long was the adjustment with the cowles (height and gap) that I succeeded by pivoting the hinge down toward the passenger compartment after having adjusted overall height with the lower screw of the hinge on the engine side. Only then did I thightened the upper screw of the hinge to firmly secure the assembly in place.
On another subject, I hope to have resolved an overheating issue at idle. No problems at all as soon as the cars moves (20mph or so), but hell in traffic jams!
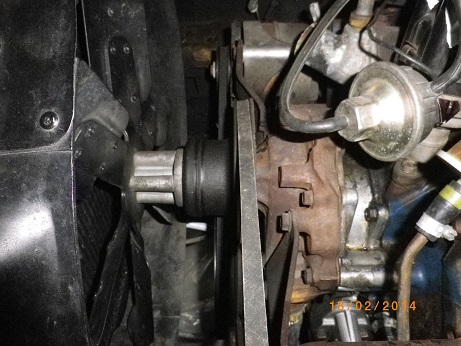
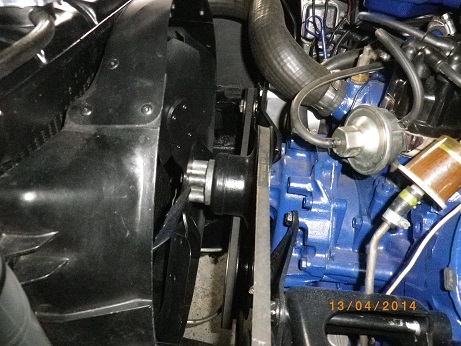
My car is equipped with a fix fan (6 blades - probalbly aftermarket) and 2¼" spacer. No clutch since this is small block witout A/C. After reading/discussing here and other site, I decided to try a shorter spacer (1¼") to pull the fan toward the engine by 1" in such way that it is now about half way out of shrould (see lower pic). The idea is to create a stronger vaccum behind the fan and hence improve aspiration of air through the rad. First test (5 minutes in the garage) seems positive as air flows through the rad better than before + needle did not climb as fast. Will know for sure when I drive in warmer temperatures.
Dan, it looks like there’s a pretty good gap between the radiator and fan shroud. If that’s the case, your fan is pulling a lot of air around the radiator instead of through it.
Shroud in mounted/bolted directly on the vertical frame beams of rad, zero gap there.
At top and bottom, there is ± ¼" between fines of rad and egdge of shroud that can’t get any closer due to design.
Car will go out Thrusday or Friday if the “stupid” thermometer may deign to climb a little… so I will know better then.
Today was the day back on the road… nice 50°F with sunshine and future looks bright!
No problems at all with new PS hoses, pump and cylindrer + no more noise and now easier to turn at near stop speeds on parking lots.
Overheating isuues at idle seem to be diminuished as well: I went though a 10 minutes jam on red lights under the sun, with heater off, and temp needle never climbed higher than ¼ of full scale. If resolved at it seems, I will then be able to drive in cities this summer without having to turn the heater on and/or fear stalling! I am still crossing my fingers but having pulled the fan 1" toward the engine (in such way that it now sits about half way in shrould and half way ahead, instaed of all in) seem to work for me.
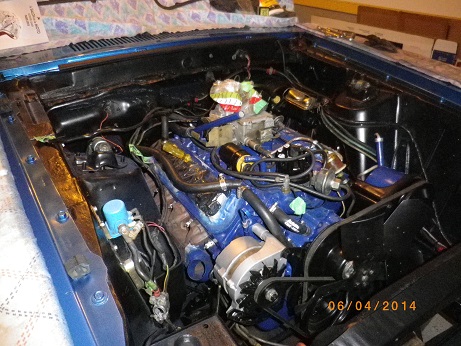
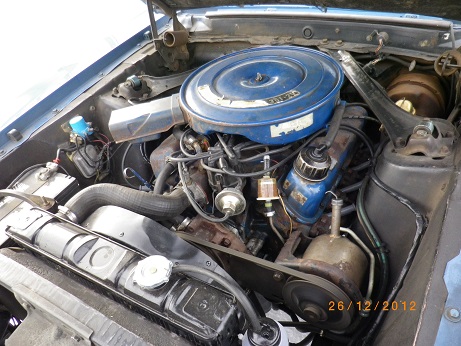
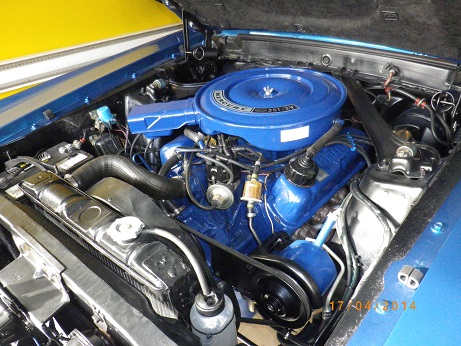
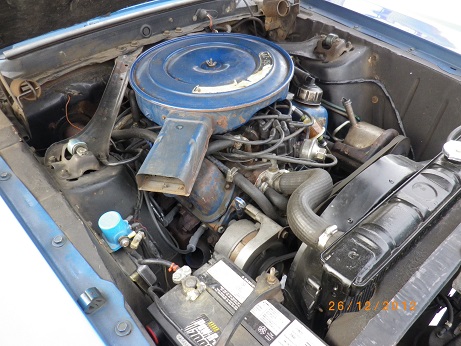
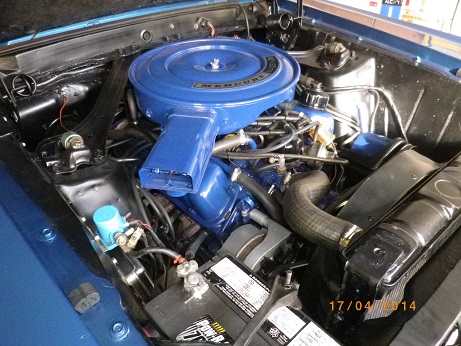
Here are pics of engine bay before and after the refresh: