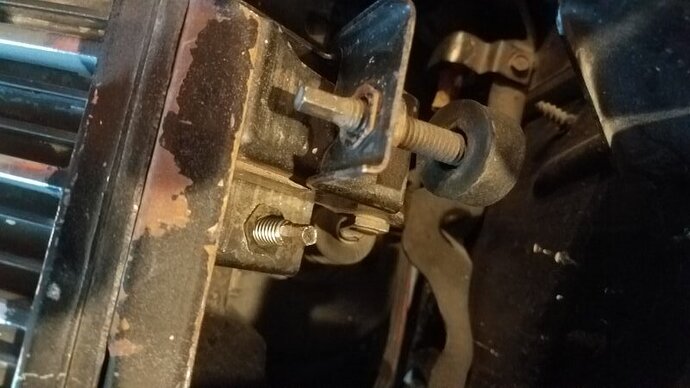
First off, this is not a complaint about WCCC. I use them often and think they are great as both a parts source and video source.
That said, my headlight doors have the typical “low” look. I was interested in WCCC’s extended adjusting screws but one, they have been out of stock for months and two, $30 for a set of bolts seems kind of steep.
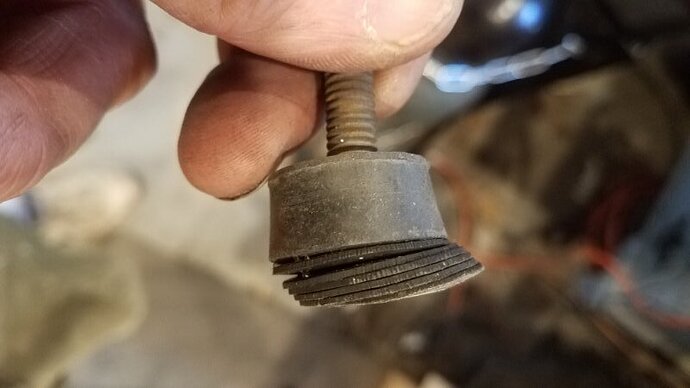
So my first attempt at fixing the issue was to use my laser cutter to cut adhesive baked rubber disks out and stack them as needed.
This worked for a while but as you can see, the disks see a lateral load and start to slide and cause the covers to sag again.
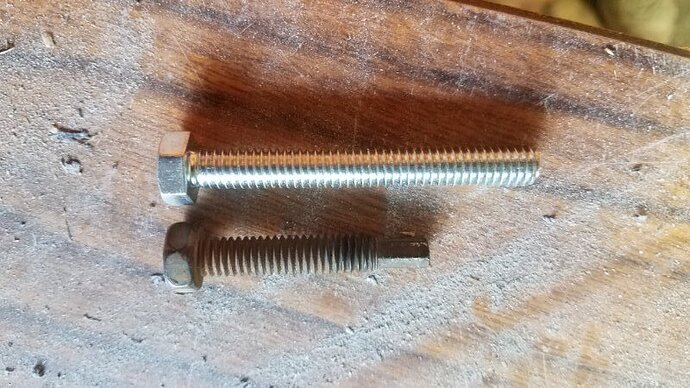
So then I got the idea of making my own extended adjusting bolts. So I took one of them down to the True Value and matched it up.
This bolt is found in their drawer area, not the common bin area. The ones in the bin have a shoulder with no threads. I got went with 2.5" bolts for about 56 cents a piece. I guessed on the length but got lucky since as you will see, they worked perfectly.
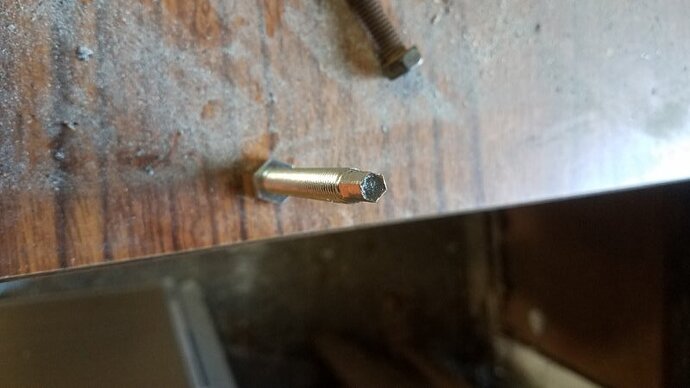
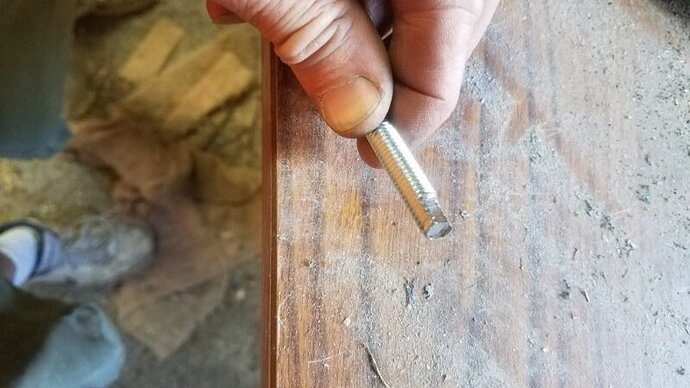
I first started out trying to use my lathe as a mill to cut the 7/32 head into the end of the bolt. Although it is doable, it was becoming a pain in the neck. So, I went over to my trusty grinder. It was surprisingly easy to make a nice 7/32 hex feature. The trick for me was to use the bolts hex feature as a guide and to keep testing with a 7/32 socket. Here are the results.
Part way done.
Finished
Installed
Installing is a little bit of a pain, but I was able to do it without disassembling the buckets. I removed the headlight frames and disconnected the vacuum motor arm to make it easier to move the door. The trick here was to remove the open adjusting bolt to maximize the door in the open position and then get the bolt resting in the threaded hole. Once I had that, I used a 1/2 socket attached to a universal joint swivel and then an extension to get the bolt started. Once threaded enough, I then used the newly created 7/32 feature to back it all the way so I could put the rubber pad on the 1/2 hex head. Then used the 7/32 to adjust the door. My doors are perfect now and I also have $30 to spend at WCCC on something else!
I might do it again with some stainless steel bolts if these start to rust up.
Jim
