My 69 came with a set of repro cardboard taillight protectors among all the bits in a parts box in the trunk. Today I started trying to figure out how to install them, and I vaguely remember my first Cougar had speed nuts keeping the protectors in place? All I have protruding through the taillight panel are the studs from the taillight bezels and a few speed nuts holding the 3 plastic wire looms on each side. I can’t see how the holes in the open end, or the tab on the closed end line up with anything. Is there a mounting kit I need, or some trick I’m missing?
Outboard edge has a flap with two holes that fit over the tailight studs, inboard edge has a flap that attaches to the trunk latch tower with one trim screw.
1 Like
I scratched my head for hours before i figured it out.
then saw only one screw kept it all together,.
Now it looks a lot tidier.
I’m feeling pretty silly right now…
I don’t see a mounting point on the trunk latch tower for a trim screw, and it seems like I’d have to bend the outboard side with the two holes to get it to touch the studs with as far out as the socket wiring pigtails protrude.
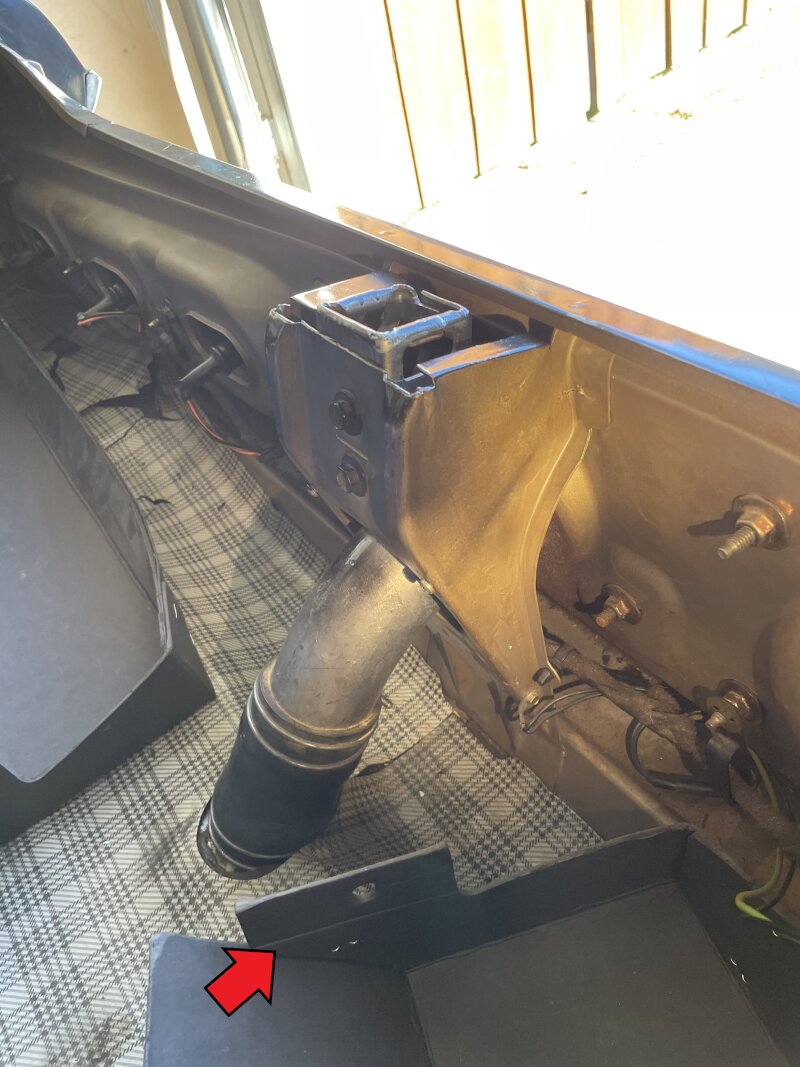
Tower View:
Outboard View:

Sorry for being so dense on this one, but what am I missing here?
The inboard tab needs bent out 90 deg, then the hole should align with a drilled hole on the front side of latch tower. Fastens with a trim screw, so no stud. I had trouble with the outboard holes too. Ended up just bending the tab 90 deg so it spaces the panel out from the tail light back, and not attaching to anything on that side.
The attachment points for the trunk tail light ( cardboard ) protectors are shown in your image - the inboard two that are on the gas tank filler hose / latch mount re-inforcement. If you remove them, I’m sure you will find a small bit of the original black cardboard still attached to them ! ( I know I did - so I knew I was on the right track )

1 Like
Thanks all. The protectors I have seem to be poor reproductions. The tab end that is supposed to attach to those screws has a hole bigger than those screw heads, and it appears to be off by a couple inches. I ended up friction fitting them using the “spring tension” of the upper and lower edges, and they seem to stay in place OK.
I think the end/outside tabs fold inwards. Attach nut(s) first then the screw to the filler surround.
So on outboard side, place the two holes on the filler panel over the tail light studs and then there is a second set of nuts to hold filler panel? Are these second set of nuts the same nuts as hold taillights in place, or the steel speed nuts? Makes sense that you could then fold the panel into place and secure with trim screw on inboard side. I’ve apparently had mine on wrong for a few years now.
Cougar Bill, or anyone with the right install,
Can you send pictures of the outboard attachments? I got mine to fit over the taillight studs, but I don’t recall any nuts to hold them in place.
Wasn’t going to post here anymore, personal choice.
Thought I would share this. Not an actual picture but what the MPC shows as the trunk trim
May or may not help you.
trunk trim.pdf (680 KB)
As I recall you use the nut holding the tail light in, or another additional nut is used on the same stud.
Not sure what the MPC pics are for, as they don’t clearly show anything relevant.Besides it is a 67/8 car, not the 69/70. Typical of the MPC as they use the previous years drawings.
The nut holds the carboard on the stud, then the cardboard covers the rest of the taillight(s), then the phillips screw on the gas filler neck surround is next/last. Cardboard tucks under the lip of the trunk above the tail lights
I’ll get a few pics tomorrow to help (in living color…LOL )
Any pics installed
I found those on mine but i don’t understand how to connect cardboard repro i bought from wcc