Low Gear/Drag kit for the C6 Transmission

Well, the C6 rebuild is going great. As user ‘9F91H581221’ put it, the C6 is a good one to learn on. I found that the Ford Service Manual has an excellent section on the transmissions, except for the pics. Rather than being able to swap assemblies, everything had to be rebuilt or checked, and you’ll see why…

One of the plans for my C6 was to install a ‘LOW GEAR/LOW DRAG UPGRADE’ kit which I had found from TCI, a large online Transmission supplier. The $750+ price tag was hard to get around. After some web surfing, I found a kit which has the ESSENTIALS from the TCI kit at a much better cost.

Now Daryl down at WCCC was curious about this low gear package, so this one is for you, D. Sorry it could not be shorter. :bloated:


Oregon Performance Transmission (http://www.oregonperformancetransmission.com) is located in Salem, Oregon. They do not have a storefront, just a website and Ebay store. This allows them to keep prices low. Really low. Every upgrade kit or part I shopped they had, and at the best price. No phone support, and most of the stuff comes without instructions, but they are good at responding to email if you have questions.

Here is a link to the OPT kit, which sells for $275.99:
http://www.oregonperformancetransmission.com/mm5/merchant.mvc?Store_Code=OPTI&Screen=PROD&Category_Code=C6&Product_Code=OPT-KC6GRP

Given what you get for that, I think it is well worth it, especially for cars running low rear-end ratios like 3.25 and under.

The purpose of the kit, as OPT puts it, is:
" This kit will increase your acceleration without changing your rear-end gears. Lower 1st gear by 10% and 2nd by 5%. This set will work for all years. This kit will lower your 1st gear ratio to 2.71 from your stock 2.46. Second gear will be lowered to 1.53 from 1.46."

So I did the math on MY rear ratio to see what I was winding up with:

With the change in 1st gear ratio from 2.46 to 2.71:

2.71 x 3.25 = 2.46 x Y
2.71 x 3.25 /2.46 = 3.6 effective ratio in 1st gear (as compared to stock tranny ratios)


and in second from 1.46 to 1.53:

1.53 vs 1.46 2nd gear
1.53 x 3.25 / 1.46 = 3.4 effective ratio in 2nd gear (as compared to stock tranny ratios)

With the final drive staying at 3.25

Not much downside, except for an increase in RPM’s on the 3-2 downshift for passing. This may be too much for 3.5 and up rear ratio’s, but that matters more for street than strip I would think.

So below are the pics of the kit, and some pics showing why you want to beef up that tranny along with a motor upgrade, or face some ugly consequences.


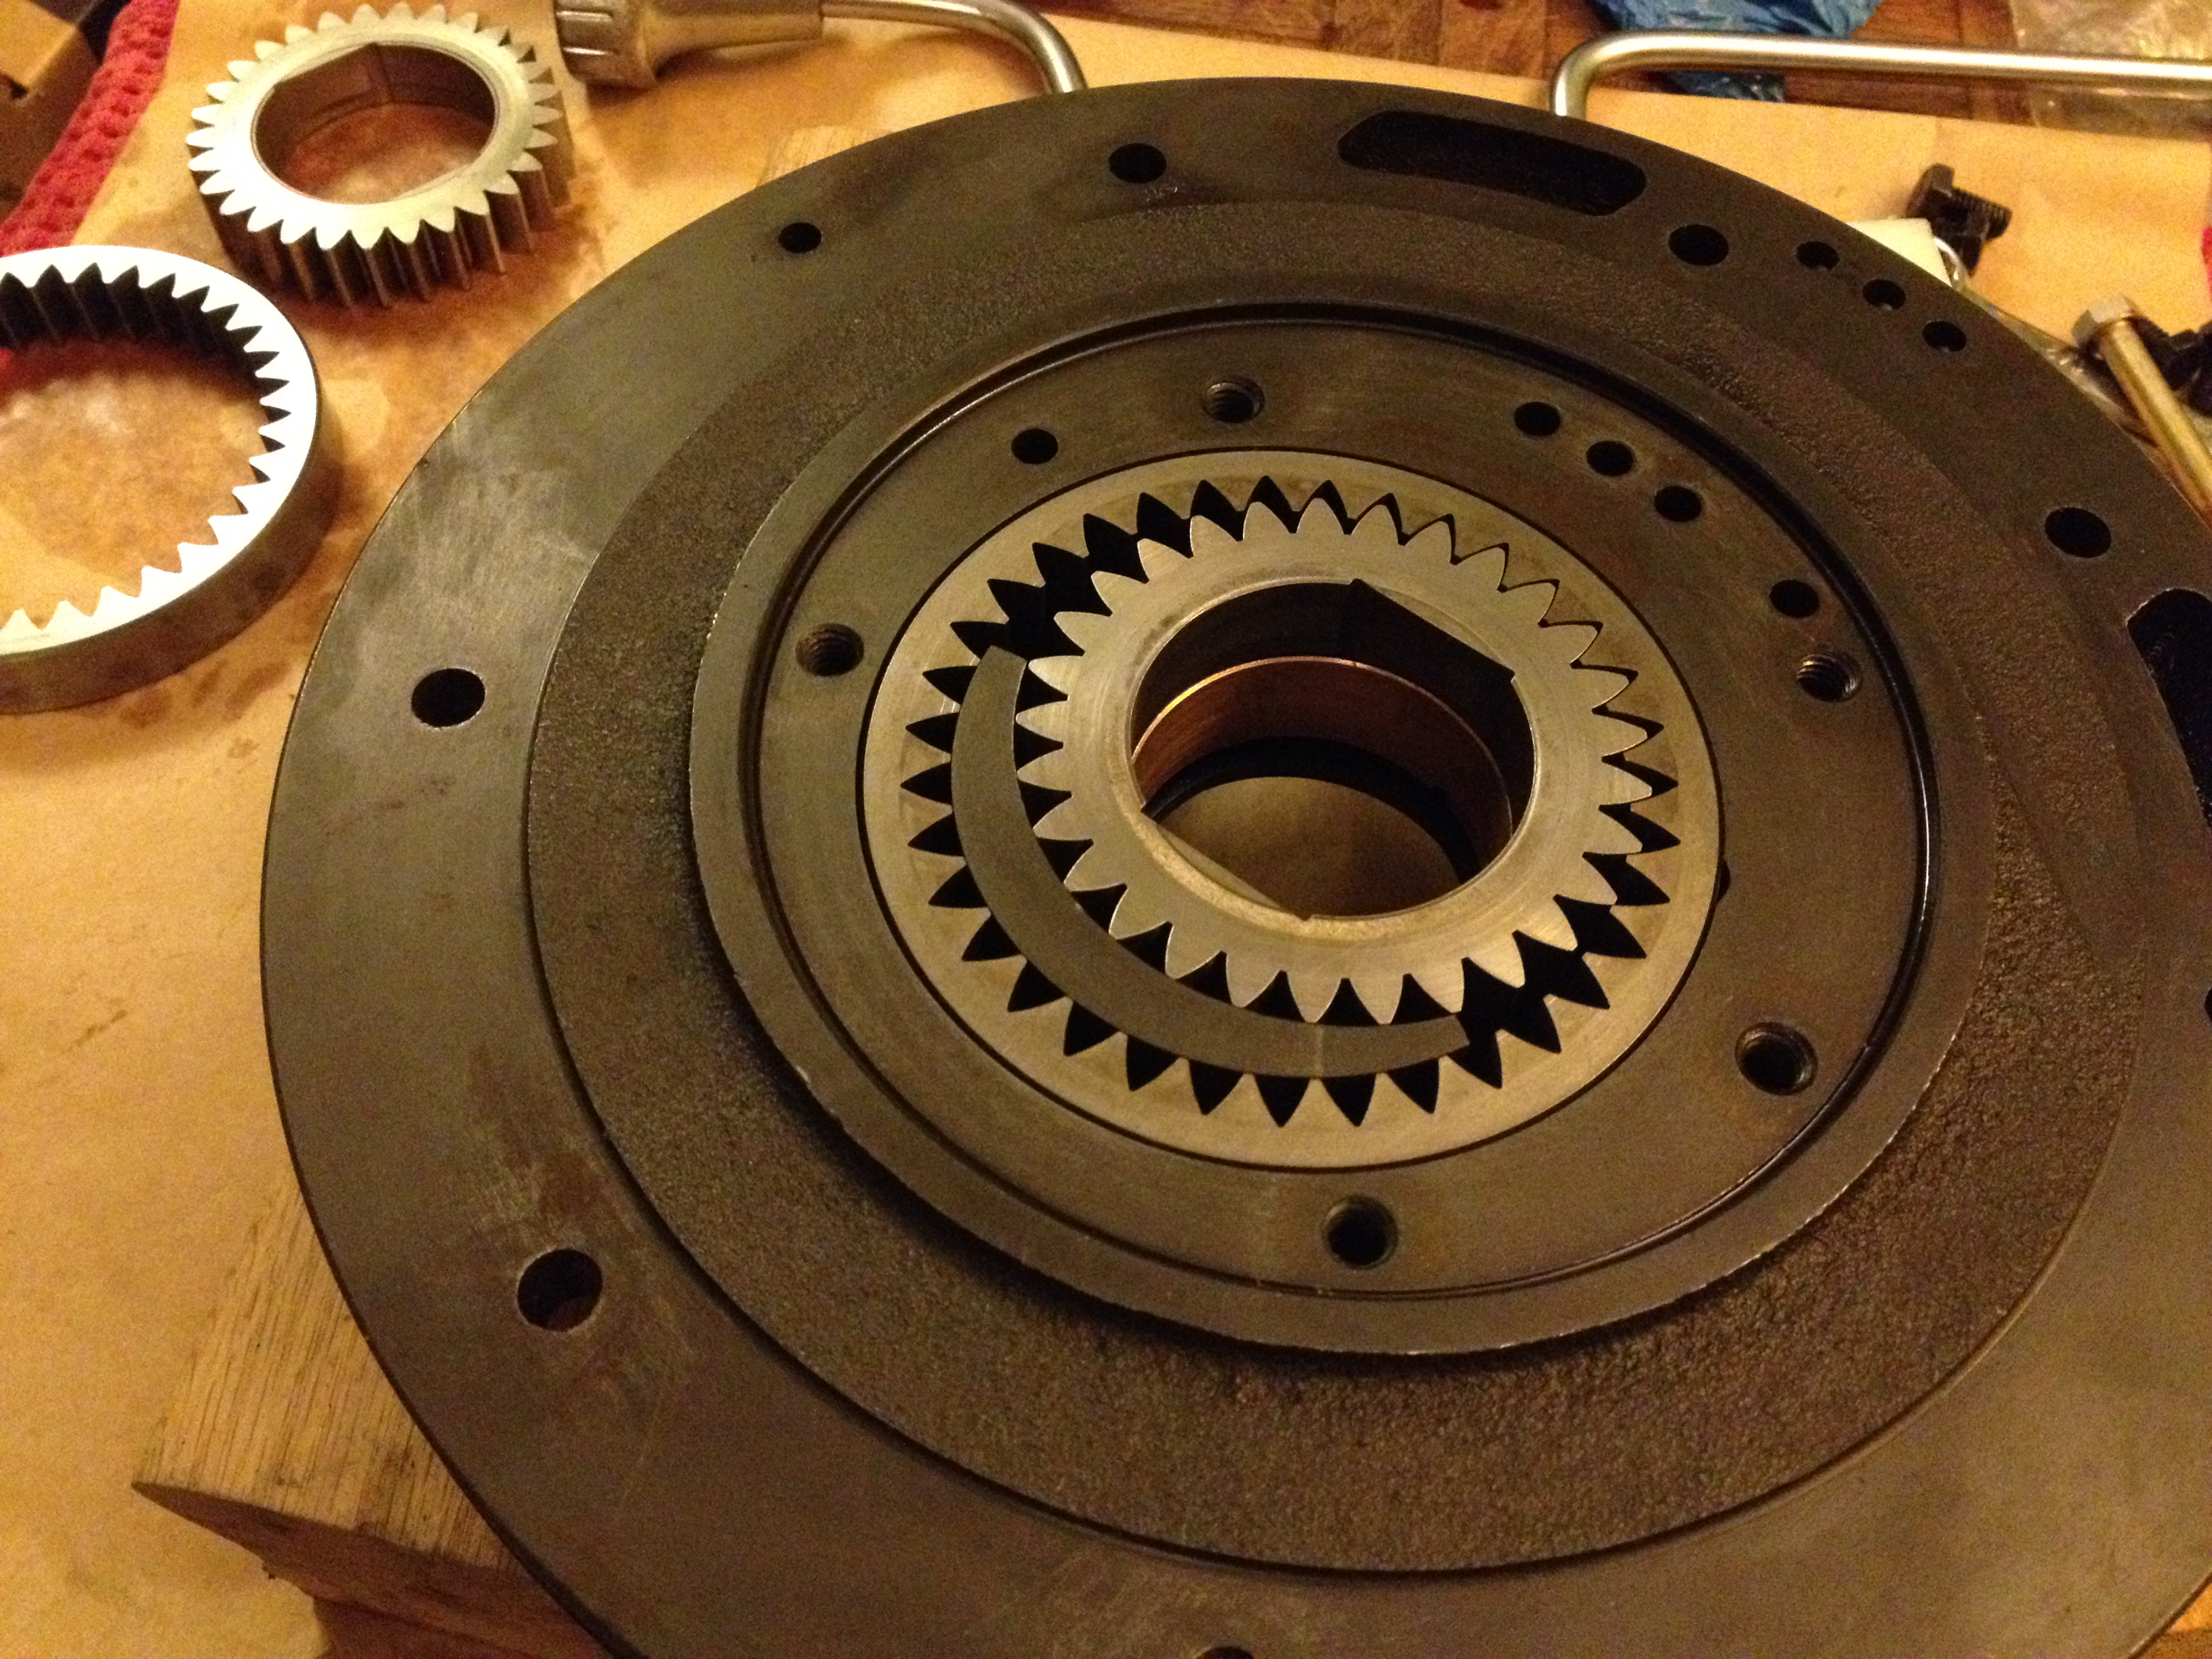
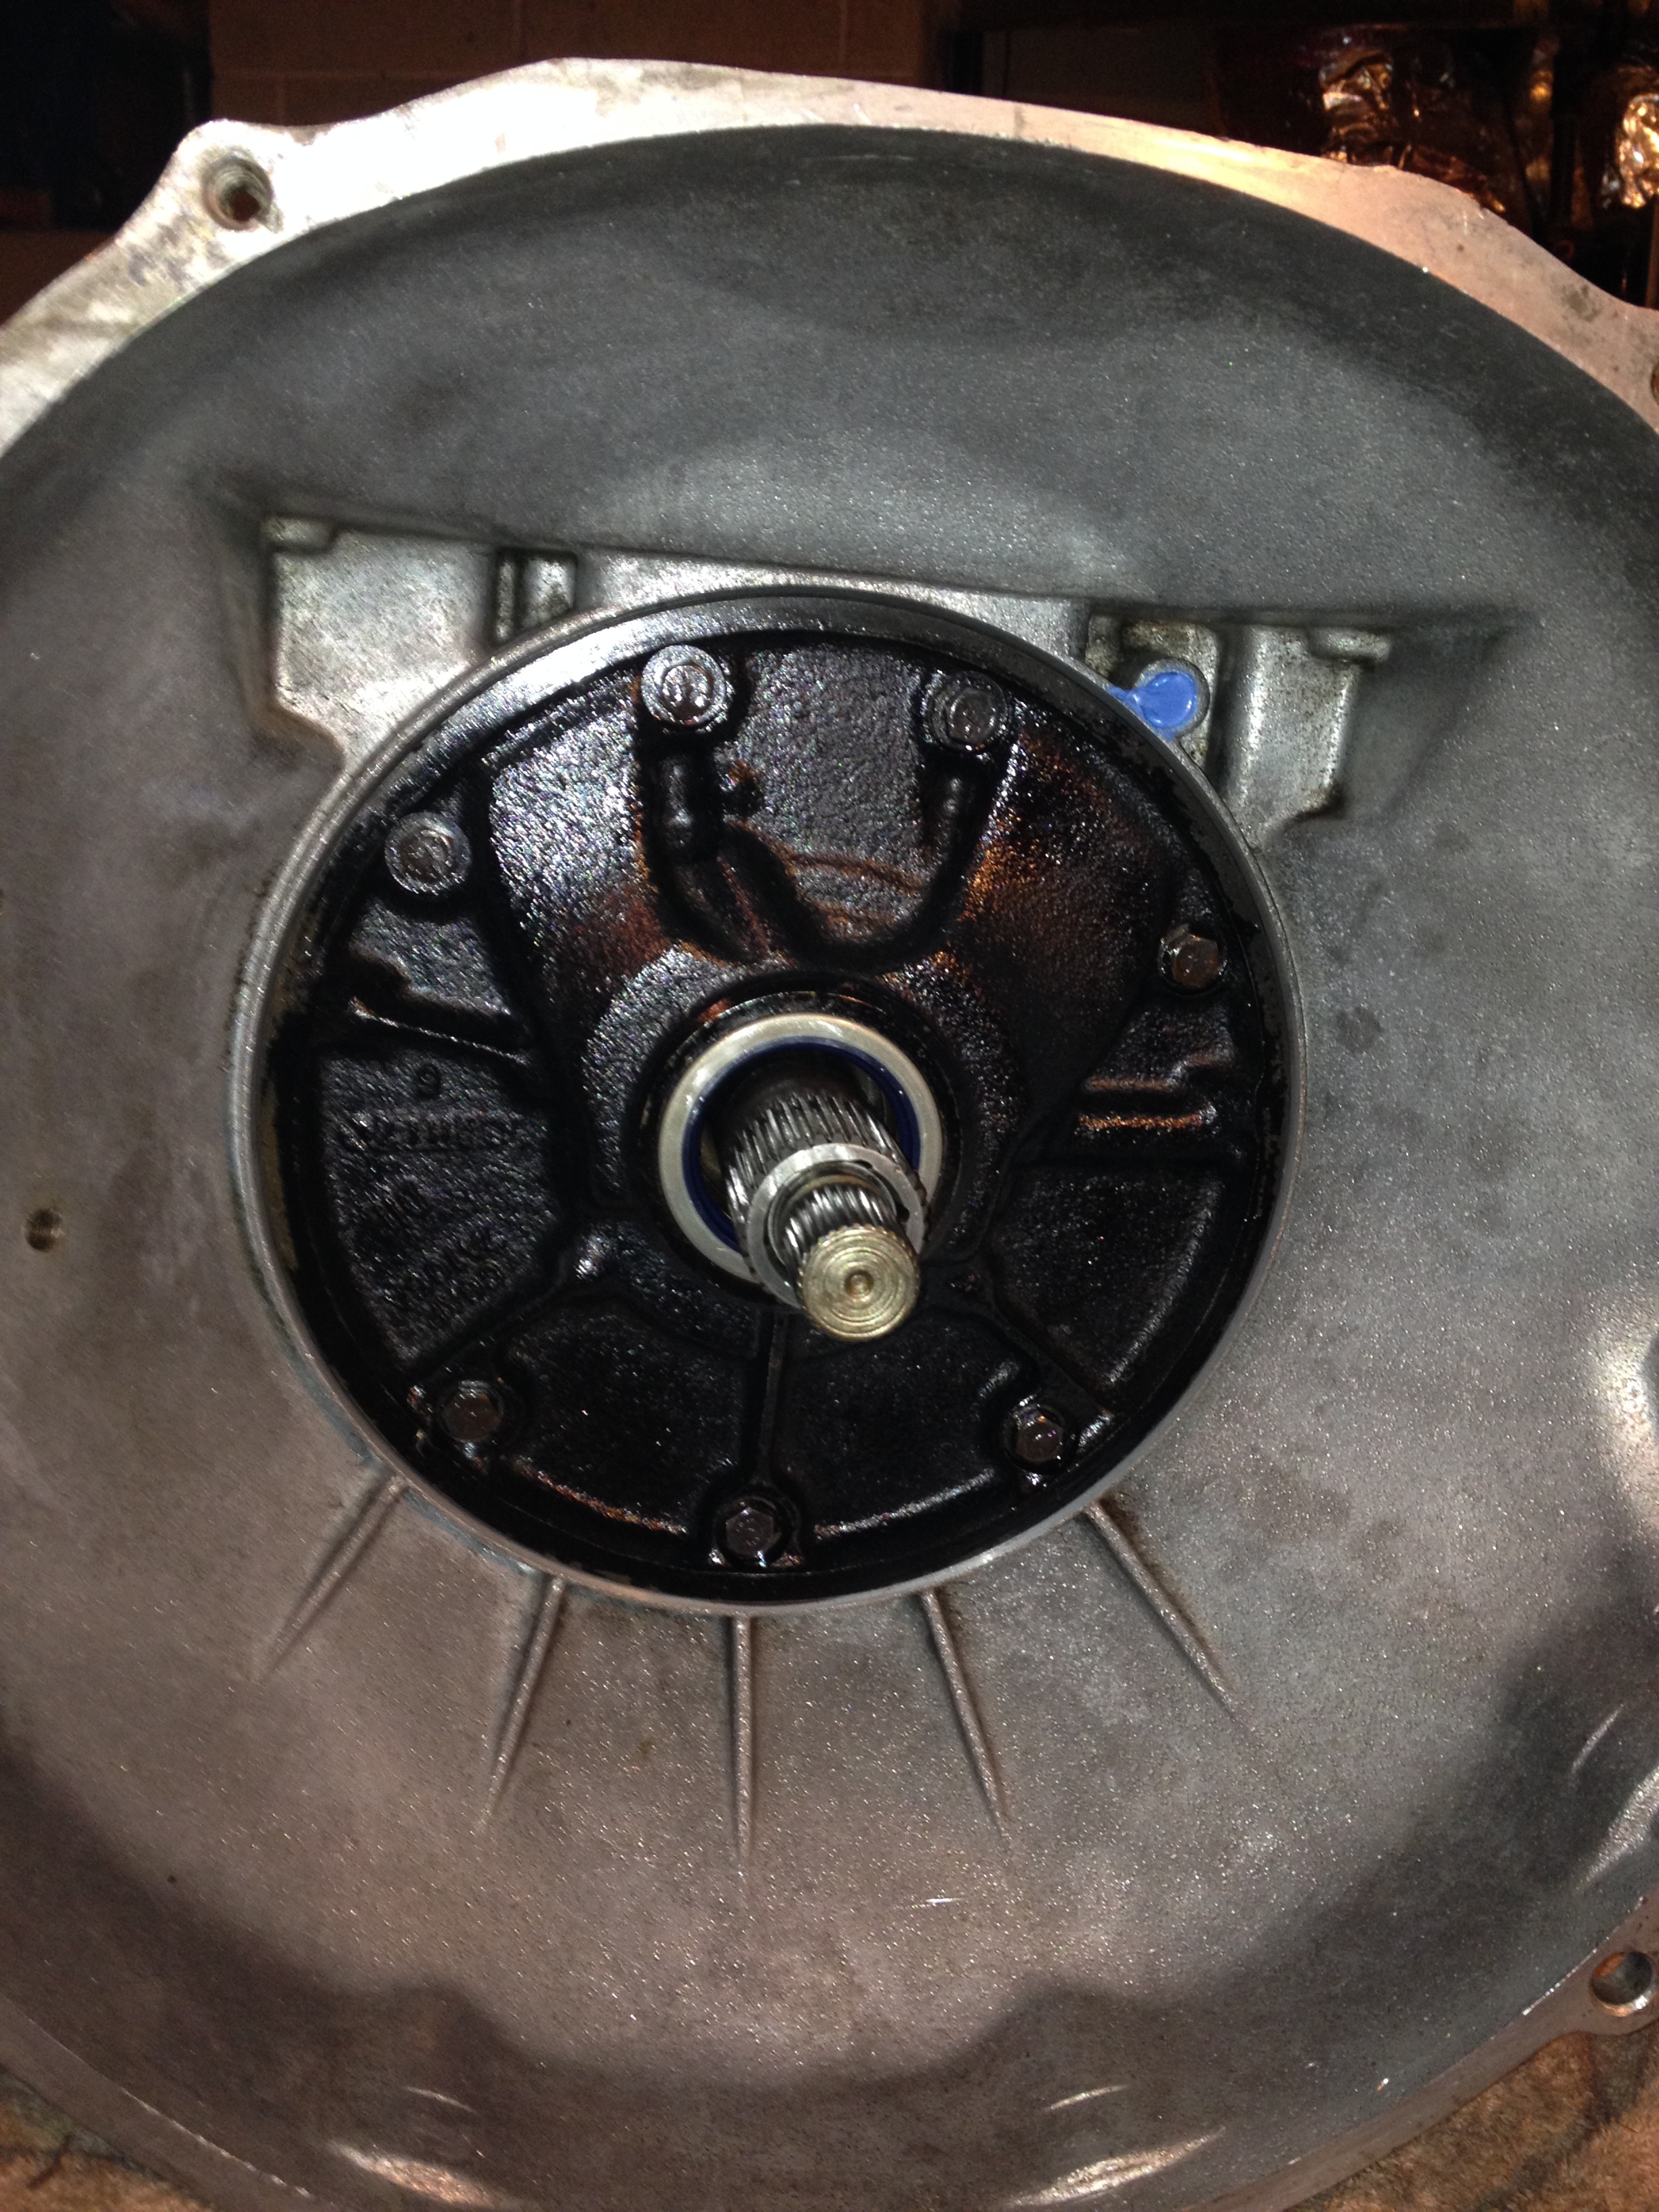
Here in the layout of the sections inside the C6 case, the '73 stock unit is on the left, the '68 'rebuilt unit on the right:

The damaged parts you are about to see below are from the '68. Apparently the rebuild went as far as frictions, some seals, and shift kit. This, along with some abusive shifting by the PO, only served to over-stress the existing internals which carry most of the load.


The unboxing of the low gear set from Oregon Performance Transmission:


Below, the new steel 6-pinion planetary is on the right. Included with the kit is a low profile hub for the forward ring gear to accommodate the torrington bearing. This replaces the #5 thrust washer for less drag. Other thrusts will be replaced with the torrington bearing kit, also coming from OPT:


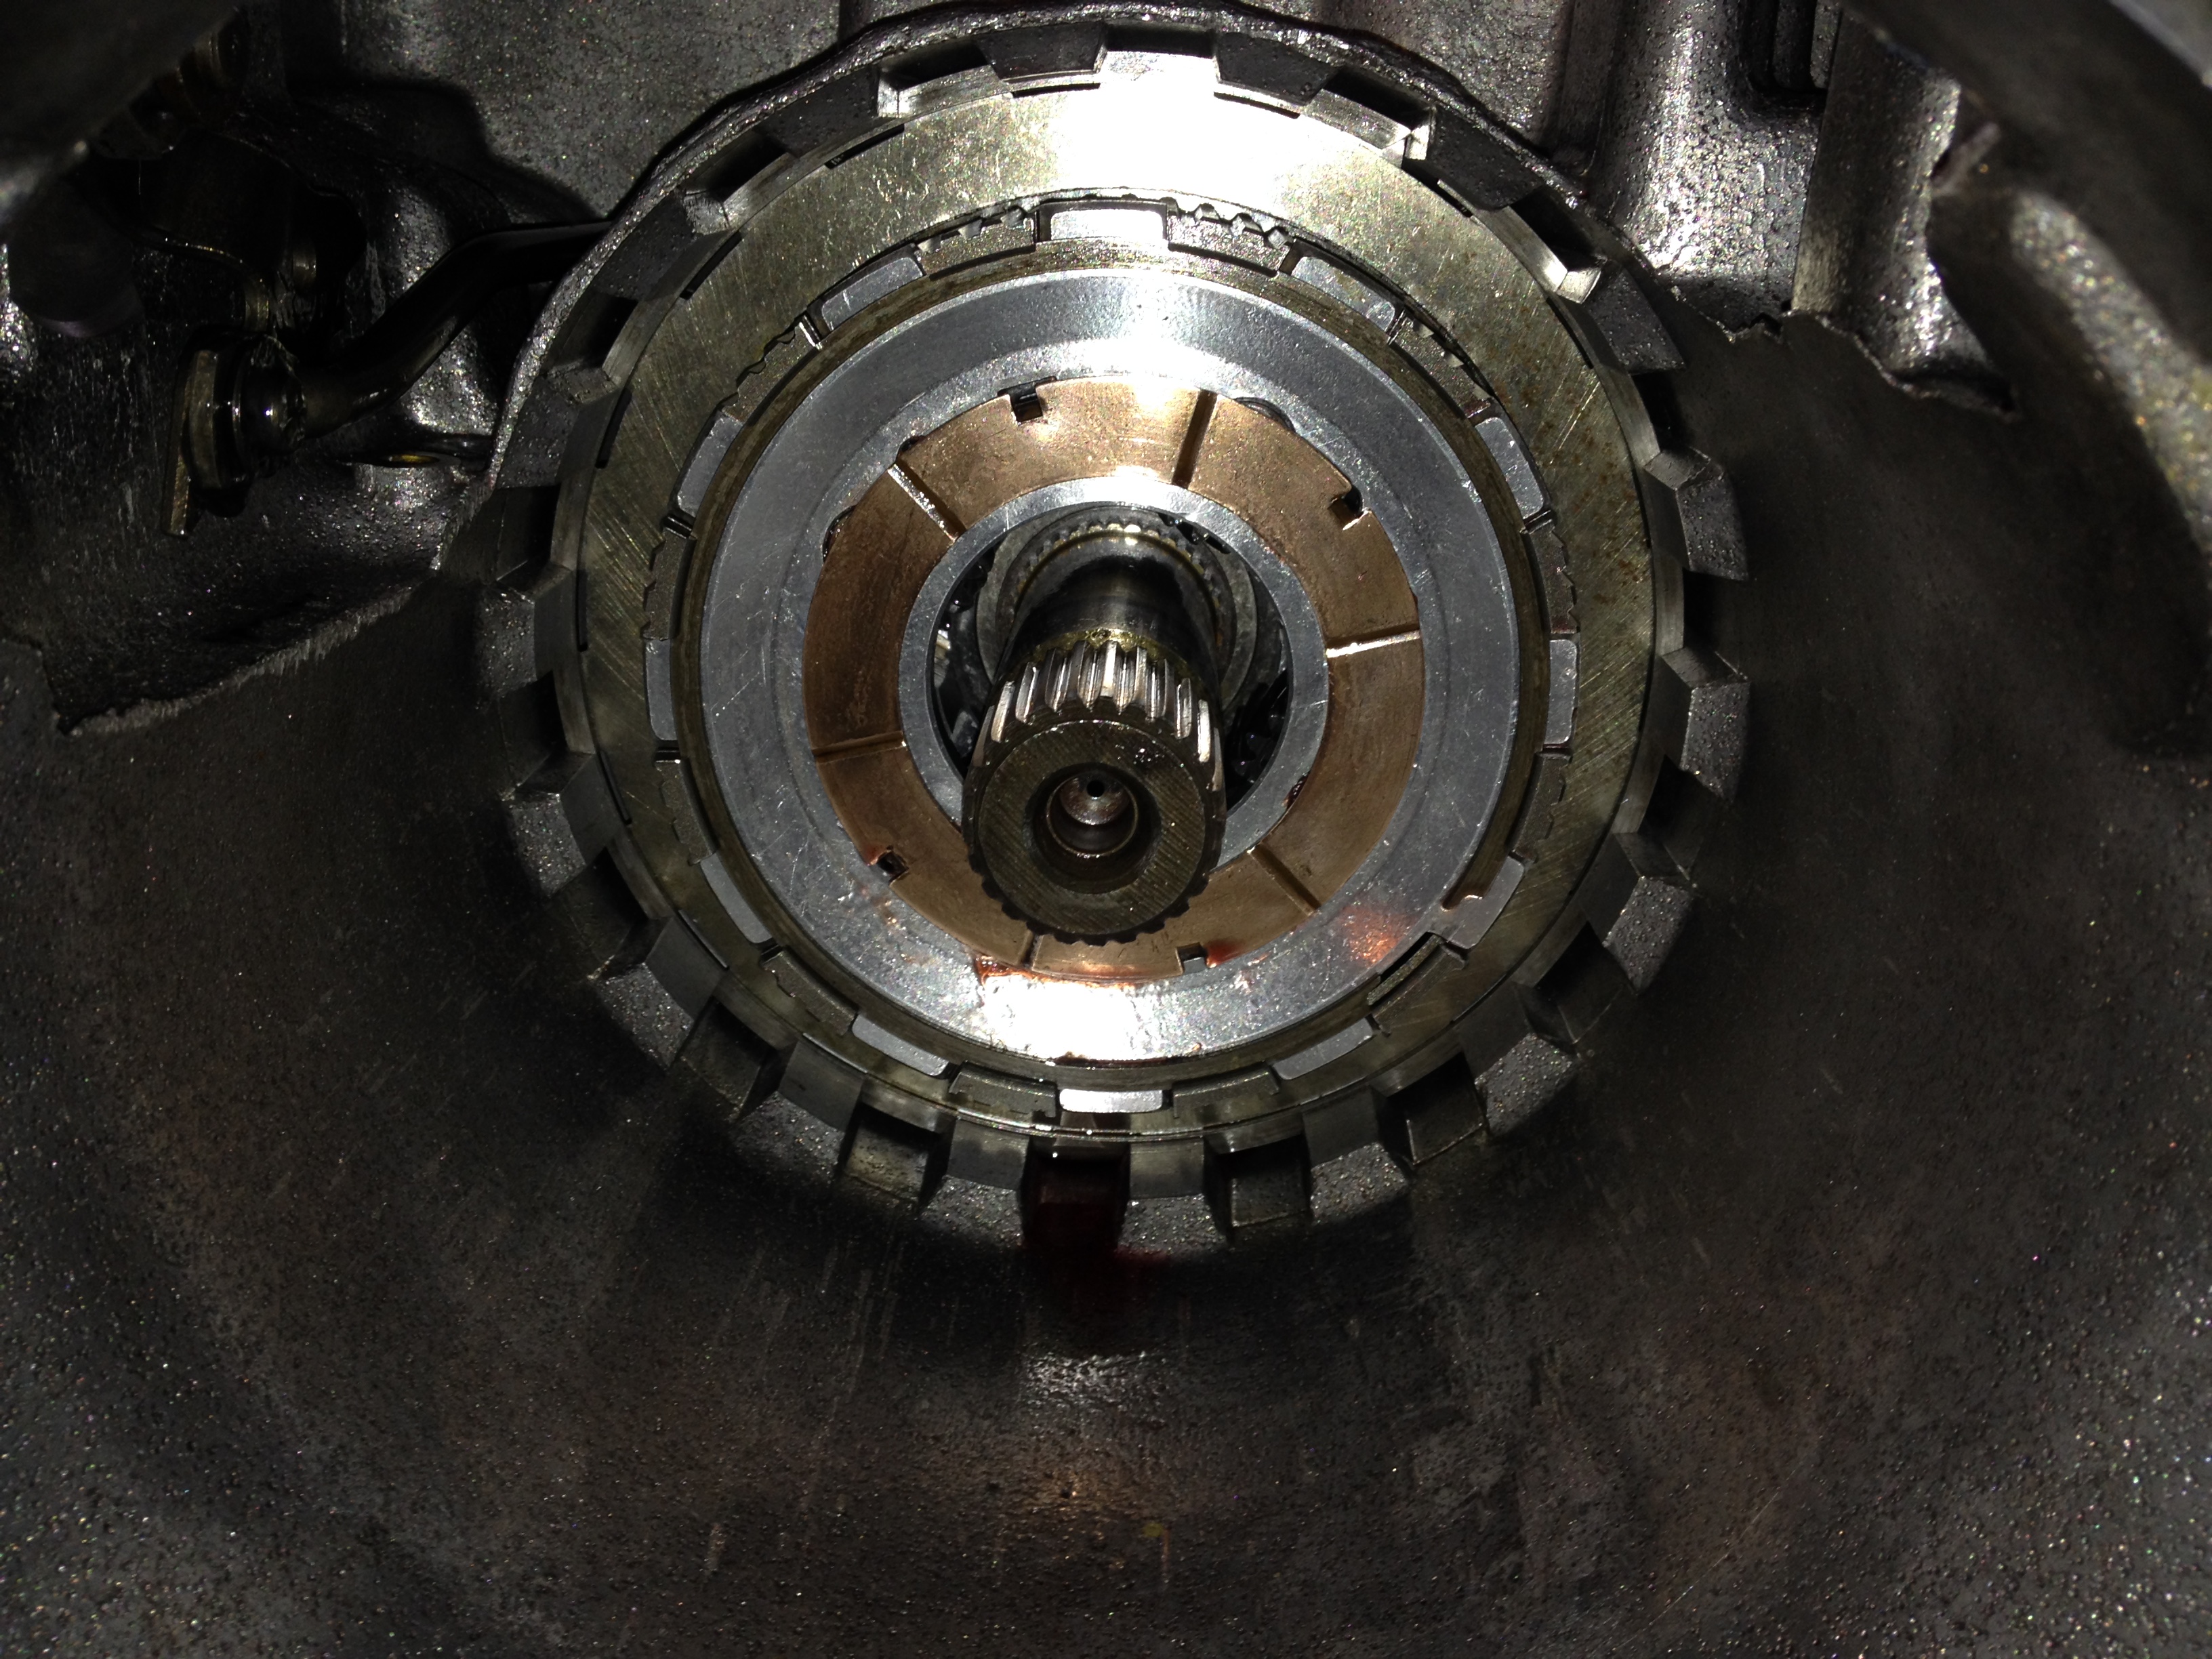
Also with the Low Gear kit comes a hardened sun shell. I did not appreciate the need for this until I removed the snap ring needed from the old unit.

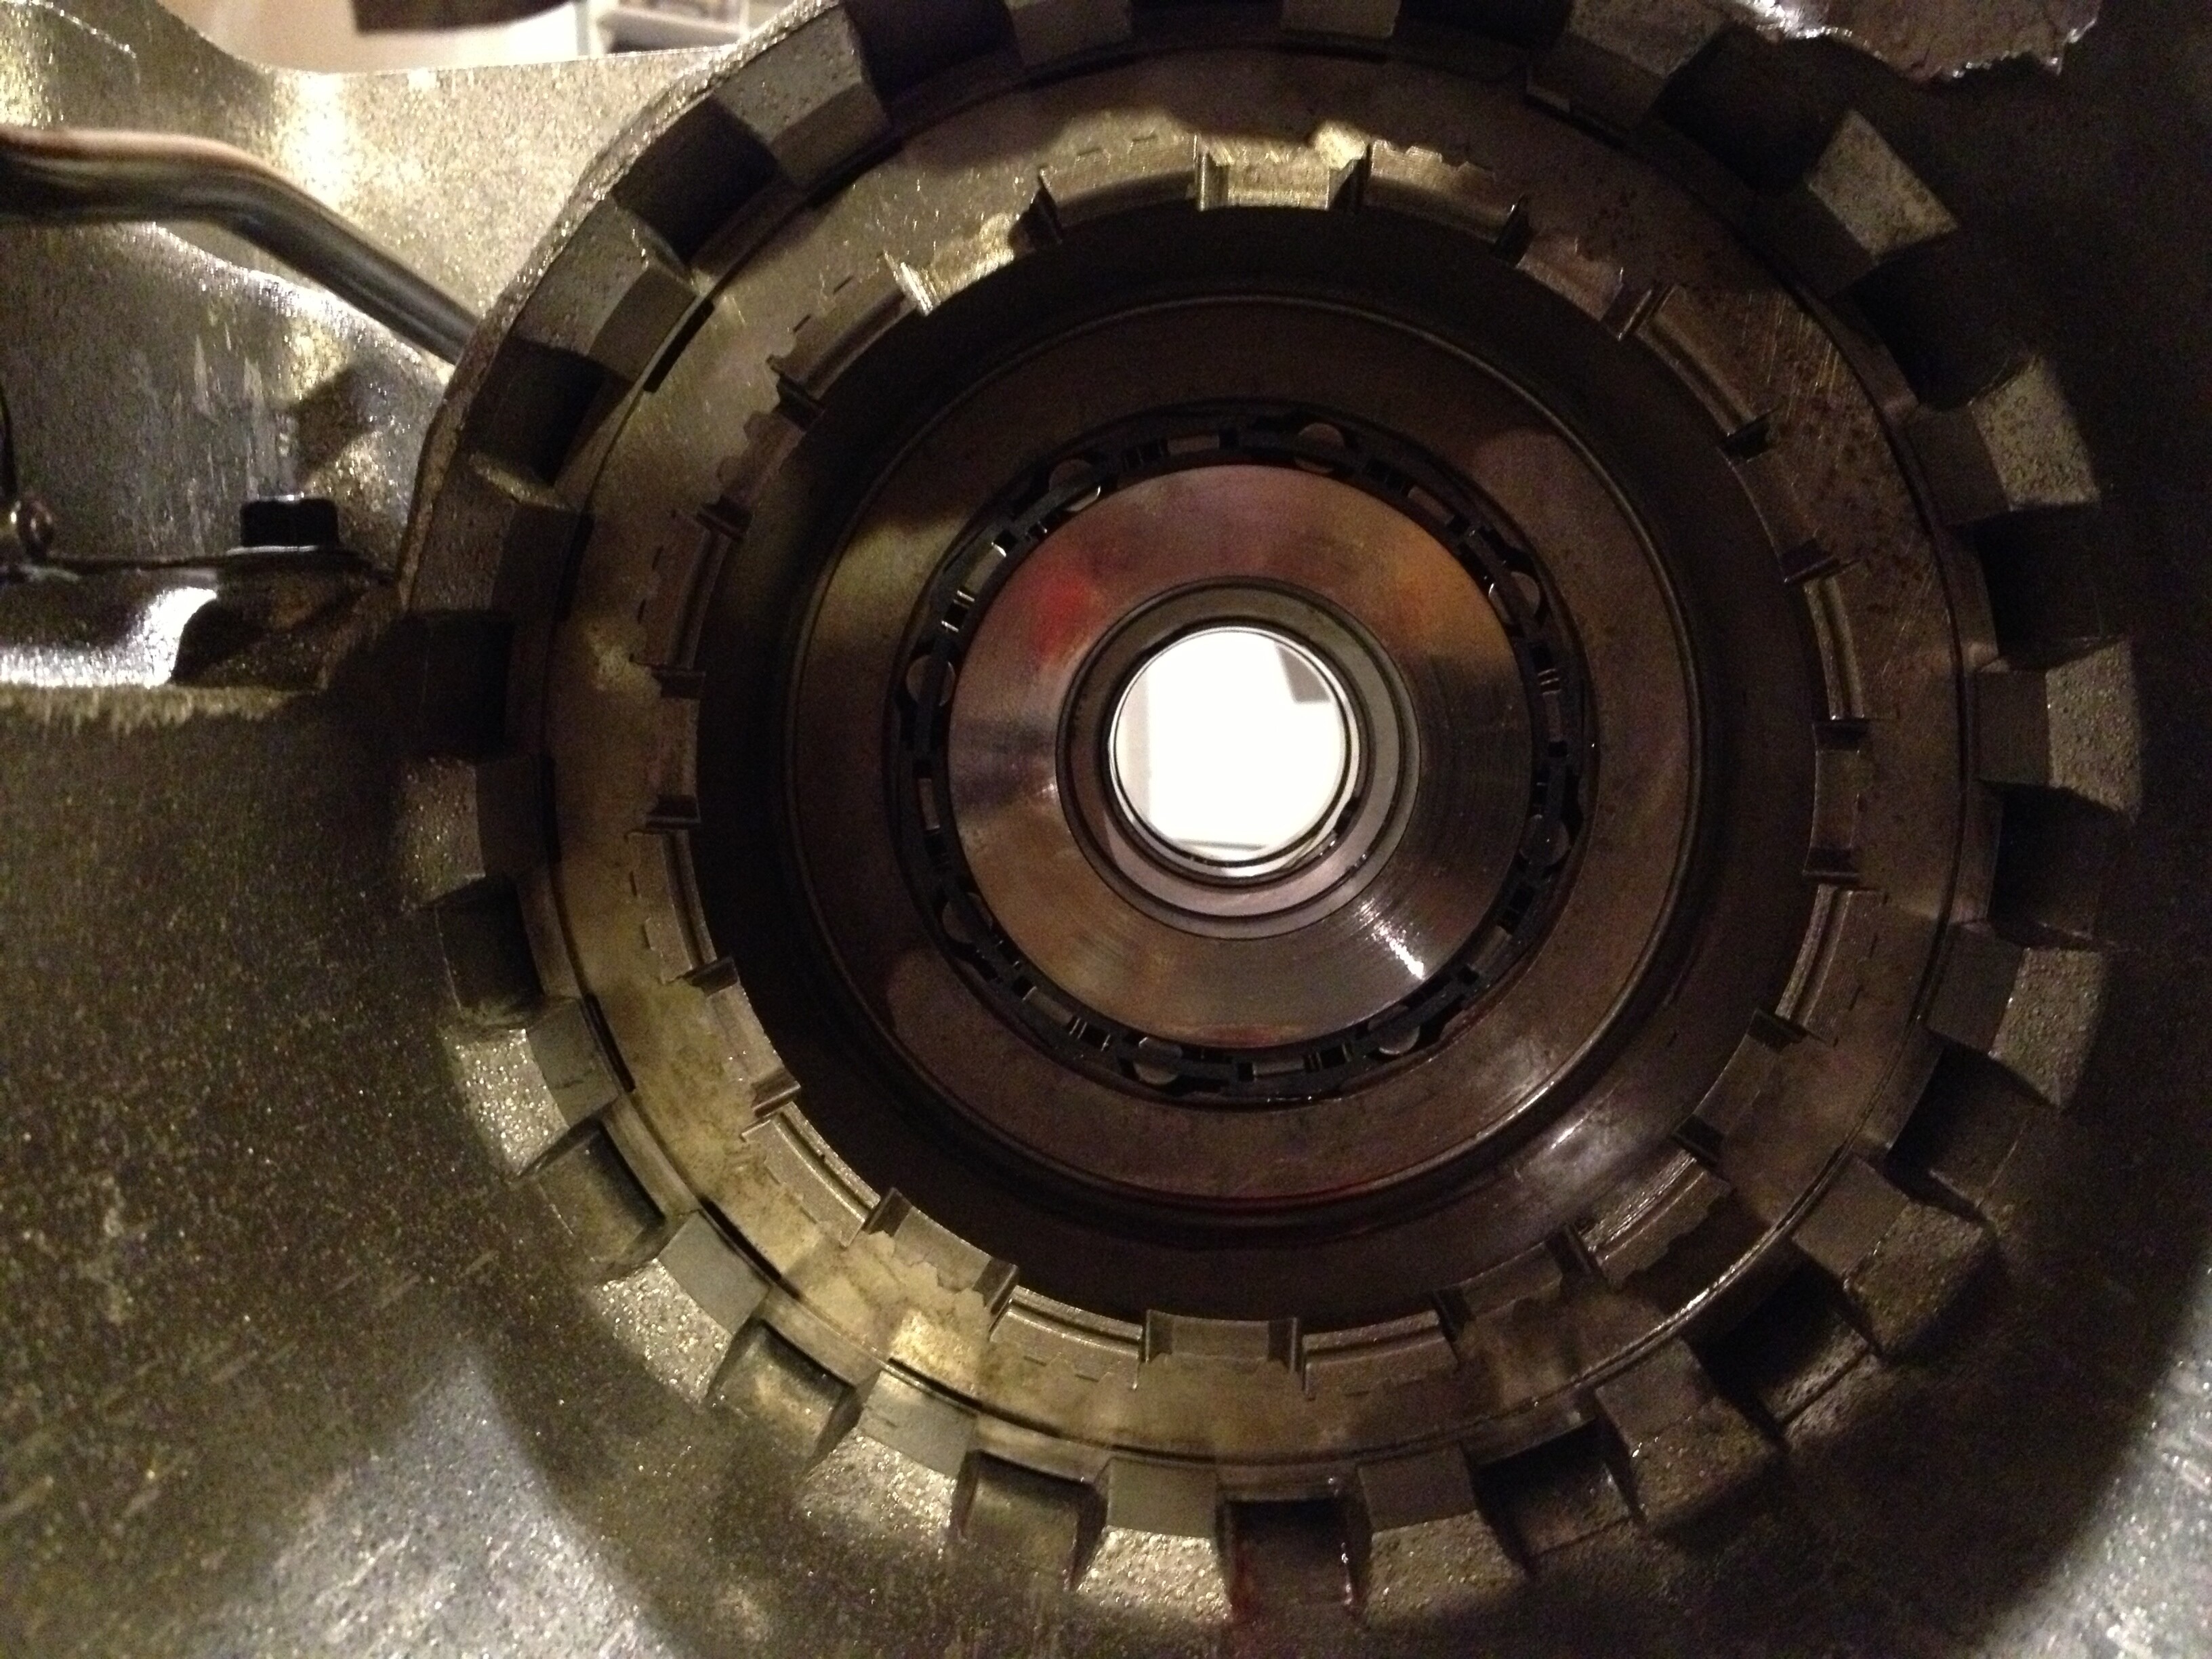
This transmission was a few good romps from a catastrophic failure. The only thing holding the sun gear were teeth where the hub ring sheared away:


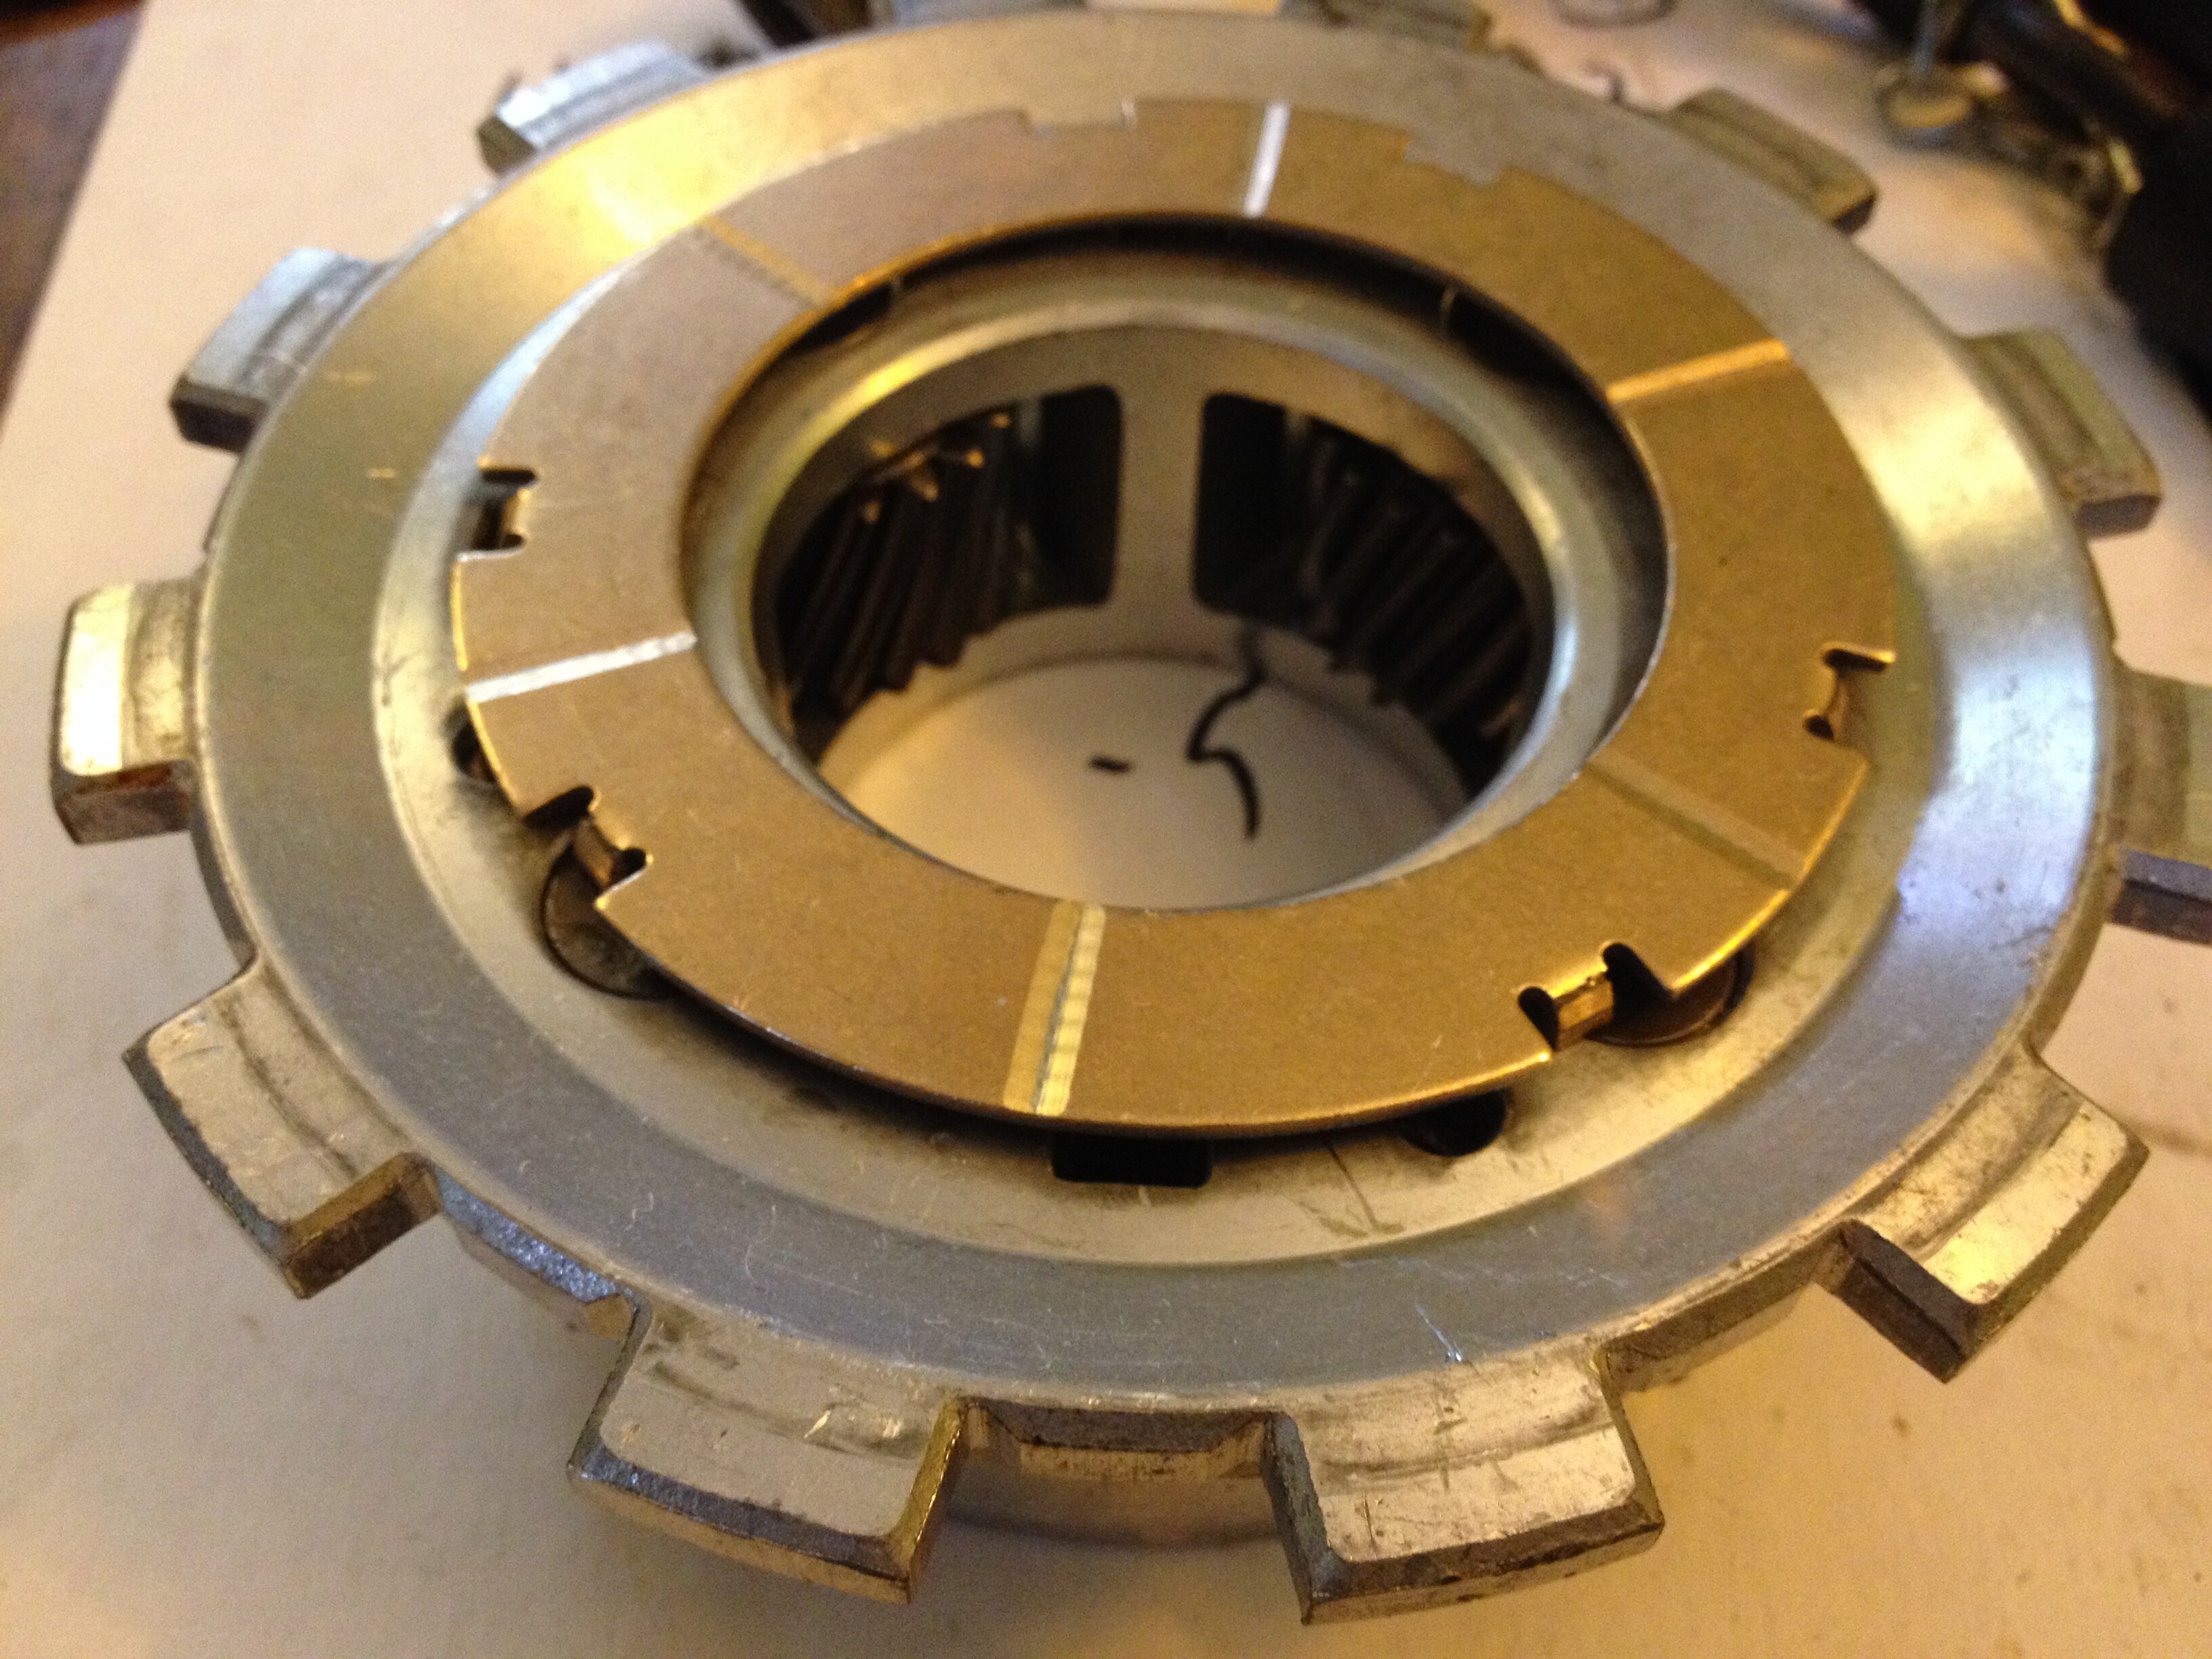
The over-run one way clutch in the rear had a few broken springs and was spitting rollers. The replacement from OPT gets installed without the snap rings (not shown):


The Lo-reverse and Forward clutch disks looked fine next to one from the stock '73:


The Direct clutch was a different story. These disks and steels are toast…literally:

Oregon Performance Transmission has an 8 disk replacement set with different steel thicknesses to beef up the holding power here.


This thrust washer had a good bit of debris in it at one point. Torrington bearings replace many of these with the kit from OPT.


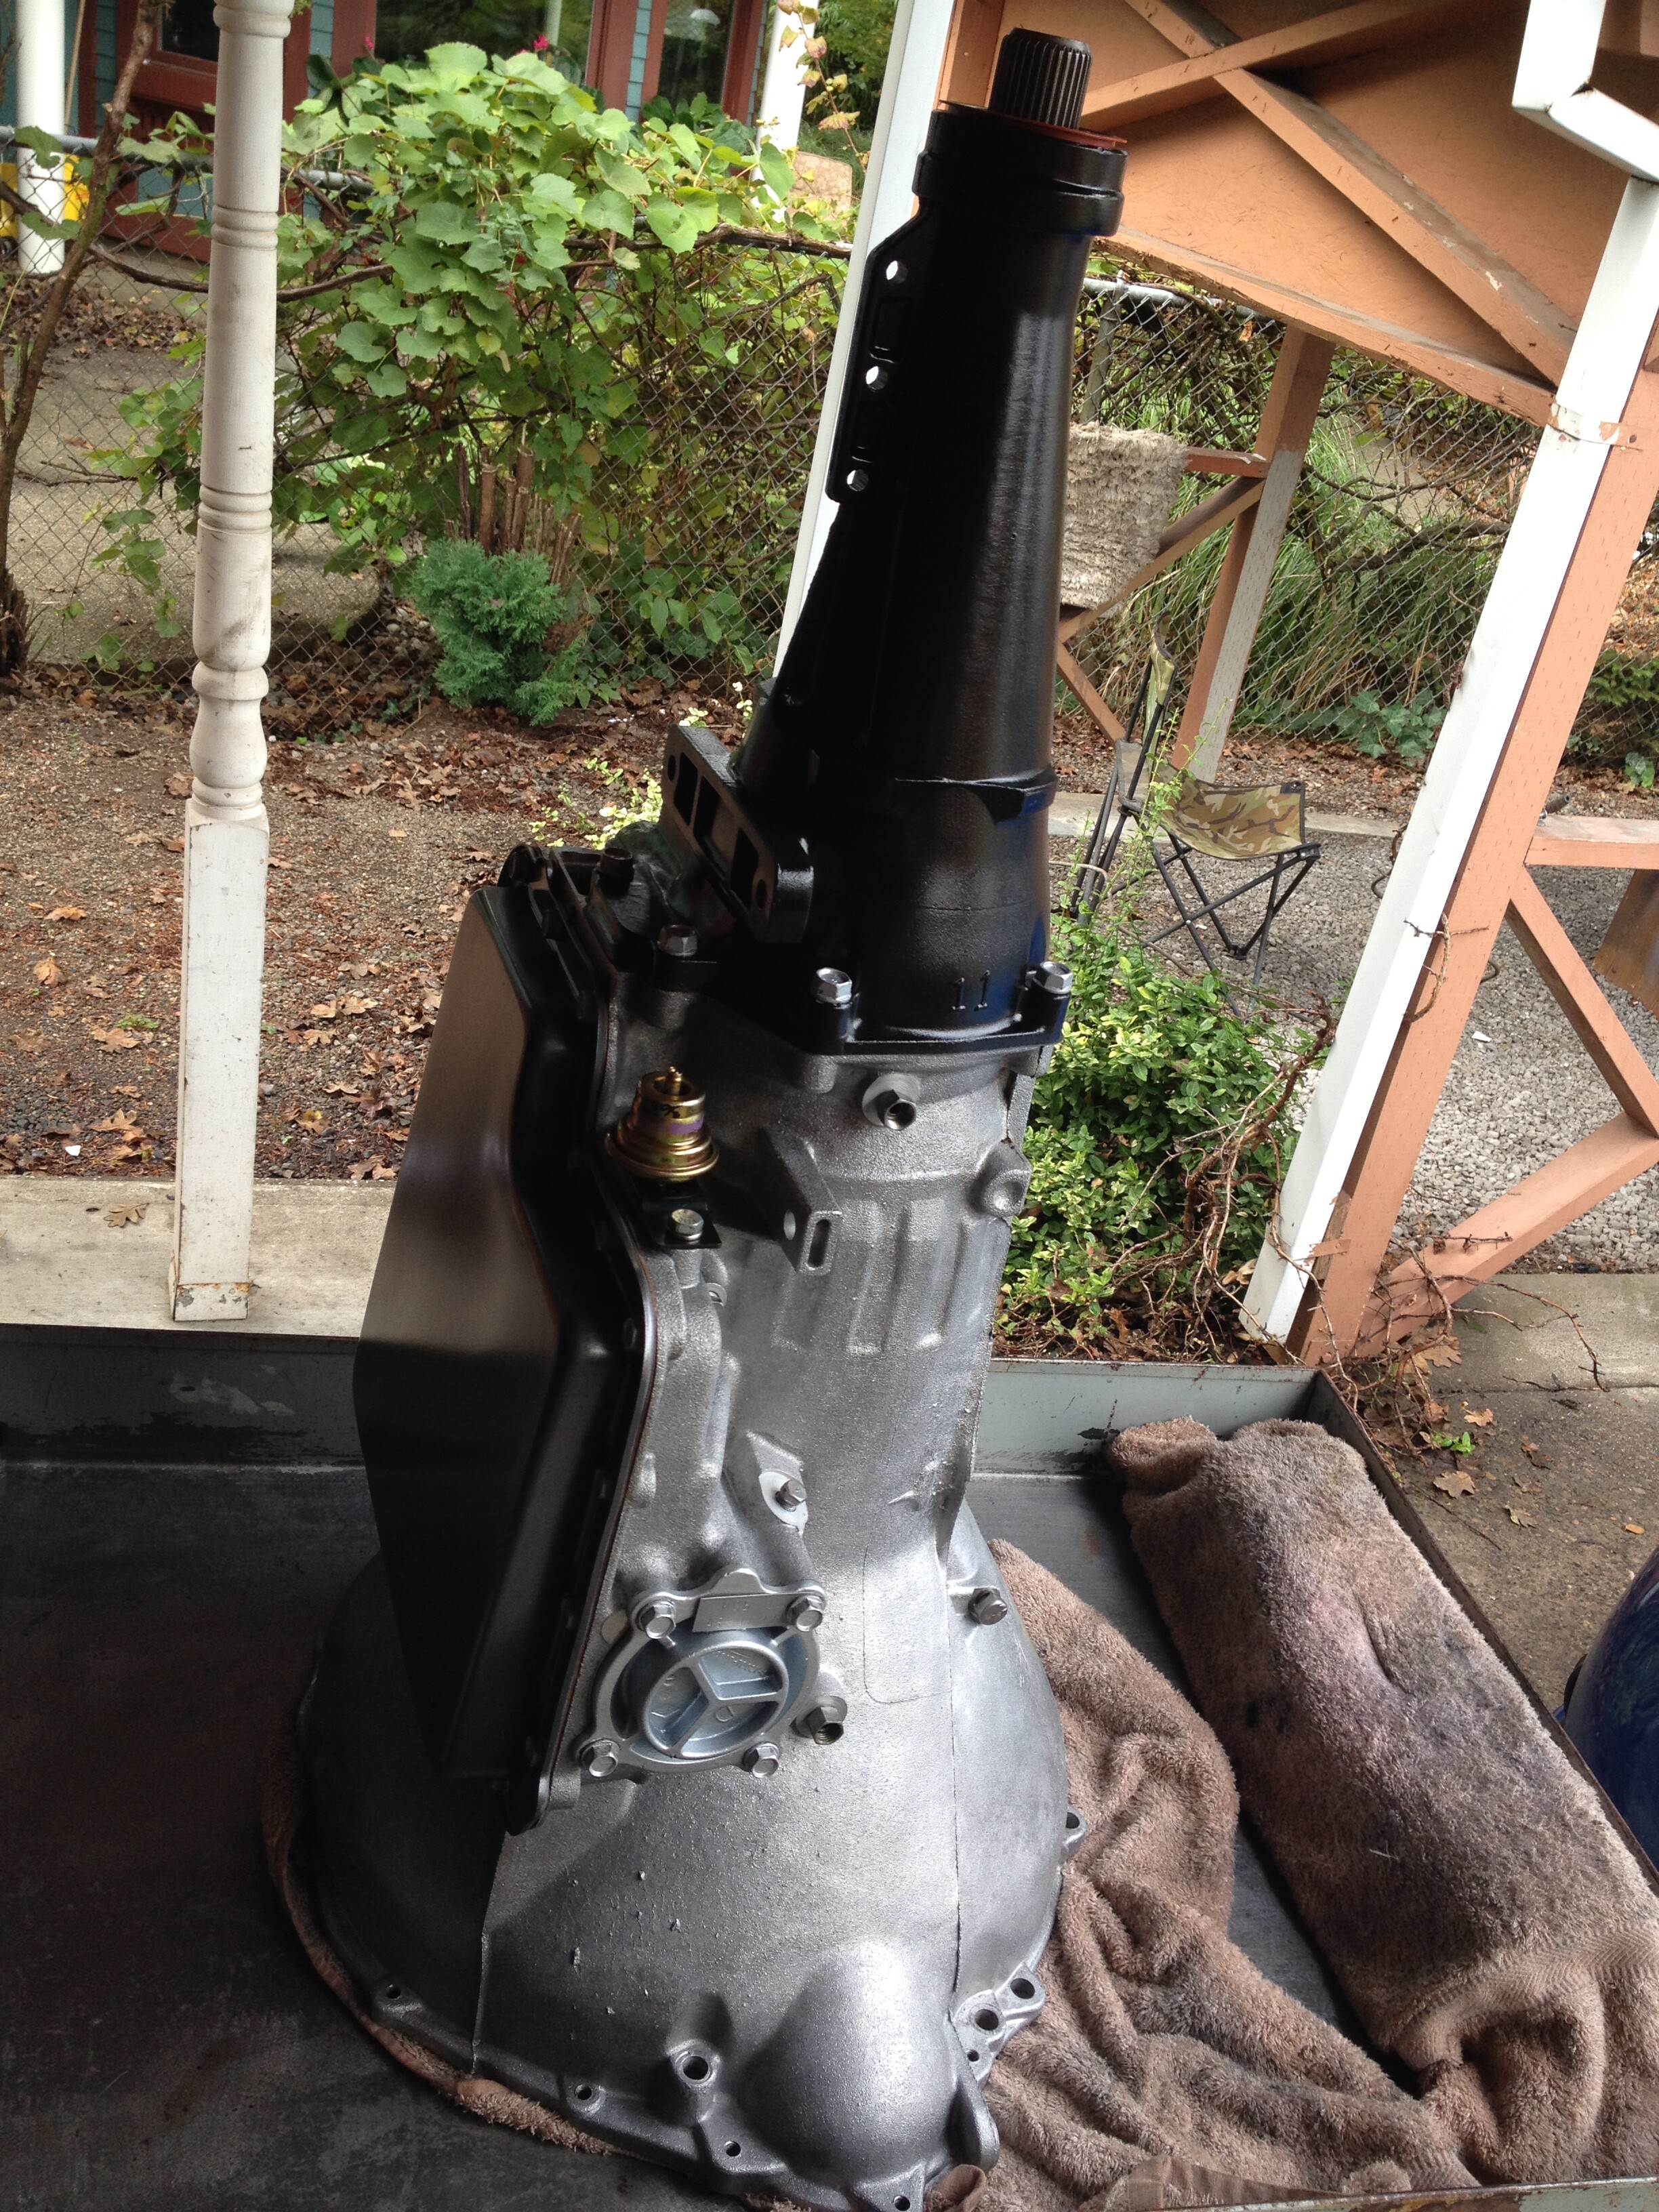
Soda blast does a decent job on the case without risk of damaging debris littering your housing:


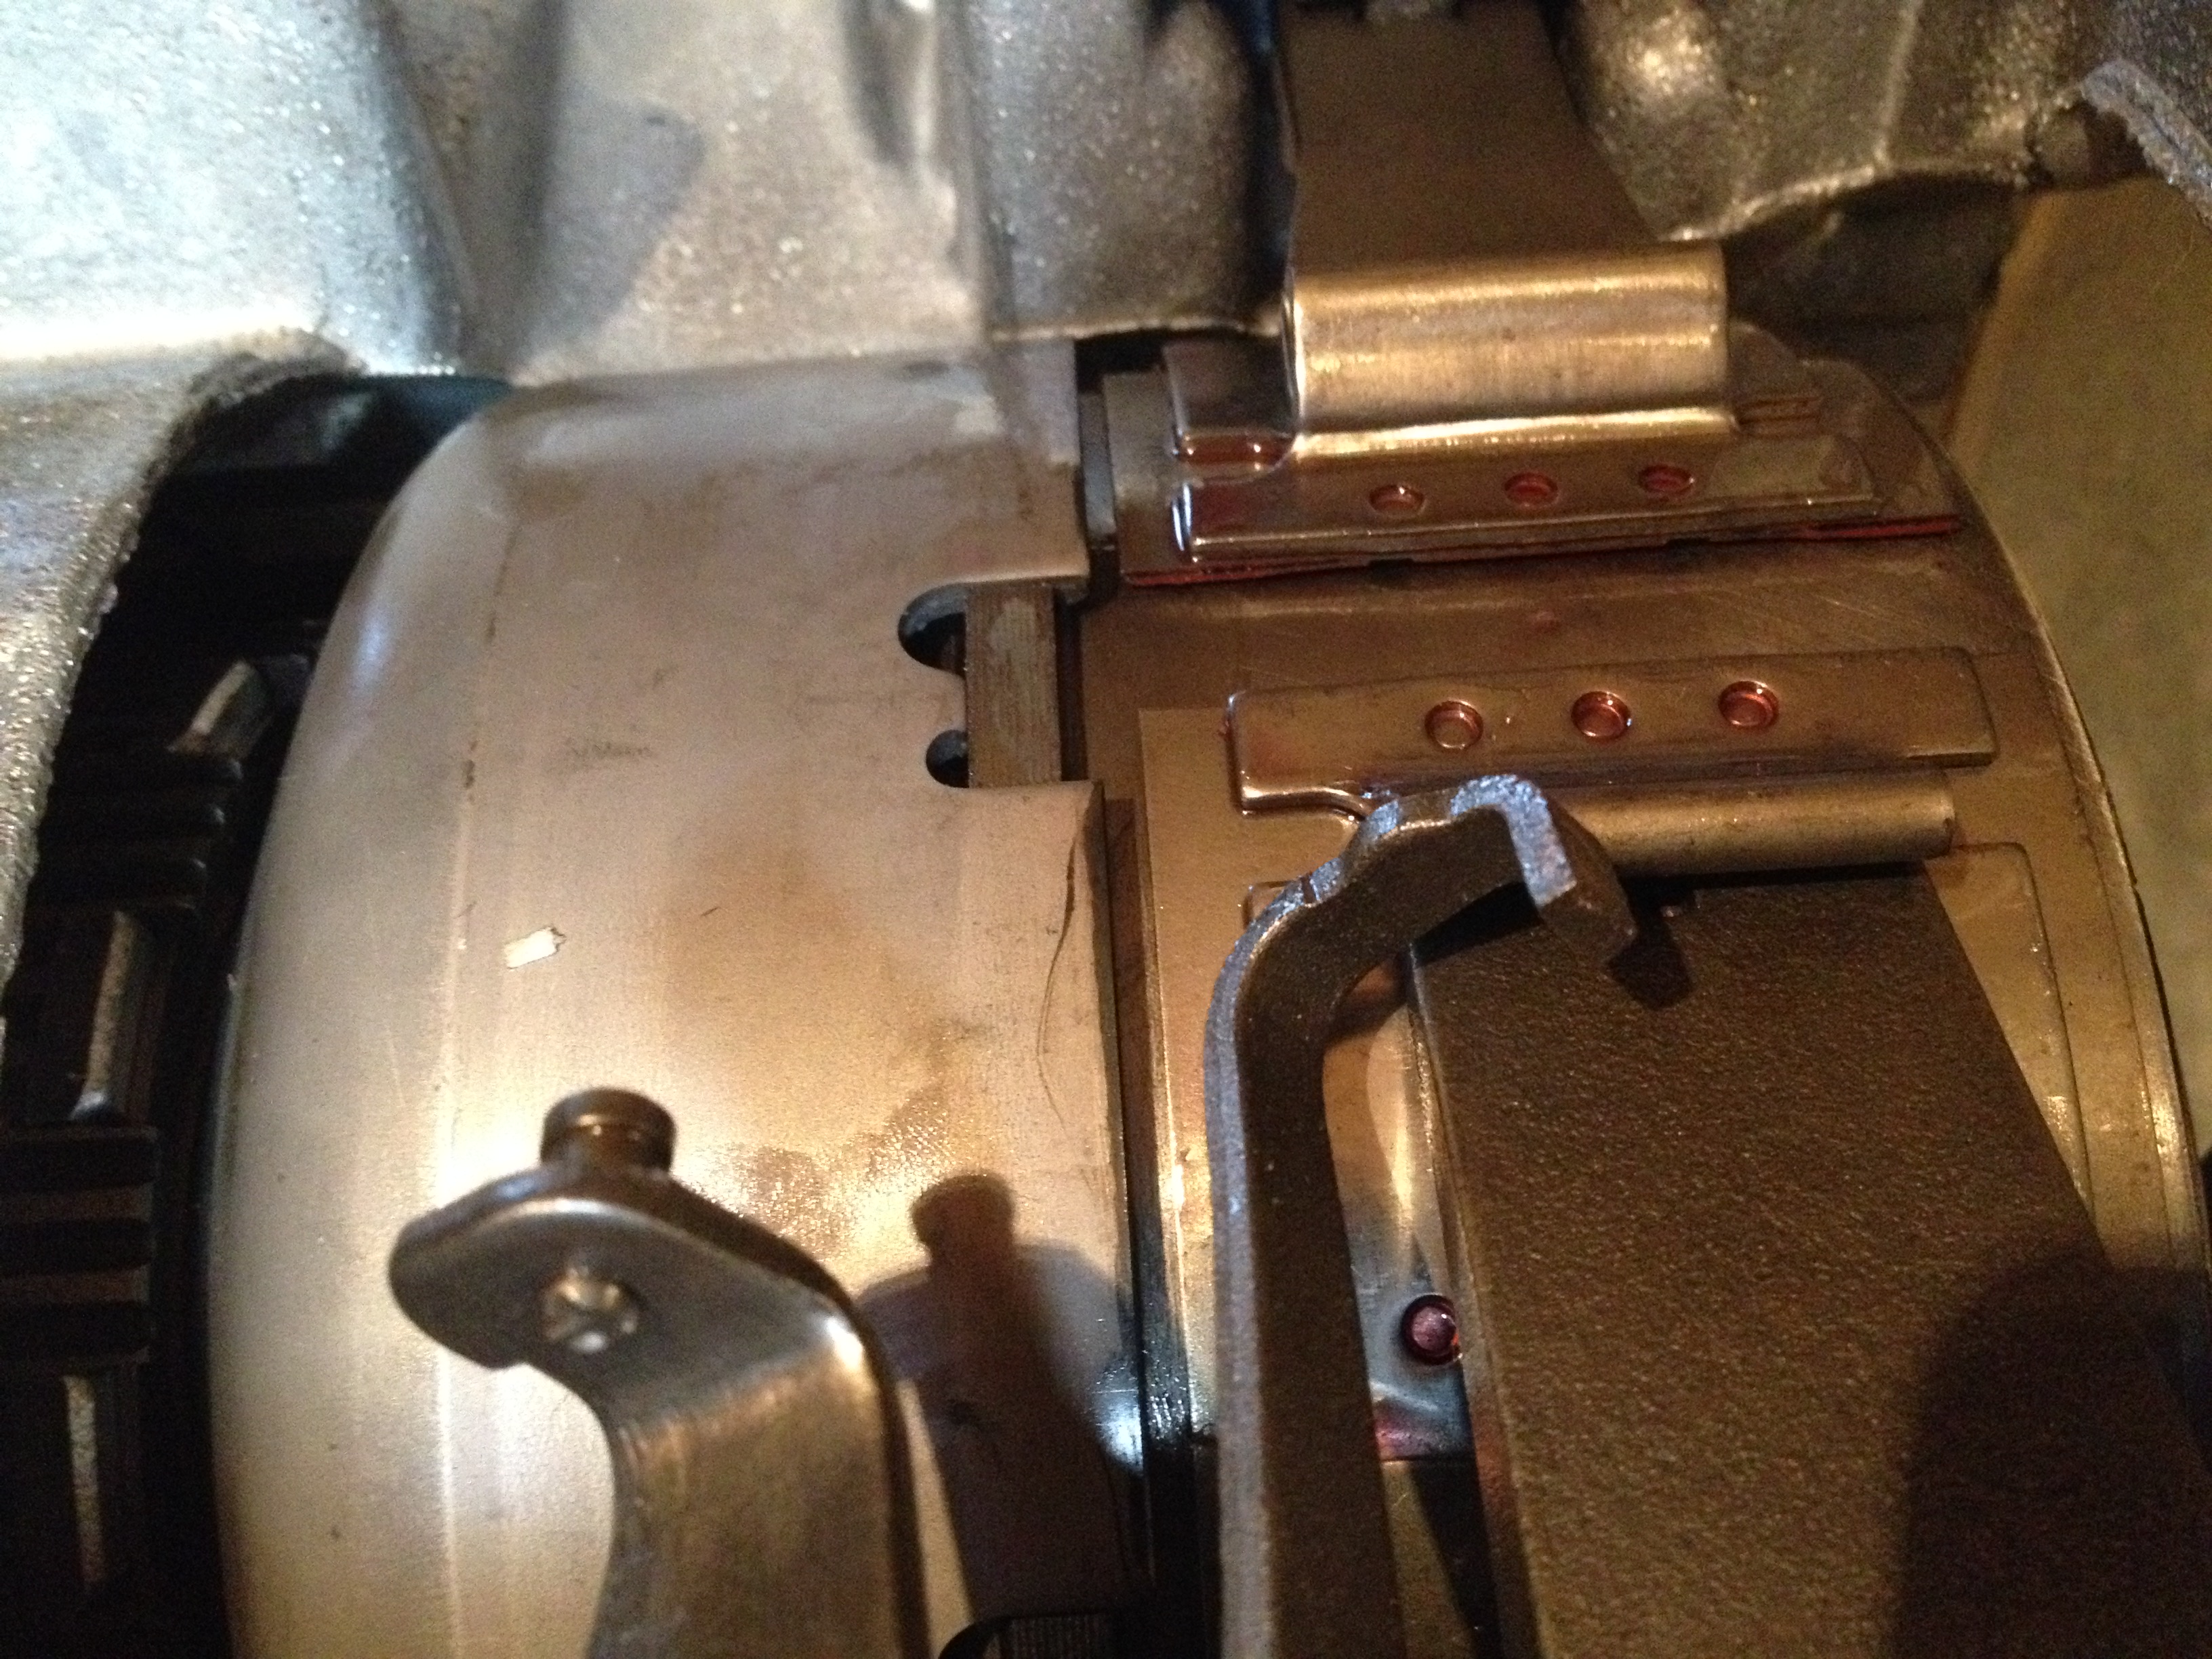
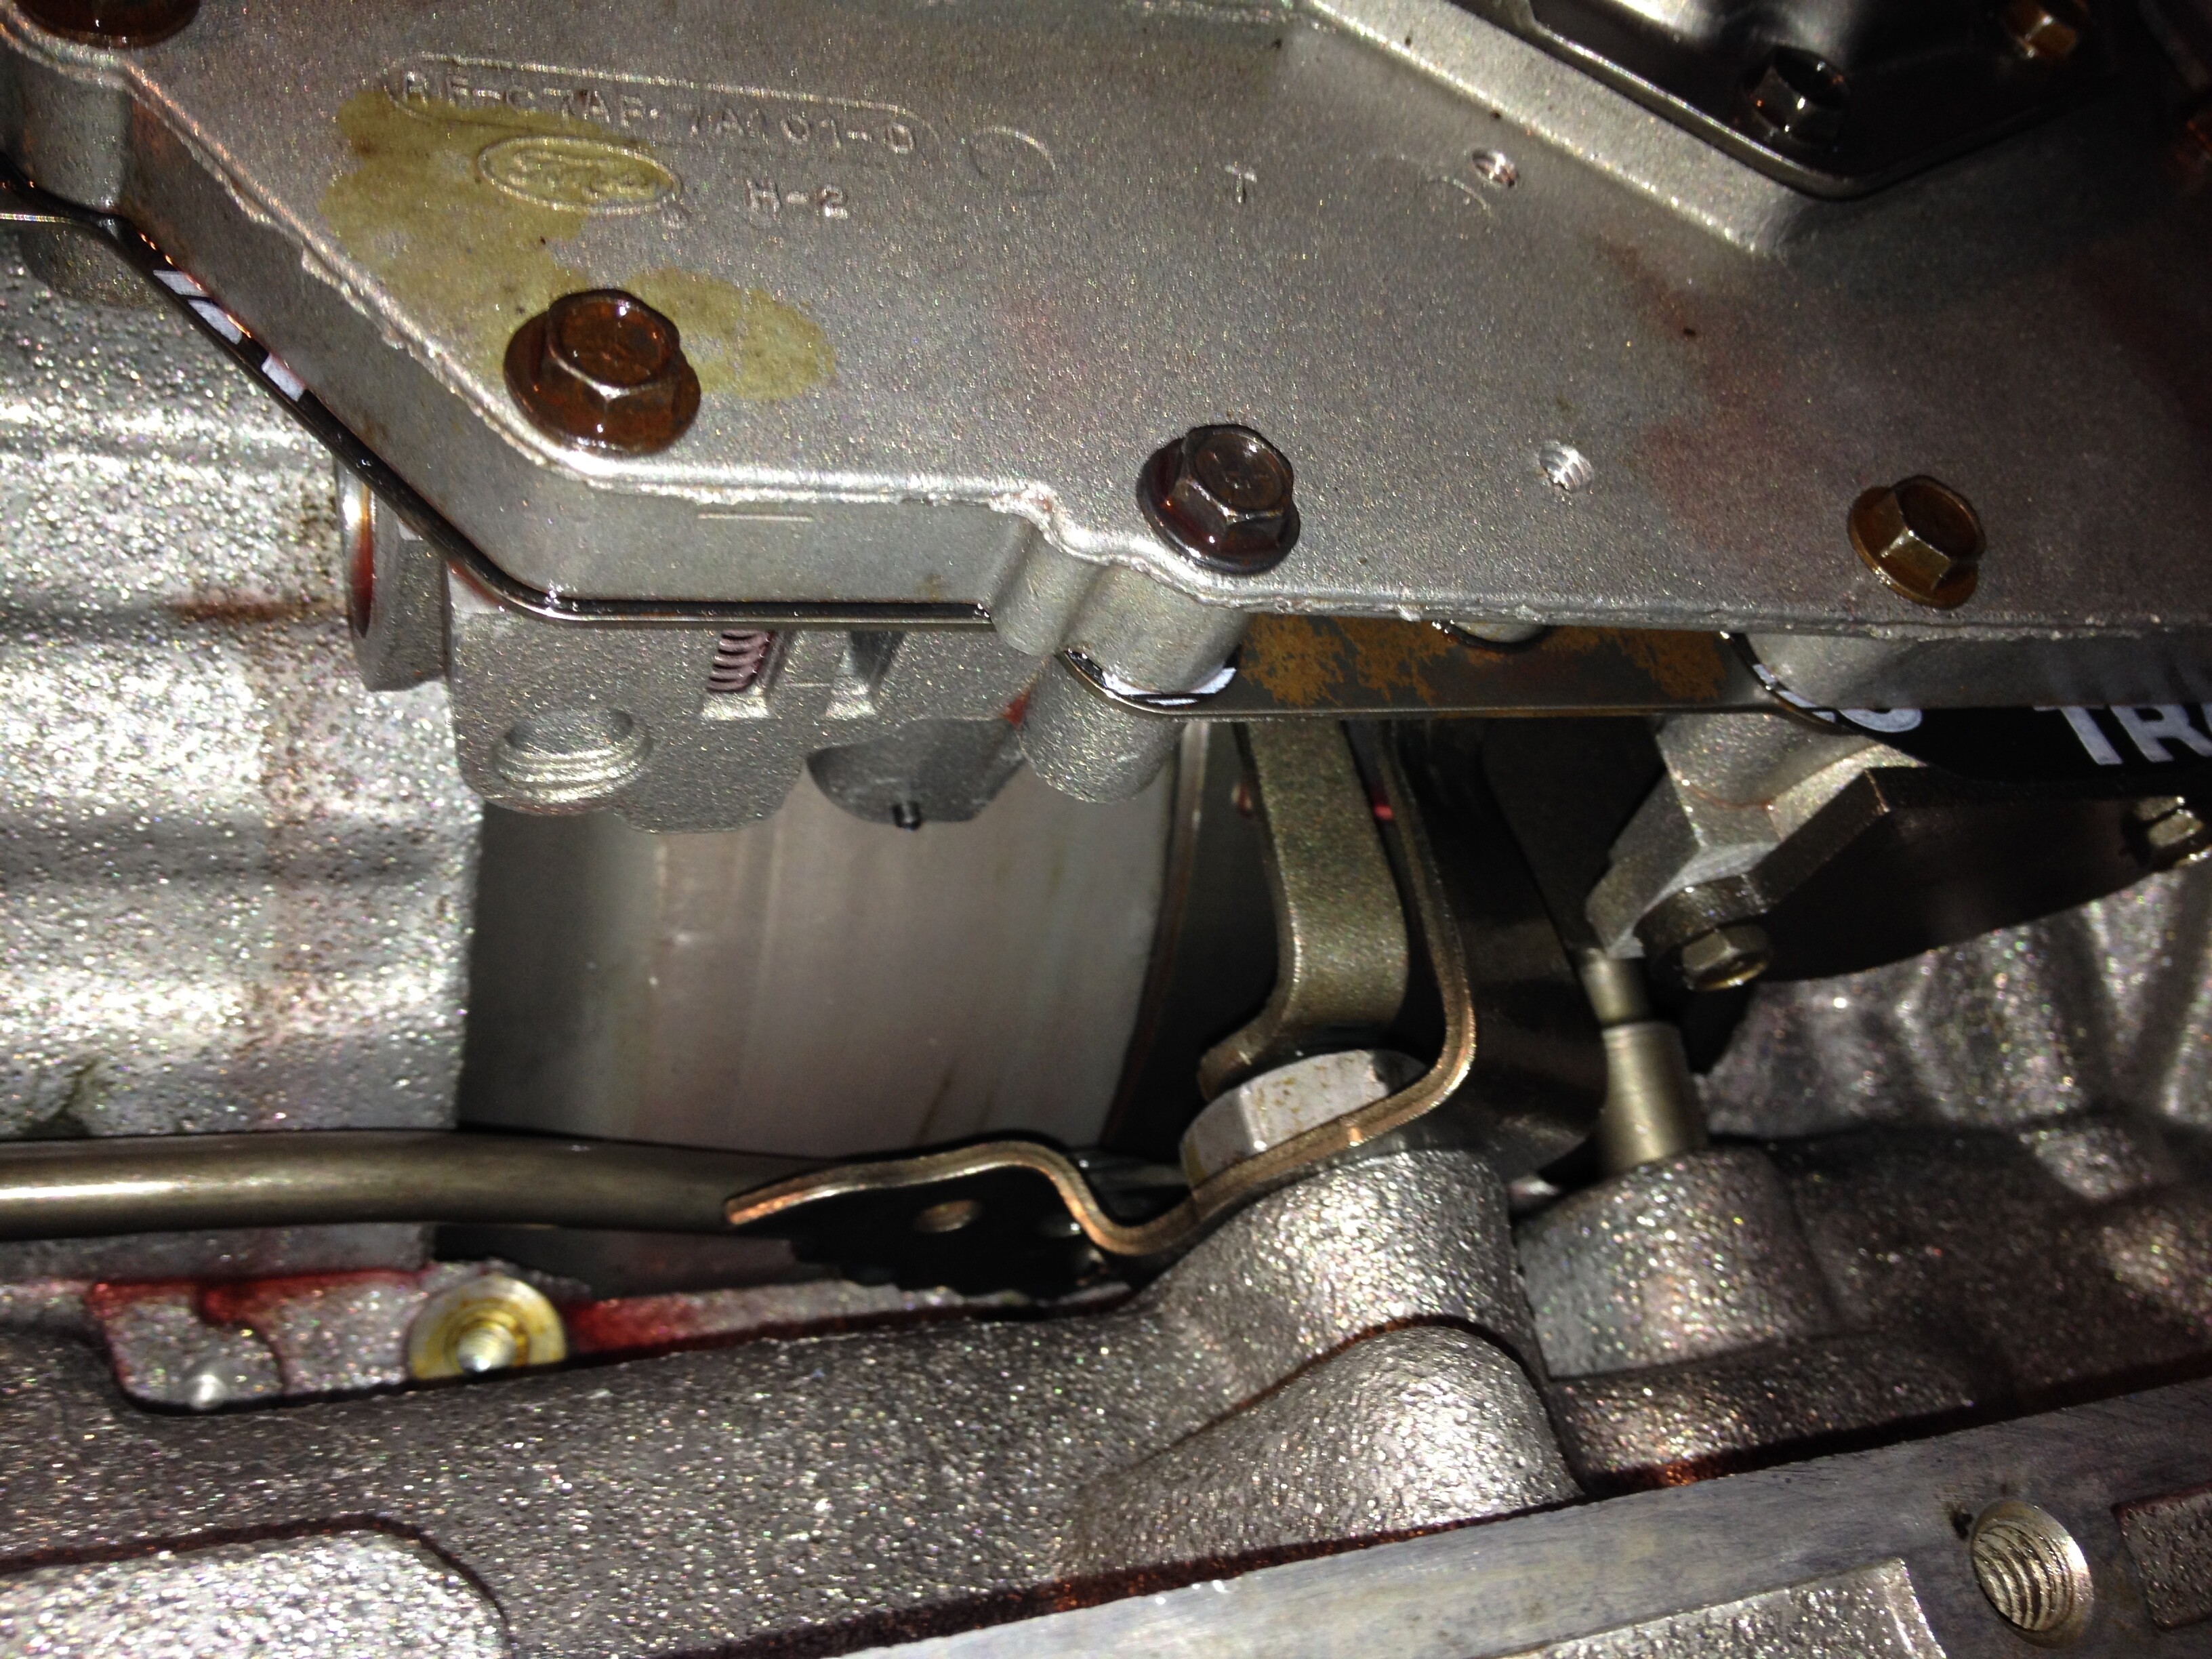
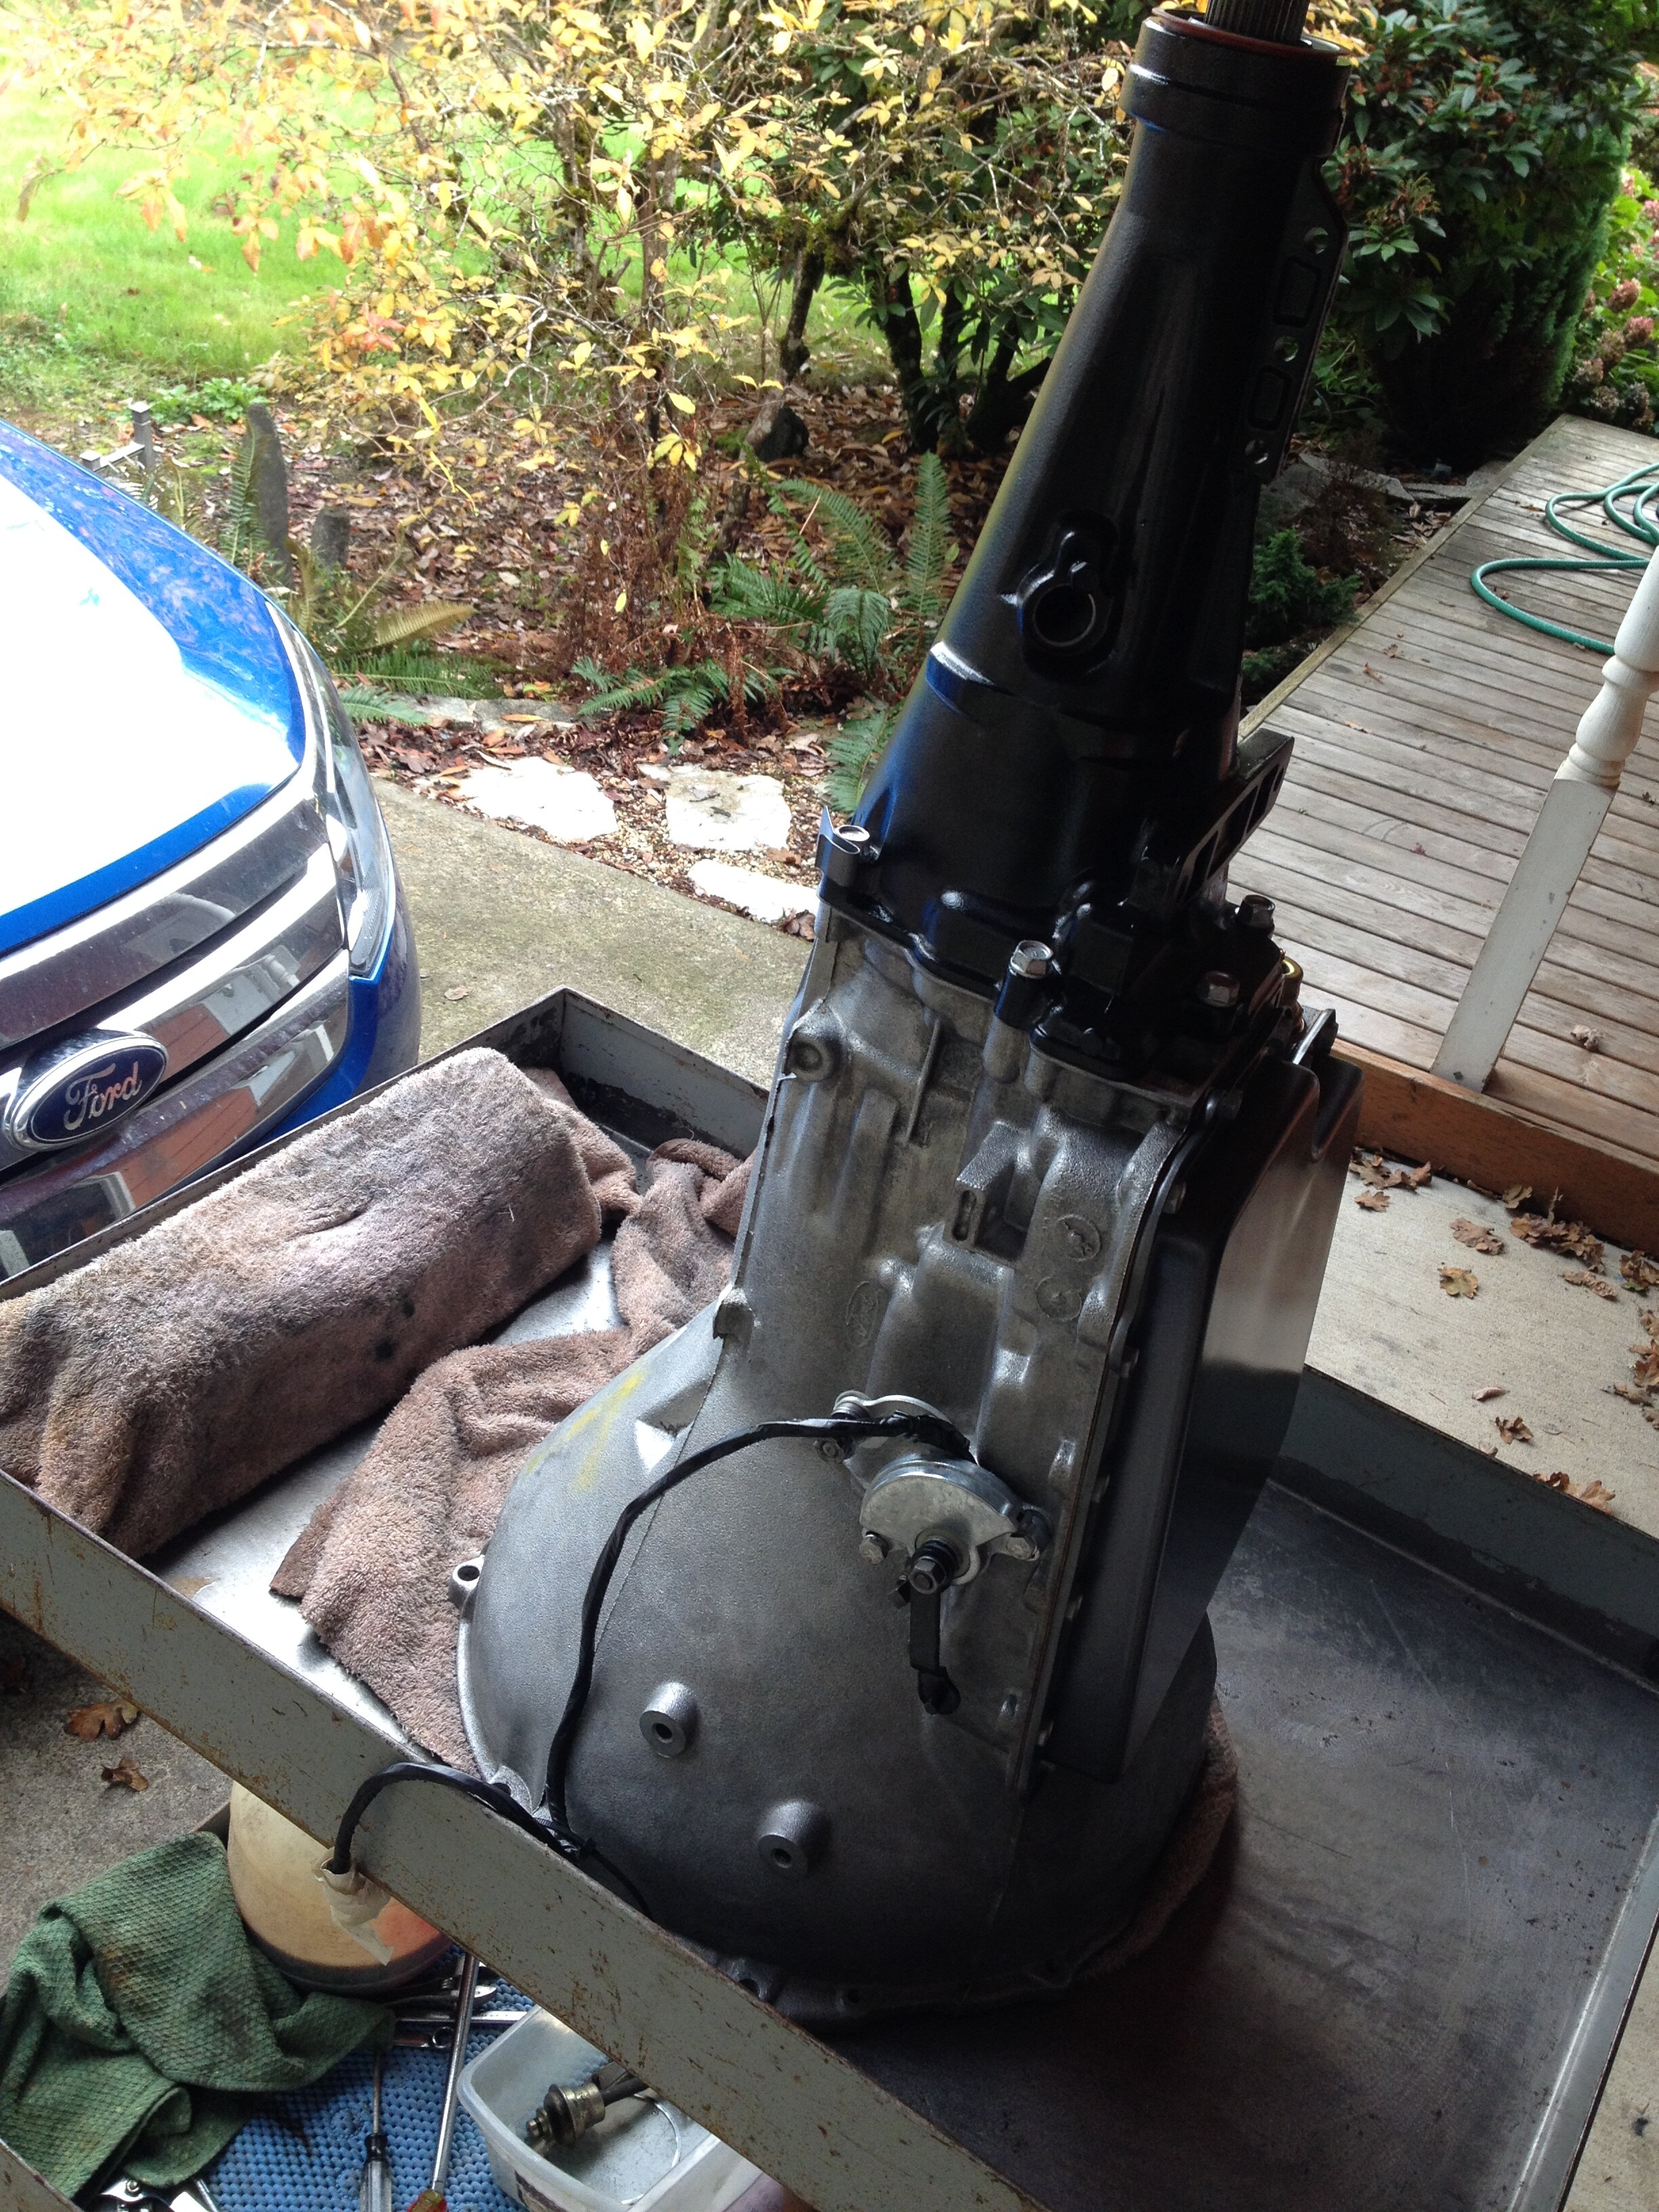
…and finally, a gratuitous shot of my ‘proper’ shift arm and Neutral Switch.

Being a column shift case, I had to drill and tap the holes for the switch, which I did right down the center of the spots made for it. HOWEVER the repro switch, when tightened down, would not allow the detent to fully fall into PARK. I had to oval out the holes on the switch to get it right.

Tomorrow the last parts from Oregon Performance Transmission will come in. In addition to the previously mentioned torrington bearing kit will be a 2 1/2" wider intermediate band (stock is about 2.1"), and those direct clutch disks and a new modulator.

Then I can bolt it all back together!

Here’s a tip.
See your new E4OD sunshell? It’s going to come in contact with your wide band. As viewed in the picture you posted, there is a little notch on the verticle line, just below the top surface. Put the sunshell in a lathe and trim off from where the bottom of the notch is on up. That notch is put there for a holding tool to grip when putting the sunshell to direct drum componants down in the E4OD case. The taller shell doesn’t matter in an E4OD because the band is about 1-1/2" wide.
Did you get the E4OD sprag race with a #9 torrington bearing?

In the pictures, the pumps are still together. Did you look at your pump gears yet? If they have a lot of scratchs in the direction of rotation that make it look like a record, then they need to be replaced. Also, the pump body. One side see more wear than the other. If there are some scratches, but not heavy, then just a new set of pump gears will be good enough. The stator side of the pump can be resurfaced in lathe if needed.

The bushings I find that are commonly needed in a C-6 are the pump and tail. The new sun gear will have new bushings. Check the fit of the input shaft in the stator support. If it wiggles a bit, change both stator bushings. One thing people like to do is remove the spring from the cooler check valve. I don’t bother, that mod just promotes convertor drainback.

Thanks, that is very helpful. Like I said, the kit doesn’t come with instructions, and stuff like that you don’t find out until it is put together.

I have not pulled the pump cover yet, it is the last thing as I need some rigging to hold it and undo those bolts. No stone left un-turned, as it were.

Ah, I am so used to using air, I was thinking just zip them out with the gun. But, they are small bolts and not that tight, they should come out easily.

It’s been a while since I’ve built a C-6. Back in the day we used to do a lot of them when I worked at a shop that had an account with U-Haul. It was so routine, I’d have the trans out of the truck in 18 minutes.

Another thing you will need are some selective pump washers to get proper endplay. I would get numbers 3, 4, and 5. Only once did I have a unit that required a 2.
instead of dealing with the selective snap rings Ford suggests. You can buy thick and thin FWD and DIR steels to help adjust the pack clearance. Since you are putting in a Alto power Pack kit in the Direct drum, that will come with some adjustable steels. Don’t run it too tight. It does come with instructions.


Oh, one more bushing. Get a Sonnax no-walk bushing for the case. You can also check the direct drum to stator bushings, but they are pretty much never bad unless lube was cut-off.

I’ll give that a go right now.

What is the best way to remove bushings? Do I need the special tool?

These look good in the cream puff case, which did not take the abuse shown, so I was going to leave them be, but I can give it a go.

I had a number 2 nylon selective on the '73 pump, but it appears to have grown legs and wandered off. I also have another core to strip, so I may have 3 selectives around.

I am wondering where it will wind up on overall freeplay with the torrington bearings in there.

The manual has specs for Direct and hi-rev clutch clearances, but none for the lo-reverse. I wound up around .040 on that one, but it was too tight with the extra steel the old case had in it. I should be ok on that.

Thanks again, updates tomorrow eve!

So I will need this to use a torrington there, as with the hub in the kit, it is shorter to allow space for the bearing?

Great stuff, thanks for filling in the gaps (yuk yuk)

Awesome stuff Greg, good on 'ya!

Wondering why you did not go with a AOD for the OD? That’s what I would do (iffin’ I was a AT guy). I bought a 70-80’s 'stang unit core just in case but I loves me some MT’s and highly doubtful I will ever do anything with it. Would love to find a good home for it, but I digress…

Thanks mate!

Well, the C6 was easy to come by, I have 3 cores right now. It came down to the vibe on this build, which is original on the outside, but improved inside.

I want OD, but I am keeping an AOD conversion for maybe a future idea.


The sun shell will be done at 2pm, and the rest of the parts arrived. The #9 thrust-to-torri swap would require the Sonnax race or a hub change, so I went without. (You cannot get the clips on back there w/o)

Soon, these 2 will be one :beerchug:


Well, the machinist did a bang up job and I was happy to get the internals together. I am pretty tired from the running around and all, so I’ll go right to the pics.

9F91H581221 was a real life saver on the sun shell!

So of course I had to show the pump.


one way clutch and lo-rev drum

The trimmed sun shell fit great…

A look at the planet and torri

After lining up 9 splines, the last thing I wanted was these heavy units sliding out while I took a break and readied the band and pump.


Thanks again to 9F91H581221 for the tip on trimming the shell, saved me from finding out the wide belt problem after getting it all lined up!


The pump went in and end to end free play was in tolerance!

I am too punch drunk to put in the servo and modulator right now, so it can rest for tonight.
Thanks all for the help and support, I’ll throw up pic of the final assembly tomorrow.

Crap.

Crap crap crap crap crap.

Thrust washers can be confusing. I wound up with the wrong leftovers, so I went to the photos to check.

The mistake is there…the wise one will know. Of course, my pics only show a couple thrusts, but it’s there…

So I get to take it apart again anyway. Good practice, right?

During assembly it seemed there where some thrusts which where not right. When I got to #2, I had nothing. It had fit well in #7, but looking back it fits, but is not held properly and is larger inside, the contact area is off with the #6 on the shell.

I put in the good used #4 and went on thinking #2 and #7 were the same, and I was missing that.

After an inventory of the leftovers, I found the following:

The OPT kit NTP-K36940 thrust washer 1969-up has the wrong assortment.

3 - #5 style thrusts which seem to be intended as #7 or #8, which sandwich the rear planetary. They do NOT FIT.

1 - #7/8 style thrusts which should be 2 as they are the same.

I have a '68 core and a '73 core and the rear planet is the same on both. Those #5’s will not line up with recesses in the planetary.

Not sure what is up with this kit, waiting for a response from OPT.

I should have known, but I keep ignoring that little voice in my head the first time around :flushme:

It looks like that thrust washer on the rear planet is the one that goes in the direct drum.

Yes, all corrected now. I polished and re-used a good one:


It appears the kit has thrusts for a 6 pinion rear planetary, which would not work on mine. The tabs are 120 degrees apart rather than the 180 that I needed:


I decided to remove the spring for the case detent and go with the Valve Body detent, it was smoother:


All buttoned up and ready for action:

The ‘D’ servo is pretty stout. It has the 2 seal piston, like the ‘R’, and is only slightly smaller. Matched with an ‘E’ apply lever, it did fine in the old tranny.
Having a wider belt, I did not want to get too aggressive, plus I had the ‘D’, so no extra cost there.


I learned a great deal rebuilding this transmission. Attention to detail is a must, it is easy to mix up a washer or seal, especially when the kits cover different years and have extra parts.

I did not get all the low drag torrington bearings available, the #7 and #9’s required other parts which may be in the TCI kit, along with a 6 pinion rear.
Not sure it’s worth the extra $500 that kit costs…


I expect it will work fine, but if it blows up into tiny pieces, I’ll be sure to let y’all know :buck:

That 6 tab thrust washer is actually for a 3 pinion planet. The 6 pinion was never in a C-6 and didn’t come out until the either the later E4OD or 4R100 behind a diesel.

The assembled trans looks good. Here is one thing to keep in mind. It either works correctly from the get-go. Or, there is something wrong. Trans don’t act funny, then break in. Unless it is a newer trans where someone didn’t properly reset the shift adapts. When filling this with fluid, I start with an initial 8 quarts. This way the level is high enough in the trans tha all the geartrain and clutches get saturated in the fluid. Start, then top-off. If you are using a stock diameter convertor, expect it to take about 12 quarts total.

Thanks! I knew it had to be 3 or 6 from the spacing, but a 3 pinion…I do not feel so bad with 4 back there.

8-12 quarts, wow, would not have expected that. I will go get a case, as kitty will be home soon. As I was wrapping up the tranny, I was sent this:

It’s in the BOOTH!