With all of the rubber isolators and fat index holes/bumps to deal with I am a bit confused on where to sandwich the blocks. I just need to drop the rear 1". Does anyone have pics of their install?
If you are going to lower with blocks, I would get rid of all of the ISO stuff and just mount the blocks solid between the shock plate and rear housing.
Great idea, thanks Catlover. I was just about to ask about dumping the Isolators and add the blocks between the spring and the axle. Since the rubbers make up a little more drop I may need more than the 1" kit? I will do some measuring before I order the blocks.
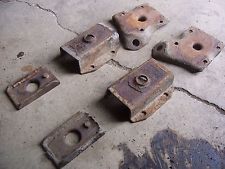
Now what to do about the degree wedges and their oddball off set pin weirdness… Hmmmm. I am thinking 2" square steel tubing with a 1/2" locator hole drilled in the bottom (spring side) and a few large washers welded to the top side to index the degree wedge just like the stock isolator pad did?? Where is my welding helmet, I have work to do!
Pic is for reference only. (Not my rusty parts) ![]()
Update:
After checking with several Cougar and Mustang suppliers offering lowering blocks for our cars, I still questioned how they were going to work with the previously mentioned degree wedge. The schematics showed a 1/2" hole on the bottom and a 1/2" pin on the top side.
Issue #1:The threaded pin retaining the spring pack on my car is 1/2" with a 3/4" flange against the top leaf.
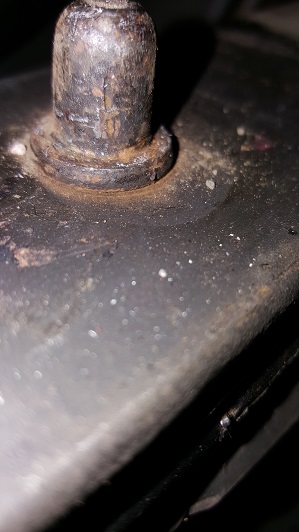
Issue #2: The center locating hole in the degree wedge is 1 1/4" in diameter. That 1/2" pin on the Mustang blocks will most likely not stay in one place after your first hard launch.
I needed 1.5 to 1.75 inches in total drop. I took into consideration that I would be removing the rubber isolators and the original U shaped steel part that wrapped around the spring pack retaining the original parts. These parts total about 1/2" plus or minus.
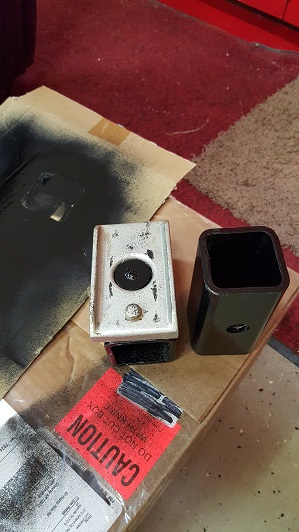
So here is what I came up with.
Using 2" ID square steel tubing, I cut two 5" long pieces.
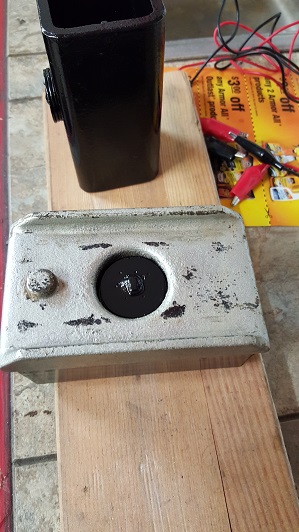
I drilled a 1/2" hole in the center of the bottom. Then, using a step bit I opened up the 1/2" hole to 3/4" about half way through the wall making room for the flange on the threaded pin.
Next I stacked three 1.25" steel washers and welded them to the opposite side filling the center hole with weld to level. This will index with the degree wedge keeping everything locked in place after reassembly. I will be sourcing new 2.5" longer u-bolts tomorrow and complete the reassembly.
Thoughts?

That is exactly how you do it. Well done. Be aware that by raising the axle that much above the spring, you are giving it lots more leverage to wrap up the spring on hard acceleration. You’re probably going to need some under riders to control wheel hop. That’s the fun of these car: one modification leads to another, leading to another and so on.
Only one thing that would make it better is if you used mustang shock plates, they are narrower, and keep the U bolts closer to the springs. good job so far.
OK Ya’All,
The custom made “Cougar Only” rear lowering blocks are in place as well as the 1" shorter springs and the “Shelby Drop” on the front. Wow what a difference. So, the obvious question is; “Better one or two?” (My Wife works for an eye doctor). ![]()
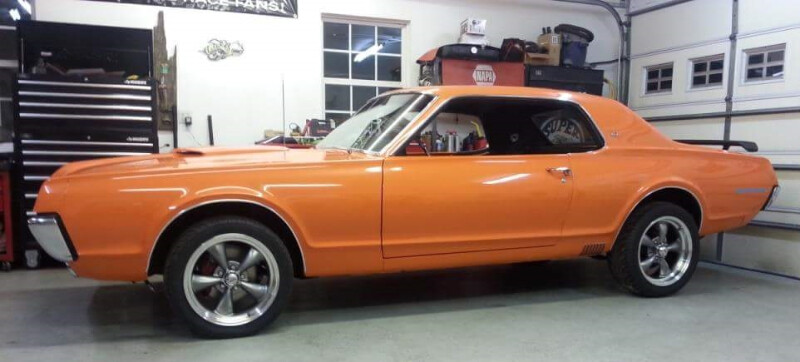
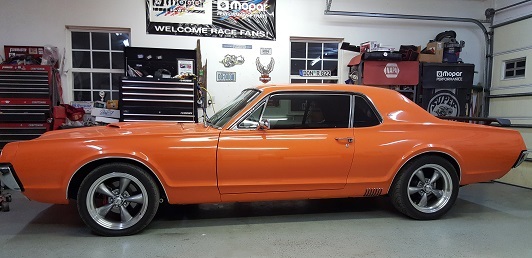
Wow…definitely better 2…
Note to self…make suspension changes…
Definitely 2. How does it ride?
Yep! You done good! ![]()
Without a doubt, two is so much better.
Thanks All. I agree, the car does look great with the new stance. I took it out for a drive this afternoon and it handles great. I will need to adjust the headlights down a bit to compensate for the lower rear.
definitely 2 !!! I would like to hear how it handles also. I did the same to the front but went with 2" lowering springs in the rear and have about the same stance.
Typical highway driving and especially cornering is much improved. I will let you know how it does when we push the limits on the rallye course at the GoodGuys car show in Dallas this weekend. Weather permitting!
Great success! Love the improved stance. Can you tell me more about the “Shelby drop”?
It is simply a relocation of the upper “A” arm mounting point downward 1". There are downloadable templates available on the web or you can order a metal template if that would make you more comfortable.
Number 2 looks great. Well done.
Steven
pic # 2 car looks great
Thanks Tizz. Here is a link that explains the drop.
http://www.nzmustang.com/TechData/armdrop.htm