OK, that “Pollyanna” post was before I started the installation, testing, failures, removal, rework, reinstall, testing… For the love of God, if you can find manual window crank hardware for your 69-70, do yourself a favor, get a second mortgage and buy the lot!
To Richard’s credit, the removal and rebuild of the pancake motor is spot on with one caveat to make sure you lock the spring properly on the rotating mechanism before pressing it back in or the motor will spin freely. The video even reminds you to check it, but I goofed on one side anyway. Tip: If it isn’t under tension before you install the spring and rotating cam, you don’t have the spring on properly.
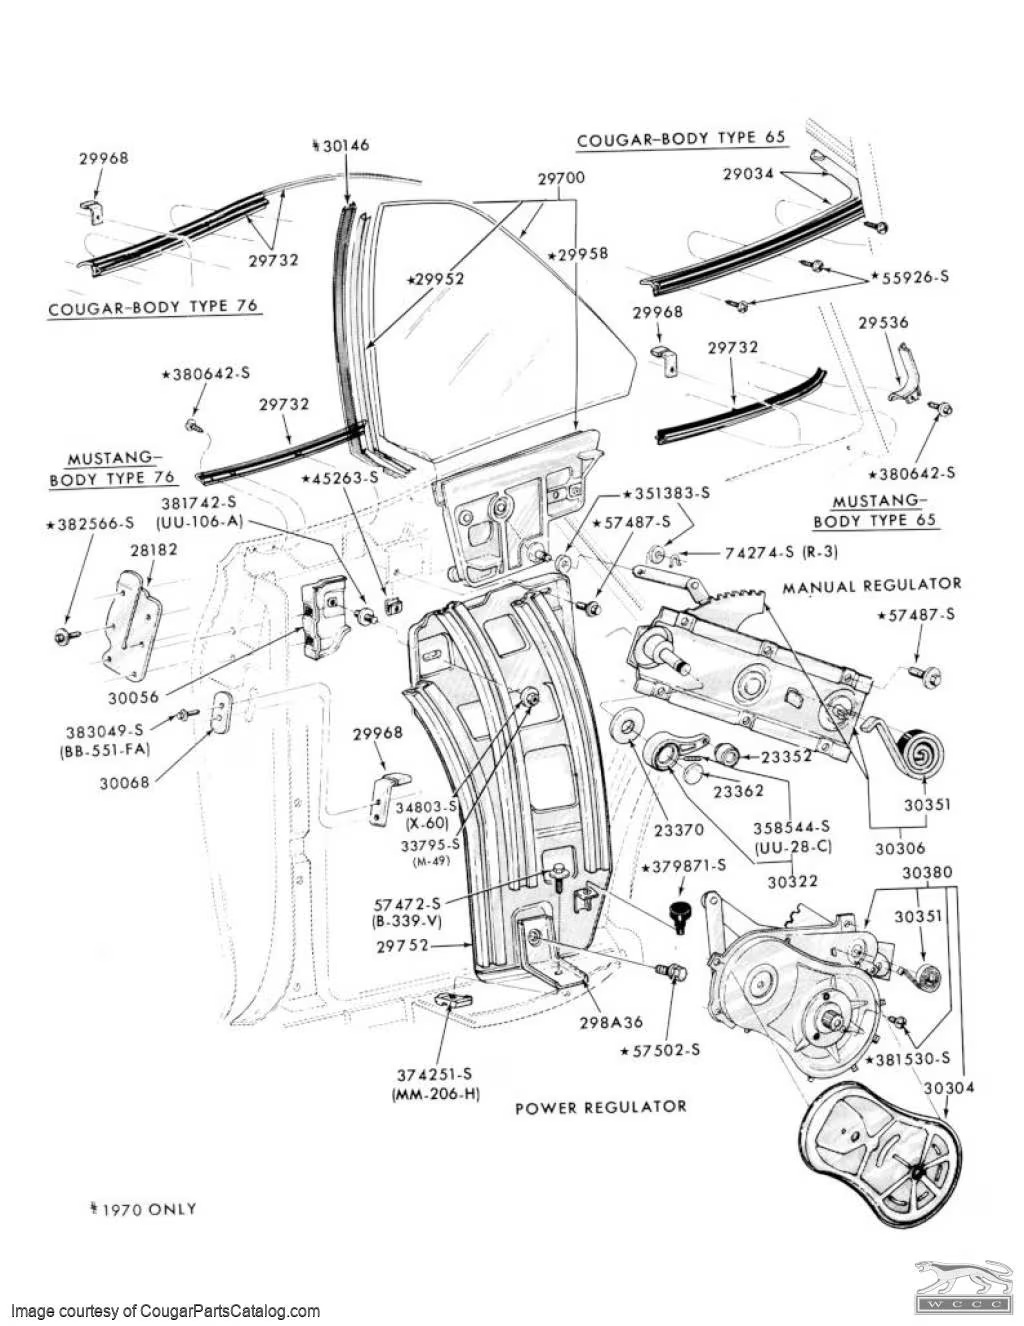
For reinstalling the mechanisms, use the exploded diagram to align the control arms so the assembly is as small as possible, and make sure you install the springs before locking the mechanism in place by reattaching the pancake motor.
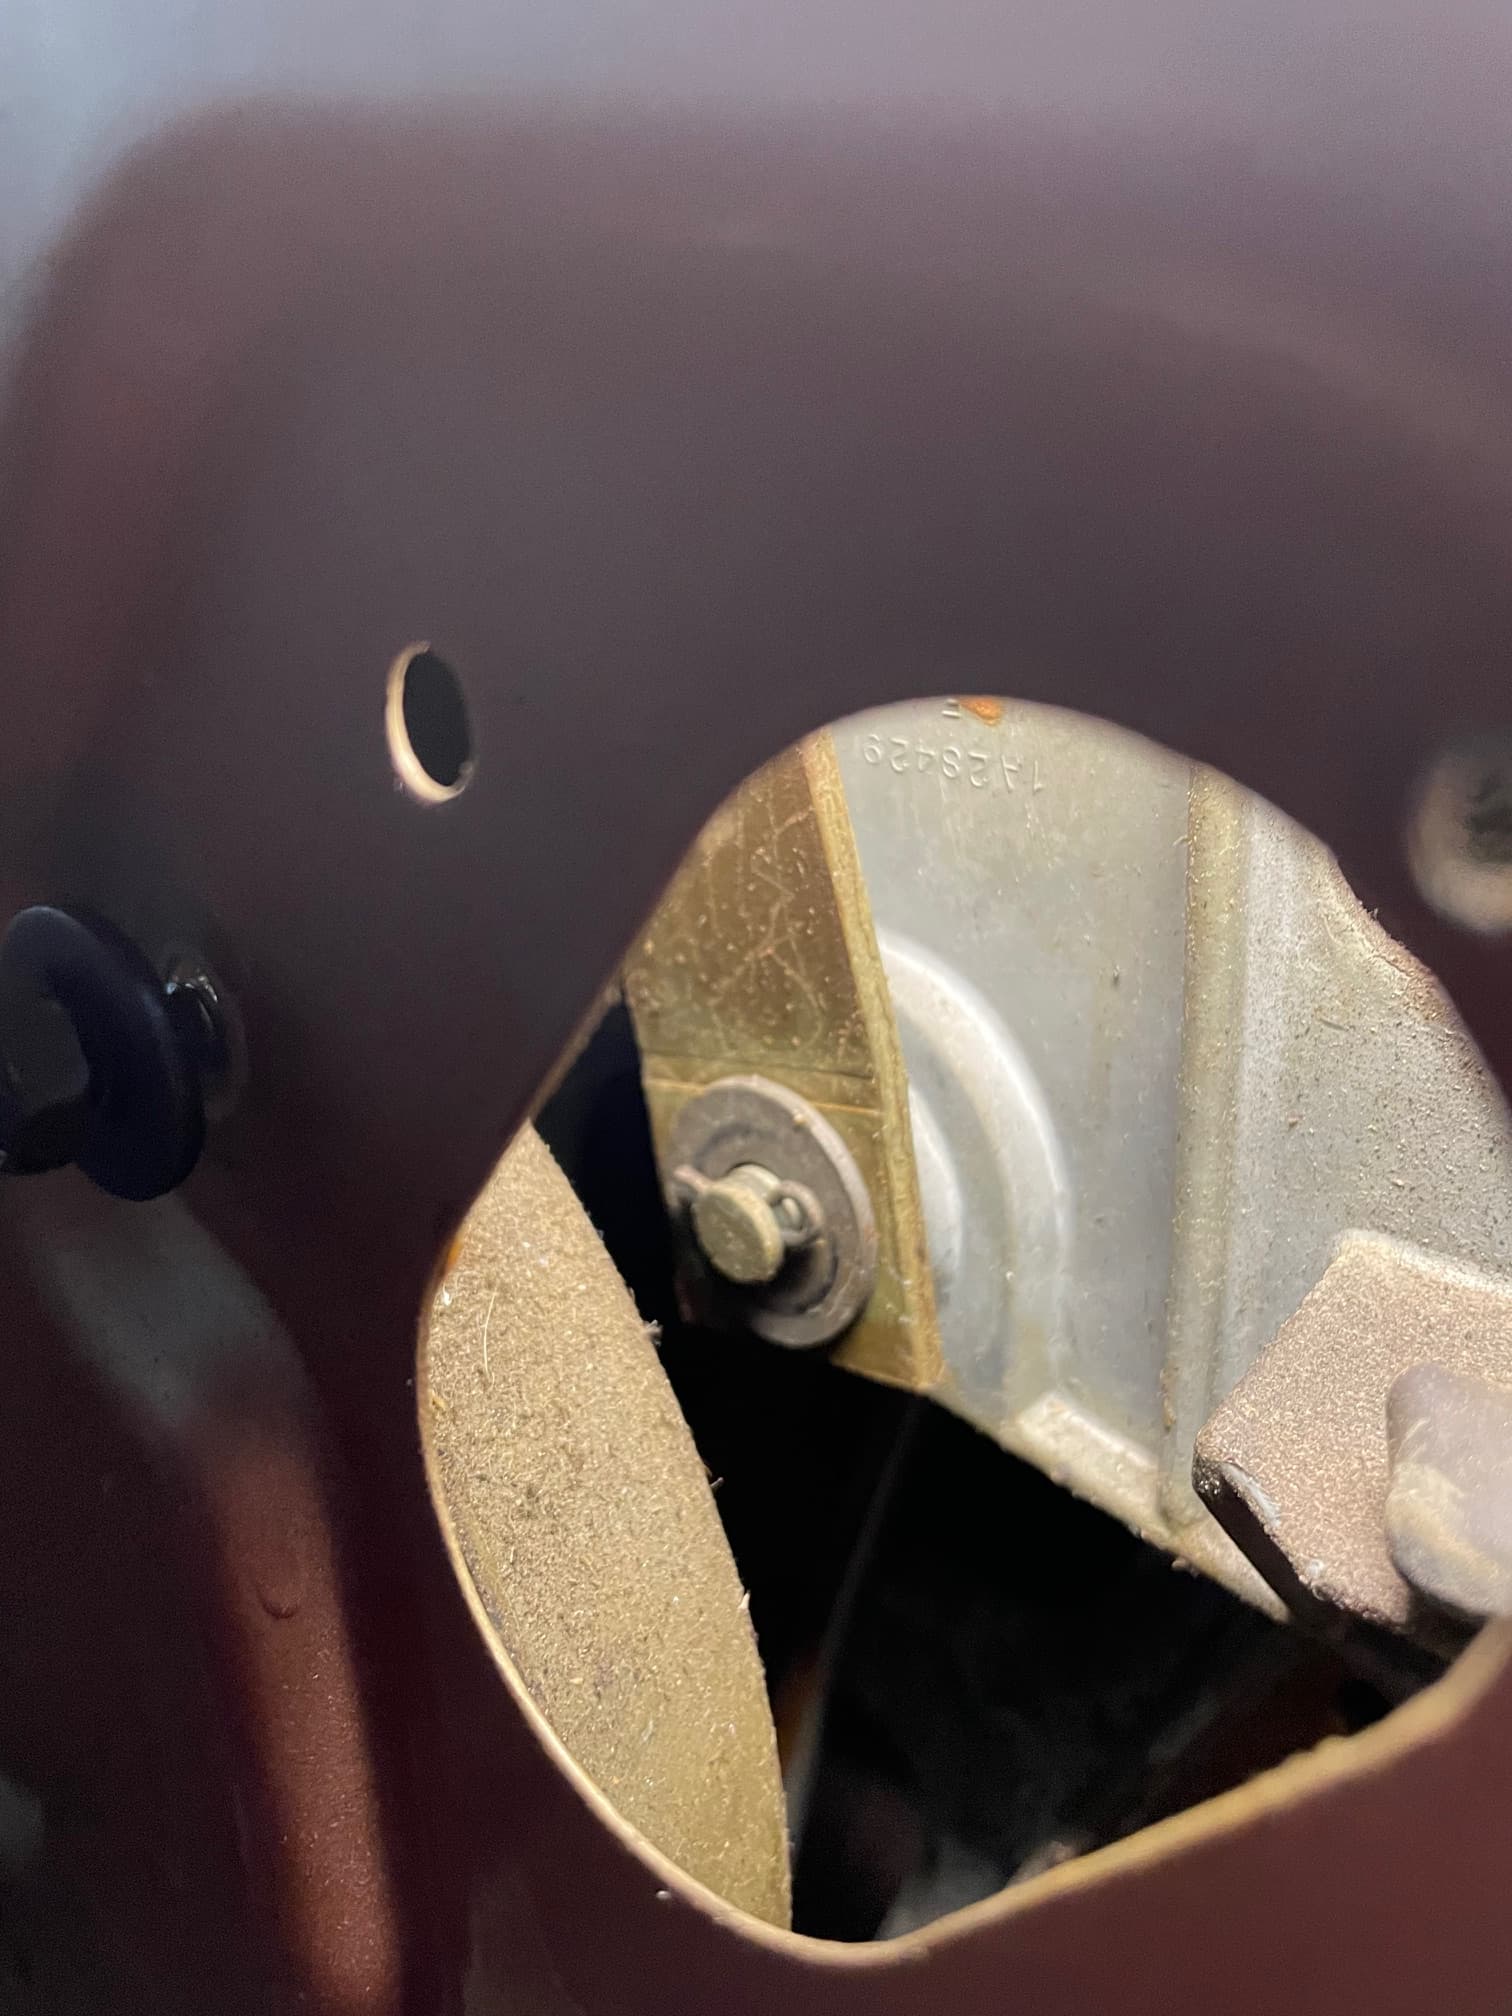
Put a rag in the well below your regulator before installing. The washer and retaining pins will fit down the drain holes into your rockers. Trust me. They seem to be magnetically attracted in fact.
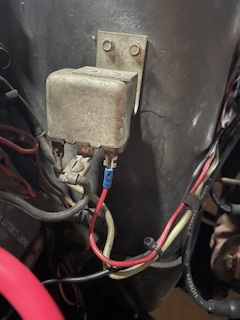
Once the motor and regulator assemblies are back in, you’ve won about 1/4 of the battle. The original switches are brittle so pieces break as you handle them and the retaining clips break easily, so buy repros and have them on hand. The wires in the socket holes that the pins from the switches plug into have expanded over time, so connections are intermittent at best. To get the electrical in order (I did tons of research mostly from this forum, so none of it is my idea) first you replace the relay. I pulled mine and it rattled like a maraca when I shook it, so it was definitely not supplying the voltage I needed. WCCC has it. Easy.
Then to establish clean connections from the wires to the switches you can pull apart the plugs, clean and slightly crimp the wire ends…if you want to do it the hard way. I bought some crazy expensive Stabilant 22 (thanks forum advice again) and it fixed the connectivity issues without pulling apart 56 year old plastic plugs and hoping I didn’t do more harm than good.
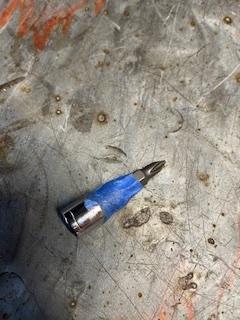
So now you have new switches, a new relay, a bottle of Stabilant that makes you think you bought liquid gold, and it is time to reassemble. I got the panels partially mounted and used a socket with ratcheting screwdriver tip to get the screws in.
Someone more industrious than me would cut every wire, add some length and screw the backplate, socket and switch assembly together 6’ away from the car, but I’m stubborn and liked to do this step the silly hard way. It’s tight, but it worked.
The passenger switch and both quarter switches stay put and keep contact just using the factory rear bracket. The master switch set in the driver door will not and will be a constant source of intermittent annoyances unless you add a bracket. I don’t remember who built this one first and put it on the board, but I made one out of a strip of aluminum and it works.
It’s been a three month process, but I finally feel like every piece of this project makes sense, and I could put a pancake motor and regulator assembly back in blindfolded, which trust me, is no mean feat!
Now I need to run it for a few months and bounce around on some country roads to see if it holds. On the plus side, it is nice to be able to drop every piece of glass from the driver seat and enjoy the wind.
Final note, do the outer beltline weatherstrip and all the front and rear glass seals at the same time. My inner beltline felts were still good, but adding soft stripping to the outers made the glass slide easier and new seals will help keep water out and delay your next foray into this battlefield.
Good luck my friends, and keep lots of Neosporin and Band Aids Handy.