Radio Upgrades for my '67

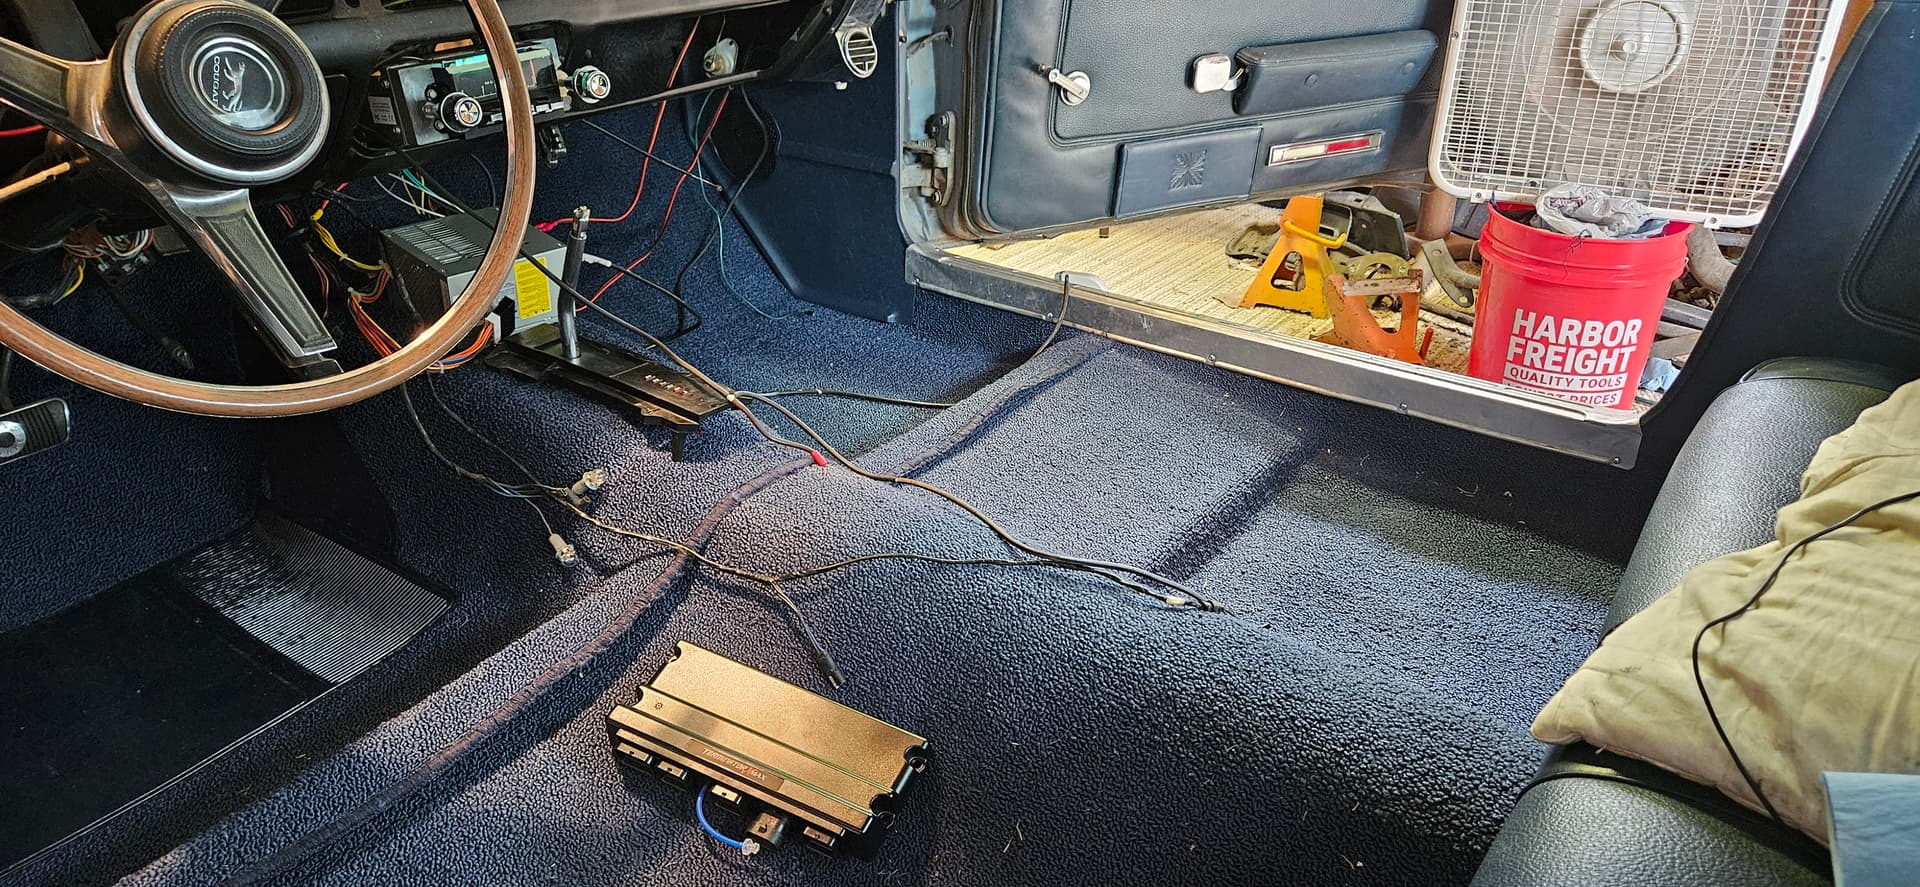
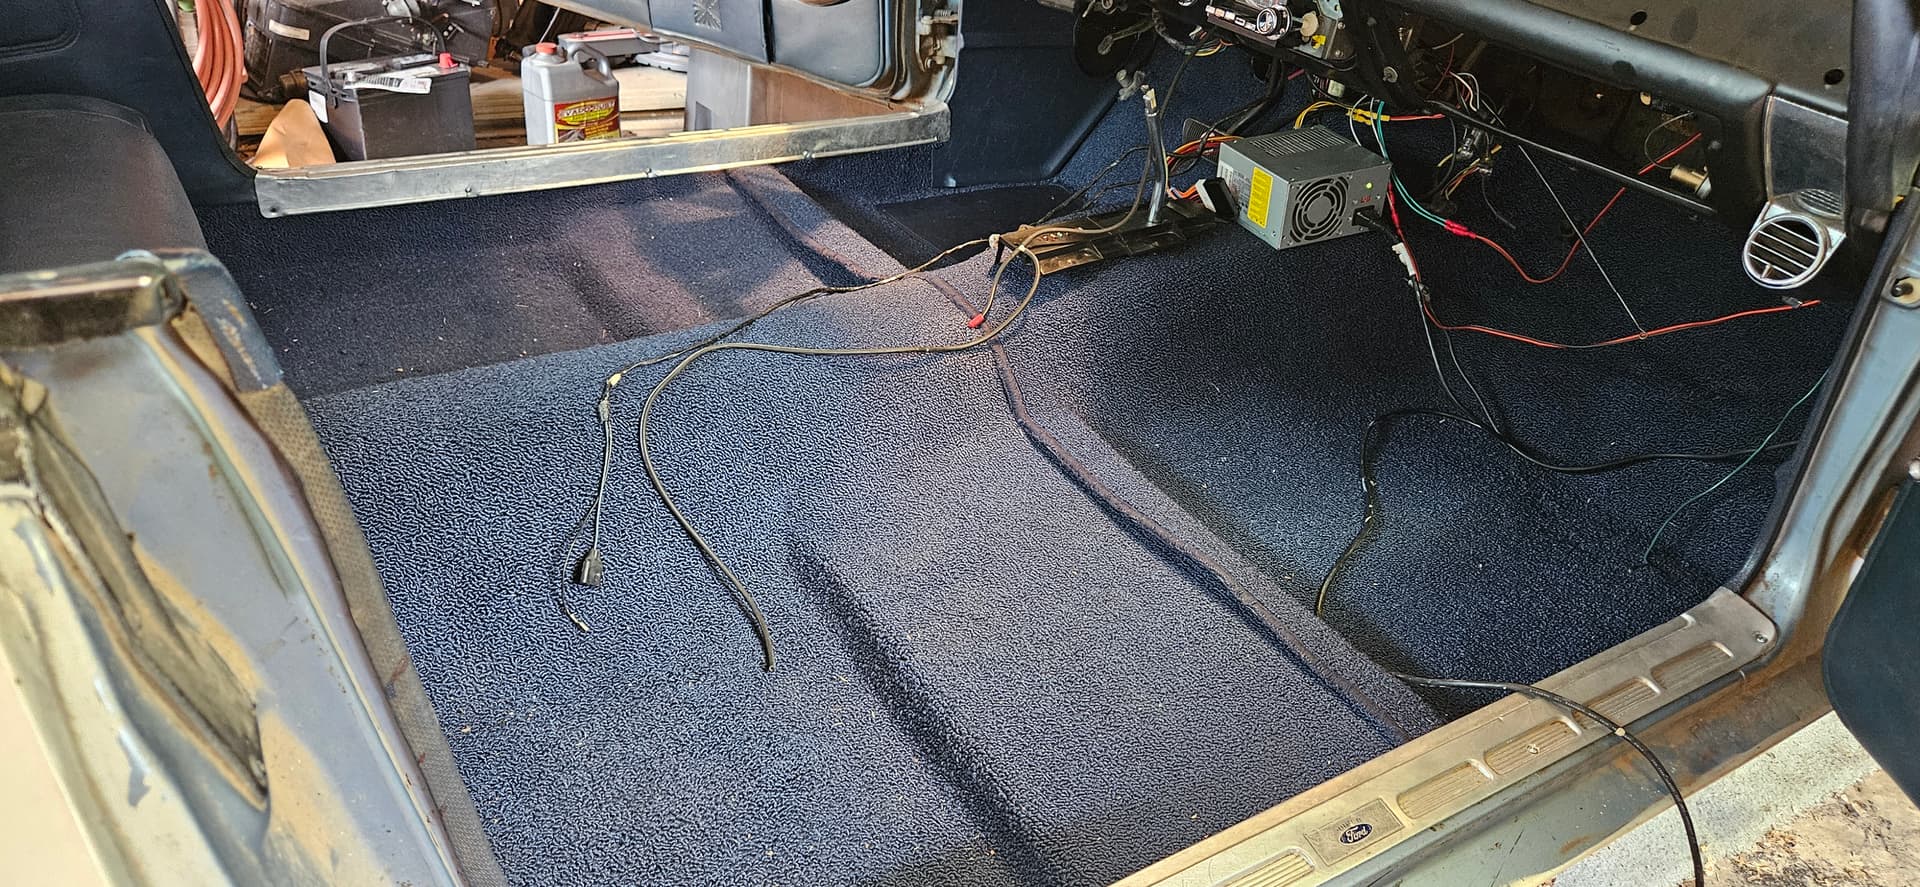
After finally getting the burned-up main engine harness spliced, I have been excited to work on my old tin cat, and getting lots done. While I have the AC box out, and entire dash disassembled, I decided to install the kick panel 6.5" speakers.

This is me, taking an accidental selfie while trying to photograph the bundle of wires I was color-matching:

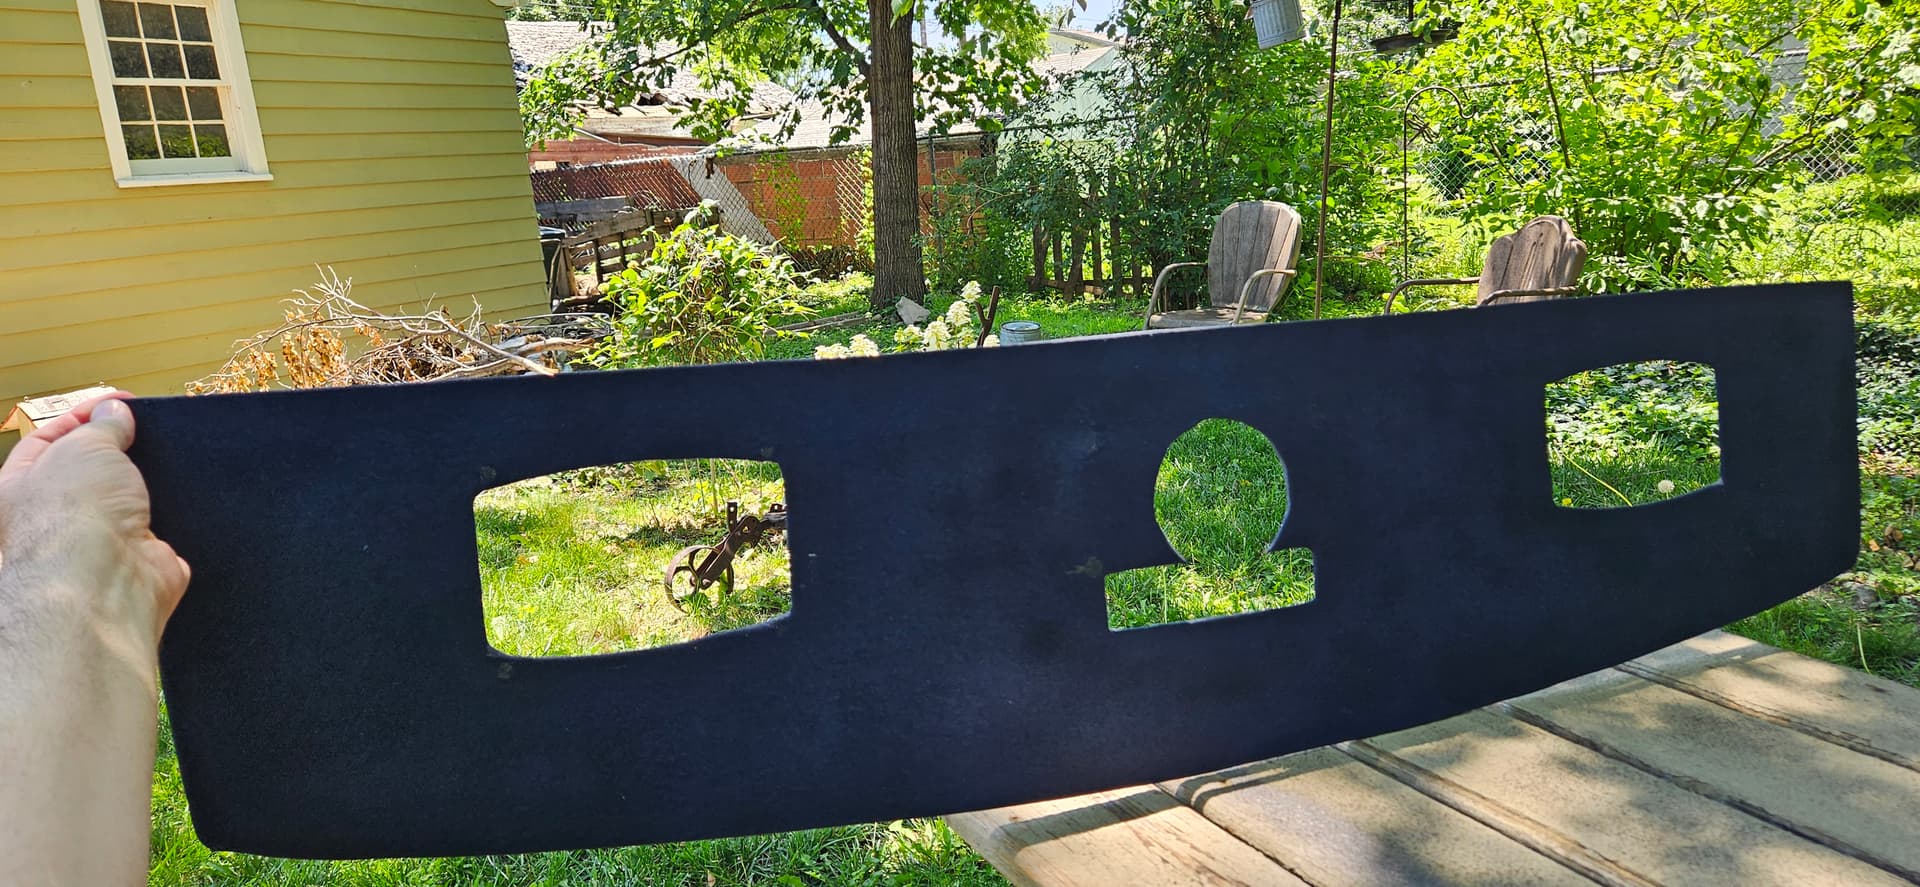
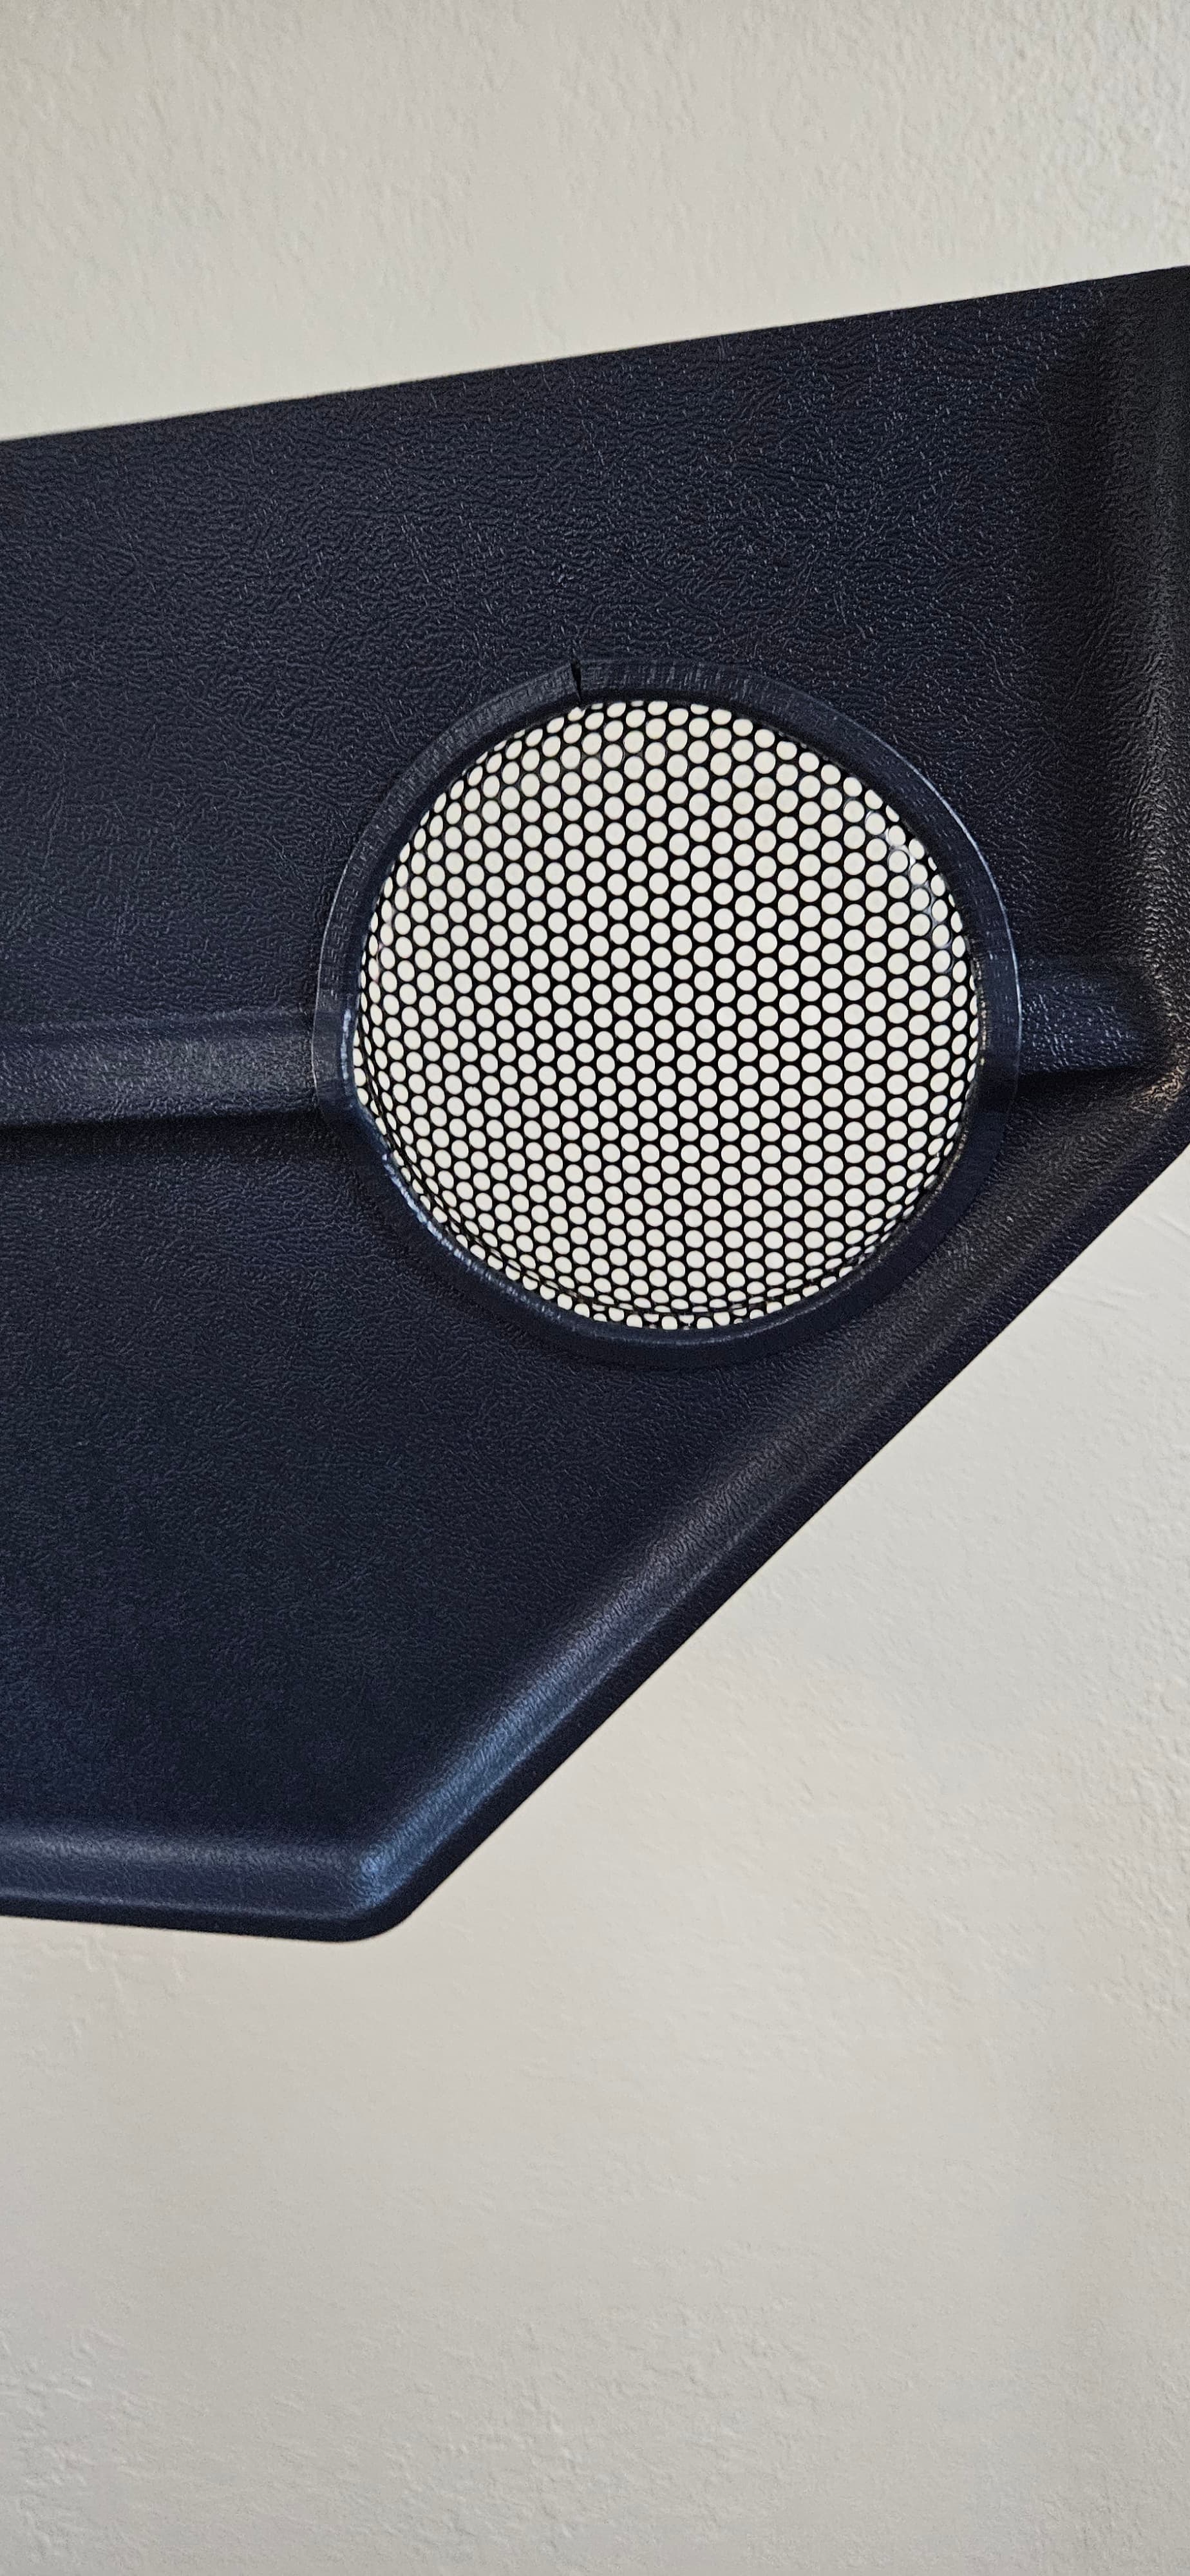
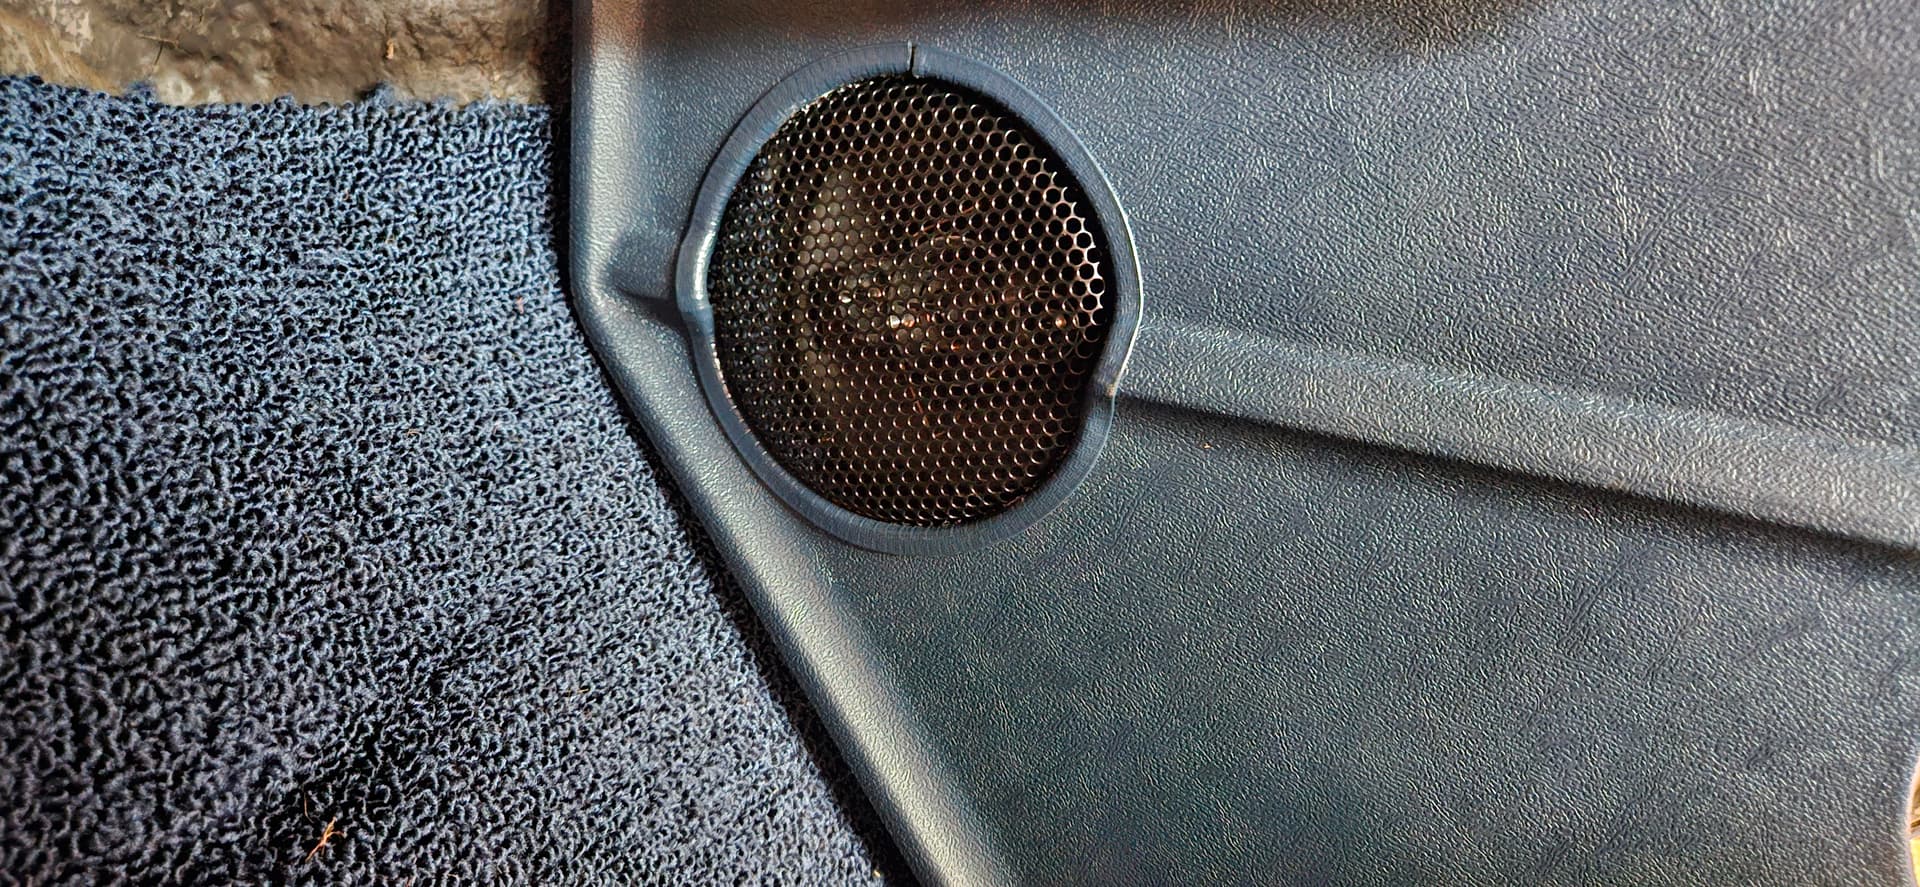
I did a pretty clean job cutting the 5" holes in my kick panels. A hole saw on a typical drill will try to bind and kicks like a mule, so I can’t recommend this for the average person. I managed to hold it steady, and got nice clean cuts!

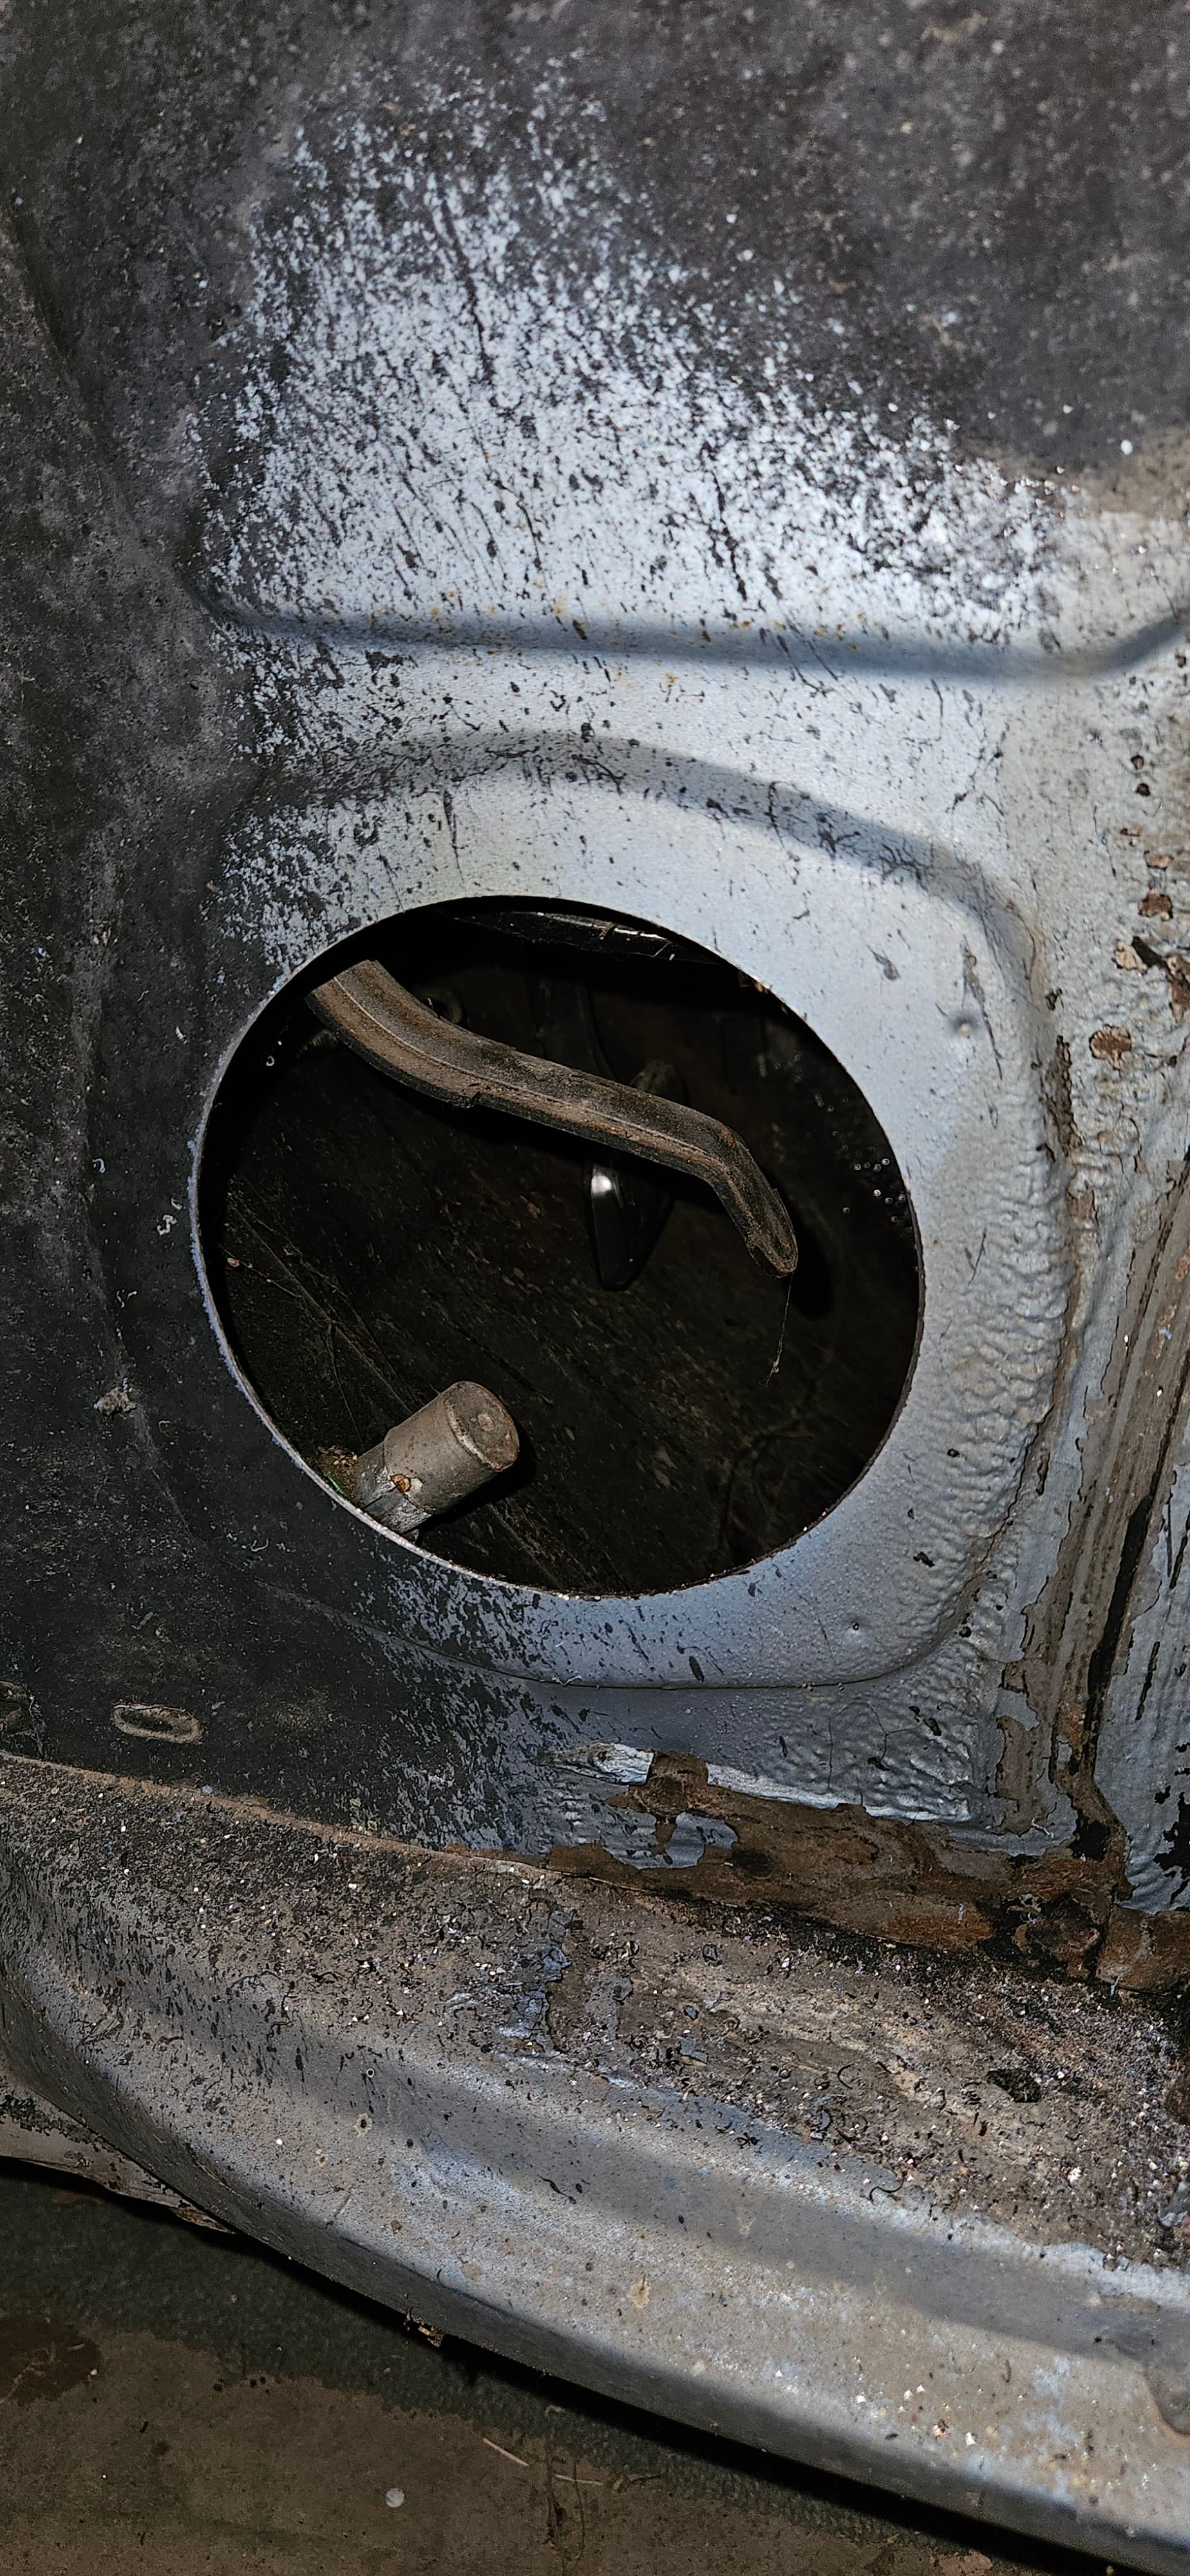
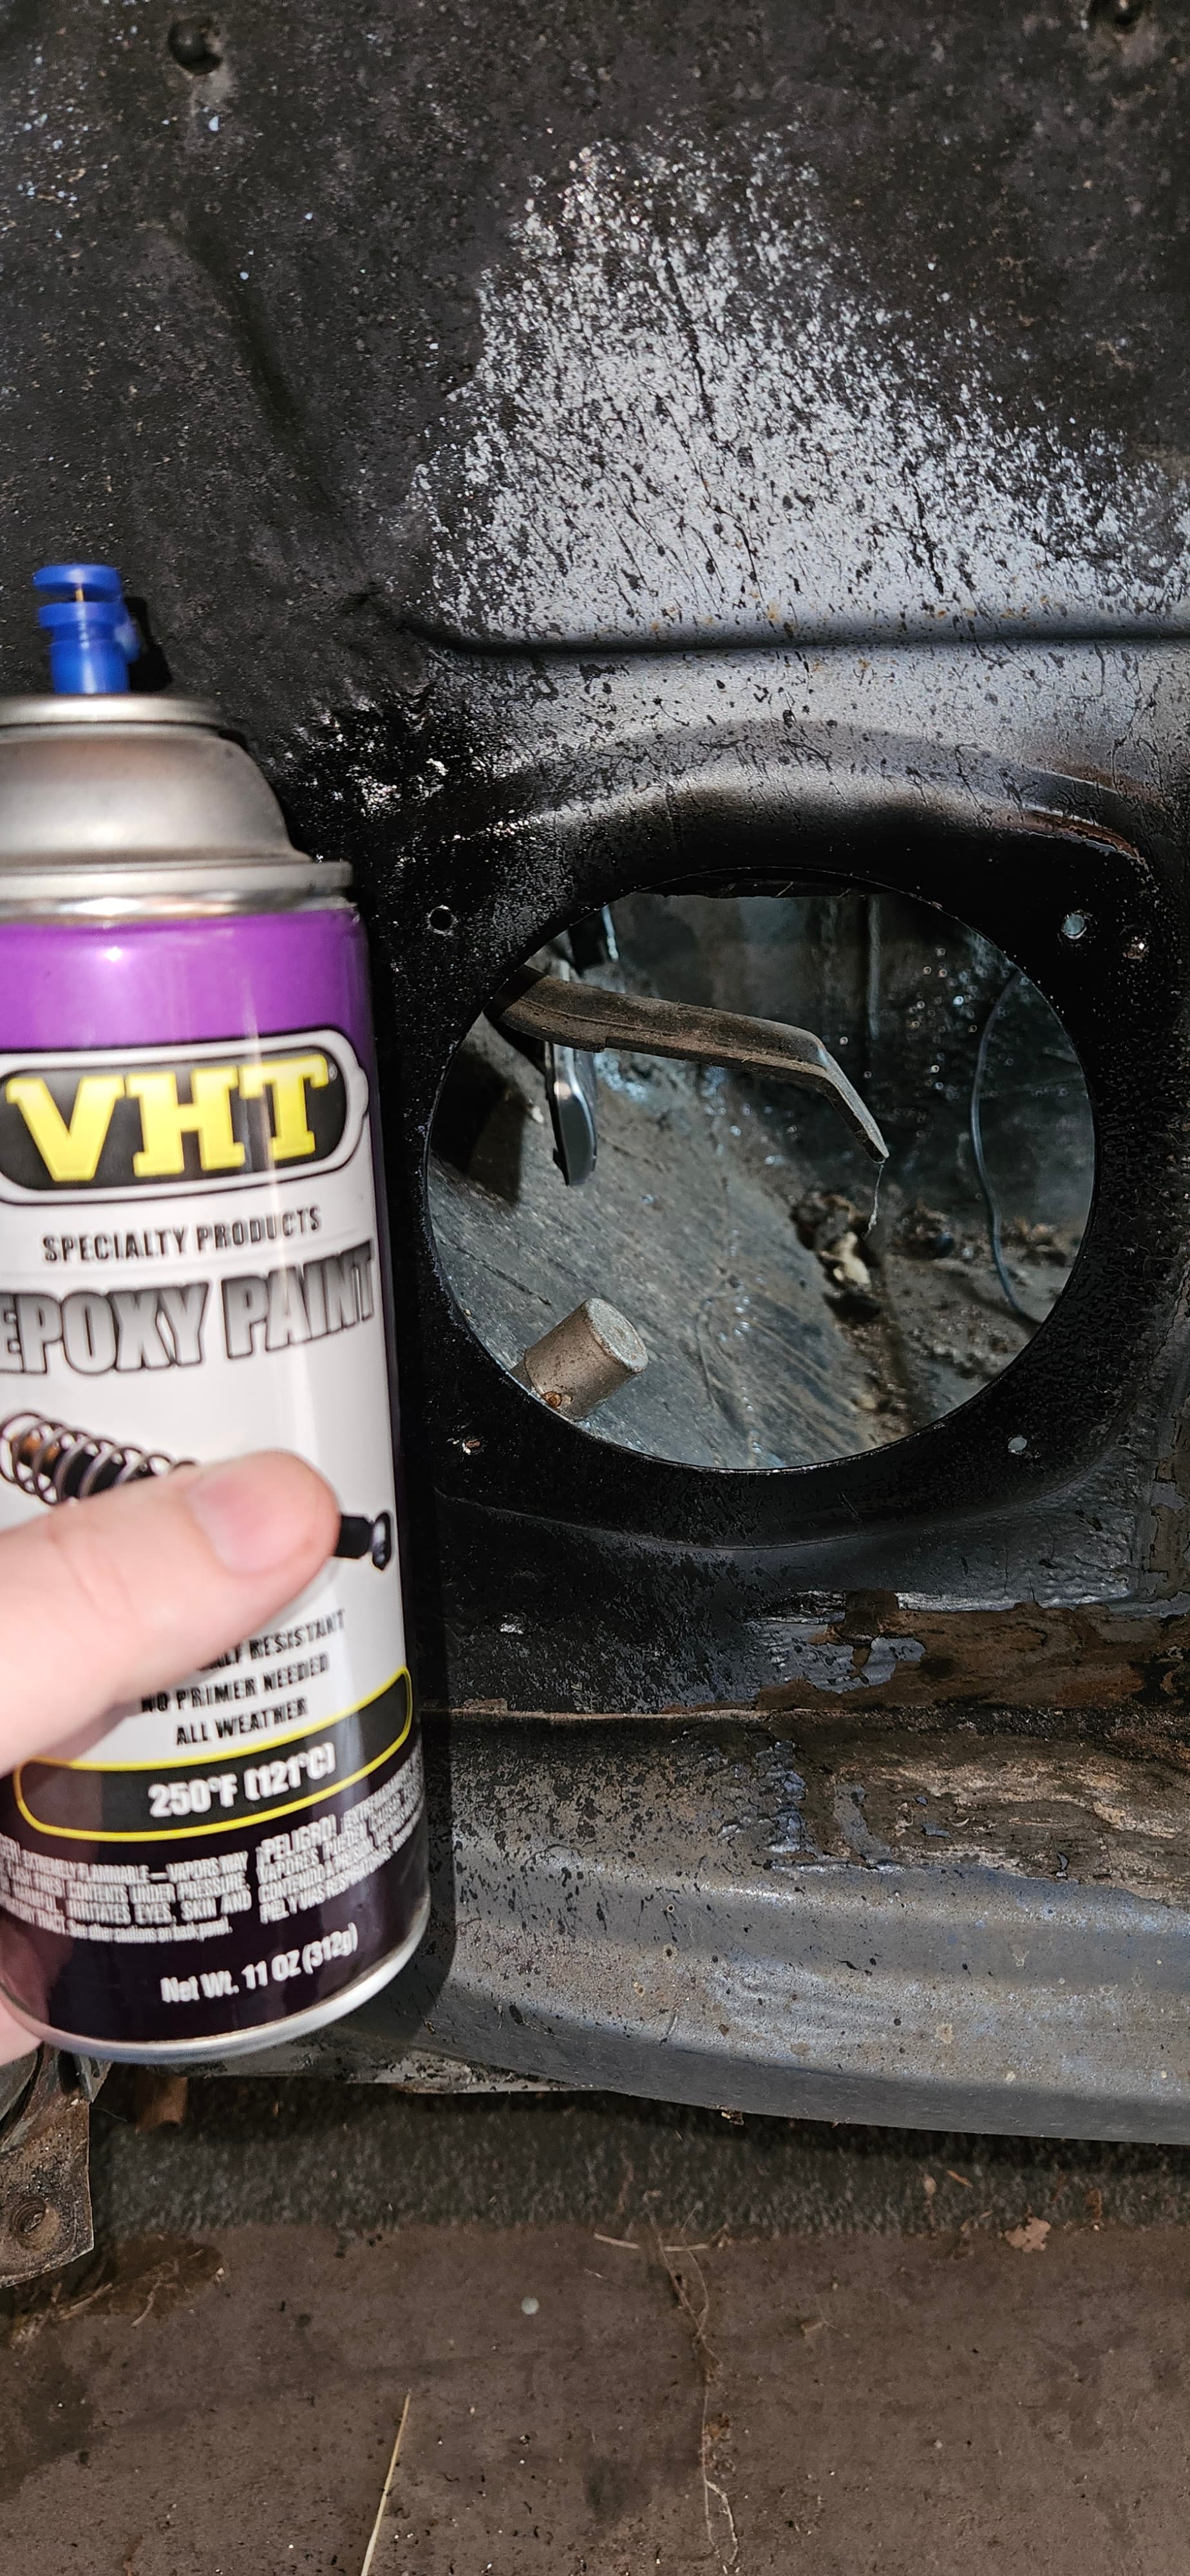
After cutting the holes, I filed the edges smooth, and painted them so that they wouldn’t rust later. It should be noted that my 6.5" speakers specified 5 5/8" holes. However, I took some bad advice on the internet and used a 5" hole saw for the job. Remarkably, the speakers still fit PERFECTLY despite the ‘too small’ openings.

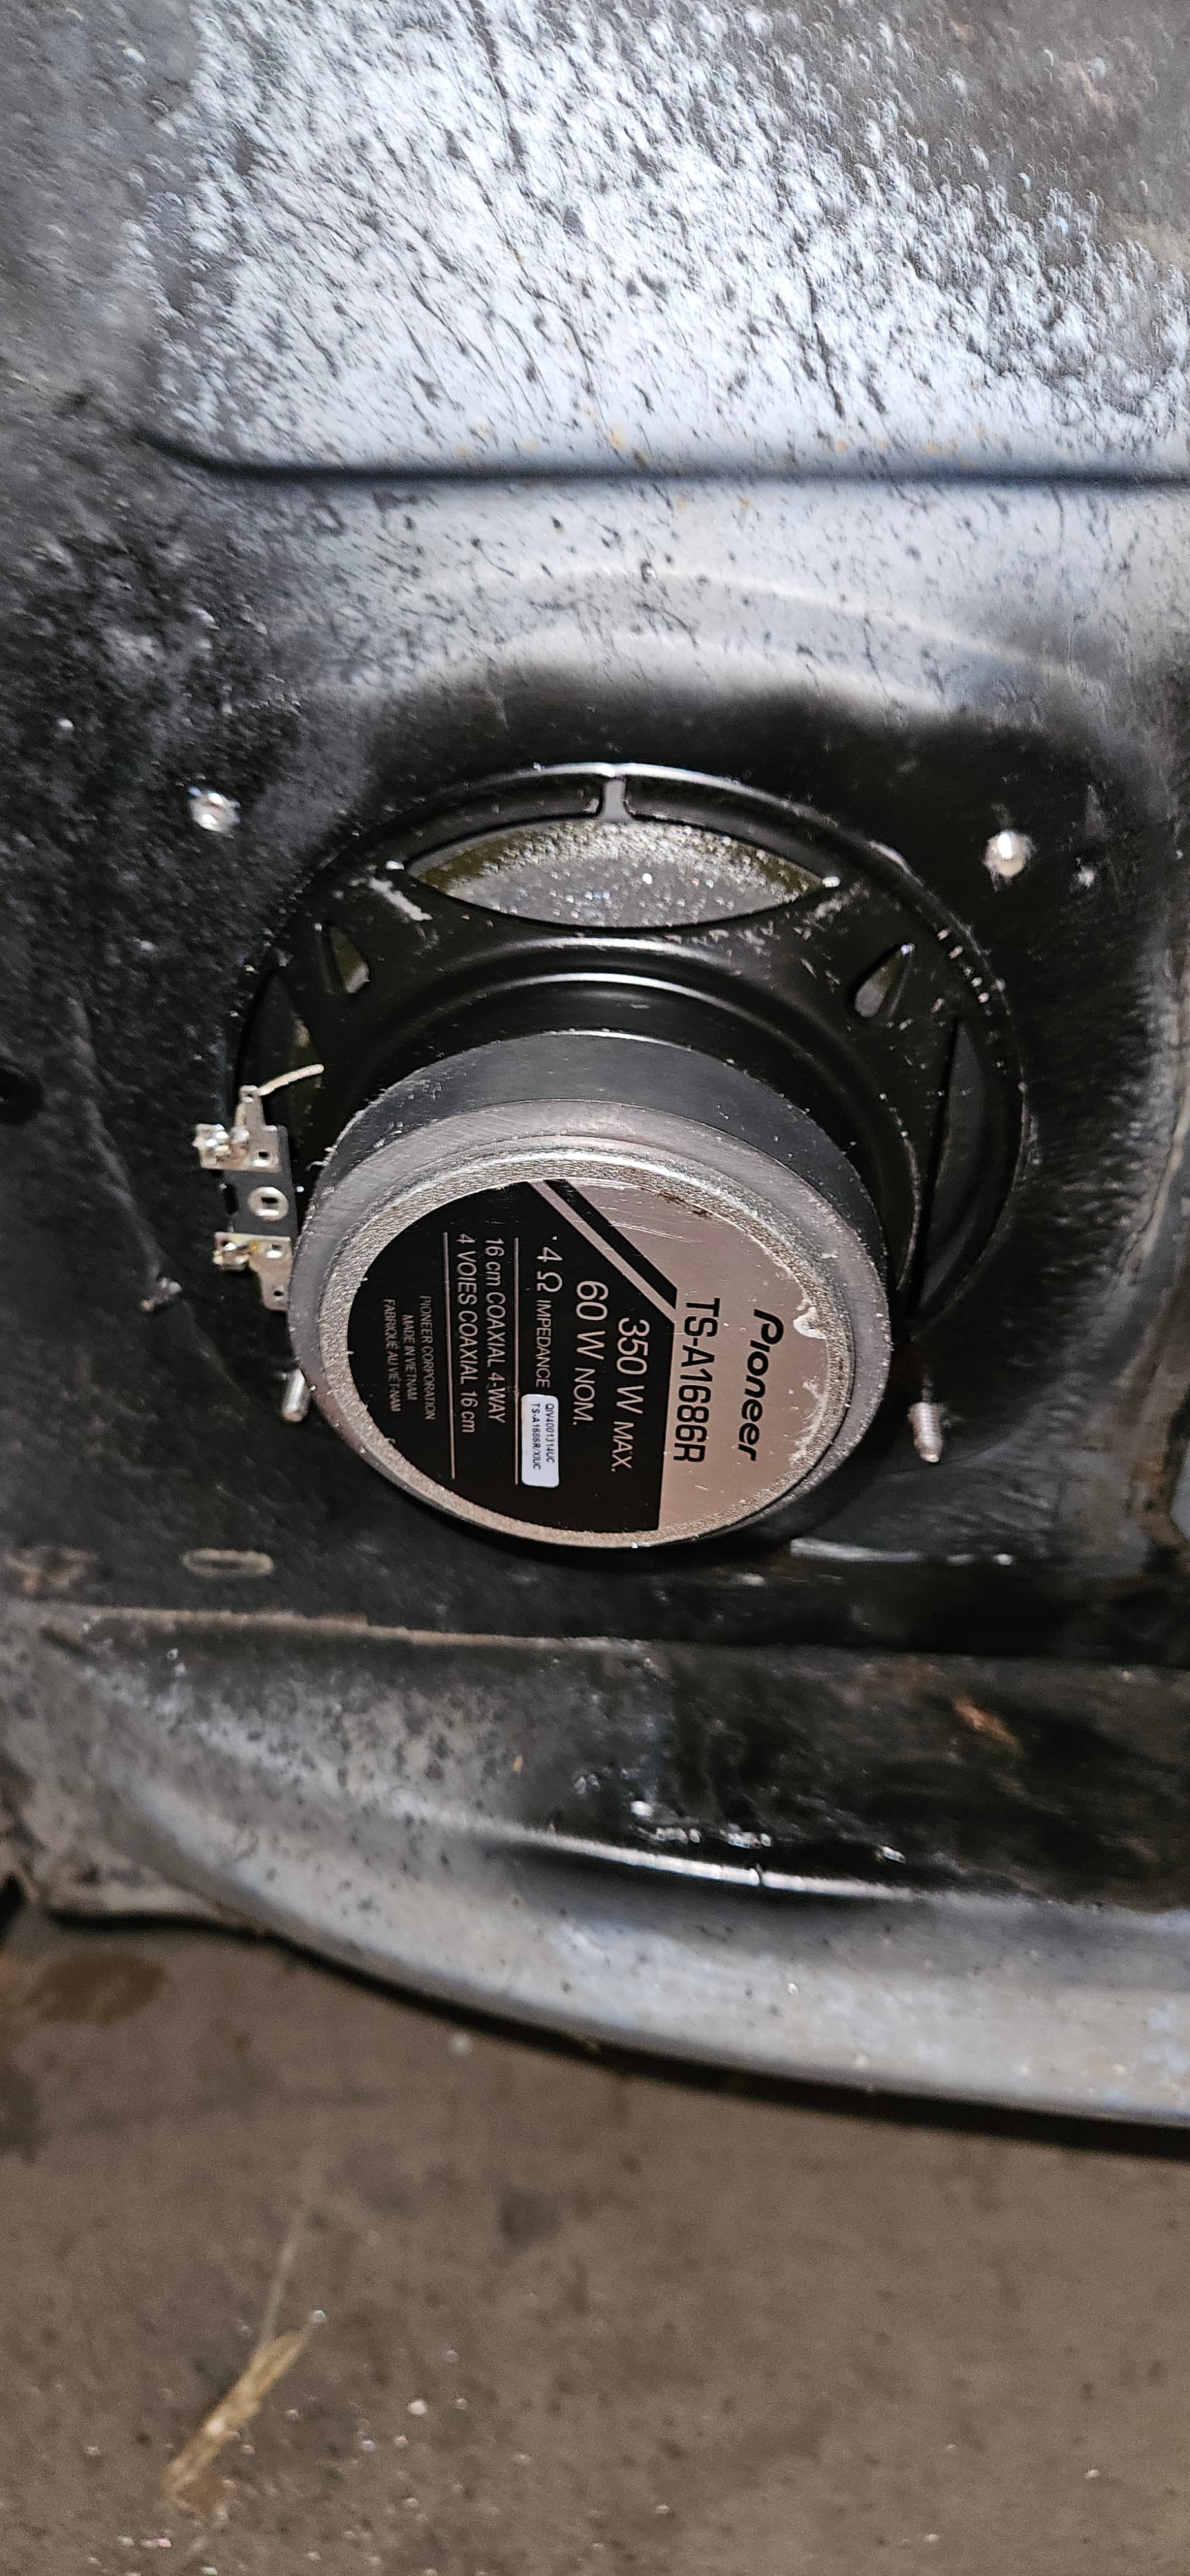
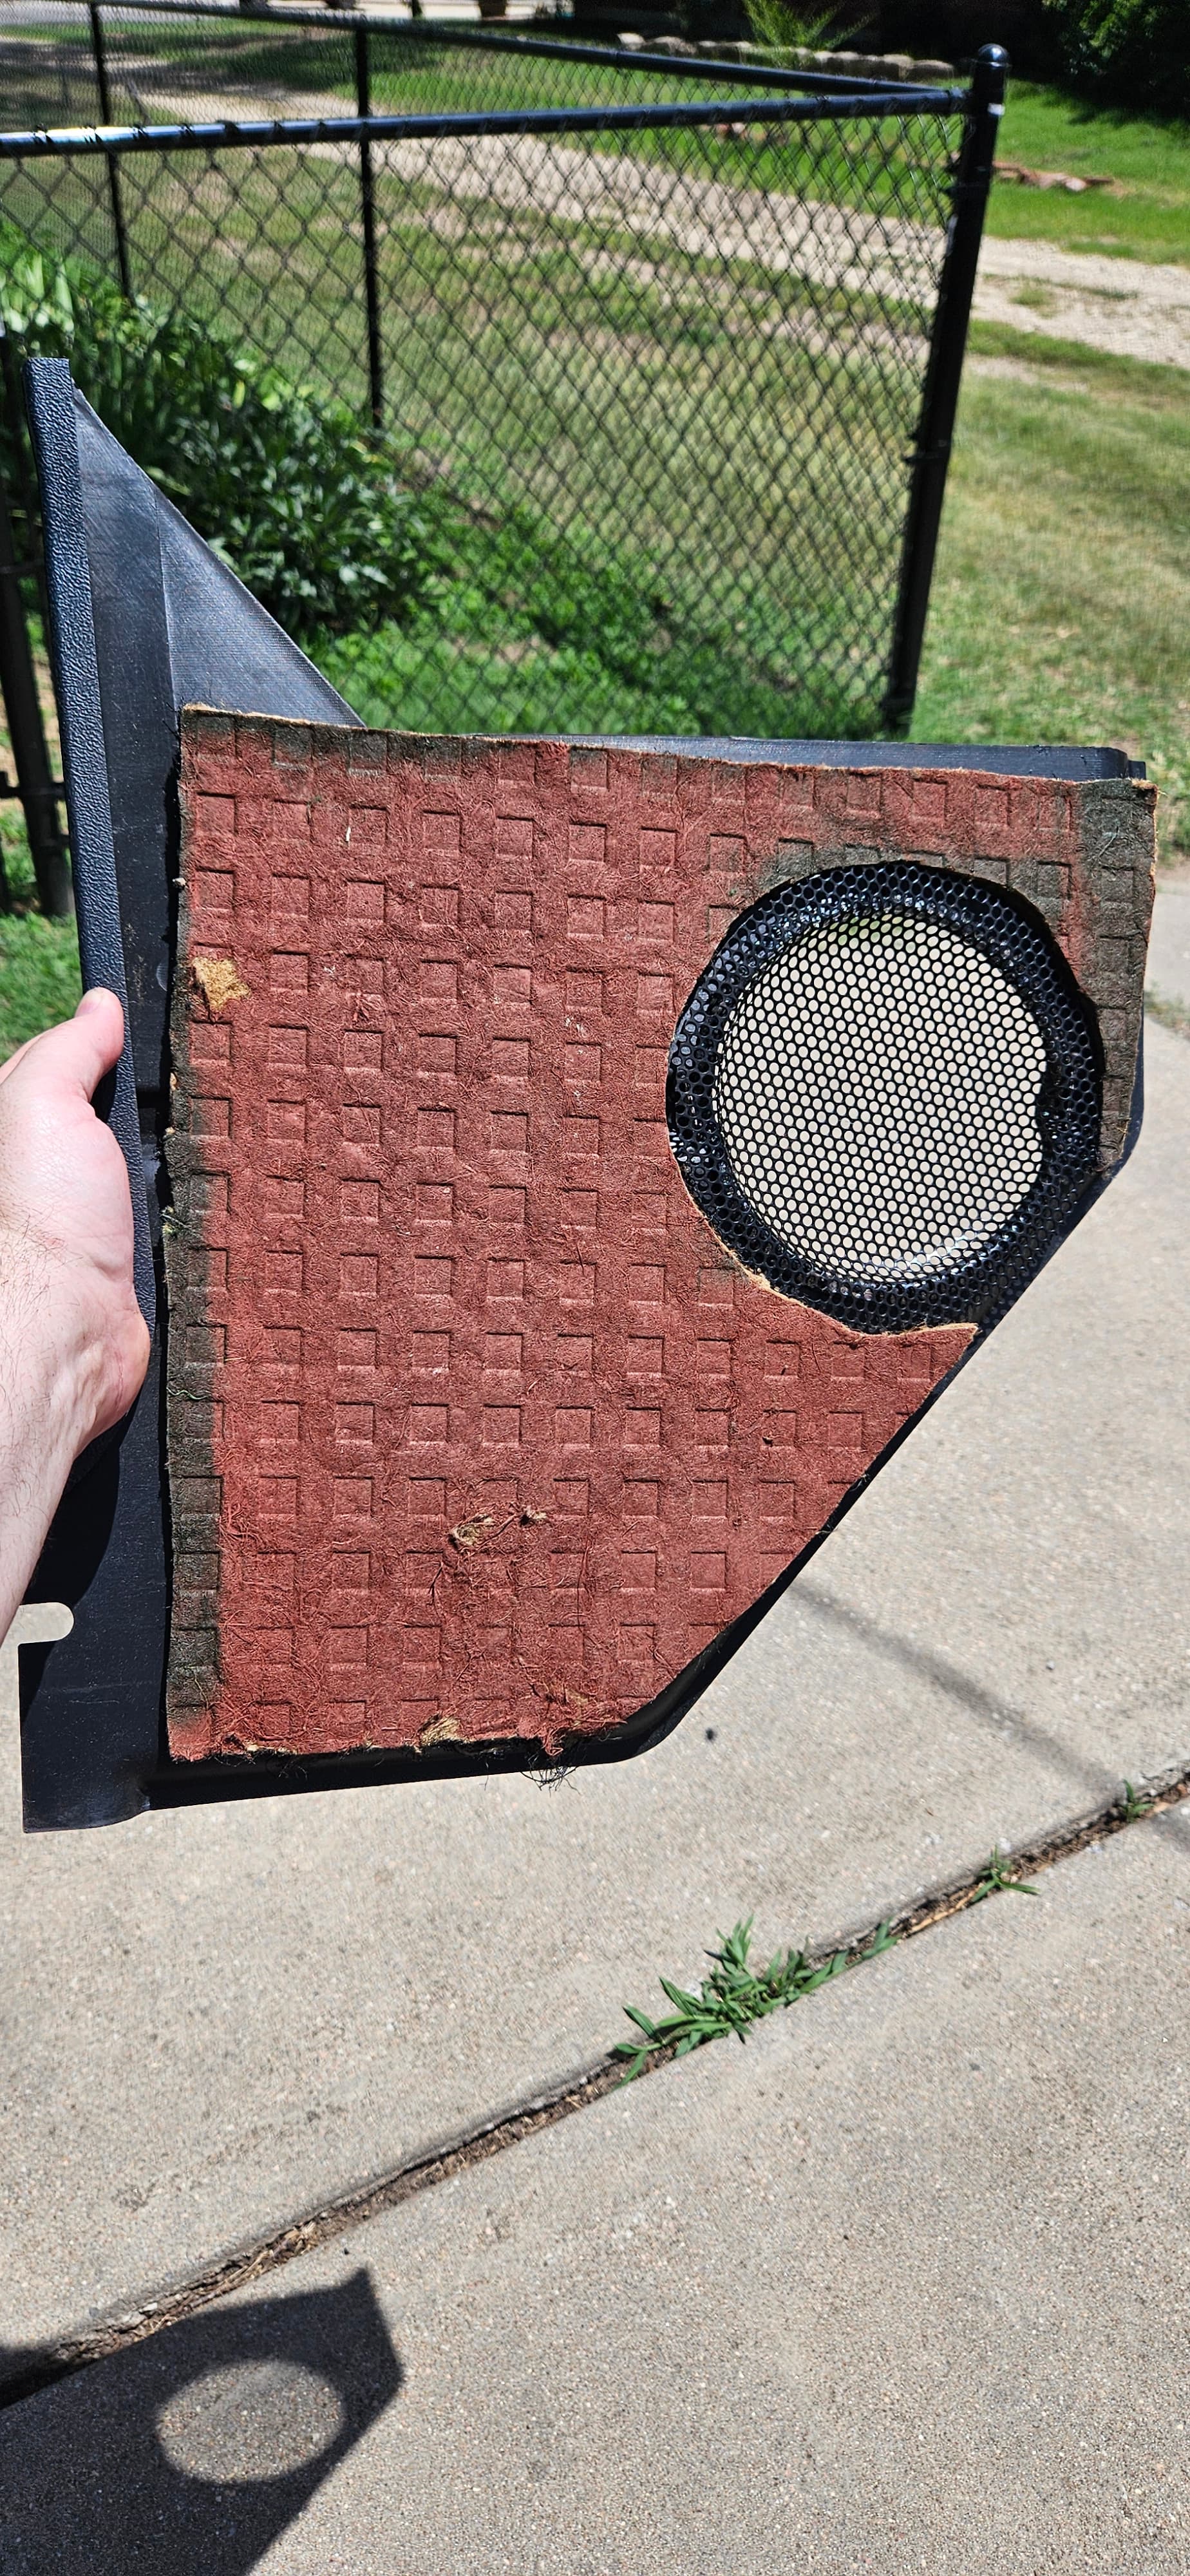
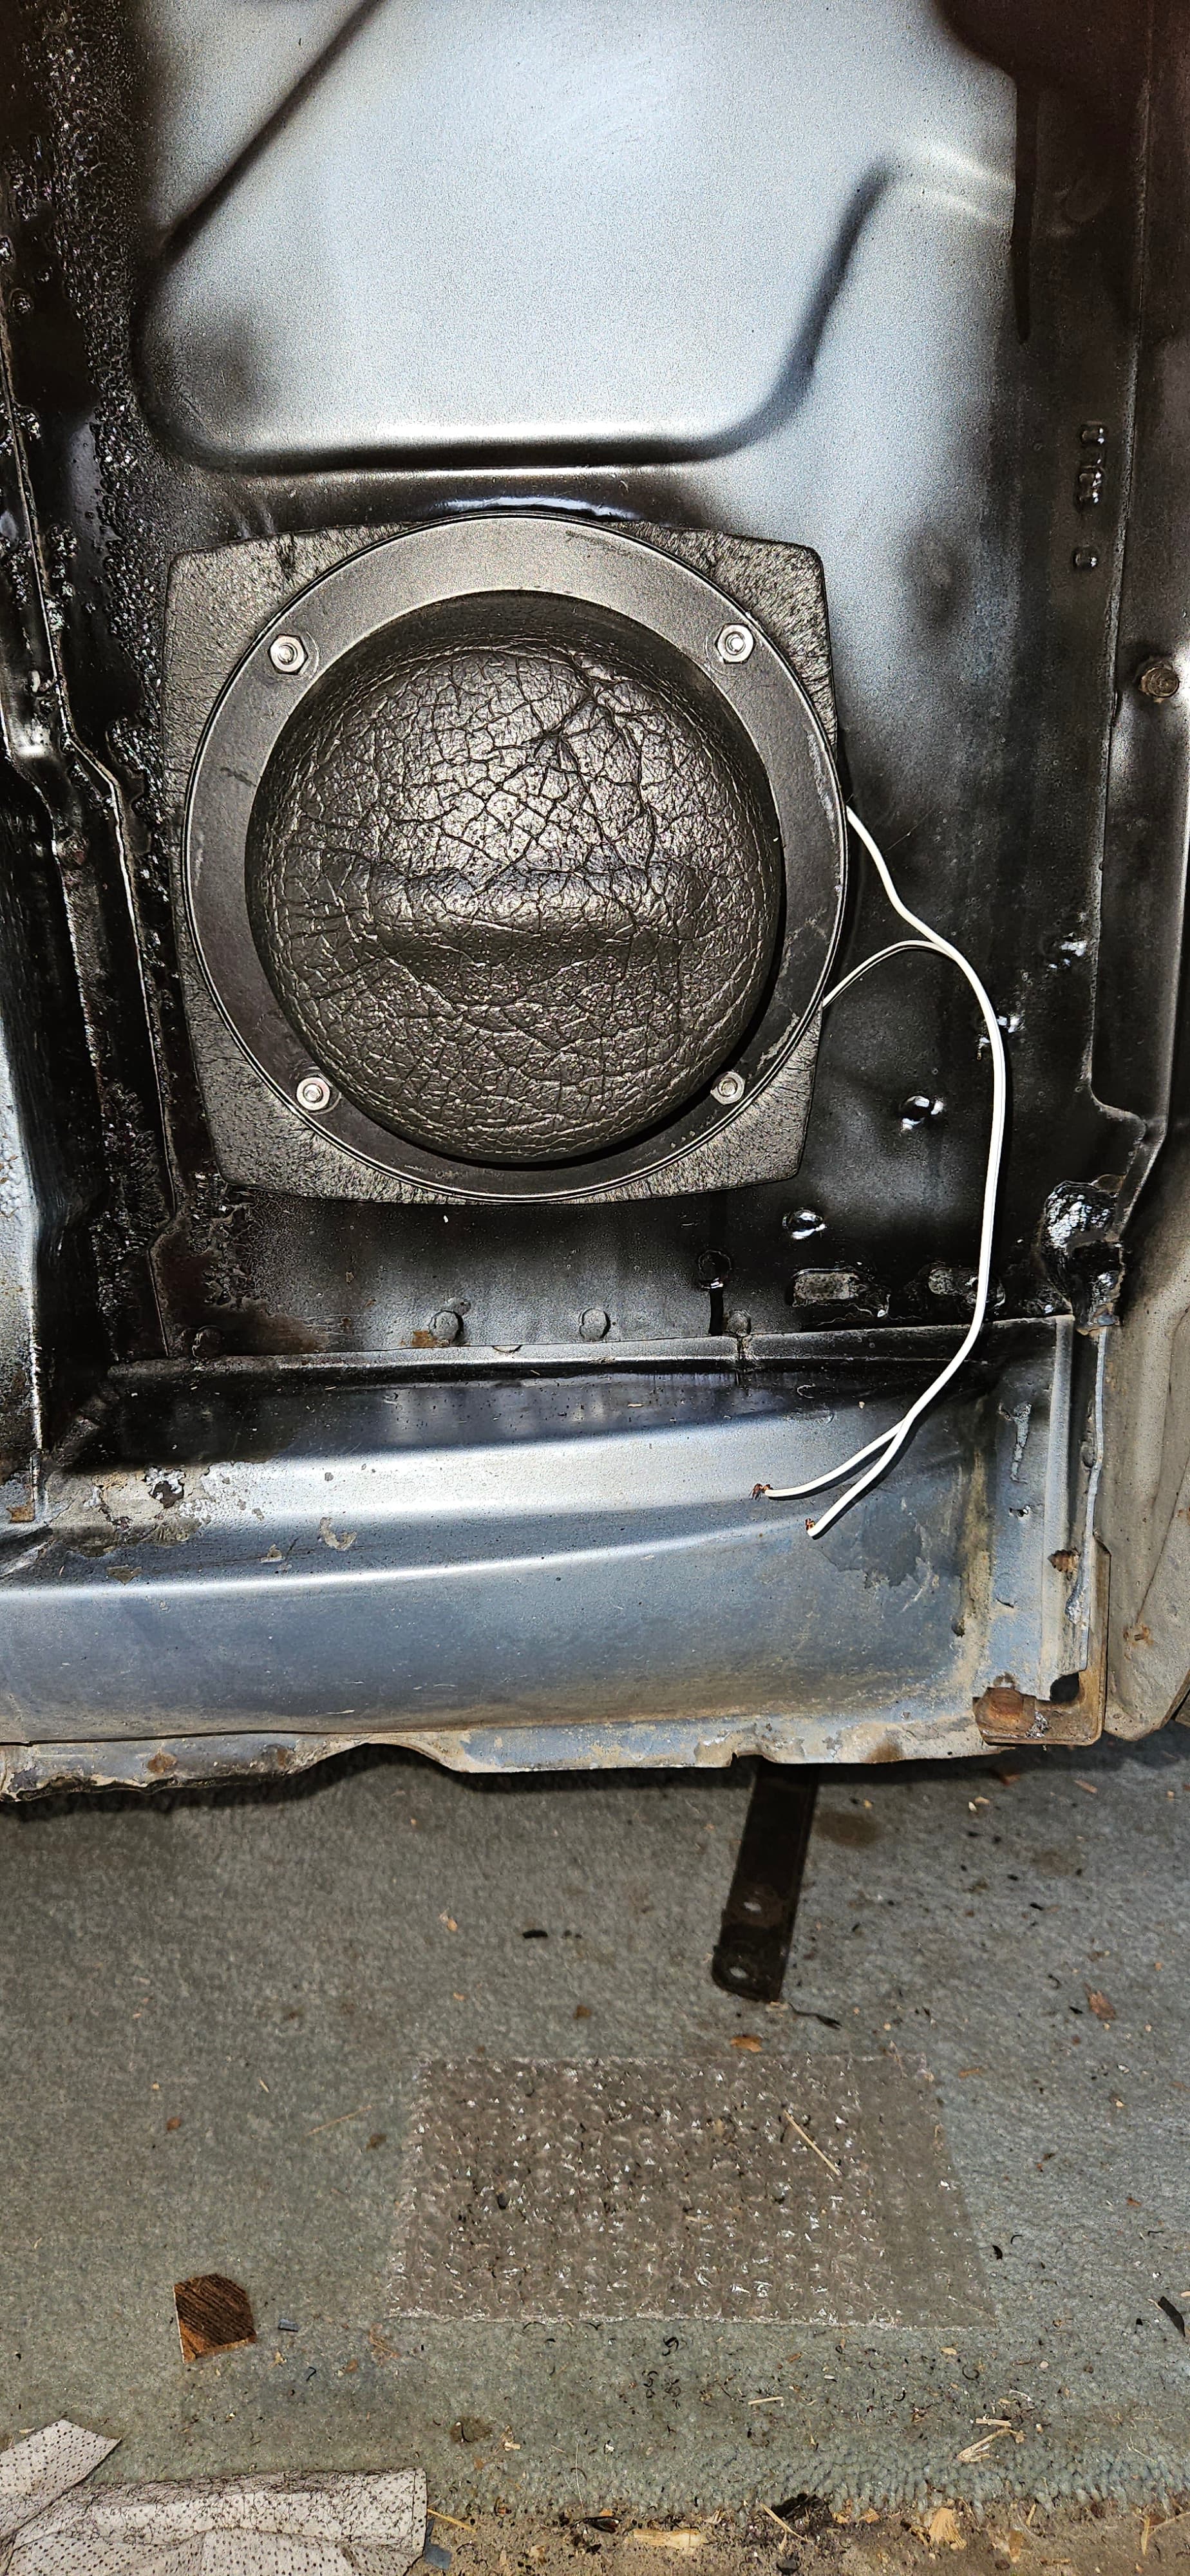
I used stainless steel screws with nuts, and after drilling holes for them, I threaded them through. The screws had good bite in the sheet steel. With speakers on the inside of the kickpanel, I ran the screws in. I do not have a set of the original (optional) speaker buckets, and I was afraid they’d be too small anyway. So I opted for a couple of “Boom Mat” inexpensive foam enclosures to seal them. I used the trim ring from my speakers on the back side of the kick panel, and put nuts on the screws to secure everything. As you can see, the pigtail for the speaker itself is just laid under the foam up against the sheet metal. I’ve got some rubber plugs on order, and next I’ll drill a smallish hole, poke the wires through a plug, and use it as a grommet to keep them from fraying on the sheet metal. It should be airtight, but I also plan to use a shot of “Flex Seal” across the bucket and that plug. It will further strengthen the foam bucket, help deaden it acoustically, keep the nuts from ever backing off their screws, and ensure that everything is leak-proof.

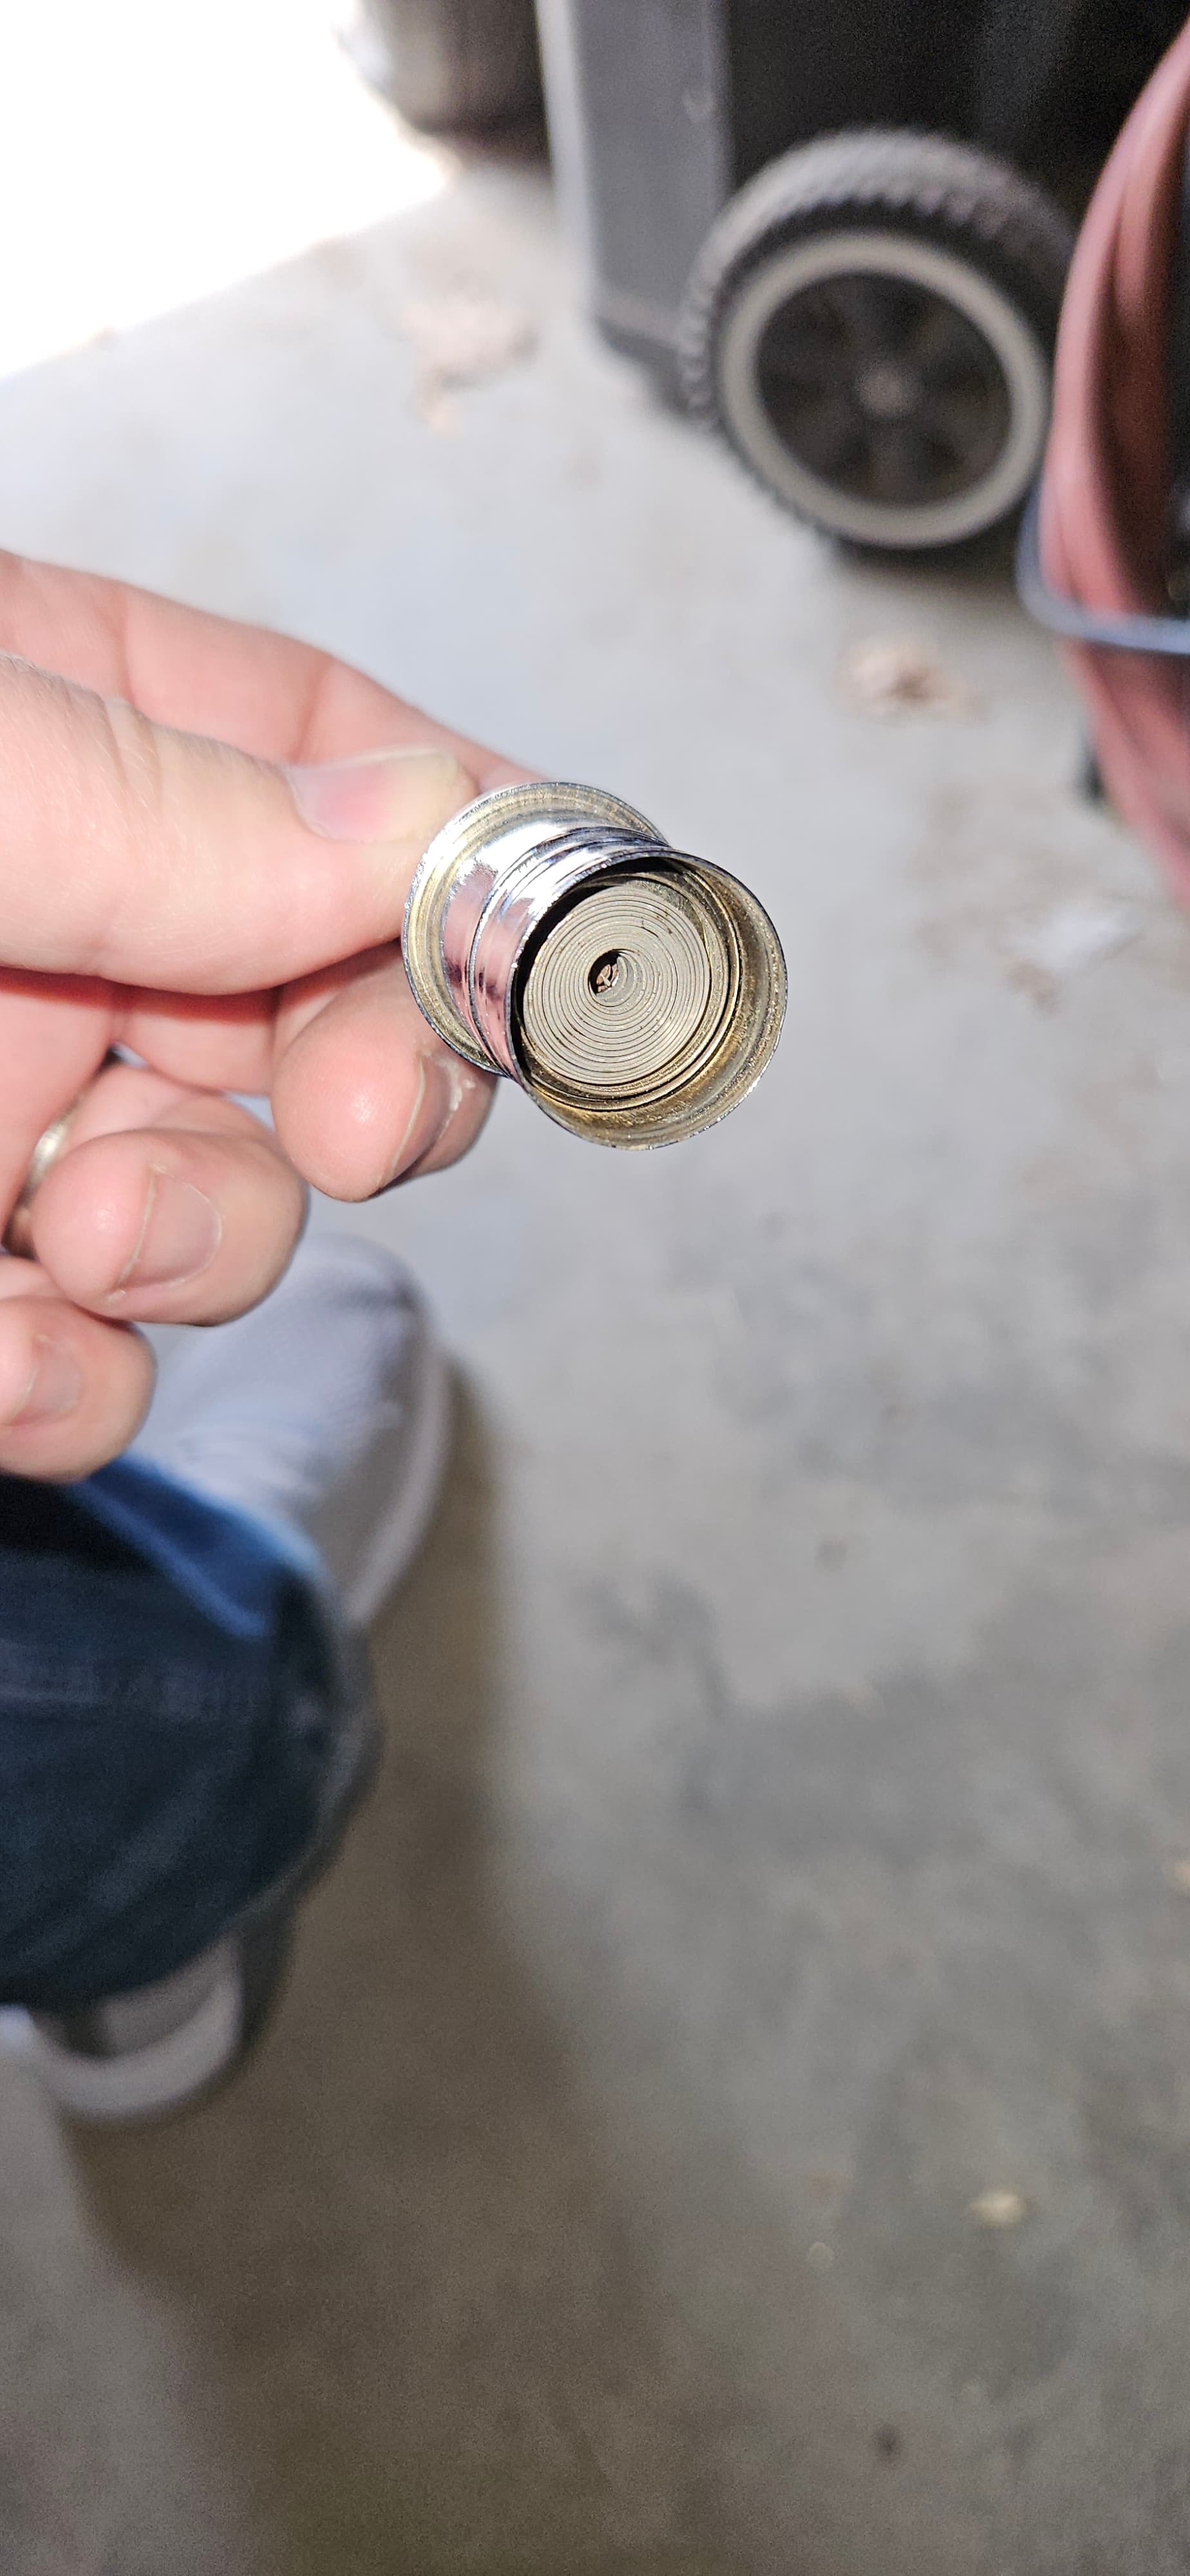
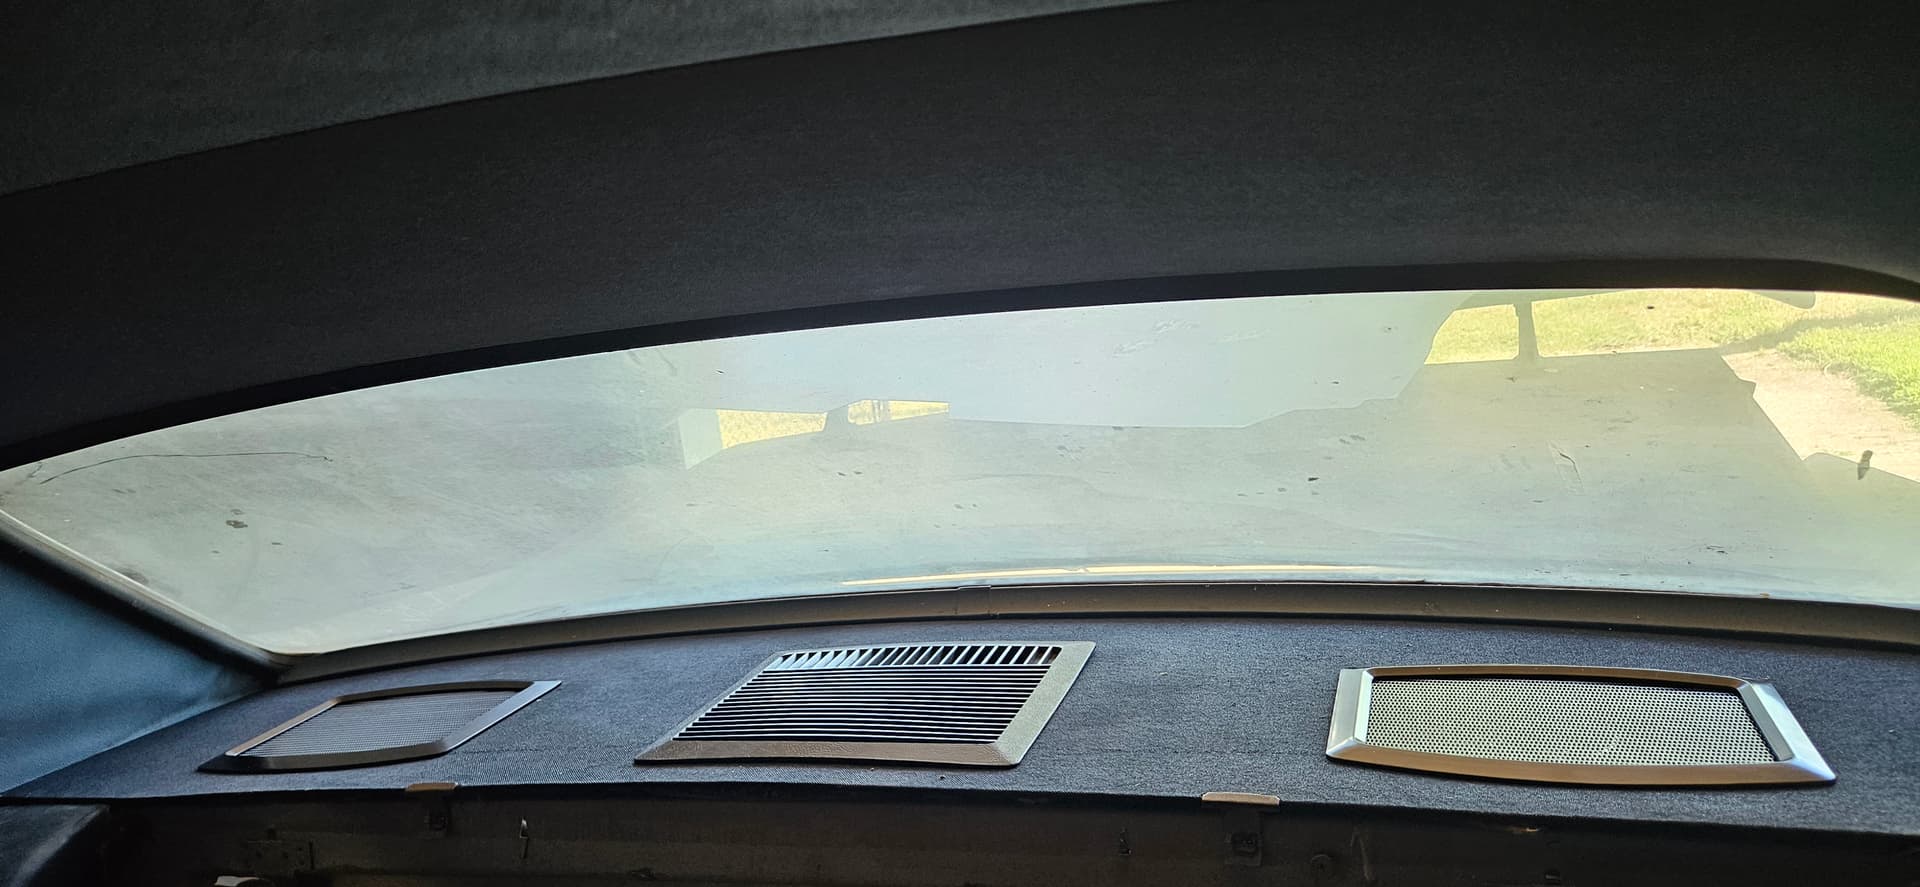
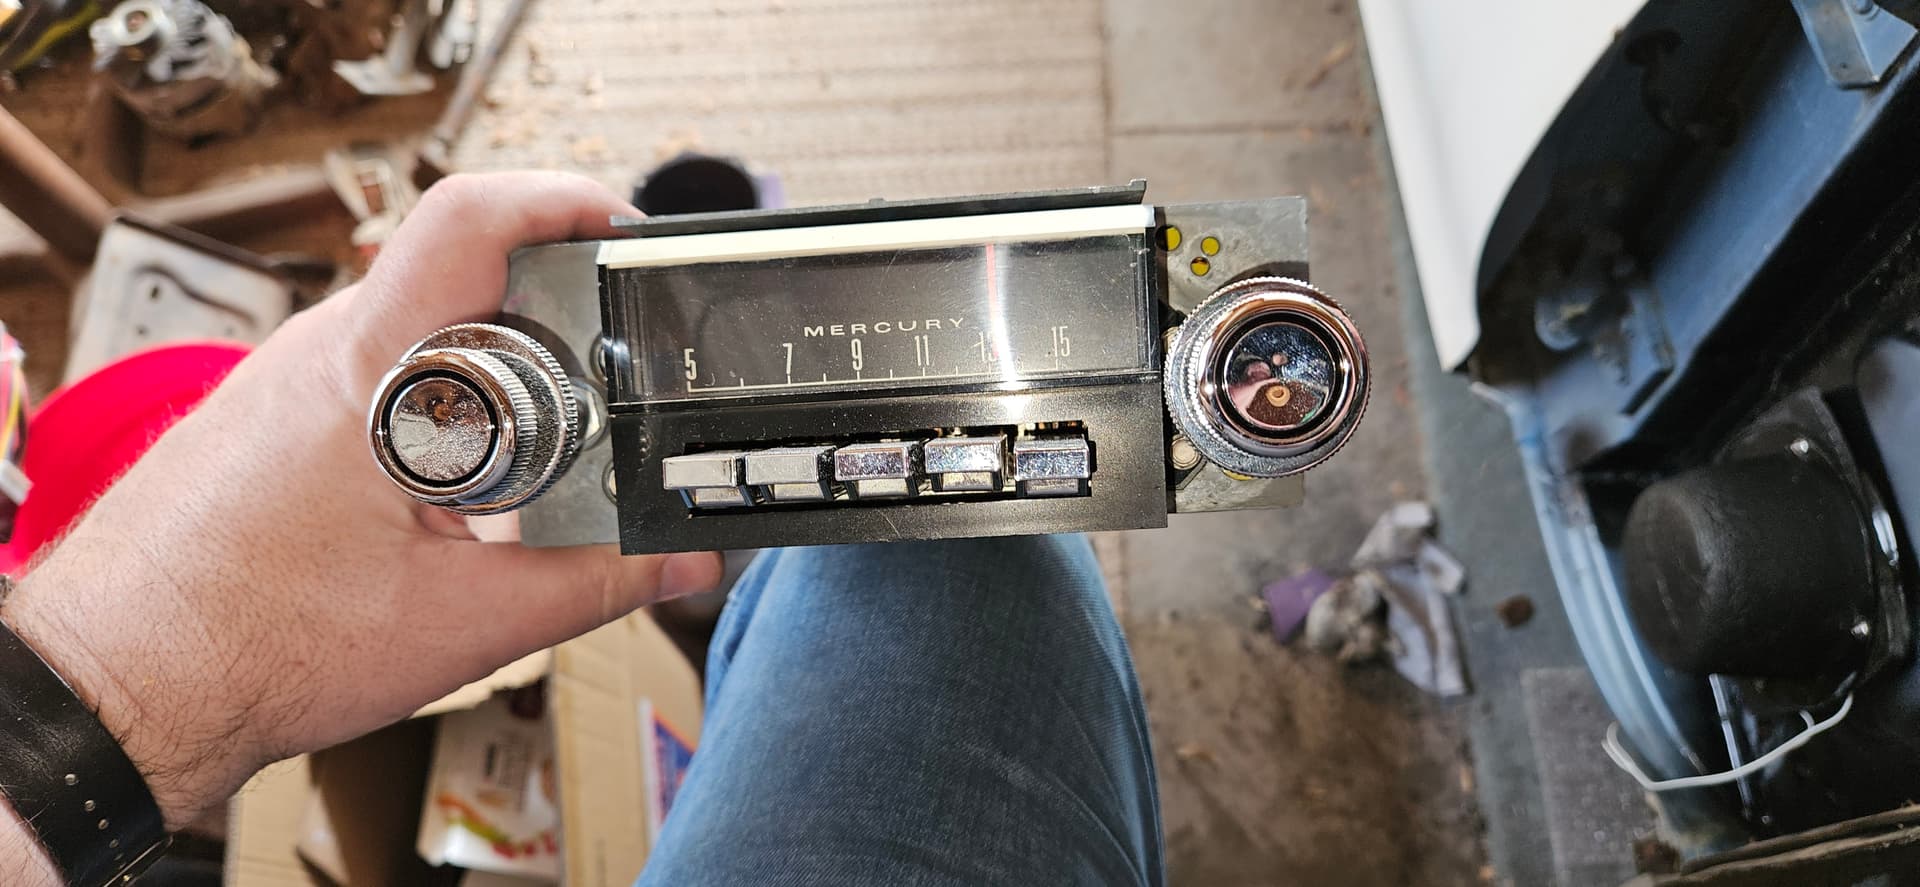
And last but not least, here’s the original 1967 AM-jammer from my car. It looks stock (and is!) but it has all new internals from Aurora Design, allowing AM, FM, Bluetooth, Handsfree, and MP3!

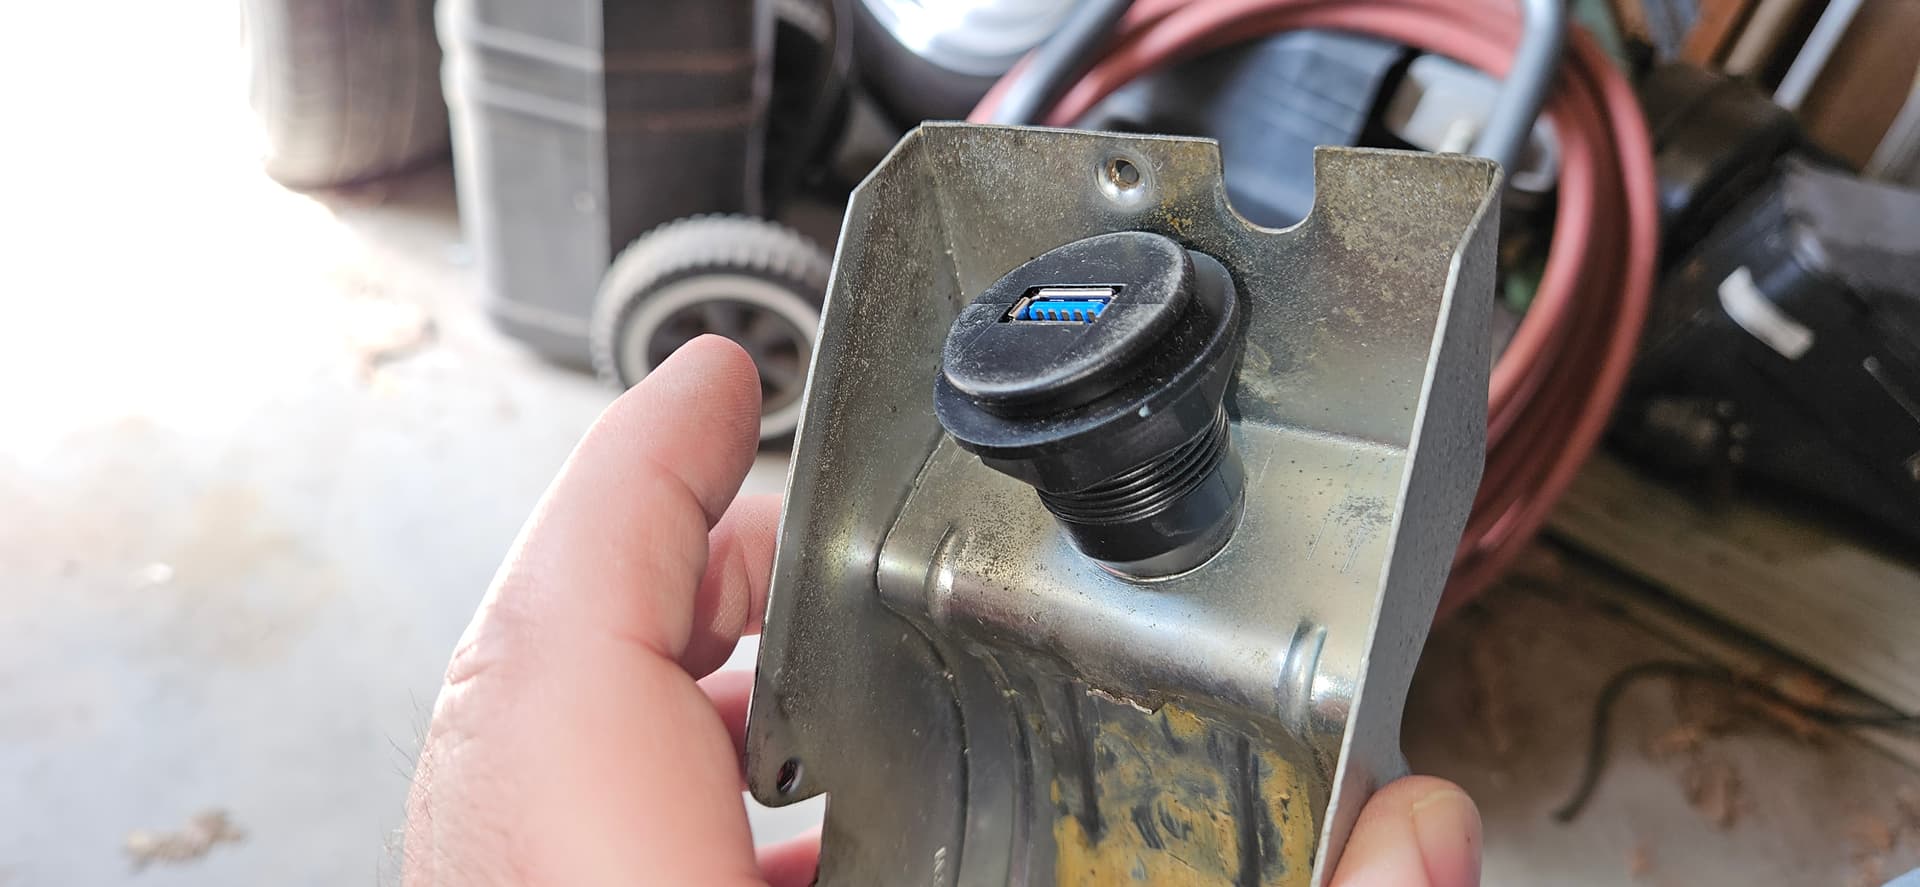
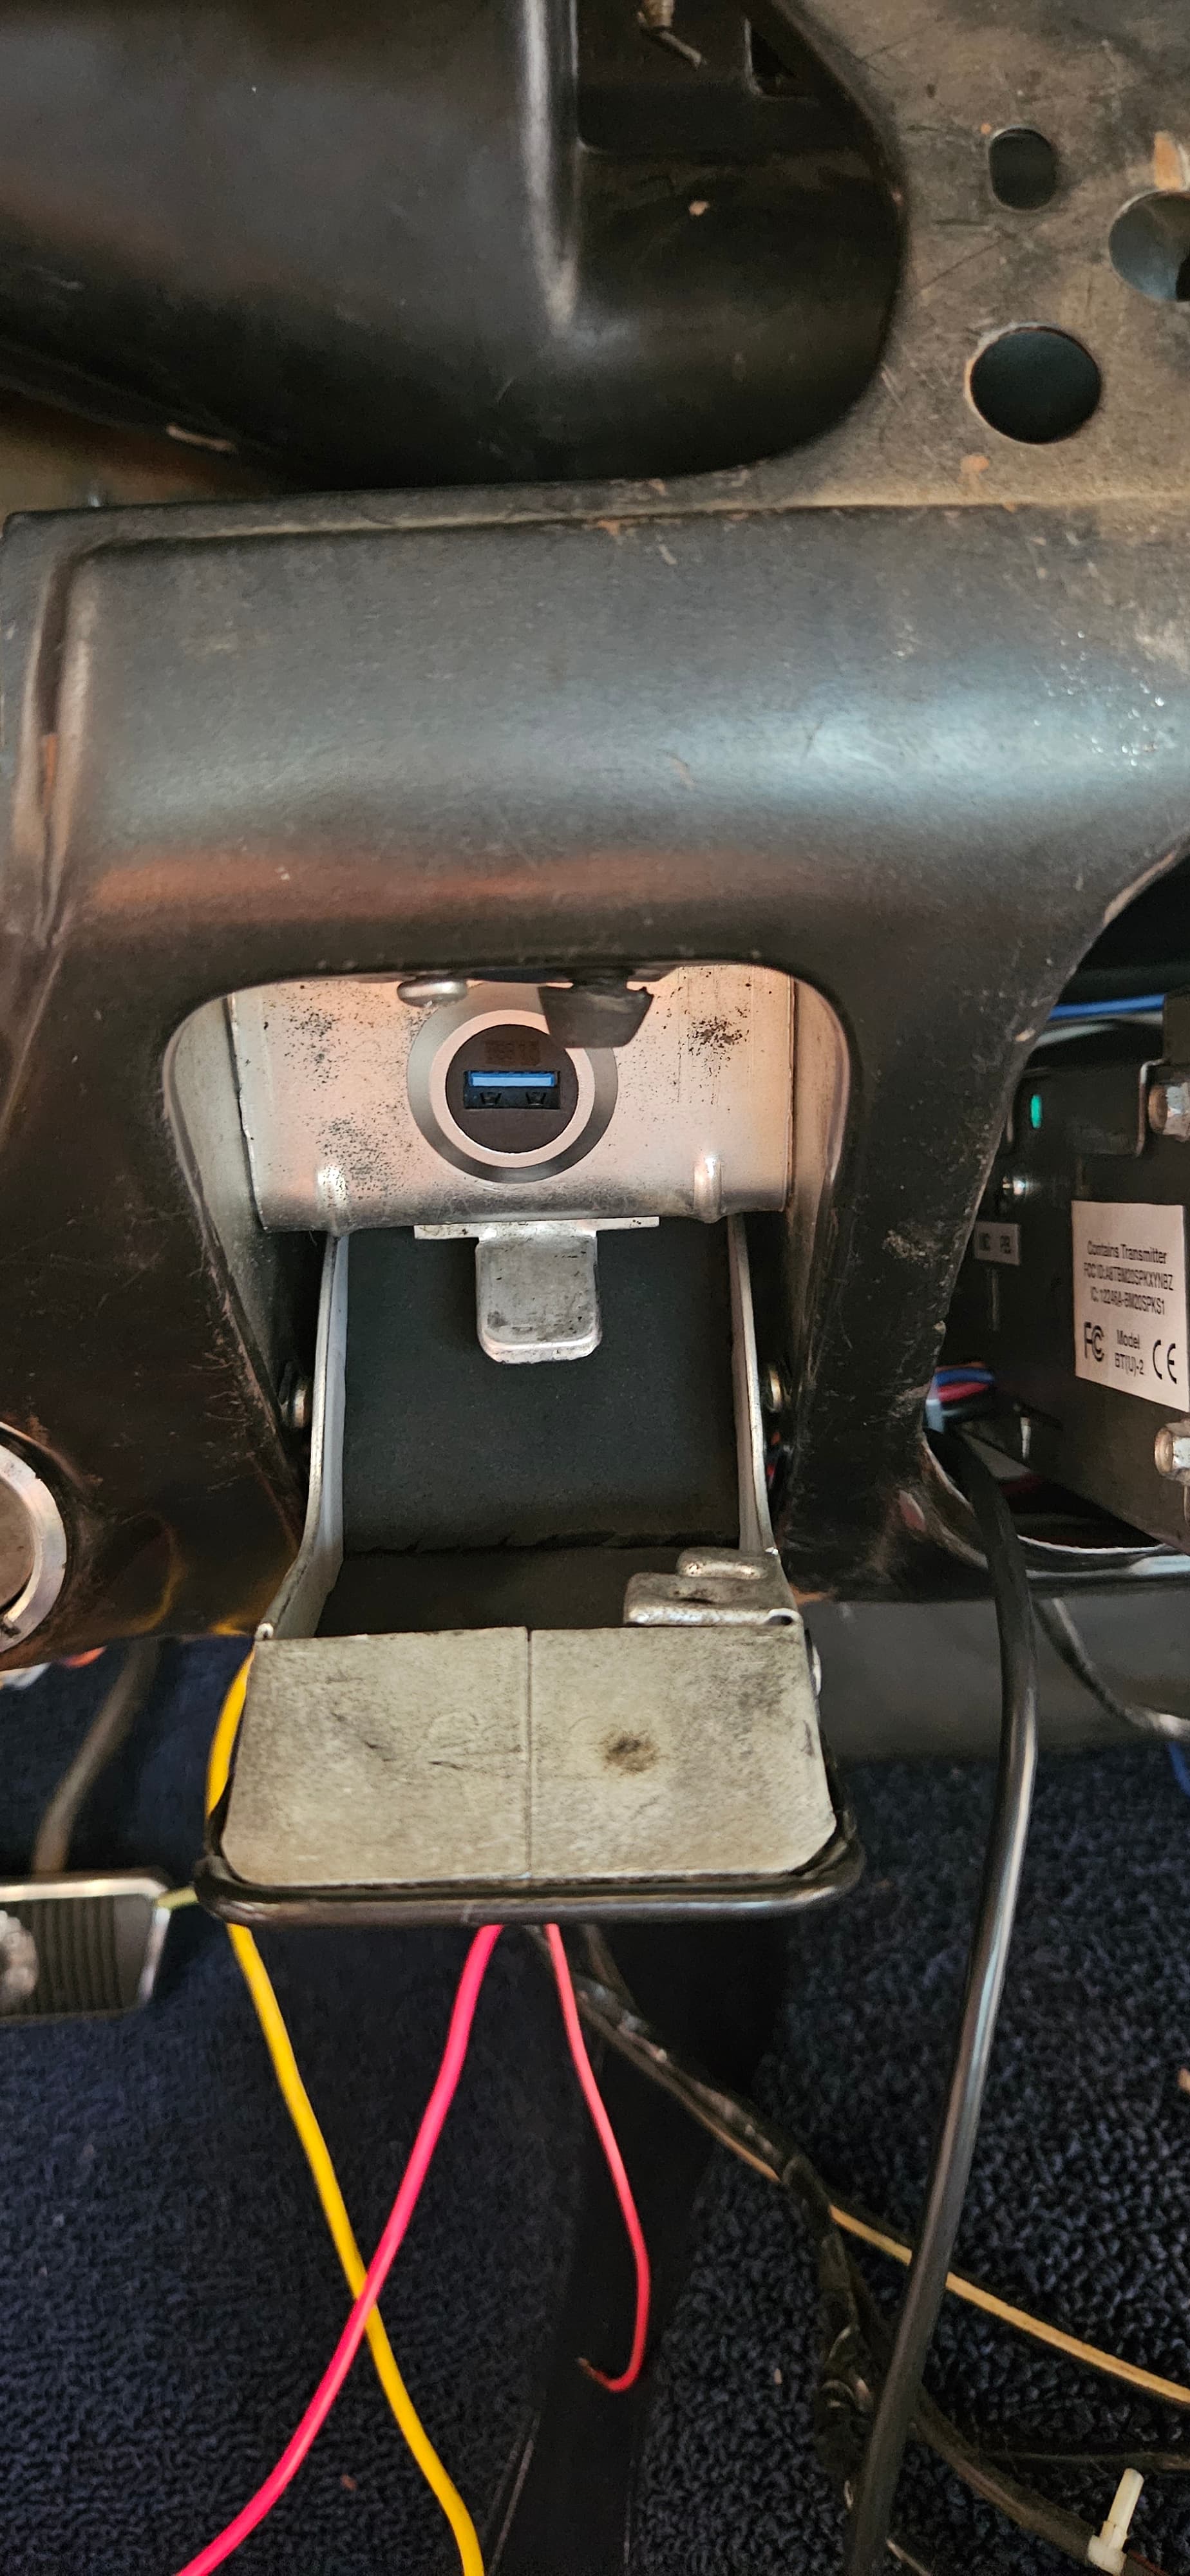
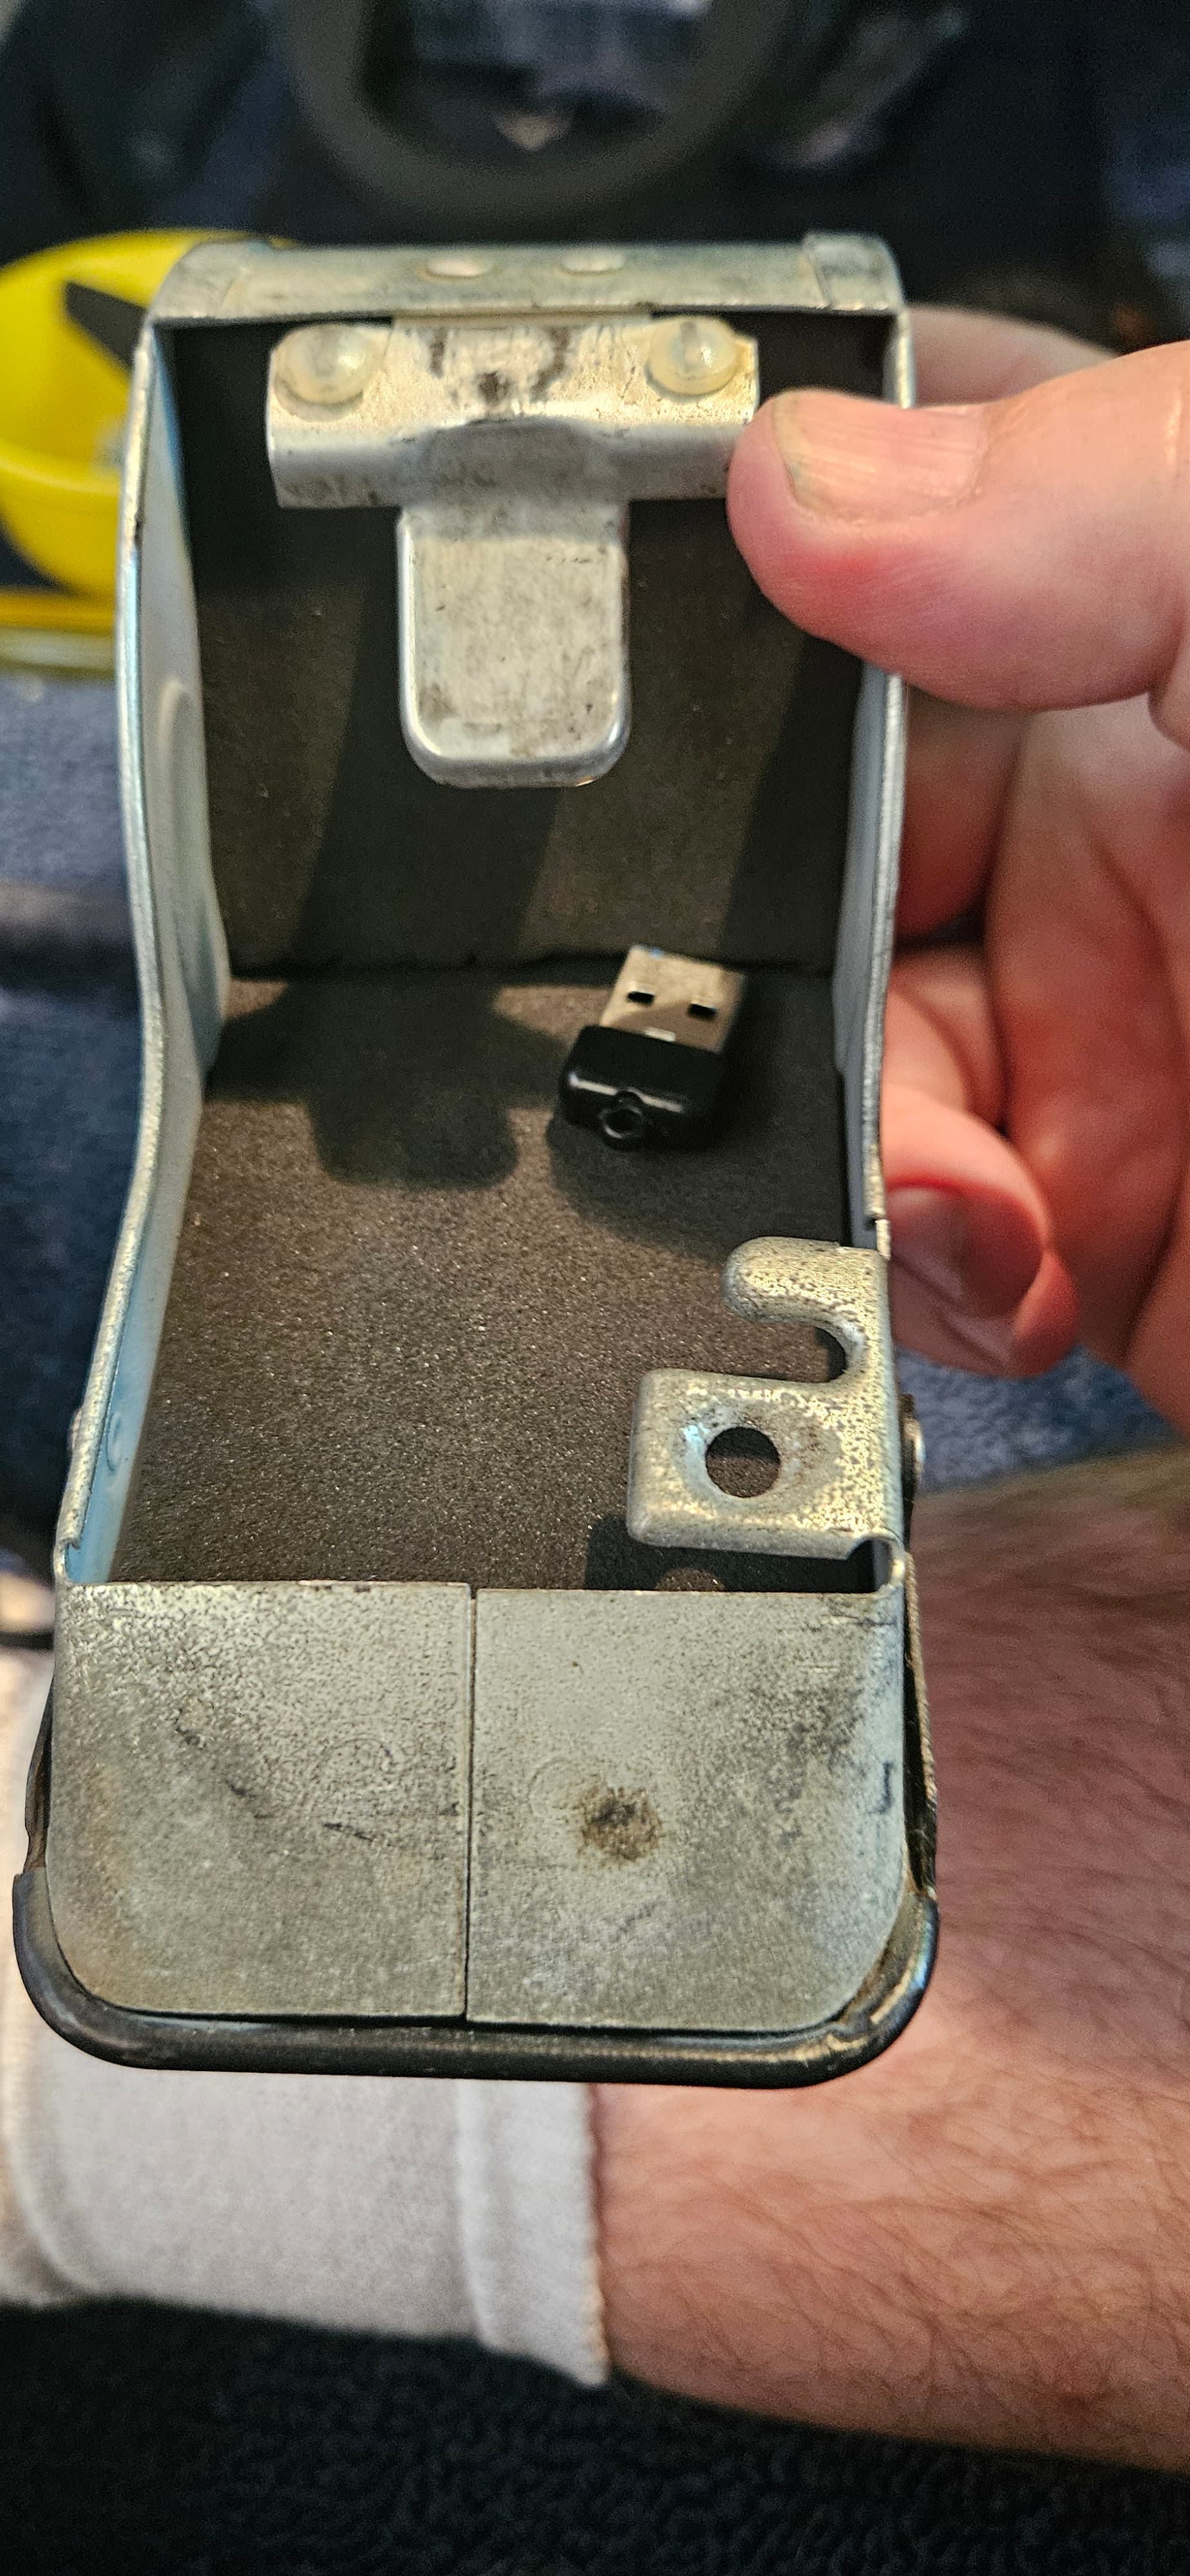
I’ll try to get some pics of the USB port I put in my dash tray to replace the original cigarette lighter, next.

3 Likes

The guy who I got my 67 Cougar from .He put the speakers in the kick panels, but he used some aftermarket speaker pods and now I can’t use the factory parking brake. There’s no way to get any part of my foot to push it down.

Well, good news and bad news, 1lilorbie!

That thing on the floor in your '67 is not the parking brake. It’s your windshield washer pump! If you push down on it, it’s actually a washer fluid foot-actuated squirt gun. And it will make your wipers activate each time you push down on it, which is nice for a misty day.

The parking brake is that sideways handle under your dash by the driver’s door! =)

The whole reason I’m putting all the ‘extra’ work into mounting these speakers in the kick panels is for the same reason you’re unhappy about: I didn’t want to lose clearance there on the sides!

As promised, here are more pics!

Hard to believe how clean the original cigarette lighter is. I don’t think it was ever used. The flash on my camera was picking up every speck, but honestly, the thing looks brand new.


Here’s a pic of how well the speakers fit in their cutouts.

Far from a ‘perfect install’ here, but the beauty is - it works well, and it did not damage the original mount for my lighter. If I ever find a smaller USB socket, I’ll put that in here instead; this one didn’t go in the hole.

Nice work on your Cougar, Grim - keep posting, it really helps other members to be motivated, as well as stimulate their creativity in undertaking modifications to their ride. One suggestion regarding the “Boom Mat” inexpensive foam enclosures - try spraying the “Flex Seal” on a small sample of the foam ( maybe a trim piece left over from the installation ? ), just to be sure that there is no interaction between the solvents in the Flex Seal and the foam. A lot of Styrofoam materials ( ranging from the clam-shell fast food style to the hard board rigid insulation ) will ‘melt’ or go gummy when in contact with specific kinds of solvents. Worth a try first, just to be safe, so as not to have all your hard work be undone !

1 Like

That’s a very good point, Gah, and thanks for the kind words!

I already hit the edges with it - so I guess I will know very soon! >.<

Beyond that, I’m a bit dissatisfied with my “screwed up” mount. I think I have a really good idea for how to make it a lot better, but I’ll have to see how it turns out. More pictures to follow! =)

Check out this place for different mounted usb style hubs. May have something that fits that hole. I have this same idea on mine but have not done so yet. I have hid the small knob to my dash illumination in there

https://www.waytekwire.com/search?query=USB%20

Thanks, Diesel! Good site, lots of options there! I think all of the ports listed are just chargers though; I need this one to carry data for the stereo!

Ideally, I don’t want to cut up anything in my dash - even the ashtray holder.

Here’s the idea I think I will try next: I ordered a replacement cigarette lighter socket for cheap. I also ordered another USB cord - just an extension cord. I am going to try and cut the end off the new barrel of the socket, and then mix up some epoxy resin, and secure the new USB port in place, then install the barrel as normal! The ‘tricky bit’ here will be to get the port centered. I think if I am careful, I can put a junky old USB drive in the port, find a way to center it and secure it, then pour resin around it, keeping the face clean.

If I feel really ambitious, I may make the resin “blue”, and put yellowish LED lights in the resin, hooking them to the dash illumination circuit too… but not sure how it’ll look, or if the glow would shine out of my ashtray all the time. Of course, I could also replace the bump stop with a little contact switch to keep it off while the ashtray is closed. Because I really need to add more work to this already overwhelming restoration project. lol

Just more stuff to think about. =)