If you are working on a Cougar you have probably learned that there are a great many parts that are Cougar specific. And those tend to be expensive and hard to find. The good news is that occasionally some one figures out how to modify a common part that can then be used on your Cougar. Bill Quinlisk (Cougar Bill) of Golden Colorado put the pieces together and created this great how to article to share with us all.
1970 Ignition Switches for under $20
BRAND NEW!
1970 Cougar owners have always faced non-existent replacement parts for years. Unless you can find and afford NOS parts, this will always be a problem.
Well I’ve found a way to solve this ignition switch problem. The original switches are prone to failure due to construction and age issues.
Does your key turn hard and not return very well or not at all? Have issues getting the key in just the right place to get the starter to engage?
Here is the solution:
The first task was to find an exact replacement new switch.
Not available right? Well kind of.
Thanks to fellow Cougar nut Vic Yarberry, who told me about a switch.
This is the new switch available, but the plug end is wrong & the wires are too short.
So, here’s the plan.
- Purchase a new switch.
https://www.autozone.com/batteries-starting-and-charging/ignition-switch/duralast-ignition-switch/122317_0_0

The price of used ones are over $100 and N.O.S. are well over $200+ so $15.95 is super cheap!

Here’s a picture of the new switch and the original longer 1970 ignition switch.
Original switch measures approx. 14 ¾” long. New switch measures approx. 9”
This is the other problem.

The connectors are very different. Original is on top.
So to fix this you will need:
2 Switches - Original one & new one
Wire cutters/stripper
Wire crimpers
Yellow butt connectors - (2)
Red butt connectors – (5)
Heat shrink tubing 6 small and 1 large
Cut your old switch off as close to the switch as possible.
Cut the wires off the new connector as close to the connector as possible.

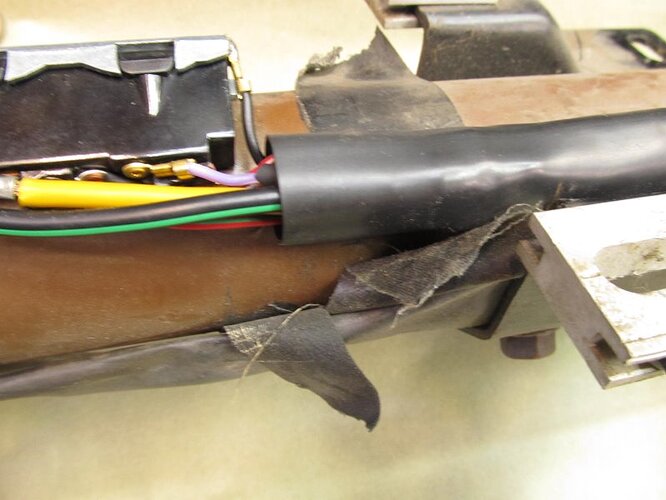
Crimp on the connectors. You should stagger these connections a bit to minimize the overall size.
Be sure to put on the large protective cover over the wires before you start crimping!
Crimp and heat shrink. You could solder these connections if you want.

I connect the 2 large wires (Black & Yellow) first. They are the ones with the yellow crimp connectors.
The next 5 wires are close in matching but not exactly.

Color code:
Black to Black
Red w/ White stripe to Red w/ White stripe
Red w/ Blue stripe to Red w/ Blue stripe
Red to Red (faded pink)
Blue w/ White stripe to Blue (faded)

Here you can see the new switch with swapped original end (one on the bottom). It still has the red locking pin in place. Remove before installing.
Top switch is an original 1970 Cougar ignition switch.
Now you have a new switch for under $20!!!
How to remove the ignition switch from the steering column on a 1970 Cougar
Disconnect the battery.
If the collar is original and has not been removed you may still have the collar retainer.


WCCC states “tilt” but they were on non-tilt also. Most of these clips are long gone.
If you still have this, carefully slide the collar downward and spread open to remove it.
Put the key in the ignition on the column. Turn the key like you are going to start the engine.
Let the key spring back to the “run” position.
At the top end of the switch is the rod end. It has a small pin that can be removed with pliers.
Don’t crush it! Tap it thru and pry it out.


Remove the 7/16” nuts. Note the location of the switch. The switch slides in the slots.

This allows adjustment of the keys off and start positions.
Remove the old switch. You can now replace the switch with the new one described above.
