I saw this topic on MC.net, but there is something going on with my ‘cookies’ which has prevented me from reading on a website that I have used for years. Kind of PO about it too, honestly.
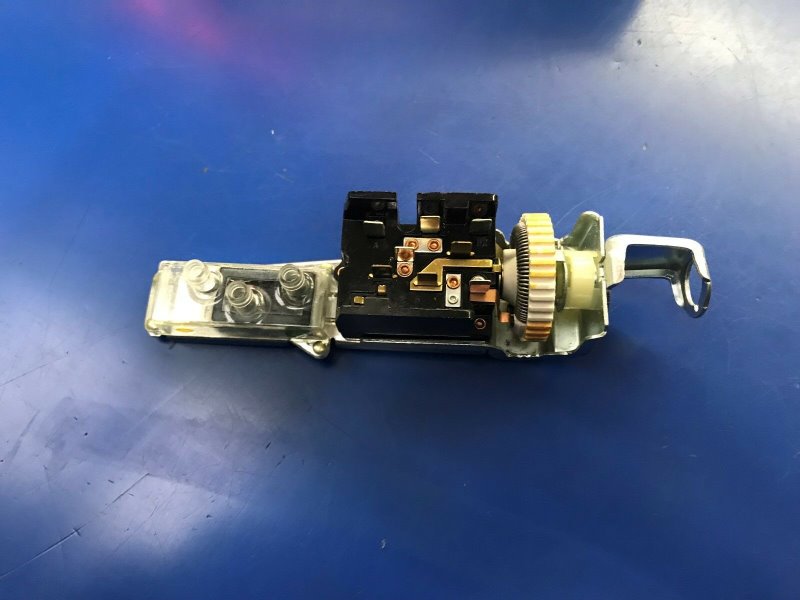
Anyway, I took a few days off from work, trying to accomplish some way over due maintenance. I pulled the padded dash out of my 68, as it isn’t going back on the road anytime soon. So, while I am right there, I thought I would go ahead and install the headlight switch that I bought last August. Guess what? It isn’t a direct replacement! My original switch has an extension, that fills space inside the lower dash panel, that the replacement does not have. I believe that I have read elsewhere that you are supposed to ‘swap’ some part to the other, but WTH parts swap between the two? Do you have to drill and pop rivet the new thing back together? Is there a way to R&R The extension from the old to the new? I don’t know what to do with this. Or, is there a better replacement headlight switch part number available from a particular store?
Thanks,
None of the replacement headlight switches come with that extension piece, you have to break it off of your old switch and attach it to the new switch. An epoxy like JB Weld works just fine. Just be careful not to get epoxy into the center hole where the big threaded chrome retainer thing screws in.
If you don’t wan’t to break apart your old switch, WCCC sells the extension piece on its own.
You can still buy the OEM switch if you are willing to pay the price:
Man I should have sold mine!! I installed it before knowing they are worth that much! I would be fine modifying one and making money on the NOS one I had. Im not running vacuum headlights anymore anyway.
I installed a new headlight switch a few weeks ago. Wasn’t too hard to snap extension off old switch. At first I used fast set epoxy and that didn’t bite. 2nd try I used JB Weld regular set and that held fine. I made sure threads were clear and rest of install went fine. Bit of PIA having to wait for epoxy to dry, but now I can dim my dash lights.
I found elsewhere that the end needed cut off, and reused, so I did. I thought the job was still a PITA. I didn’t use any epoxy, I just held all the pieces together for the assembly. I did have some trouble with the plastic sleeve from the threaded insert, as mine was broken. However, the biggest hassle other than holding all the pieces together was properly lining up the stem of the switch! It took a couple of times to get the feel for when the triangle shape was lined up, or not, before the big push to snap it back in place. I have a better idea what to expect “next time” if I have to do this job again. I’m glad the dash was off, and the instrument cluster was out- otherwise it would have been a lot worse!