Your bracket looks like the right one. A spacer is required on non - AC equipped cars. If you buy the Scott Drake timing cover / water pump bolt kit it comes with the correct bolts and spacer.
I just recently did the same job. I did have to disconnect the heater hoses and remove the shock tower brace.
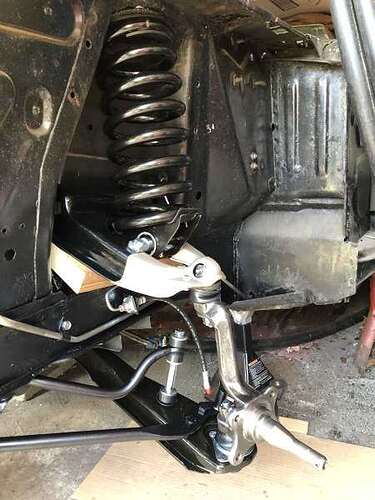
I attempted to replace the hard line across the firewall and it was not possible because the control arms and coil spring prevented the line from rotating into position. Luckily I was also replacing the coil springs and control arms as part of the larger project.
Once I removed the coil spring, spindle, and control arms for replacement it was fairly easy to insert the line through the hole in the shock tower and then rotate it down across the firewall.
Good luck!
I just did the same job replacing under hood brake lines. I removed the shock tower braces. I did not remove anything other than the front wheels. I did have to straighten out the brake lines a bit to center them in the rubber grommets.
I’ll be doing this job soon too, but I don’t have to work around things like all of you have had to do. I don’t expect people to take a car this far apart to do this, but if one is doing what I am it does make this an easy job.
Brake system work continues and prep for new front bearings
The fronts drums were (re)usable. Just got them back. They have been turned and new inner and outer races installed.
Rear drum replacements on order.
I have not yet decided on what shoes to get. Any suggestions?
(I know nothing about brake shoe compositions or manufacturers.)
Porterfield R4-S(?) shoes came highly recommended. A little bit pricy but supposedly a noticeable improvement. I’m willing to spend a few extra dollars here. (I’m preferring to stay with the stock manual brakes and am not interested in going with a disc conversion or changing drum/shoe size.)
’

’
’

’
’

’
’

’
’

’
Richard, I just found this thread and read through it. What you’re doing is great. Keep up the good work.
While I read that your still in Metro Detroit, I’m curious as to your growing up. I grew up in Mount Clemens and Clinton township, and bought my first new car at Bill Farrah. A 1976 Mercury Cougar XR7.
Also, as I am a little late noticing this thread I’ll put a plug in here for the Cats Classic Cougar Club In case you weren’t aware of them. Many members in Metro Detroit and the sourrding states.
Regards,
Gary Hill
Vice President, CATSCCC
Used rear drums from WCCC have arrived and were turned. I decided on the Porterfield R4-S shoes and they have been ordered.
SPLINEHEAD: I grew up not toooo far from Mt Clemens. In that area, as a teen, I spent a lot of time on a friends father boat at the Clinton River Marina (scraping and painting) and at the outdoor trampoline pits at 16 Mile and Jefferson. Now that I’m back, I am even closer and take the dogs to Metropolitan Beach (aka Lake St Clair Metropark) at least once a week for a walk. I’ll check out the Cats Classic Cougar Club.
’

’
’

’
’

’
Haven’t been able to get anytime to work on the car. Rats.
The redoing of the brake system still has a long way to go.
I did order the replacement gas tank and am waiting for it to come in. I went with a stainless tank.
I nabbed a little bit of time to inventory (take pictures) of a few of the car parts boxes to continue figuring out what parts and services will be needed.
Random…
The foam on the rear armrests has expanded. Probably from sitting in the hot attic of a garage for decades(?). IMHO the form of the vinyl side appears to have remained correct, it’s the backside of both armrests that need work.
Can this be repaired? Any recommendations on who does this type of work?
For grins, the last picture is of one of the front seats. Ain’t she purdee?
Thank you.
’

’
’

’
’

’
’

’
’

’
’

’
’

’
’

’
Not too much wrenching on the car has occurred since last update, but have found some time to research and acquire more needed parts. Prices are rising.
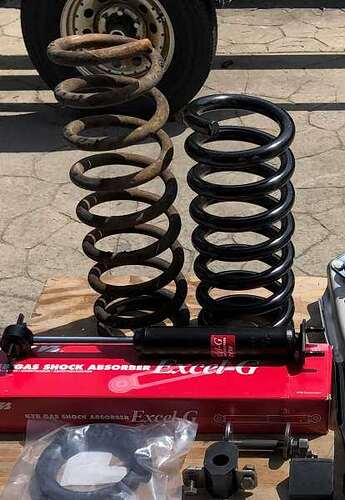
With the car buried in the garage, yet the front end somewhat accessible, I’m going to work on the front suspension / steering next. All the rubber on ball joints, struts, and sway bar, needs to be replaced. I’ll take the route of replacing the upper and lower control arms, tie rod ends, strut bushing, coil spring perches, sway bar end links, and sway bar bushings. Added in will be going with 1” drop coil springs and KYB-Excel-G front shocks. All parts except an idler arm replacement are in hand.
Future projects (research and acquisition) will be steering and (single) exhaust. The p/s pump will need to be rebuilt (besides age, it leaks), do something with the gear box (age), do something with the control valve (age), and replace all hoses.
Today, after a good work out on nut removal, I was able to get one of the struts disassembled. Unless it’s a bad idea, the rusted out tubes on the original strut bushing washers were ground down to solid metal and will be reused. I’ll throw on a coat of VHT Epoxy Satin Black on everything before reassembly, but the paint is a bit elusive at the moment.
’

’
’

’
’

’
’

’
I originally thought this was due to expansion from heat and moisture. Others on here informed me that it’s due to the vinyl shrinking. I guess it could be a combination of both. If you can find a good adhesive and clamp them without damaging the vinyl they can be fixed. I have a bunch that need to be done myself.
Progress on the front suspension continues this Summer.
Upper and lower control arms, coil spring perches, strut bushings, stabilizer bar end links and bushings, and suspension bumpers, replaced. New coils springs with 1” drop were installed. The new shocks have not yet been installed.
There were issues with the Scott Drake lower control arms so they were swapped to Moog CK series lower arms.
The strut bushings were changed to Moog based on recommendations from this forum.
The new stabilizer bar end links will need to be looked at further. They are tightened all the way up to the end of the threads on the bolt, but it doesn’t “seem” to be enough.
While under the car, the steering components were removed. The ram cylinder, valve control, and gear box are off. I’m trying to put the car together, why do I continue to take it apart? ![]() Rebuilding the steering is next on the list.
Rebuilding the steering is next on the list.
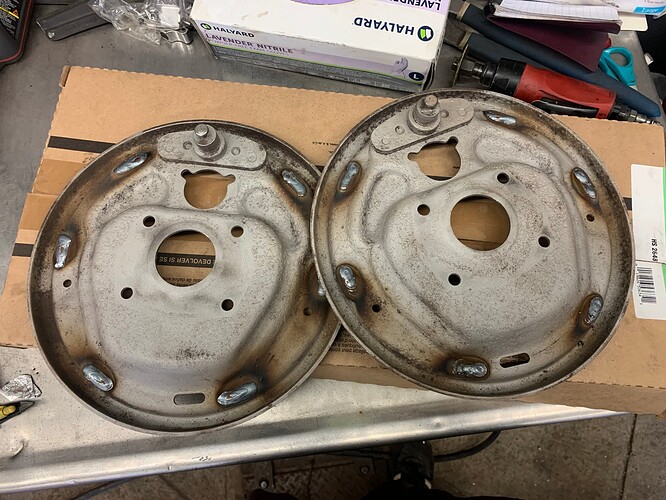
The front drum brake backing plates have been delivered to have the pads the brake shoes rest on resurfaced.
Without a doubt, the coils spring compressing tool with bearing purchased from WCCC is the way to go. As it bolts into place on both ends and incorporates the shock tower into the process, a high level of safety is achieved, and with the bearing, cranking was near effortless. I also got lucky in that during installation, the springs/perches on both sides lined up nicely and dropped into the upper arm, first time, without persuasion.
BEFORE
AFTER
SPRING COMPRESSION TOOL
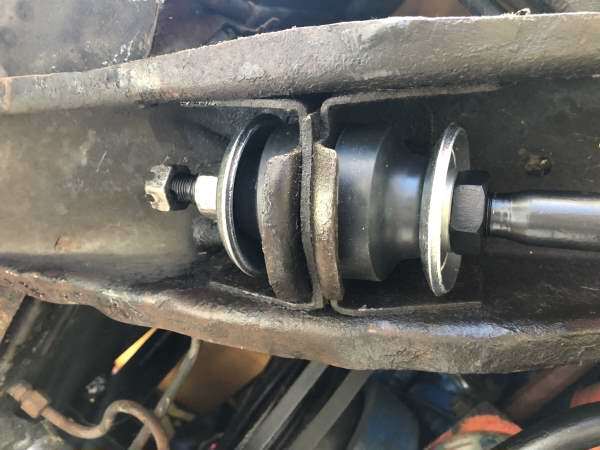
STRUT BUSHING
OLD & NEW COIL SPRING
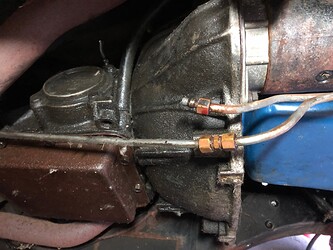
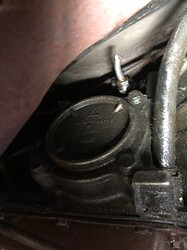
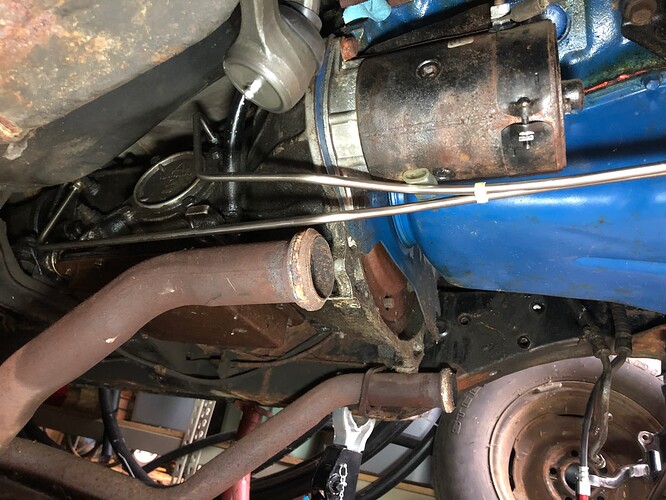
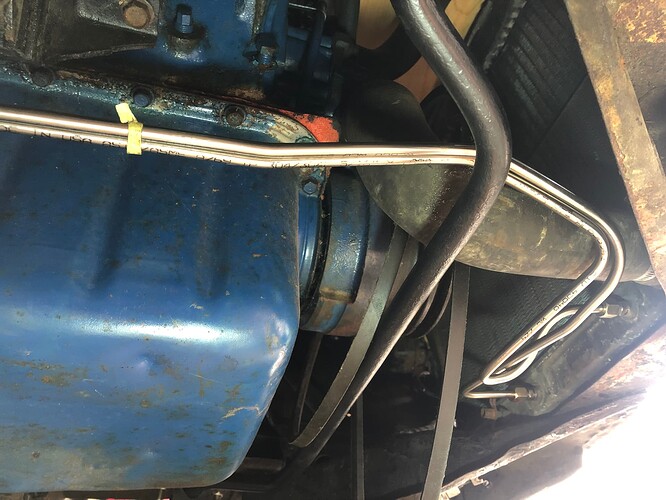
With the steering out, it was a good time to replace the transmission cooling lines. On the trans end, the old lines had to be cut/broken to get them off. For the reinstall, due to tight quarters, I was unable to get the new lines started and had to drop the exhaust Y-pipe to do so. Dropping the exhaust was more than I wanted to do at this time, but as most of the single exhaust is rusted out, it was going to come out sooner or later.
The new stainless steel lines are in place, but not tightened down. They’re hitting the starter and will need additional bend tweaking (and the radiator will be replaced).
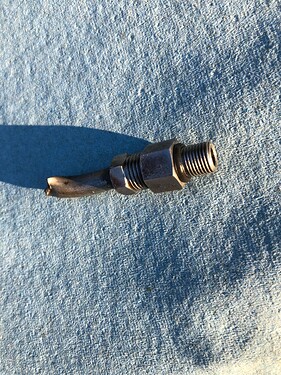
On the trans end, one of the line fittings come off when taking the old line off. It has an O-ring. Is this anything special or can I just pickup similar at the local hardware store?
After the engine rebuild in the 1980’s, the trans leaks heavily. More on that later, but I going to have to drop the trans pan and, on the doubt it will be fixed perfectly the first time, I’m strongly considering replacing the stock pan with one with a drain plug. Any recommendations on one that still has a stock look? C4 trans.
Below: Its unknown when, the old trans lines has been cut and spliced.
Below: Trans line fitting that came out when the old line was removed.
Below: Close up of the fitting and O-ring. The O-ring end into the trans and the other end to the cooling line.
Below: New Transmission lines
I just did new trans lines on mine too… what a bitch to get them routed and squeezed in between all of the other crap under there
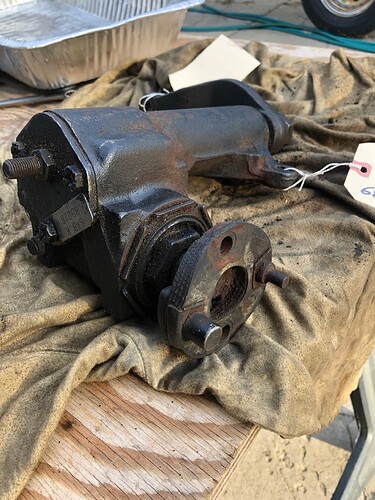
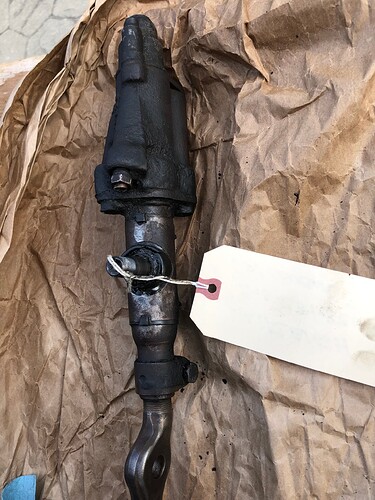
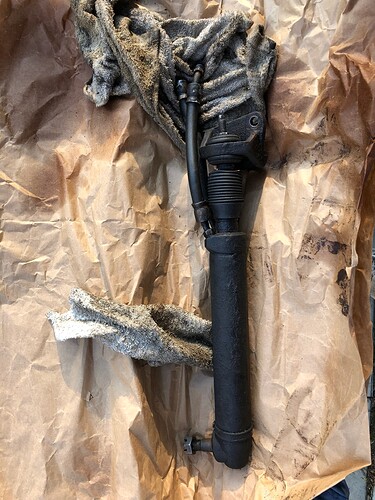
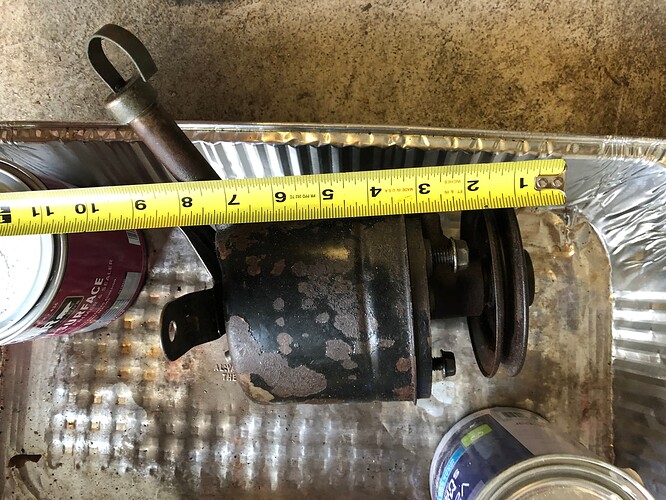
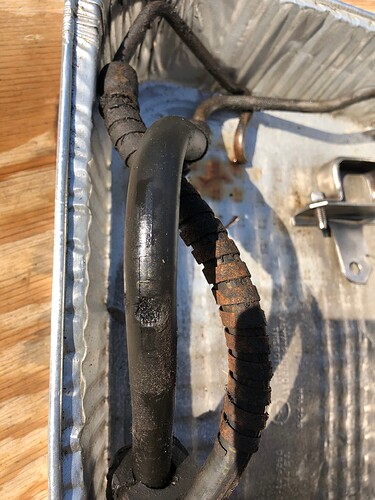
As one could expect, for the steering components, everything leaked, and all rubber and hoses need to be replaced.
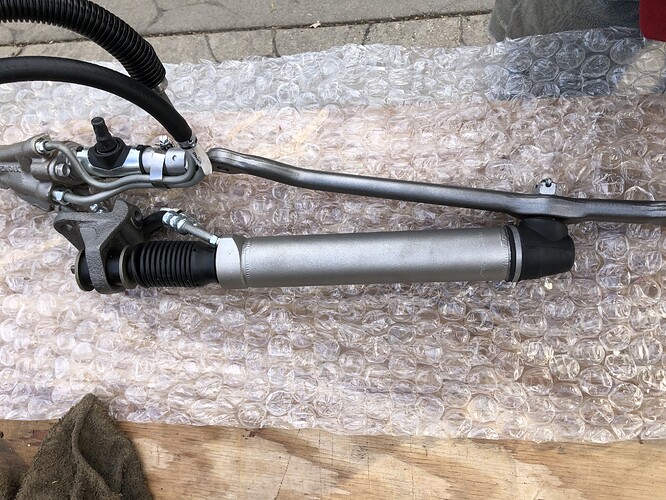
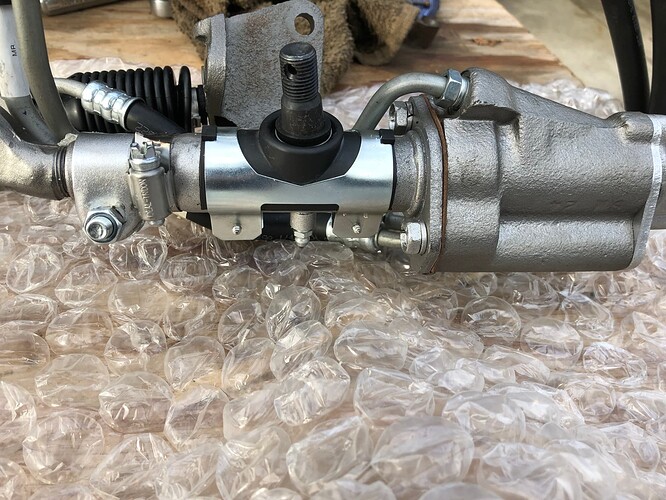
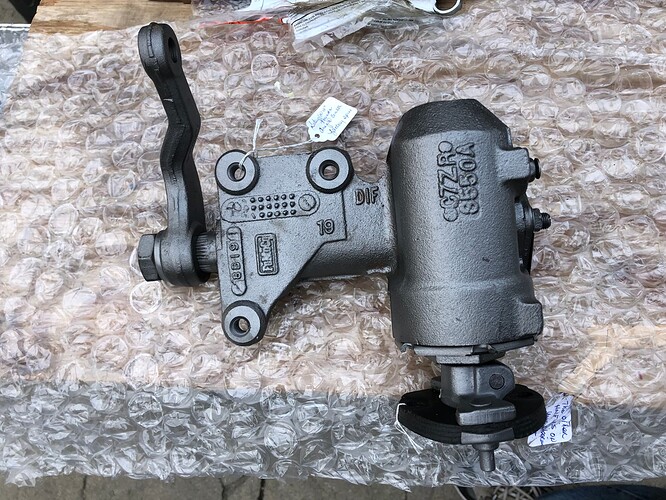
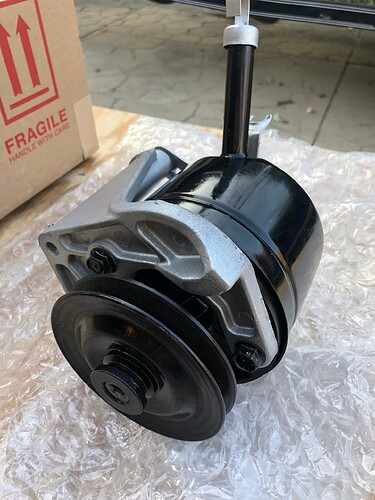
I debated as whether to rebuild the steering components myself or ship them off for rebuild. After a discussion with Dan at Chockostang, and reviews within this forum, I’m packing them up and sending them in (to Chockostang). They’ll also supply new hoses and assembly the ram / valve / drag link components together.
GEAR BOX - tight at center position, loose/play on both sides
CONTROL VALVE with DRAG LINK attached
RAM
PUMP
Disaster averted - nice wear mark noted on the pump hose
You made a great decision. Dan does good work and his prices are good too.
While climbing under the car working on the front suspension and steering, I spied the motor mounts and got to thinking (oh that is never good). As a matter of standard practice on a rebuild, should the motor mounts and trans mount be replaced? All the other rubber is being replace, is this any different? At this point, with exhaust y-pipe off, no steering components on the car, the fan and shroud are off, and the trans lines are only on finger tight, it might be the best time to do so. If yes, any recommendations on manufacturers. I’m not a S.D. fan. 68 XR7 with stock 302-2V C4. Thanks.
if you can do it with minimal effort then you may as well do it …!
One less thing to worry about in the years to come ………
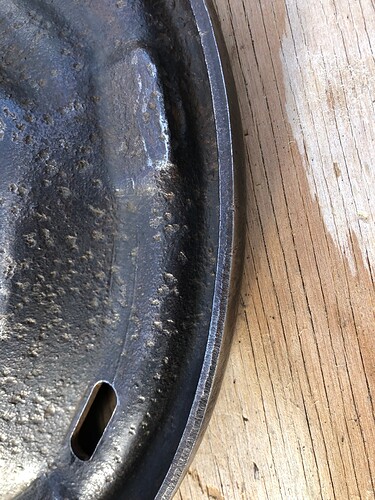
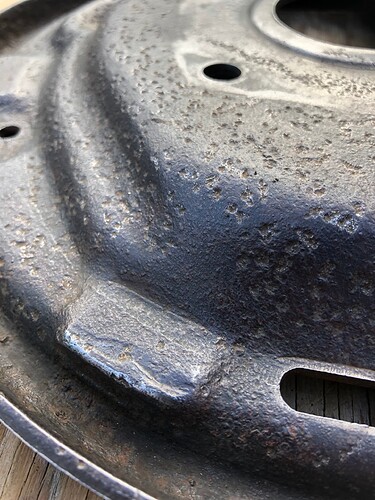
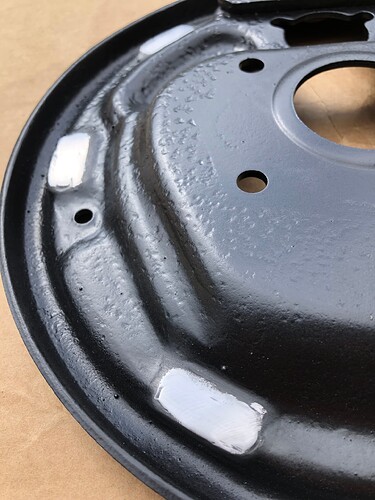
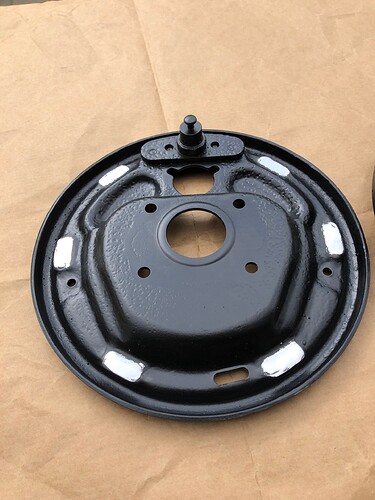
The FoMoCo front brake backing plate pads needed resurfacing. They were grooved and pitted. After a failed attempt at one shop, a good friend’s son welded and ground them. Thanks Seth. The plan is to install within the next few weeks.
The steering components are back from ChockoStang. Dan is a maestro. He took the time to walk me through the project, answered all my questions along the way, and the work was done in a very timely manner. (Thanks to Carol too.) Prices are extremely reasonable. After factoring in what I would have spend on rebuilt kits (and probably a few tools) this is a no-brainer. I’m very pleased and glad I went this route.
The play in the gear box has been corrected!
Winter and the Holidays are closing in. I have to start wrapping up working on the car until next Summer.
Its too cold today to do much outside… 20F at the moment around Detroit. At least its not the snow like the Buffalo NY area. (Please be safe and warm.)
Sins of the Young
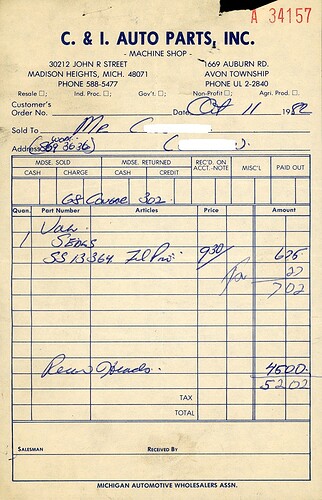
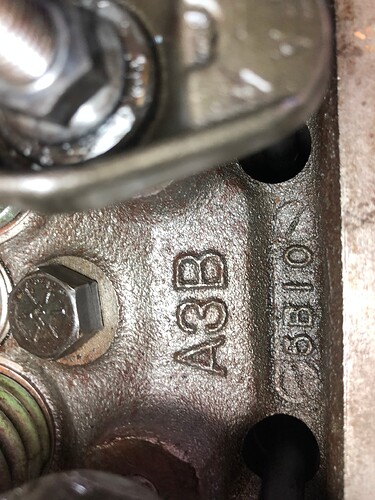
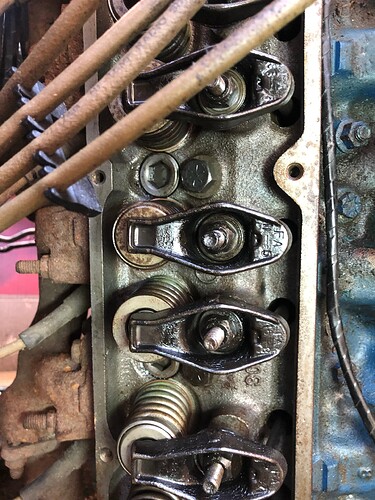
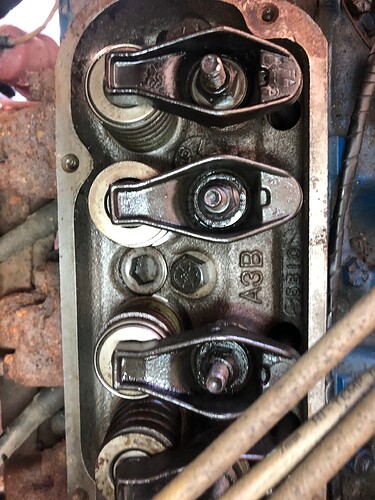
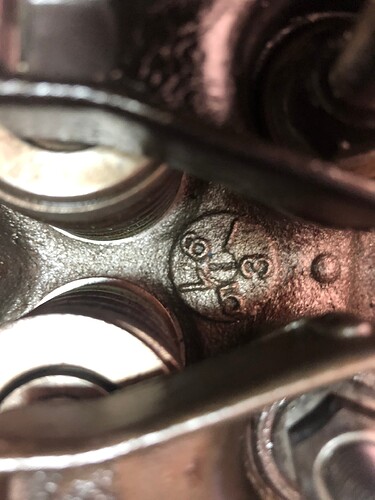
In the early 1980’s when I was having the engine rebuilt, the original(?) heads required too much machine work (cracks?) and were not worth rebuilding. So I went to the next swap meet and bought a set of used “302” heads. (Kid logic: They are all the same, right?) The machine shop refurbished them, the engine was assembled, and all was good. Even thought the engine was rebuilt and installed in the mid 1980’s the rebuild only has about 100 miles on it as of today. 302-2V, no A/C, C4
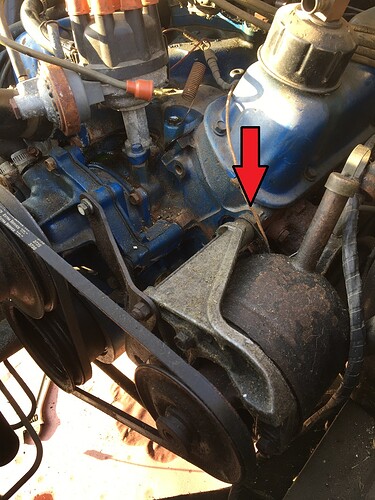
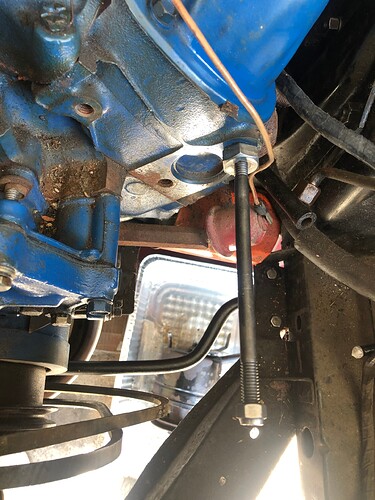
Fast forward to today. After having the power steering pump and other steering components rebuilt, I now realize that the threaded hole in the head that accepts the p/s pump bolt is a different size. The threaded hole is larger. Back in the 1980’s, the guy that rebuilt the engine came across this issue and to get by, drilled and threaded a larger bolt to convert the size. I’m assuming the heads from the swap meet were probably for a larger vehicle, that used a larger diameter bolt for the p/s pump or maybe A/C?
Cougar p/s pump bolt = 3/8" course thread / head installed has 5/8" course thread hole.
- Is there some type of threaded insert that would work in this application to change the size of the threaded hole in the head to accept the p/s pump bolt and allow for the p/s pump spacer?
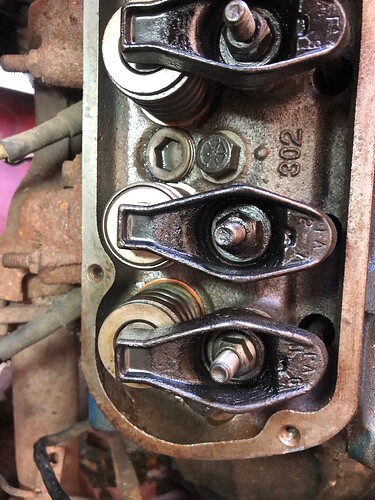
- For curiosity’s sake, any idea what these heads are from and year? (I also am guessing they are lower compression heads too, but the list of items to just get this car on the road is too long. I doubt I’d ever get around to putting on the correct set in my lifetime. The shop work was done in 1982. The heads would be 1982 or older.
Oh well, if buying these heads as a young uninformed kid is among the worst things I’ve done, I’d be doing pretty good.
Below is a “before” picture. I never noticed on the p/s pump it was a bolt head and not a spacer.
Receipt from 1982 for the head work
