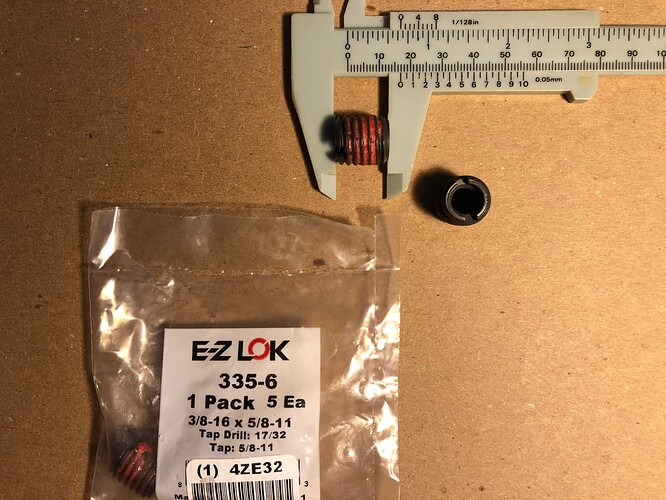
Not sure if this would work or help. 5/8 x 11 NC external by 3/8 x 16 NC internal
Thanks TCELL. I’ll give one of those a try. I just ordered a pack from Grainger and will pick it up in the next week or two. Grainger is local. Next I’ll have to order up the P/S spacer.
In my searches I did see that Ford has a thermactor plug/insert available 5/8 x 7/16, but that is for the larger diameter 7/16" p/s bolt used in 1970 (I think) and up. For 1968, my PS bolt is 3/8".
As a feel good, I was hoping to get to the point to try and start the engine this Summer, but already the calendar is filling up fast and getting trans leaks buttoned up is next on the list and will take me some time. The engine hasn’t been started since the early nineties. I was actually looking forward to spending time rebuilding the carb to make that happen, but I just don’t see that as a reality.
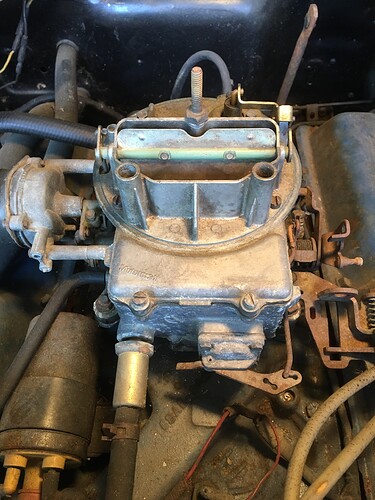
Can anyone recommend a good carburetor rebuilder? 2v. Nothing special for a stock 302.
The internet list of rebuilders is long. I have no experience on who to use or how to pick.
Thank you.
On further research to have the carb rebuilt, I see that the Motorcraft carb is not original correct. It should be an Autolite C8ZF-G [1.08" venturi / 287cfm]. No big deal if I was going to rebuild it myself, but if I’m going to spend the $ to have a carb rebuilt, I should have it done to the correct one. (The dashpot and heatshield are also missing.) Maybe I can find a carb rebuilder that has the Autolite model already rebuilt.
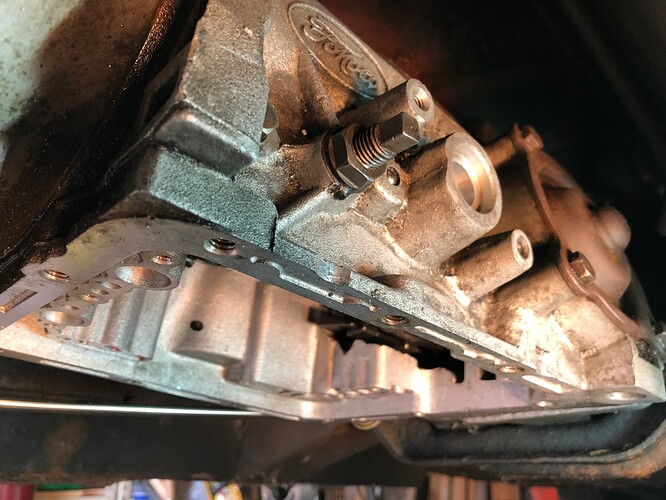
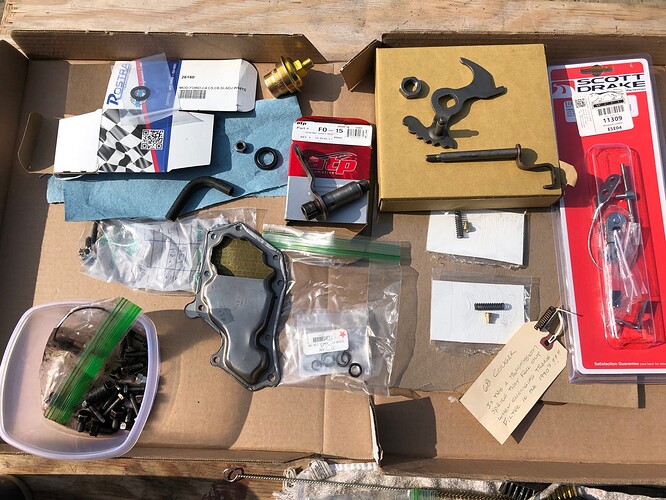
I was able to make some time for the car last weekend. The trans leaked badly as far back as the late 80s/early 90s when in storage. (Everything rubber needs to be replaced.)
- Replaced the vacuum module. I believe it and its hose were the largest source for the leak.
- Replaced trans vacuum tube and hoses on both end
- Replaced both seals on the shift linkage shafts.
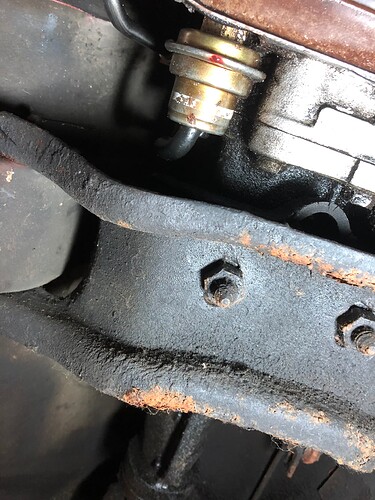
- Extracted the broken bolt for the neutral safety switch and retapped
- Replaced the frayed down shift cable
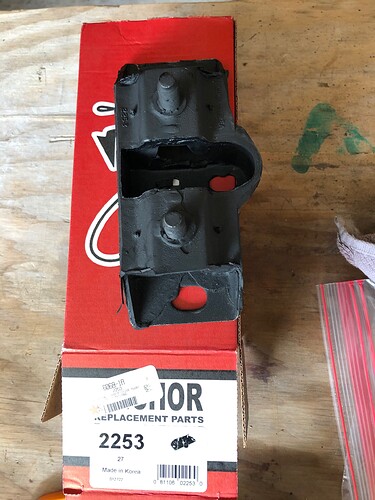
- Replaced the trans mount.
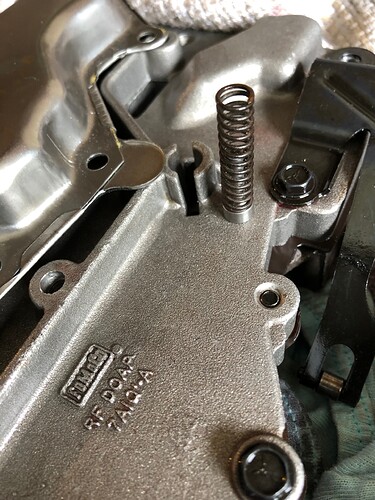
- Reinstalled the trans spring and valve from 1991 (see story below).
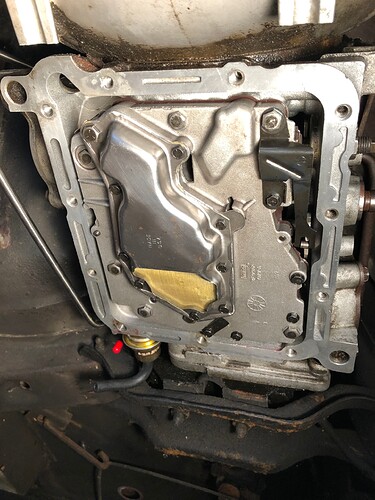
- Replaced the trans filter
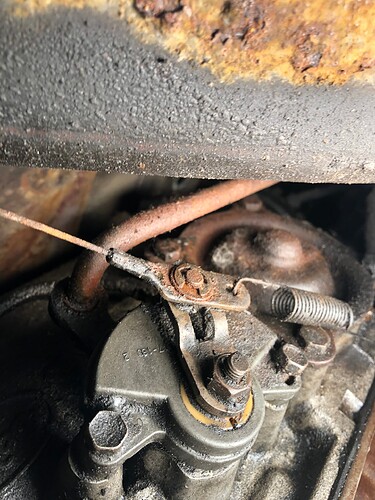
- Attempted to replace the speedometer cable o-ring, but was unable to pull the cable out of the trans. I didn’t want to pull/pry too hard for fear of damaging the cable. I will let this one stay as-is.
Still to do
- Replace o-ring on the trans tube
- Replace o-rings on the trans cooling line fittings
- Install downshift cable spring mount and spring
- Replace the trans pan and gasket with a pan w/ drain
- Reinstall NSS and shift linkage
Before pic - notice the cocked/broken NSS bolt
Before pic - dripping vacuum module
Replacing shift shaft seals
My Transmission Valve & Spring Story
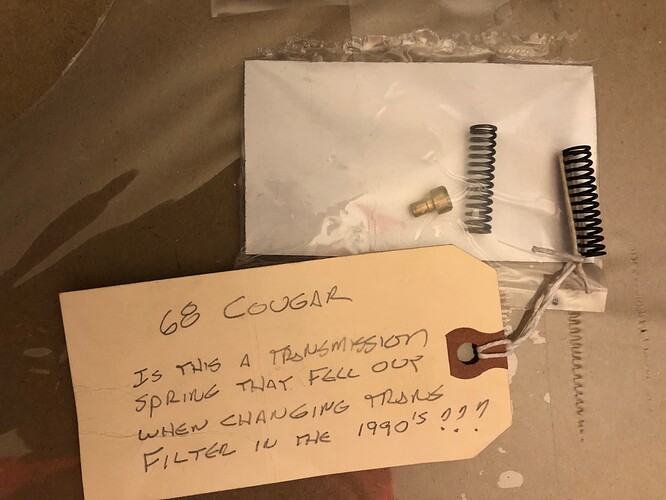
Back in 1991 this 68’ was being moved from one storage location to another. The trans was leaking like a sieve. After getting it to its next new home, I dropped the pan to replace the gasket and filter. The thought was that a new gasket would solve the problem (it didn’t), and who knows when the filter was last, or ever, replaced. I vividly remember to this day while lying on the cement driveway under the car, sometime during the process, slowly rolling my head to one side, with eyes at ground level, a spring laying on the ground came into view. Yikes! I had no clue if it came from the trans, the car, or had been there from some other non-related random repair project. Didn’t find anything in the manual, put it all back together, and stuffed the car into the garage for decades. The engine was never started, nor car driven since that day, to this day. The thought and vision of that spring has never left the back of my mind. (I saved the spring.) Funny how some miniscule event can create an imprint on your brain.
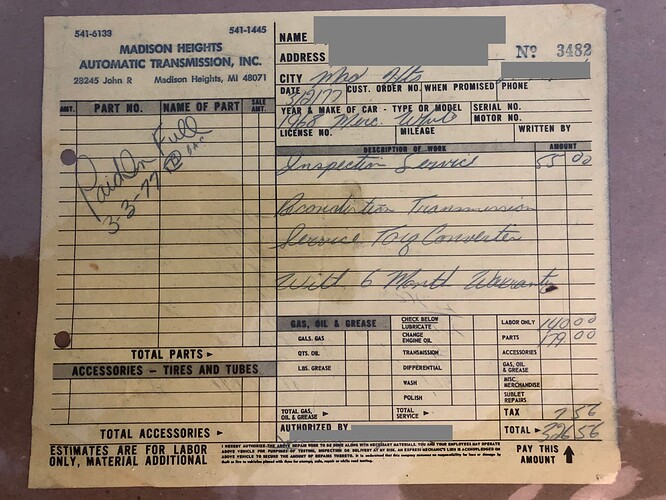
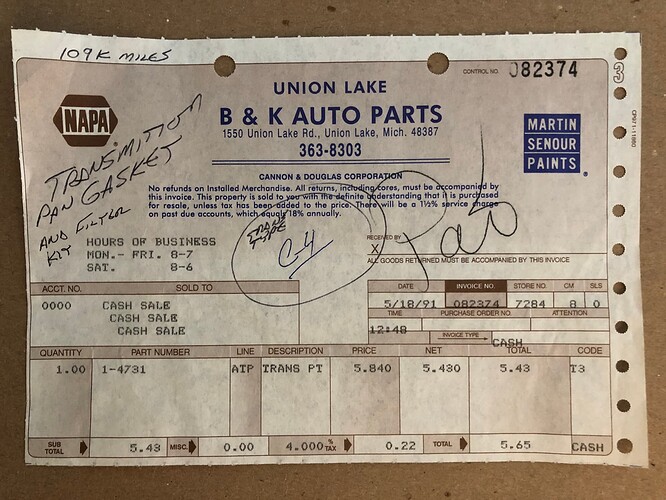
Fast forward to present time. While reading a reply in some forum it was noted that in the C4 a spring/valve was used on the 1970 C4 trans (and up to some point?), and not on 69’ and older. The spring/valve is held in place by the trans filter. On further research I found one identifying trait of the C4 was a vent tube on 1969 and older. I don’t have it. It’s a 70’ or newer trans! Sure enough, I started digging through documentation and found the receipt that the trans on the car had been replaced in 1977. The planets aligned! In 1991 when I removed the filter, the spring popped out and this also explained why the spring was not mentioned in my 1968 manual.
There is valve that goes on top of the spring. I assumed it fell out too, long gone, and not stuck in the value body so over the past winter a replacement was ordered (didn’t need it as the valve did not fall out and was still there when I opened it up this year). Same for the trans filter (I ordered one over the past winter not knowing what I had installed in 1991 and want to be sure I had one with the tab when the time came).
Receipt for transmission replacement
1991 receipt for trans gasket and filter
Thee Spring! and replacement
Apologies for the long post. Its raining today.
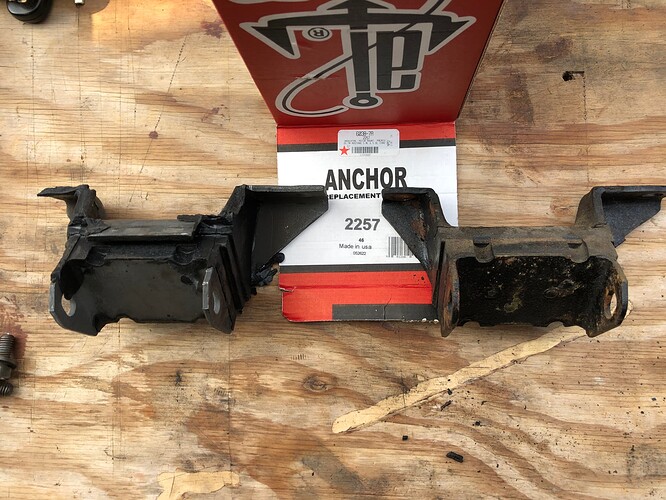
Replaced motor mounts today.
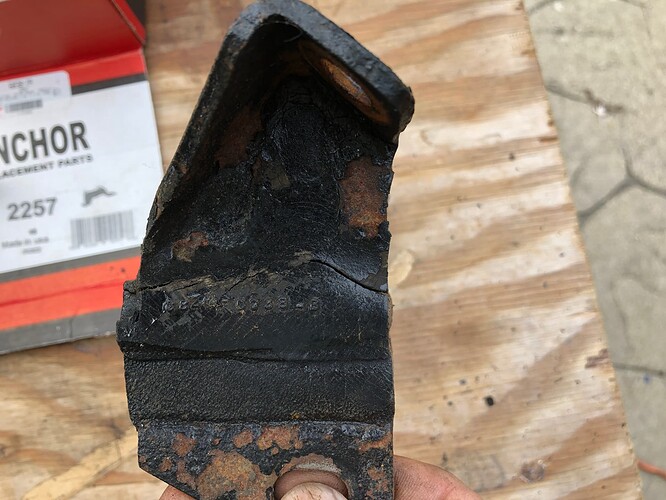
Both the ‘old’ were FoMoCo, but not exactly identical in appearance and one much more worn than the other. Even the bolts mounting them to the engine were different on each side. It appears at one time, just one was replaced.
One was separating.
Thanks Bluestuff. You were right. It was minimal effort at this point of the build, and from the looks of it, one was advancing on failing. “if you can do it with minimal effort then you may as well do it …!
One less thing to worry about in the years to come ………”
Old
New and Old
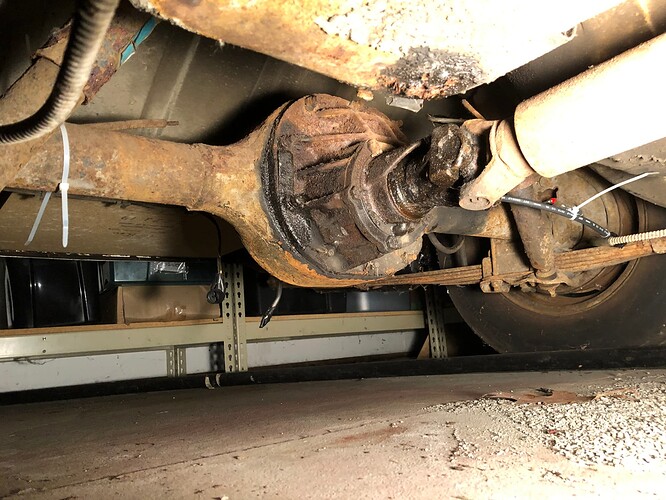
No surprise, the differential is weeping. After this many years, anything with a seal needs to be replaced.
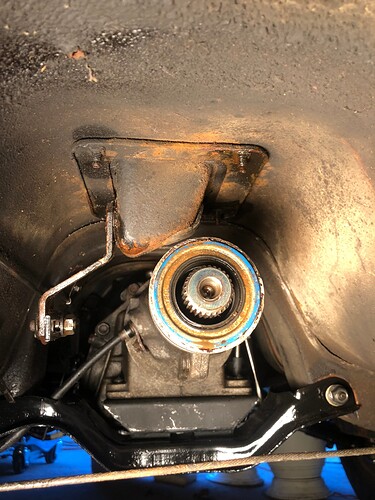
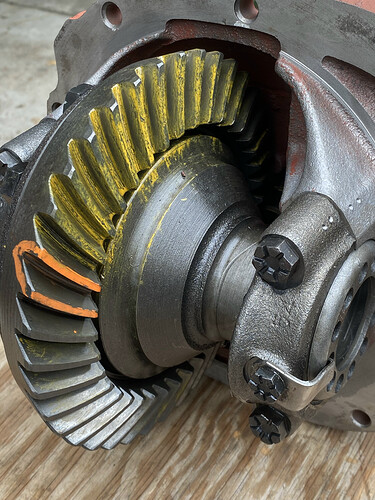
I’m fairly confident I can handle pulling the axles and replace the axle bearings and seals, pull the drive shaft, and remove the differential. After that, even pulling the yoke to replace its seal looks above my pay grade. I will need to find a shop to service/rebuild the differential. Any advice?
What questions do I need to ask? What do I need to make sure they are doing, checking, replacing, servicing, etc…? Costs? Parts brands? Any recommendations on shops? I’m in the Detroit area, I’m sure I’ll have a few to choose from, but always looking for recommendations.
If local and they do driveshafts, I’d look into having it balanced and u-joints installed too.
The car is a stock 302-2V auto and will stay that way. Its got just shy of 110K family driven miles. When the driveshaft is out I’ll look into replacing the trans rear seal, but will save that discussion for another day.
Make sure the vent is open
Have not gotten to pulling the differential yet.
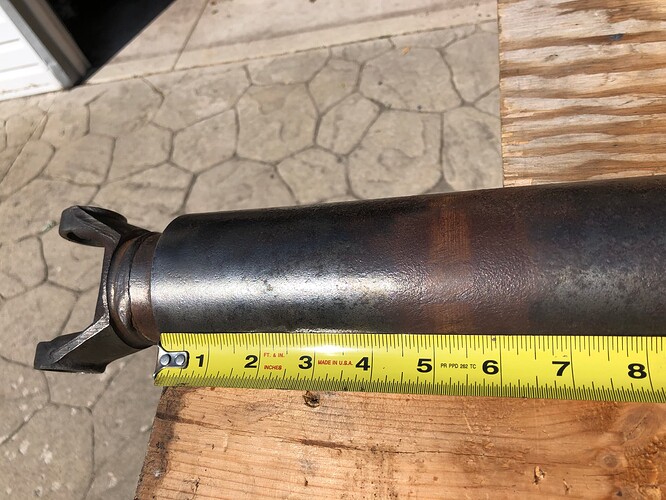
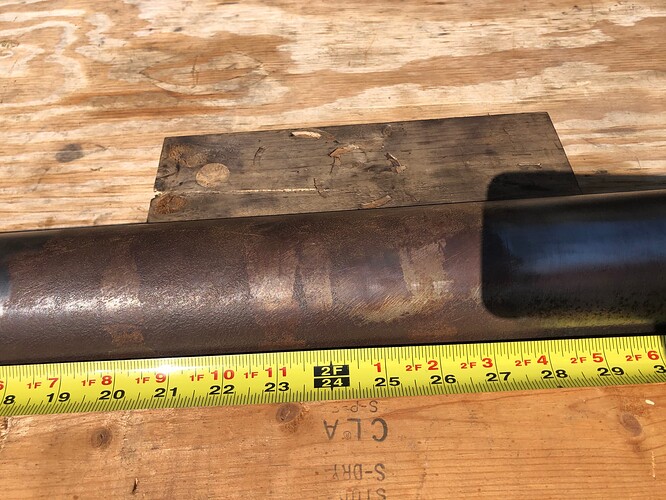
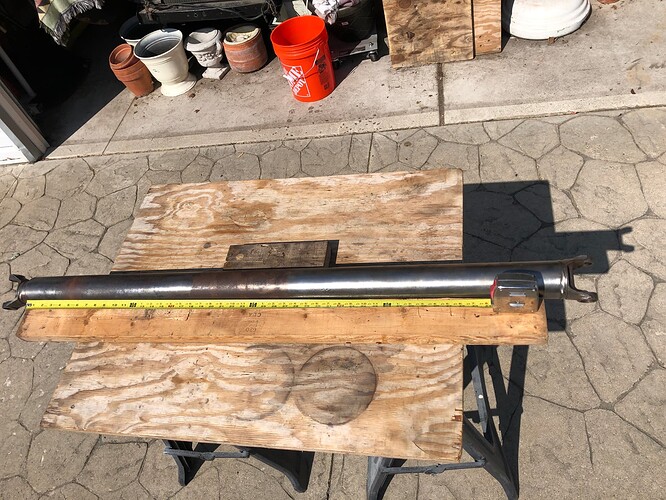
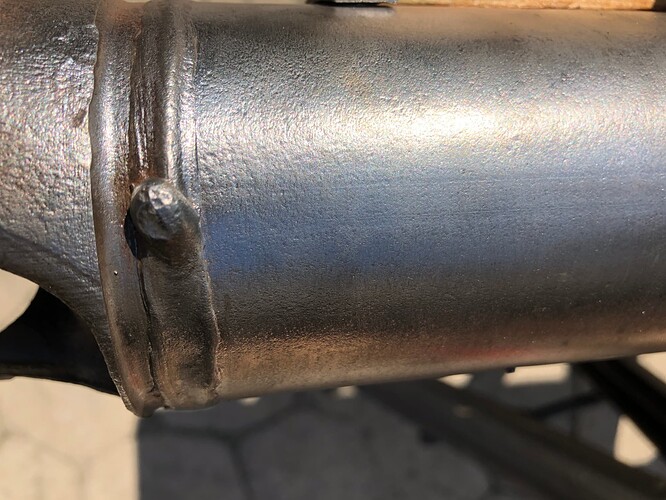
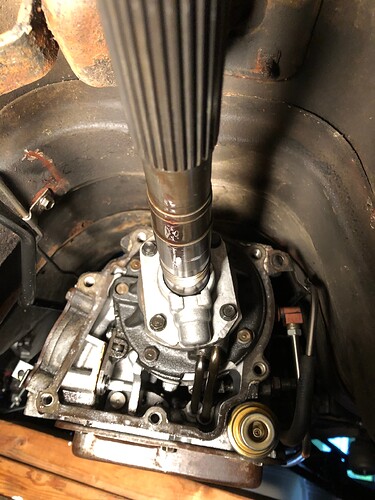
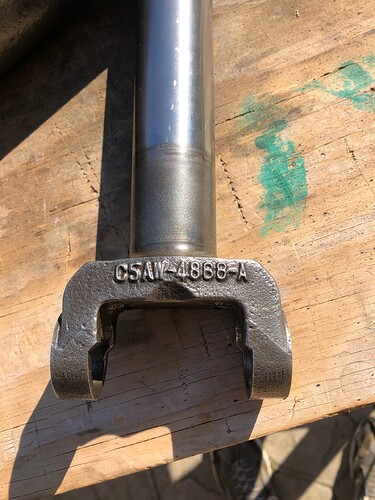
Cleaned up the driveshaft and yoke, documenting the shaft stripes along the way. I tried different solvents to identify the colors without success. If anyone has a color clue, please let me know. (1968 XR7 302-2V with 1970 C4 trans 3.00 conventional rear axle 28 spline built 4/1968 in Dearborn). Below are pics of the striping remove they were removed.
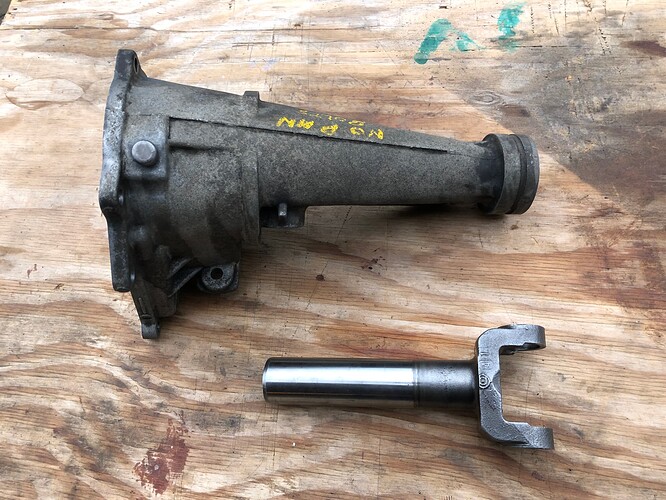
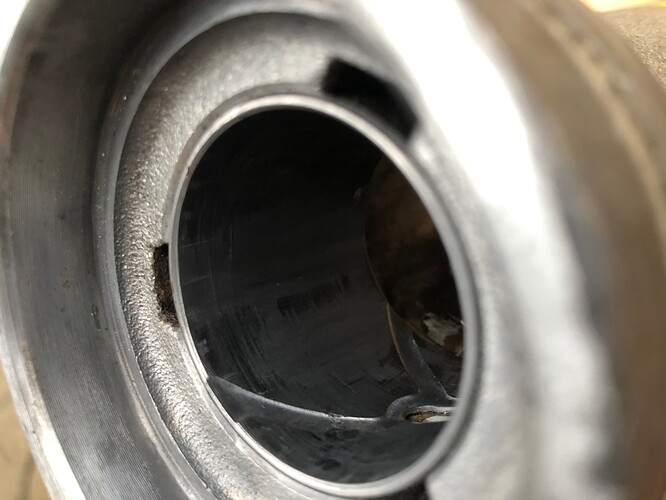
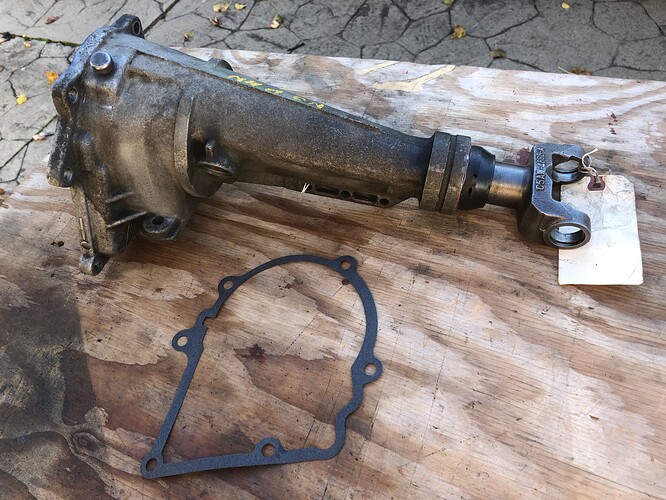
The trans slip yoke has a bit of play (side to side / up and down) so I decided to bite the bullet, pull the stubborn speedo cable out and take the trans extension housing off to have the extension housing bushing replaced. It could be wear on the inner spline of the slip yoke too. Hopefully cleaning the old extension housing gasket off isn’t too much of a chore.
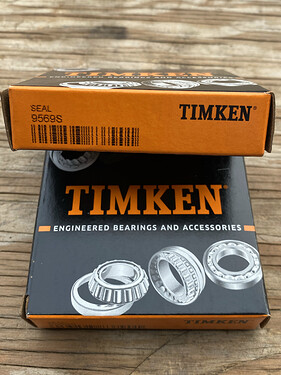
I’ve been spinning my wheels trying to confirm and find the correct Timken part number for the bushing and seal. If anyone may know, please pass it on.
The seal removed did not have a boot, but unless it is a functional problem, with or without is fine by me.
I dont have a press. This week, I dropped the extension housing off to a local trans and gear shop to have the bushing replaced.
I received the trans extension housing back with the new bushing and seal installed. Far less play on the yoke now. Over the holidays the extension was installed. I’m done wrenching for the winter.
Come Summer, continue on the rear end and driveshaft…
Happy New Year!
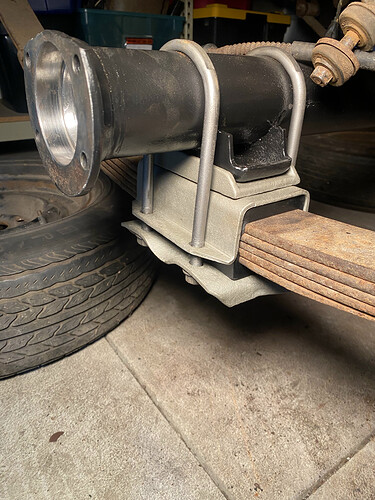
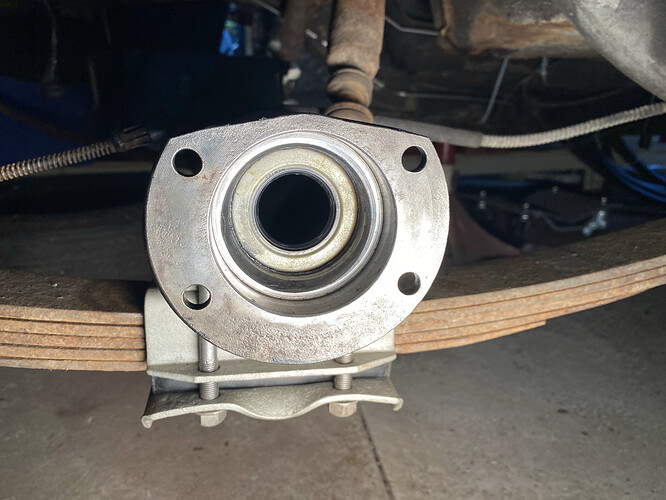
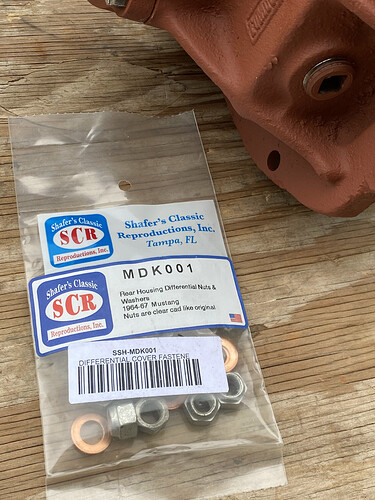
Started work on the rear end. Pulled the differential and then removed the axle housing by cutting the u-bolts, leaving the leaf springs installed on the car. I did not have the energy to wrestle with the spring bolts at this time. They’ll need work, but not now. My guess is that the differential had some type of service performed during its life as 3 of the copper washers were missing, but luckily the tag was still there.
The (manual) brake plates have been sent out to have the pads welded.
Bearings and races have been cut off the axles, ready to drop off to a machine shop to have the Timken bearings pressed on.
I need to make some calls to find/arrange to have the differential rebuilt. I just want the bearings and seals replaced, no change in gearing.
The rust on the housing will be wheeled off and new seals installed
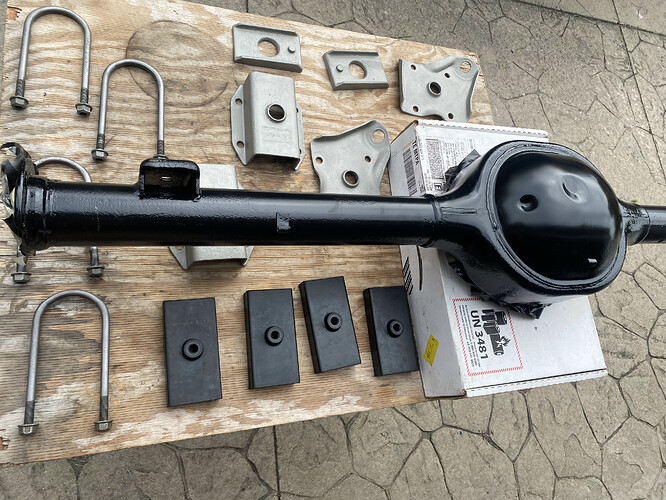
I’ll order new ubolts, pads, and rear shocks, later today.
Your axle housing is from a full size Mercury or Ford product. It does not taper on the ends like a Mustang / Cougar unit would. Therefore it will use larger diameter bearings and grease seals and the gasket part numbers will be different too. While you have the brake backing plates removed you ought to measure the width. It looks too wide to me.
I just realized you have an 8" rear - I was describing a 9" - yours looks right from here and the bearings / seals will be specific to Mustang / Cougar.
I appreciate you (anyone) looking out for my mistakes or potential mishaps.
Best wishes to those hit by Hurrican Helene. Its remnant made it to Michigan making it a drizzly weekend. I was able to squeeze in some car time.
Rear axle seals installed.
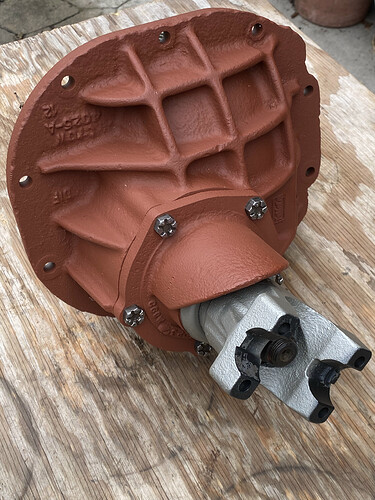
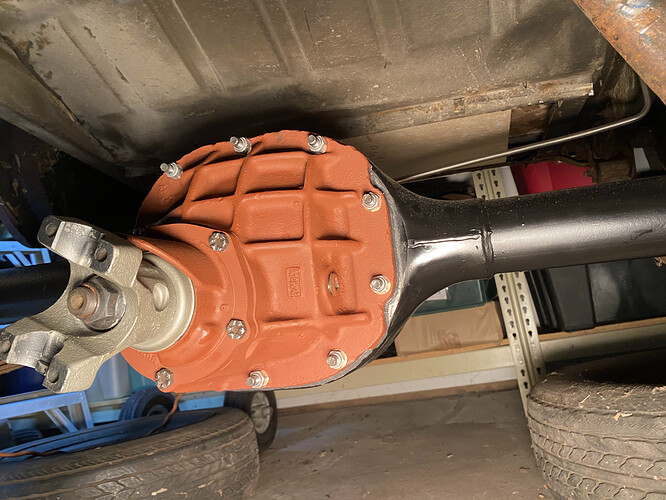
The carrier was rebuilt locally by the Ring and Pinion Shop. Friendly service, but it will still be a few years before its actually used. Its been bolted into place.
I’m imagining that down the road, I’ll kick myself for not installing the exhaust first, then the rear end, but I like having it (exhaust) out of the way, while working the through mechanicals under the car.
During this project I’ve become a believer in Evapo-Rust. Its phenomenal.
Question: Can I take my e-brake cable assembly, intact, springs, cable, and rubber, fully assembled and submerge it in EvapoRust for a couple of days to clean it up, without damaging it? (Or is that a bad idea?)
I’ve given R&P shop money over the years. Always been pleased with their service.
I would suggest you fill the rear end with lube and spin the thing around to get everything coated to prevent corrosion due to condensation.
I have coiled up the parking brake cable and used Evapo Rust to de - rust it. Then ( a day later) I lube everything with white lithium grease.
don’t use it on electrical stuff.
