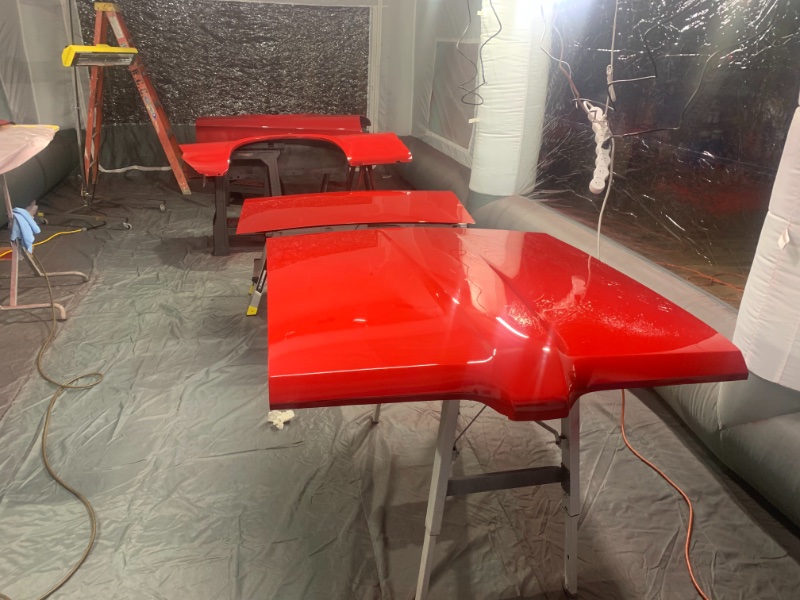
Looking really nice. Inverted colors of what my 69 is supposed to be, HMM. BTW you forgot to leave the opening in for the CB radio antenna on the DS quarter.
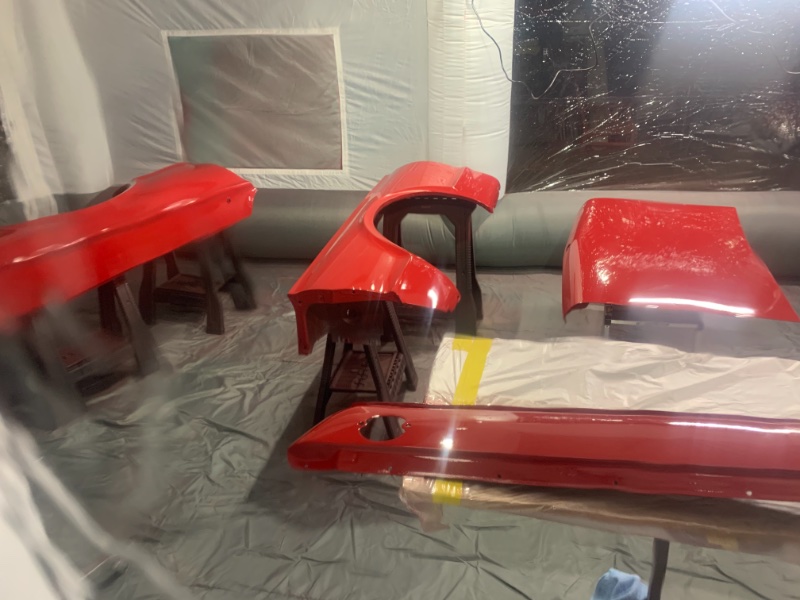
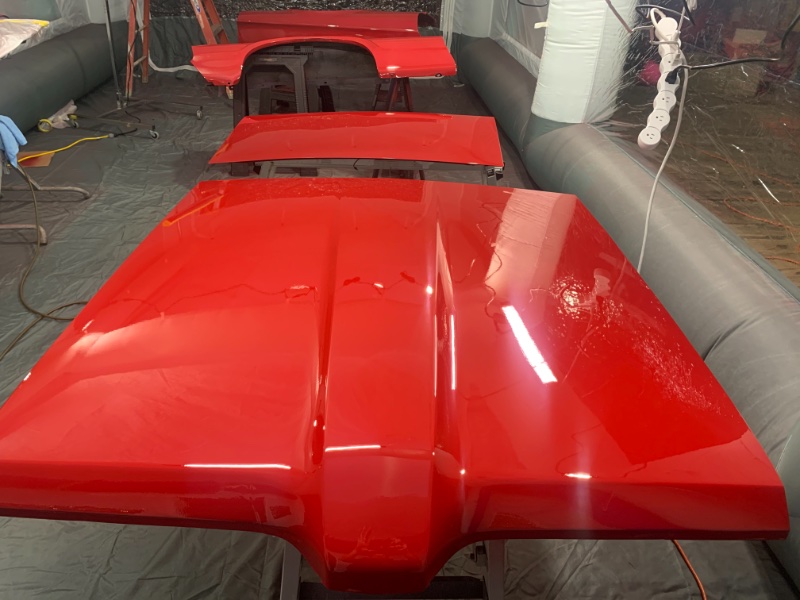
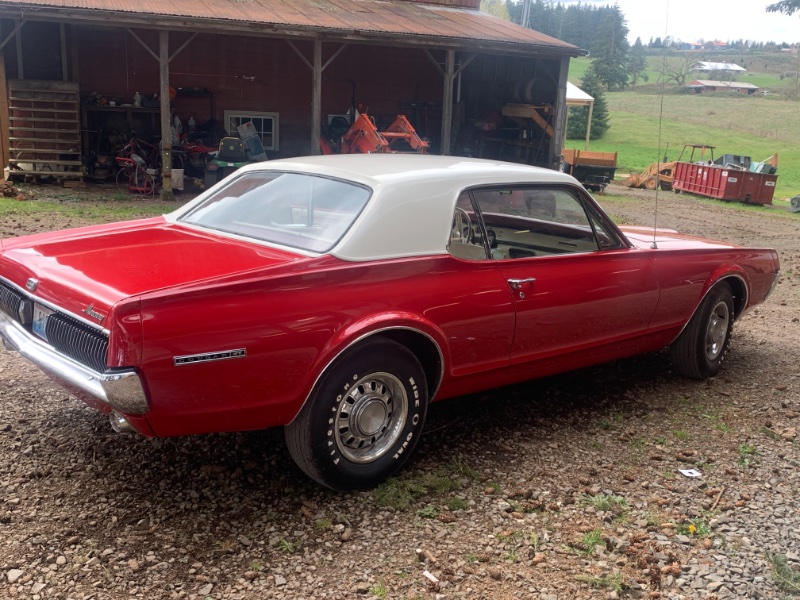
Yes it’s cardinal red and polar white. Pretty unique color I wasn’t sure about it but after seeing it. I’ve and shiny I like it a lot. I feel like it needs a hood scoop to dial it in. I have two hood so I figure why not paint up one with and one without.
Good plan. Looking forward to seeing more updates.
Can anyone tell me what’s missing here or how to finish this area?
Maybe a good picture will help
Thanks in advance
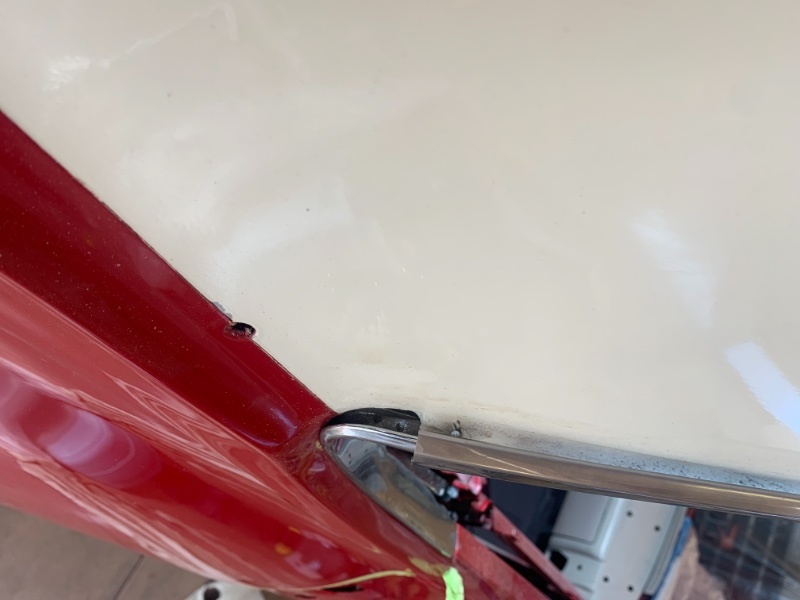
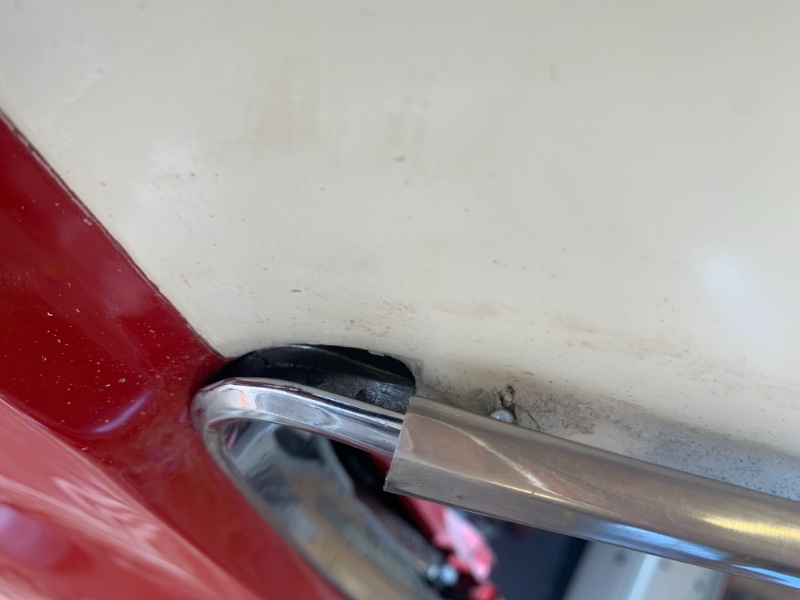
It does not look like you have the roofrail trim piece fully installed. It should not be sticking out from the body where it meets up with the quarter window beltline trim piece. Also there is an almost flat although slightly stepped trim piece that goes on the inside. It would follow the rear arch of the quarter window. Did you install that trim piece? It needs to go on before the quarter window beltline trim piece and the roofrail trim piece. If you have any questions on this post a photo looking at the car front to back and showing just inside the trim pieces you already have installed.
Randy Goodling
CCOA #95
Jeremy,
That gap is going to exist back there. IDK how to paste a link to it, but if you click on my profile name, and then on all I have posted on and then Hockey stick trim (page 58) you will find a descriptive thread on why that gap exists, and what I chose to do about it. Bill Basore posted several great pics on running line changes as Ford found problems when they were assembling the cars on the line. It basically boils down to there being different parts made depending on how far into the model year you got.
I choose to use a high density adhesive back foam I have here and I sculpted a “quarter moon” shaped piece to stick in there with some additional black rtv smeared on. It turned out good, and I could try to get a finished picture of it for you if you wish.
Maybe someone can help by putting up a link to that thread, or Bill can chime in again if he reads this.
I think I get it. could someone send a close up of that area, And I can see what you guys have done to make it better.
Thanks for any help
Hey guys I was hoping someone has a few pictures of how the dash wiring harness runs i thought I took good pictures but I guess not plus I think it was done wrong previously.
It’s mainly where are the attachment points and routing areas.
Thanks for any help!!
The big blue 67 service manual has a pretty good picture showing routing in section 19. I hope you have some 67 assembly manuals? I tried just asking questions on the group, but it was best when all was said and done to get the manuals.
I snapped a photo of the foam seal I made behind my quarter window trim. I noticed by your picture that you appear to have an original trim that has the extra rib on the back. If you want to keep it original, to my knowledge that is the way it should be with nothing extra added. If you want to close it up more like I did, now you know how it can look. I like how it turned out. It will never hold all the water out, but it don’t need to. My car doesn’t go out in the rain and when I wash it I don’t spray it with a hose to rinse I use a wet rag.
I used repro trim pieces as my original ones had poor chrome. I have an early production car though so my original ones don’t have the extra rib, nor do the repro ones.
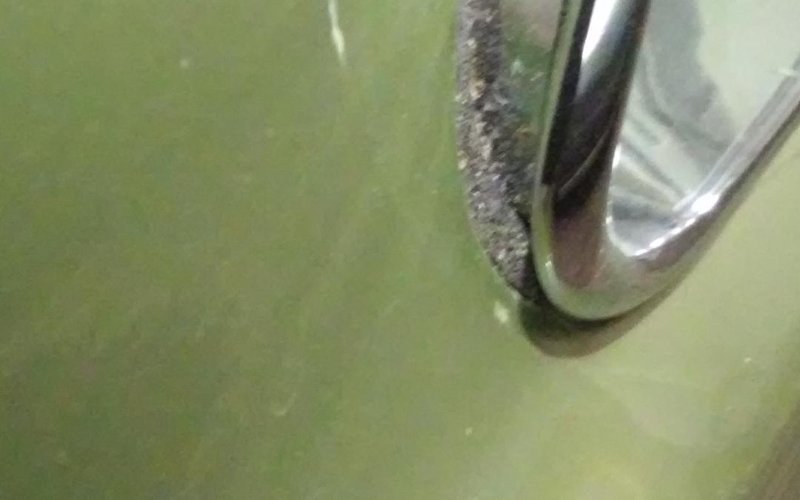
Thanks for that picture. Also it seems I need the manual so I’ll
Get that. It does seem that that drip rail will send the water right into the quarter panel kinda strange design.
Update:
engine in hoping to get her purring this week.
Anyone have a suggestion for an exhaust system for this 390?
Not sure I want a stock one but maybe.
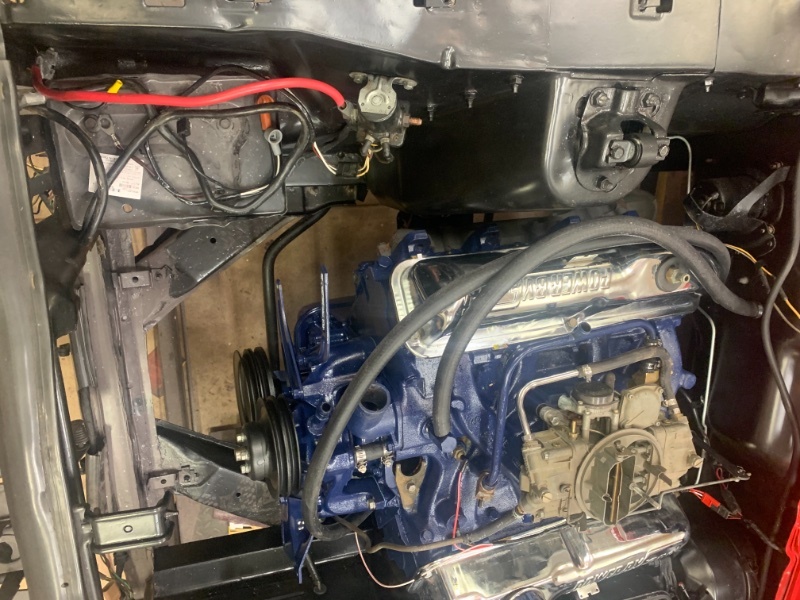
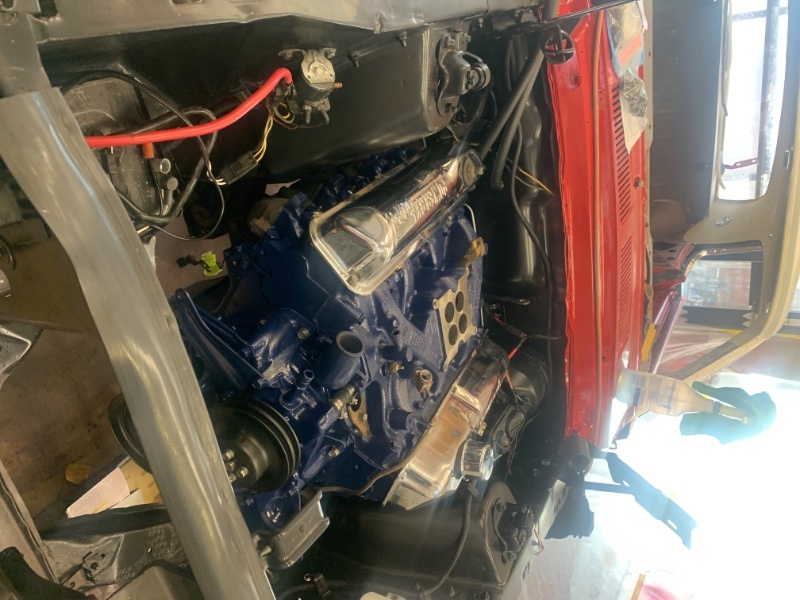
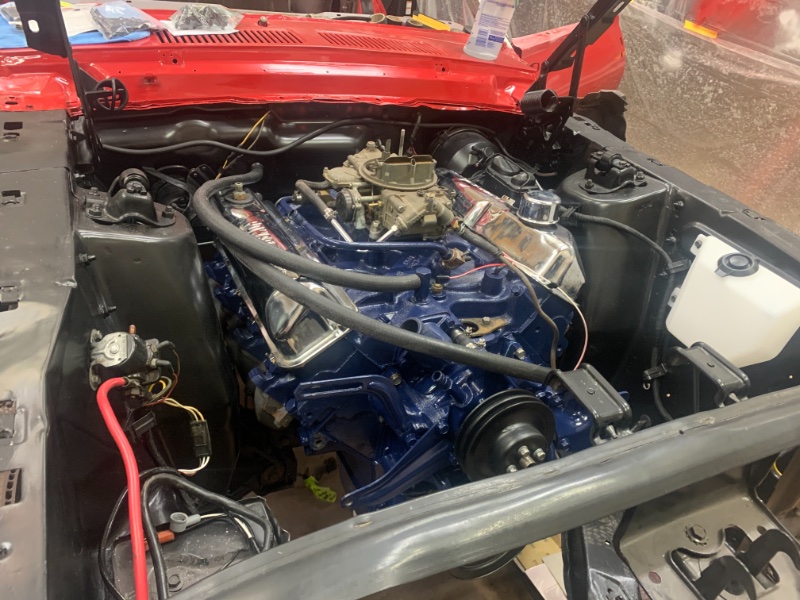
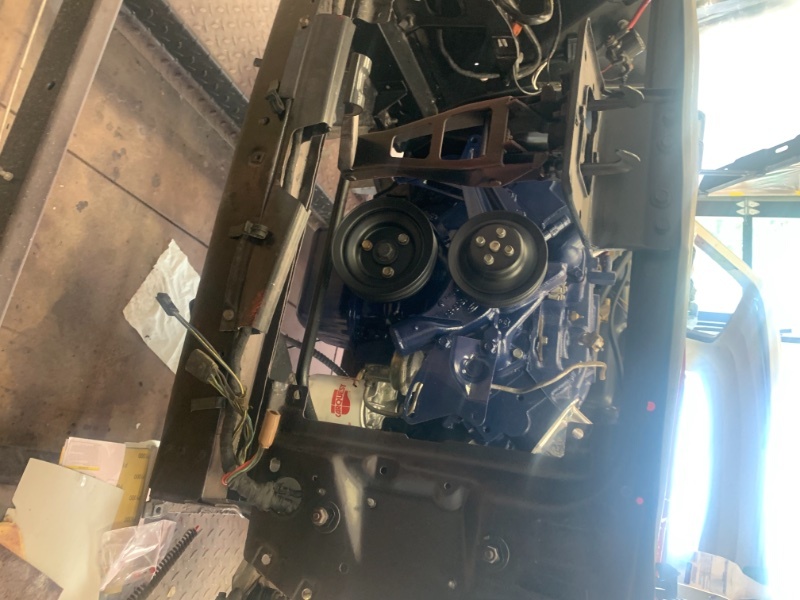
Looking good Jeremy.
Please consider getting the correct steel Holley fuel transfer tube. My original 1969 R code Cougar had an engine fire because of a leaking rubber fuel line bridging the two bowls. This happened in 1982, wa-ay before I purchased the car.
Every part of your carburetor is in stock at Summit racing:
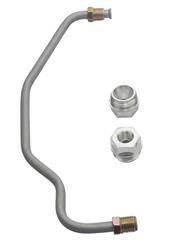
Thanks for that it was on my list of thing to get. The one I got was not the correct one so this helps
It’s been a while since I could get logged on for some reason I just couldn’t get in.
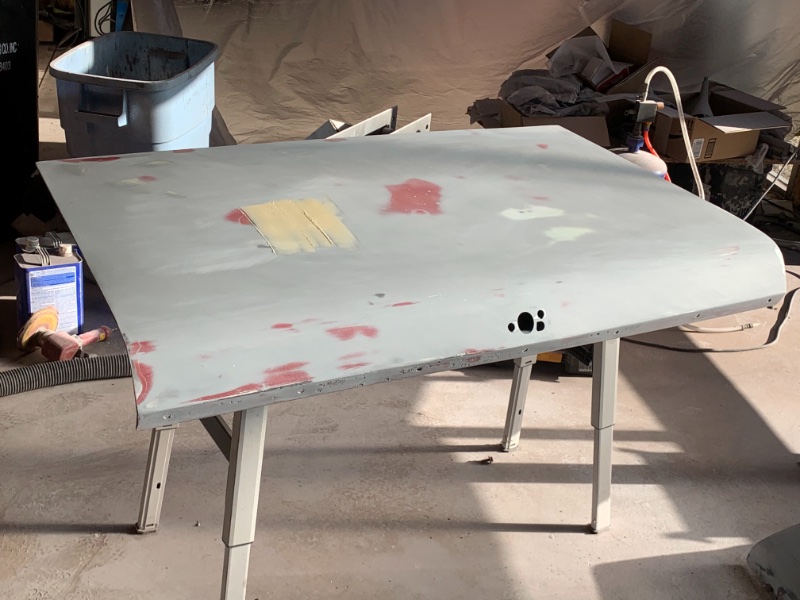
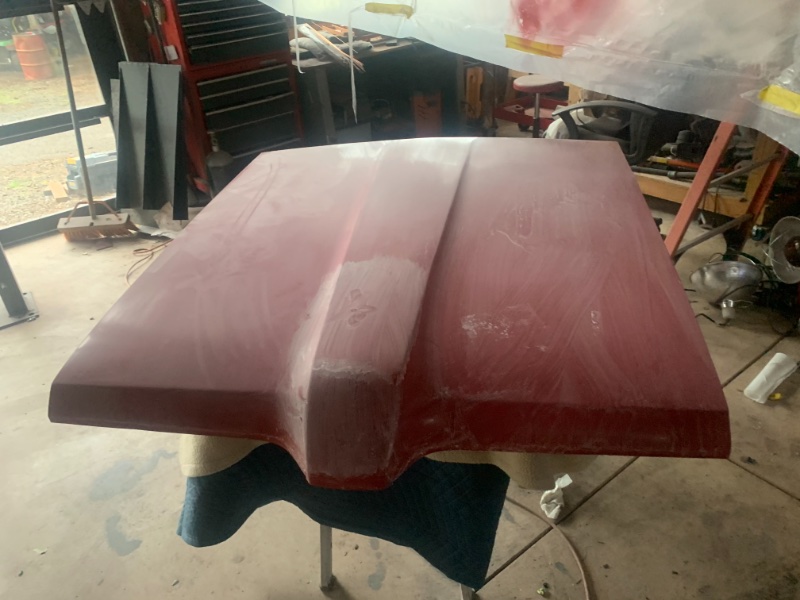
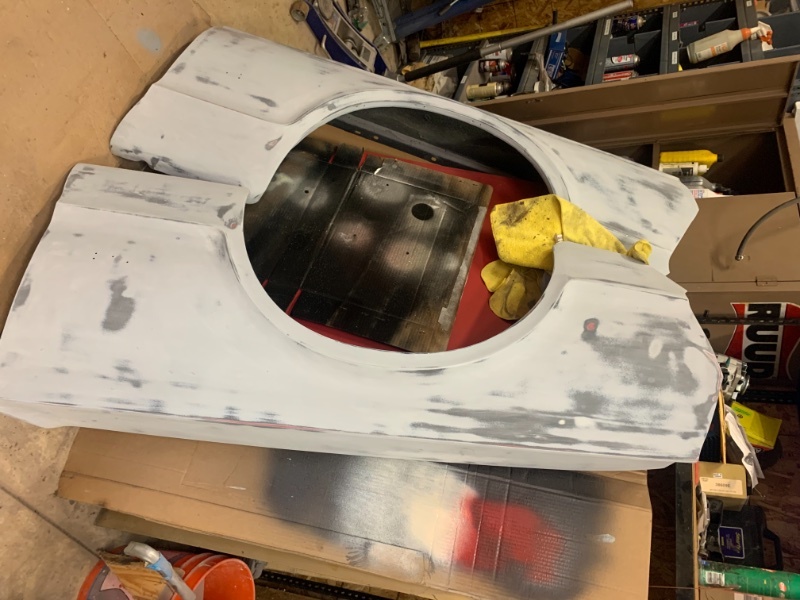
This cougar is coming around nicely it’s going to be on the road in no time. I thought I’d send a few pictures of the progress. I finally broke down and bought a blow up spray booth so I don’t have to fight the dust and bugs. I really like the booth other than it has to run for hours after the paint is sprayed since I have no heat. Maybe I’ll build a frame for it.
I need to get this one done so I can start the next project Don’s 69 basket case Eliminator. Yep I couldn’t pass it up …oh boy!
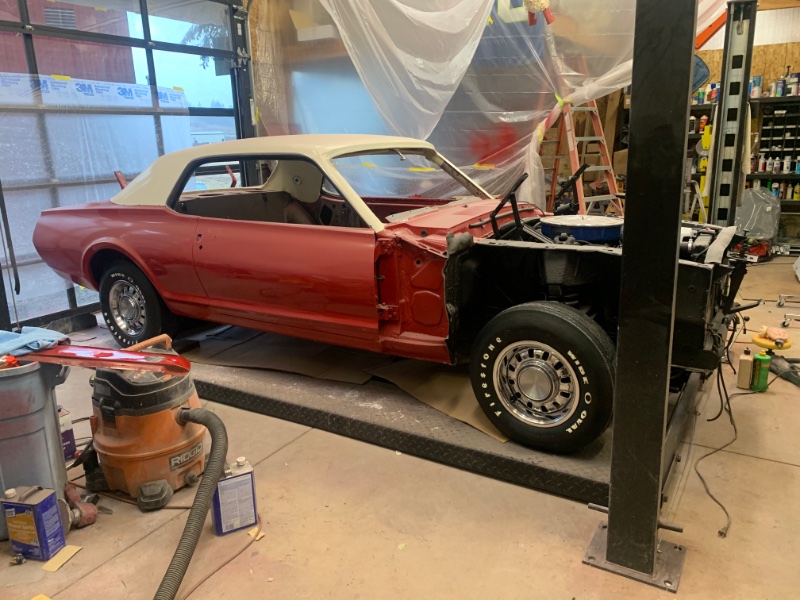
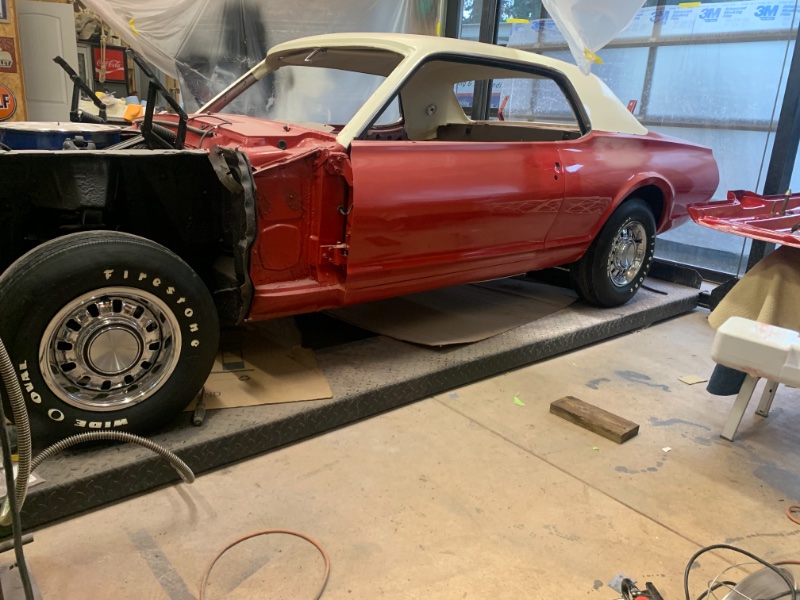
Got to love those bench seats.
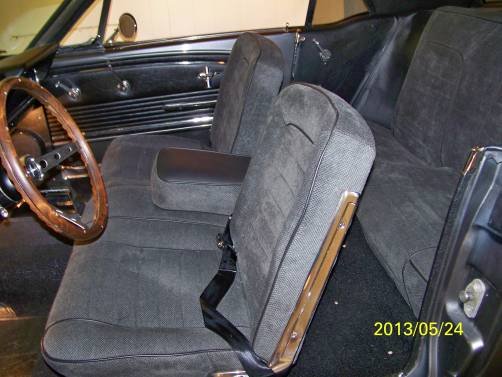
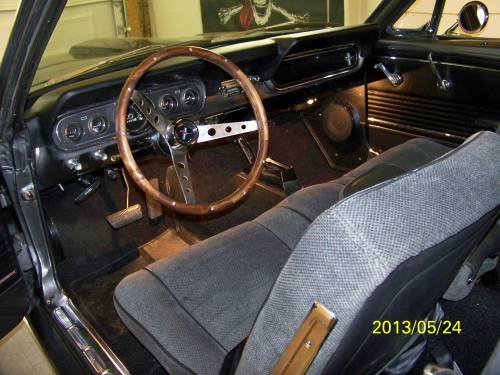
Wel il got bench seat in today. Sure was a PITA I have great respect for upholsterers you must have major hand strength to pull these new seats over then new foam. Or maybe I’m doing it the hard way? Anyhow they look sweet I actually can drive this under it’s own power now can’t wait to fill the 390 torque!
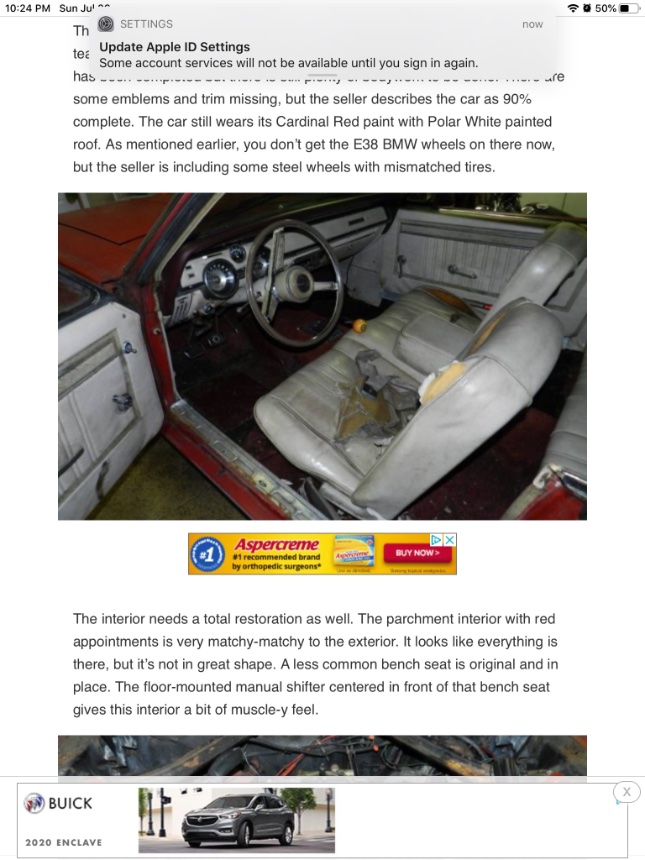
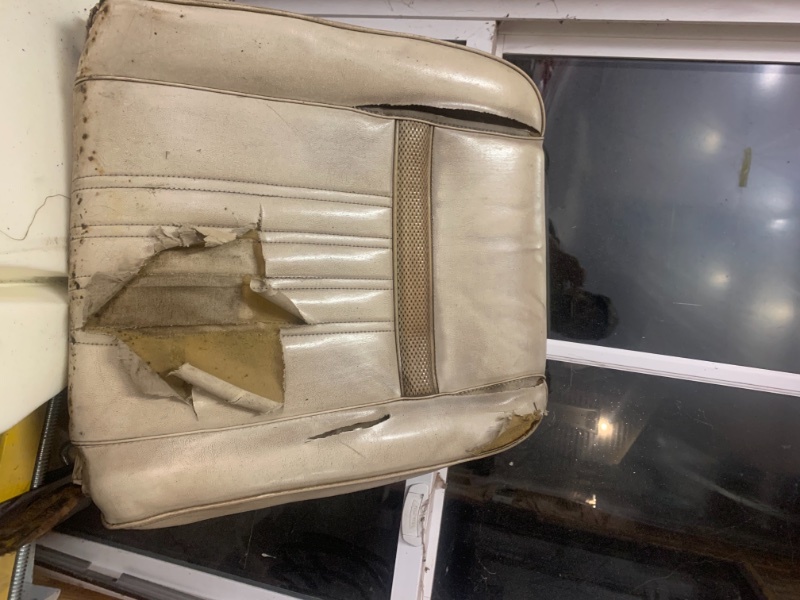
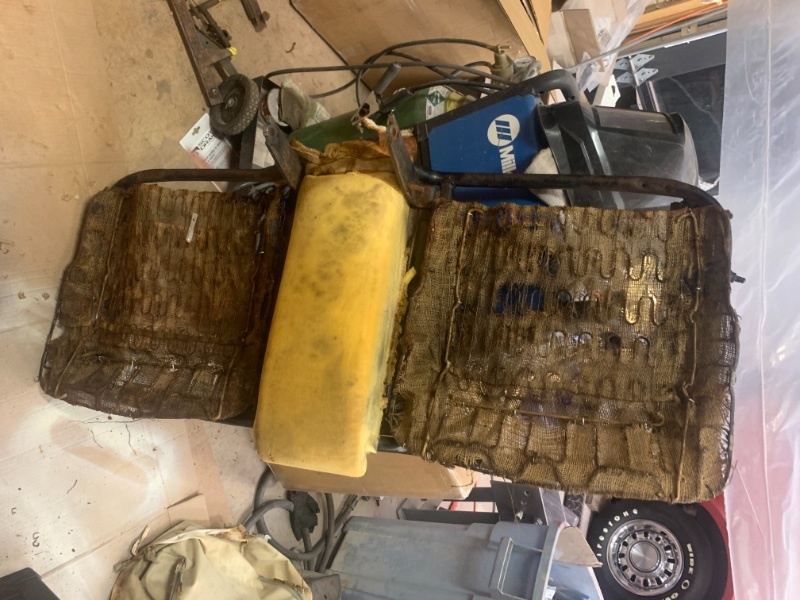
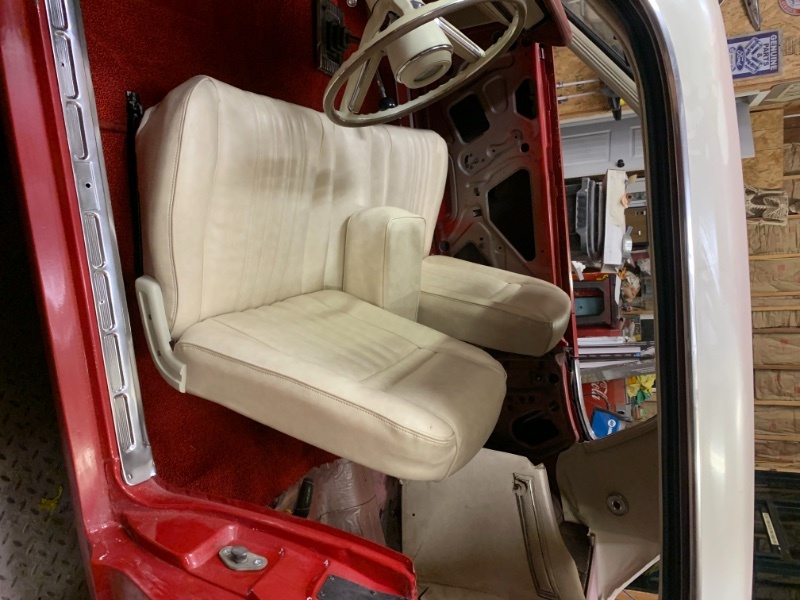
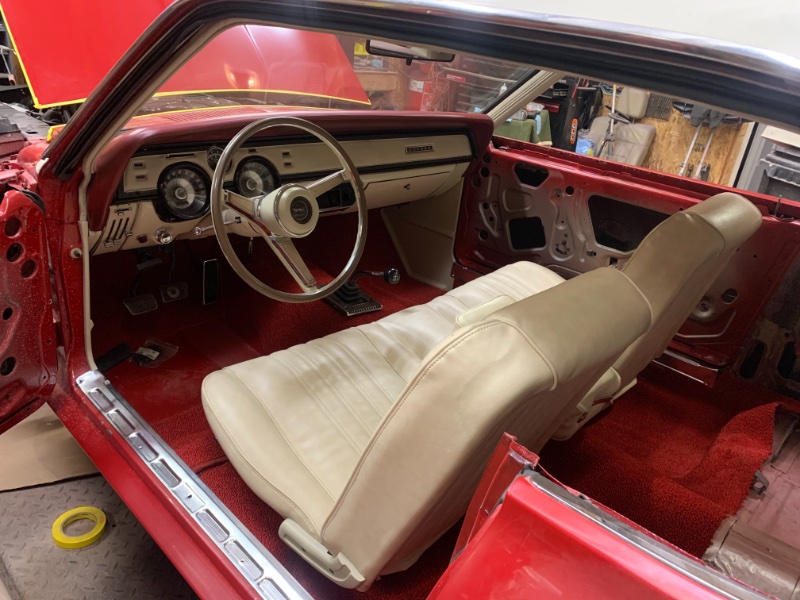
Jeremy that is shaping up very nice. Your seat looks good, and that is going to be a classy looking interior when complete.
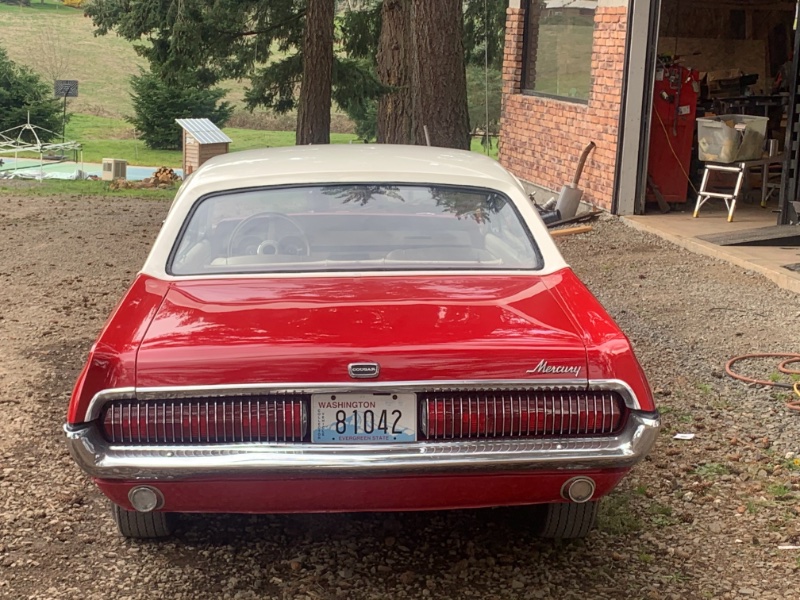
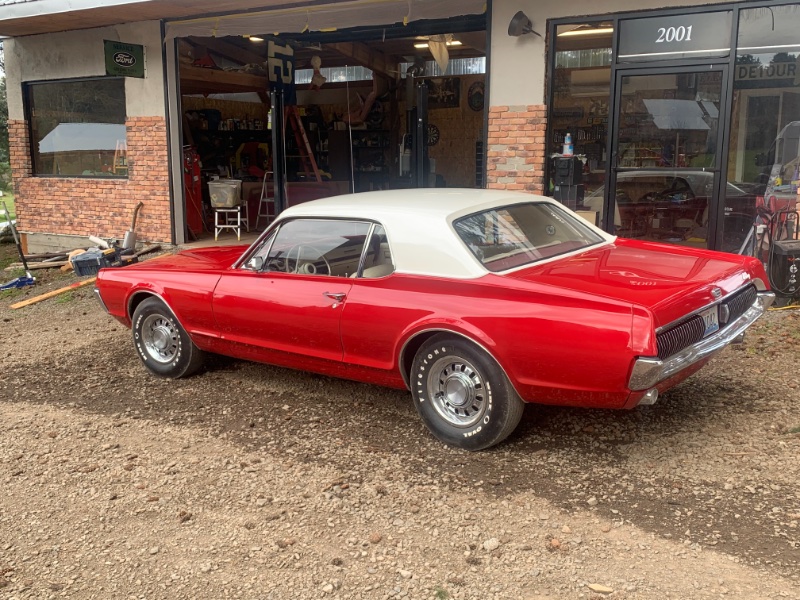
Well it’s been awhile but she’s almost done.
Just need a drivers side quarter badge anyone???
Also I can’t find my GT emblems grrrr.
I think I need the magnum wheels to finish it off.
The only thing I’m not liking it how high the bench seat sets up. My hair is touching the headliner and I’m not tall.
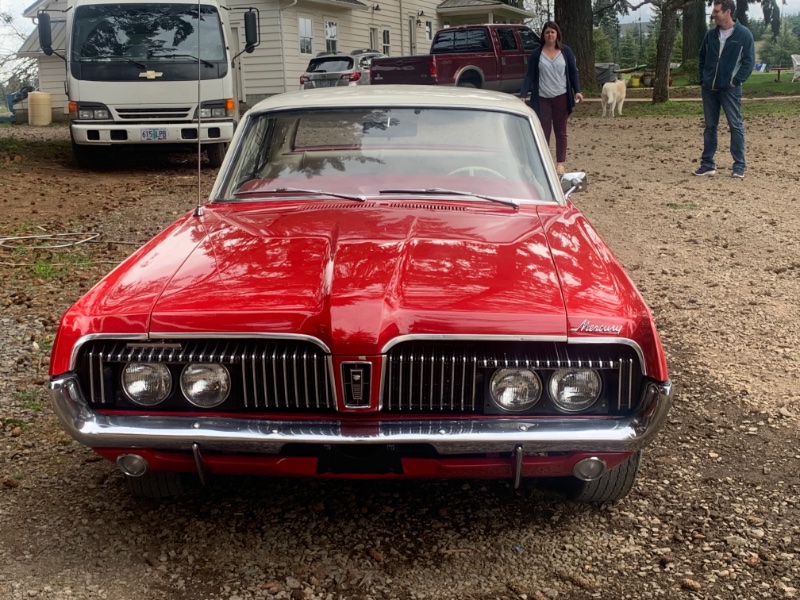
Did you or the previous owner install Mustang sear risers? Those are taller than Cougar seat risers.
Looking good!