This may not be the best place for this question but I am restoring my 67 XR7.
it is currently on the rotisserie , the body work is done and I must decide at what point I will go ahead and paint the car.
I thought I might go ahead and trim it out the trunk and doors and all that and then put most of the car together ( except things like bumpers and headlights and other bolt on outside parts ) you know, put in the engine transmission ect. and install the interior, and then paint the car.
My reason for that was so I wouldn’t scratch the paint while assembling it.
My other thought is to go ahead and paint the entire car and then start the assembly.
Paint the car before assembly. You’ll do a more thorough job and you won’t have to worry about overspray on your other components. When it comes time for assembly, be patient and use lots of painters tape and other means to protect your freshly painted parts during assembly.
I paint the cars exterior body first on the rotisserie with the doors installed and open/aligned which makes for a nicer looking door jam. Then I mask that off and do the underside and engine compartment. Then install all the under body hardware I can before removing it from the rotisserie. Suspension components then engine with trans and wiring. Install the front sheet metal after the engine is installed and trim work. I do the interior last.Think about how they did it at the factory. They painted the body first.
If you are going to reuse the original doors, fenders, hood, and paint with base/clear go ahead and paint them separate and like mentioned use tape on the edges and have a second person to help place them. If you are using parts from different cars or NOS you should pre-assemble them and align before painting. I’ve painted first and found different parts don’t fit and you can’t bend or grind anymore. If you are trying to use original acrylic enamel and usually not going to wet sand after, you have to be an experienced painter to get separate pieces to have the same surface finish when assembled. Speaking from some painful re-paints.
For restorations I find that doing things like the factory does makes things a little easier in the long run and keeps me/the shop from having to repeat or do additional steps
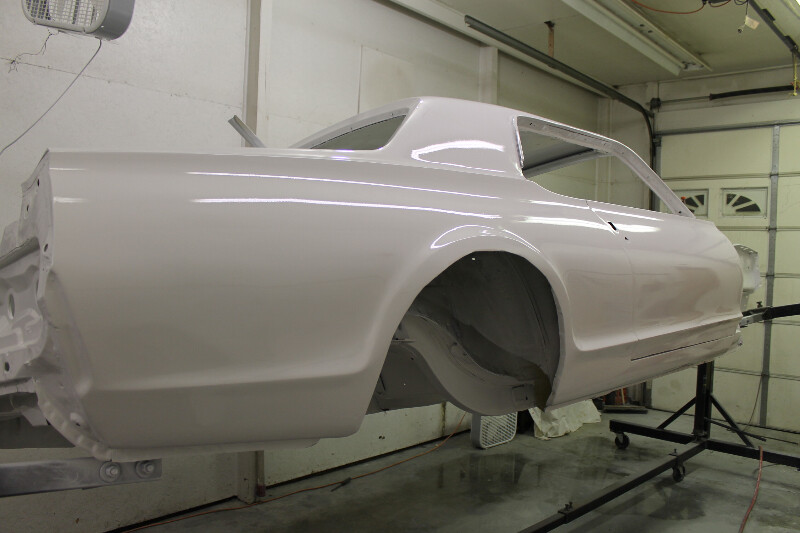
Paint the bare unibody with doors, trunk lid, and rear valance hung from the taillight panel (not pulled in at the bottom)
Do the body work and prime
Paint the floor and prime the front end of the car (top and bottom) first
Followed body color application based on what plant it was built at Including the rear wheel wells like original. Not masking the undercarriage off so that overspray flows in a logical and original pattern onto the undercarriage panels, brackets and supports
Followed engine compartment and front wheel sell application again based on what plant it was built at
Followed up with the pinch weld and other black outs based on model and plant
Here I depart from factory order
From there I put the suspension, then interior then engine and trans in the car - do any undercarriage sound deadening - if the model requires it. Then the body gets finished. No reason reaching over the fenders doing all the engine compartment work
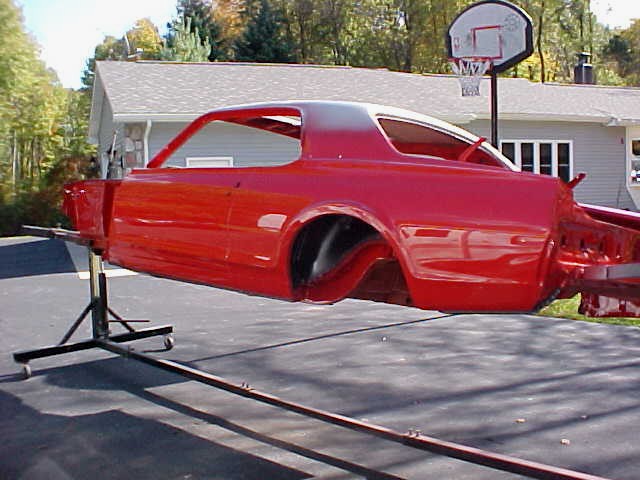
I took it down as far as I could and then had it painted. http://xcs.net/story/qscstory3.htm and http://xcs.net/story/qscstory4.htm I did not have a rotisserie so couldn’t do it like Brian but he has the right idea for sure. Just do the best you can afford you’ll do fine. My paint has held up now for over 10 years and looks much like the day I had it done. After that I reassembled it, being as careful as possible, using lots of tape and patience.
Ok then, I will get myself ready for some paint.
I have done several daily driver fix ups but never a ground up like this. it has always been a dream of mine to do one cougar up right.
Actually this one is practice for my 68 xr7 next.
Hopefully I will have a better idea of how to do it next time, but in the mean time I have to admit
I am having more fun then I thought I would . ( only 9 months into it so far though )