The ongoing saga of the 68 "Bullitt" Cougar

Hi all, after a long time lurking I figured I’d introduce myself and my 68 Cougar. I purchased this car out of NC back in May or June with some help from a forum member, David Traw. He looked the car over for me, as it was much closer to him than me. He’s a stand up guy and will forever be grateful for his help!

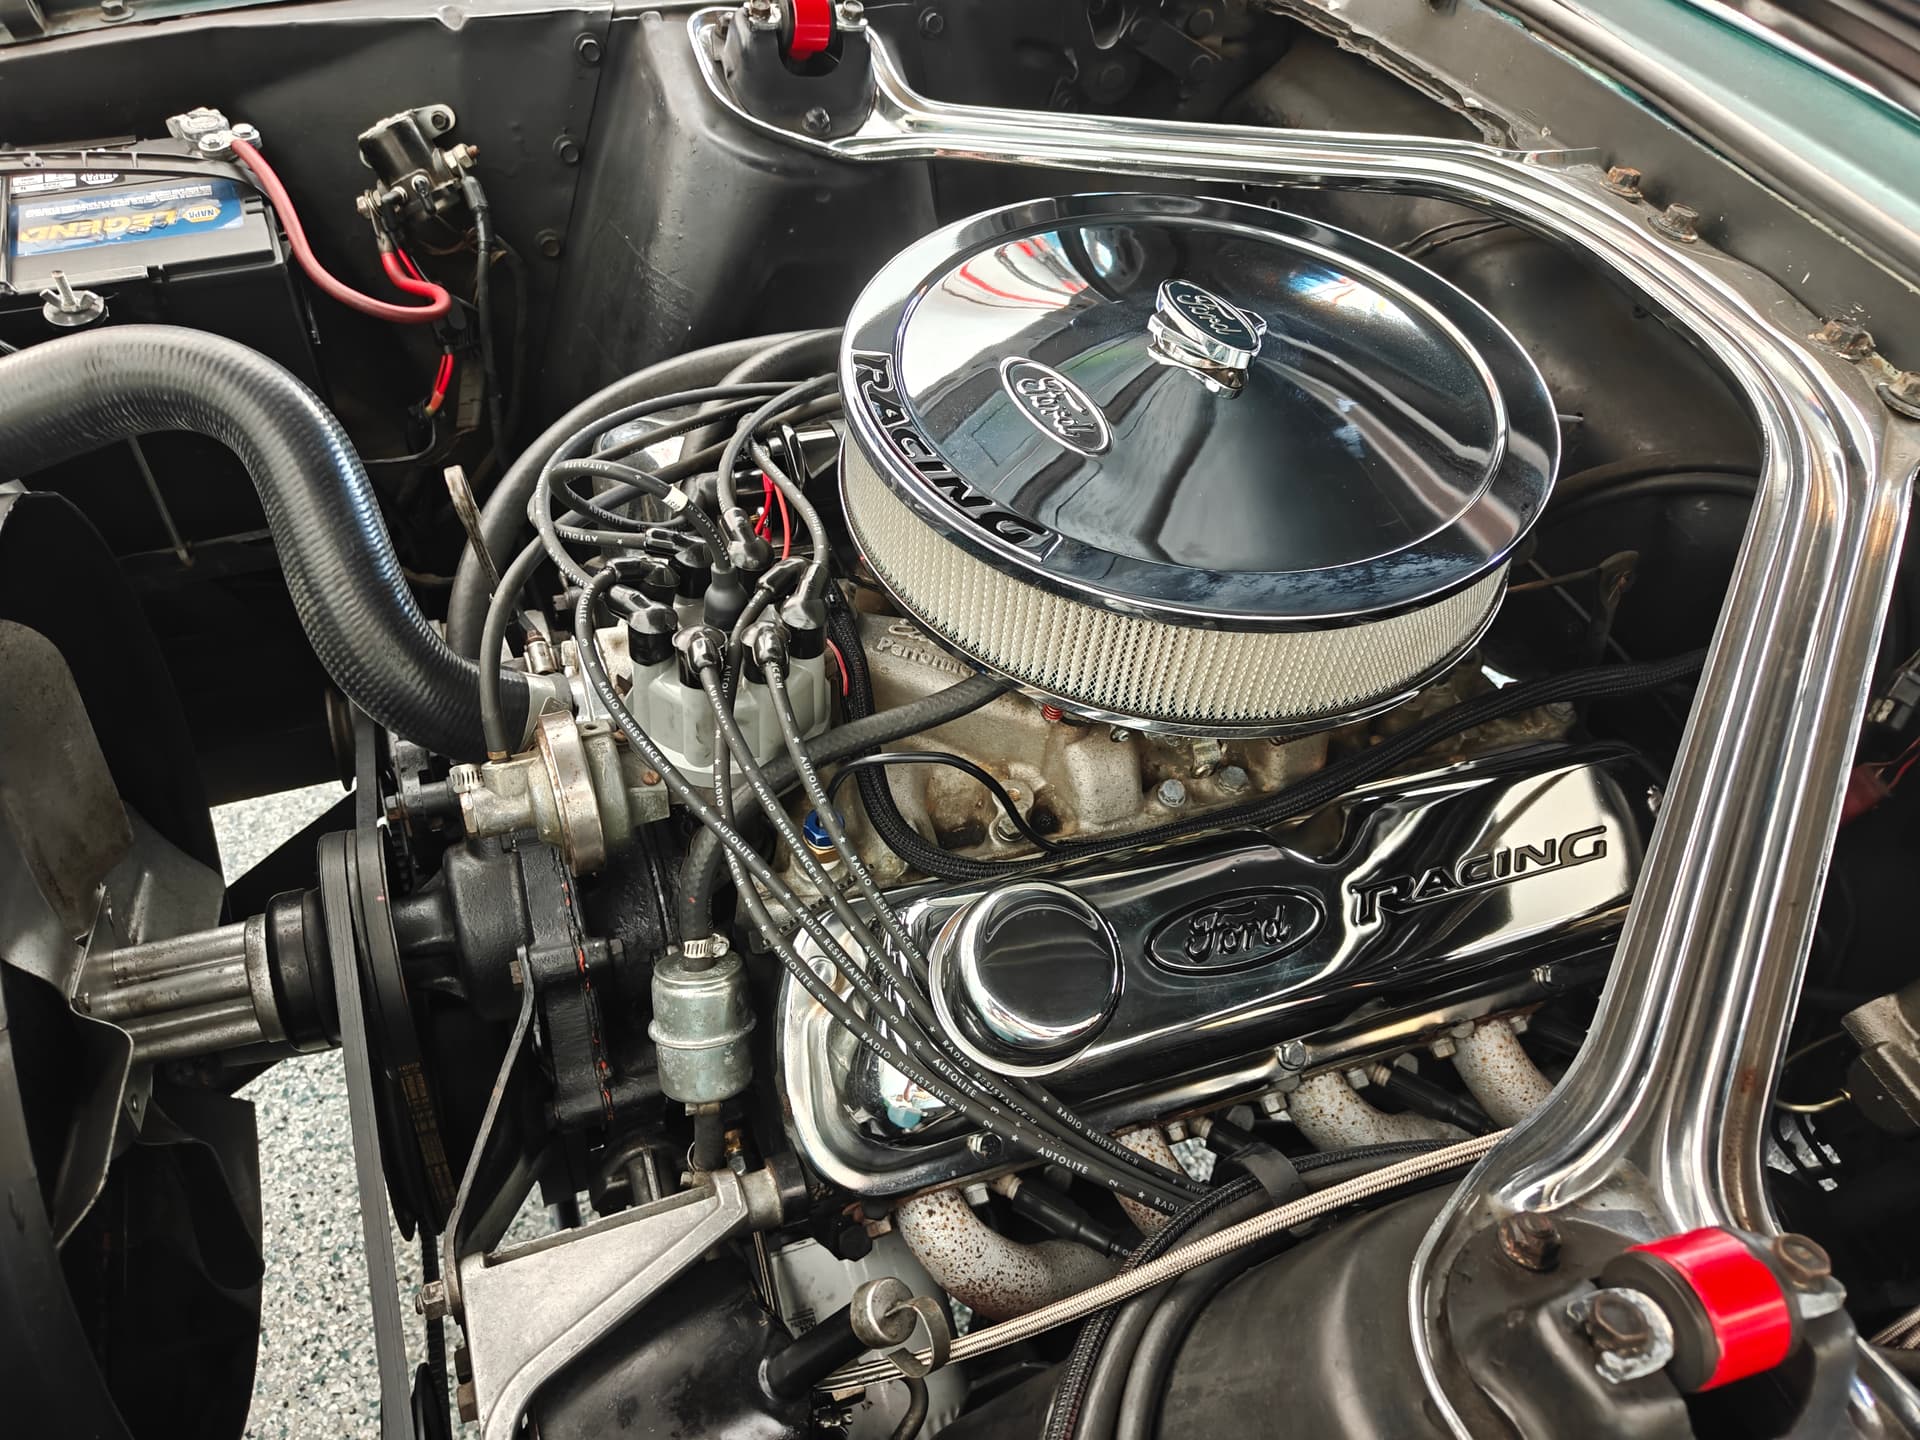
The car itself started out as a lime green 68, black vinyl roof, 302 2V, 3 speed manual, 3.00 open rear, drum/drum manual brakes. Base black interior. At some point over it’s lifetime it was resprayed to a variation of Highland Green metallic. The previous owner put alot of chrome Ford Racing dress up items on the engine along with an Edelbrock manifold and Holley 600CFM carb, 14” AR wheels, and hilariously, a set of traction bars. The previous owner did have a high pride of ownership in the car as there was a stack of NPD invoices for various parts that had been replaced along the way, but there were still alot of things left by the owner for the next guy to deal with like a rotten heater core and box, and other electrical items. The car ran ok, but I could tell that the motor was a little tired and with the 3-speed and 3.00 rear, it was not very “spirited”.
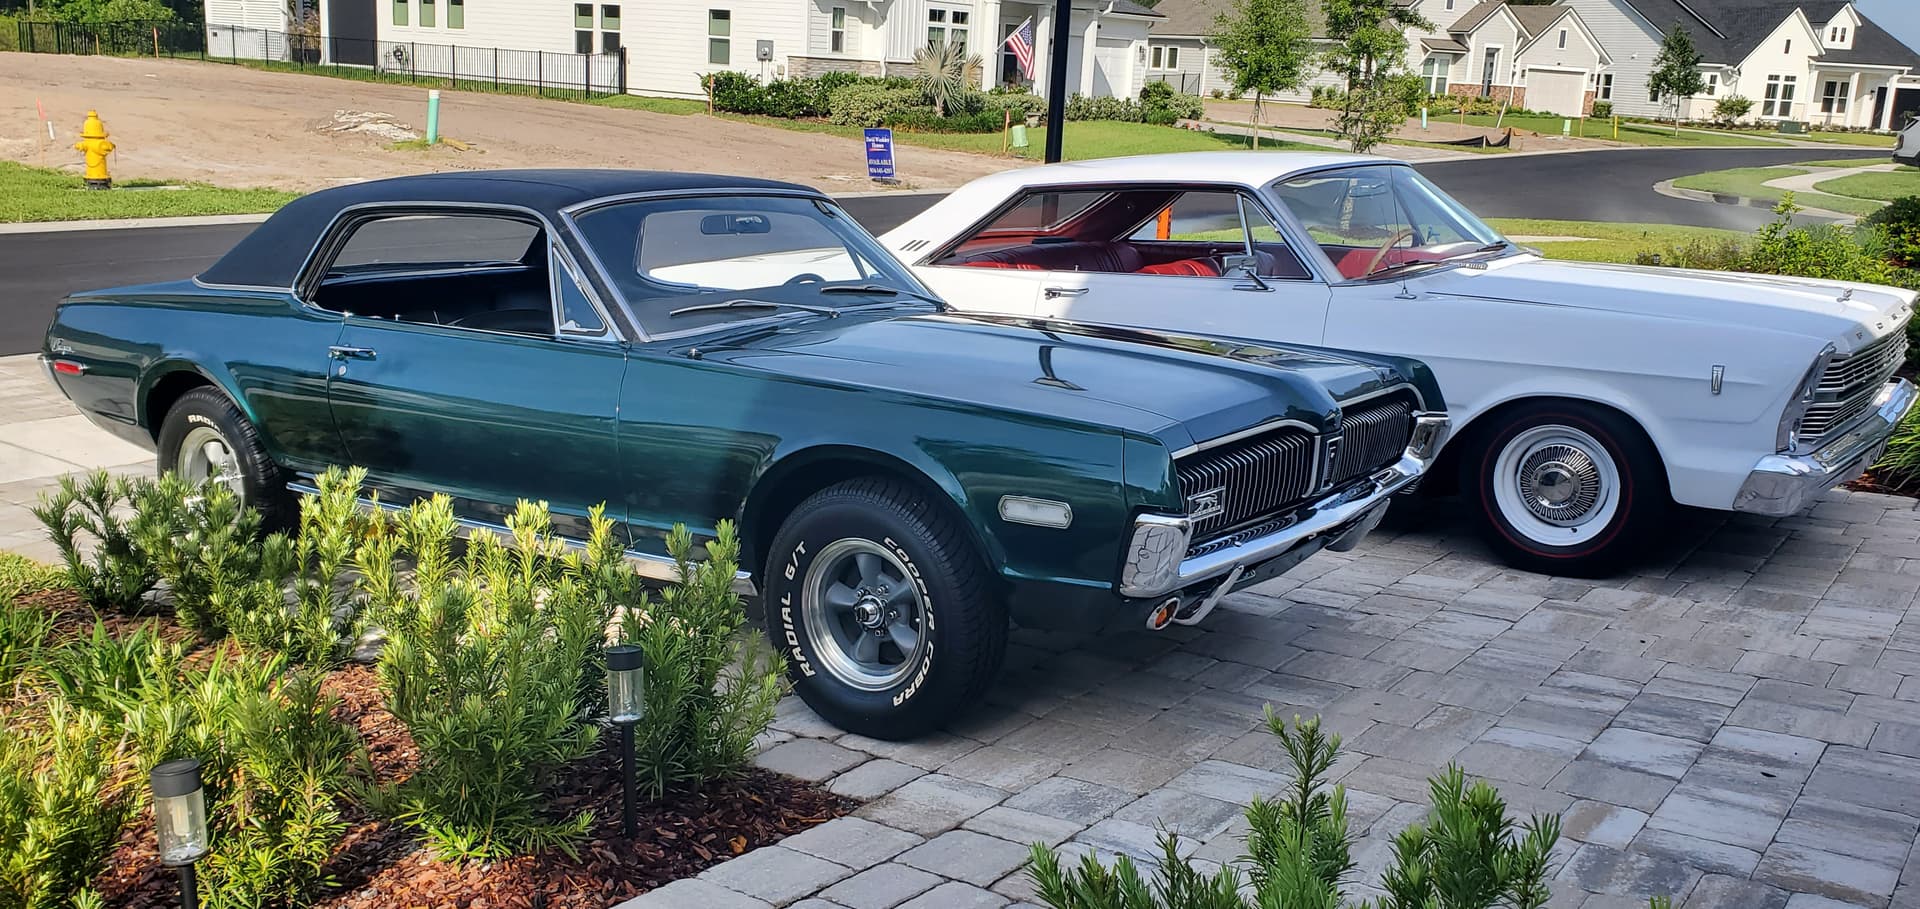
The Bullitt Cougar:

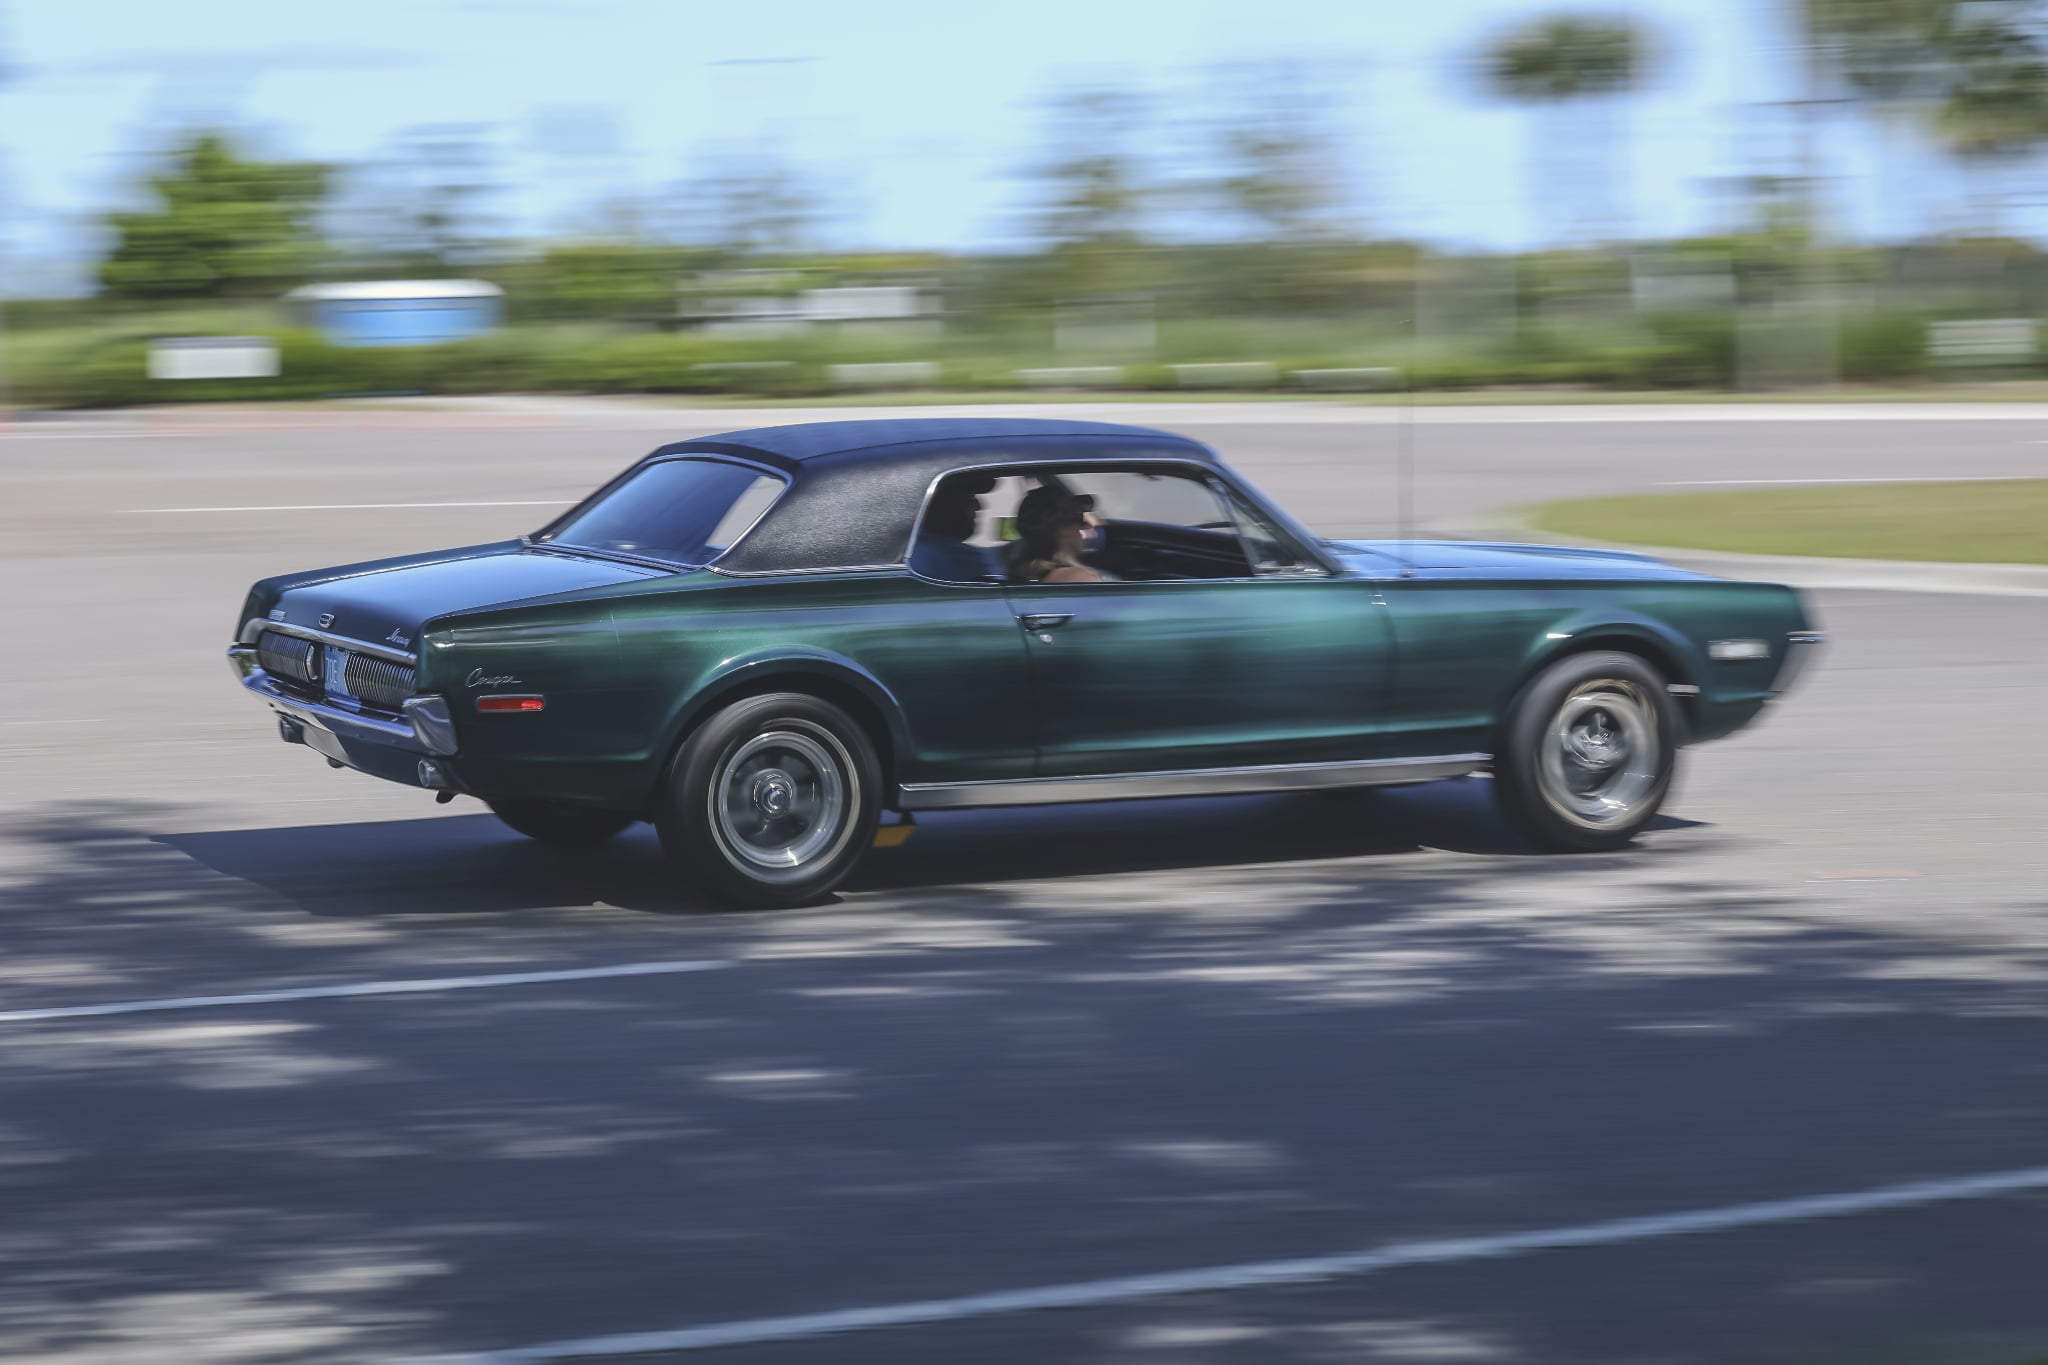
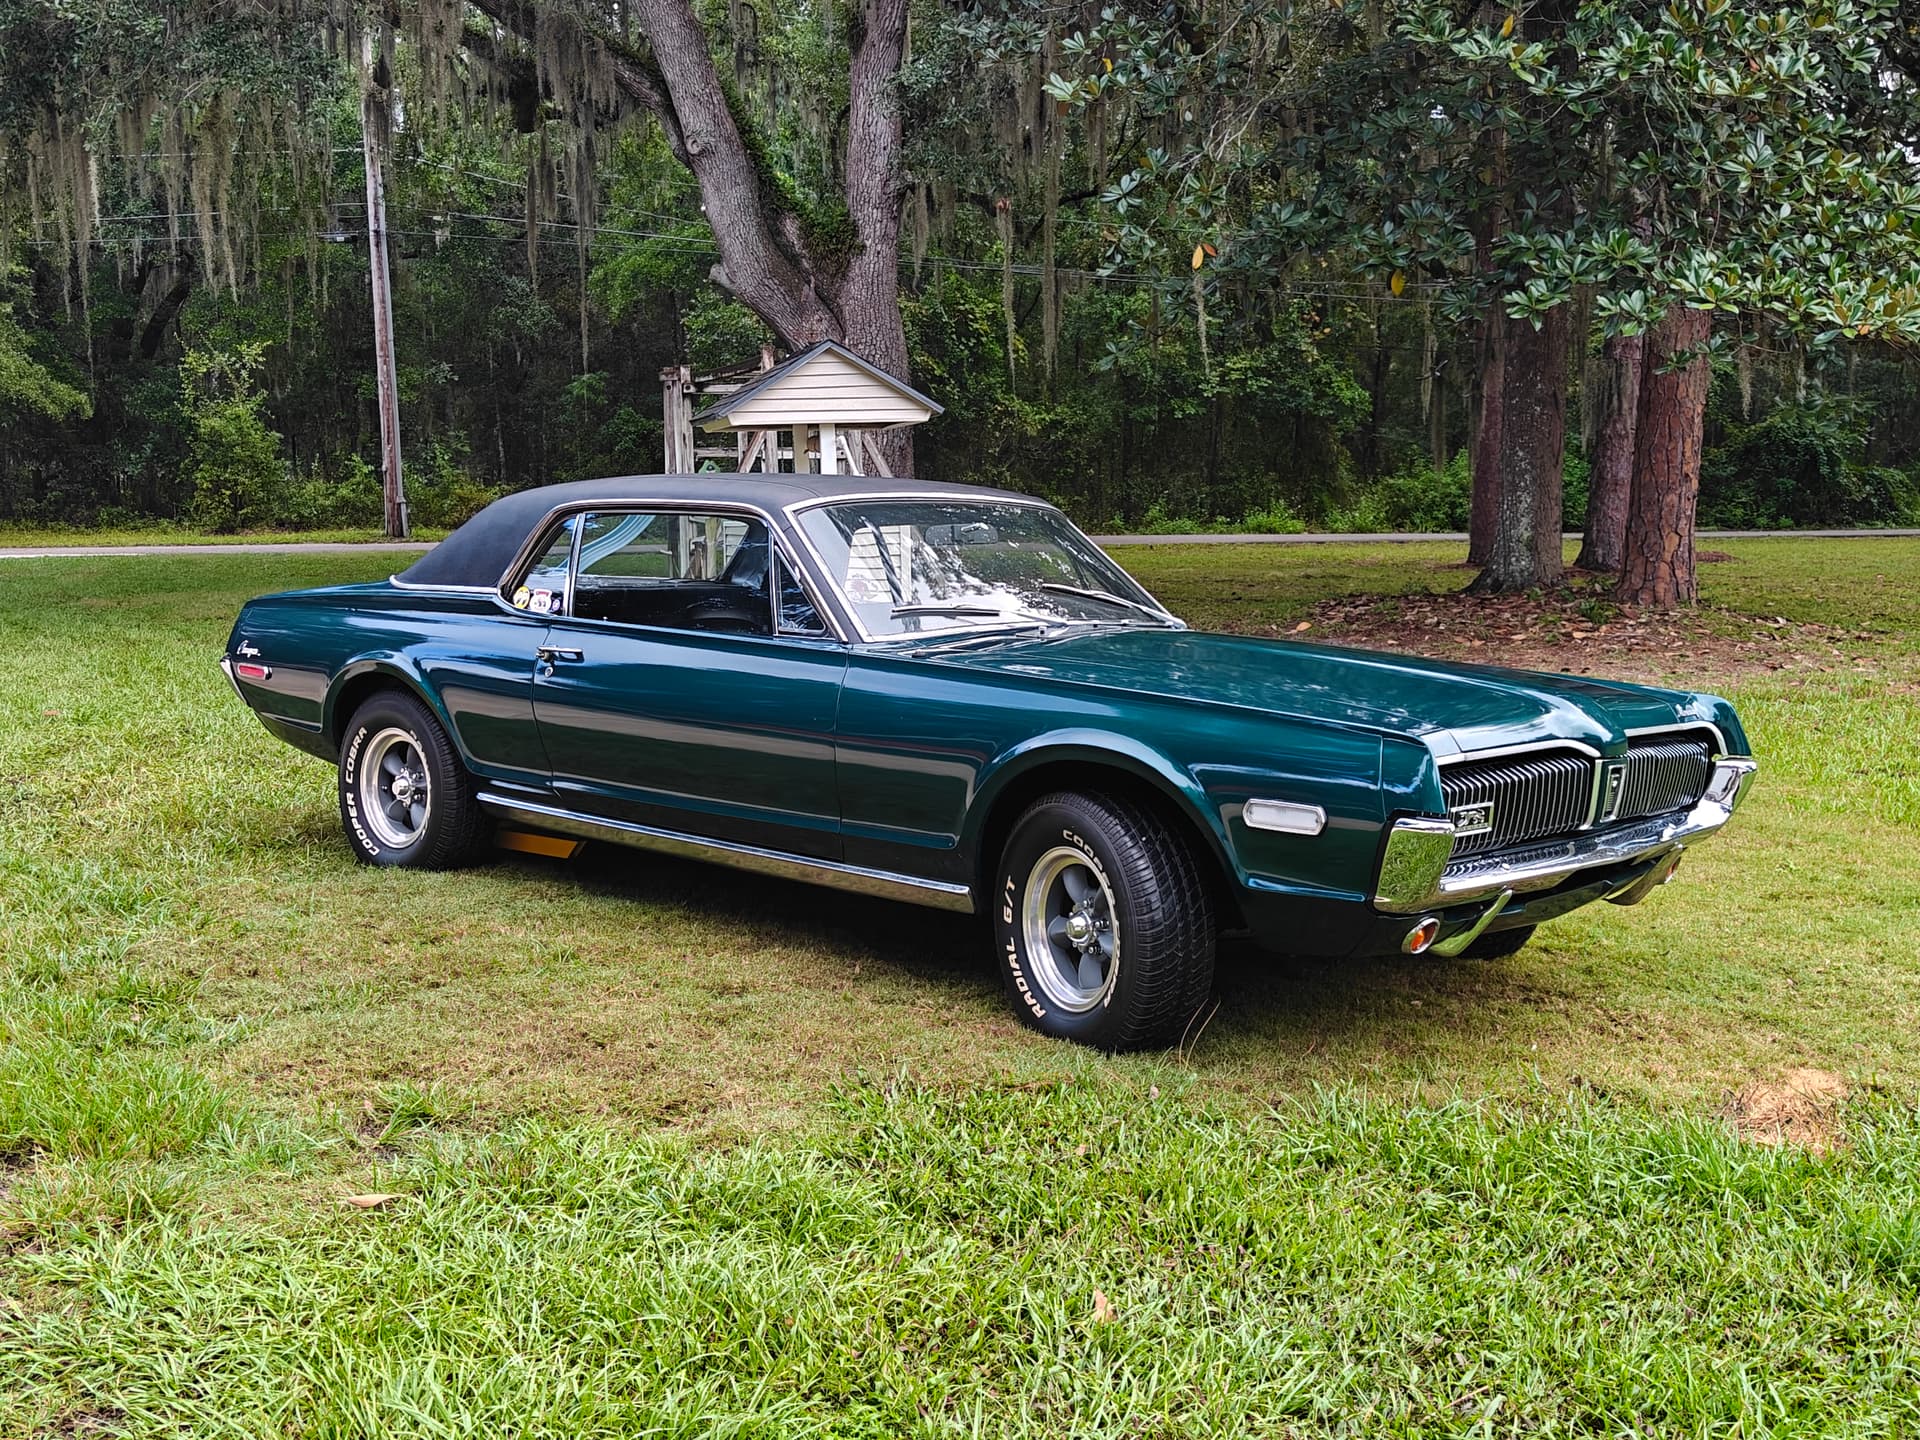
Pic of the Bullitt Cougar with my 66 Galaxie which I sold.

The motor that was in the car looked ok but was way down on power.

My goals for the car are to make it more fun to drive with more power, better handling, and improve the esthetics.

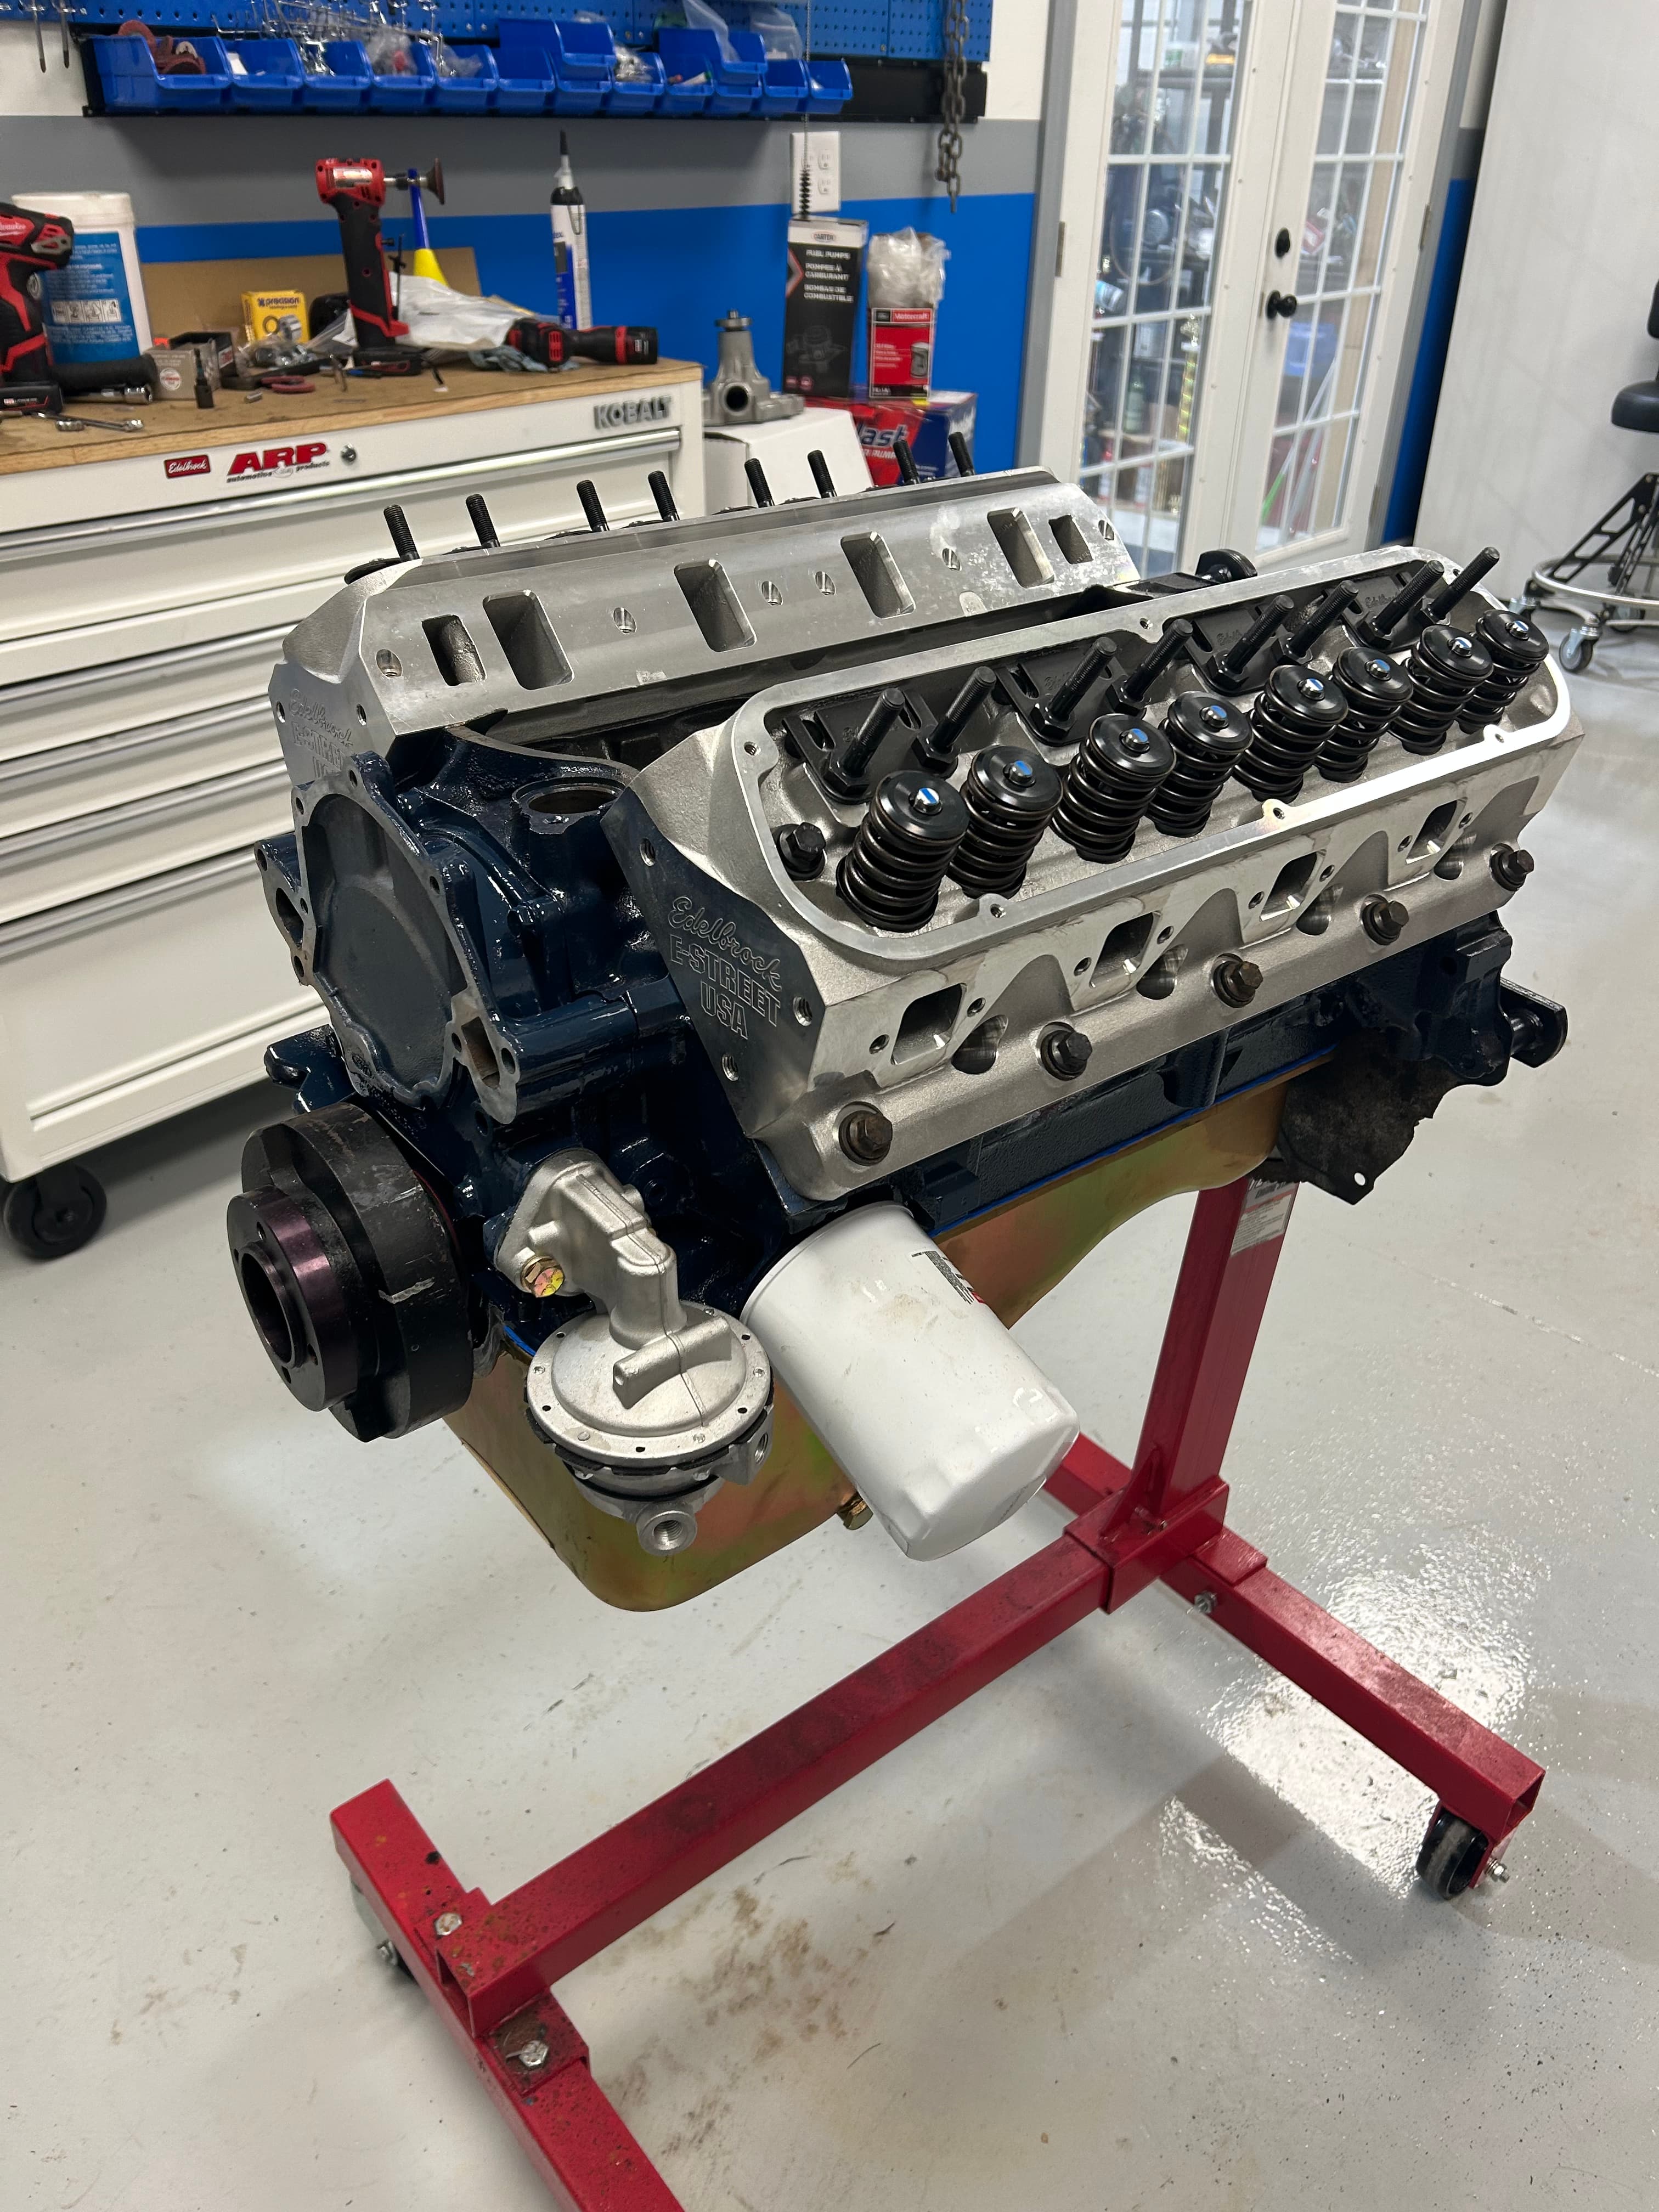
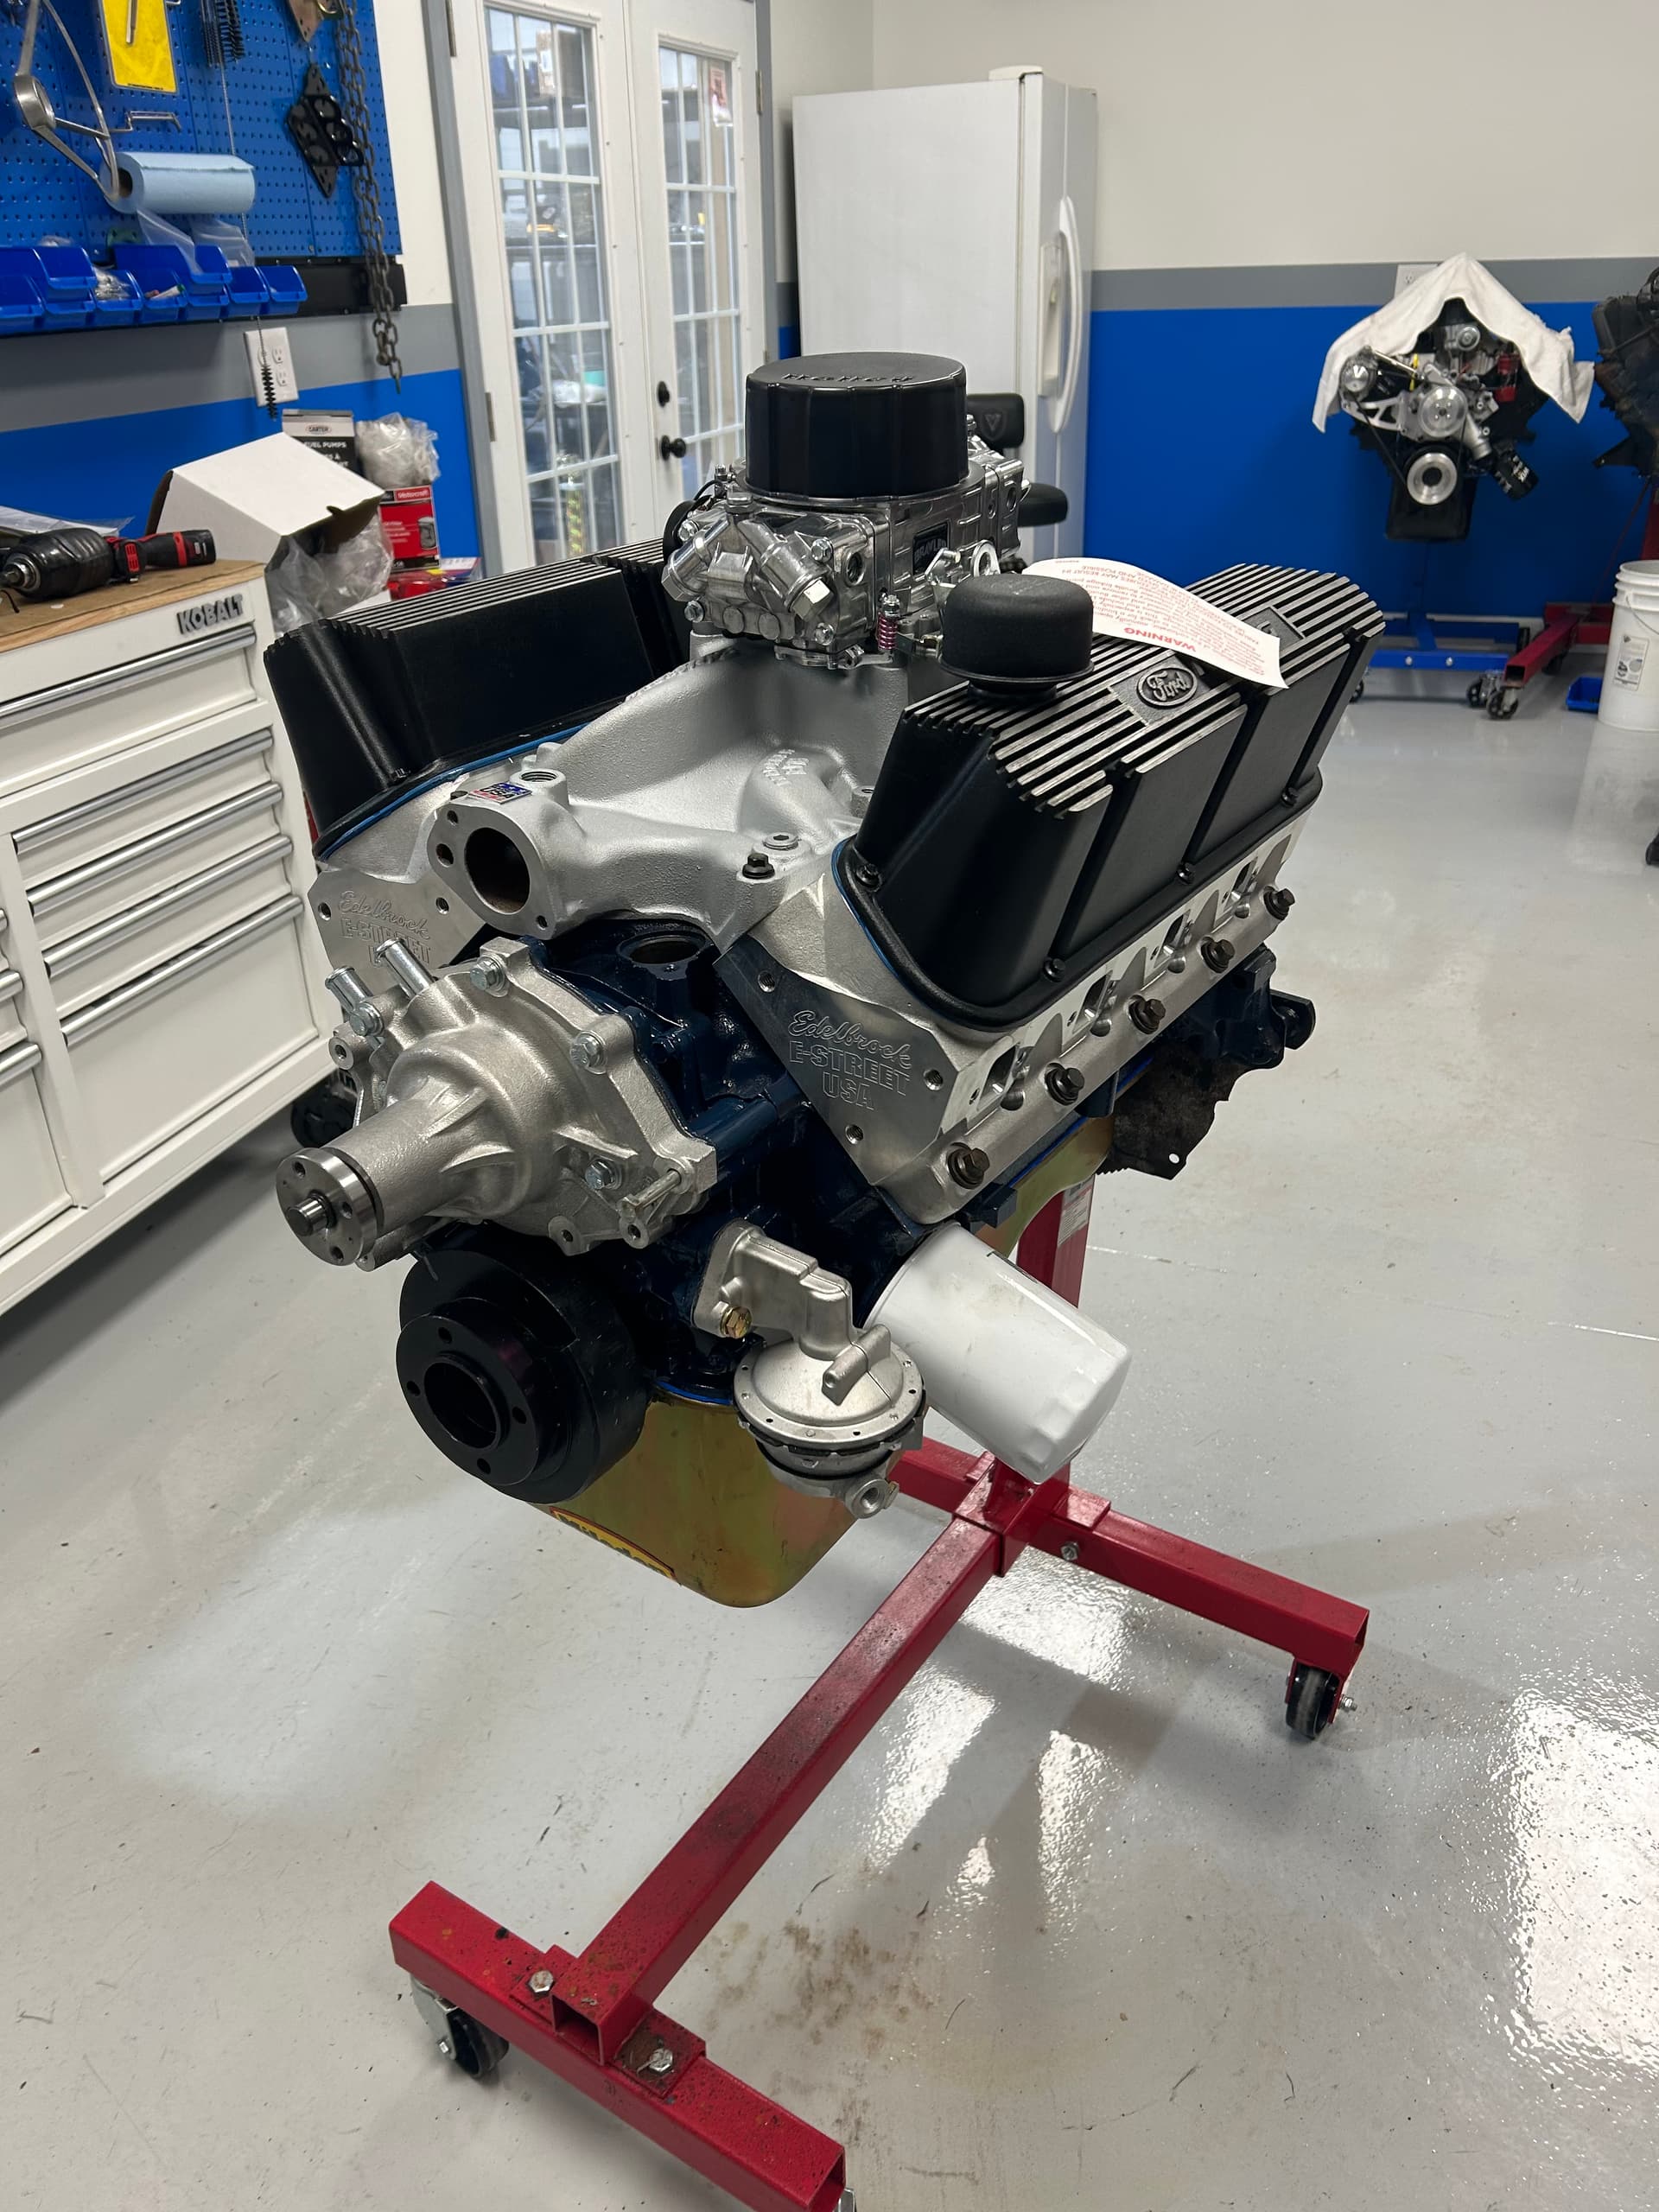
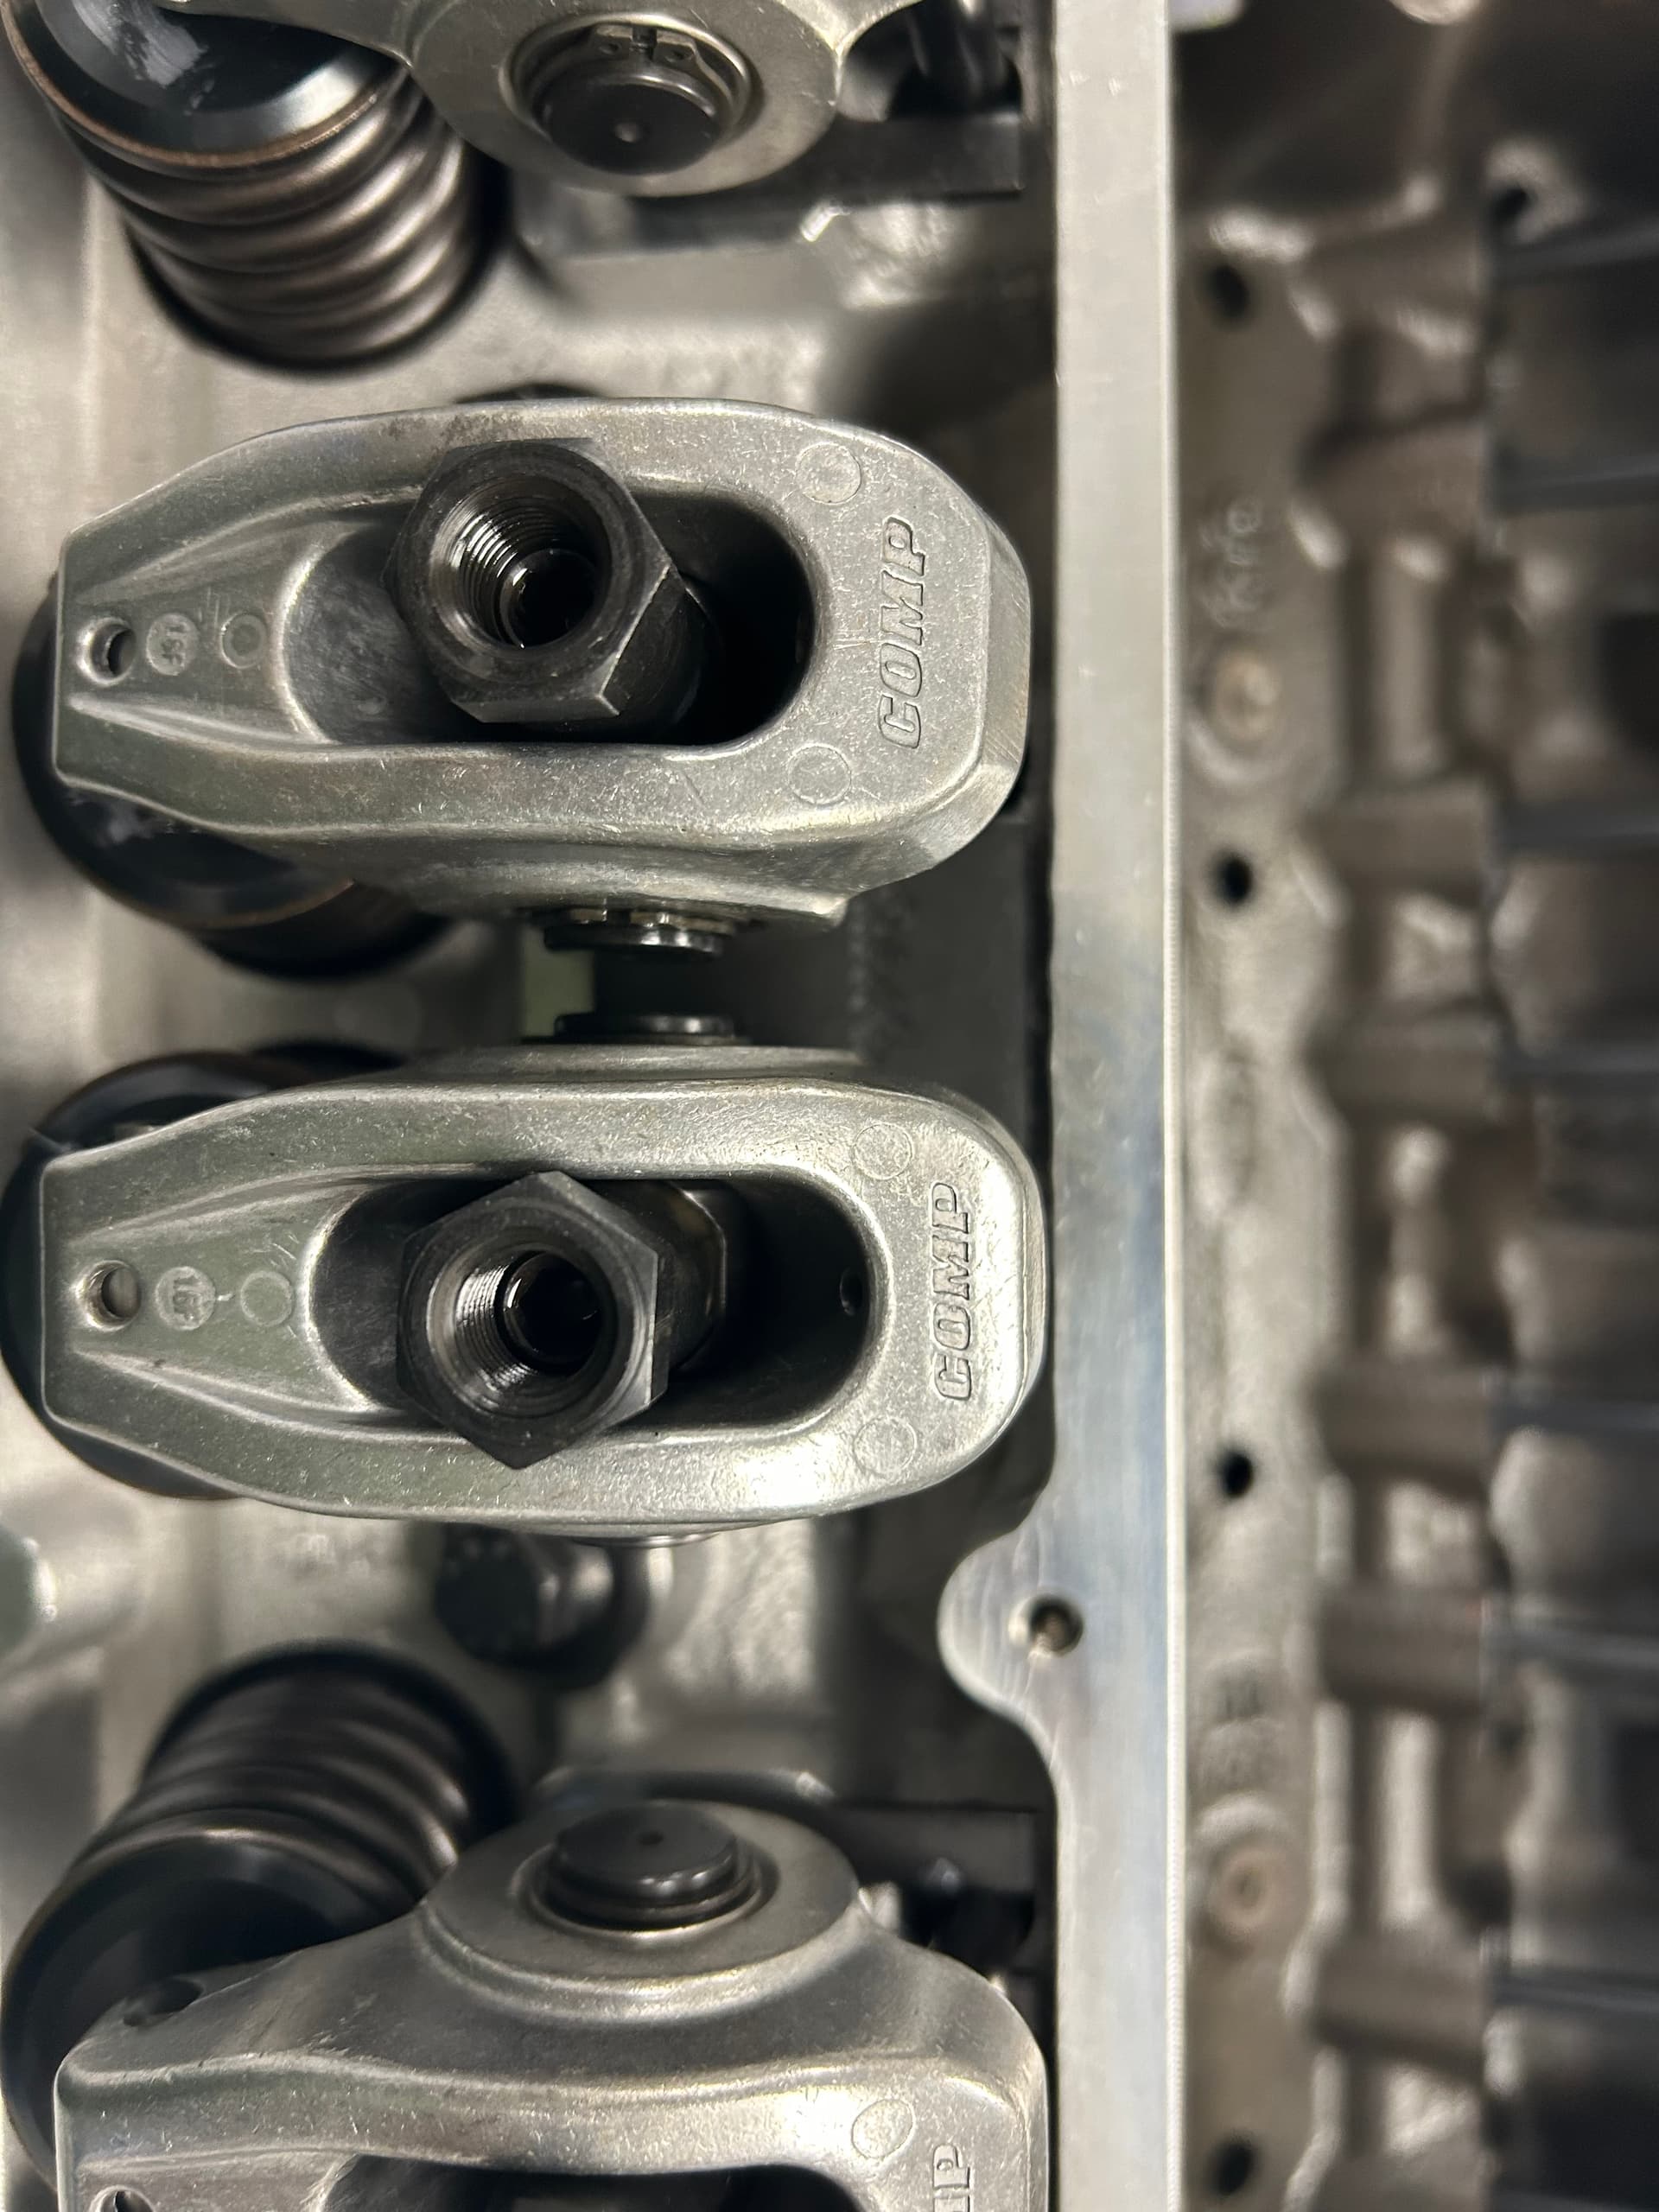
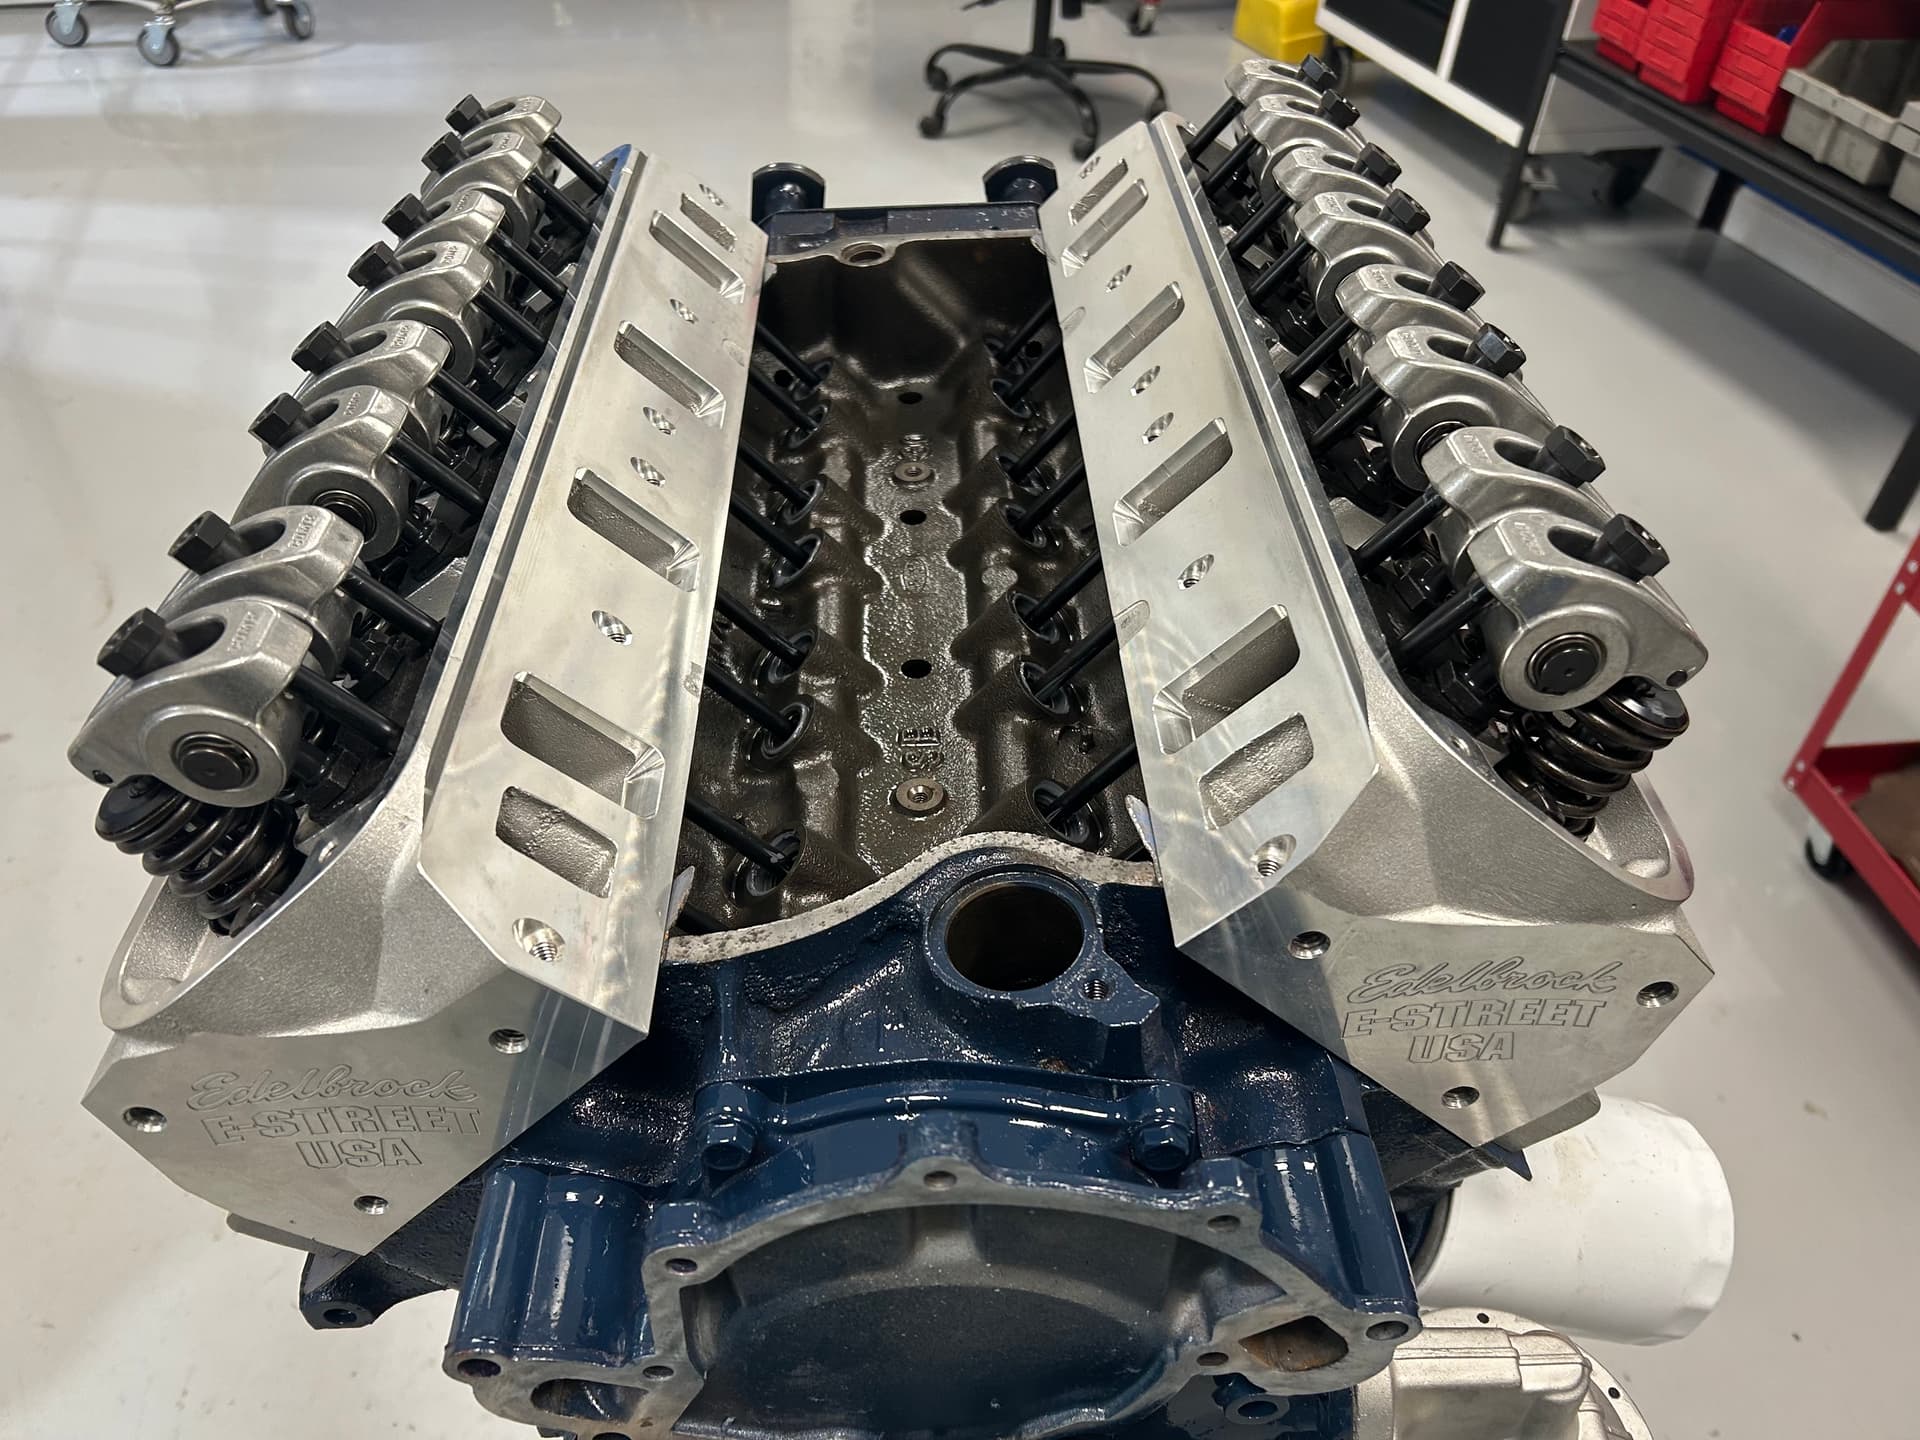
To that end I recently replaced the old 302 and 3 speed with a livelier rebuilt 302. The new motor is a hydraulic flat tapper, Comp 270H, Cloyes double roller timing setup, Edelbrock aluminum heads and intake, brawler 650, high volume Melling pump, and high volume Carter fuel pump.

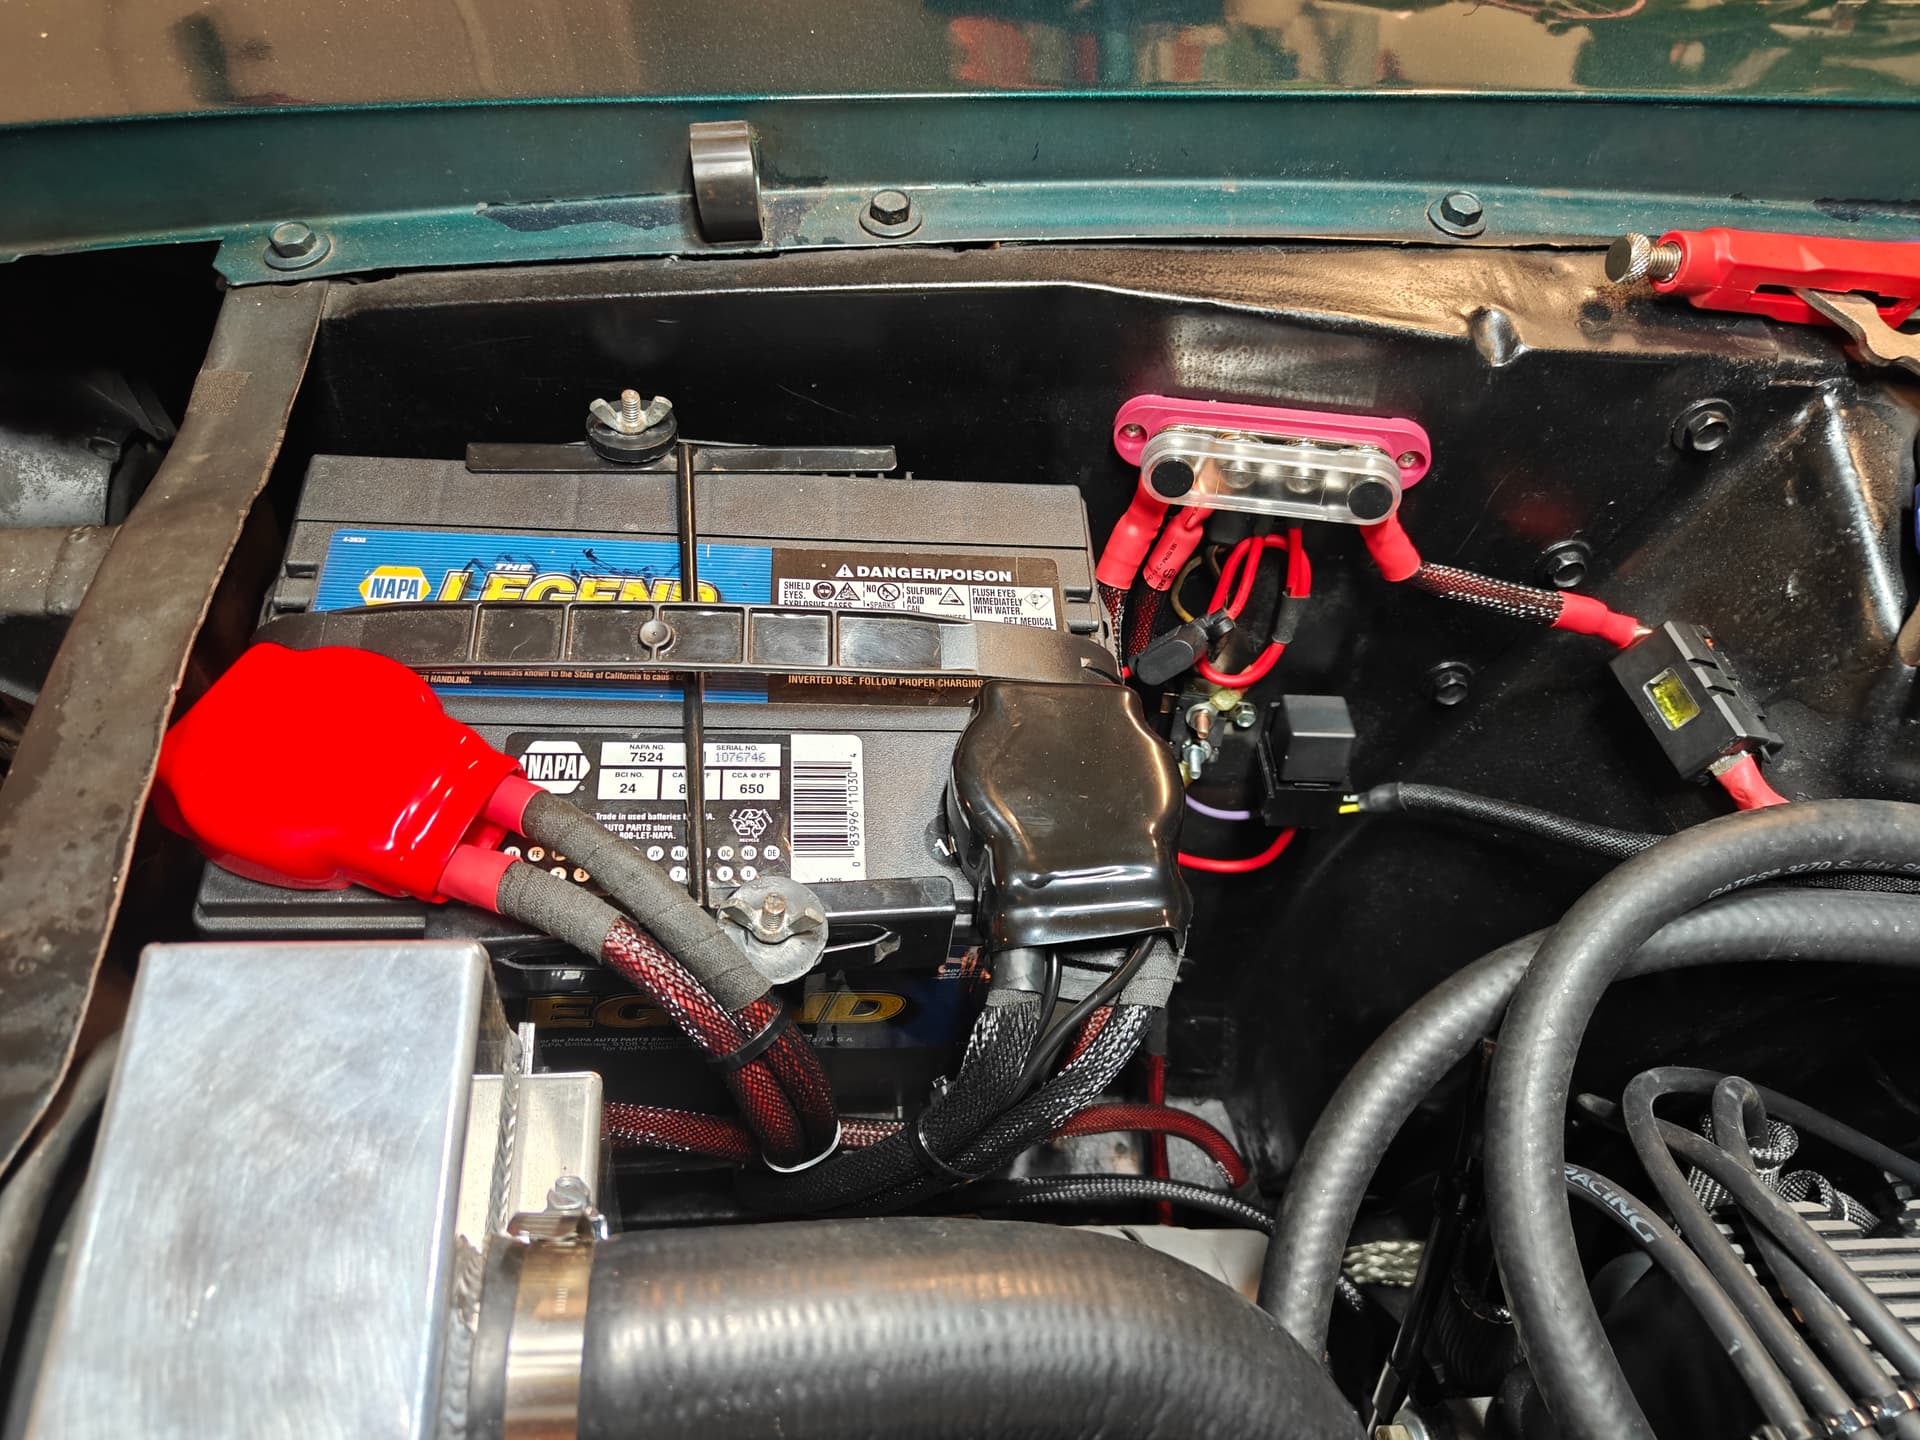
Along with the new motor was a transmission swap to a rebuilt and strengthened T5 with a swap kit from American Powertrain with a hydraulic clutch conversion. Rounding out the installation was a rebuilt rear end, converting to a 3.89 and limited slip, 24” Champion 3-row radiator, dual SPAL fans, and a new 140a alternator. The car also received a manual CSRP 4-piston front disc brake conversion.

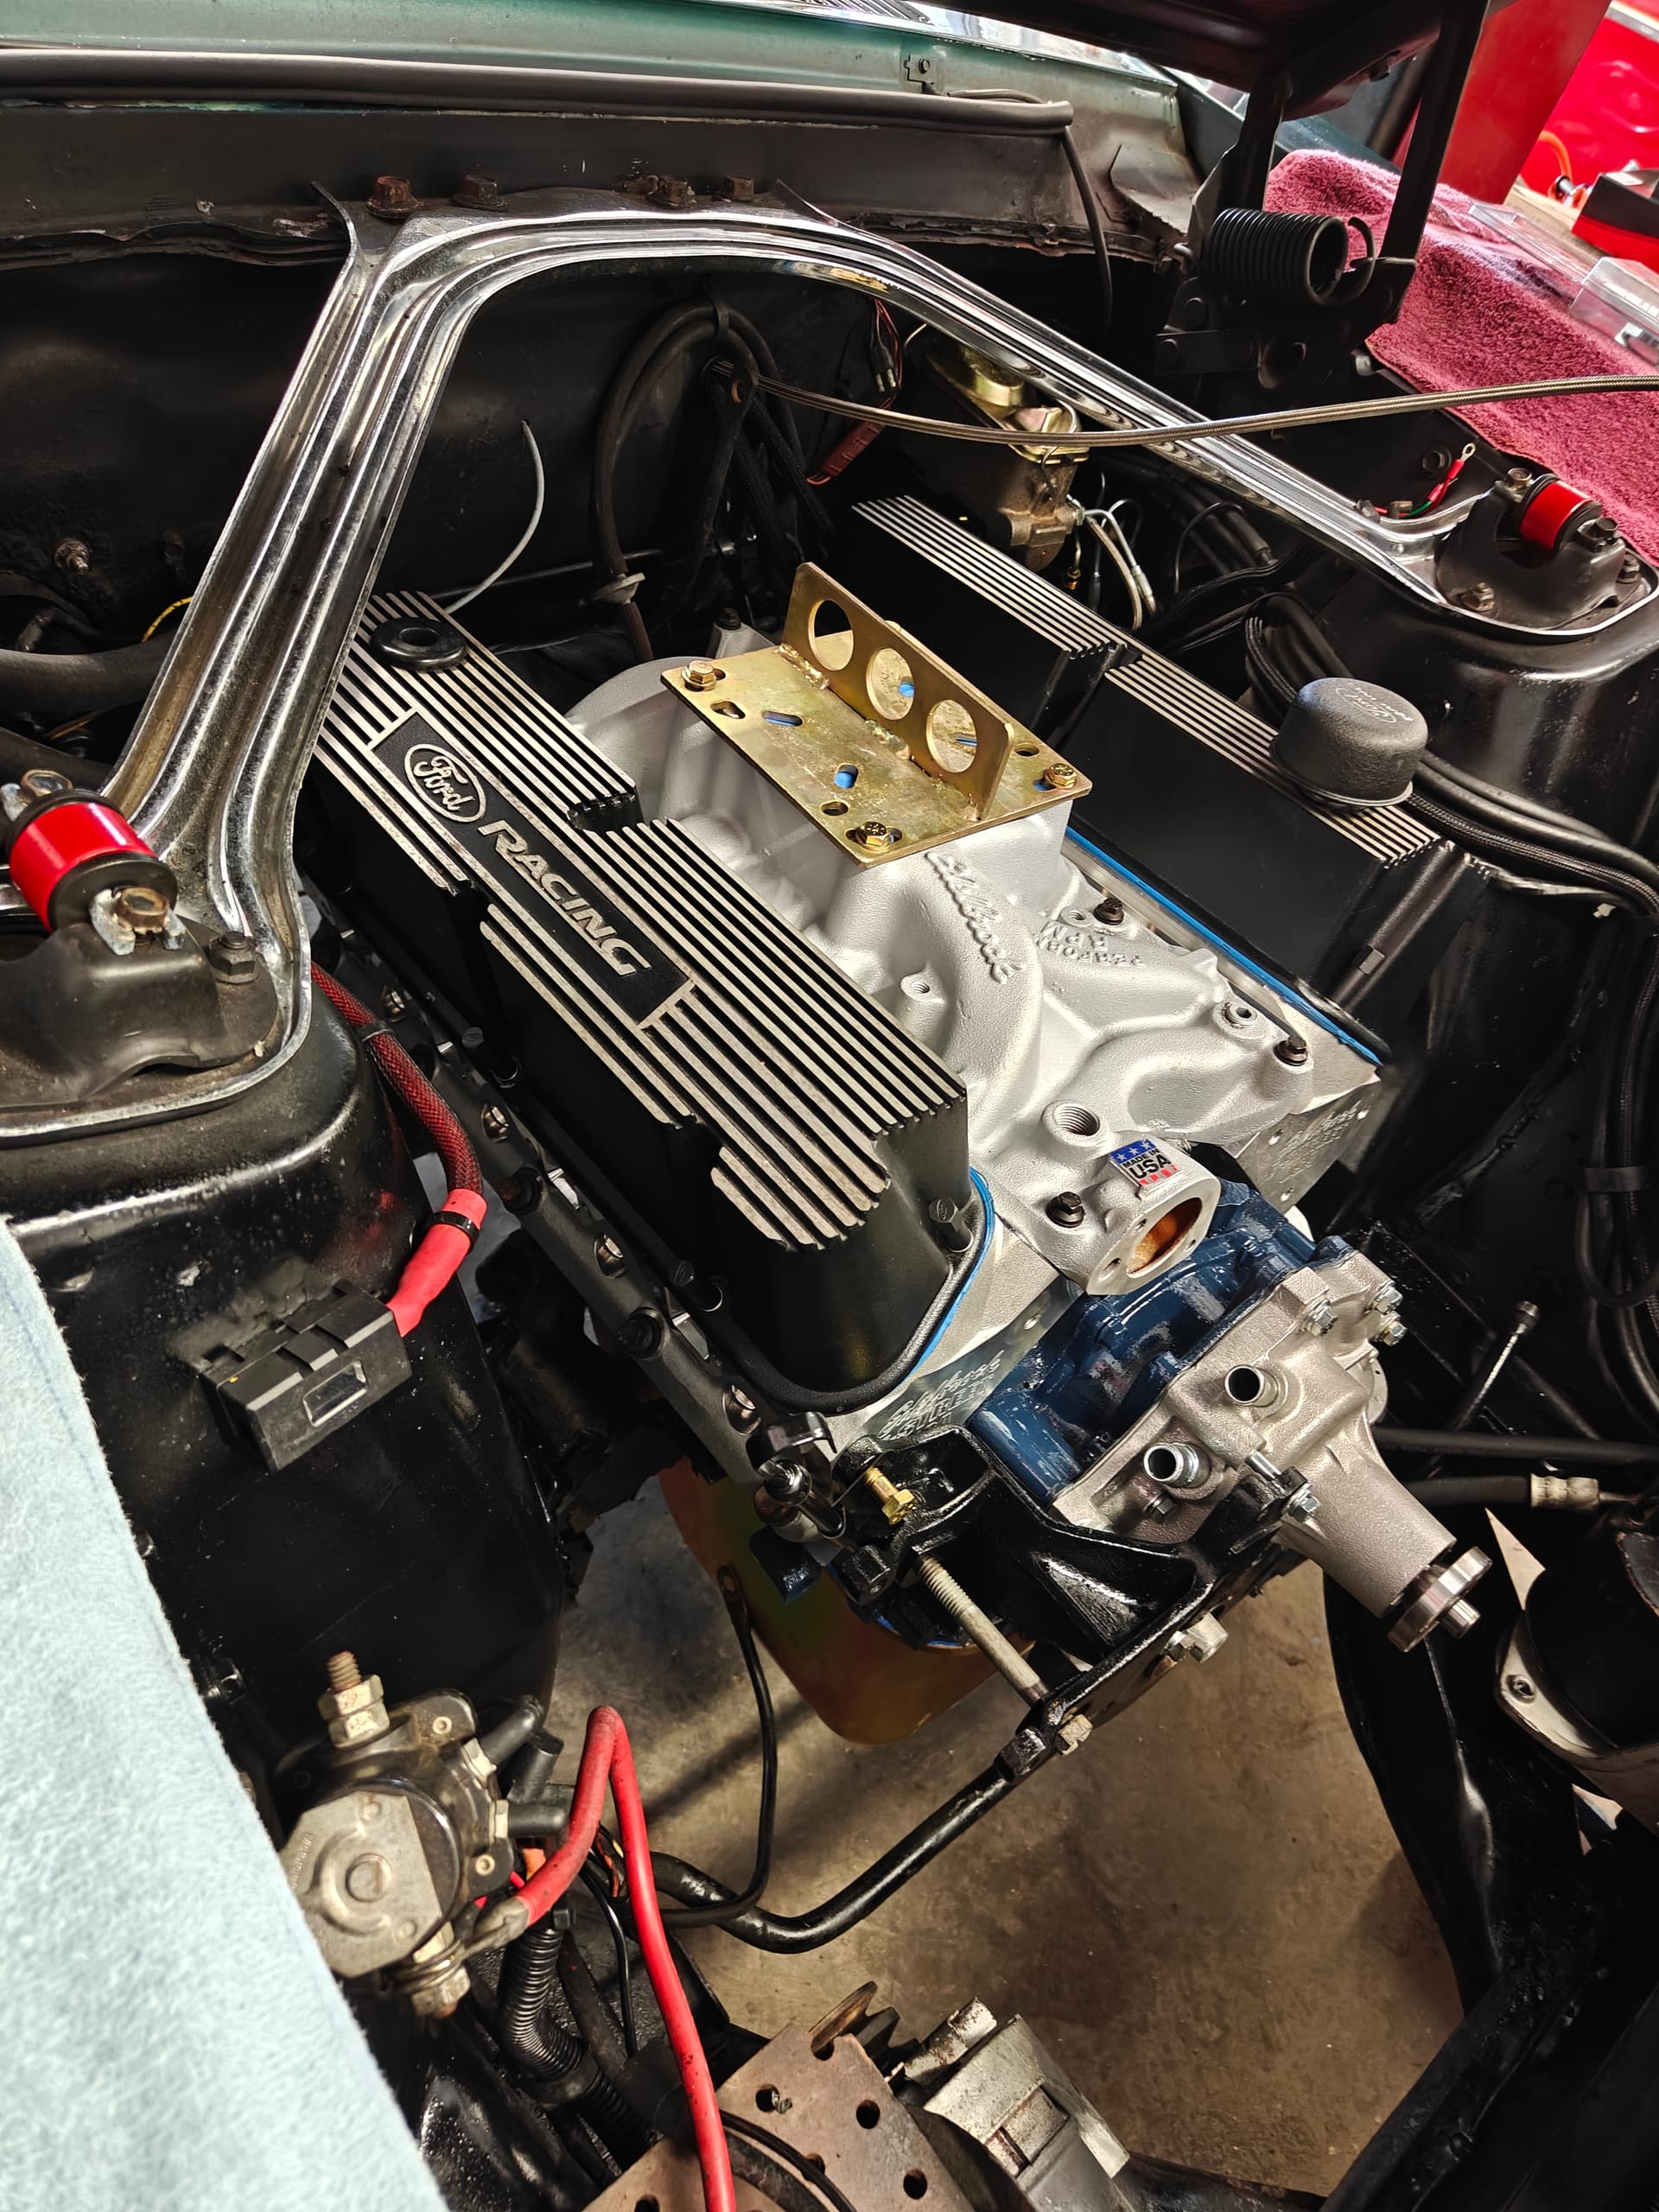
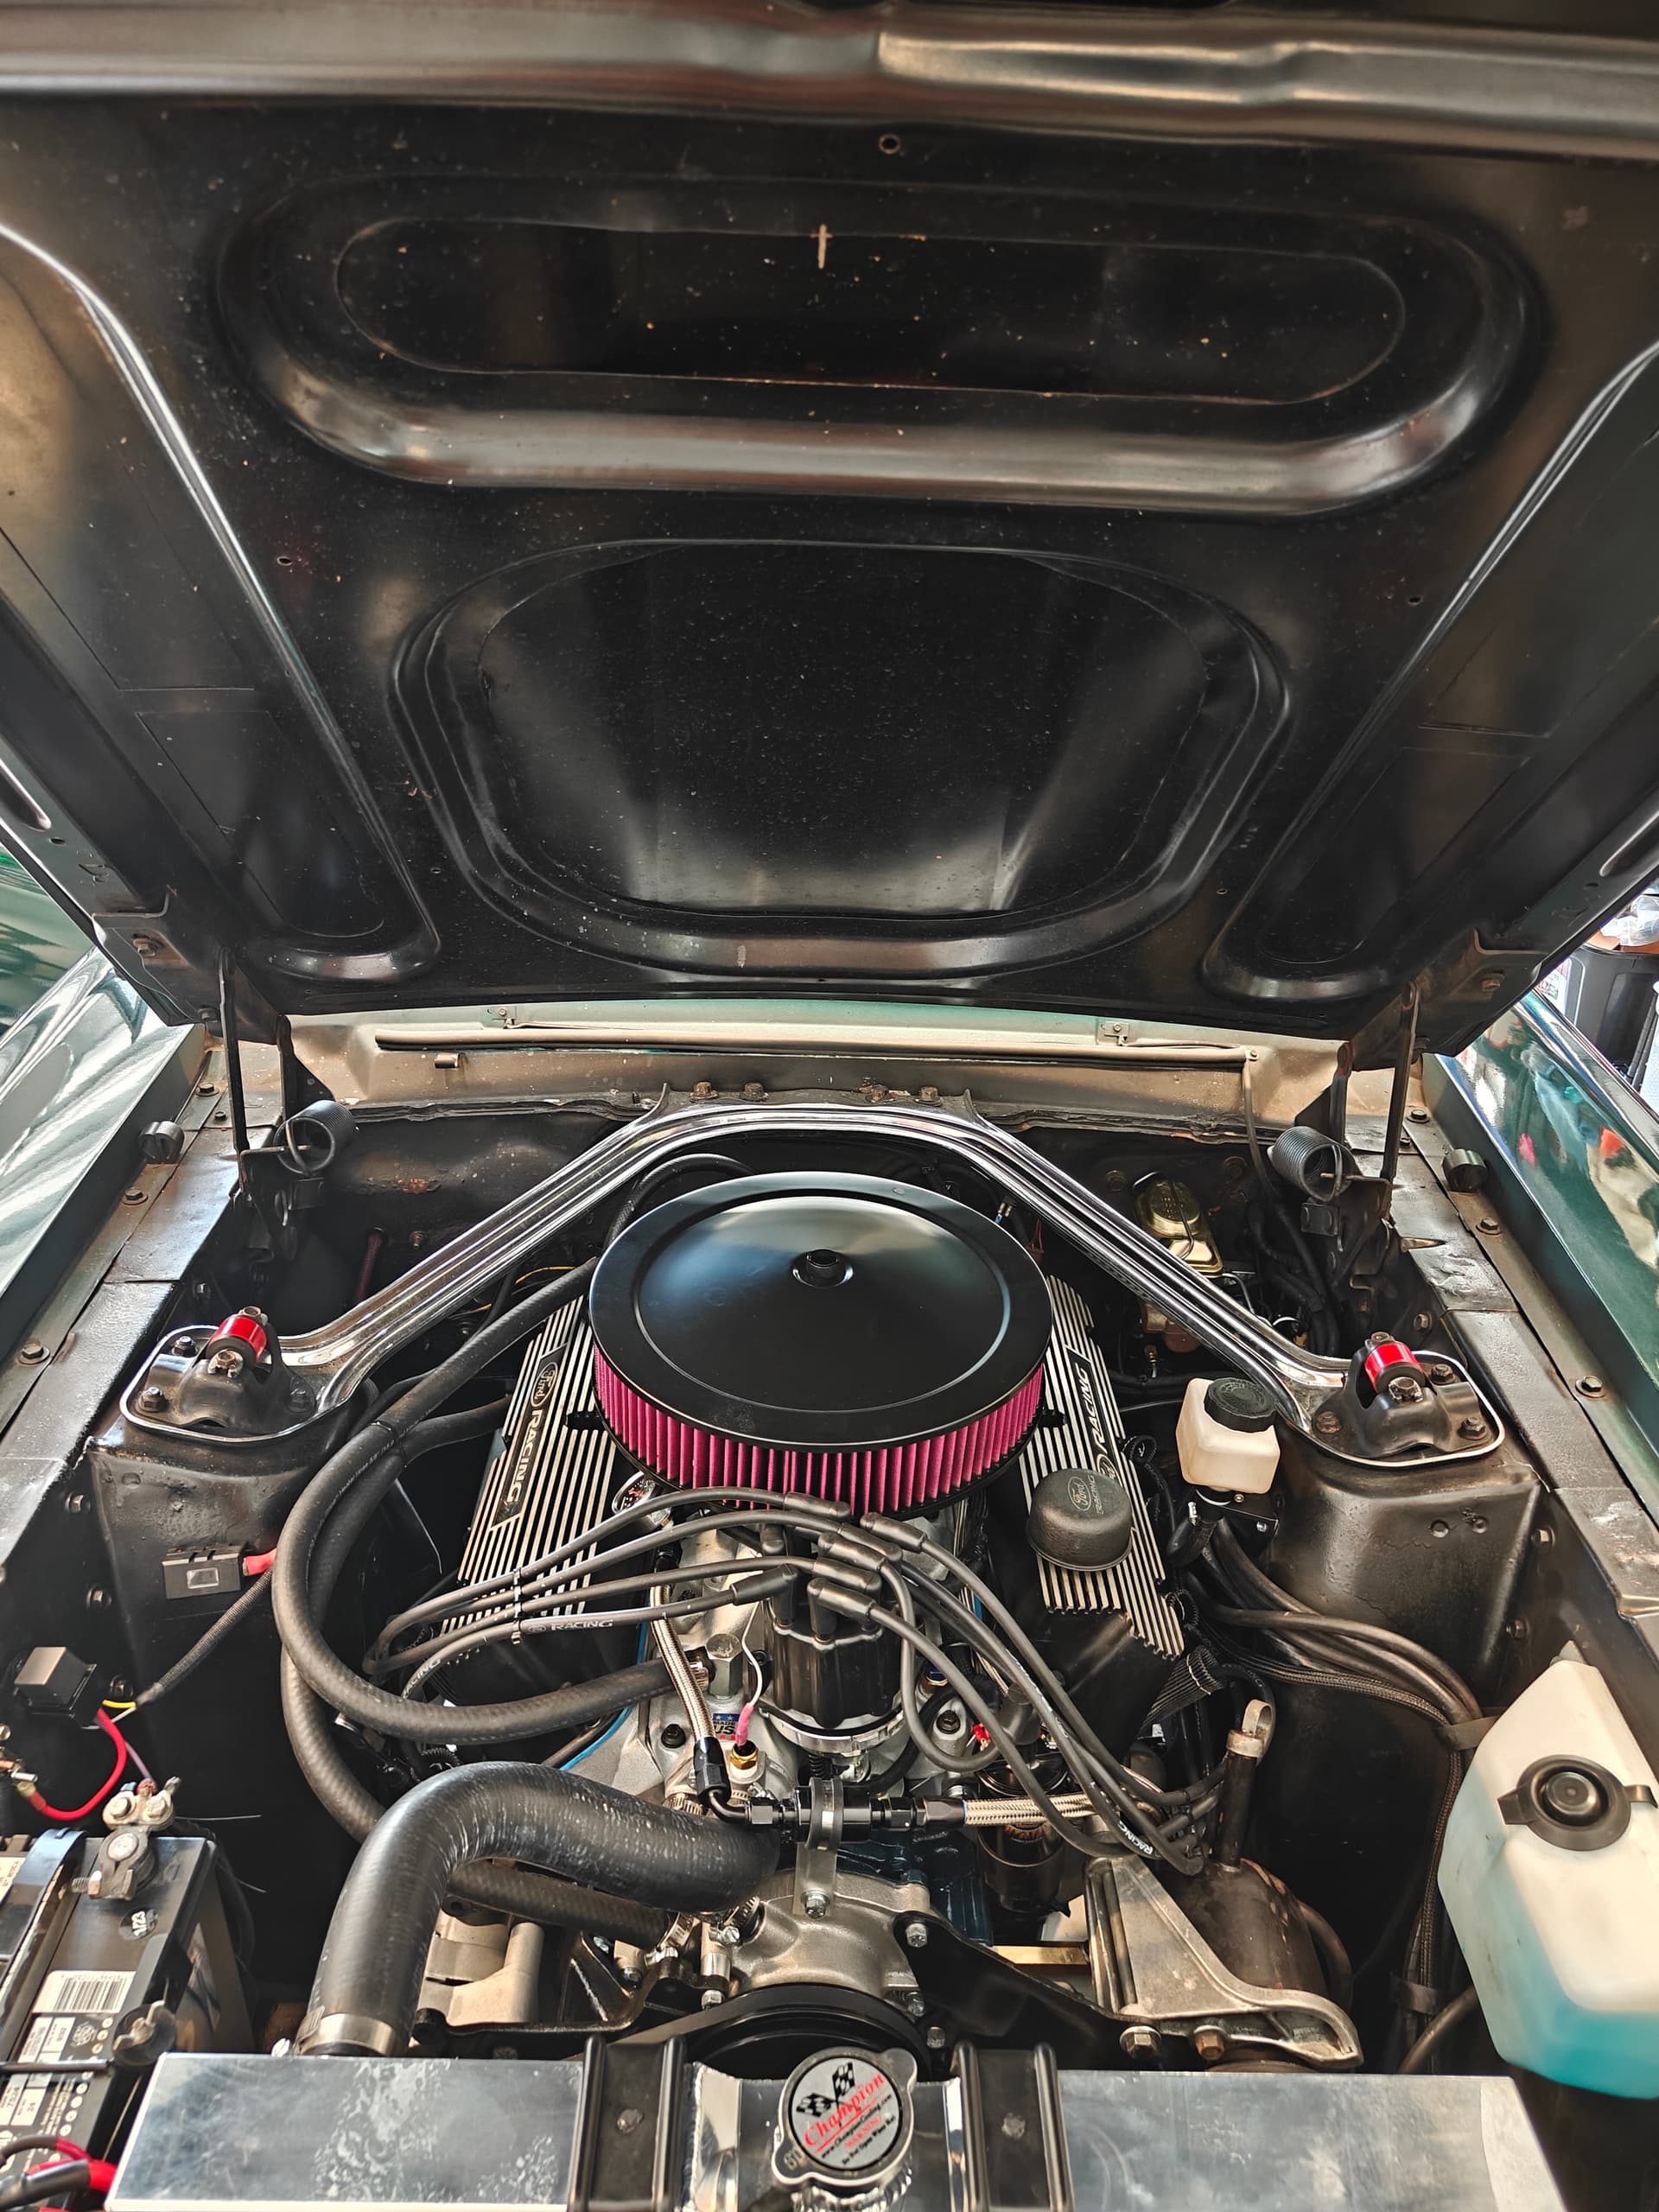
Once the motor was in and the car was running after road testing some fine tuning was needed on the carb and the timing. Car is running great now, makes very good power up to around 5500rpm, runs cooler, and is more fun to drive.

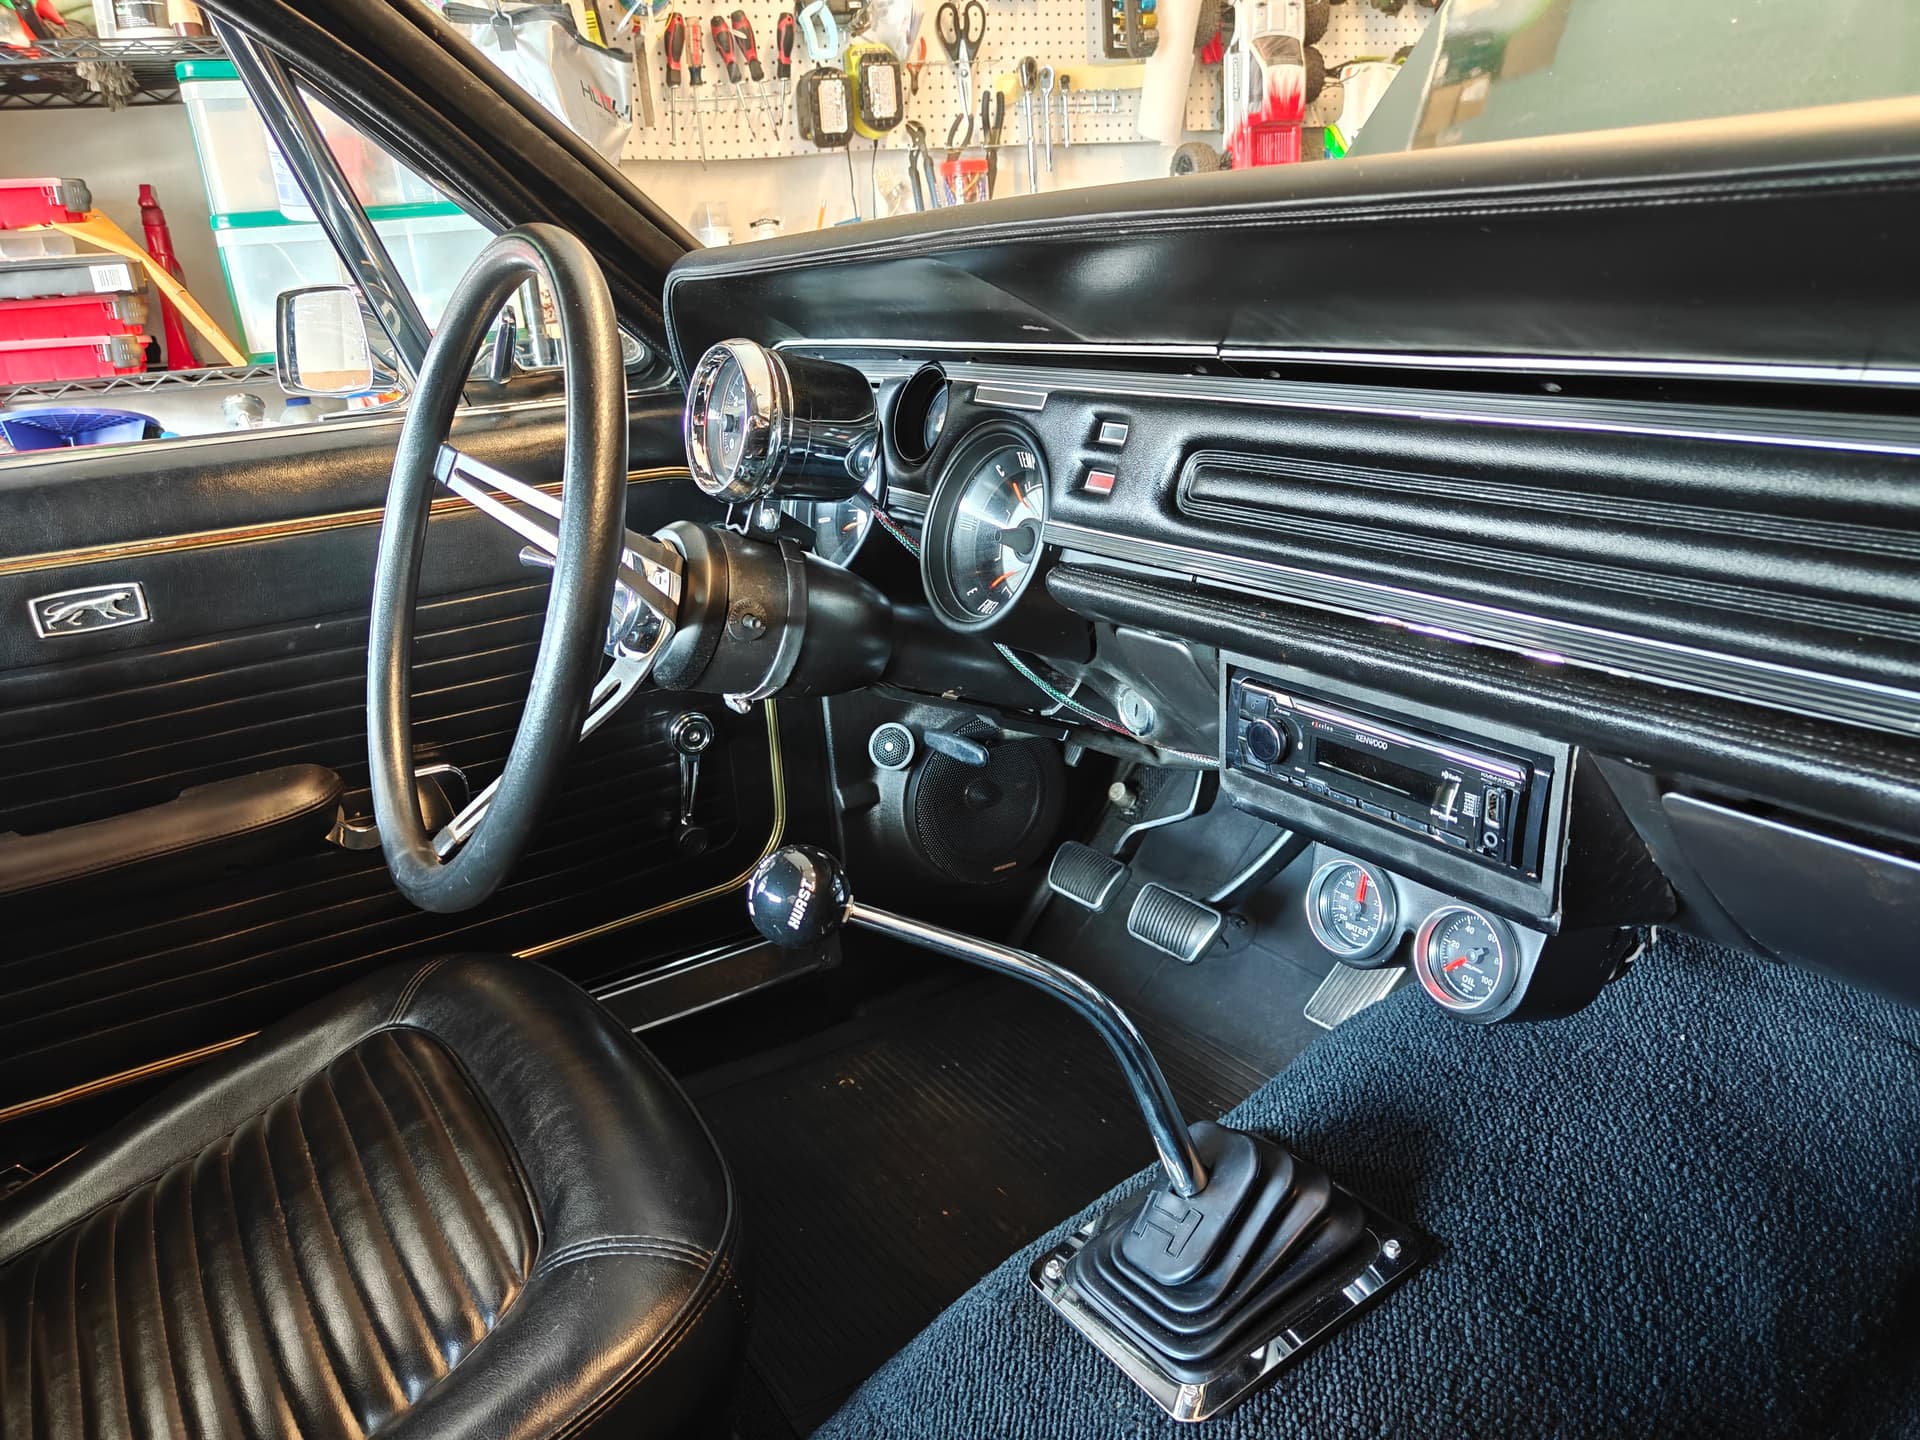
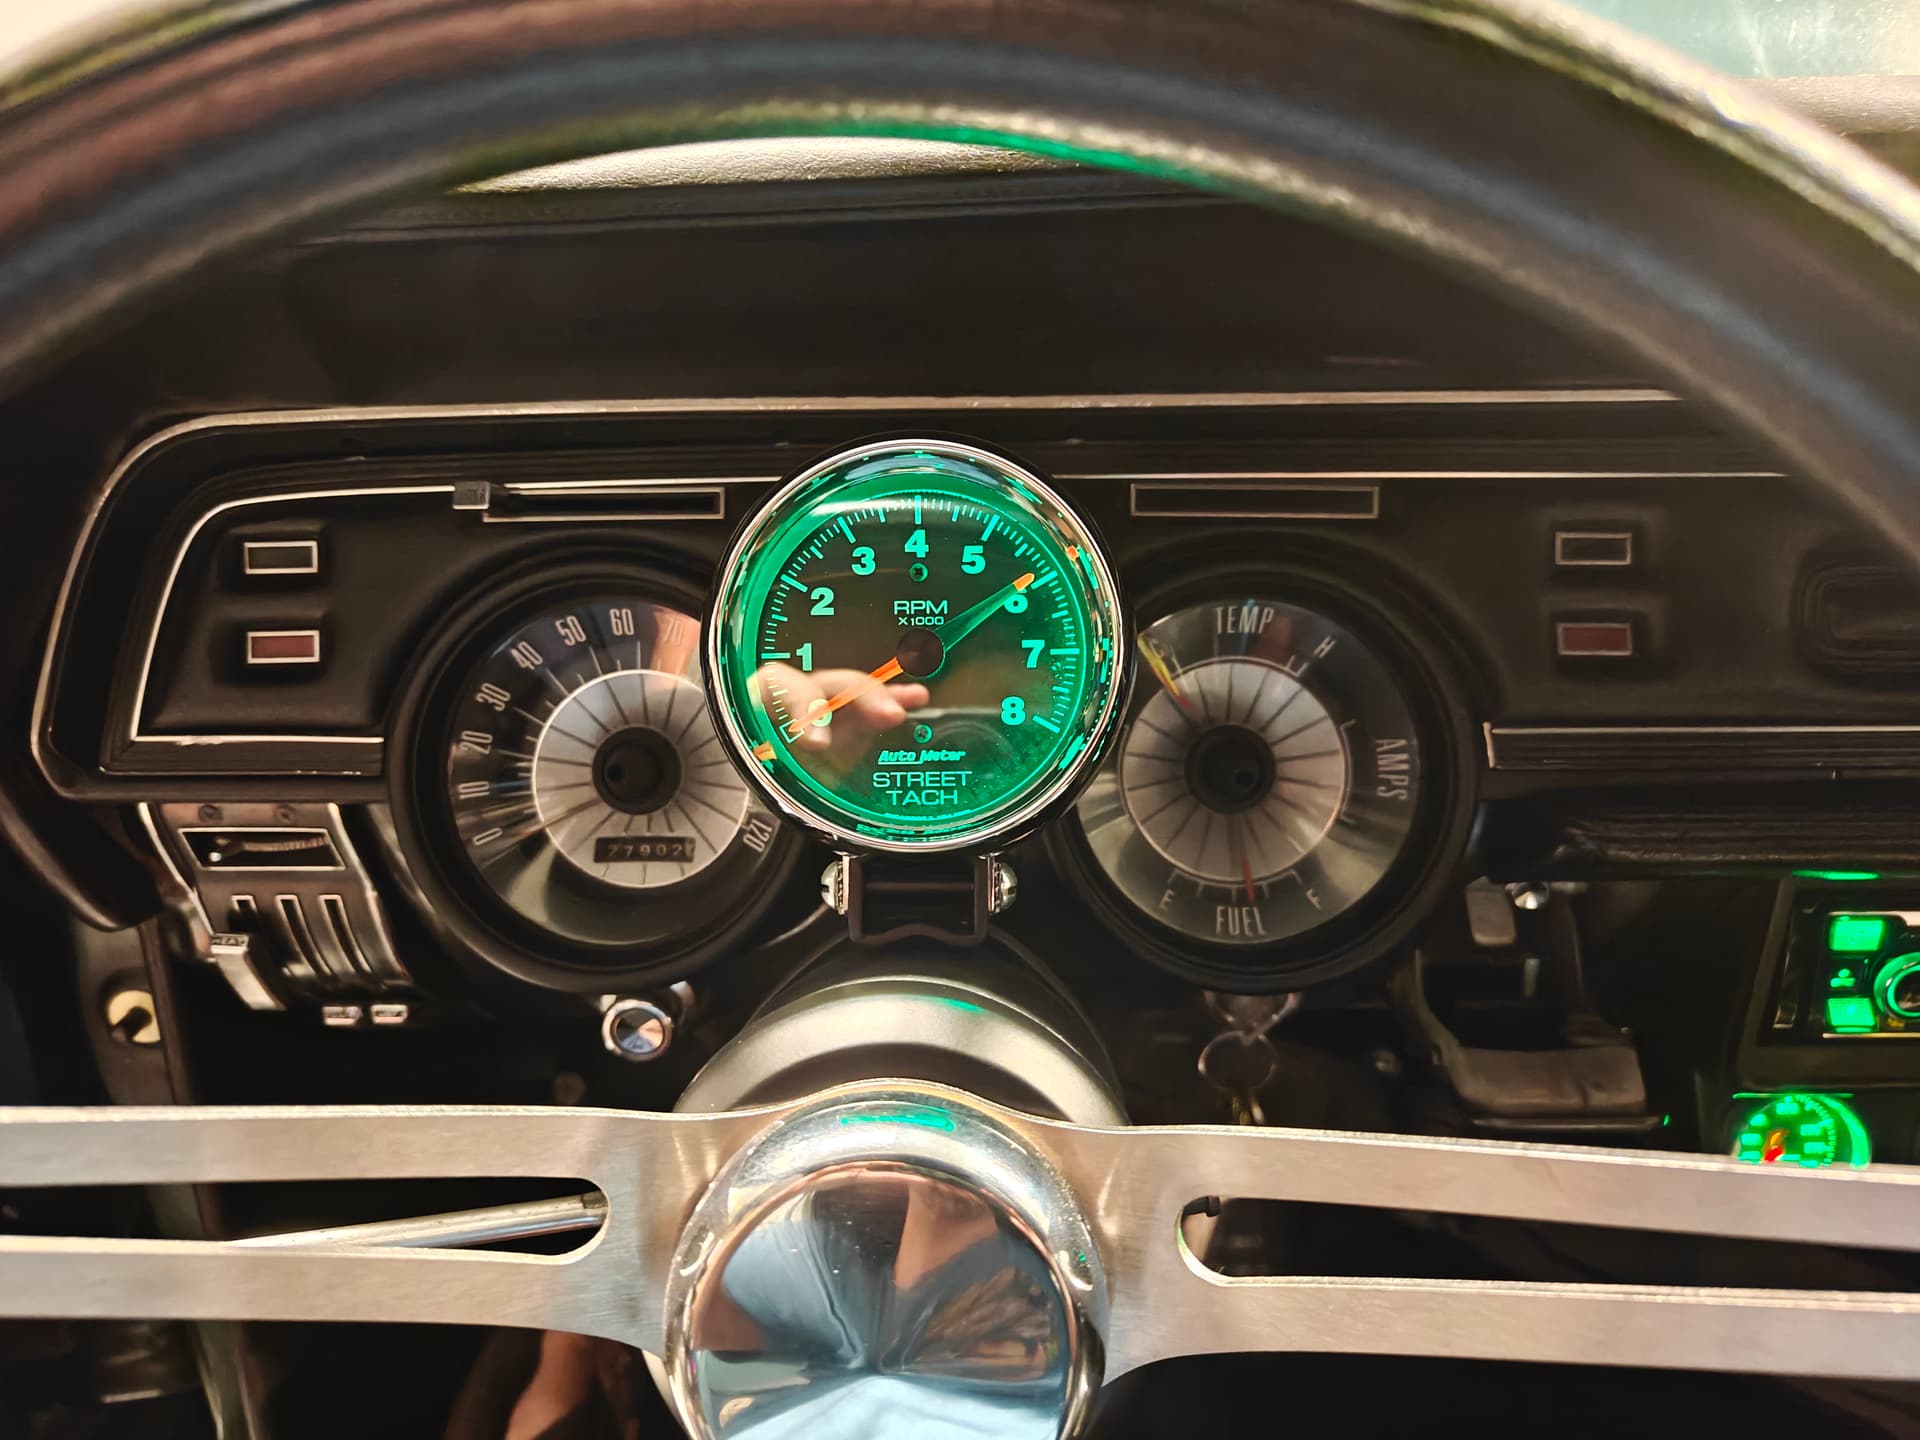
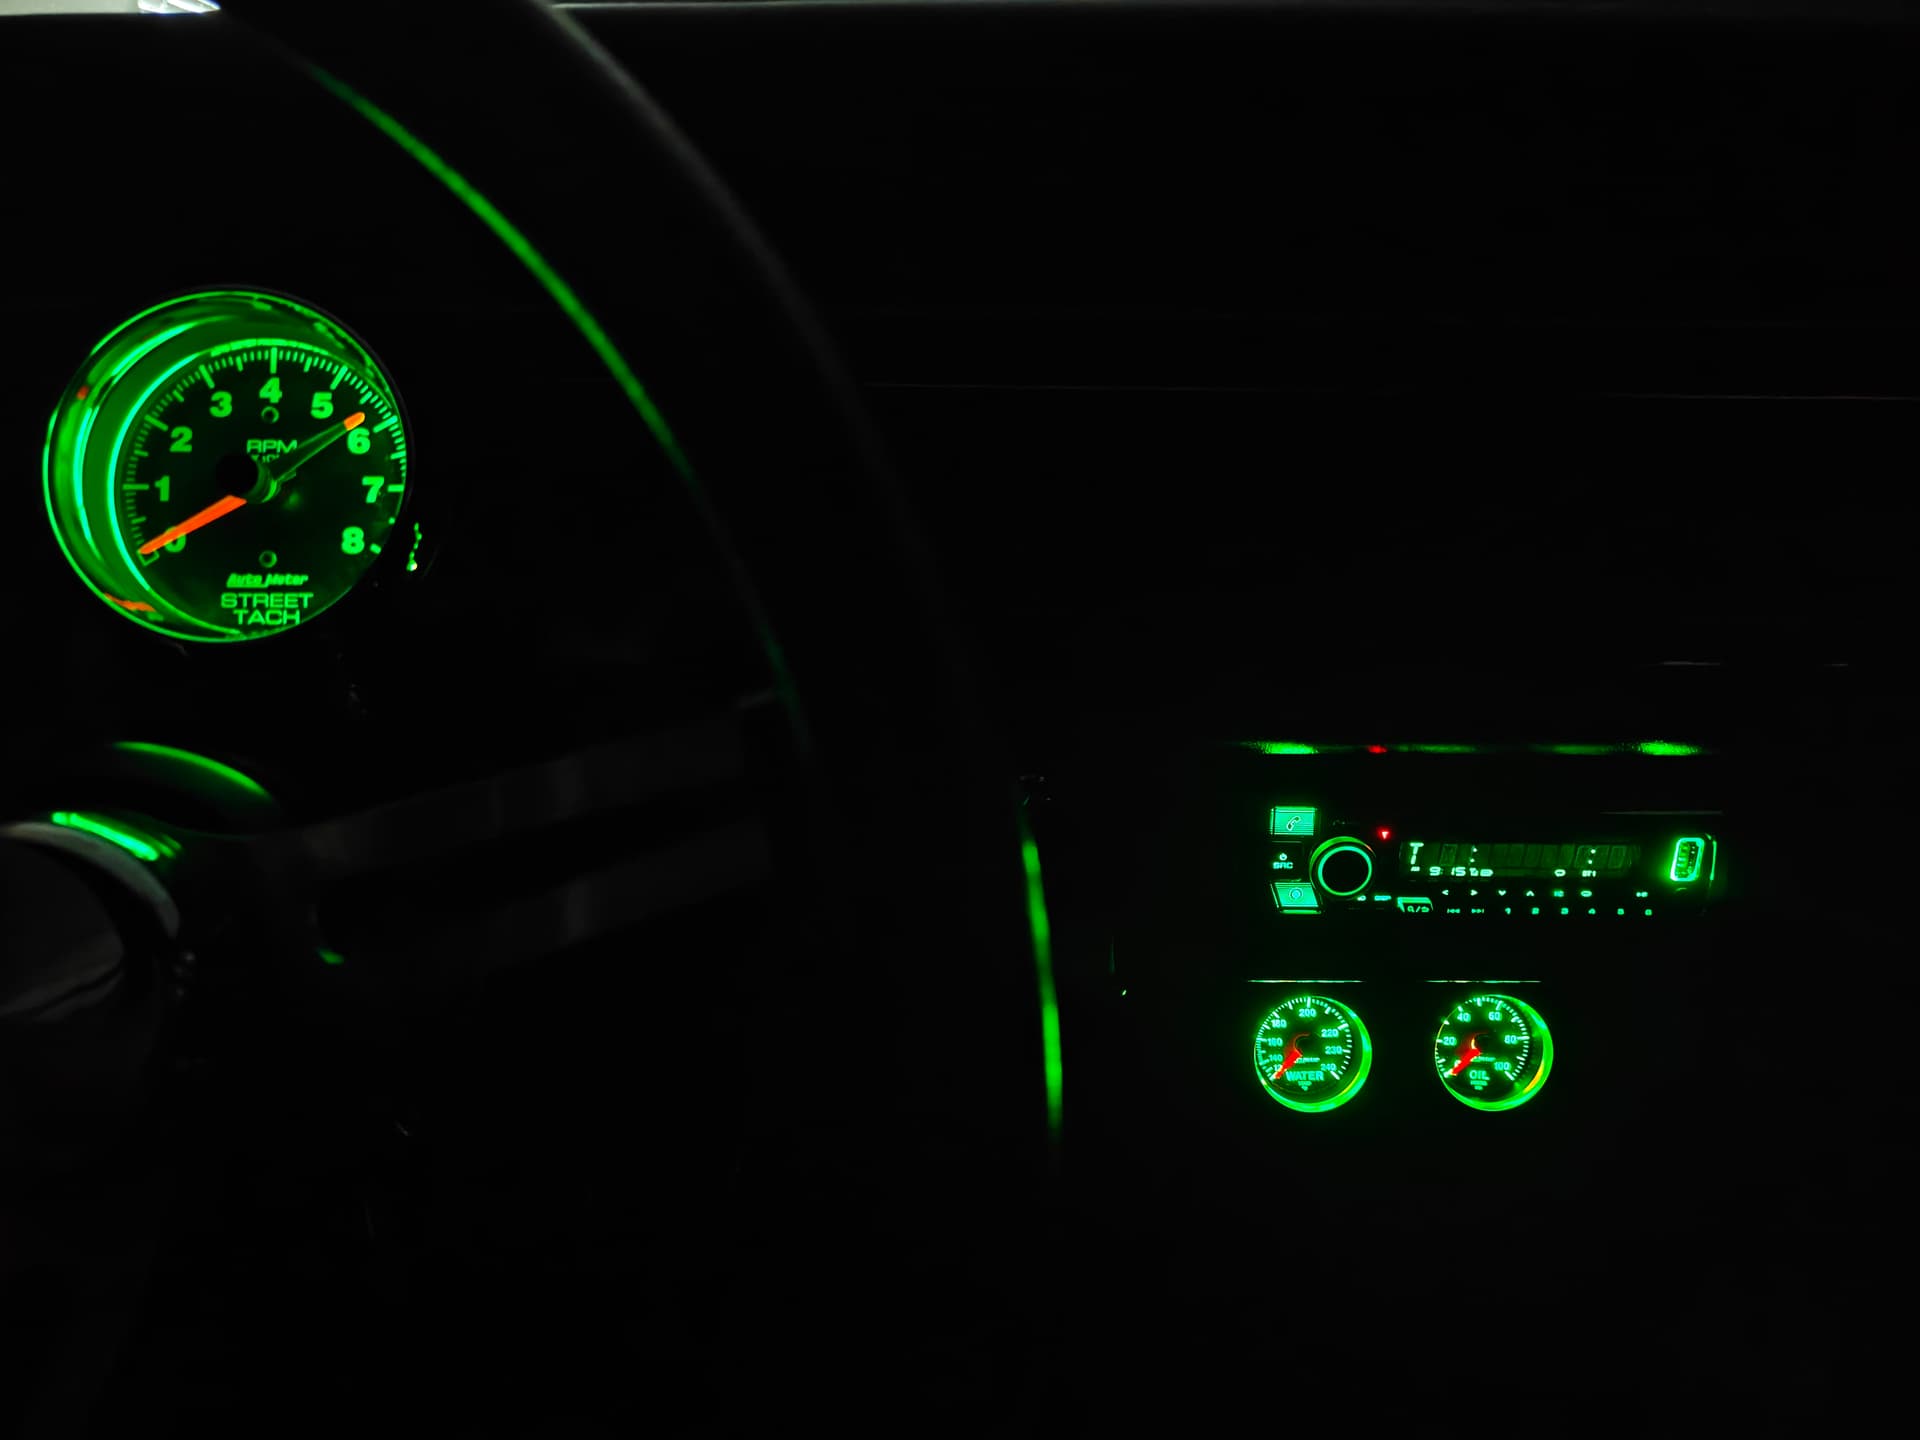
Here’s a few other misc pictures of some new gauges that I’ve installed. AutoMeter 3 3/4” Street Tach, and GS series 2 1/16 Oil Pressure and Water Temp.

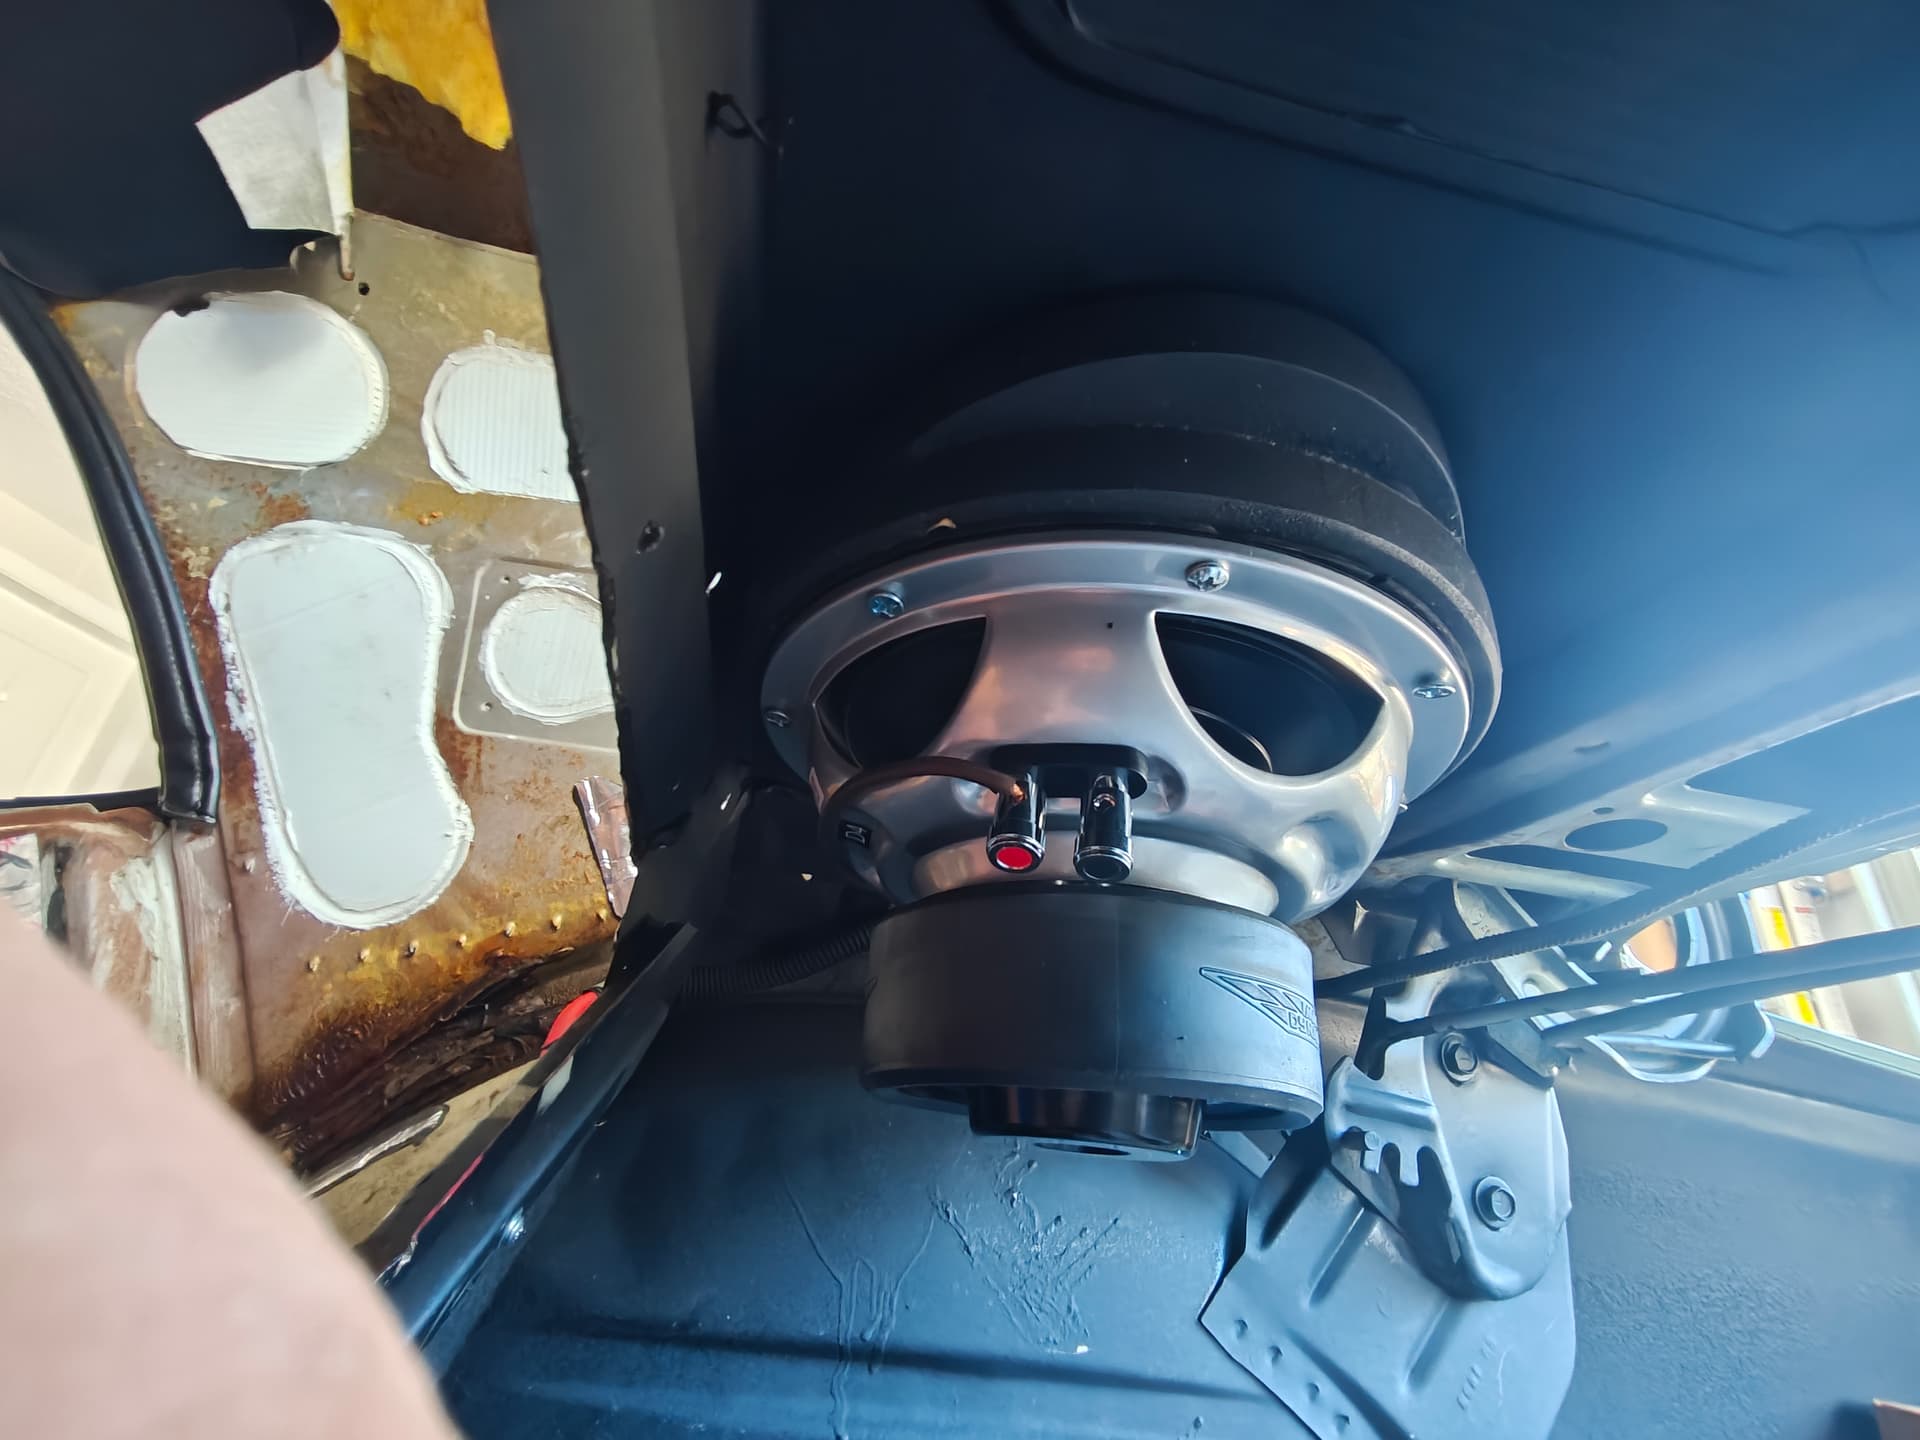
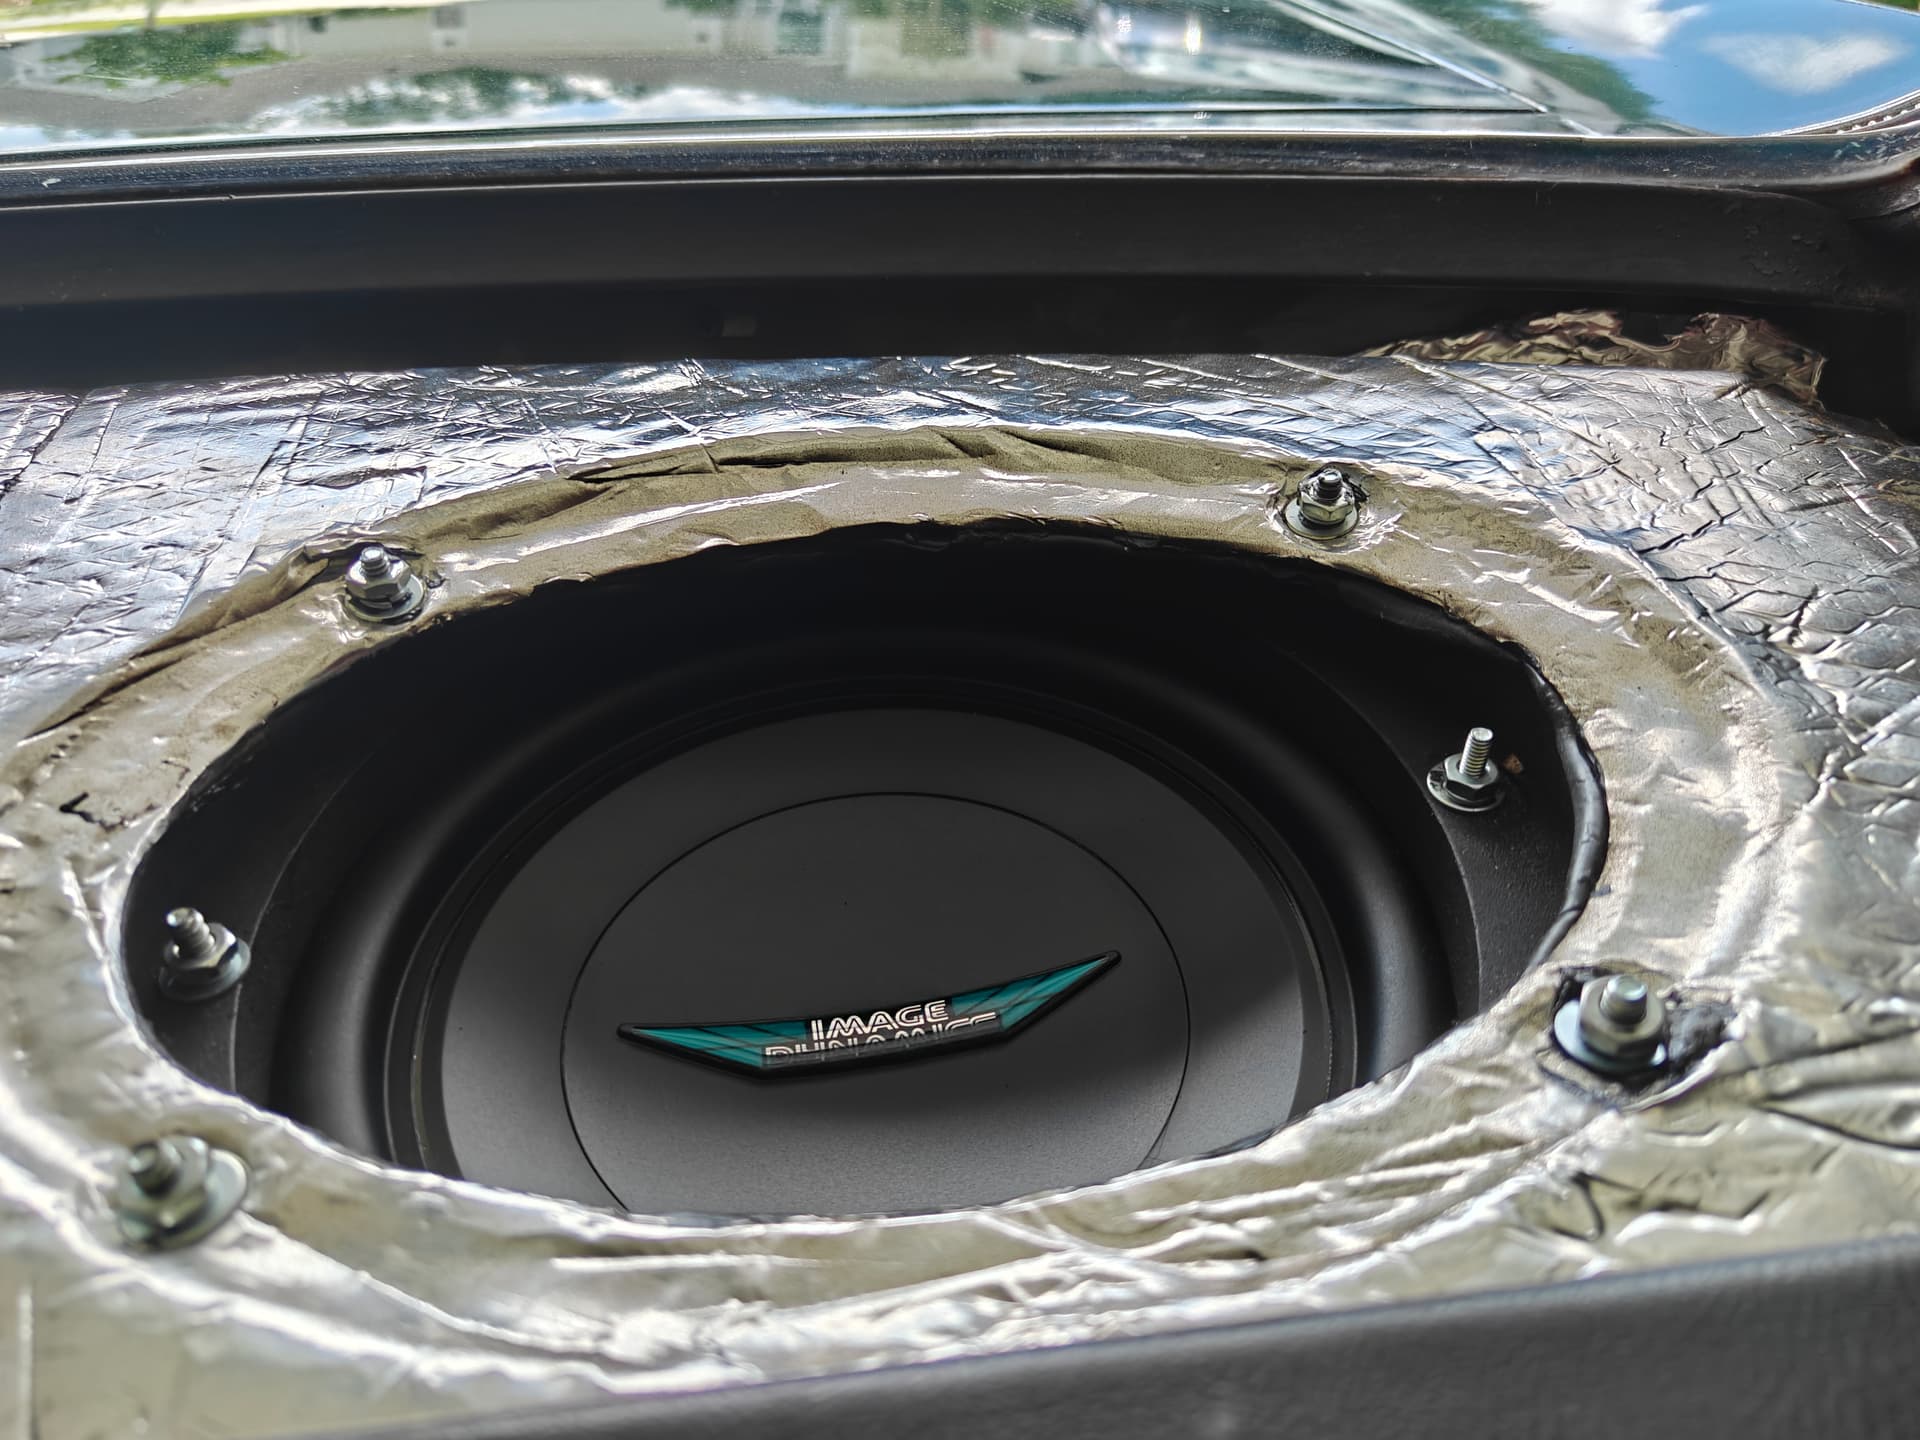
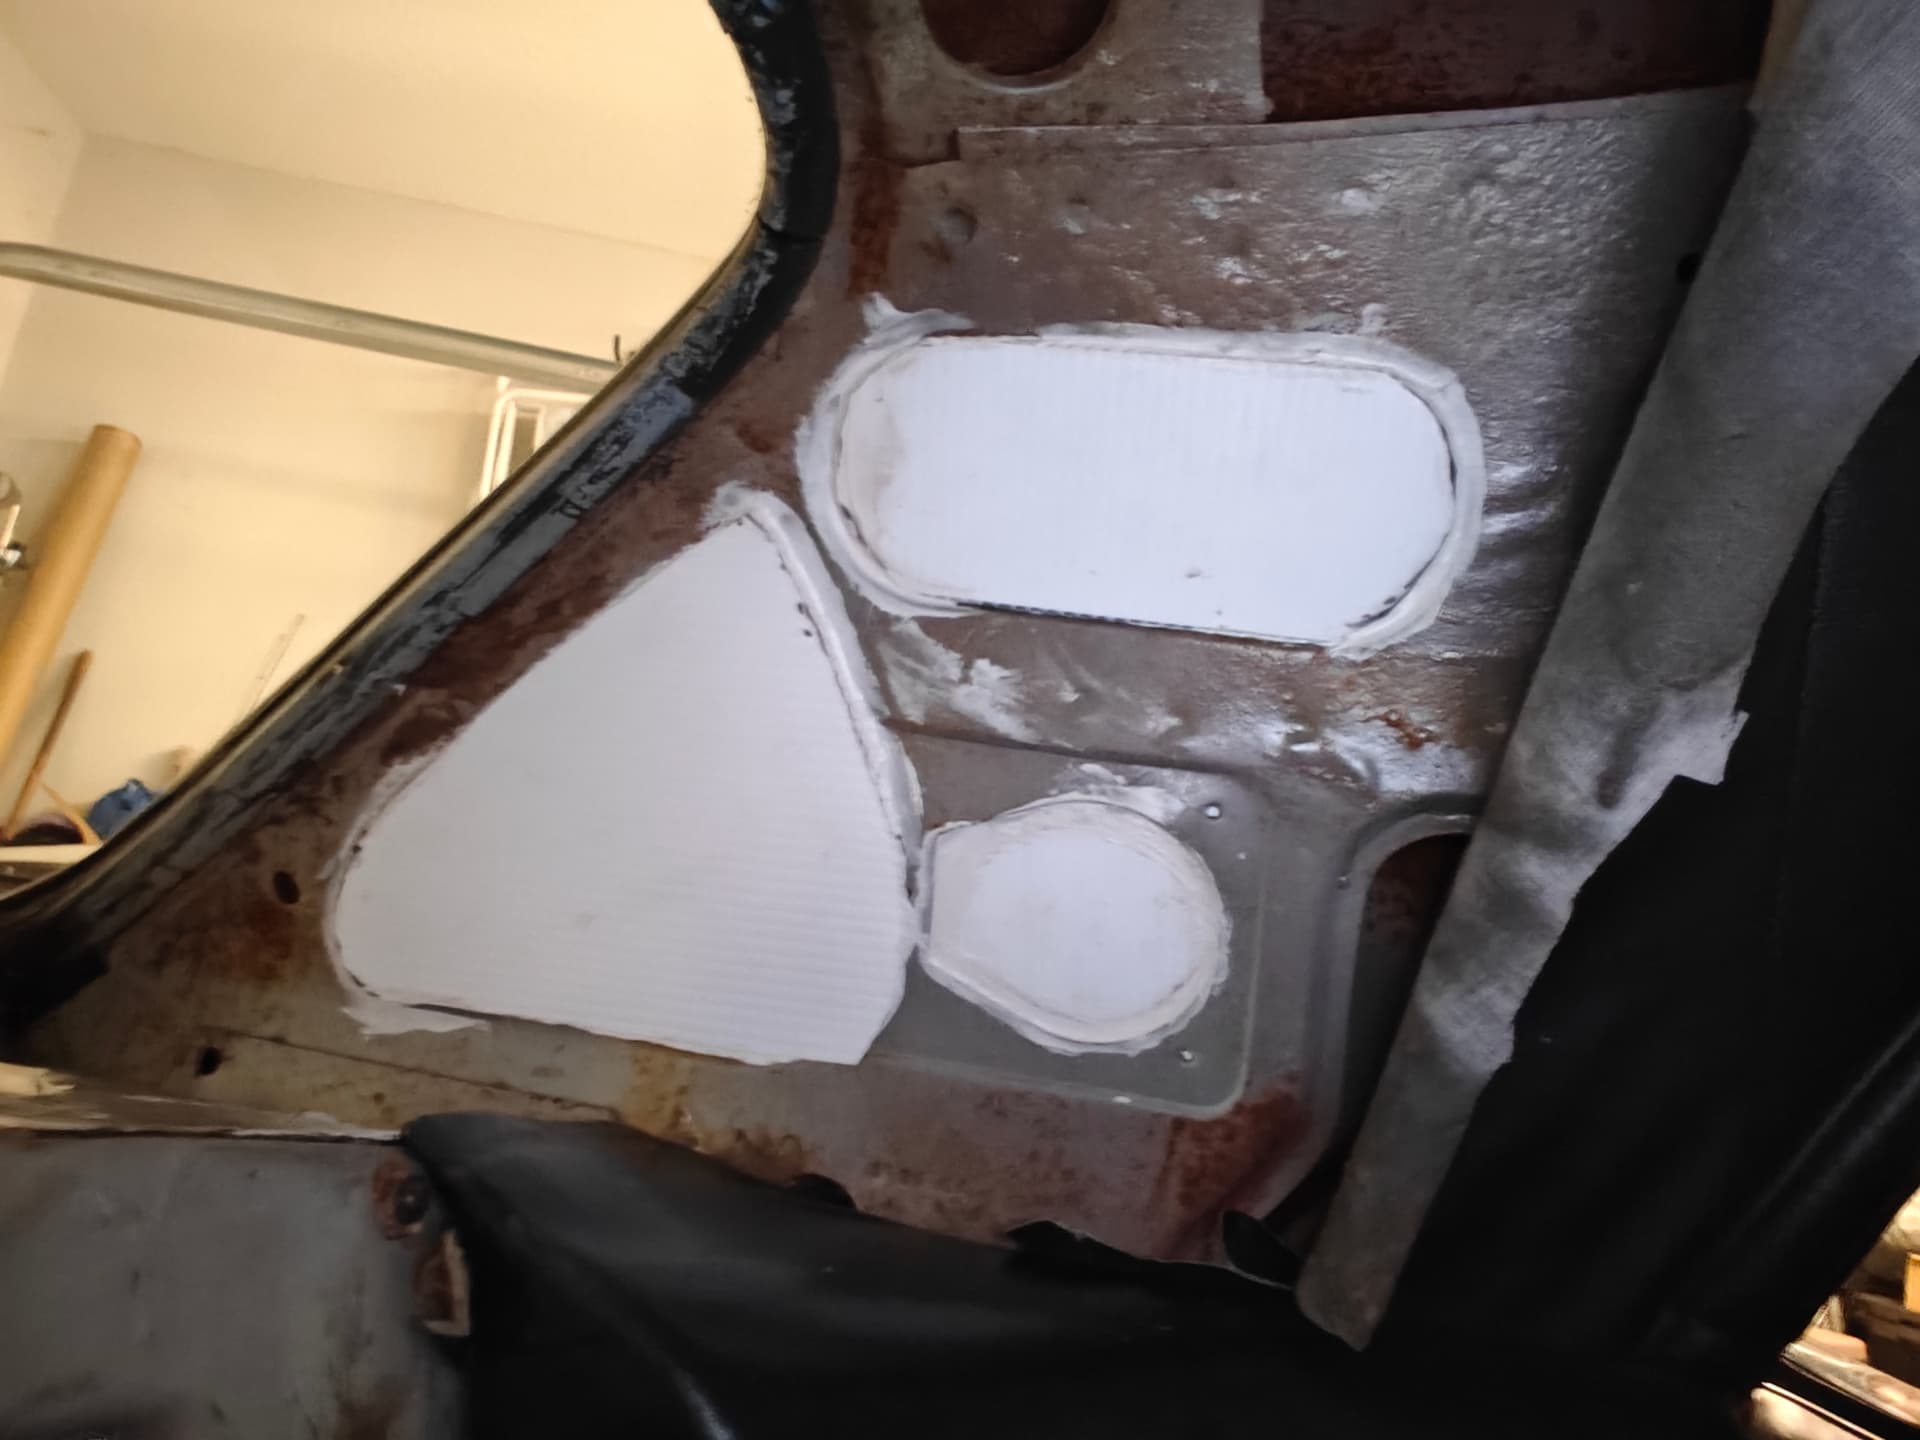
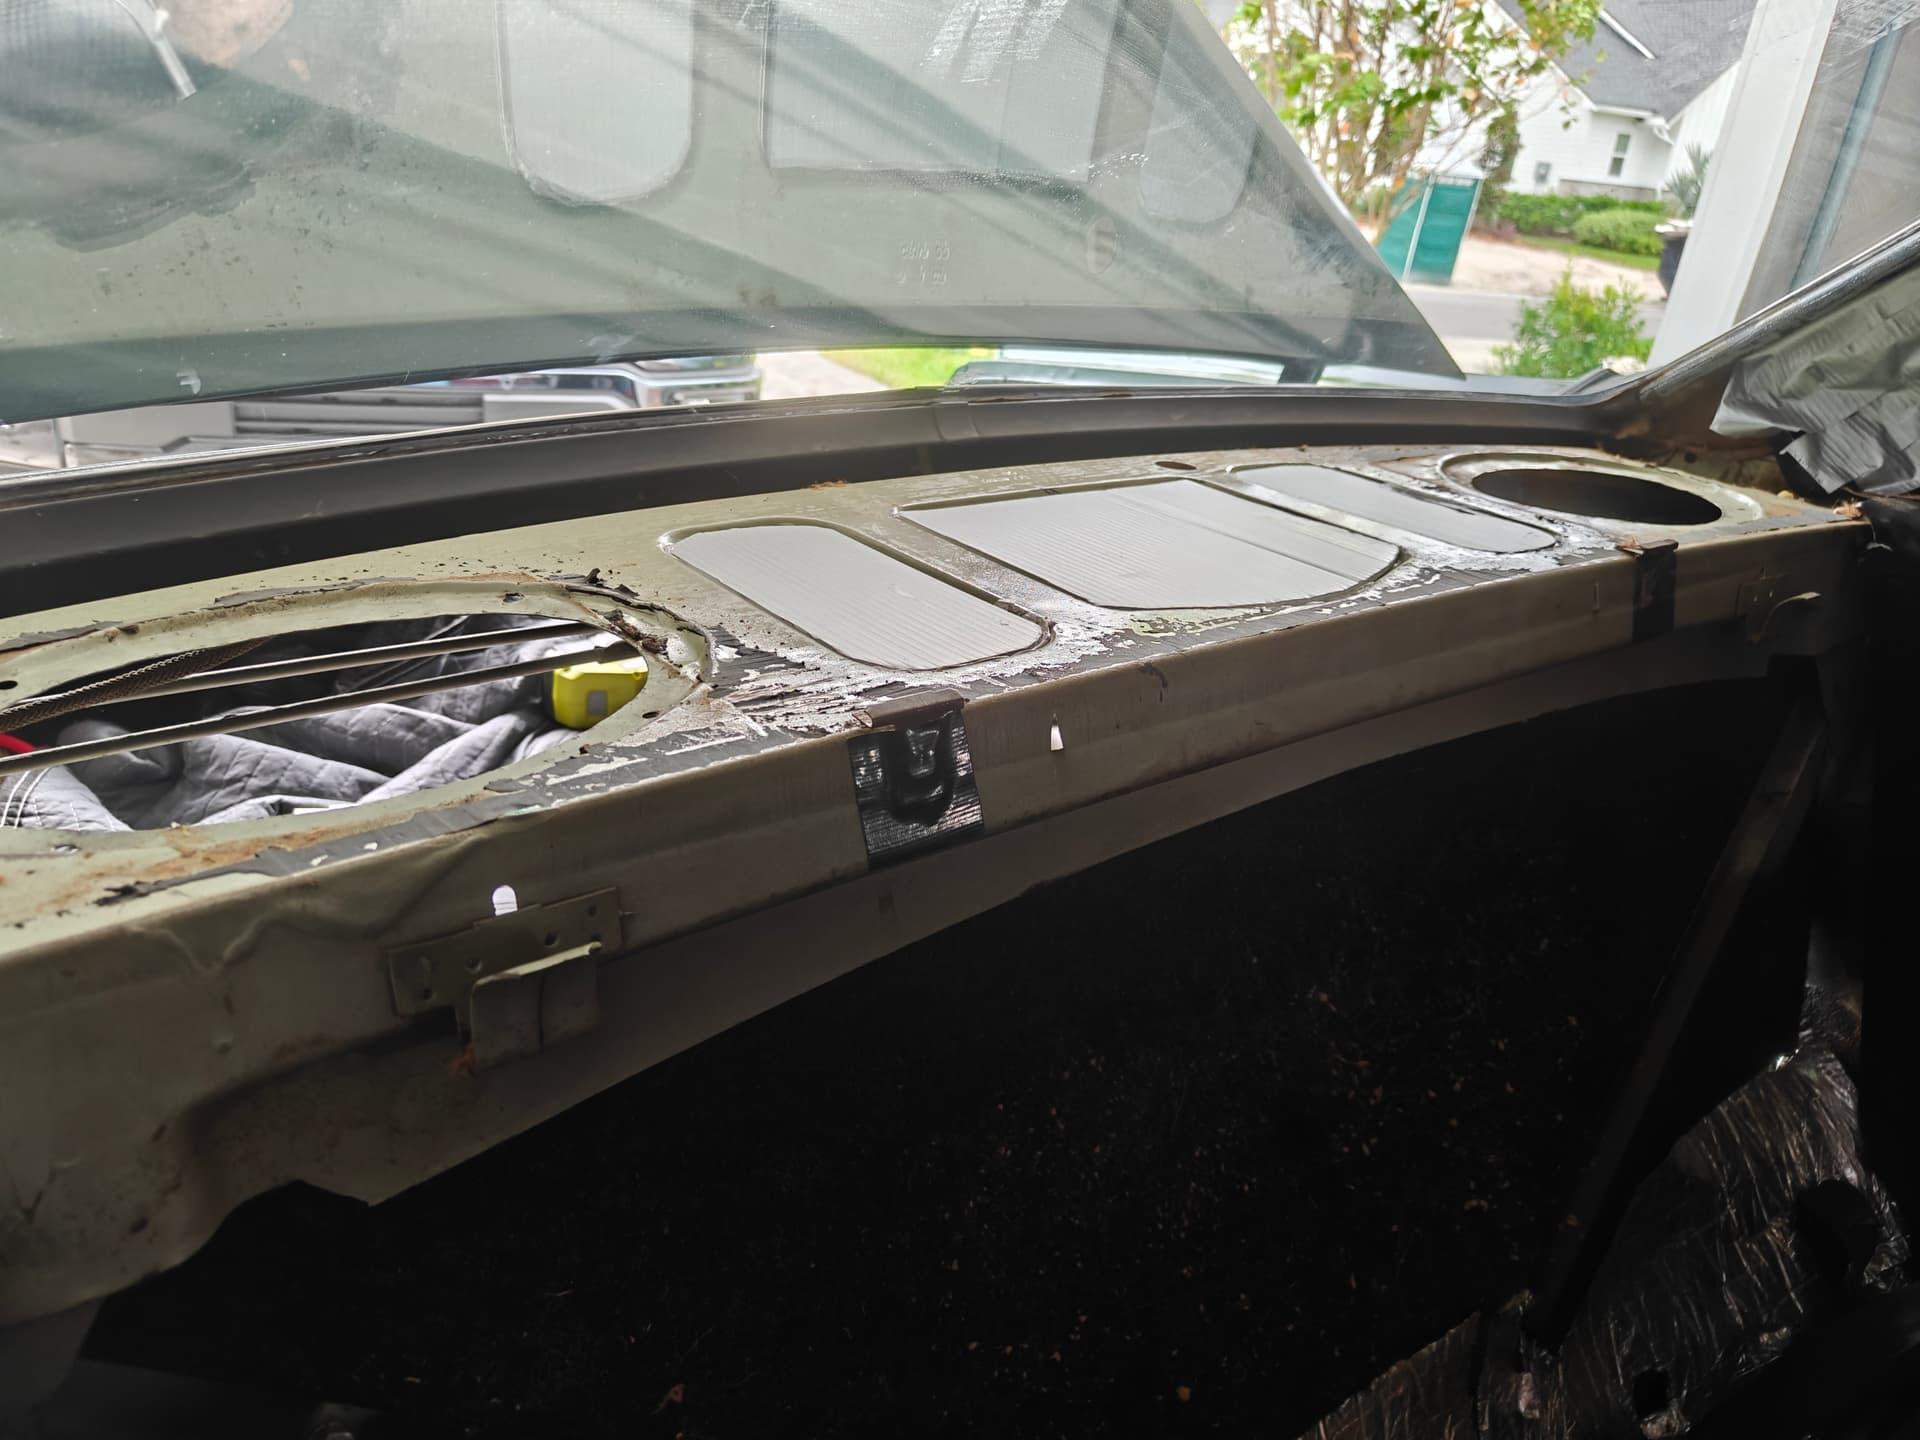
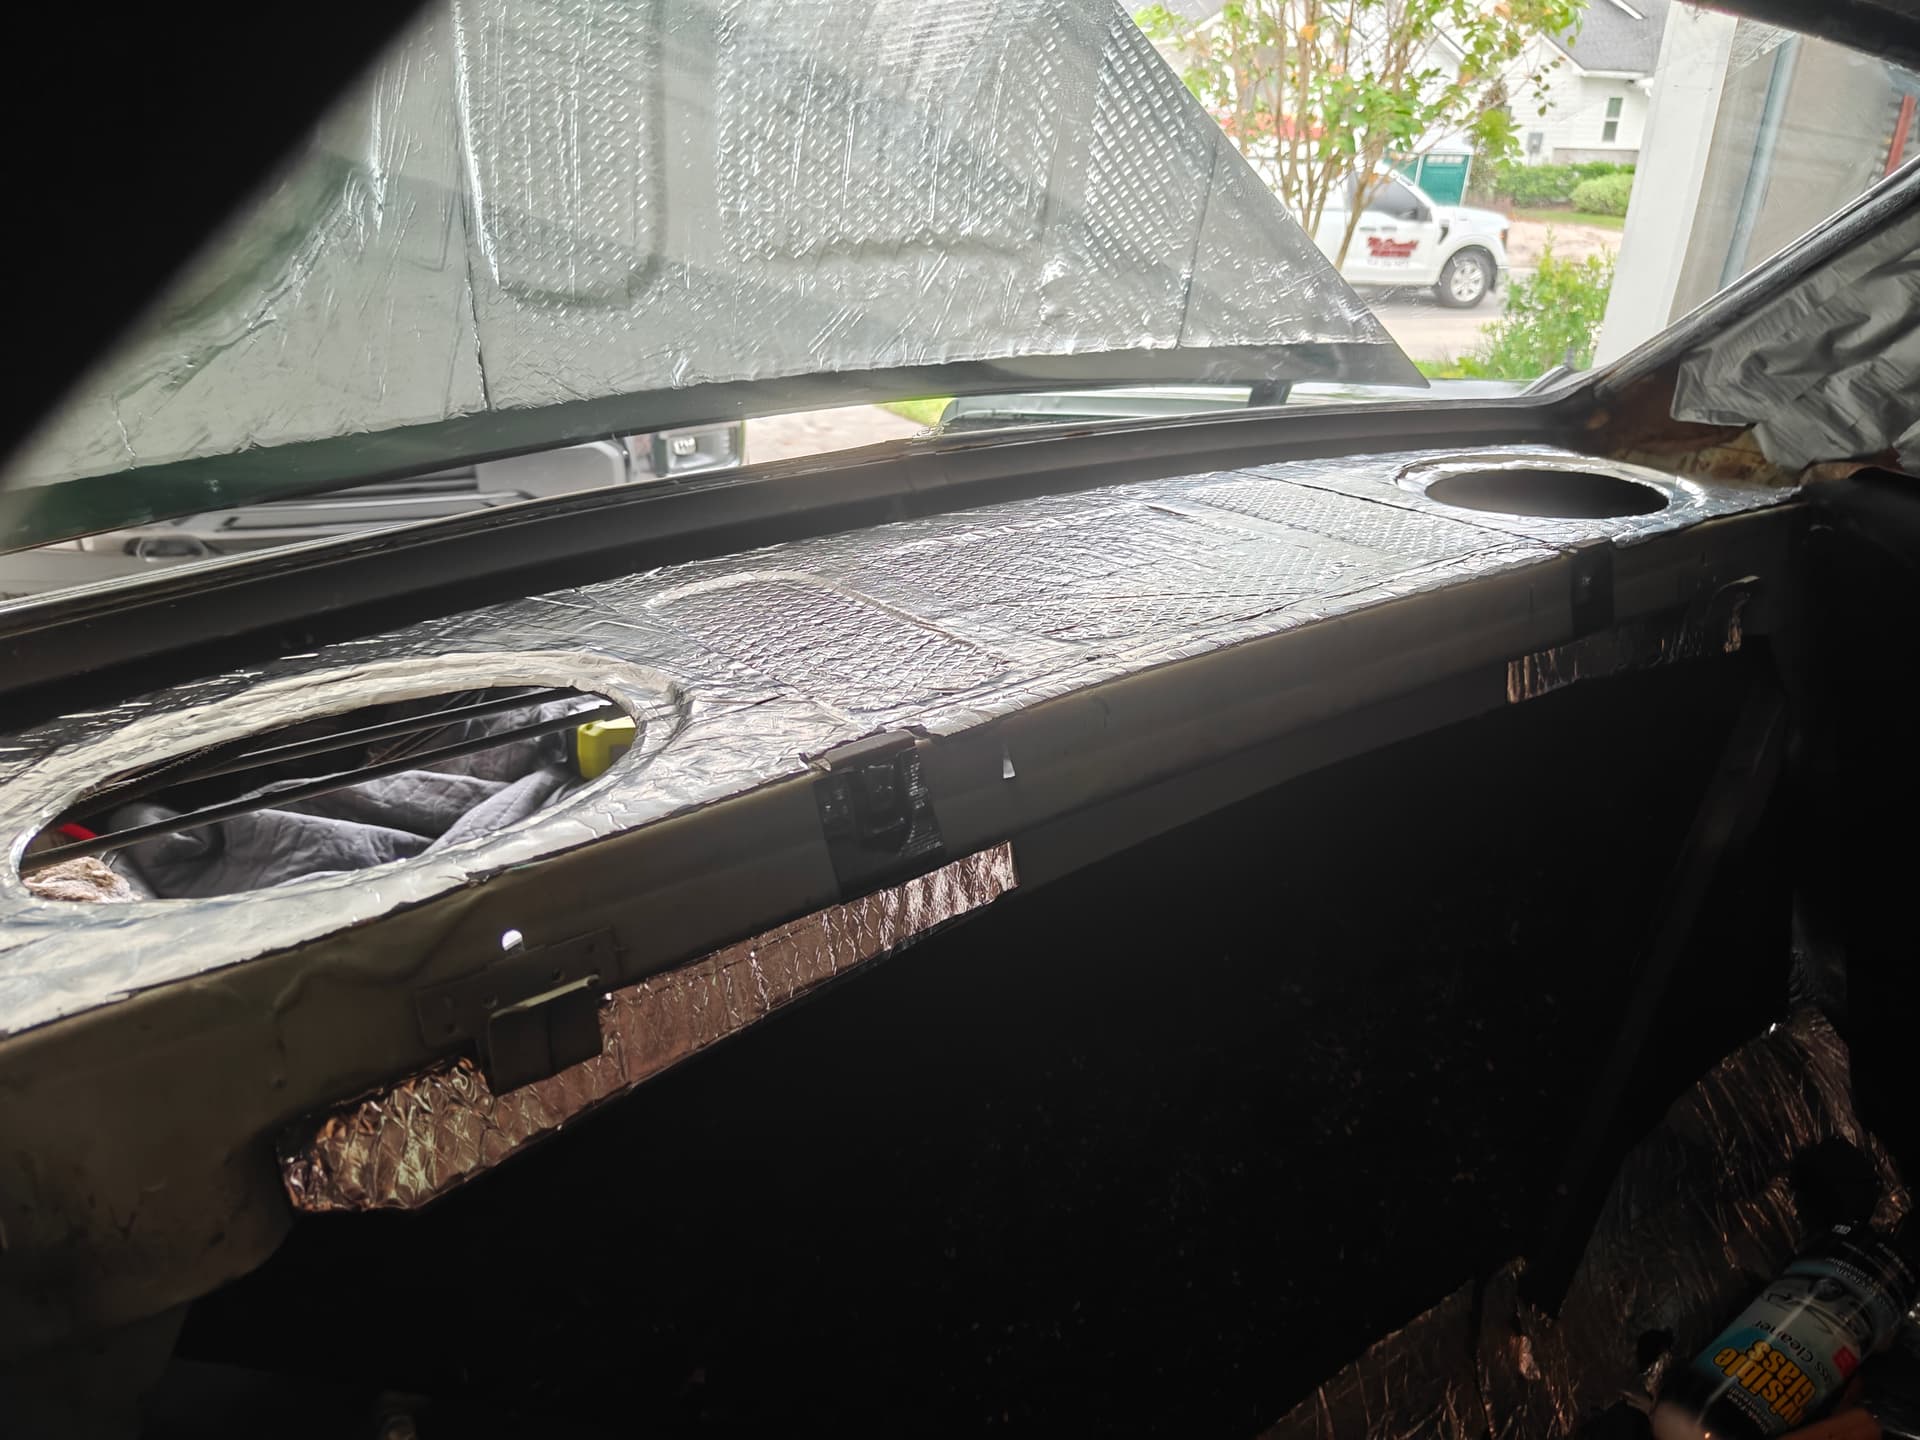
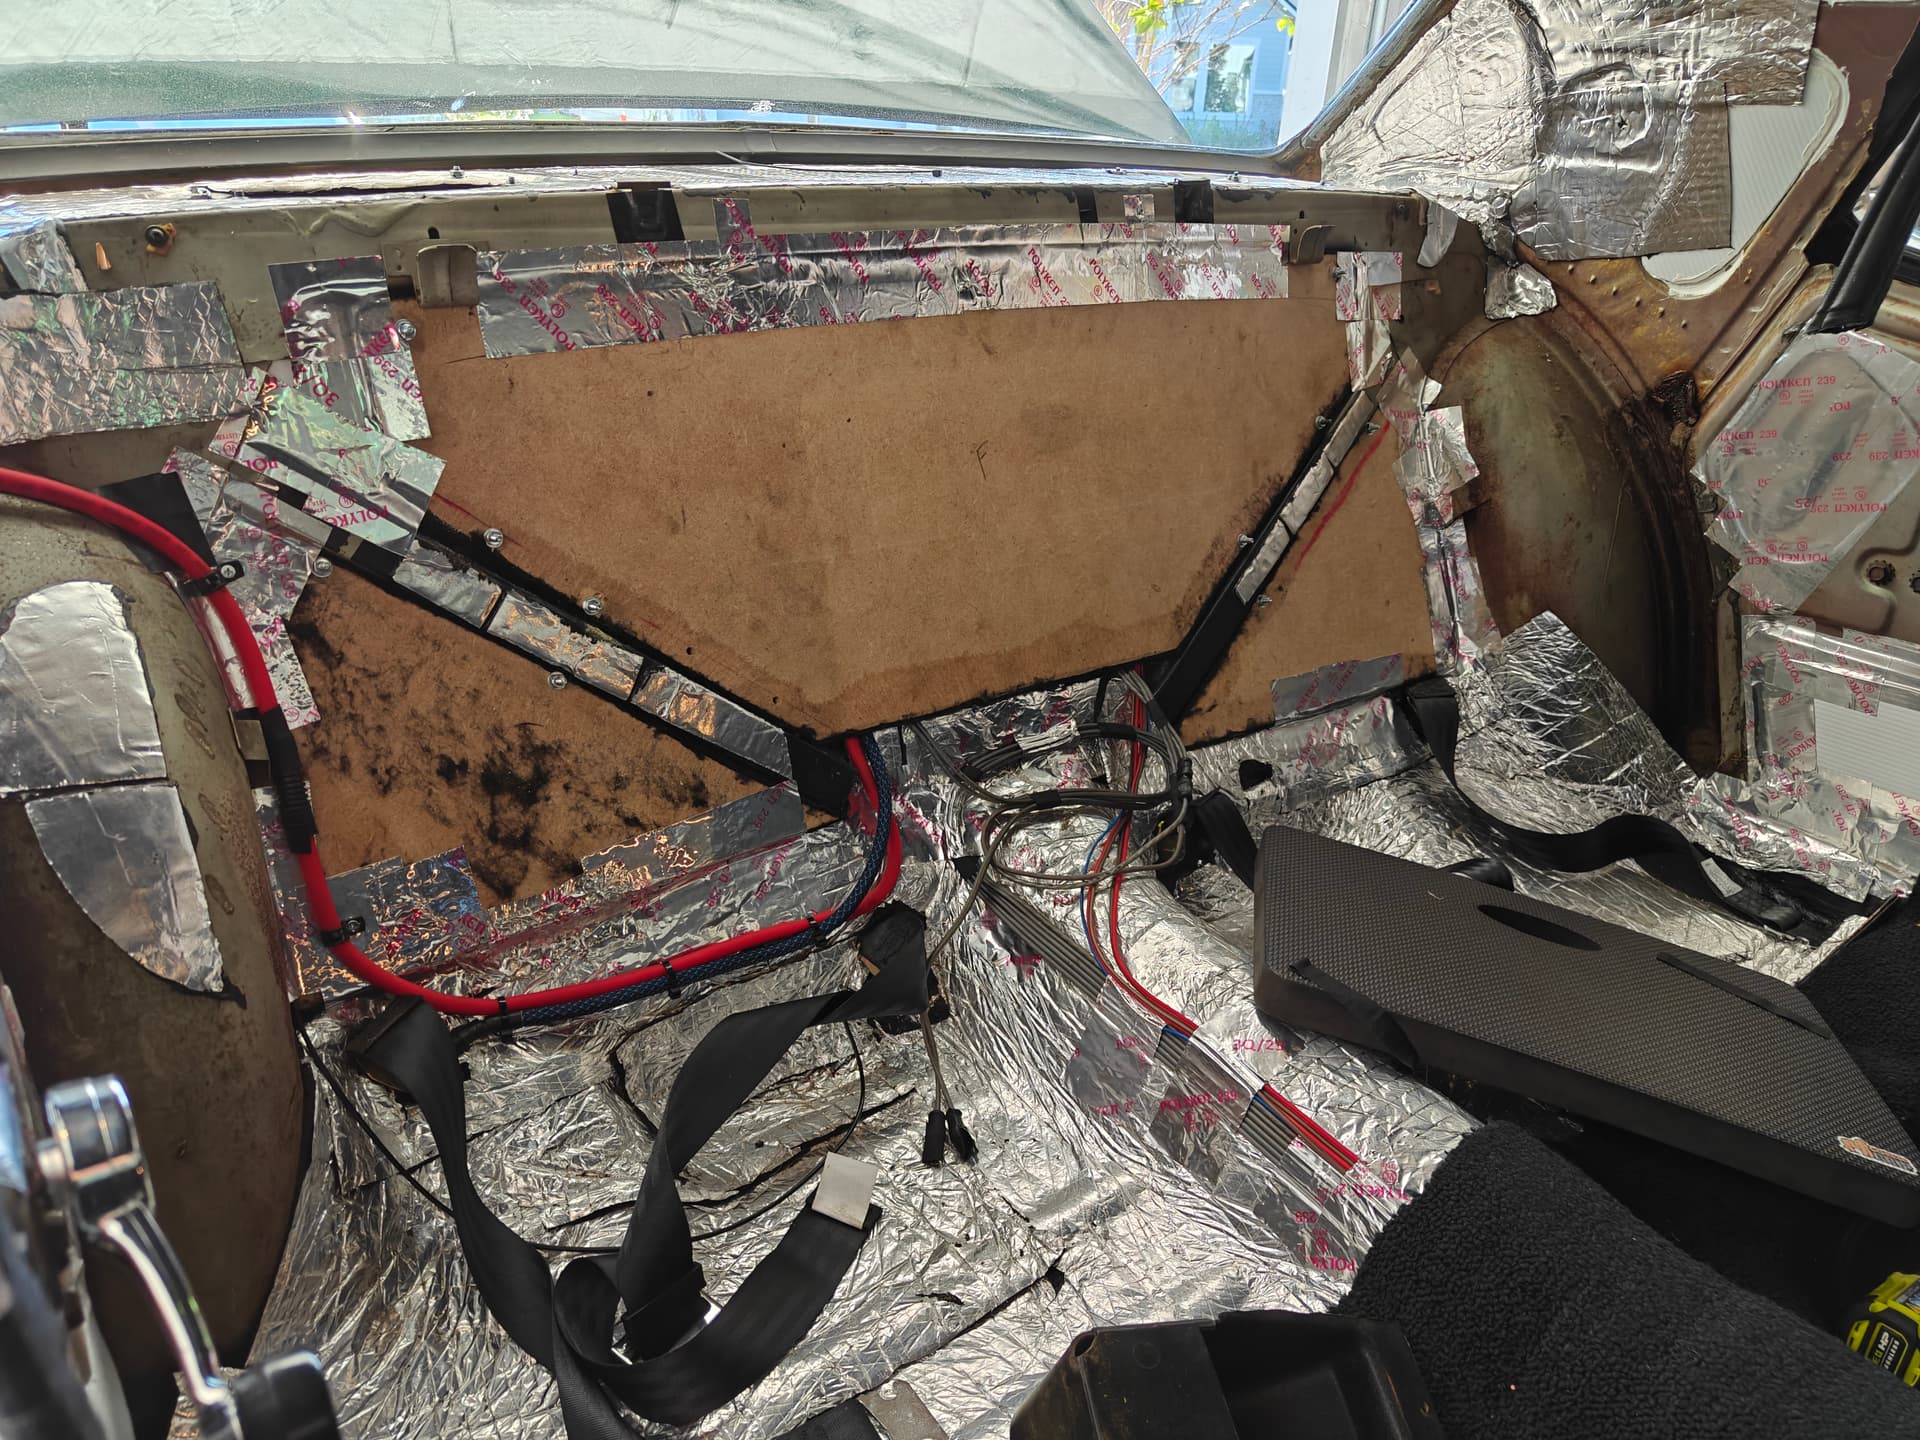
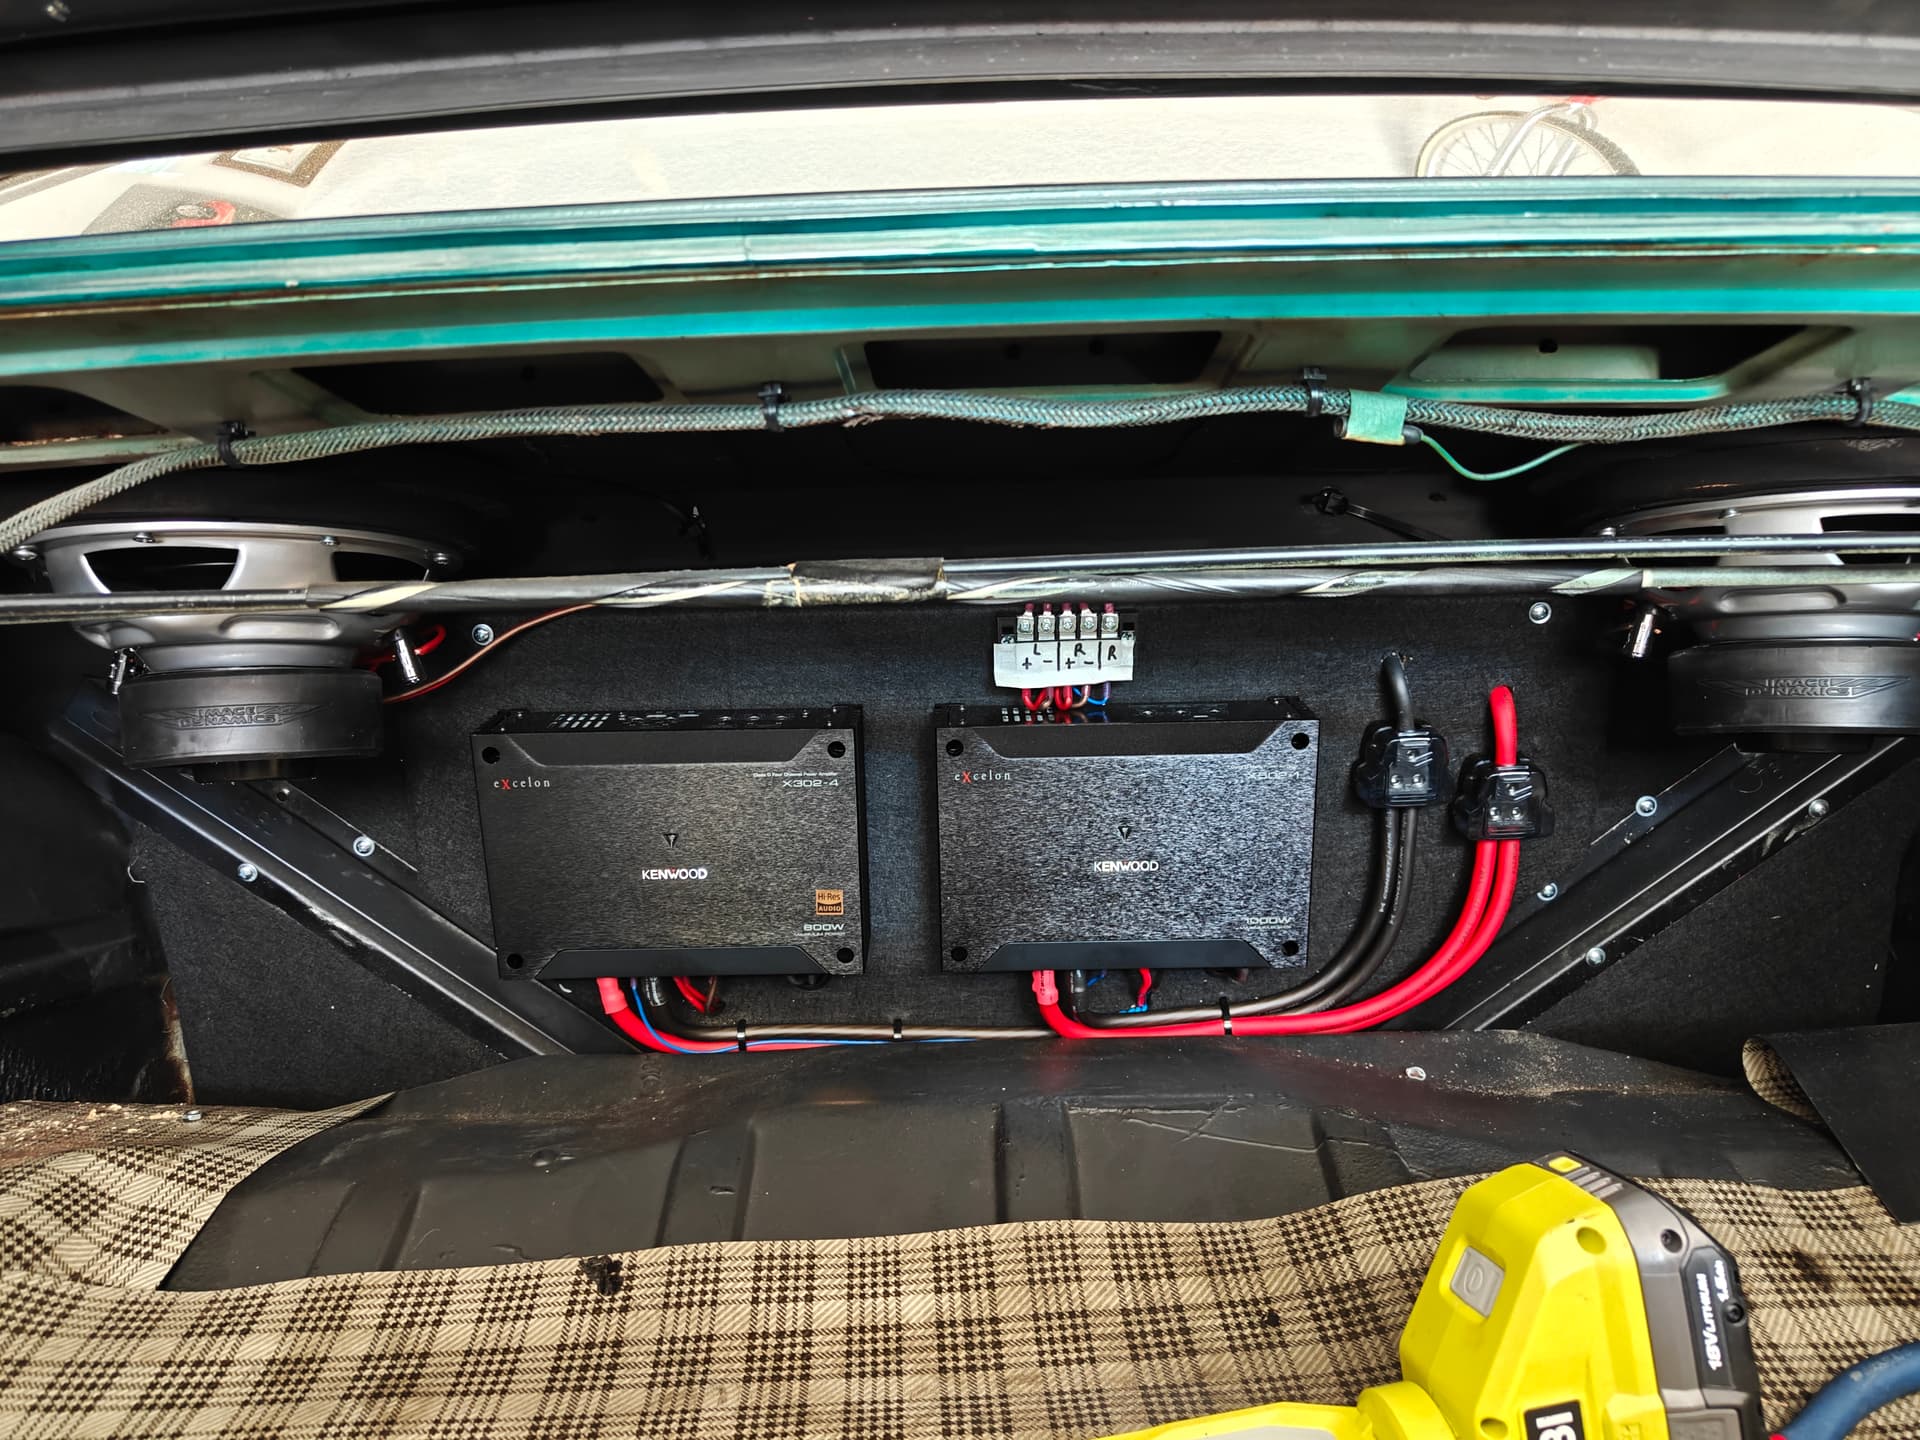
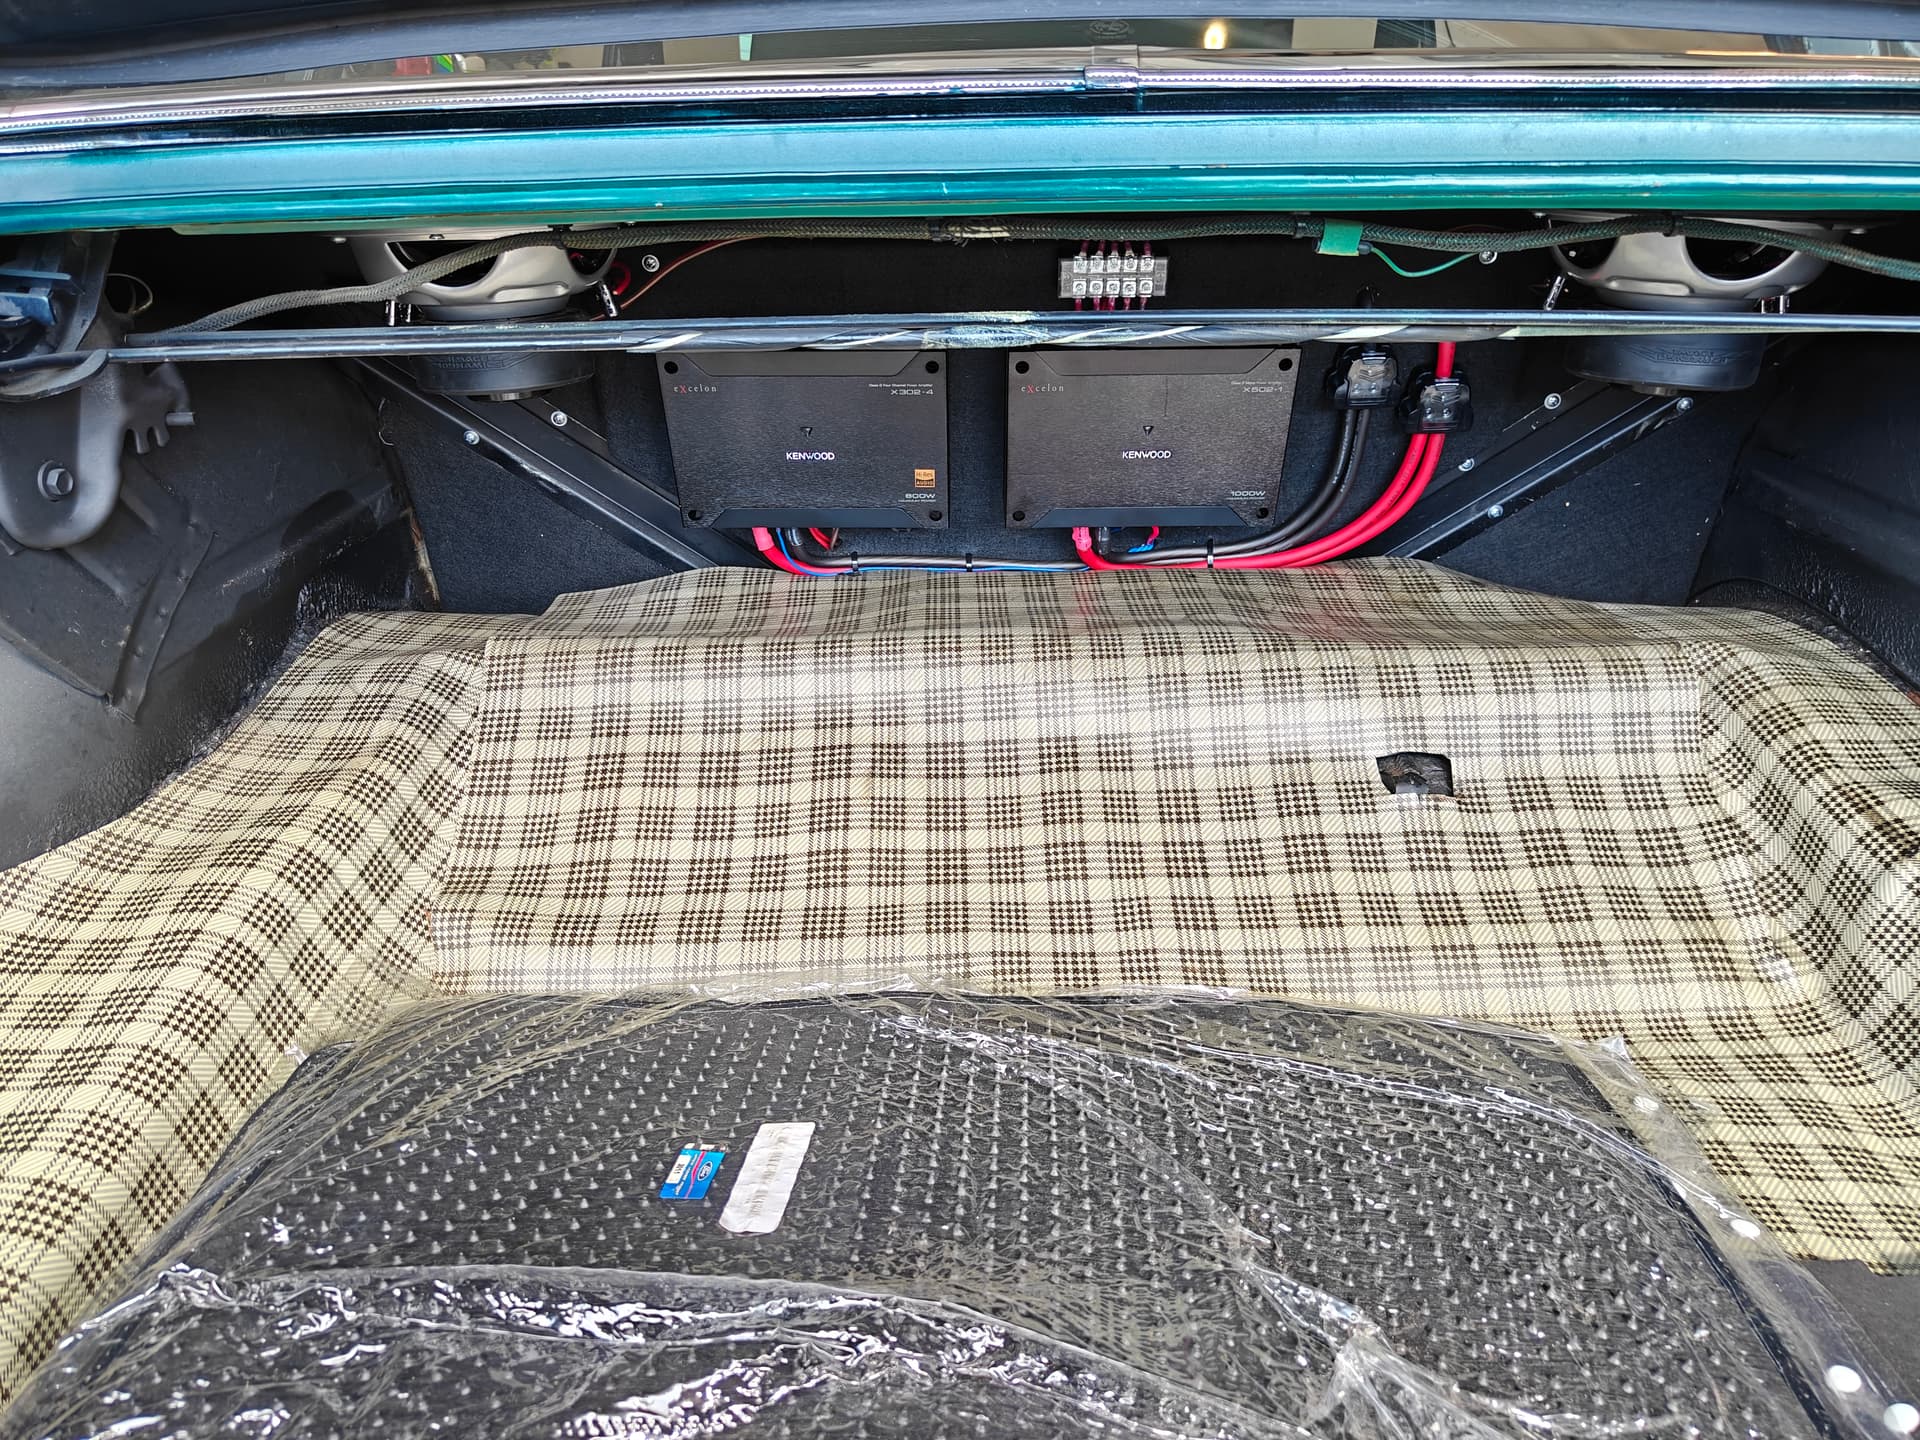
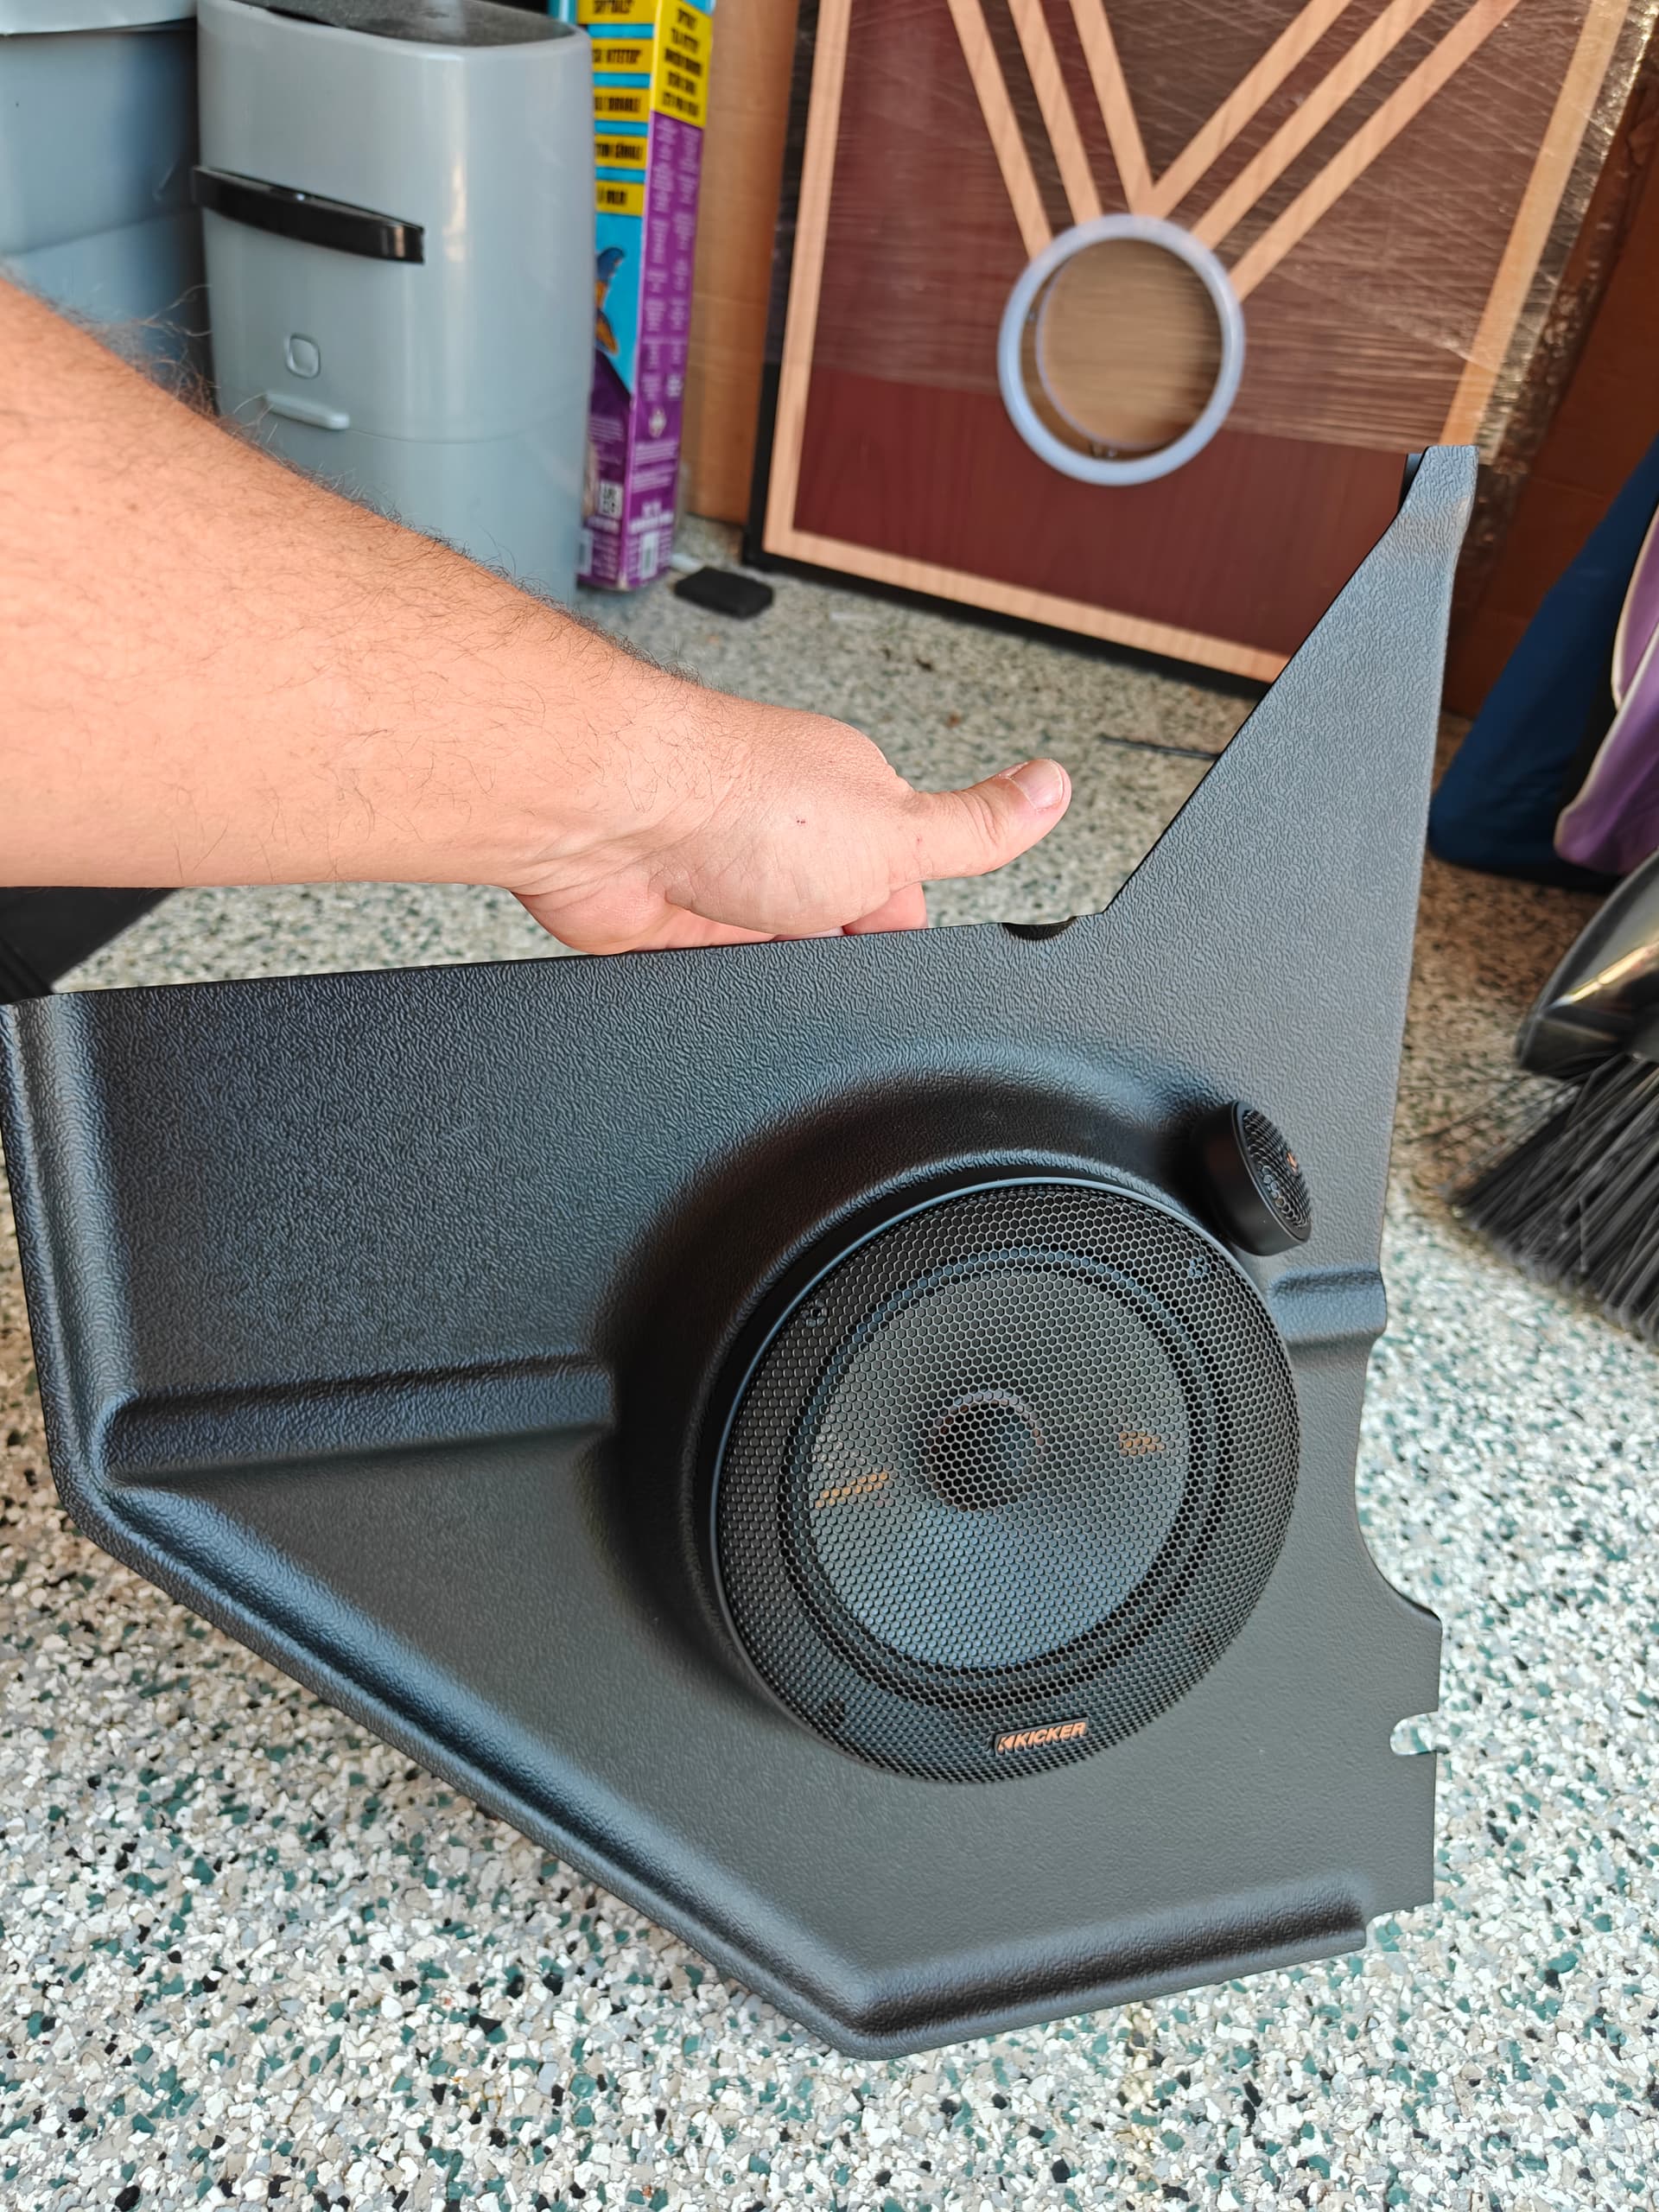
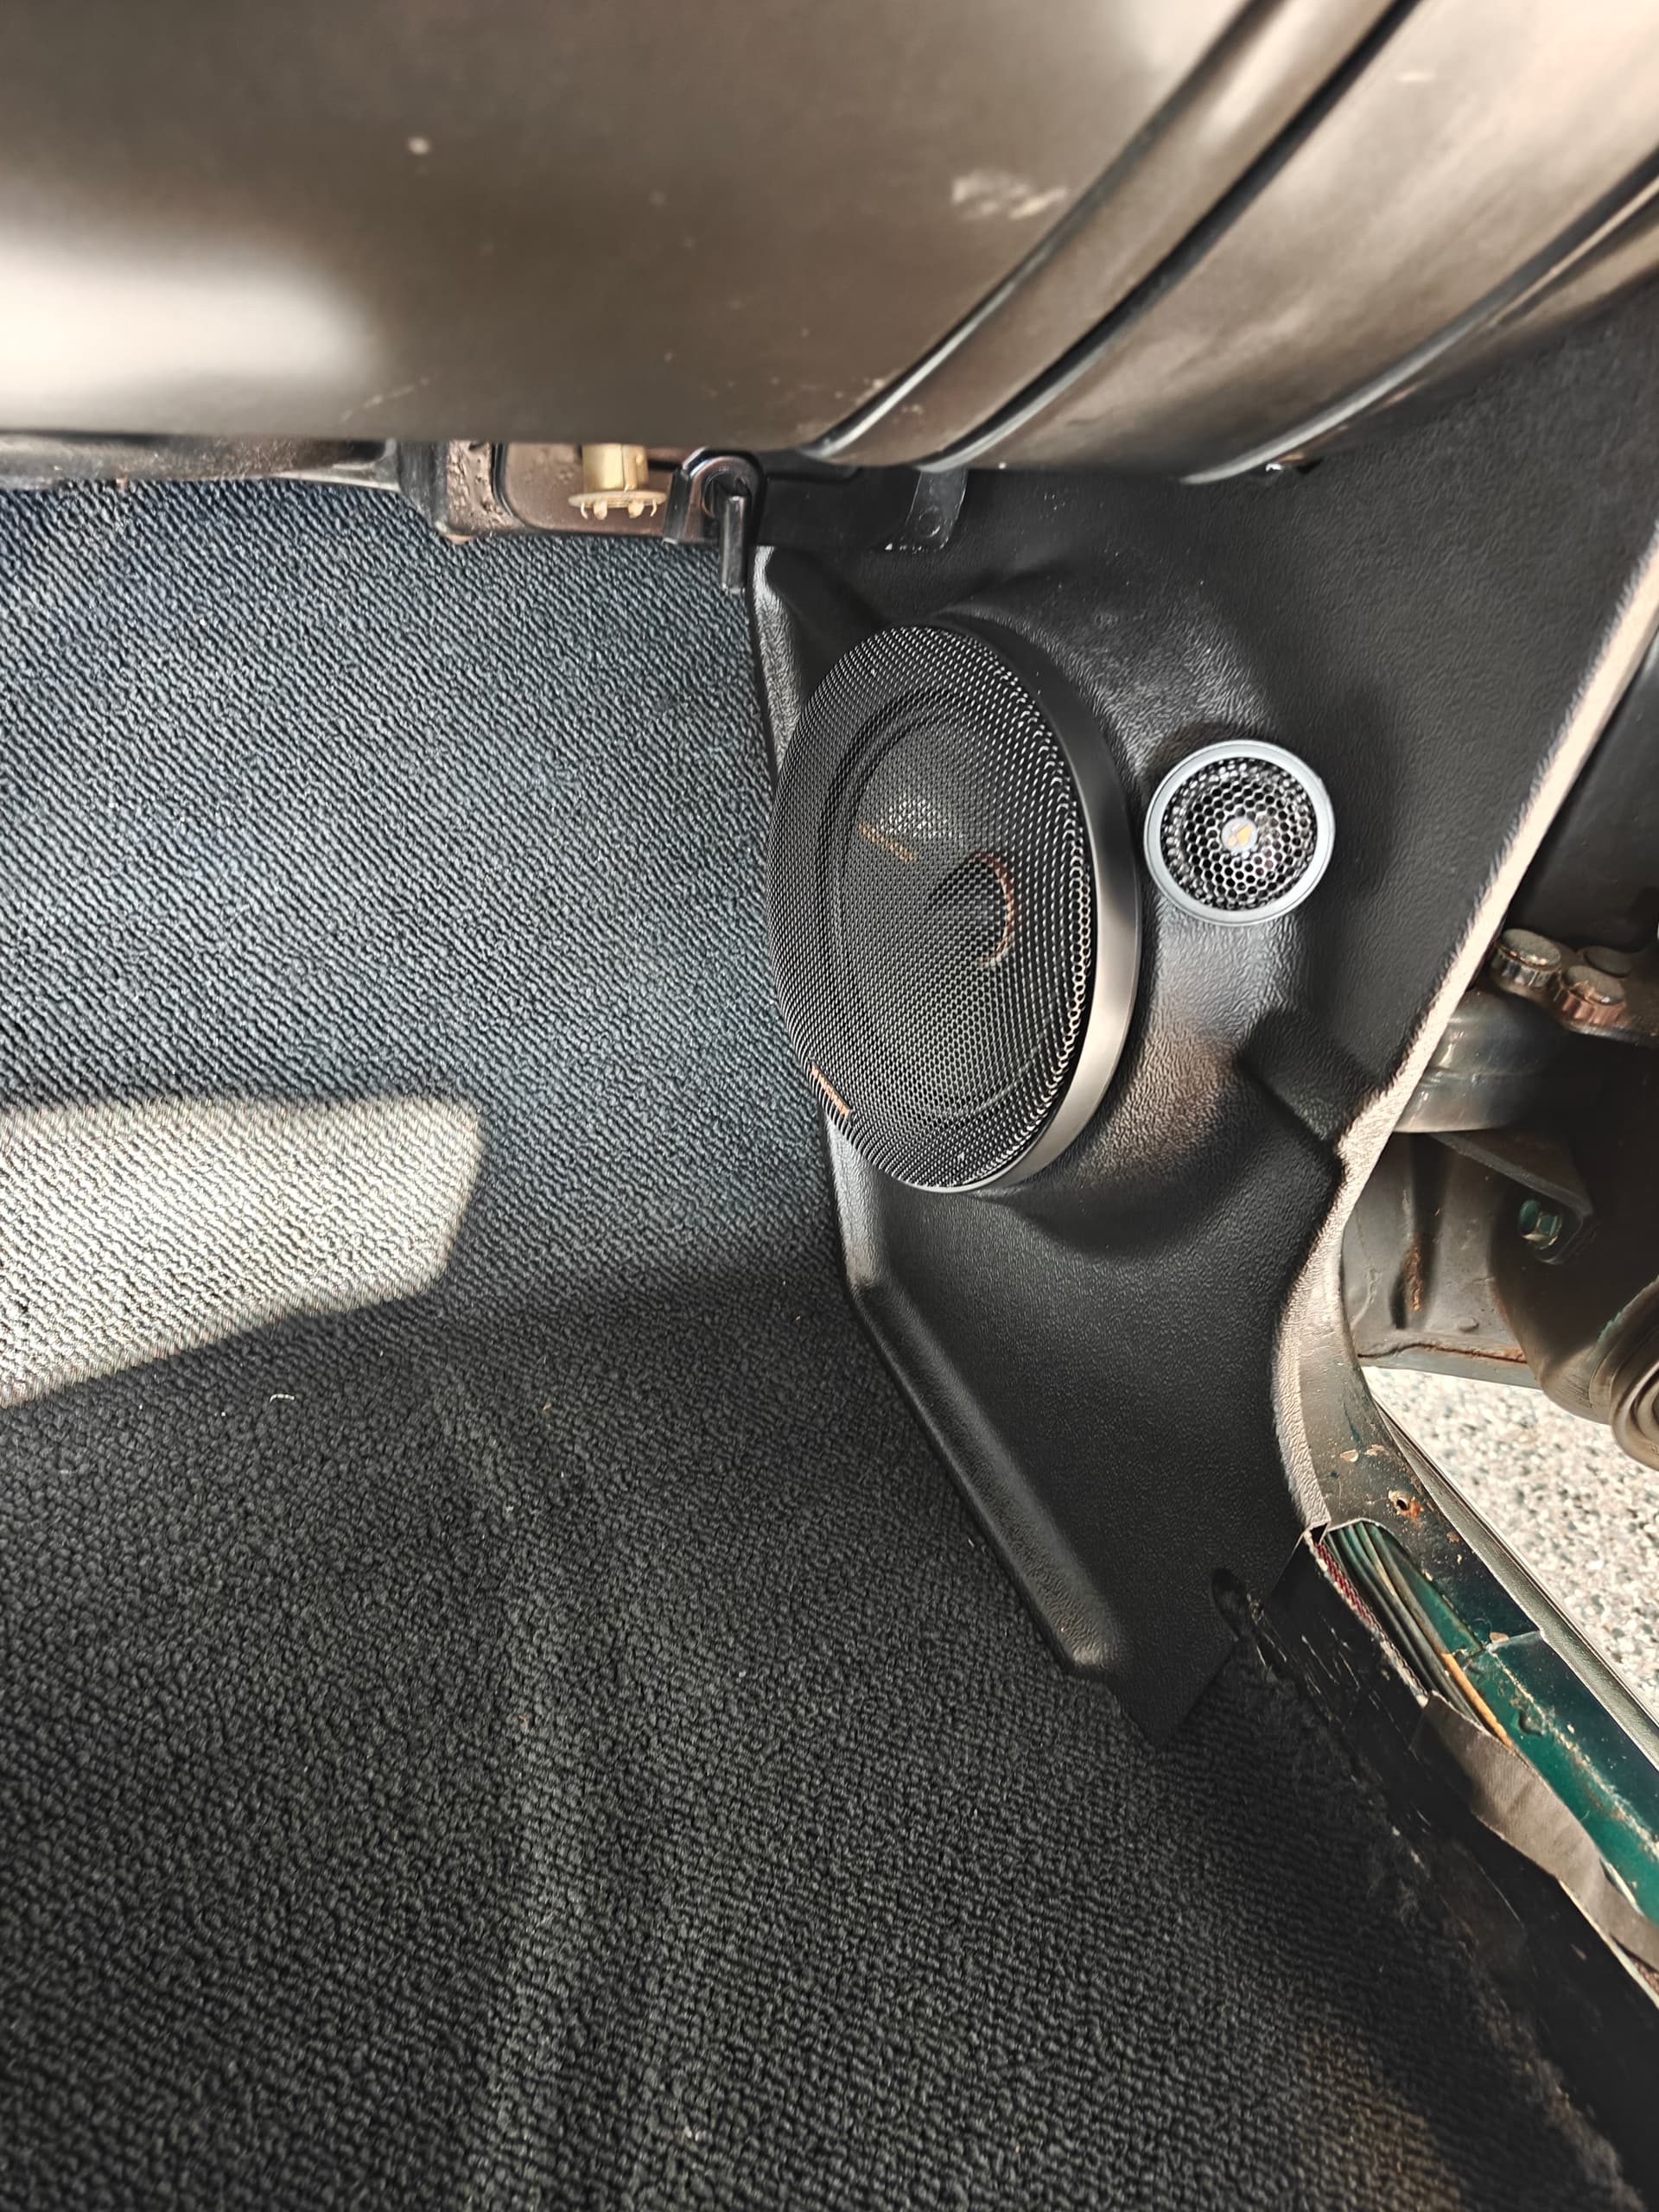
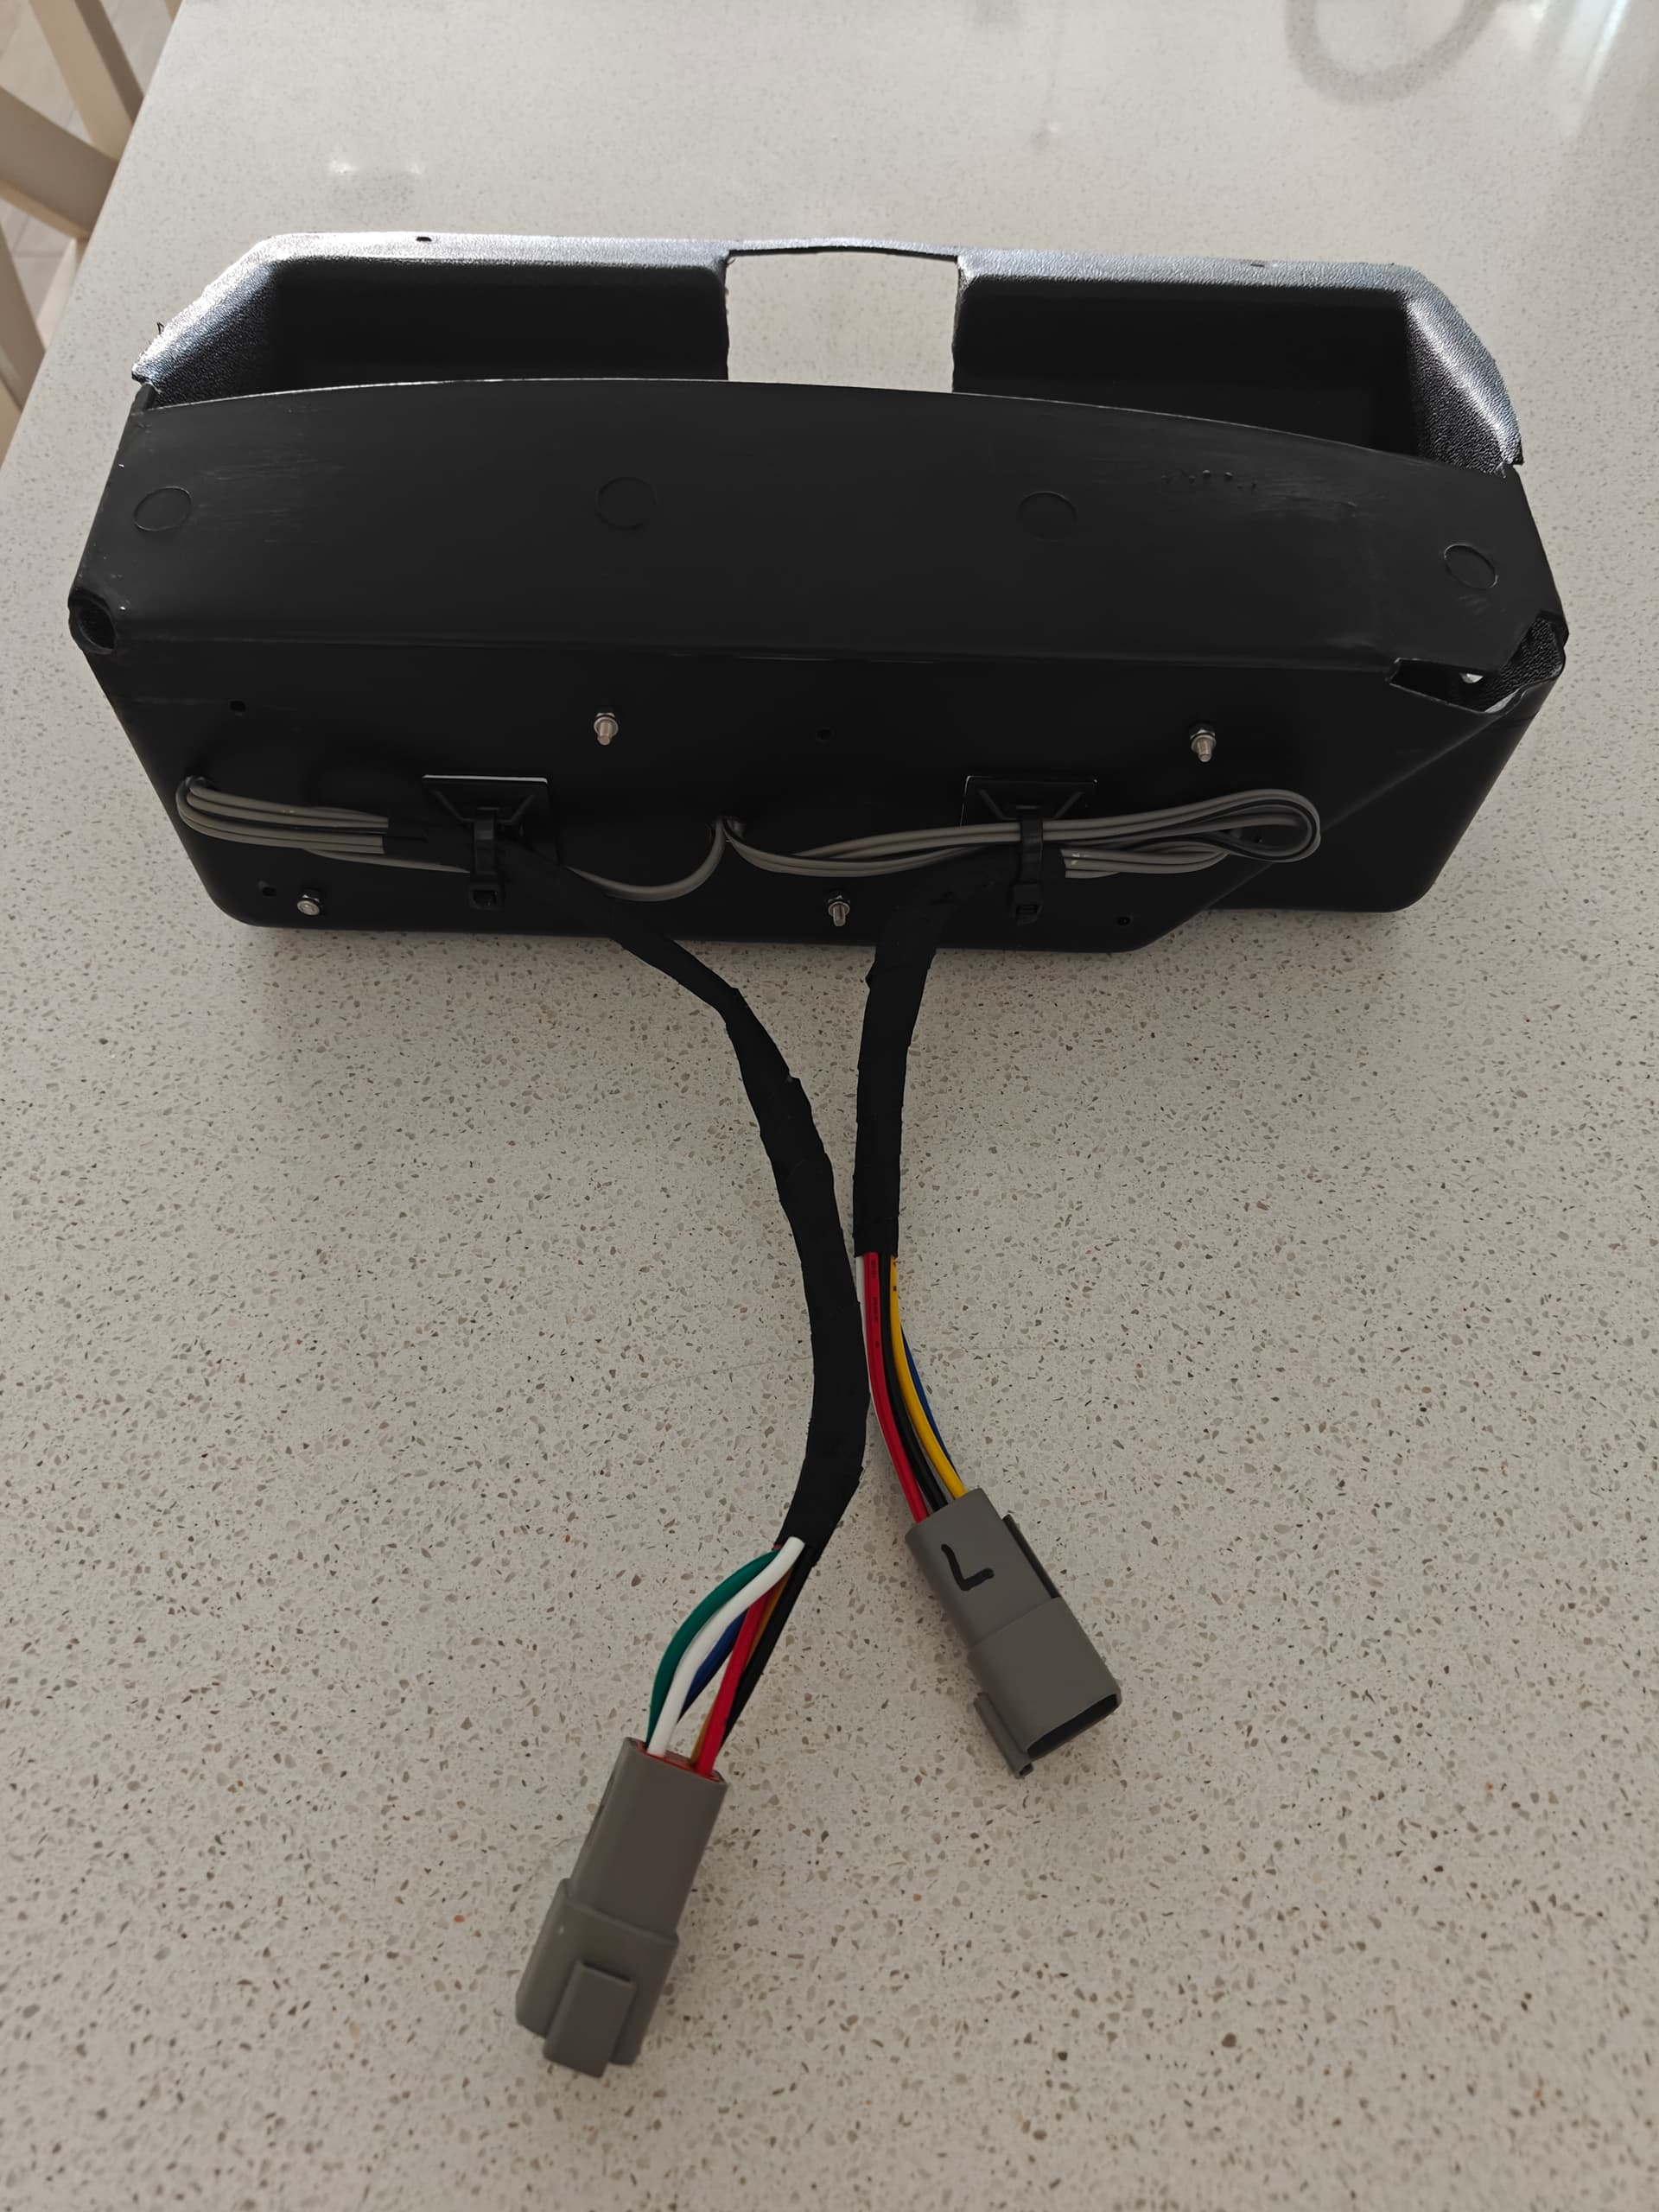
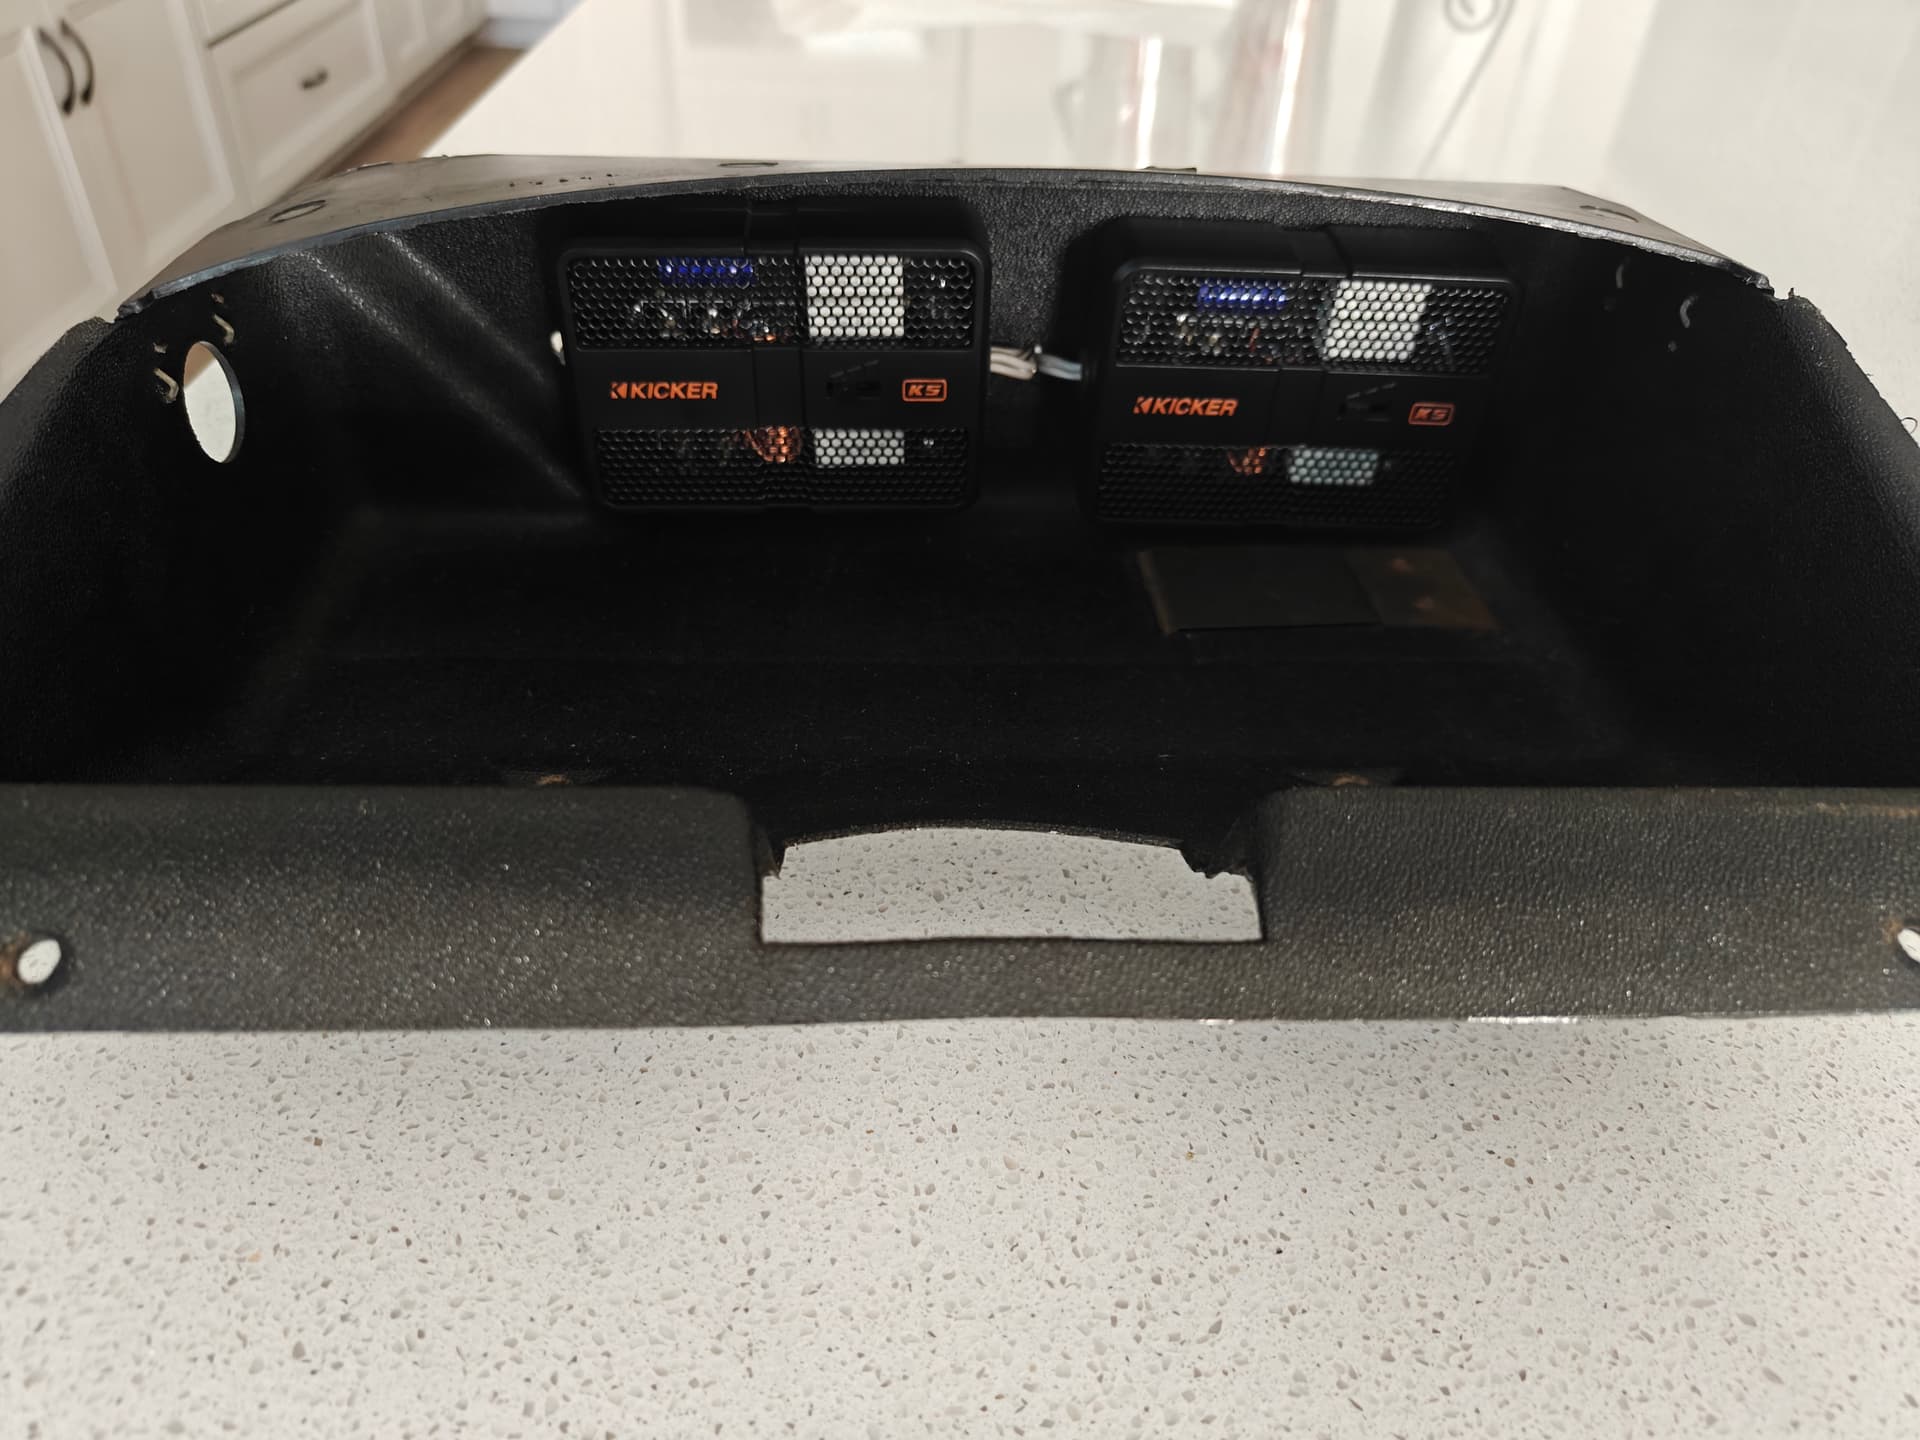
Right now the car is working great and I’m doing some work on the audio installation before the car gets a new headliner next month.

1 Like

Great build!

1 Like

I see your in jacksonville. I am in the outskirts of saint augustine. Very sweet ride you got there. Maybe someday we can get together or perhaps meet up with the SSCC at daytona next month. Did you build the engine yourself? If so who did the machine shop work to it? I been throwing the idea of perhaps a 351c build for my 70 in the future.

thanks
pat

1 Like

Thanks! Technically I’m also in St Aug. I’m right on the county line between Duval and SJC.

Very cool. I`m about 30 minutes west of st augustine. Small town called Hastings. DDDDUUUVVVVAAAALLLLL lol.

Update: Audio build is complete. Details:

Kenwood KMM-X705 digital media receiver

Kenwood X302-4, X502-1 Amplifiers

Image Dynamics ID8V4 8” Subwoofers

Kicker KSS-650 6.5 Components

Retrosound Kick Panels

With this build I didn’t want to install the traditional subwoofer box, and prefer to keep the stock look of the trunk. With that in mind I chose to install 8” subwoofers in the rear deck using two stacked MDF rings to adapt them to the 6x9 cutout. These ID8V4s have the required characteristics to perform well with low power in an infinite baffle setup.

When choosing to run infinite baffle, you have to make every possible opportunity to isolate the front from the rear wave of the subwoofer or you’ll have frequency cancellation issues. To that end, I used 3/8” mdf to create a separation between the trunk and cabin while also providing some bracing to the parcel shelf. The amp rack is mounted to this board in the trunk. Additionally, I used corrugated plastic sheet to seal as many of the holes in the c-pillar, parcel shelf, and quarter panels as possible that could allow the rear wave into the cabin.

Front component speakers are mounted to Retrosound ABS Kick Panels. I like how these panels allow a 6.5” speaker without the grill overhanging the baffle and also kick out the mid just a little so each speaker isn’t firing directly into the opposite side. The panels come as raw unpainted ABS that have a shiny appearance I didn’t care for. I scuffed the panels with steel wool, applied some adhesion promoter then sprayed them with some ultra matte black. Once dry I was really surprised that the panels looked almost upholstered with black vinyl. I also applied a liberal amount of Noico sound deadening to the back of the panel.

These components require rather large passive crossovers. I chose to mount them in the glove compartment using multi pin connectors I got from Amazon to make future servicing easier.

Lastly, I made some electrical improvements to make sure there is enough current for the audio system and the dual spal fans. When the new motor went in I made sure to replace the 65a stock alternator with a 120a unit. I beefed up all the charging and ground cables to 4ga OFC wire and installed new “mil-spec” battery terminals.

Overall I’m very happy with the way the car sounds. The free air subwoofers have a very low frequency response and blend really nicely with the front component speakers. There’s enough power and clarity to hear the music while at highway speeds with the windows down. In case anyone is wondering the x302-4 is running bridged, so about 150w per channel and the x502 is running 300w shared between the two subwoofers.

Headliner and a new parcel shelf cover will be next. :smiling_face_with_sunglasses:

2 Likes