Second only to electrical trouble shooting is the mystery of brake bleeding. Since our cars are at a minimum 50 years old all of them have replacement brake parts. Or at least need them.
The instructions for replacing the master cylinder call for bench bleeding, running hoses back into the reservoir from the outlets. This is a painful process and often bypassed. Then there is the traditional method of bleeding where a friend pushes down on the brake pedal while the bleed screws are opened and closed before letting the pedal back up. Clearly this technique can work but is there a better way?
In the manual it also describes pressure bleeding and there are ways to apply vacuum at the bleed screws. What works best for you?
So, I’m betting there are many ways, like colors…
My bench bleeding uses a bench vice that pivots. I use old steel lines bent into the reservoirs. I use a screwdriver type handle to slowly press the piston. CAREFUL !! If you push in too far it can damage the seals. Only press an inch or 2 at most!
One end must be higher than the other. Then tilt it so other end is up. Repeat many times!
I’m lucky I have a wife that I’ve trained to help bleed brakes. I use clear tubing (like fish tank air tubing, so I can see fluid color & bubbles as I bleed system.) I have pressure bleeders and a few other worthless tool. Old school is the best way Ive found after hundreds of brake jobs.
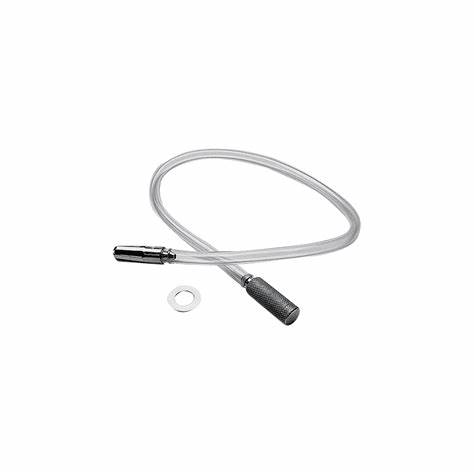
If you are working by yourself, a brake bleed bottle is a must have, as well. Gator aid or similar, nothing to flimsy. drill a hole in the cap, just big enough for about a foot or so of vacuum line, that fits the bleeder screws. Top tip- put a zip tie on the hose under the cap so the vacuum hose won’t pull out, and put a half inch of fluid in the bottle before you start bleeding.
I have used the vacuum method but it seems that I never stop getting little bubbles. I suspect that this is air coming around the threads of the bleed screws.
Bench bleed master. Make sure master is full. Adjust any drum brakes tight. Put a rubber or silicone hose on the farthest bleeder . Make sure hose goes up 6in before bending down toward container . Open bleeder approximately one quarter turn. Pump master with pedal slowley in and out making sure not to empty master…maybe 4 or 5 strokes. Close bleeder.Fill master and repeat comming toward master. Usuall one lap around the car will do,unless everything is new. This principle works like a sink trap and once i tried it , its really great. There is people making plastic bottles wit silicone hose and ty wire for doing this method
I do use vacuum bleeding of the master cylinder while clamped to a vise. But I’ve had the same problem vacuum bleeding at the wheels. The loosened bleeder threads are not tight enough to keep air from leaking back in under vacuum. Doesn’t seem like this is a problem when using a brake bleeder bottle with submerged hose because there is no vacuum. But just in case, I’ve also gone back to the old fashioned method of having somebody else pump brake pedal and tightening bleeder before releasing.
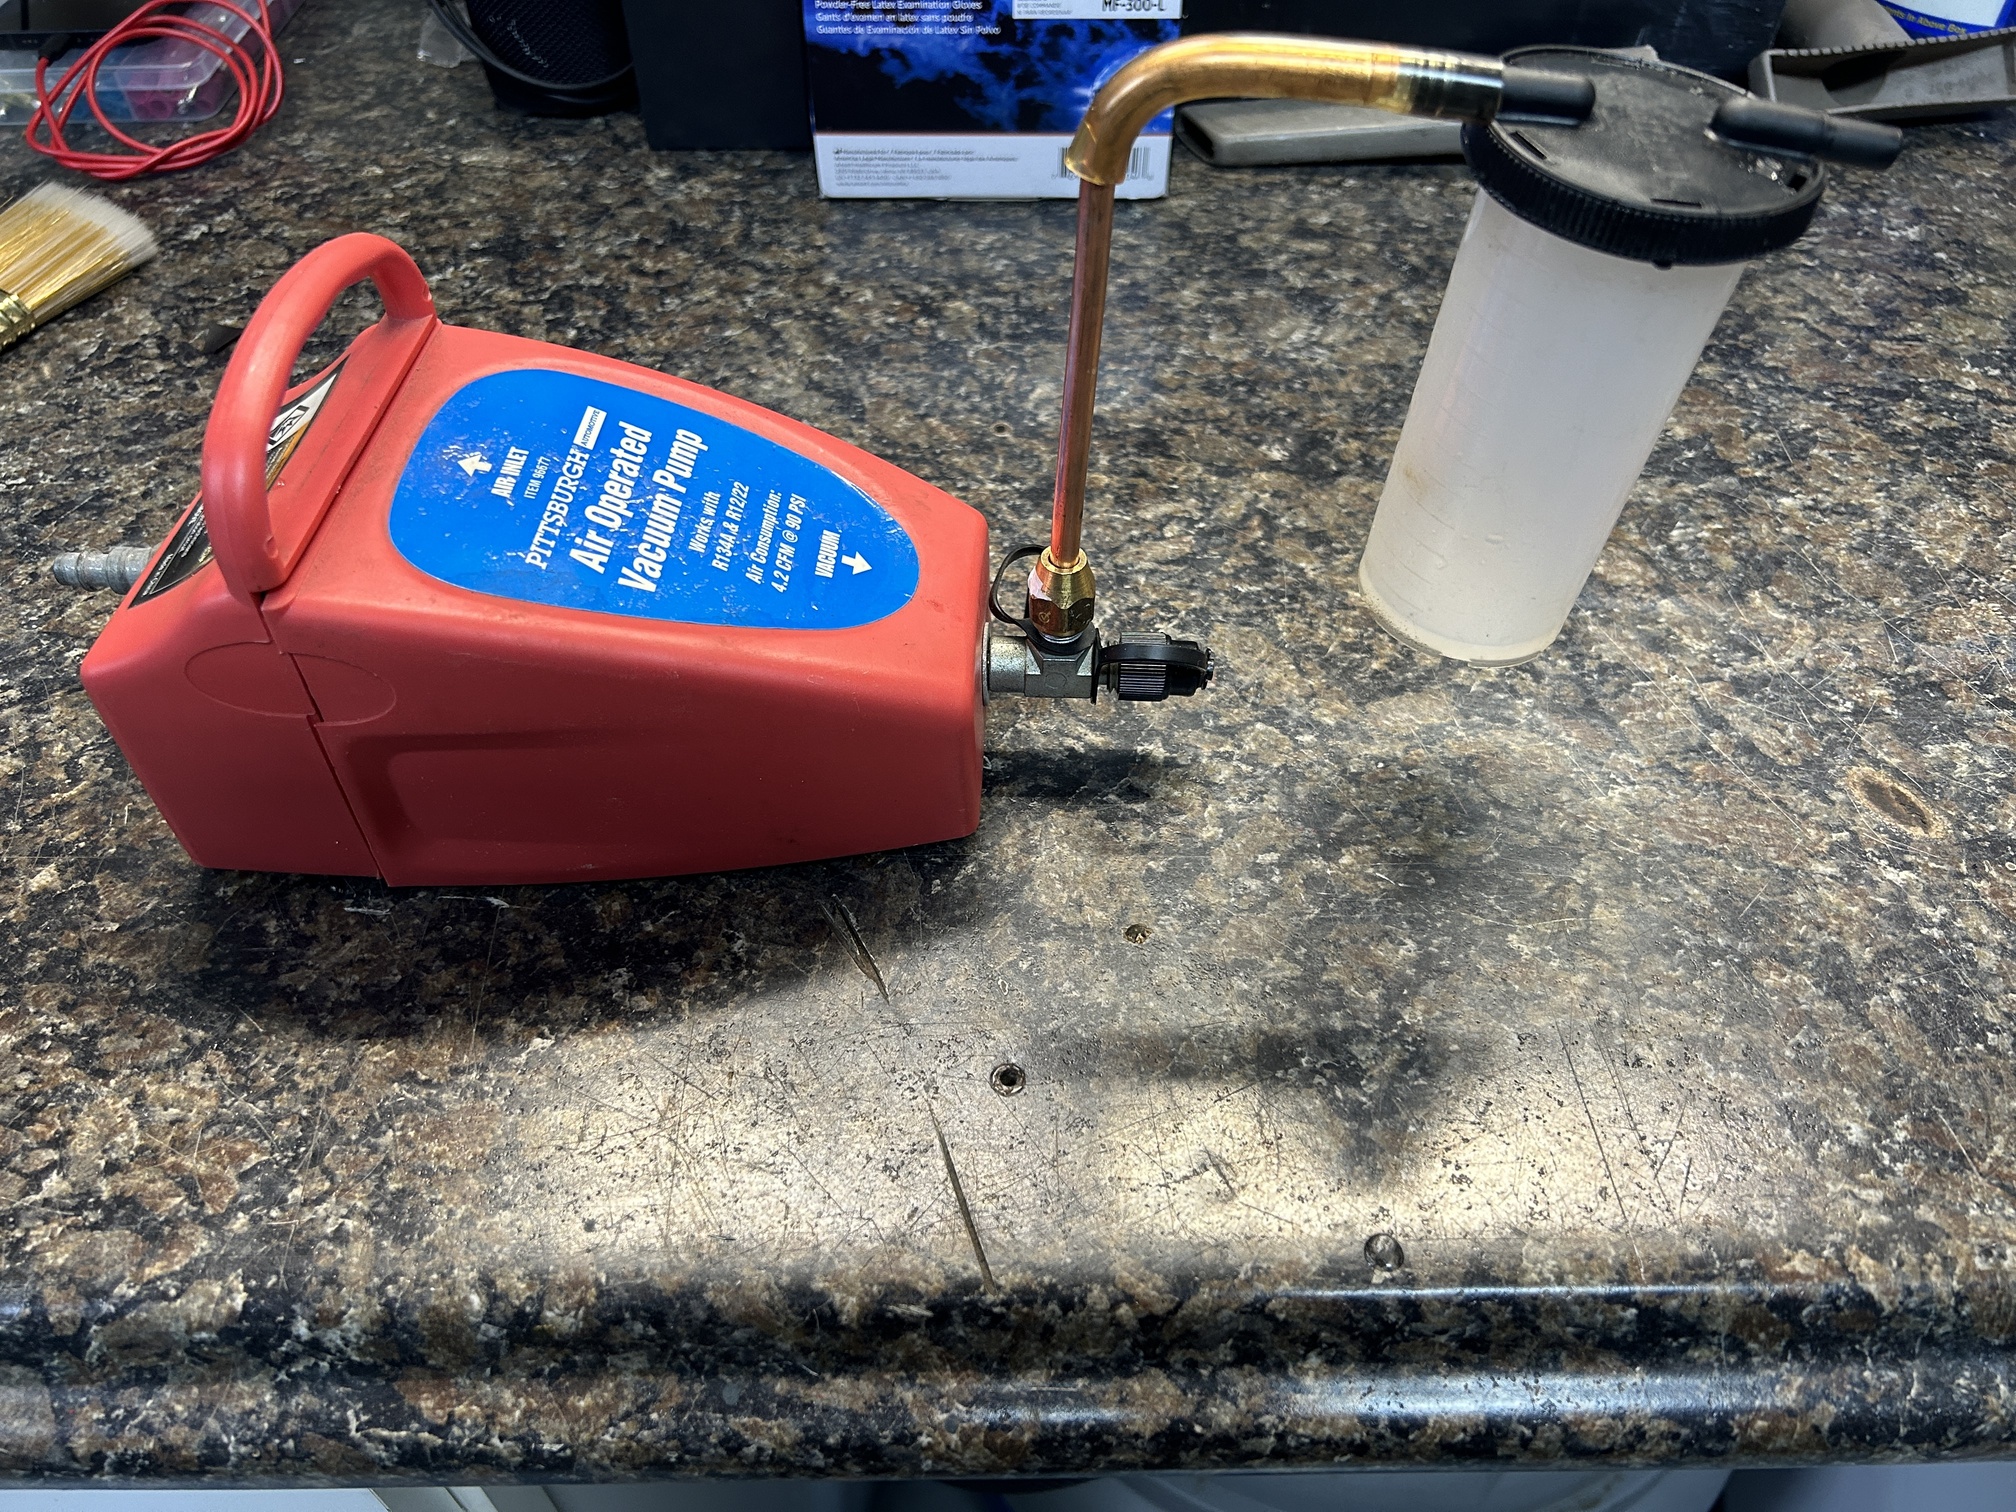
I use a vacuum bleeder that plugs into my air compressor line. It works great, i never have to have someone pump the brakes, just attach to the caliper bleeder, open the bleeder and turn the unit on until no more air bubbles.
Bill,
Most of my work in the shop tends to be a one man operation so I have two methods I use to bleed brakes myself. I first leave top off of the master cylinder with it full of fluid covered by a paper towel. Crack all of the bleeders loose to allow them to gravity bleed initially until fluid flows from each bleeder then close them off.Then for us Cougar guys we normally have spare one-way vacuum check valves. Starting with the RR crack the bleeder screw loose then attach a piece of vacuum line and the check valve on the end with the end vacuum typically pulls from flowing into a drain pan. Then slowly pump the brakes, air and fluid will come out but when you release the pedal the valve closes off.
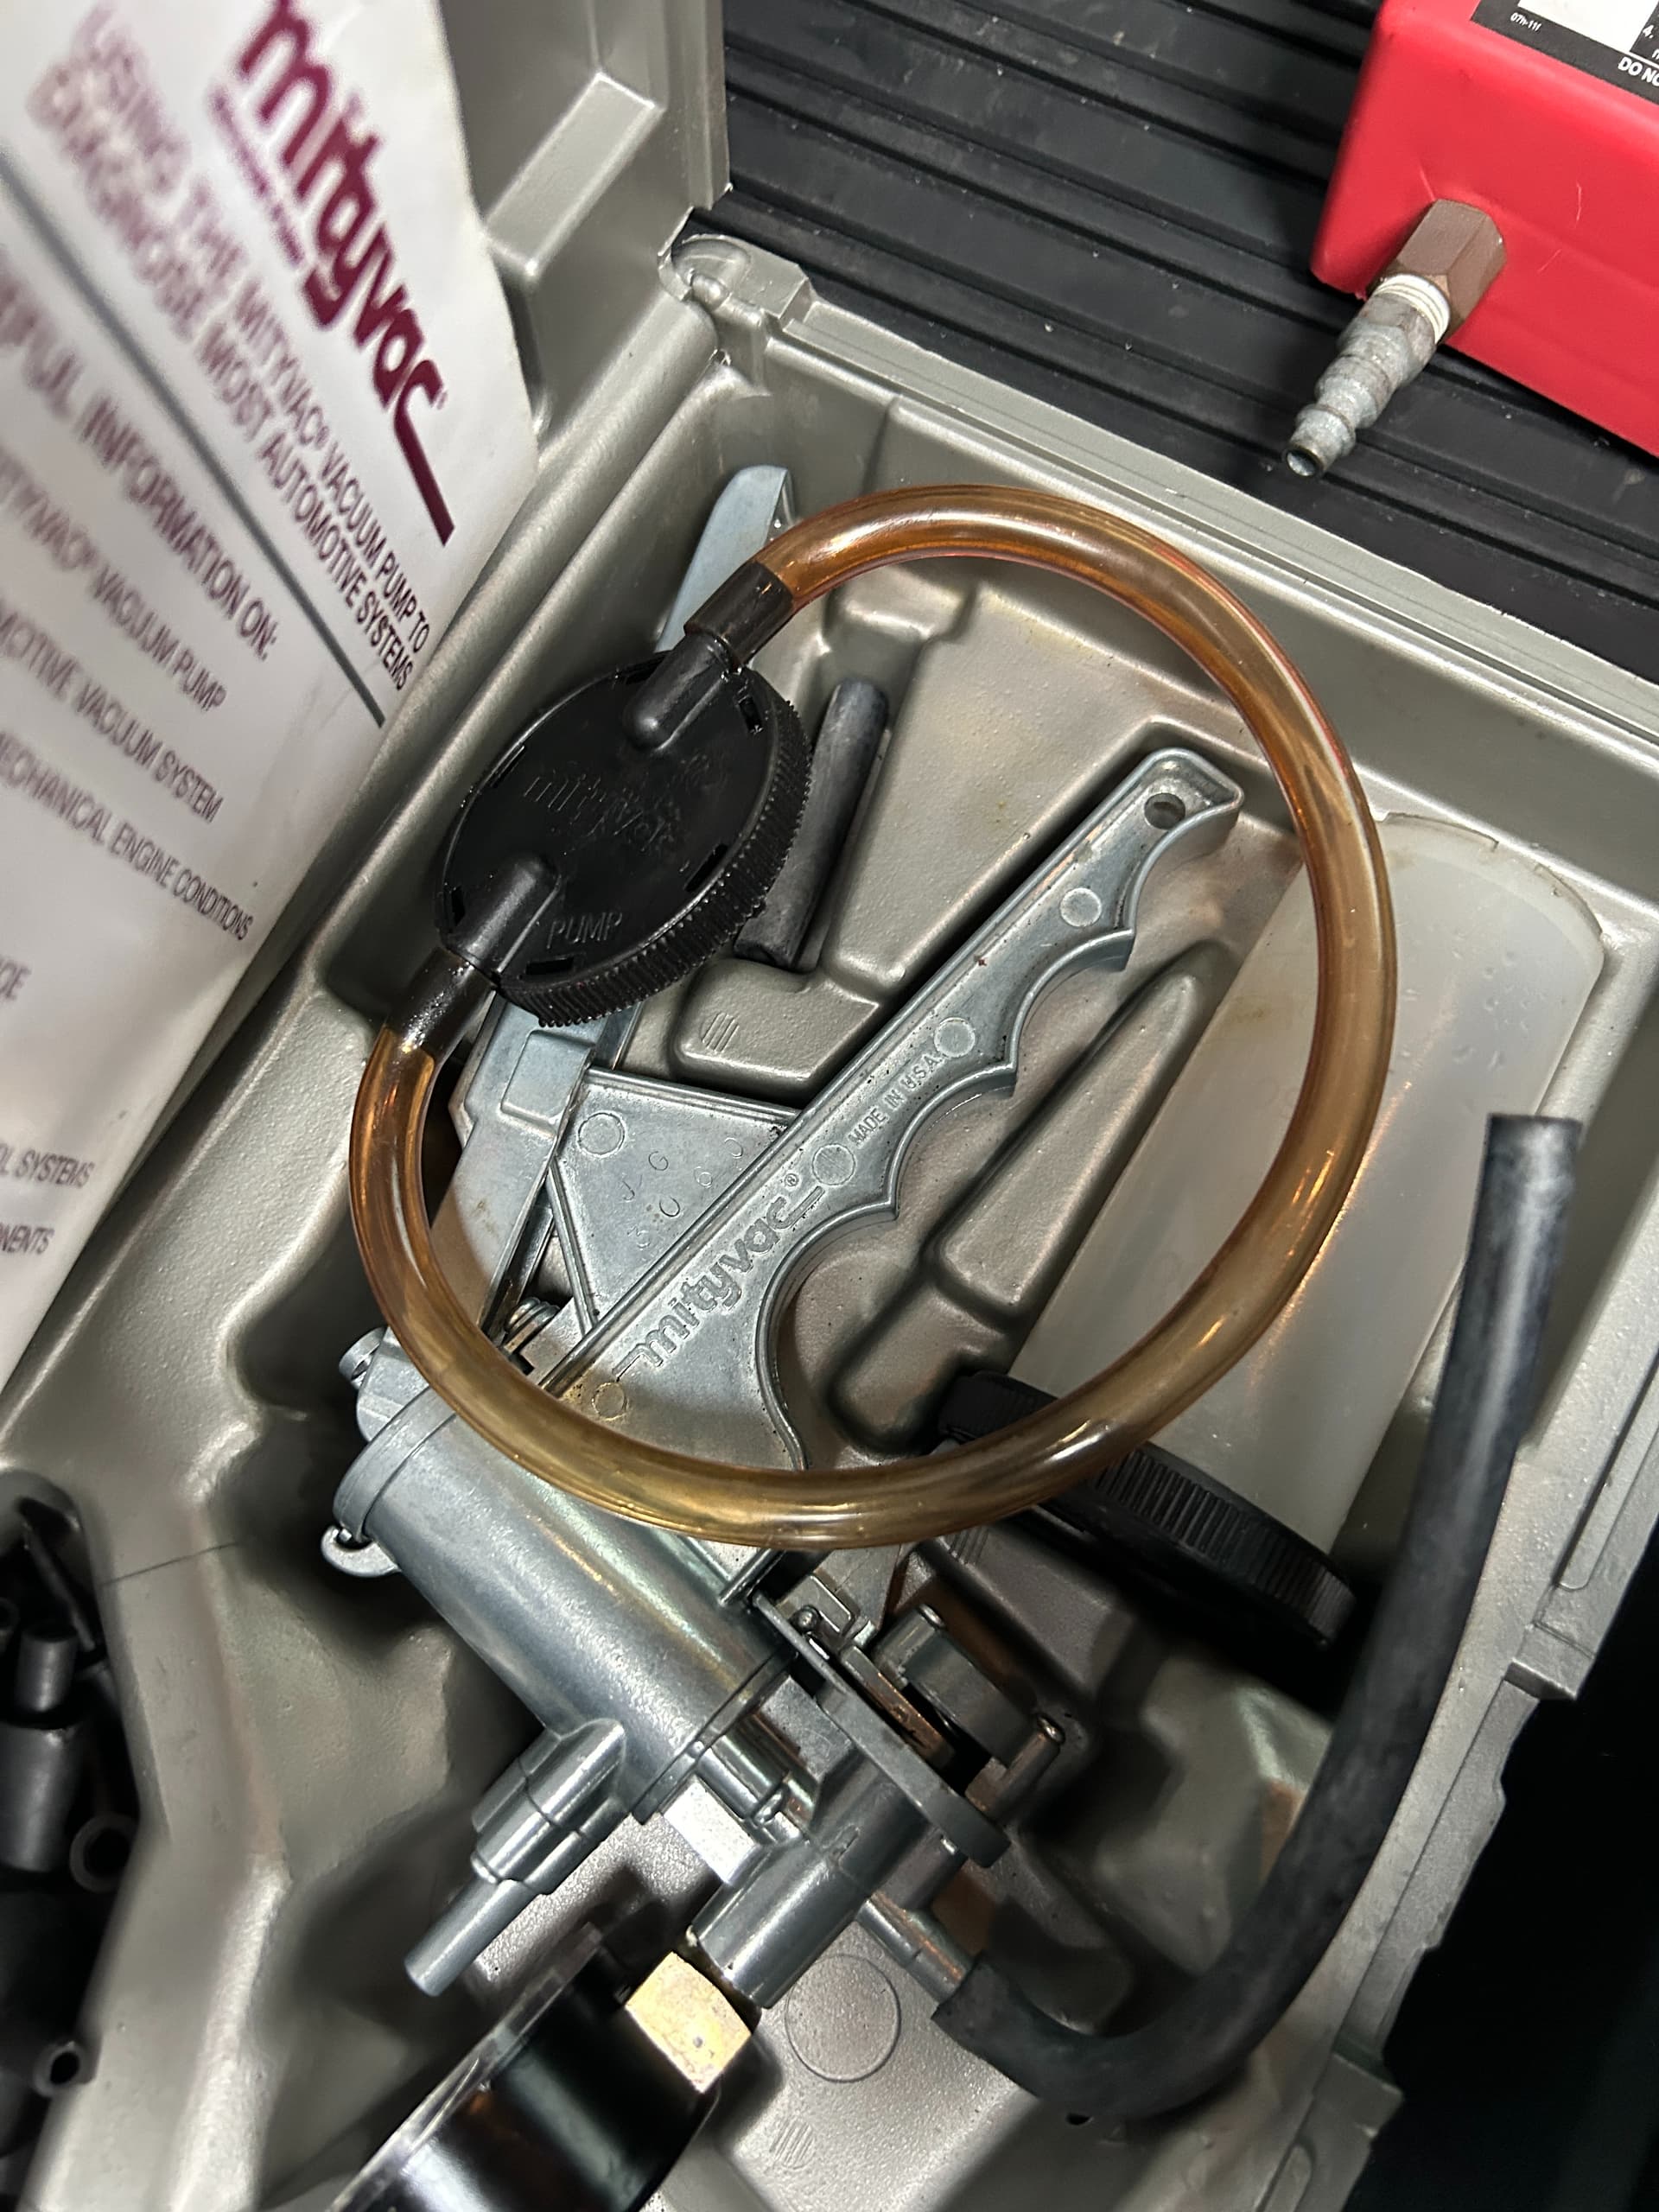
I also have a miti-vac which works great however your hand will get tired pumping on a fresh system. So I took an AC vacuum pump and added a tube with some simple fittings from the hardware store. I use the canister that came with the miti-vac and let the AC vacuum pump do the work.
What started this thread was my inability to bleed the brakes on my 68 XR7 with new master cylinder front calipers and rear wheel cylinders. Basically everything but discs and drums were replaced. I did bench bleed the master but a leak emptied out the disc reservoir before I replaced everything else.
The rears bled easily enough but the pedal still went to the floor. I couldn’t get the passenger side caliper to bleed. I thought the issue might be an air pocket in the master. I tried two different vacuum systems and then two different pressure systems. After following the brake line I finally confirmed that I had fluid to the caliper.
With the second bleeder I noticed that no fluid came out of the caliper with the bleed screw removed entirely. I used one of those spray can red tubes to poke up into the caliper. At first I couldn’t push it in. Then with a little more force it popped something loose and fluid began pouring out. I started the bleed screw back in and it was like the threads were stripped. When I removed it it was chewed up. As it turned out there were metal shavings from machining in the recess. I used small wire brushes to clean it out and replaced the screw with a good used one.
You put brake fluid in the white reservoir. The plate goes over the top of the master cylinder. It’s clamped down with some J hooks chains and wing nuts. It seals tight. You pump up the reservoir to 15 psi. Then you go from wheel to wheel opening the bleed screw. Use clear plastic hose so you can see the bubbles. You just let it rip until you have zero bubbles. Tighten up the bleed screw and move on. Super fast. Absolutely no problem with air getting in and running the reservoir dry. $$ but worth it
Put Teflon tape on the bleed screw threads so air doesn’t leak through there. That helps a lot when vacuum bleeding or if you are getting a little siphon action drawing in air when pressure bleeding.
When I have a fresh brake system, I fill it from the bleed screws up, until I see the fluid come up into the MC reservoir. Start with the right rear and fill until you see fluid come through the left rear bleed screw. Close the right rear and fill from the left rear until the fluid comes up into the reservoir. Repeat for the fronts. I haven’t had the residual valve cause me any problem with this method.
Does fluid overflow when you remove the top from the master cylinder after power bleeding? Asking since I am trying to use the correct painted master cylinder, and don’t want to dissolve any more paint than I have to. I’ve learned alot too!
My experience with pressure bleeders is that getting a good seal between the reservoir and the bleeder adapter is difficult. For the plate adapters we use for our cars, I think you have to expect leakage, and the accompanying paint damage.
I think all methods of brake bleeding are important to know how to preform as they are dependent on the components your changing or issues your having. If replacing the master cylinder or suspect air there I will bench bleed it. I will run the tubes back to the reservoir and use punch/drift to push the piston to bleed. From there it will get installed and bleed the whole system. If I have help I do manually by pumping the pedal and hitting each wheel. If by myself I have vacuum bleeders I can use.
If Im changing a wheel end component such as a caliper I will install then open the bleeder, let it gravity bleed before using a vacuum bleeder or pedal method. Sometimes gravity bleed is all you need but following up with a proper bleed is good insurance.
Newer vehicles we get into needing a scan tool to perform bleed procedures, oh and electric parking brakes are fun. Gotta make sure you get those into the correct service function before working on them!