This was a fun project to tackle, and I didn’t see much info out there on it so I decided to do a little write-up to help those wanting to do the same. There are instructions that come with the kit, but I think pictures and an actual reference point are nice. If you have any comments or suggestions of your own, please feel free to add.
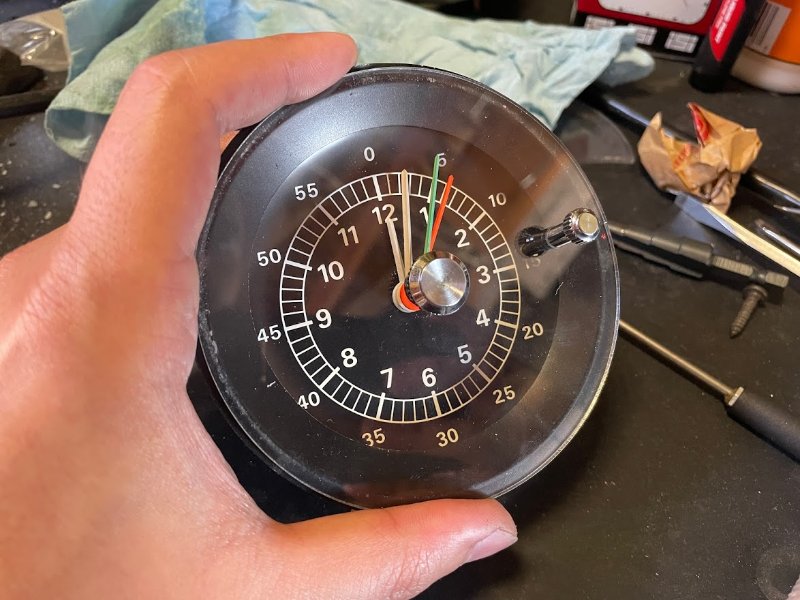
My XR7 clock was in need of some TLC. Movement wasn’t keeping time, lens was cracked and light bulb diffusers were deformed, so this write-up will cover all.
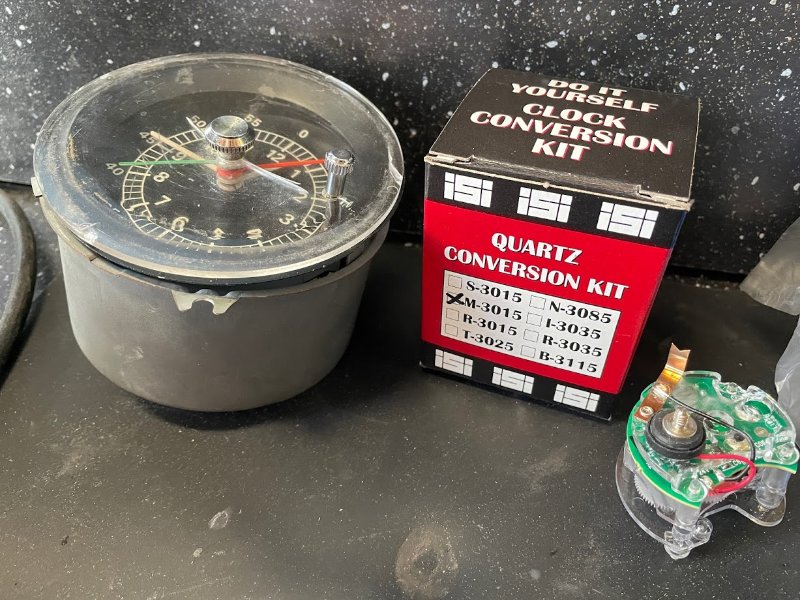
Quarts Conversion Kit: M-3015 Picked up this Kit on eBay, manufactured by ISI, for under $100 bucks
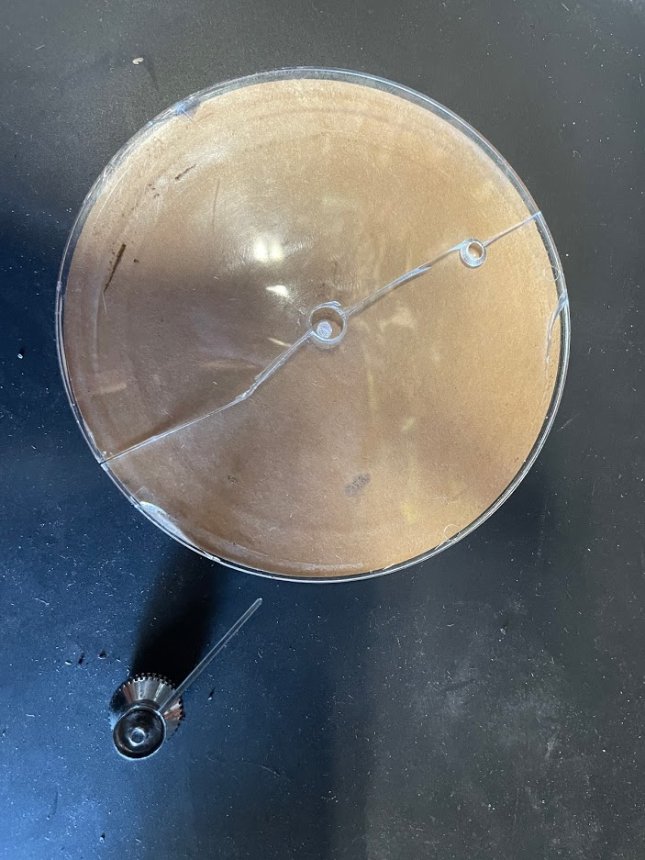
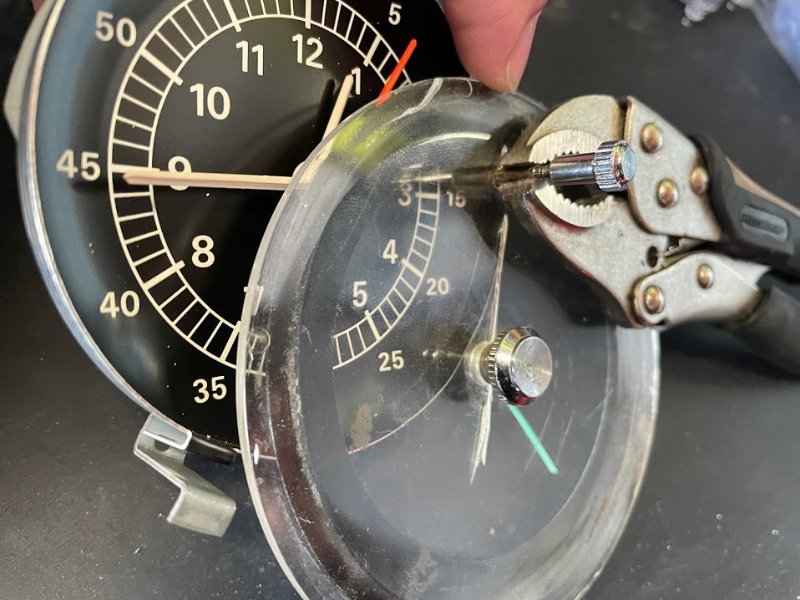
You can see in the image above the lens was cracked and needed replacing as well. I will follow-up with that on a later post.
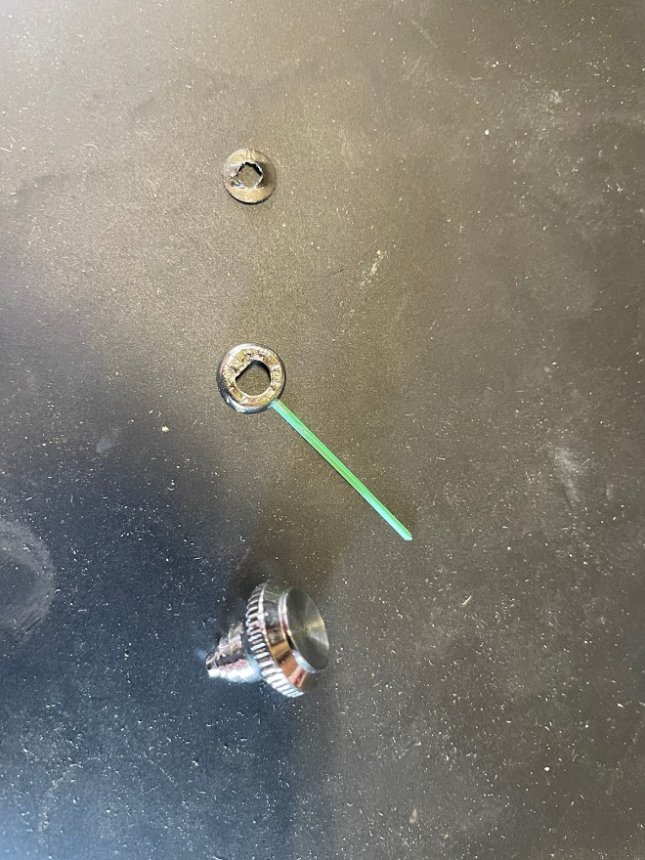
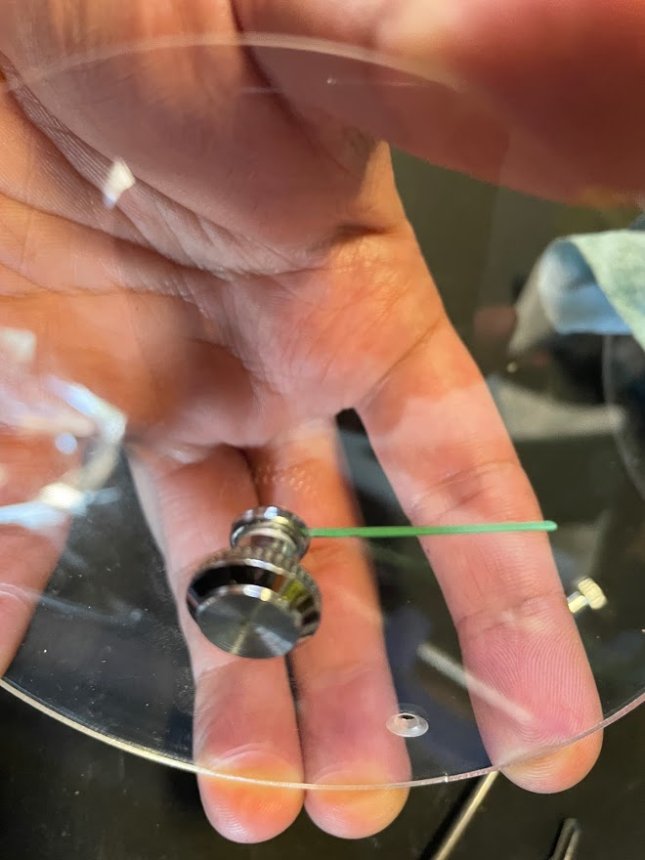
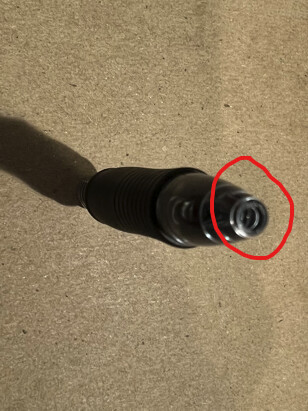
After removing the clock from it’s housing, push on the adjustment stem from the rear, grabbing with a set of locking pliers and twist of the cap with another set of pliers. Needs a bit of force.
Next, you’ll want to remove the clock hands. This bit is tedious, you want to gently rock each hand back and forth with your thumb and forefinger as to not scratch the dial. The second hand is pushed in real tight, take your time to back it out.


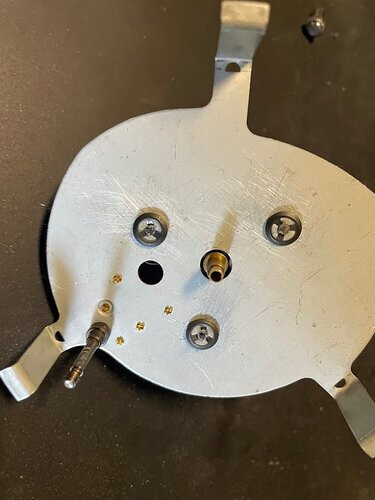
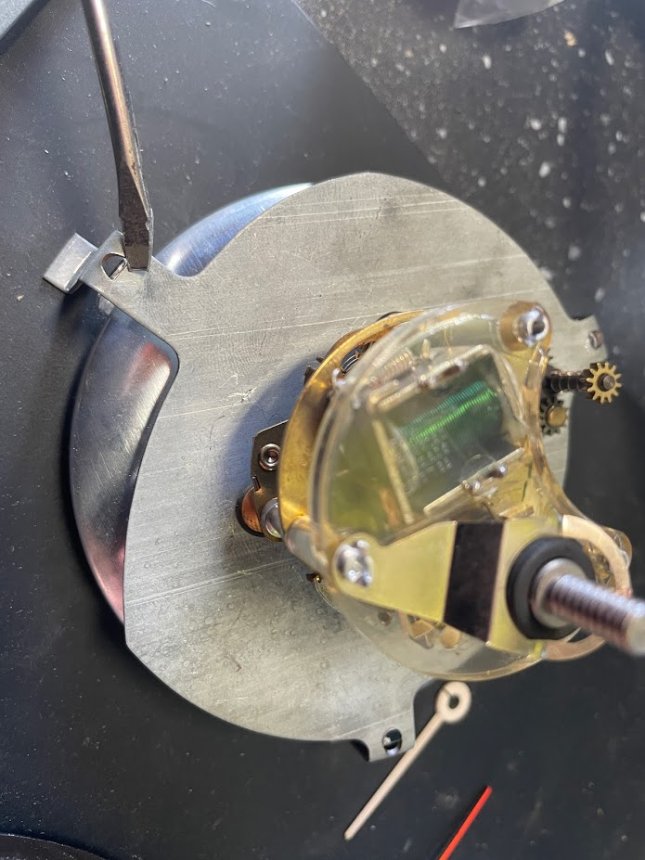
After all clock hands are removed, you need to remove the dial from the backing. Gently pull up on the tabs (where the screwdriver is pointing below). These tabs are delicate, they most likely will break off if you move them to far or too many times.
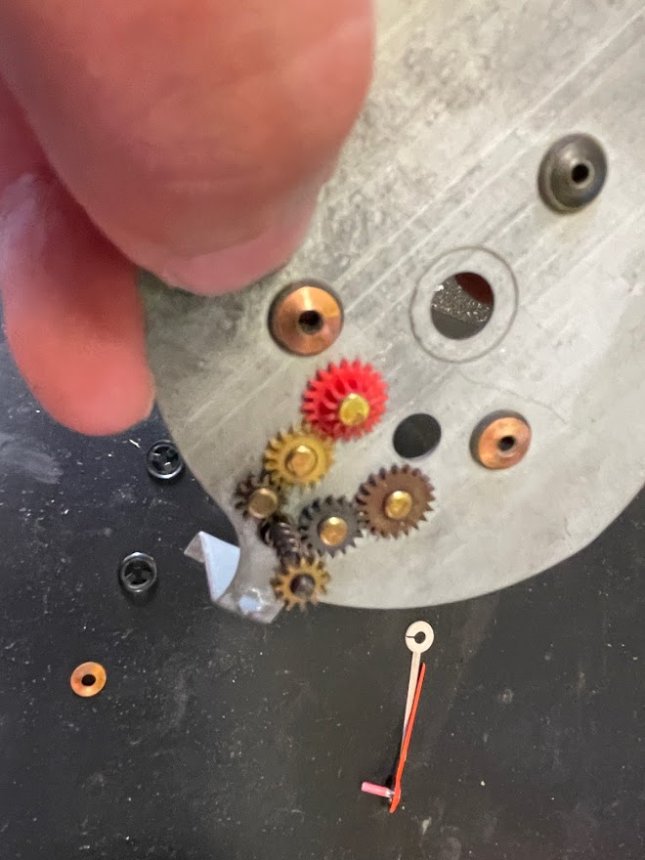
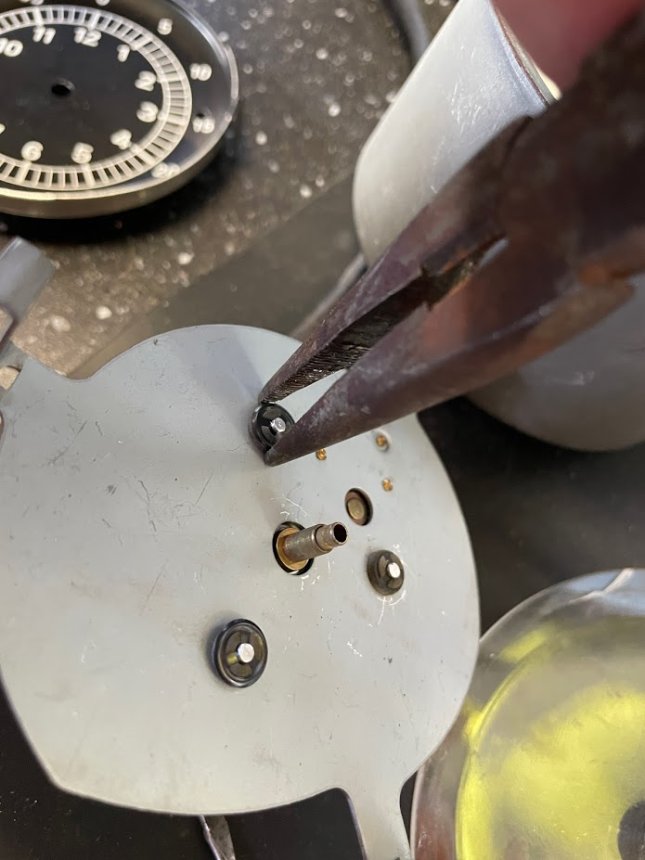
Next, remove the 3 lock washers off the backing plate using some pliers. Once removed, you can pull the movement away from the backing. Put the backing plate aside for now.
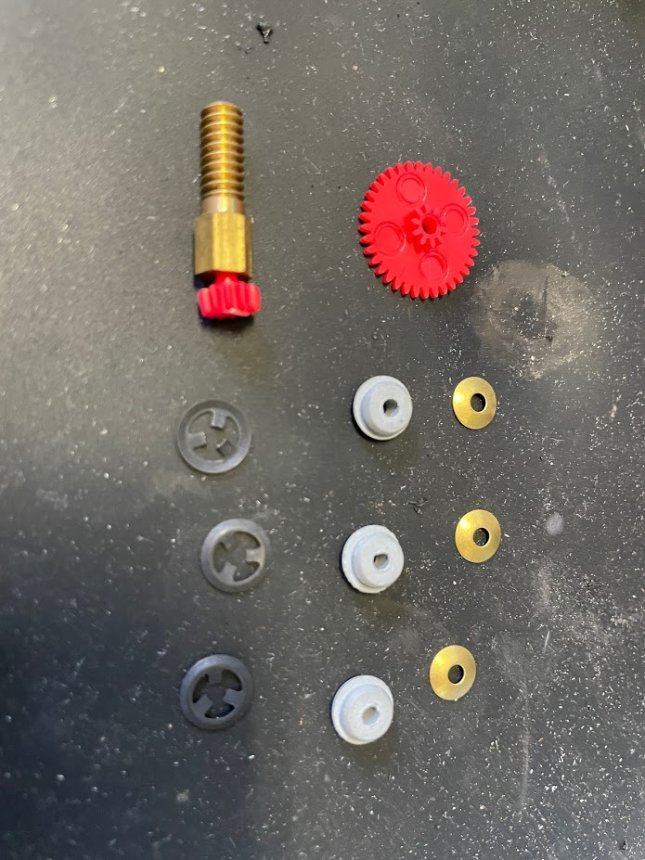
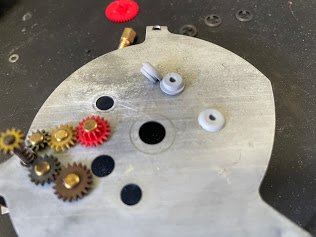
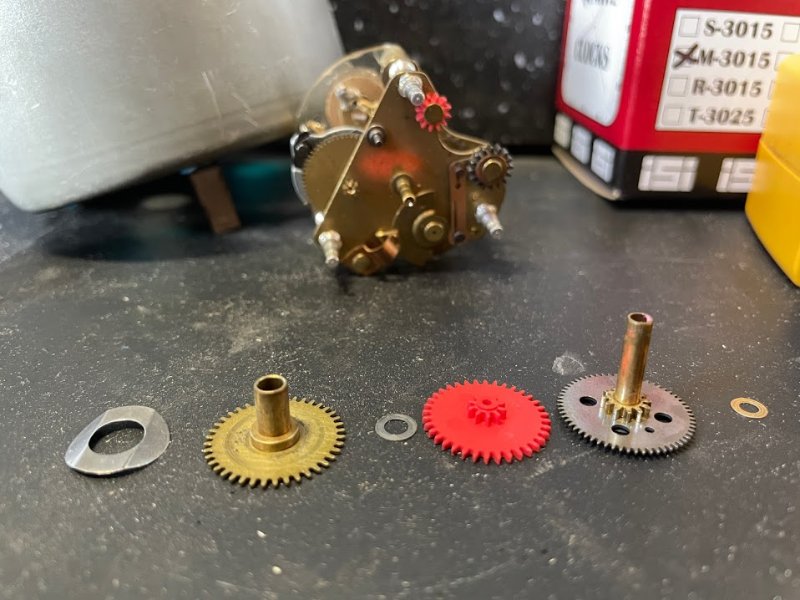
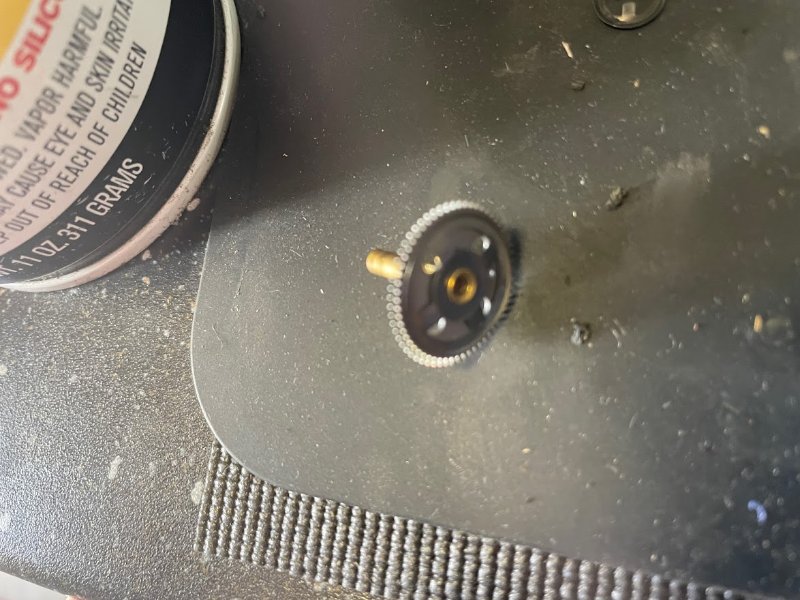
You’ll then want to remove the gears and washers as picture below from the movement, keeping the pieces in order for reassembly on the Quartz movement.
IMPORTANT, soak the minute movement, second to last from left to right & largest piece in WD40. You want to make sure the gear moves freely when holding the stem.
Continued on next post…