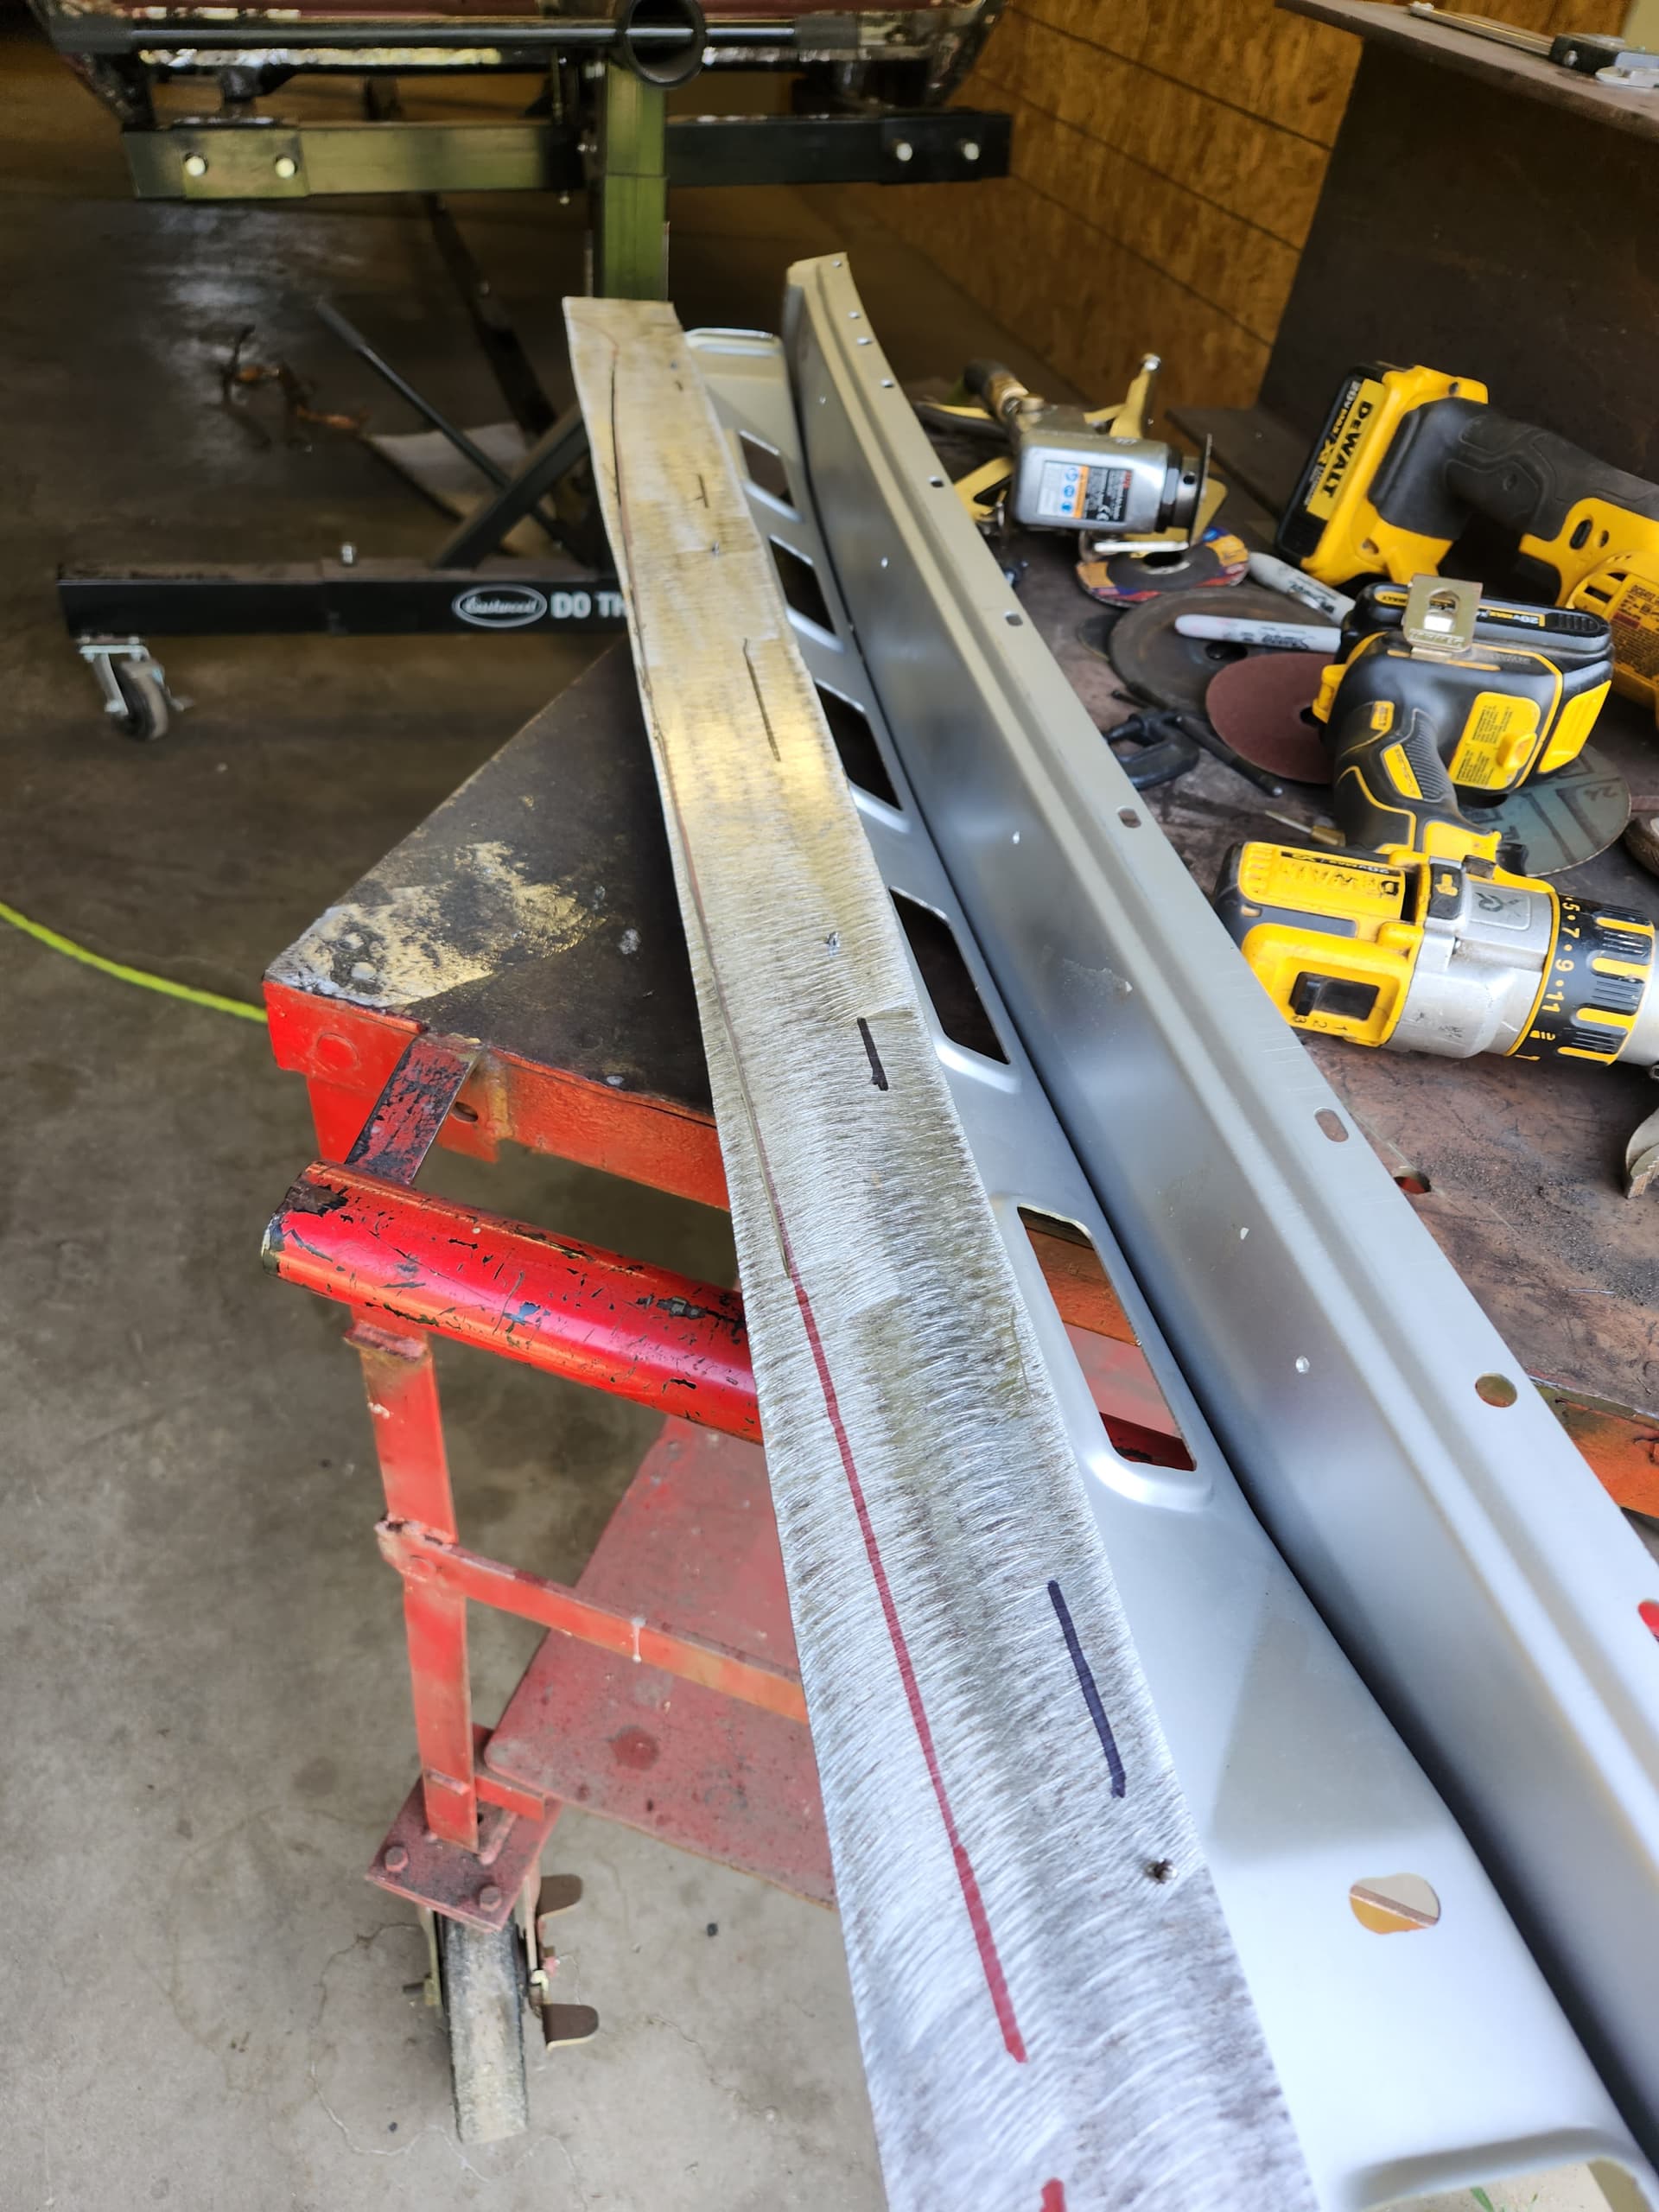
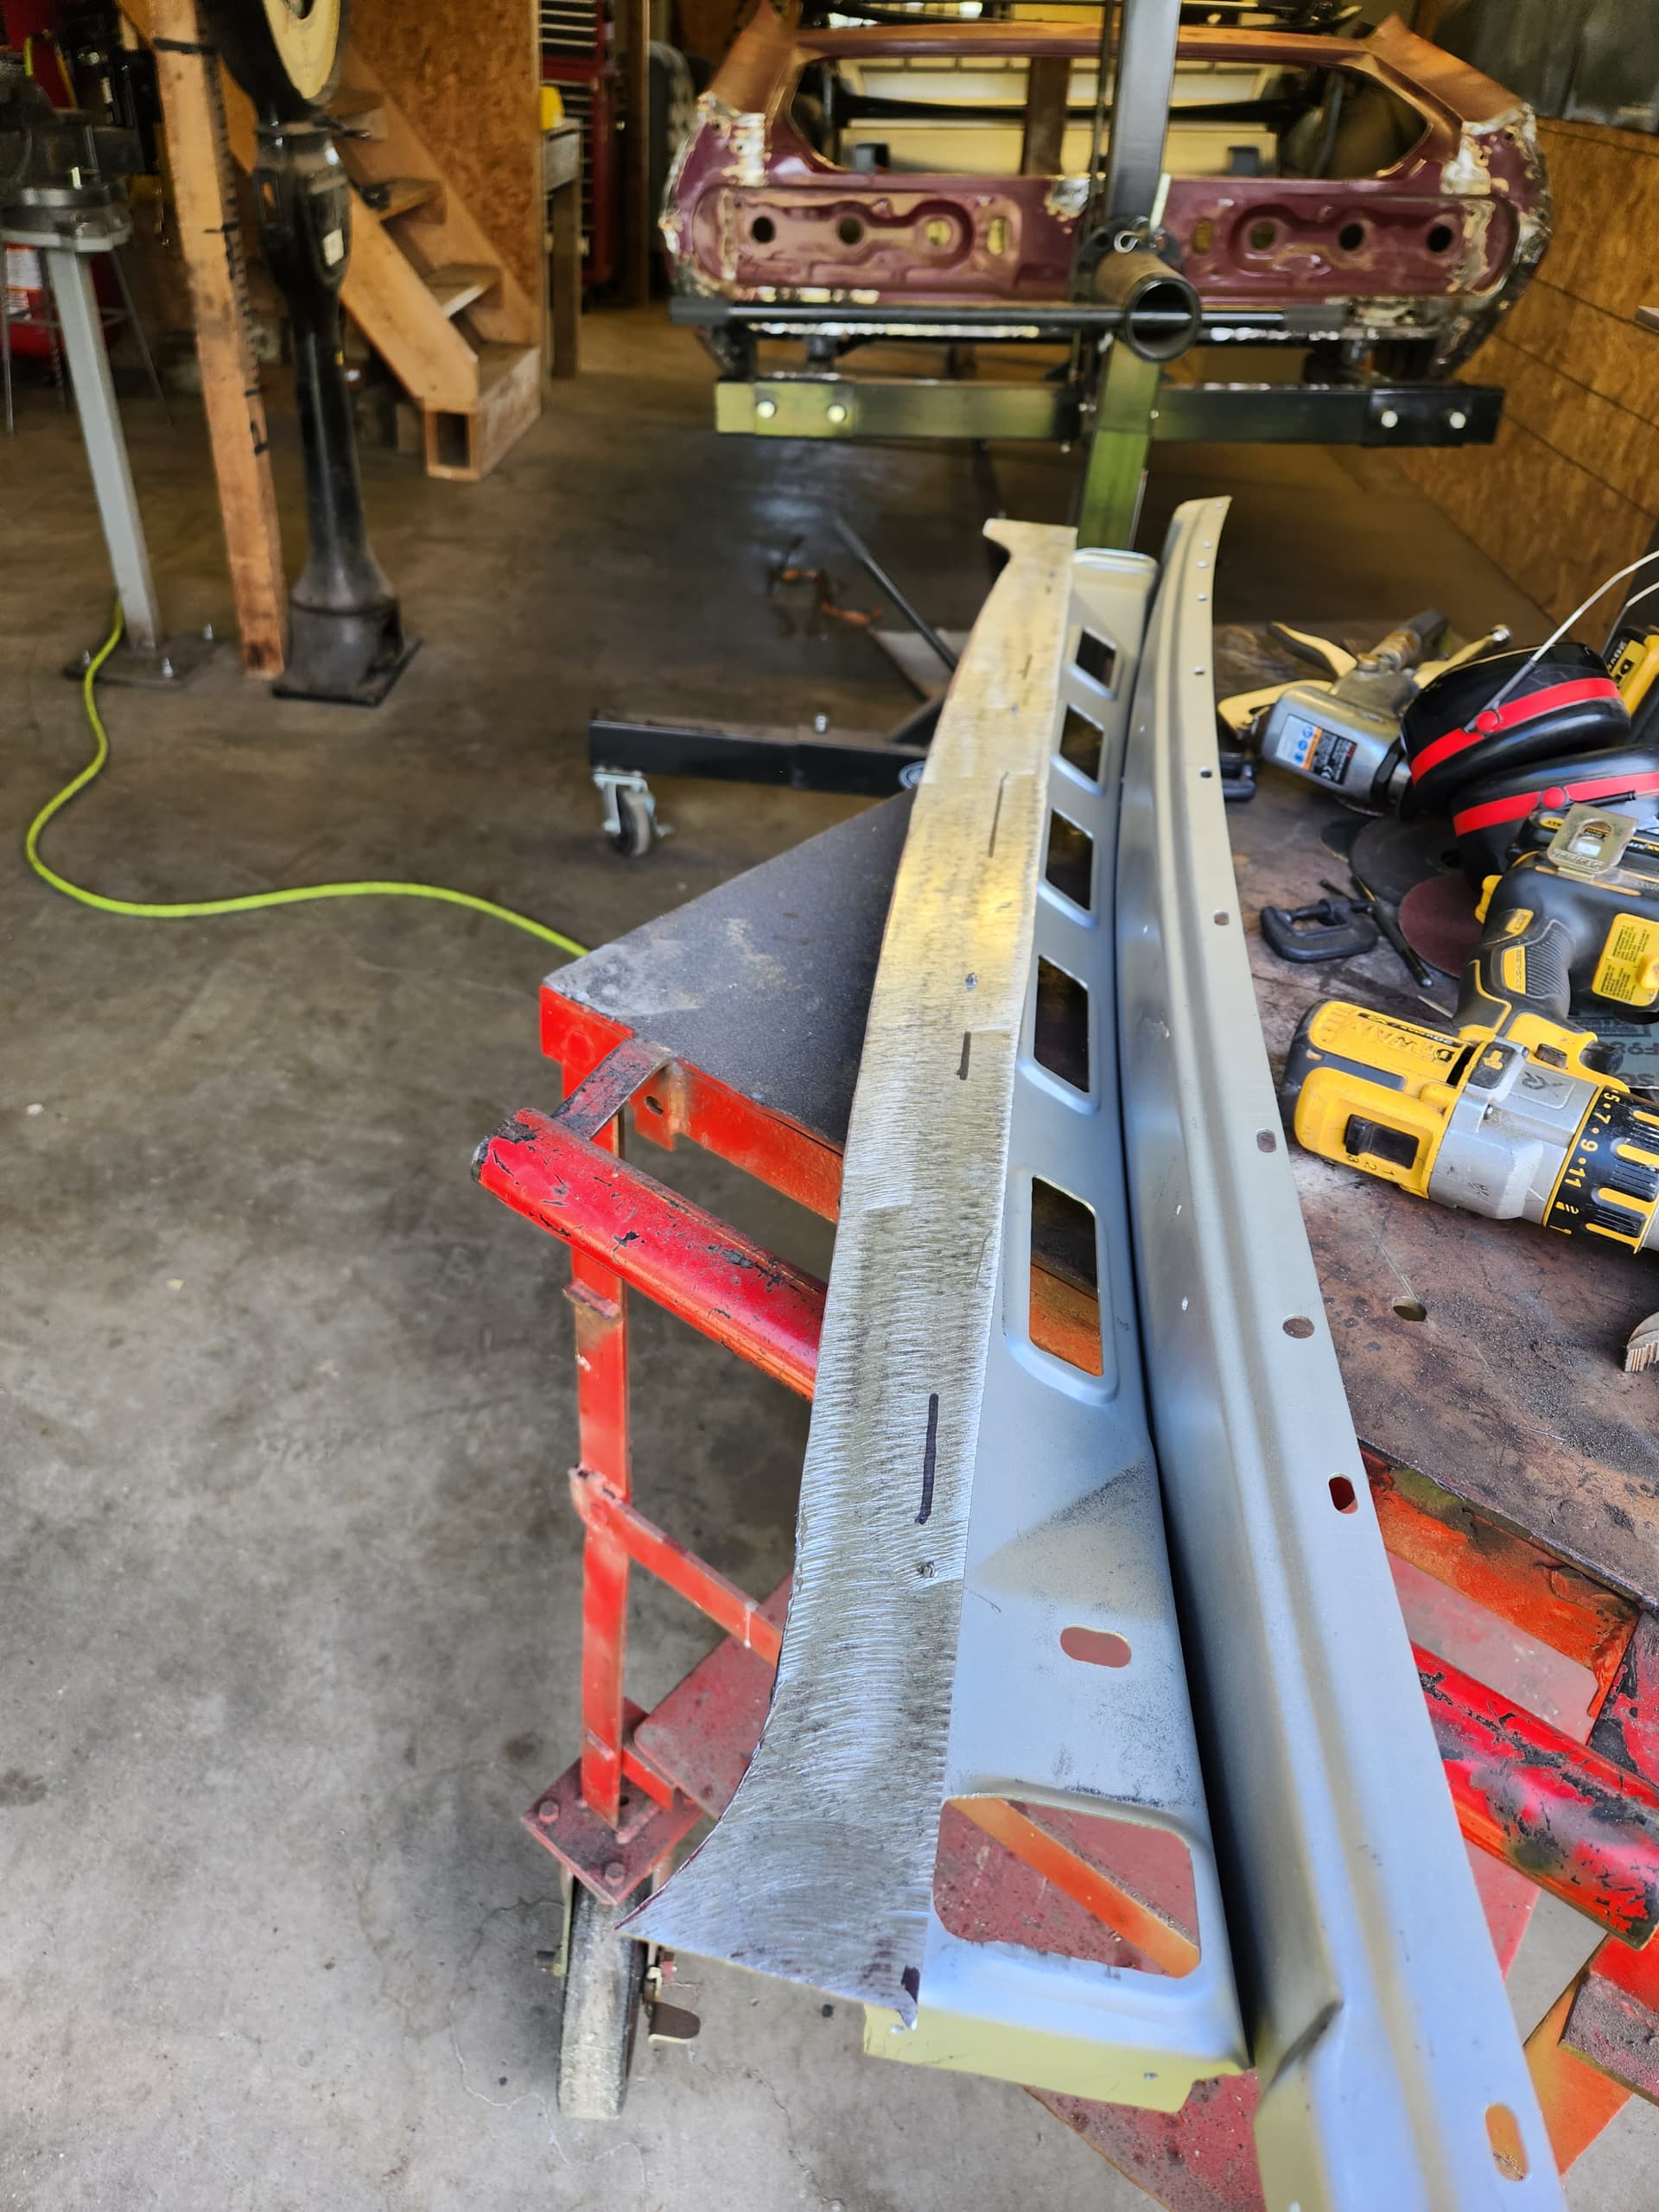
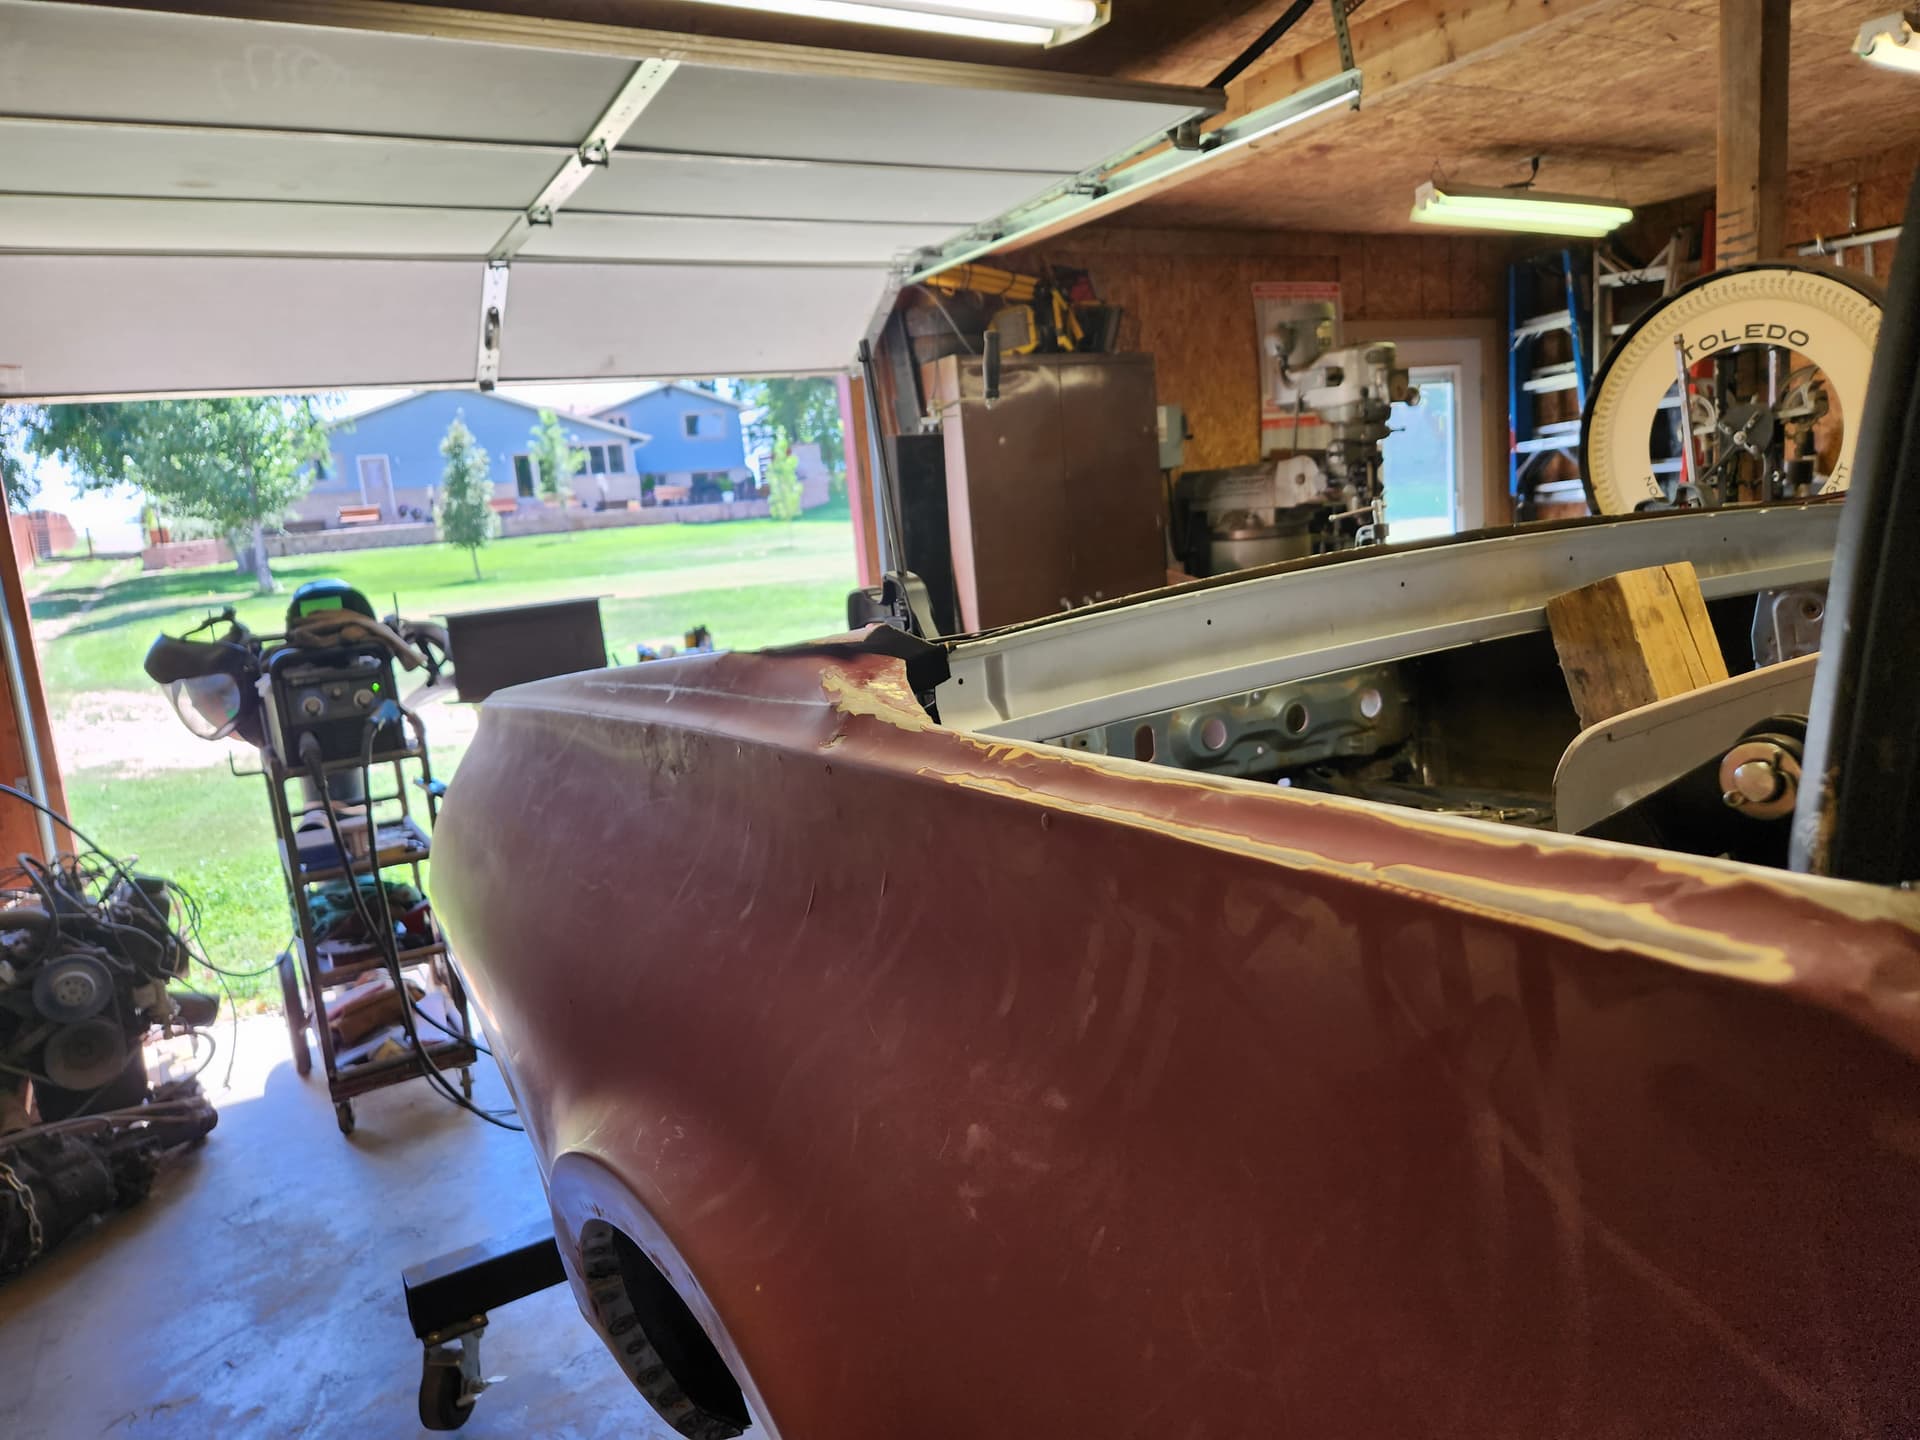
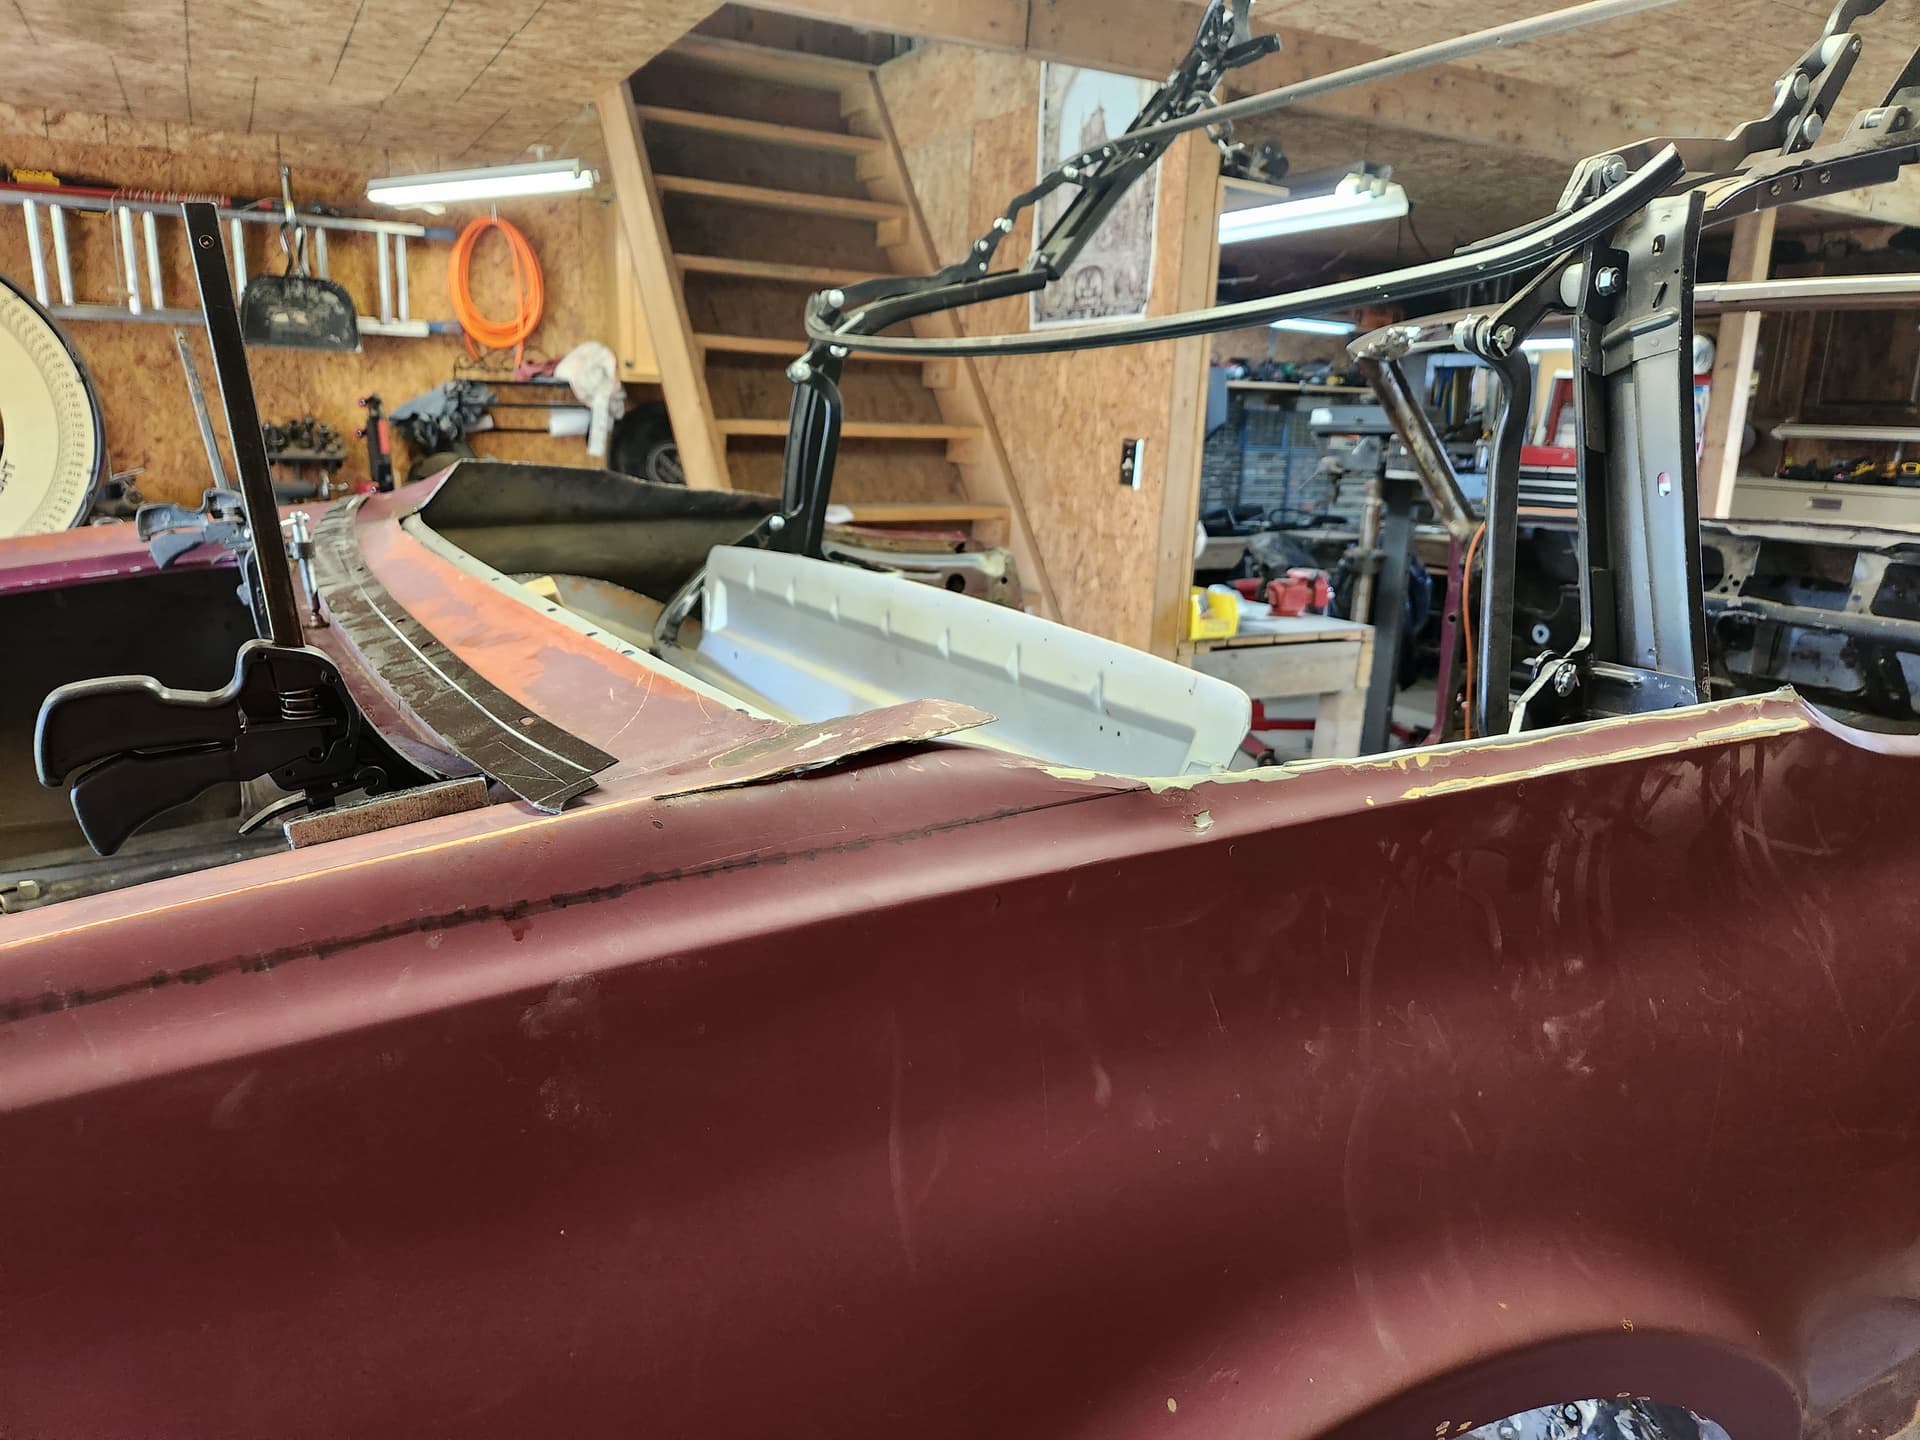
The Dynacorn 3647FWT fits well but is a little too wide (cut about 2" off each end) and is too narrow (add filler strip). Based upon some feedback from the classic Mustang forum I am going with 2" clearance between the header bow and the gutter.
Cut a 2" wide section from the M228 Scott Drake 67/68 Convertible Deck Filler panel to repair the panel. It is just clamped in place since the existing filler panel will need considerable dolly work to change the curvature. Now the issues with the corners are very obvious!
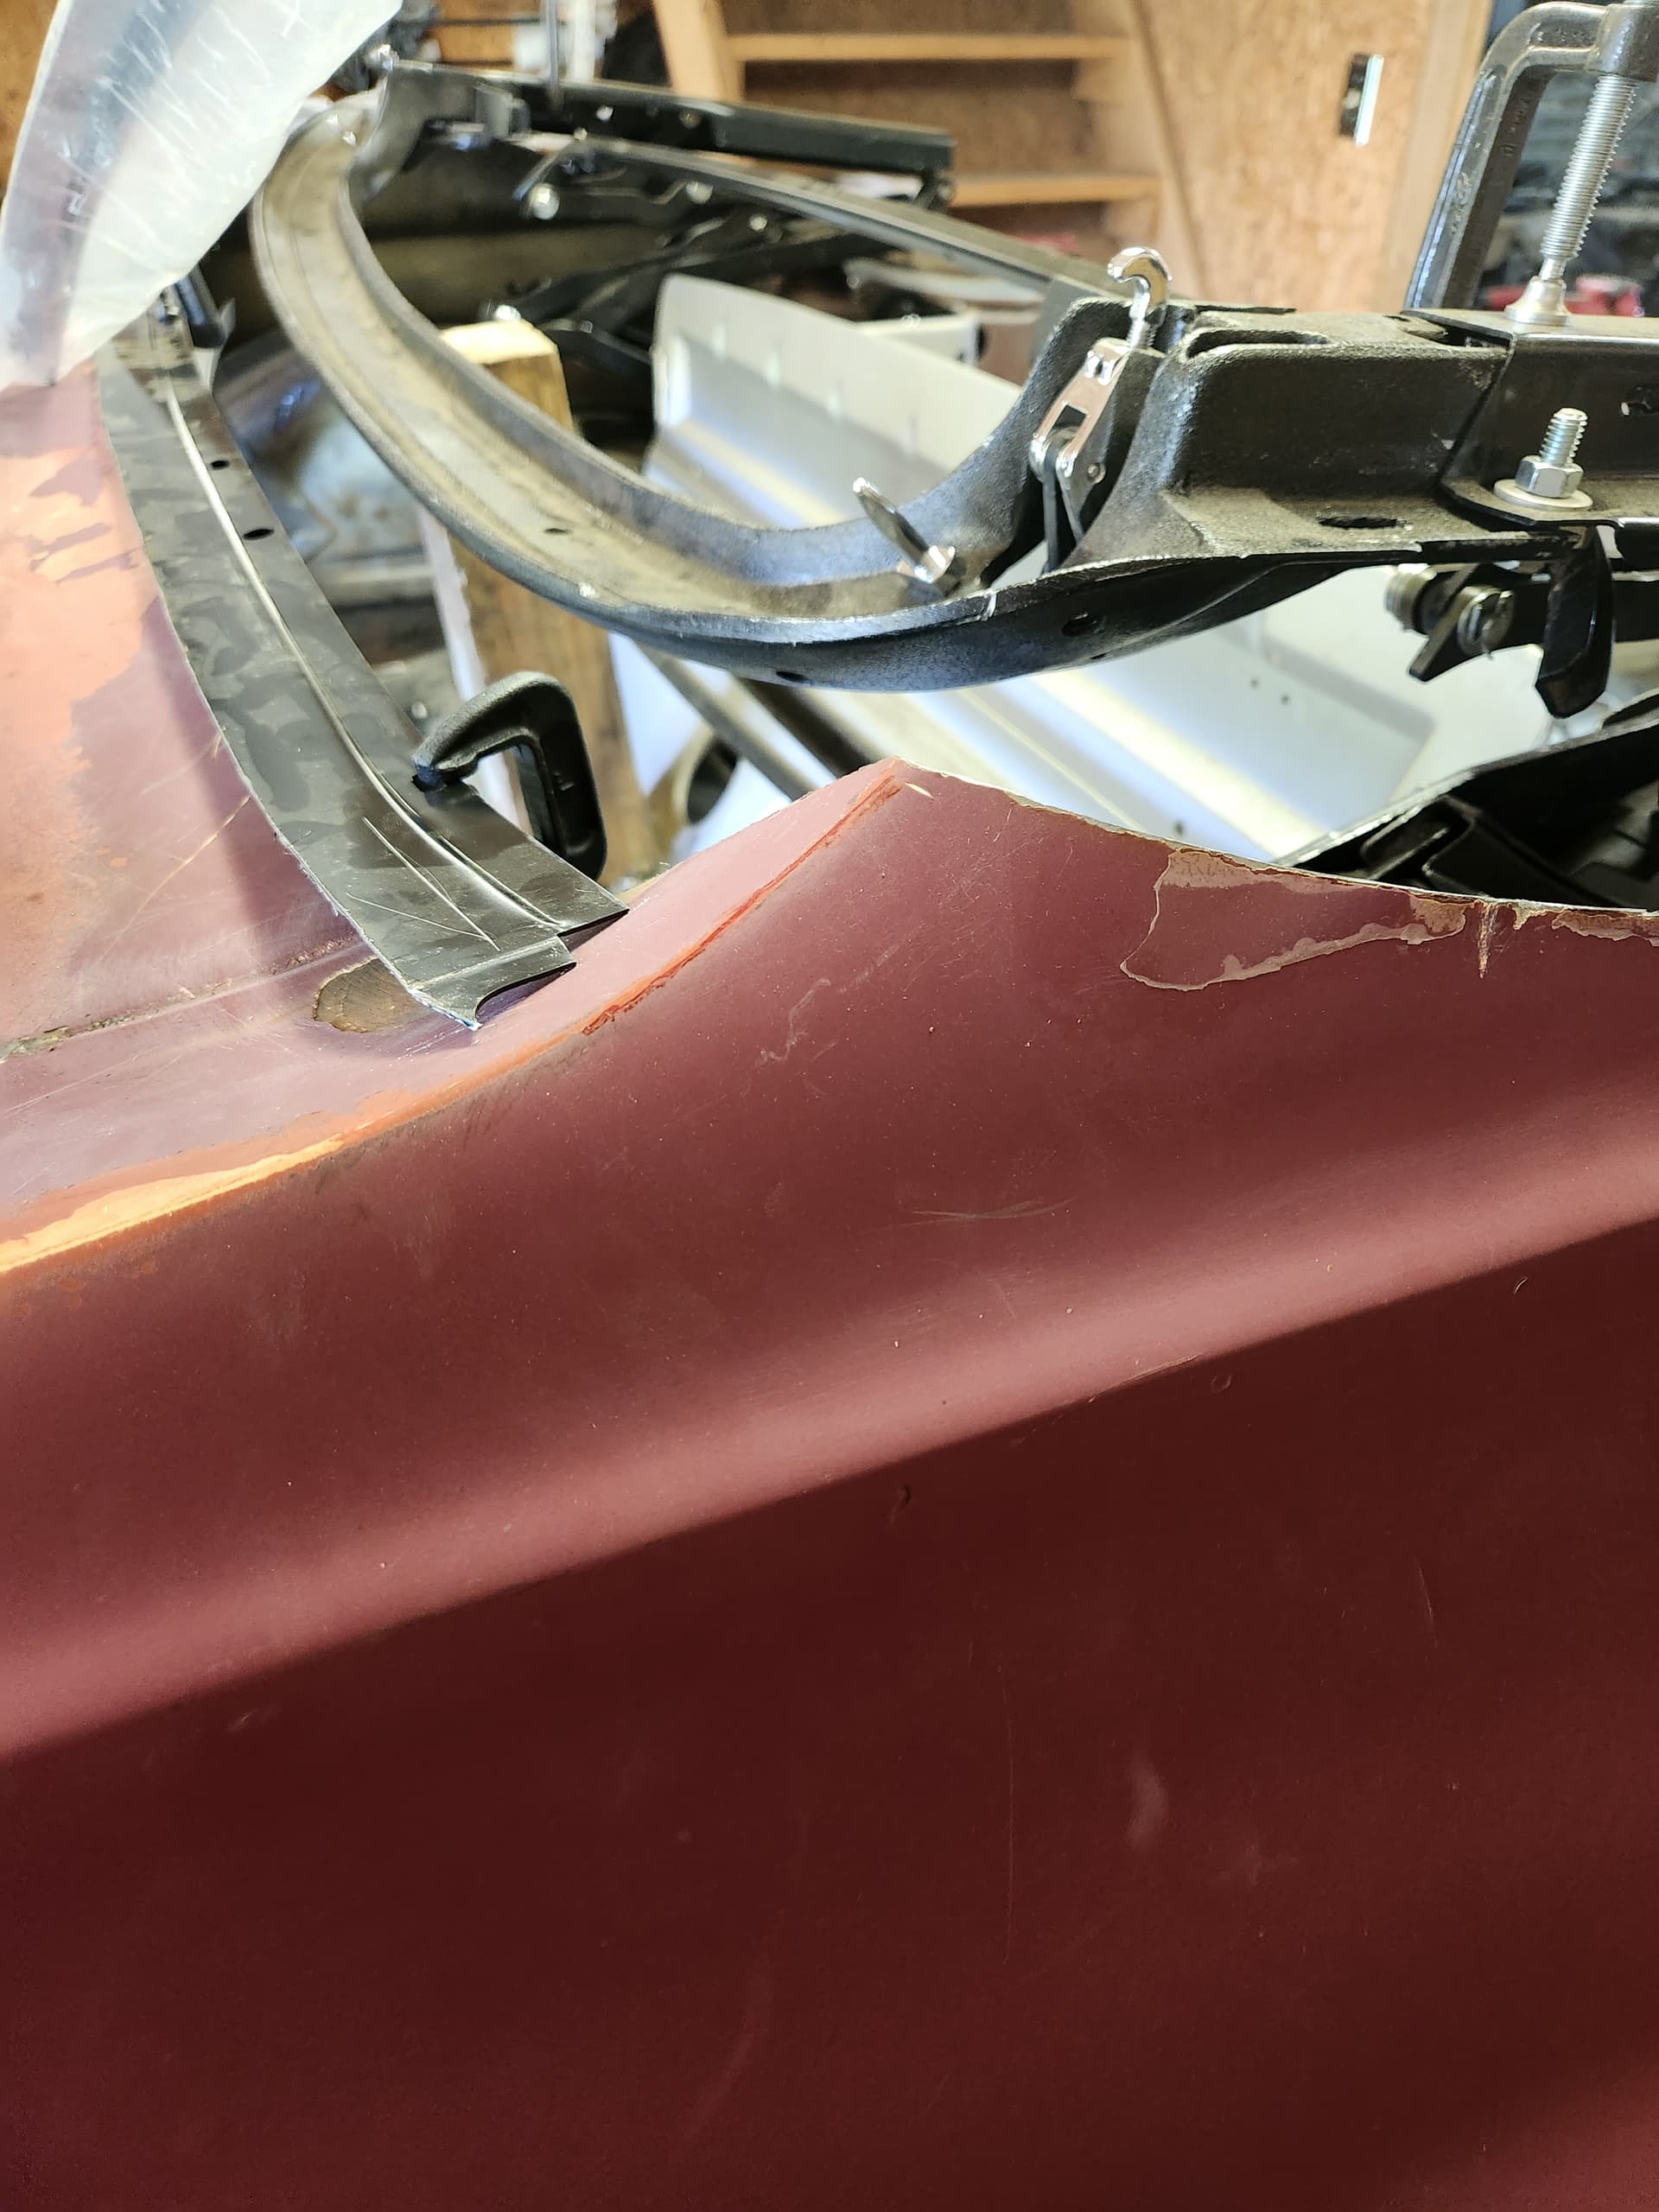
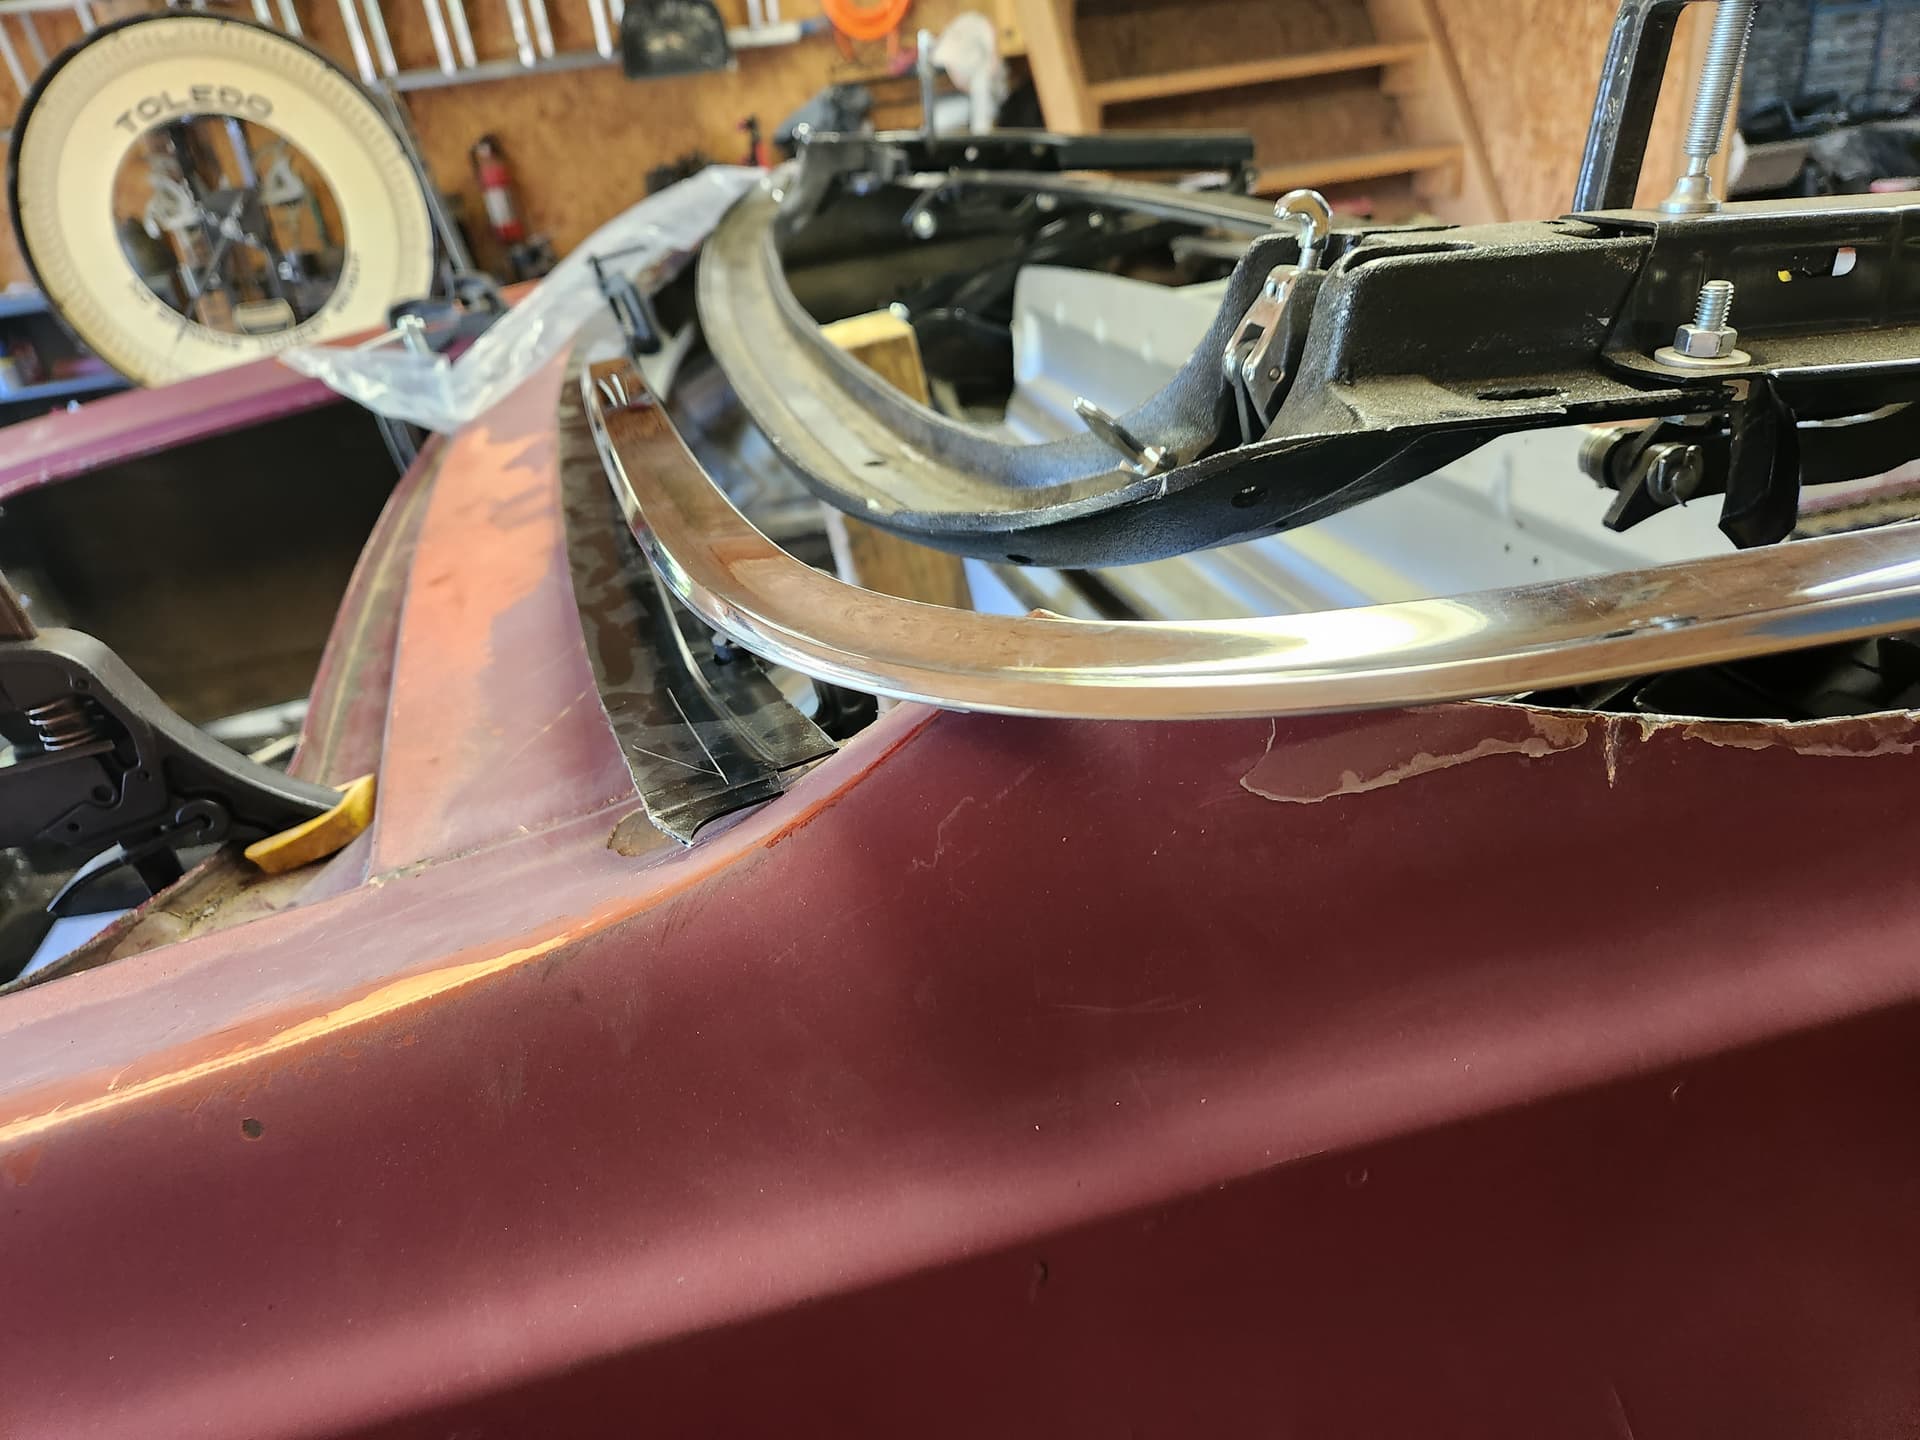
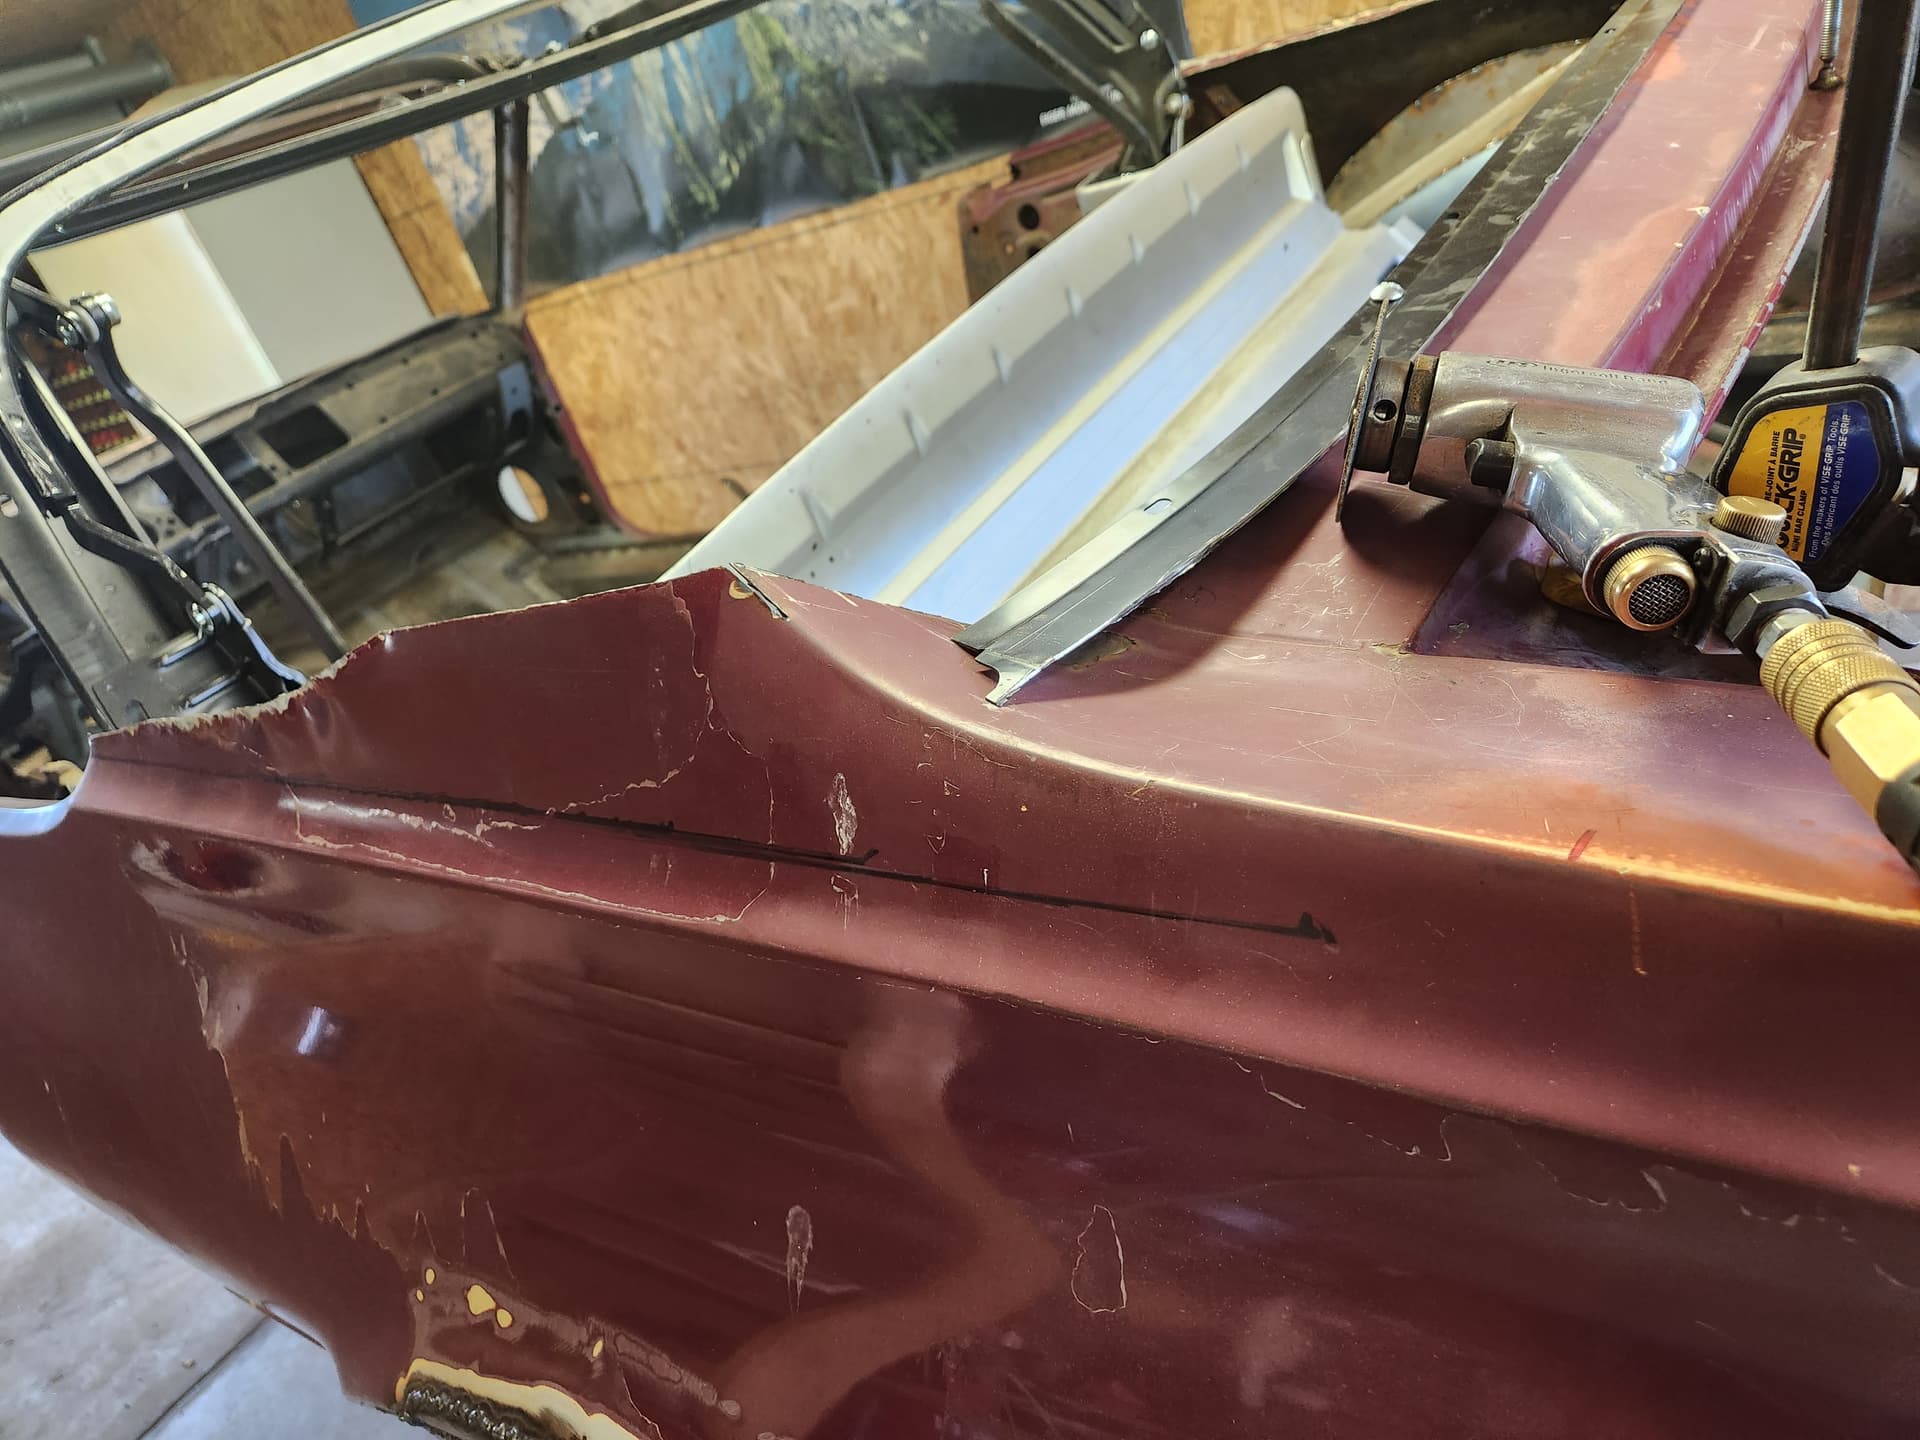
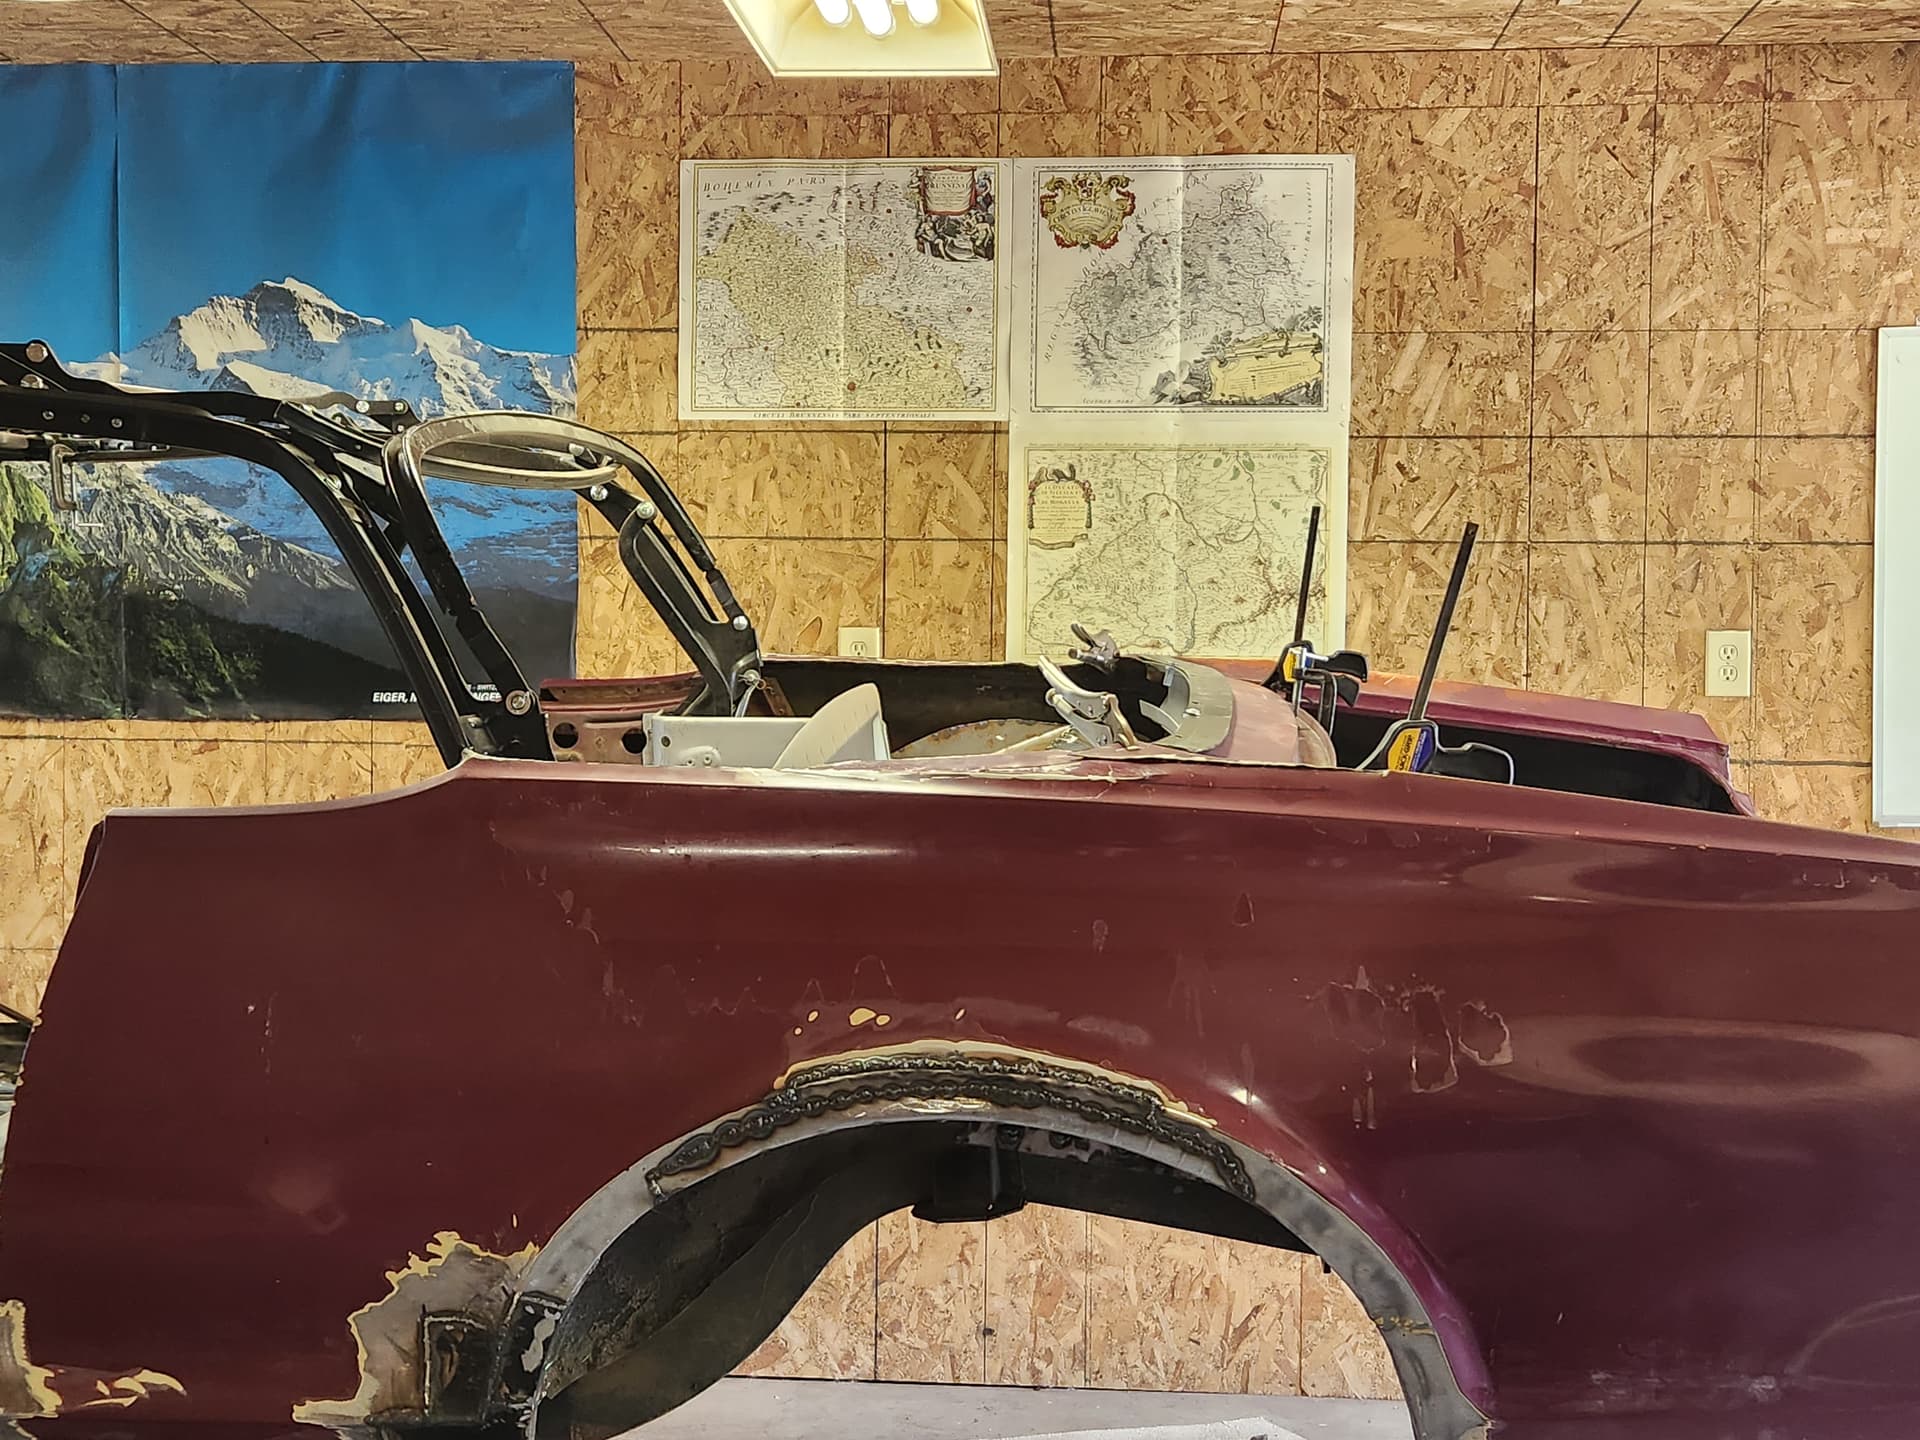
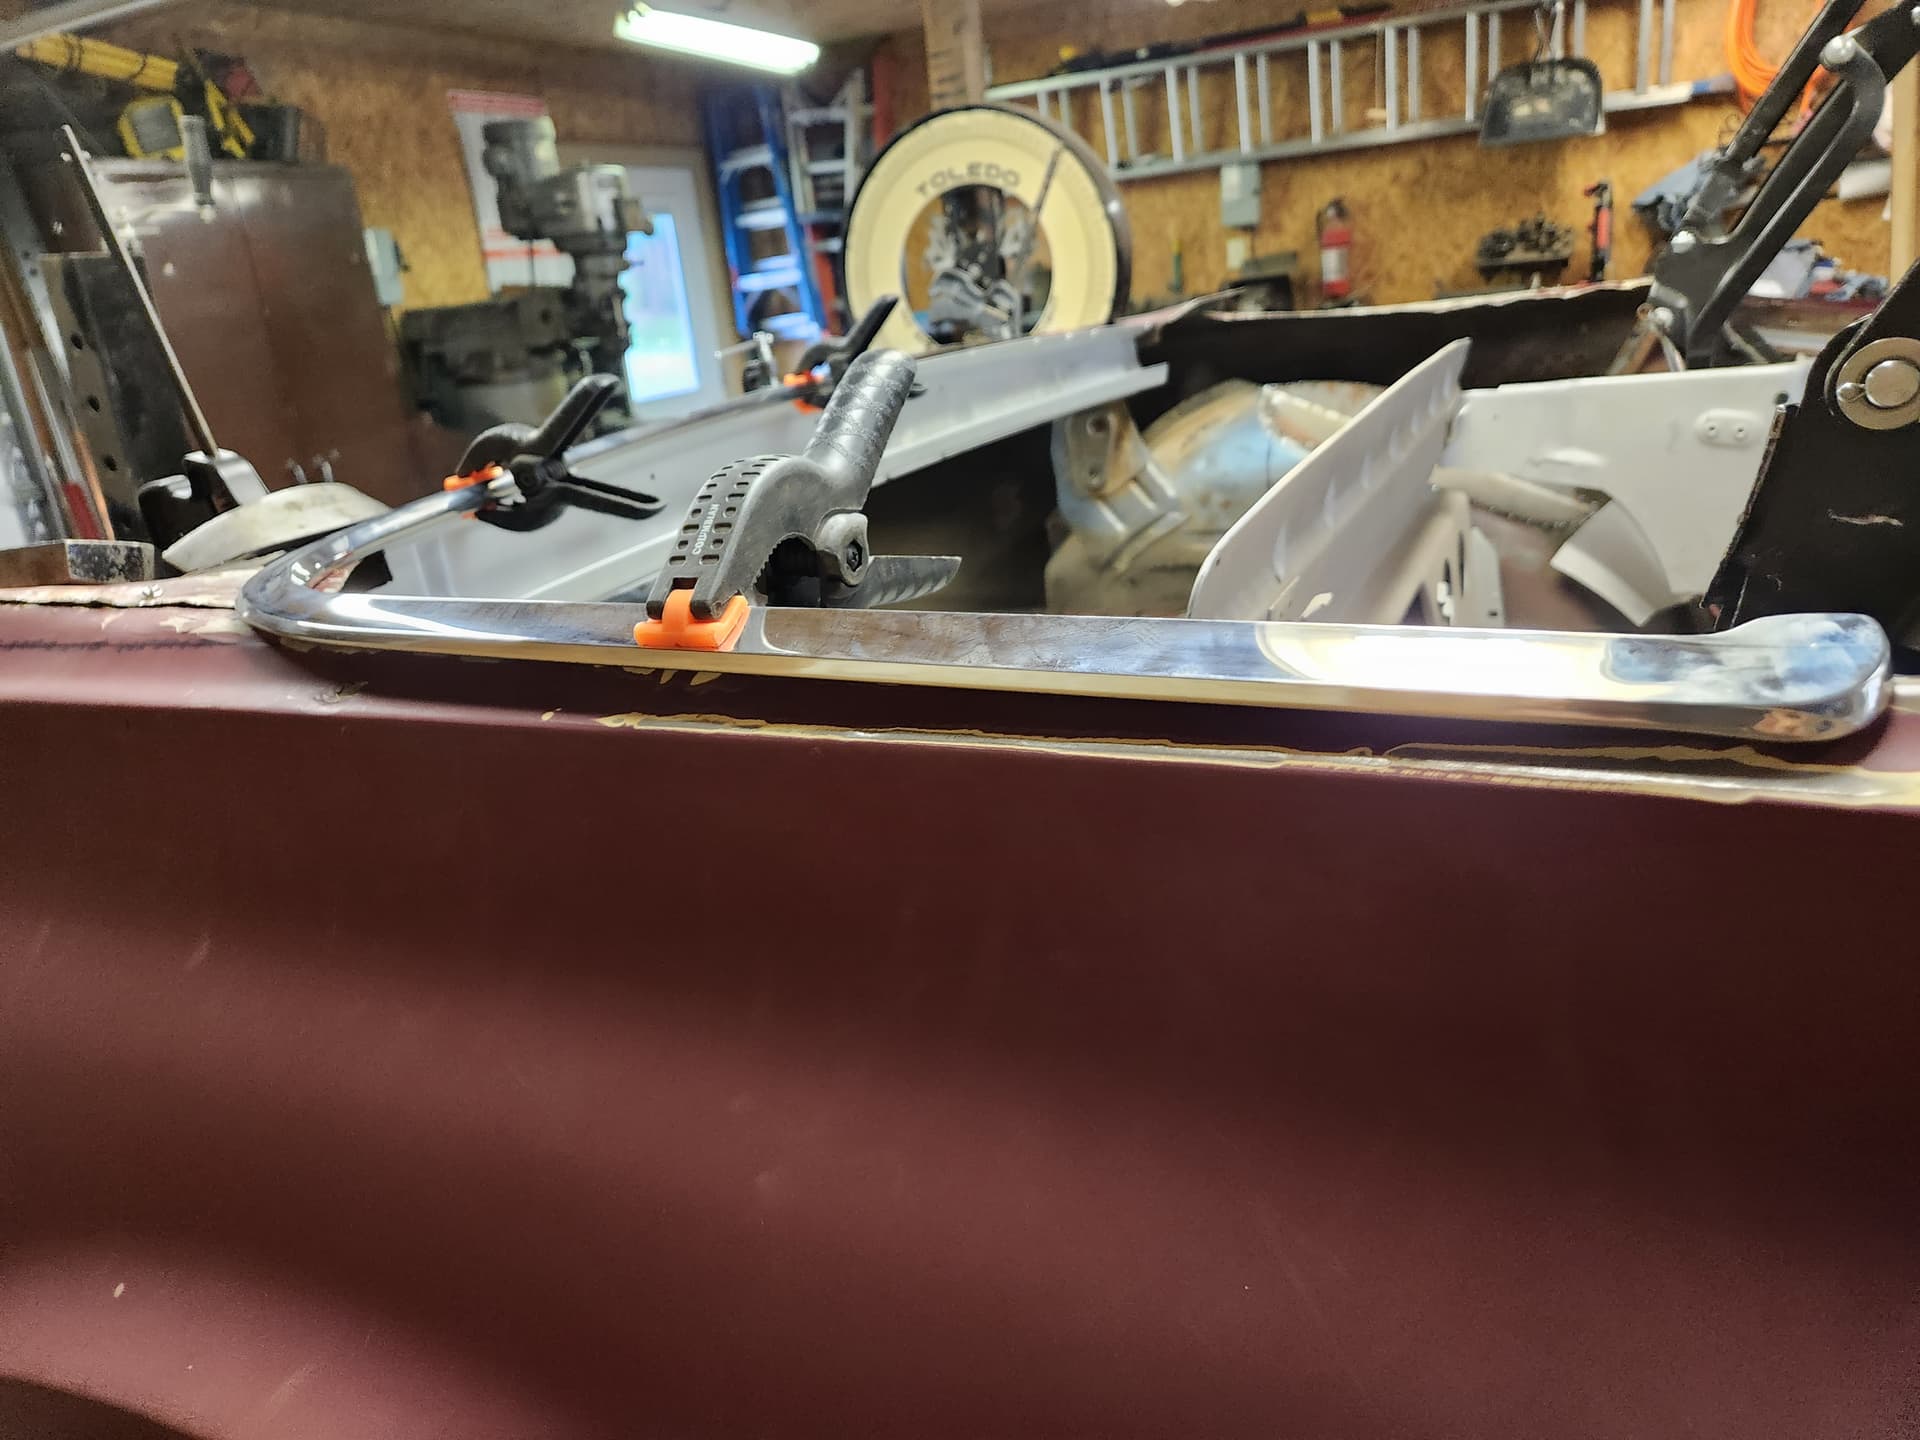
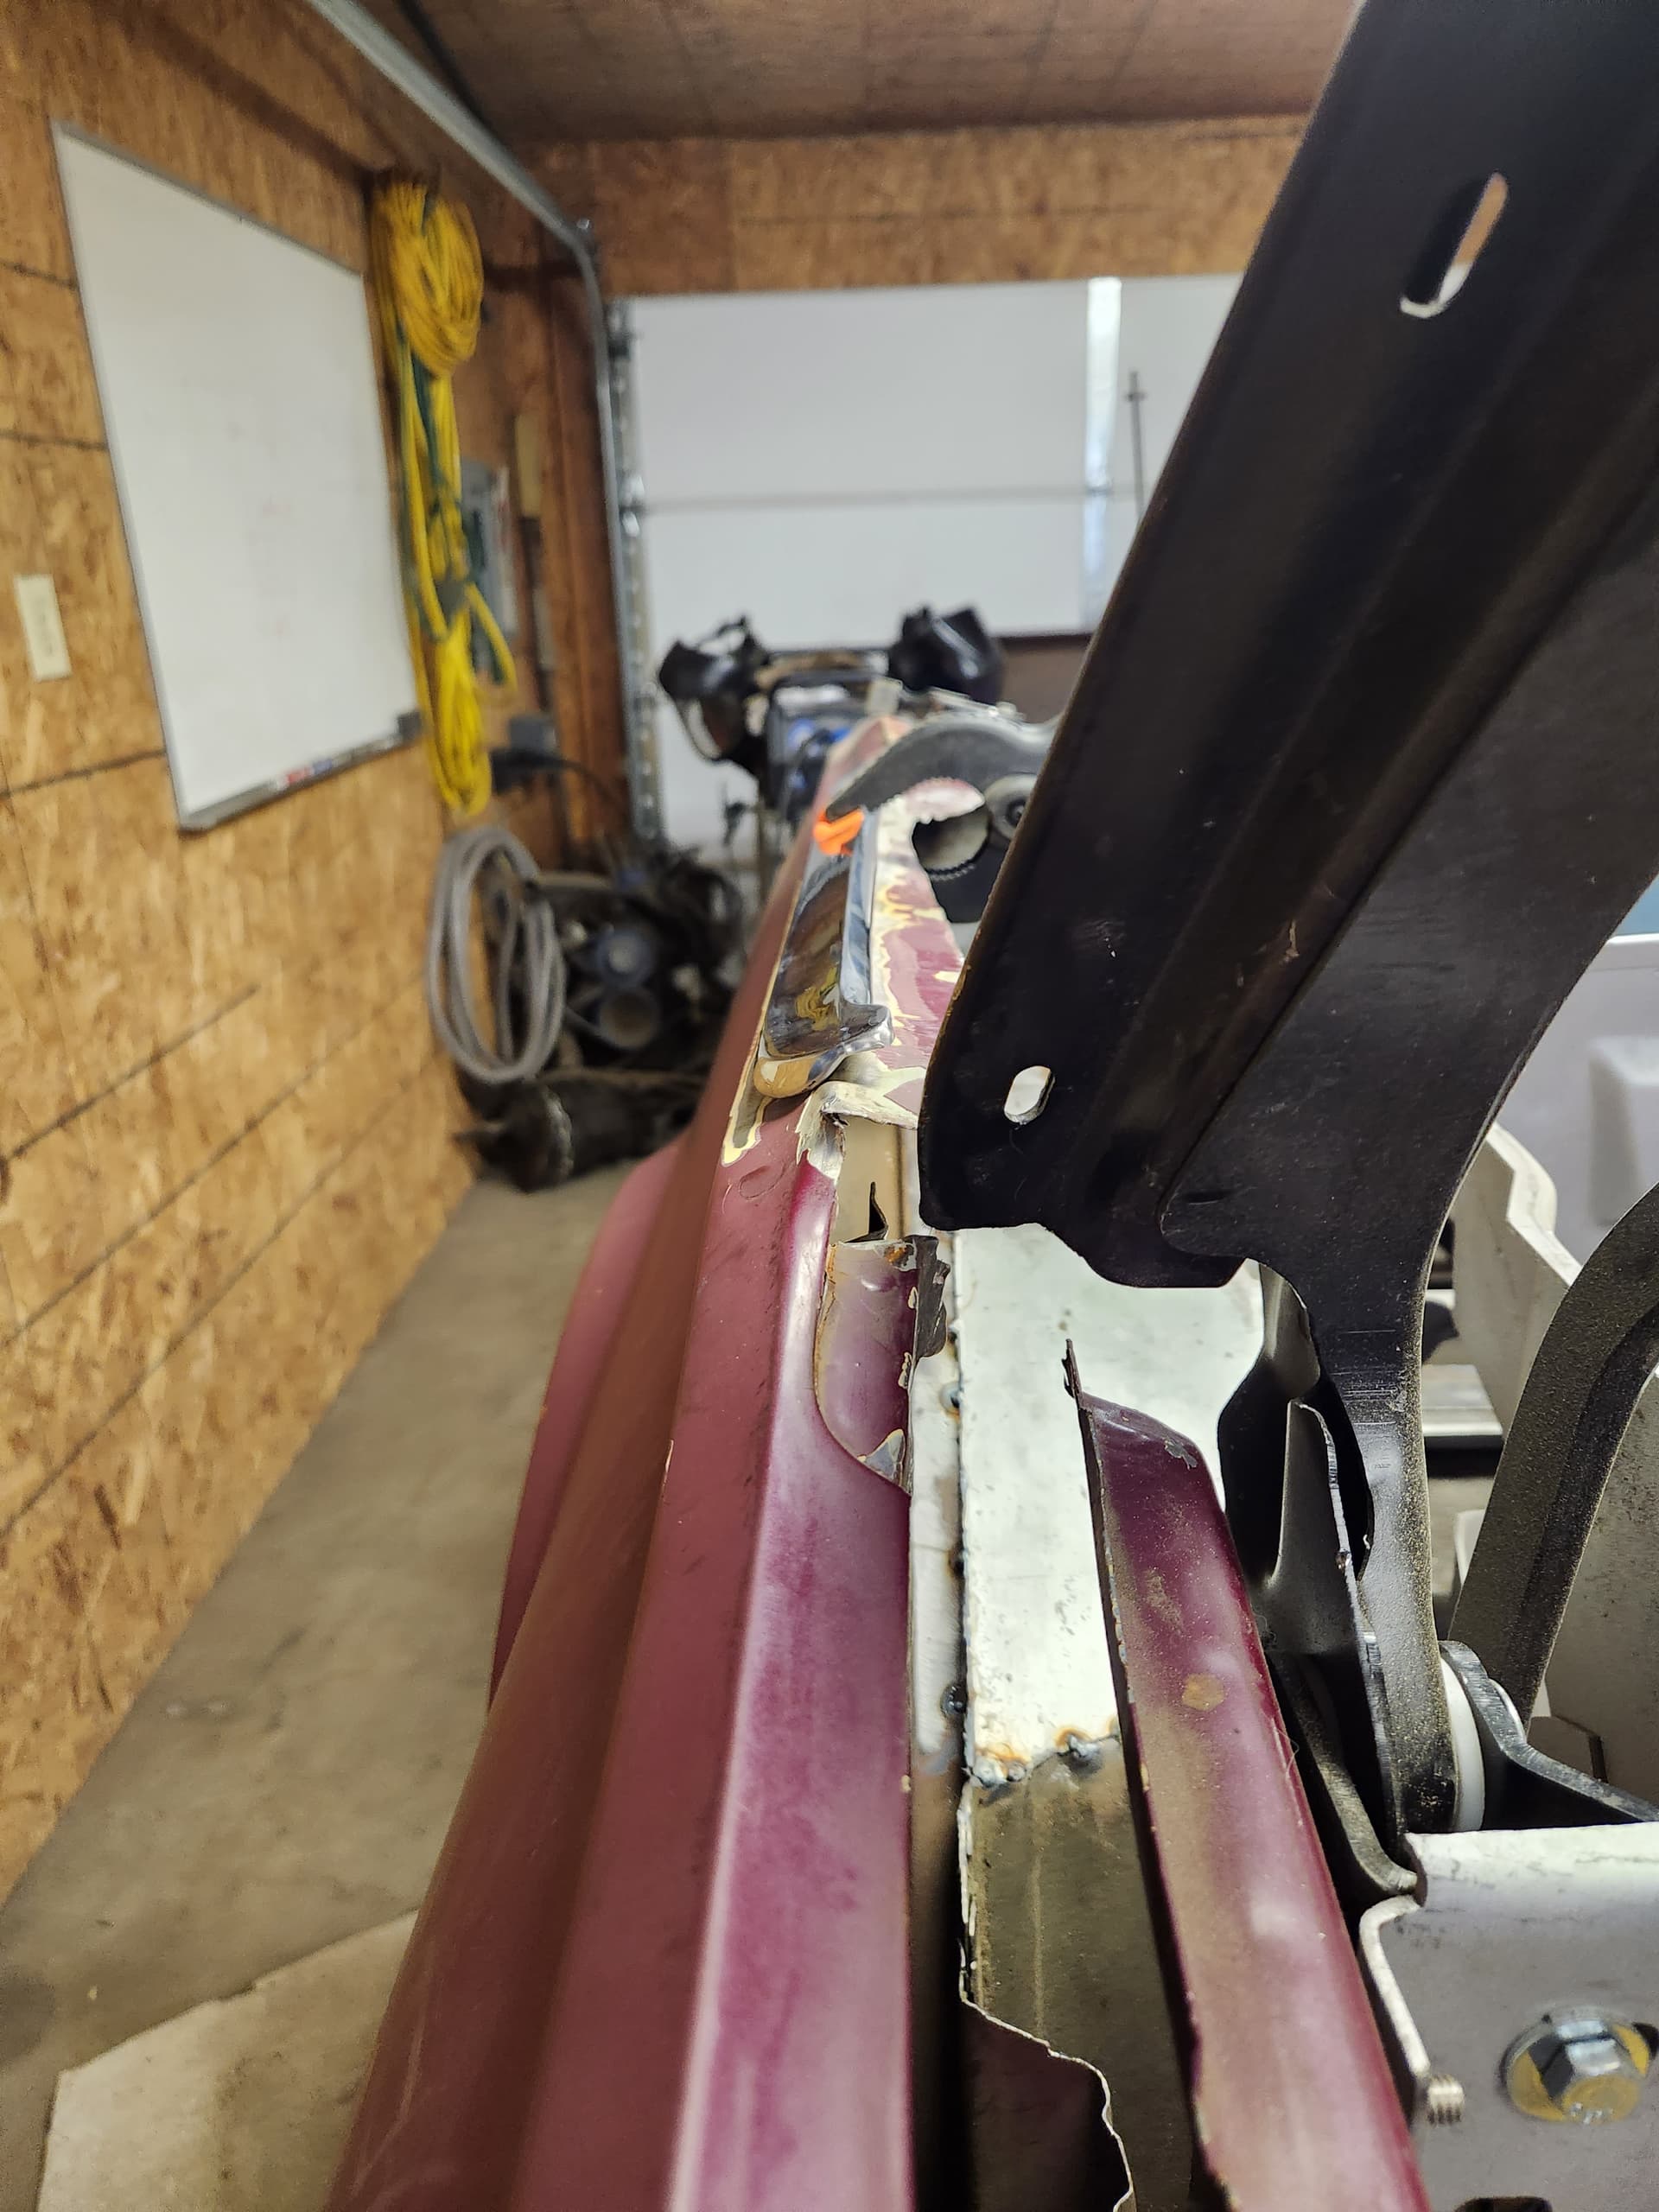
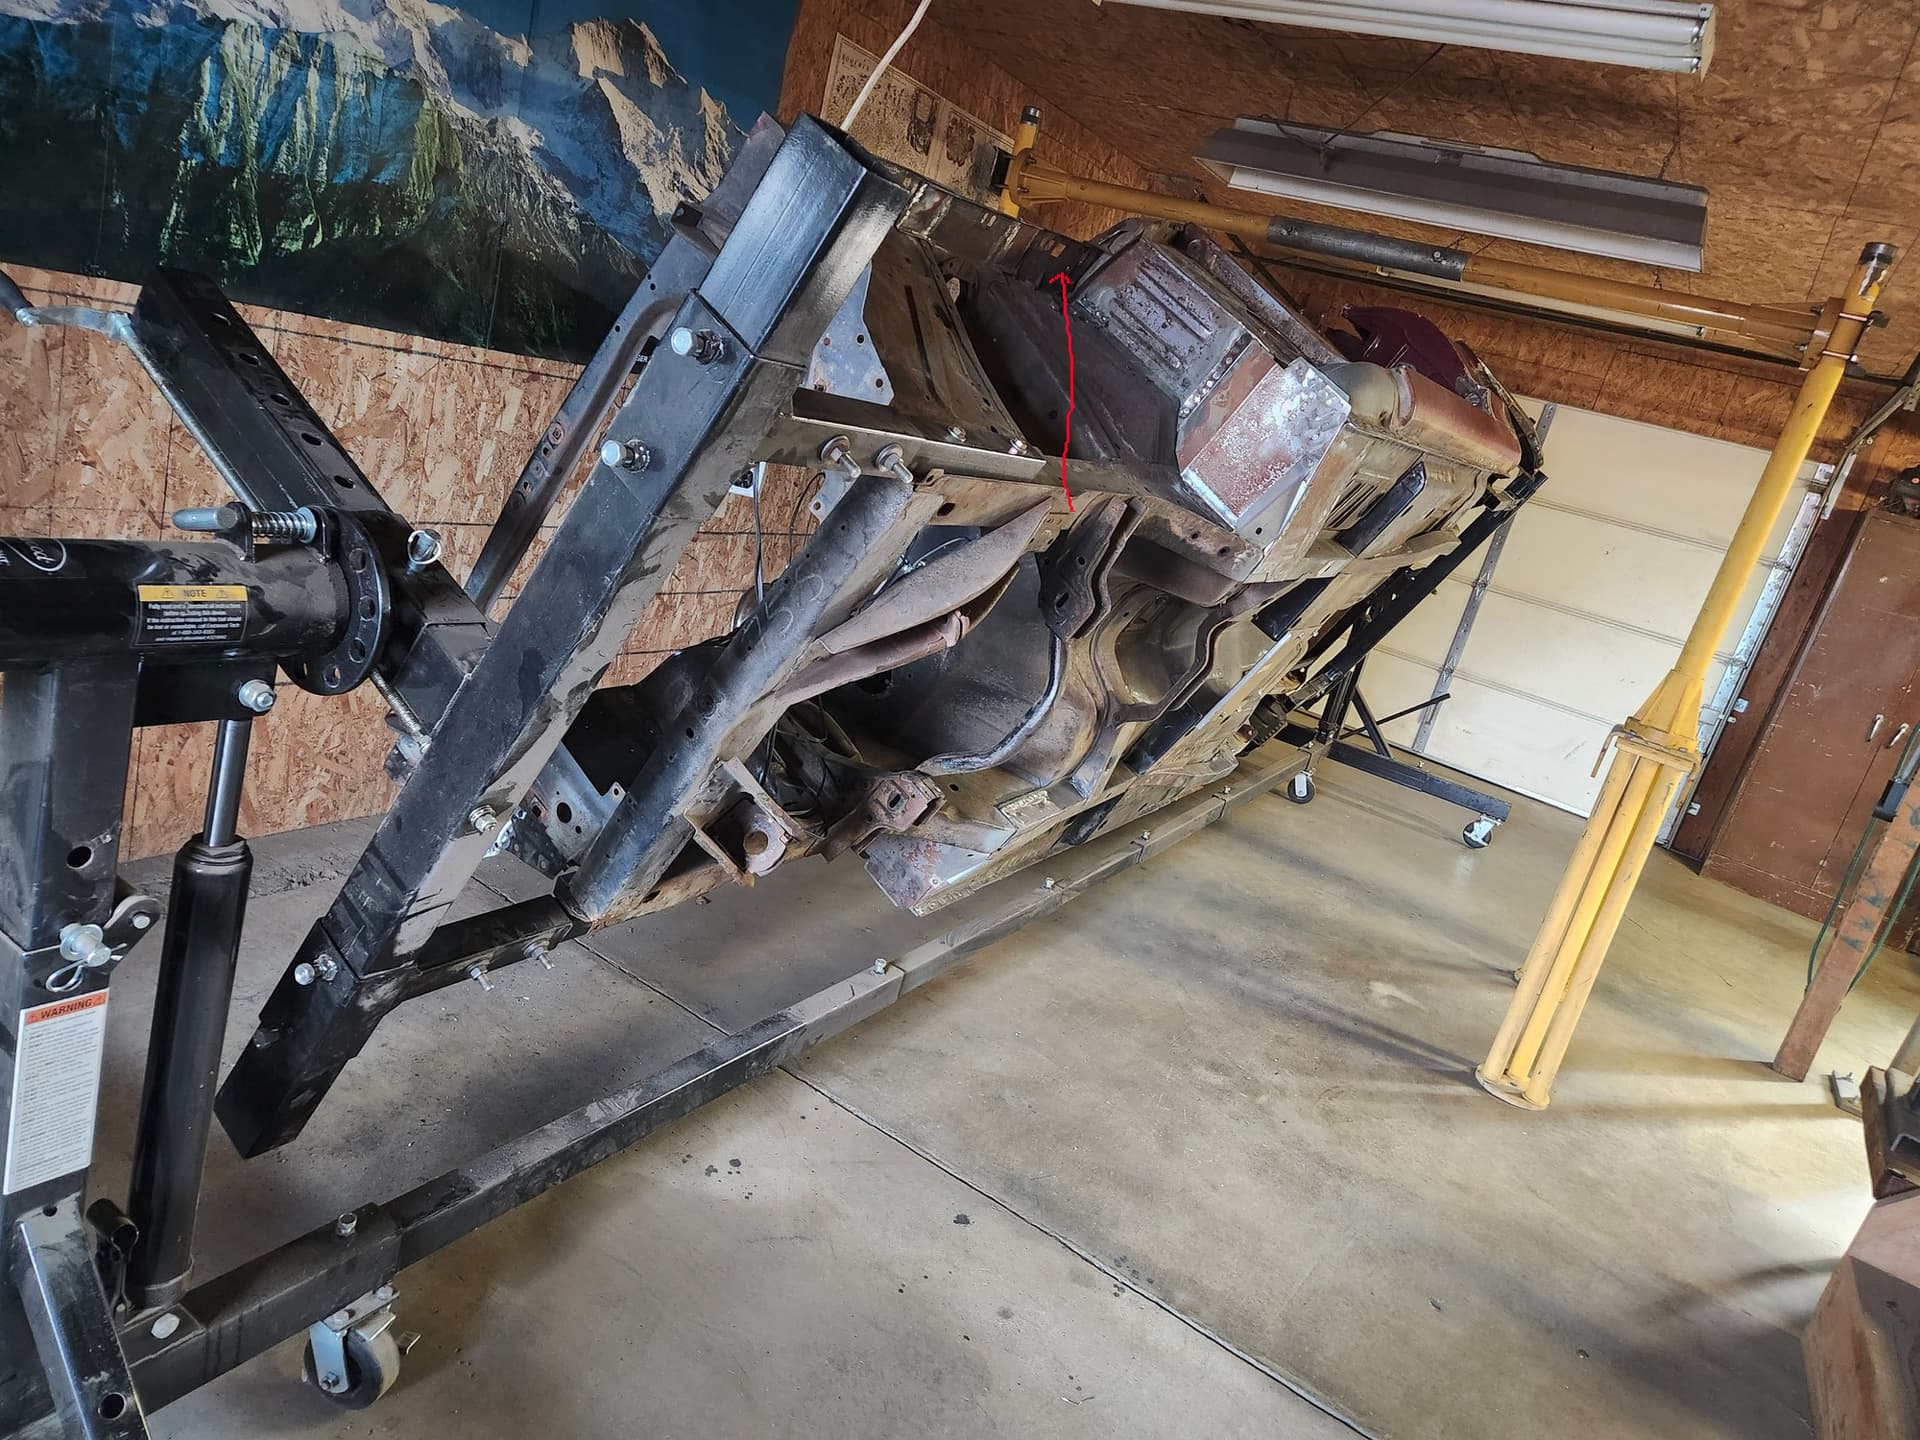
After reviewing the 67/68 Mustang convertibles, CatVert, CopyCatVert, etc. My choice for quarter panel adaptation is to add a lip about 1-1/8" above (black sharpie line) the current body line to support the trim and to slit the top corner of the quarter (measured ~ 25" from the rear of the quarter- red sharpie line) to permit blending of the various surfaces.
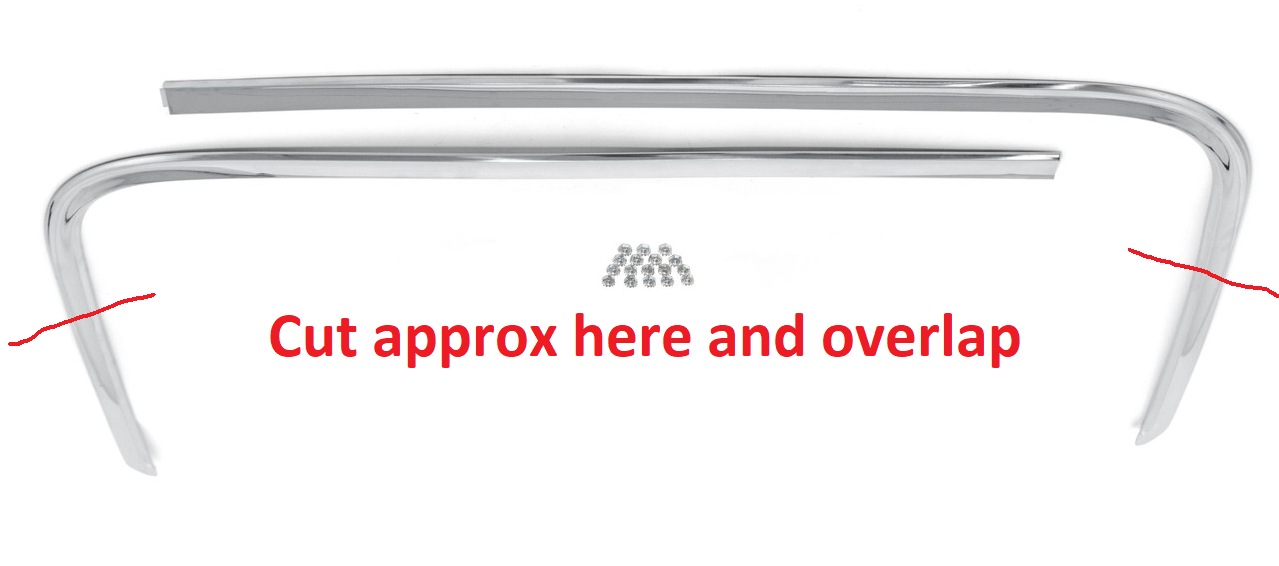
Easy but expensive fix is to buy a second set of hockey sticks and cut each to make a four piece molding. Trying to extend via tigging in a new section probably even more complicated and risks discoloration.
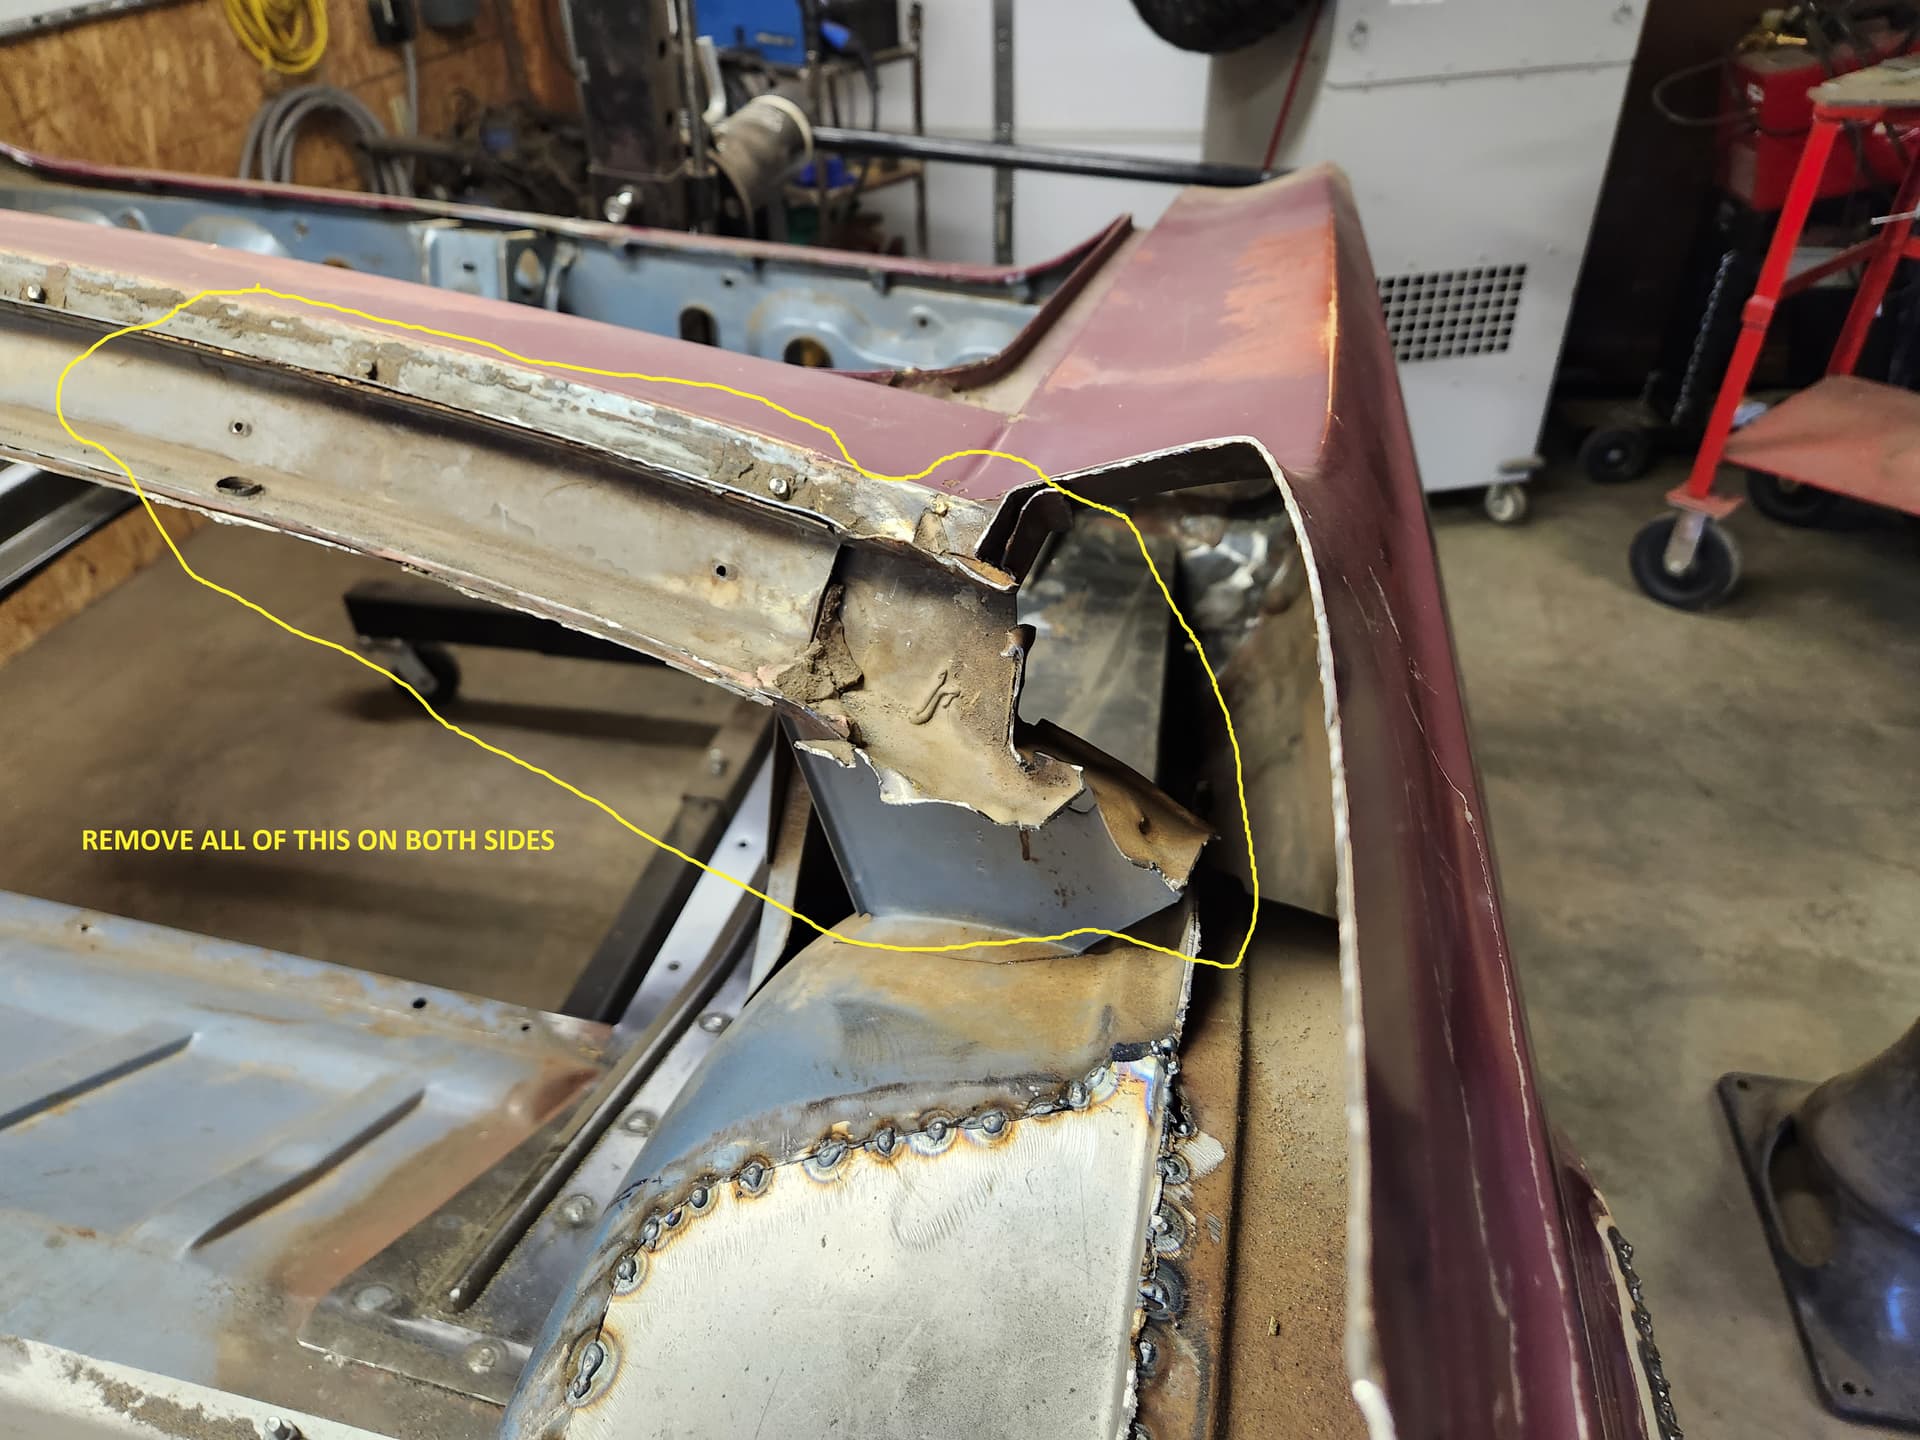
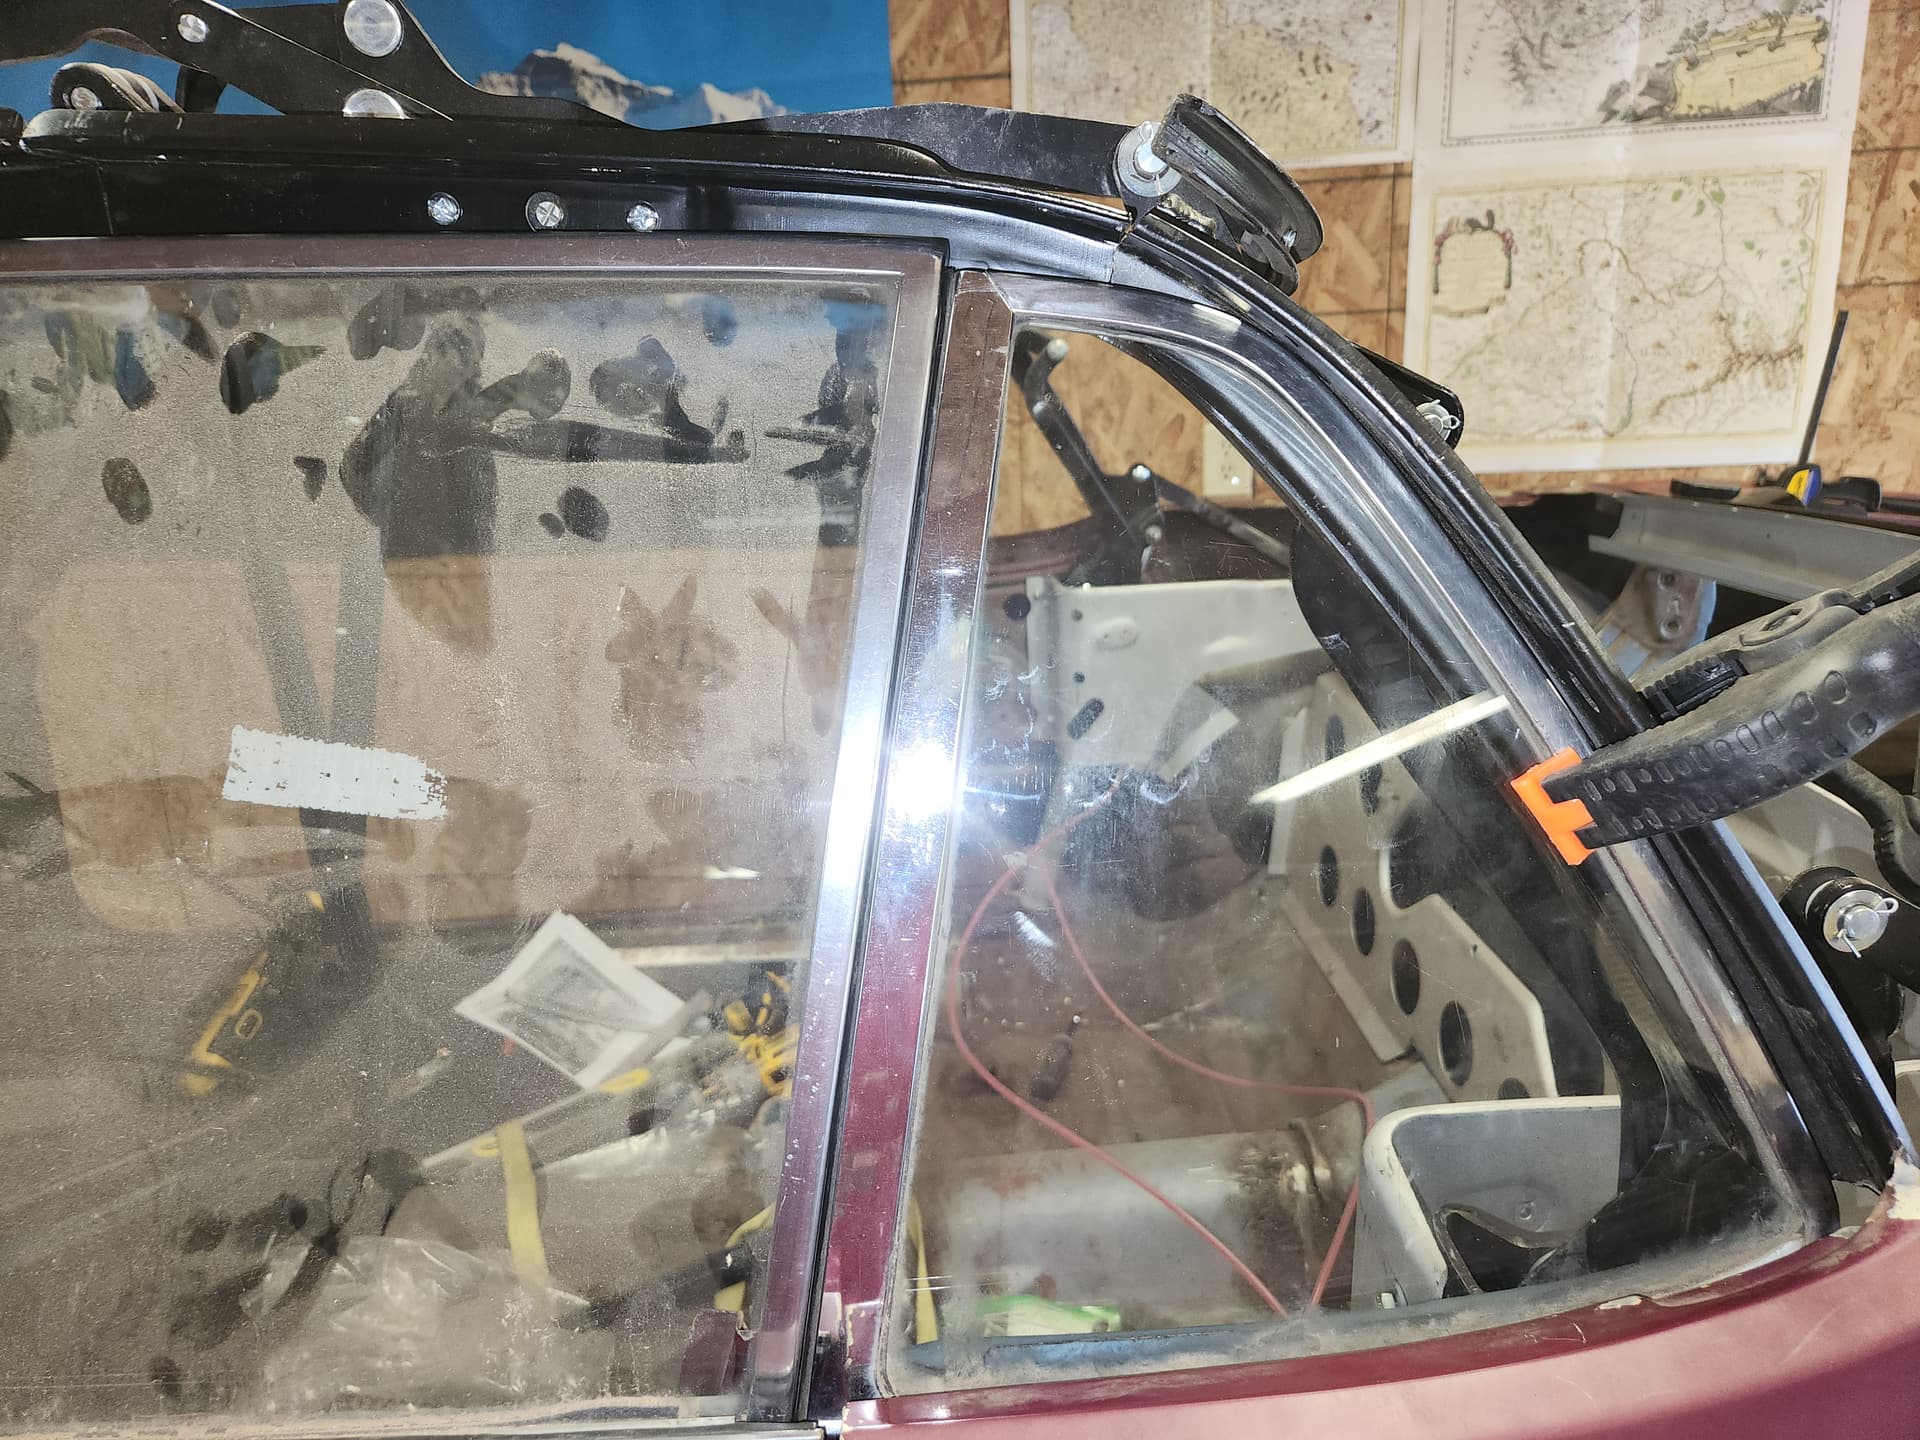
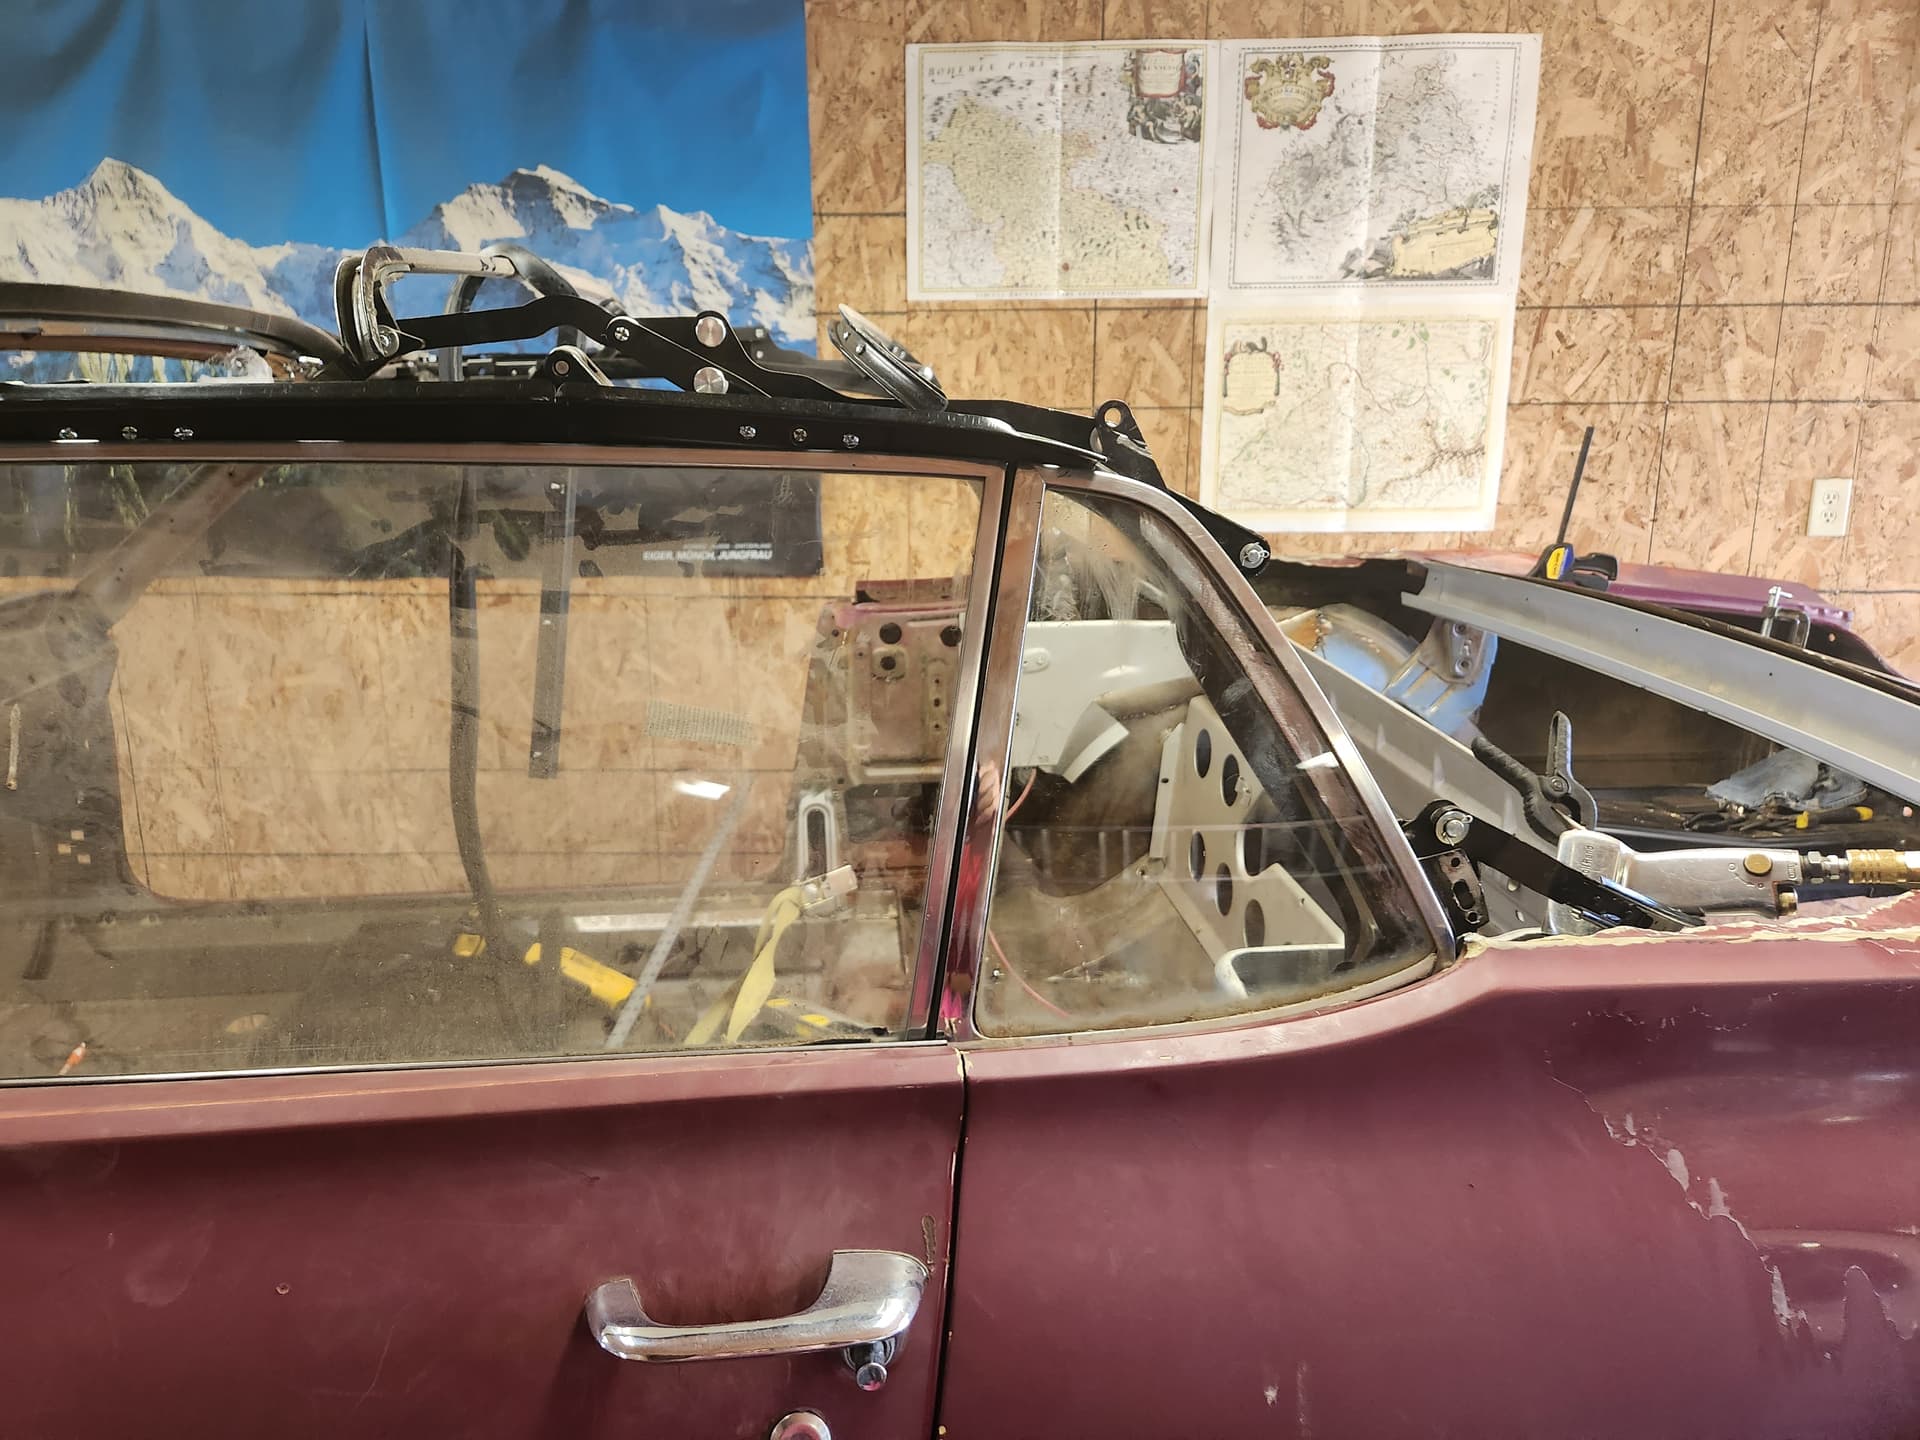
Shifting gears to deal with the quarter glass and the top frame. After some review and discussion on another thread, I decided to test out a few proposals that would allow me to retain the Cougar door and quarter glass.
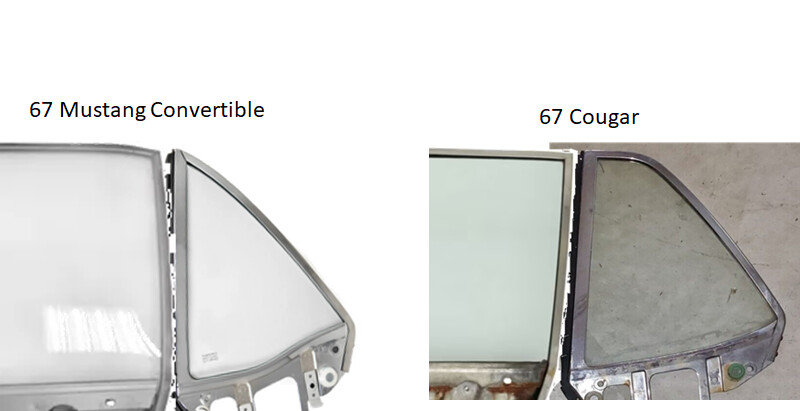
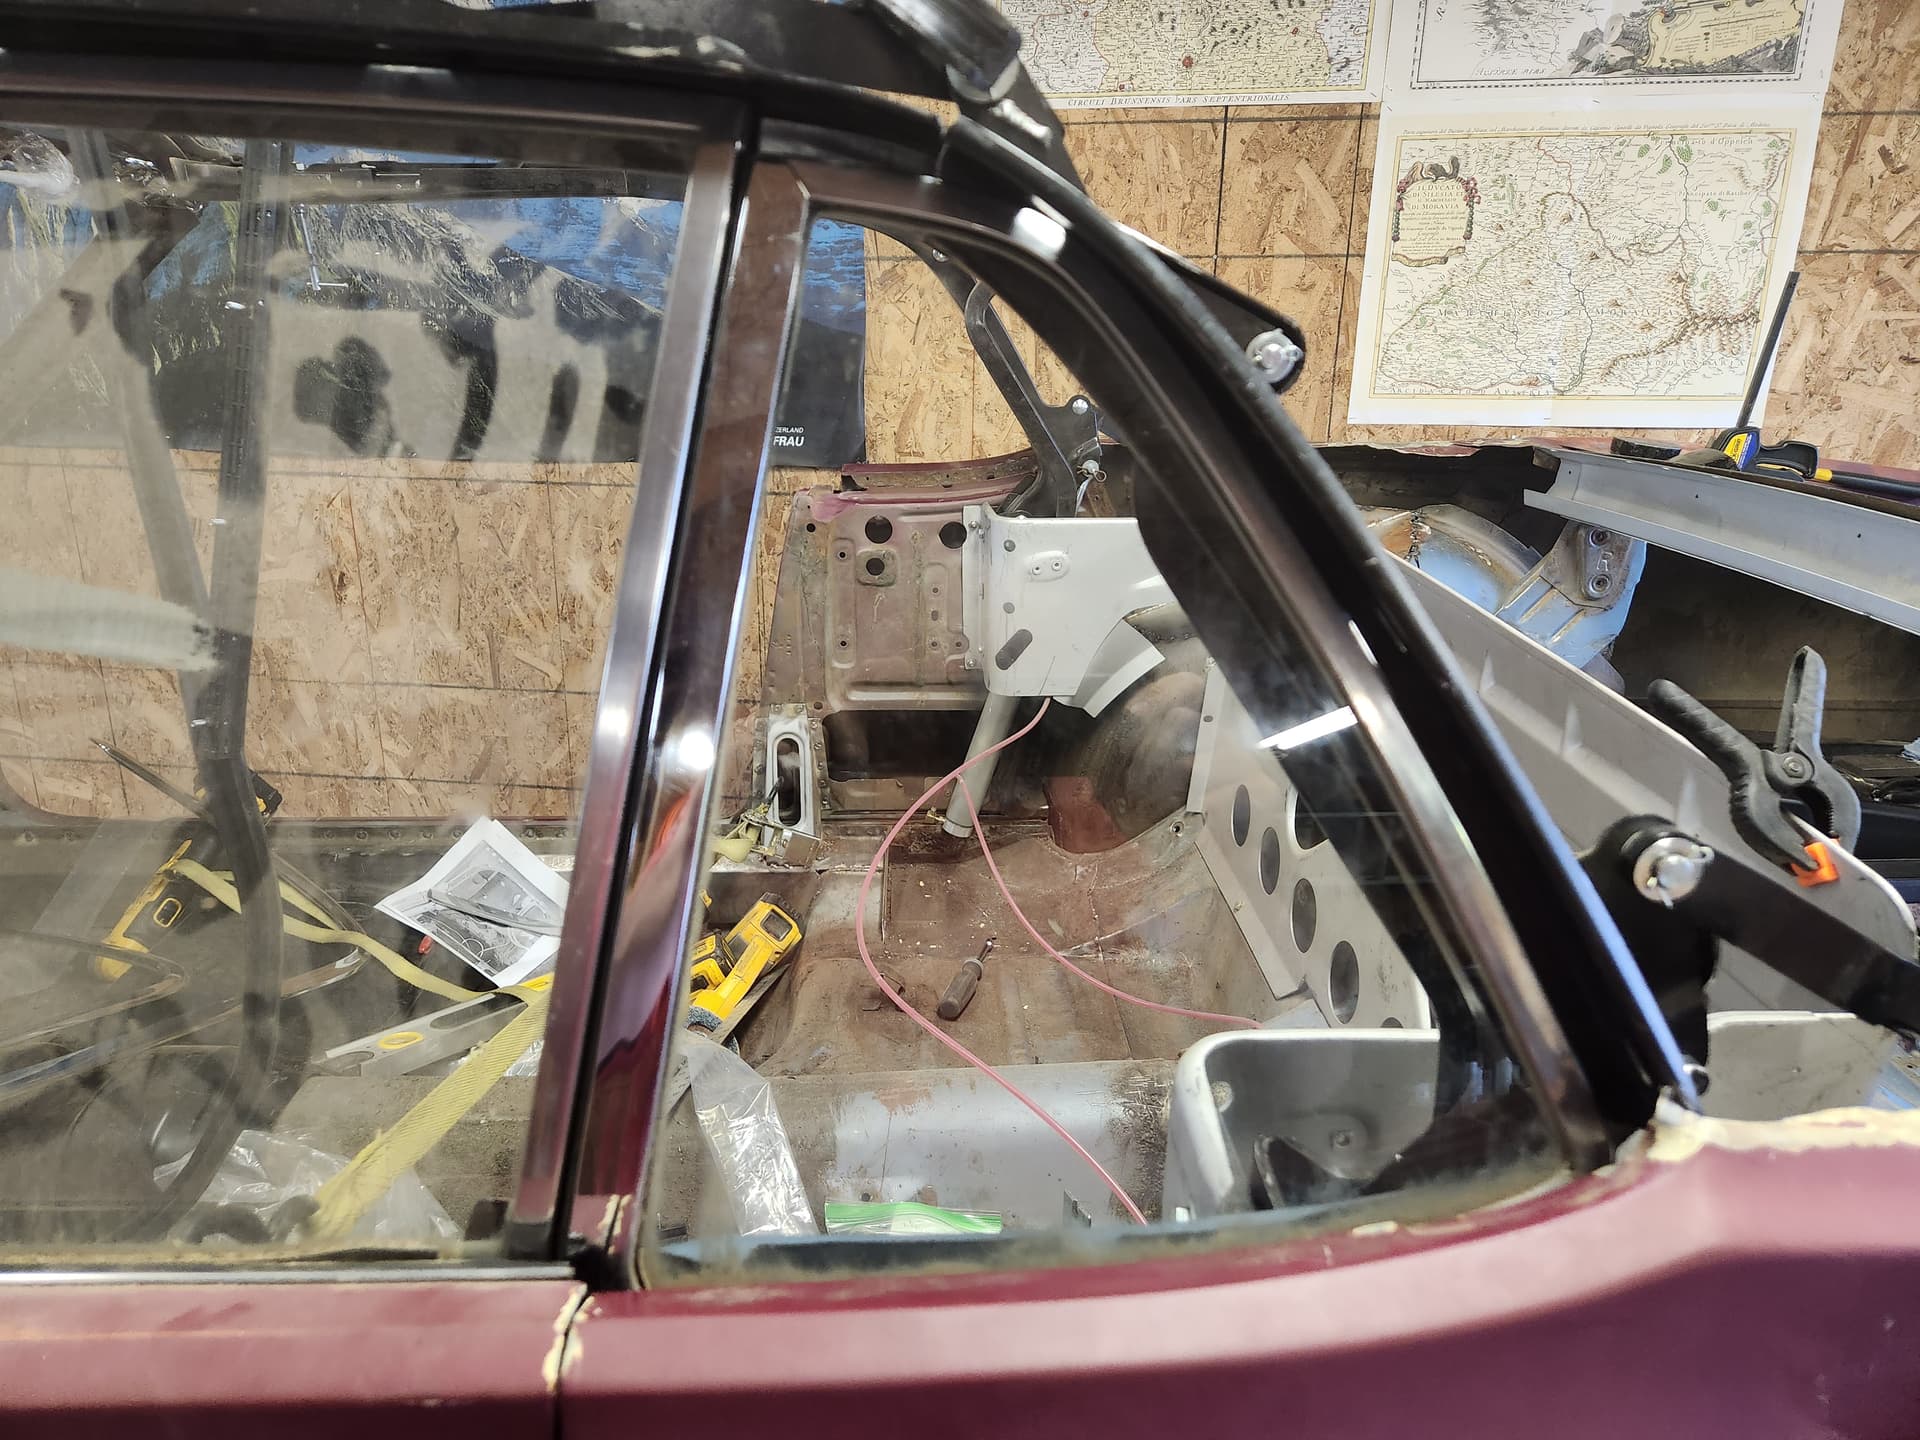
With the Cougar glass installed, there are fitment issues to the 67/68 Mustang top. This is a well known issue and arises from the curvature of the Mustang glass line near the rear of the door glass and the back curve of the quarter glass. The Mustang door glass is actually not flat across the top. The Cougar door glass is essentially flat and this line continues for 3" or so on the quarter glass.
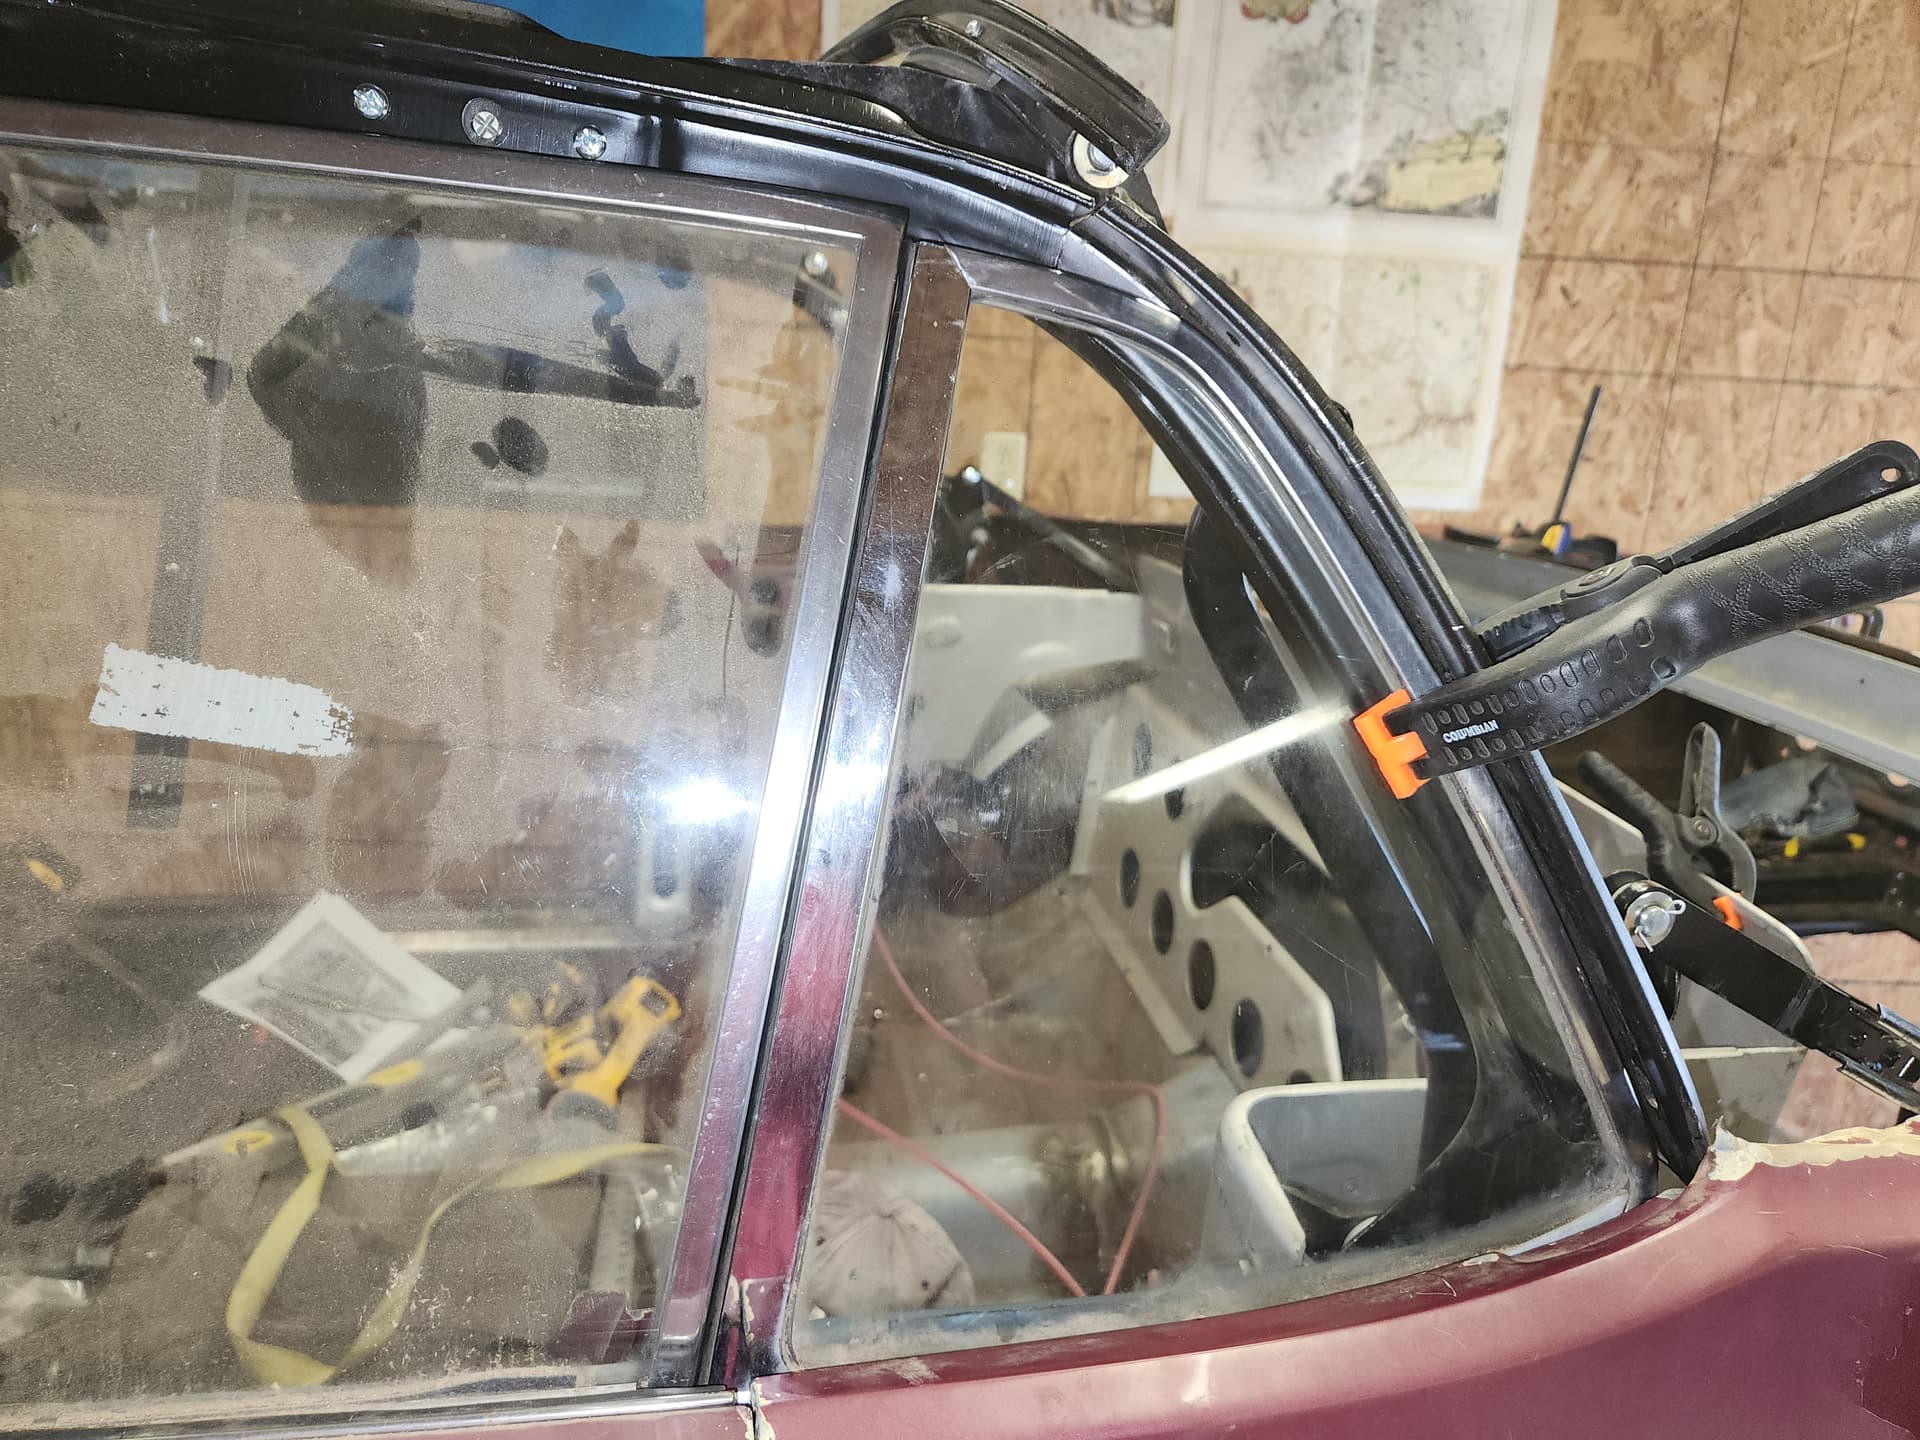
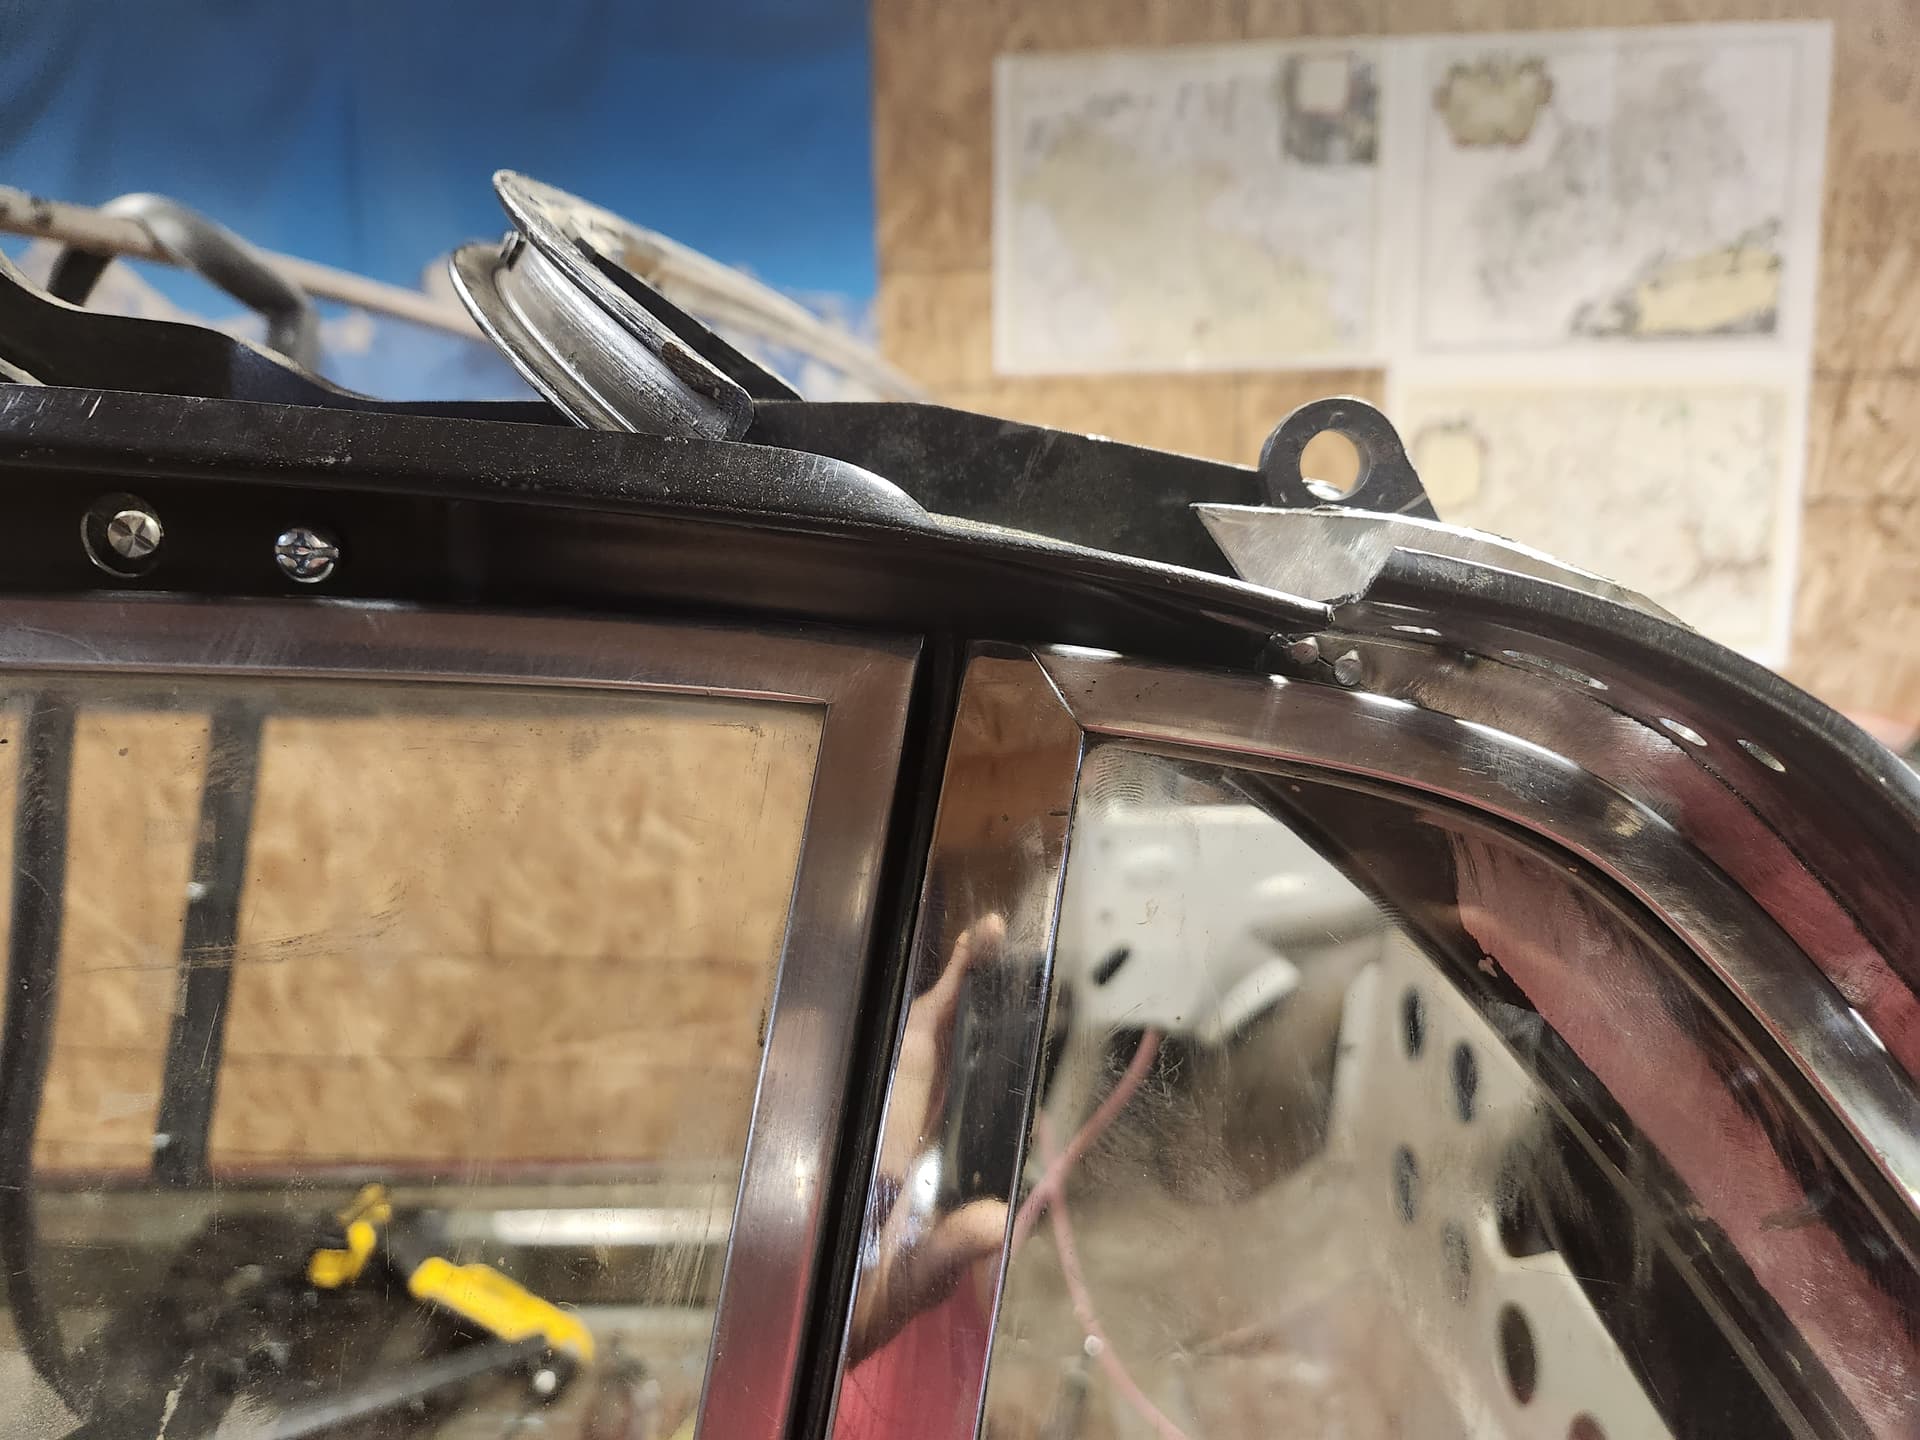
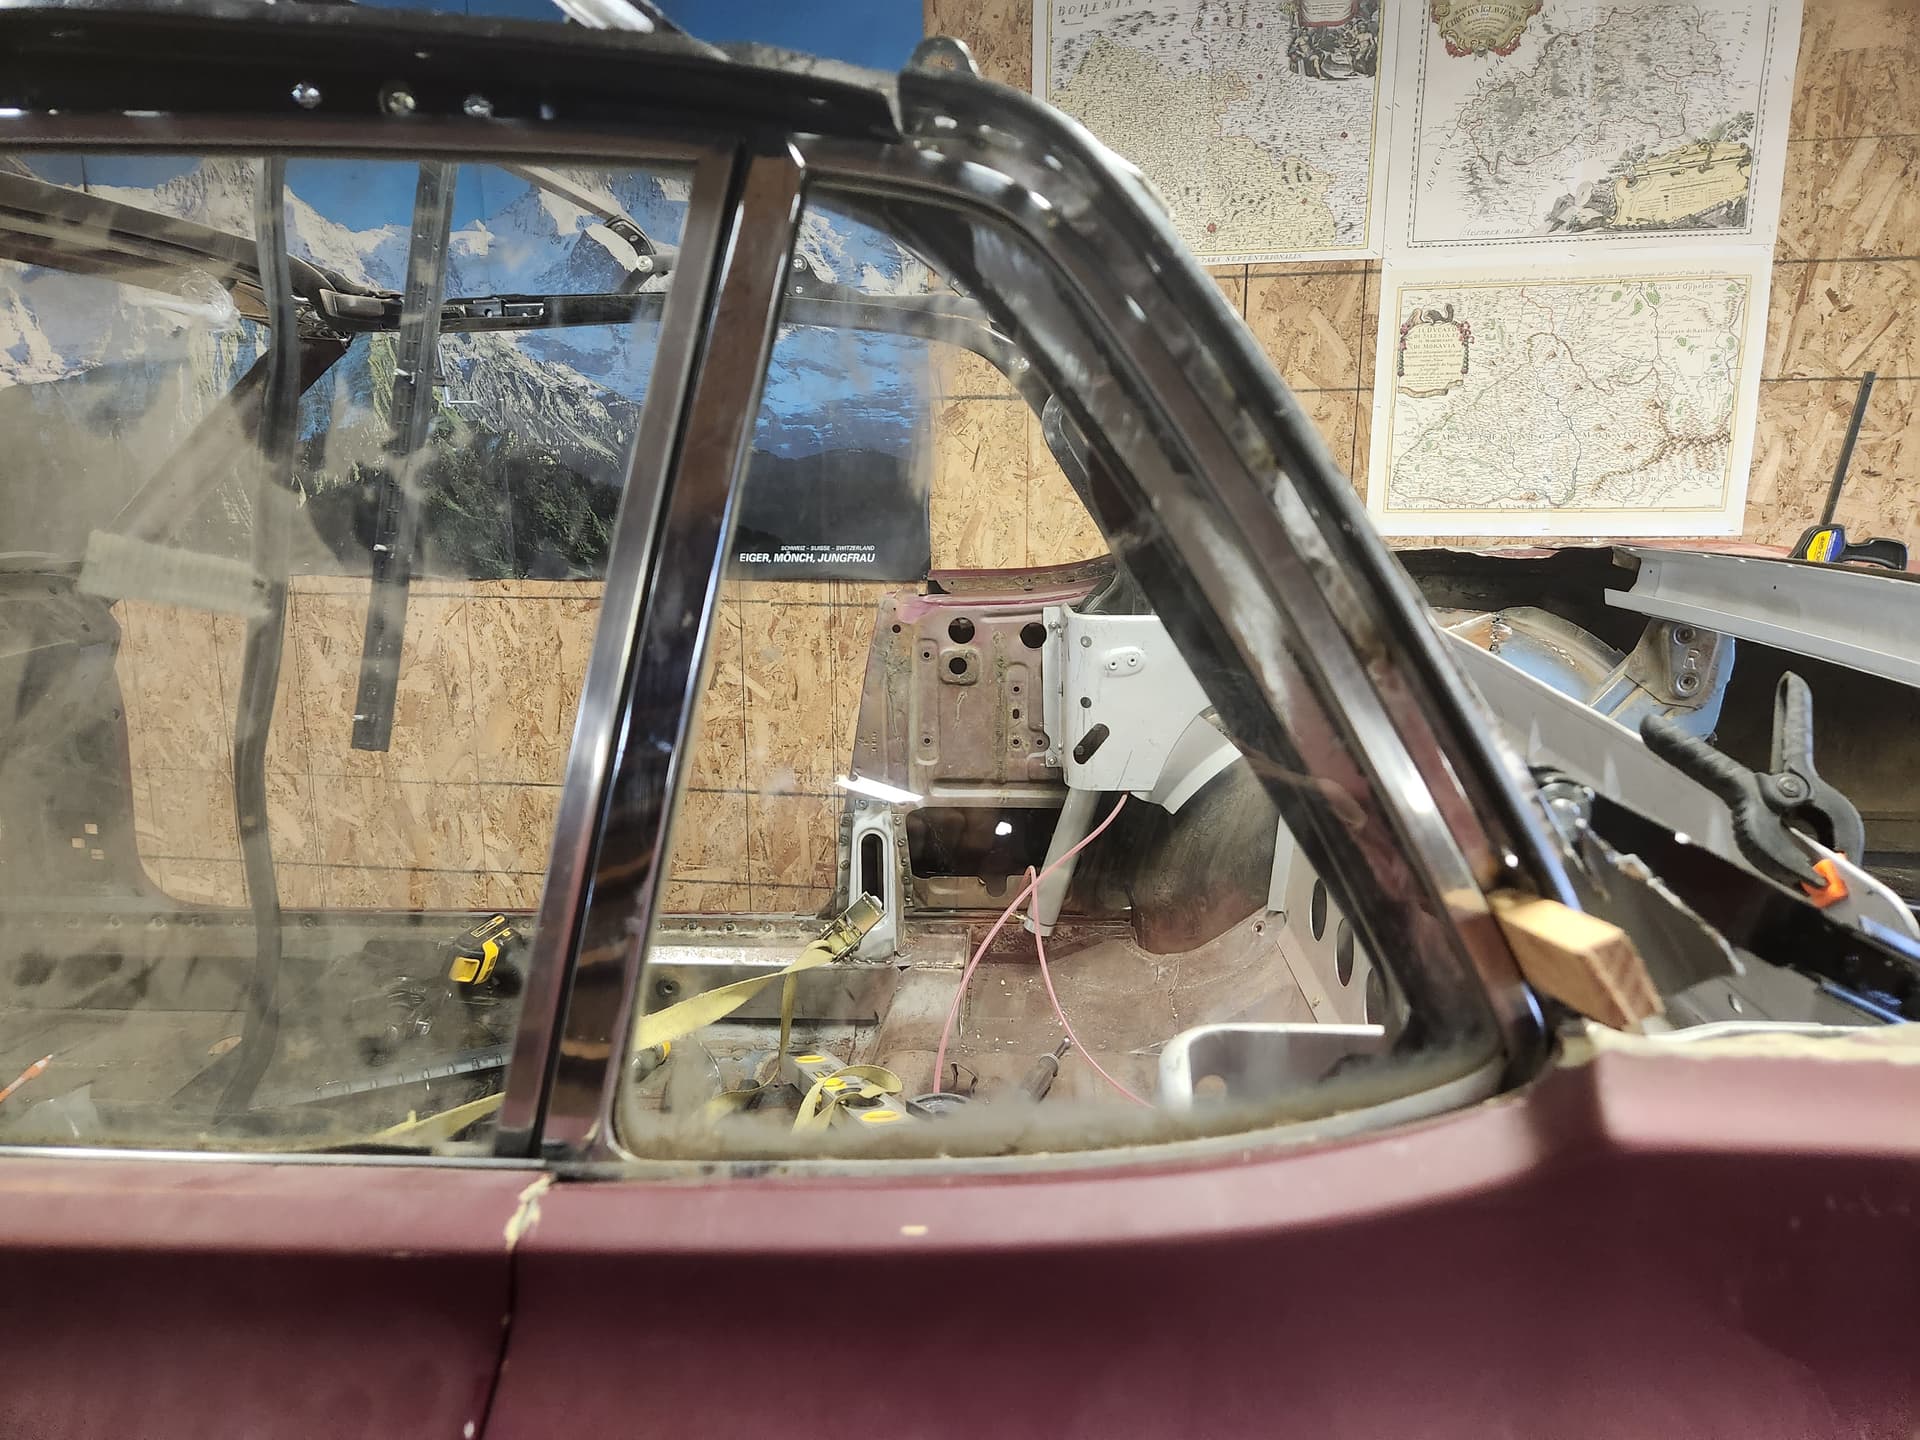
So when combined, the Cougar quarter glass will not move up enough. It is ~ 1/2" low and the back edge is perfectly tight against the flange on the top frame and there is not space for the weatherstrip.
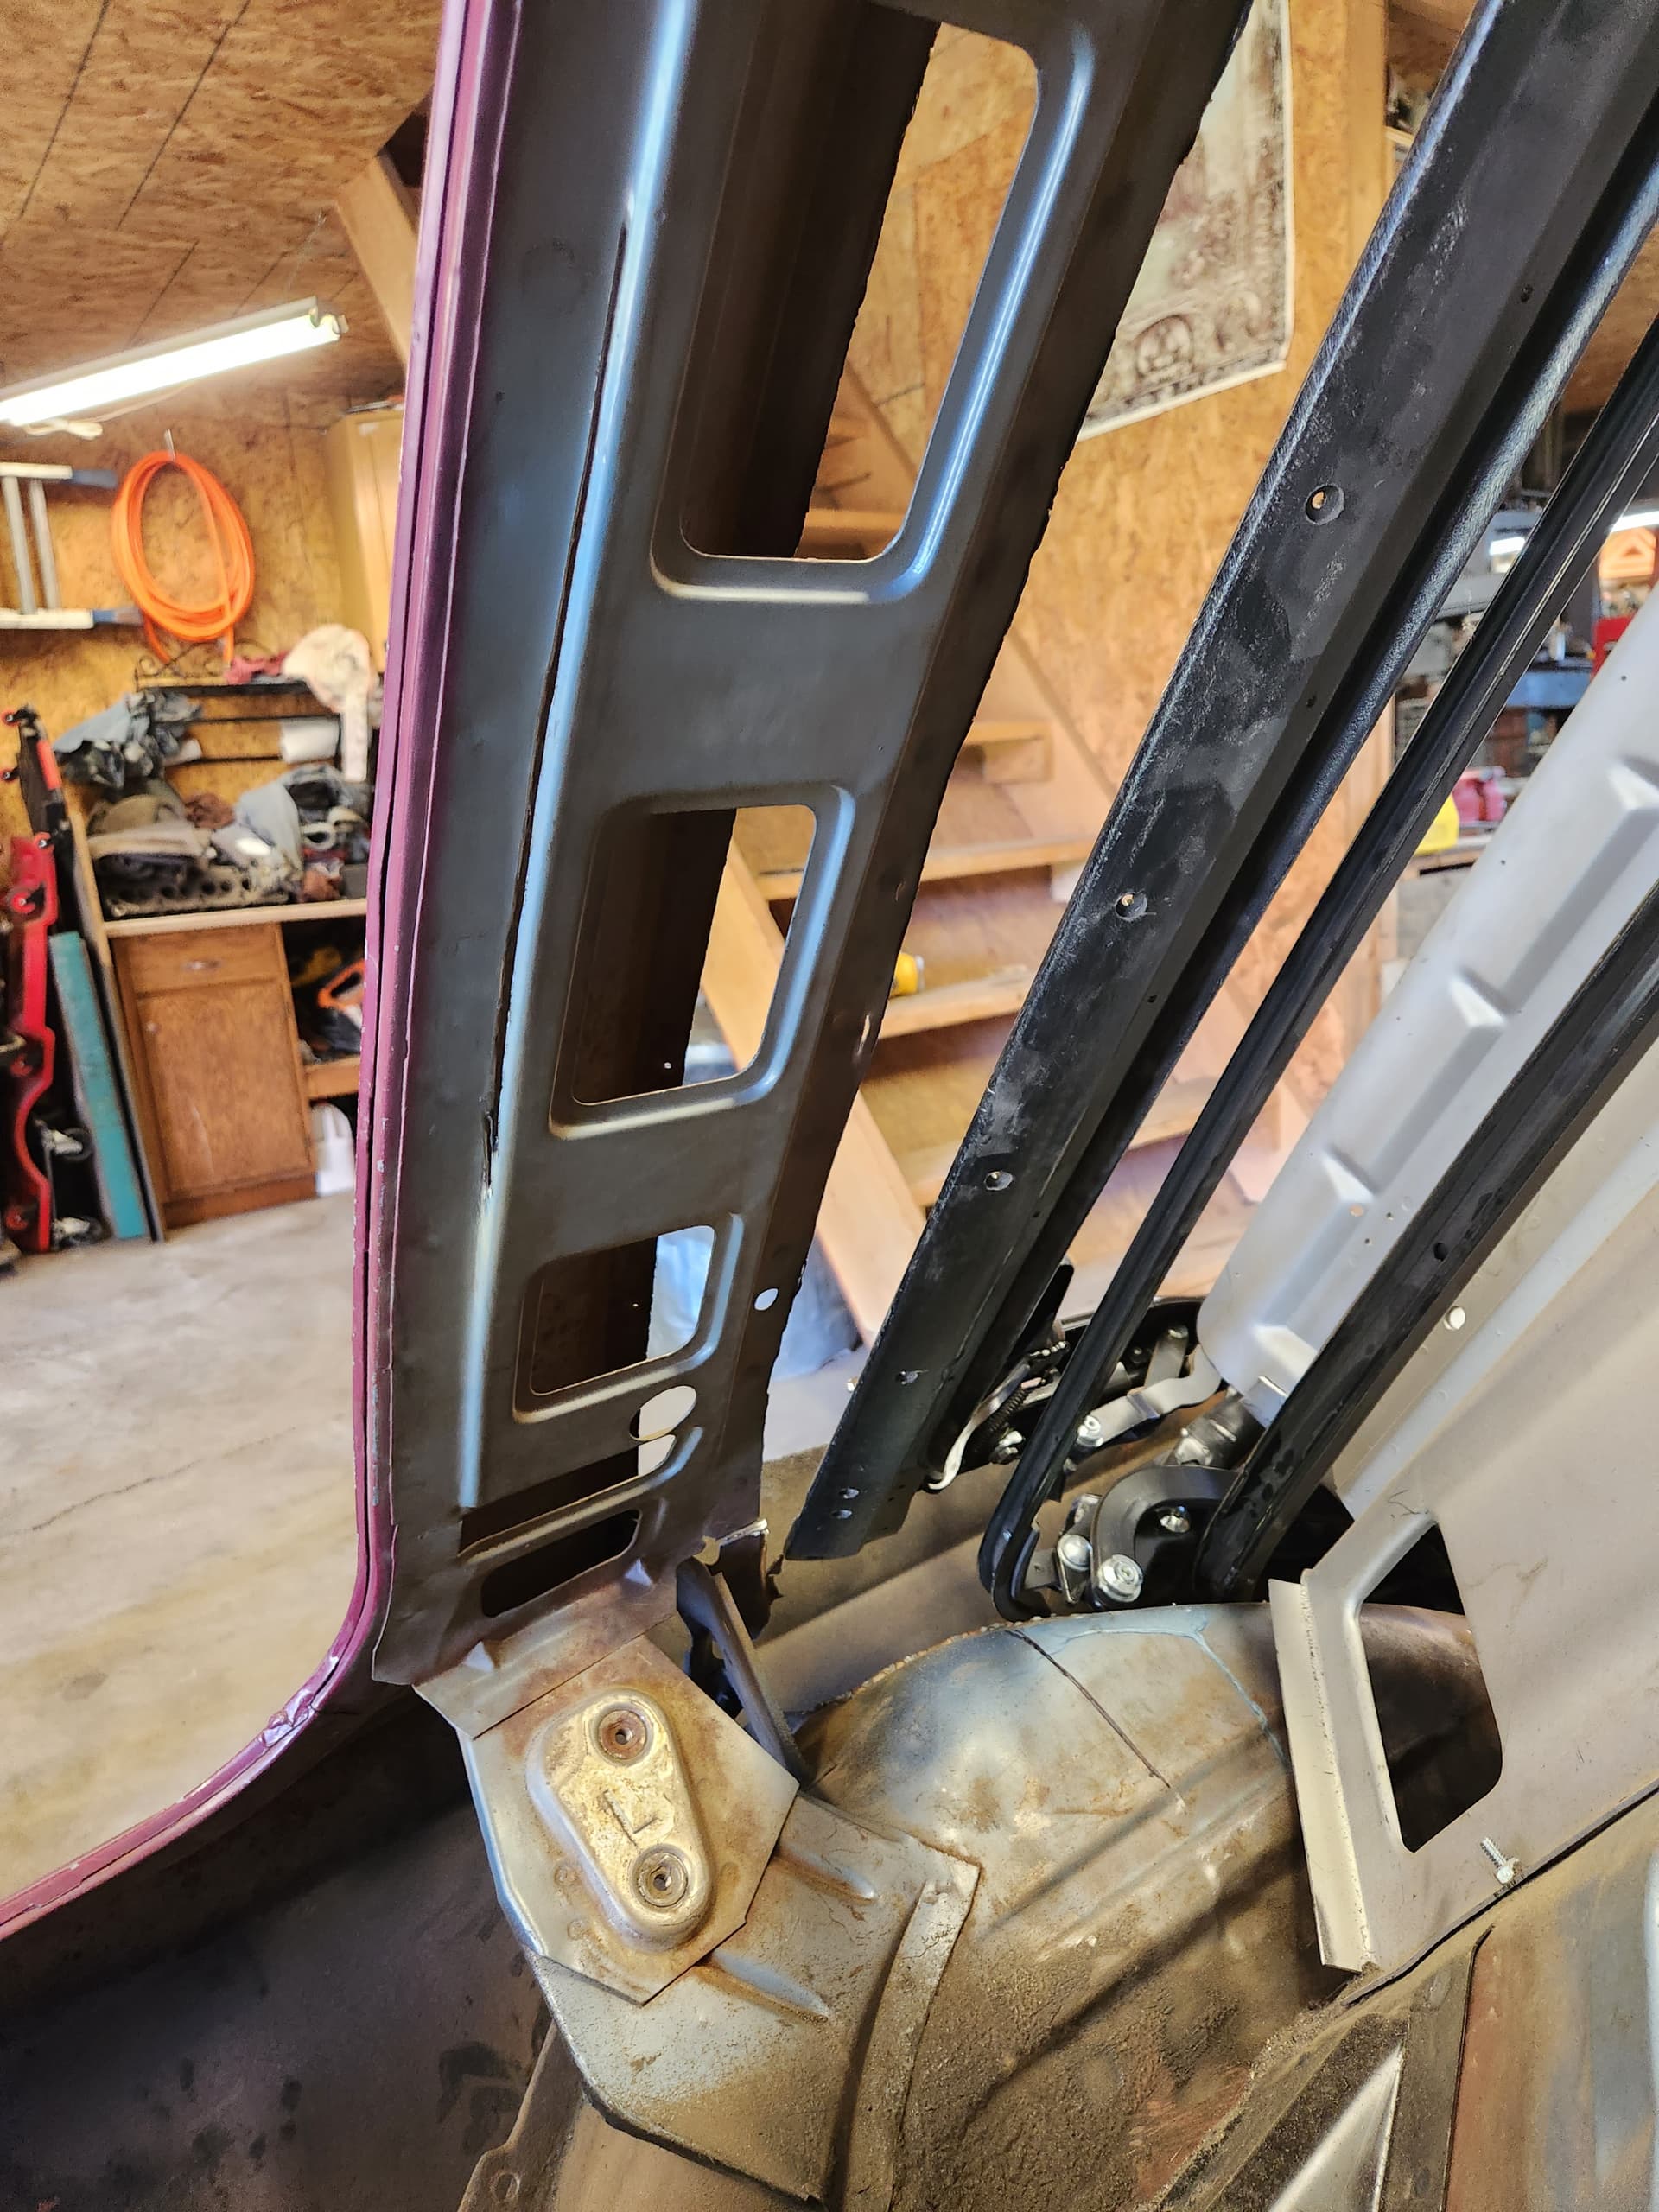
There were suggestions to tilt/shim the top frame and a maybe it would fit. No go.
1/2" shim and tilted back. This opens up the lowermost corner but still leaves the upper corner in contact. It also causes a “arch” in the intermediate sections of the frame above the door glass.
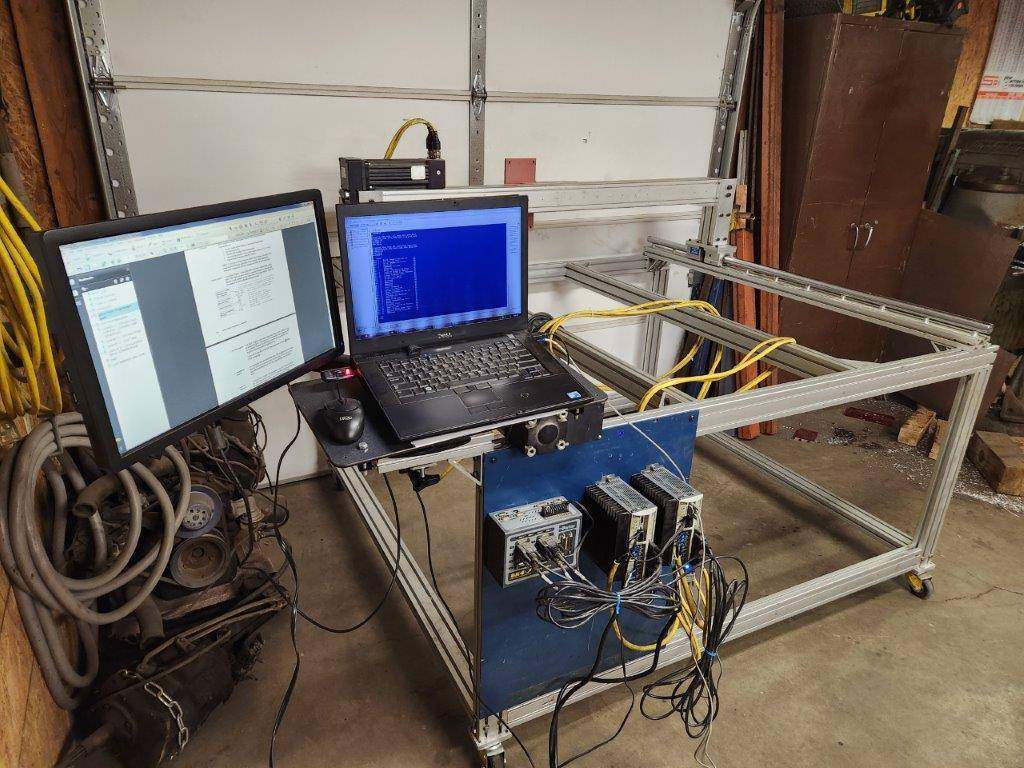
Been a while. Got distracted with another project (CNC router/plasma table).
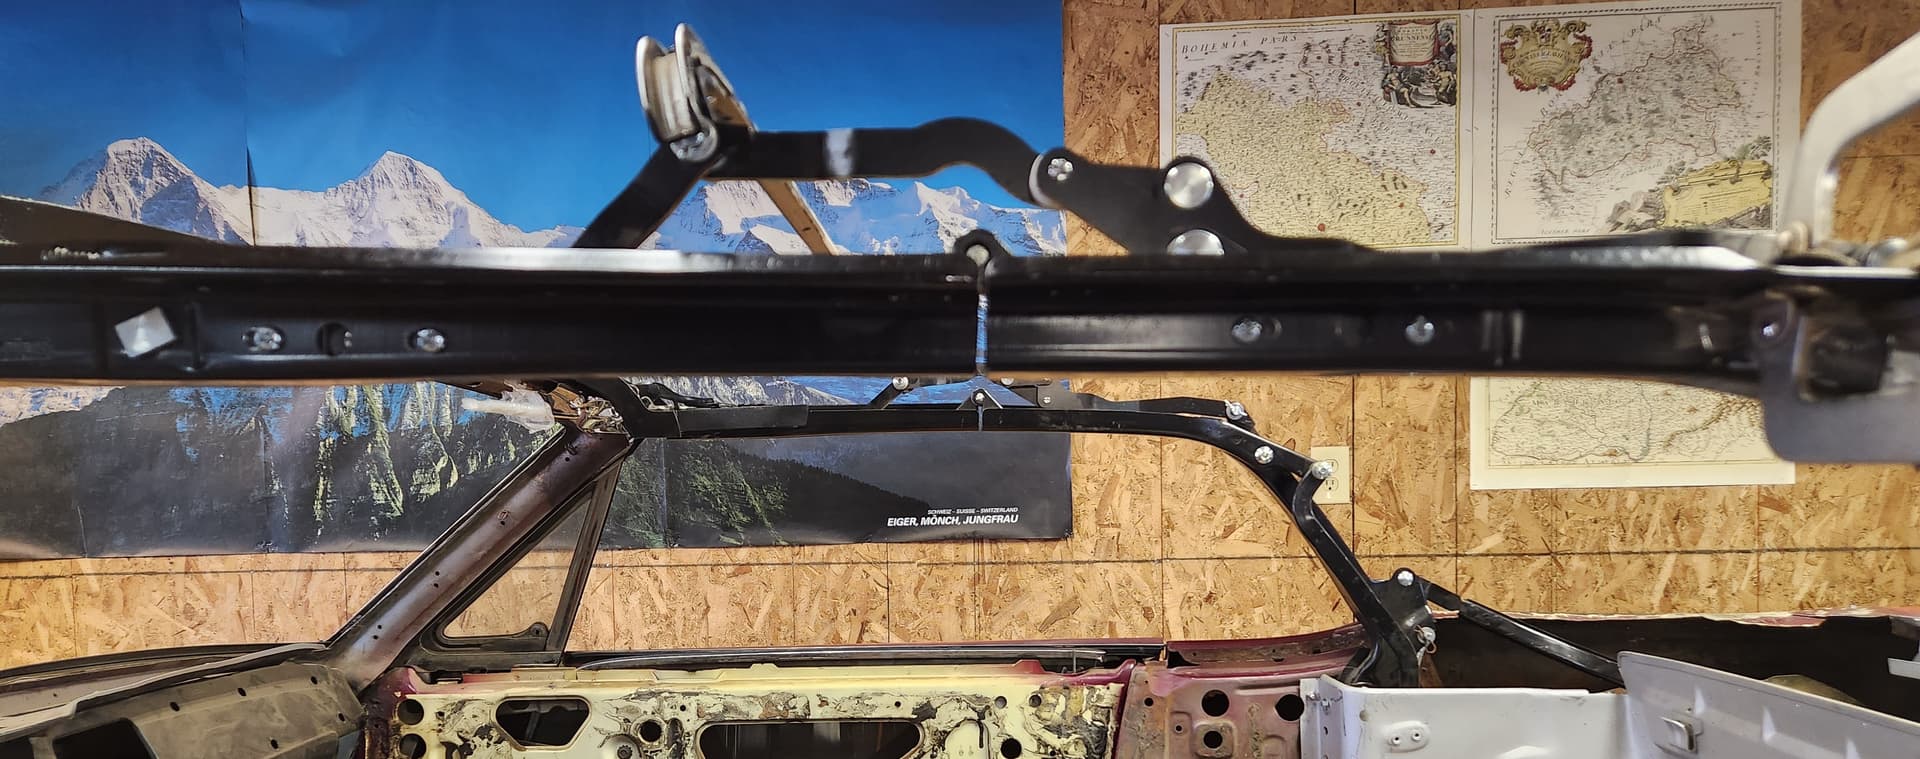
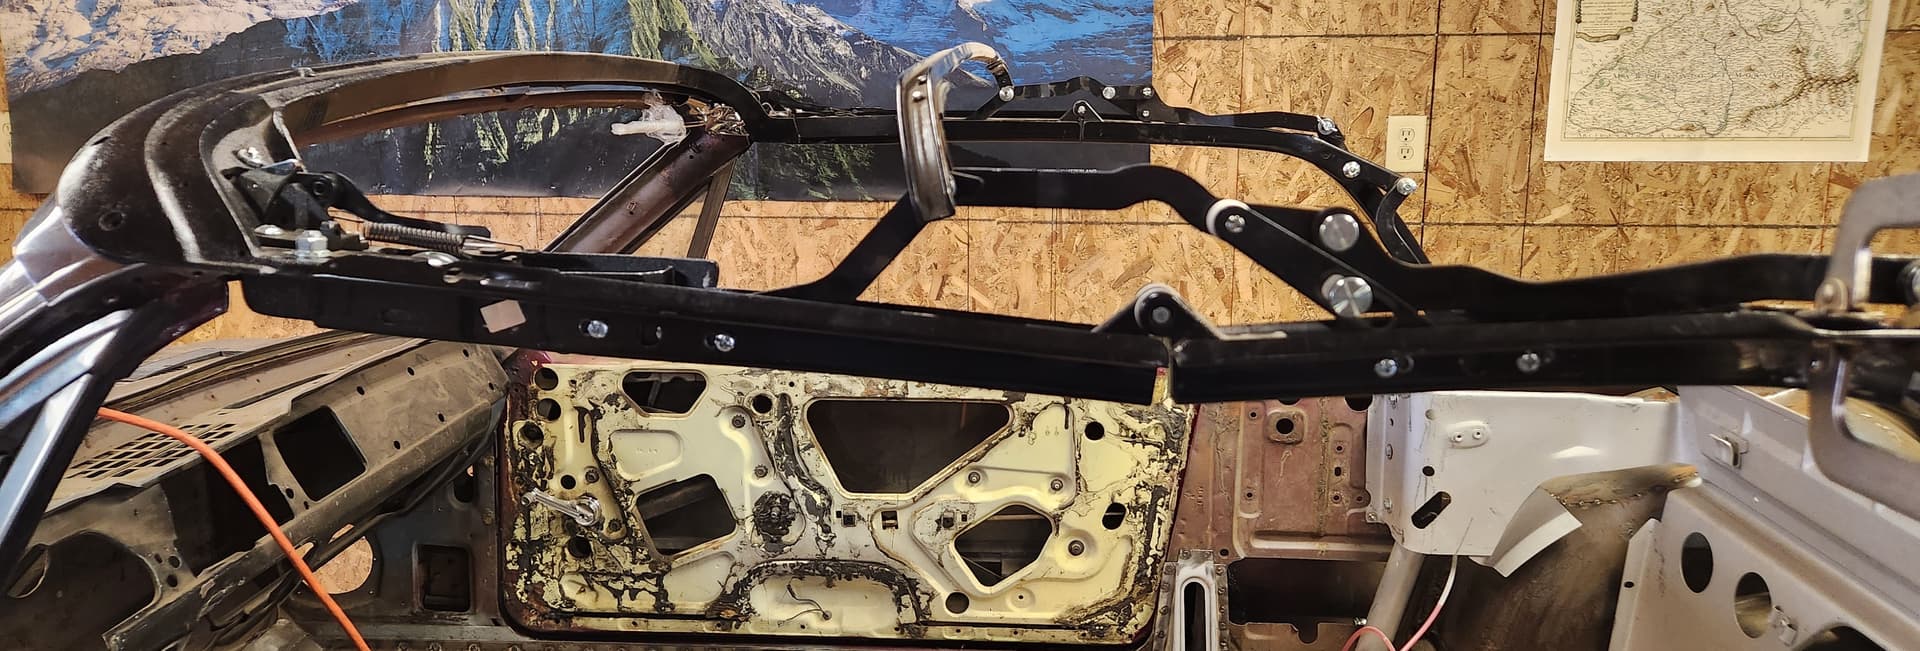
Also been fighting with manufacturing issues with convertible top frame. Some of the linkages between the front and intermediate side rails of the frame were not correctly assembled causing a bad sag (1/2") over the center of one door when latched. The eccentric adjusters did not have variation enough to correct. More cutting, drilling, and welding.
There are definitely manufacturing issues with aftermarket convertible top frame but this same info can be helpful for anyone trying to fix a sag with the front and intermediate side rails. Lots of measuring of everything!!!
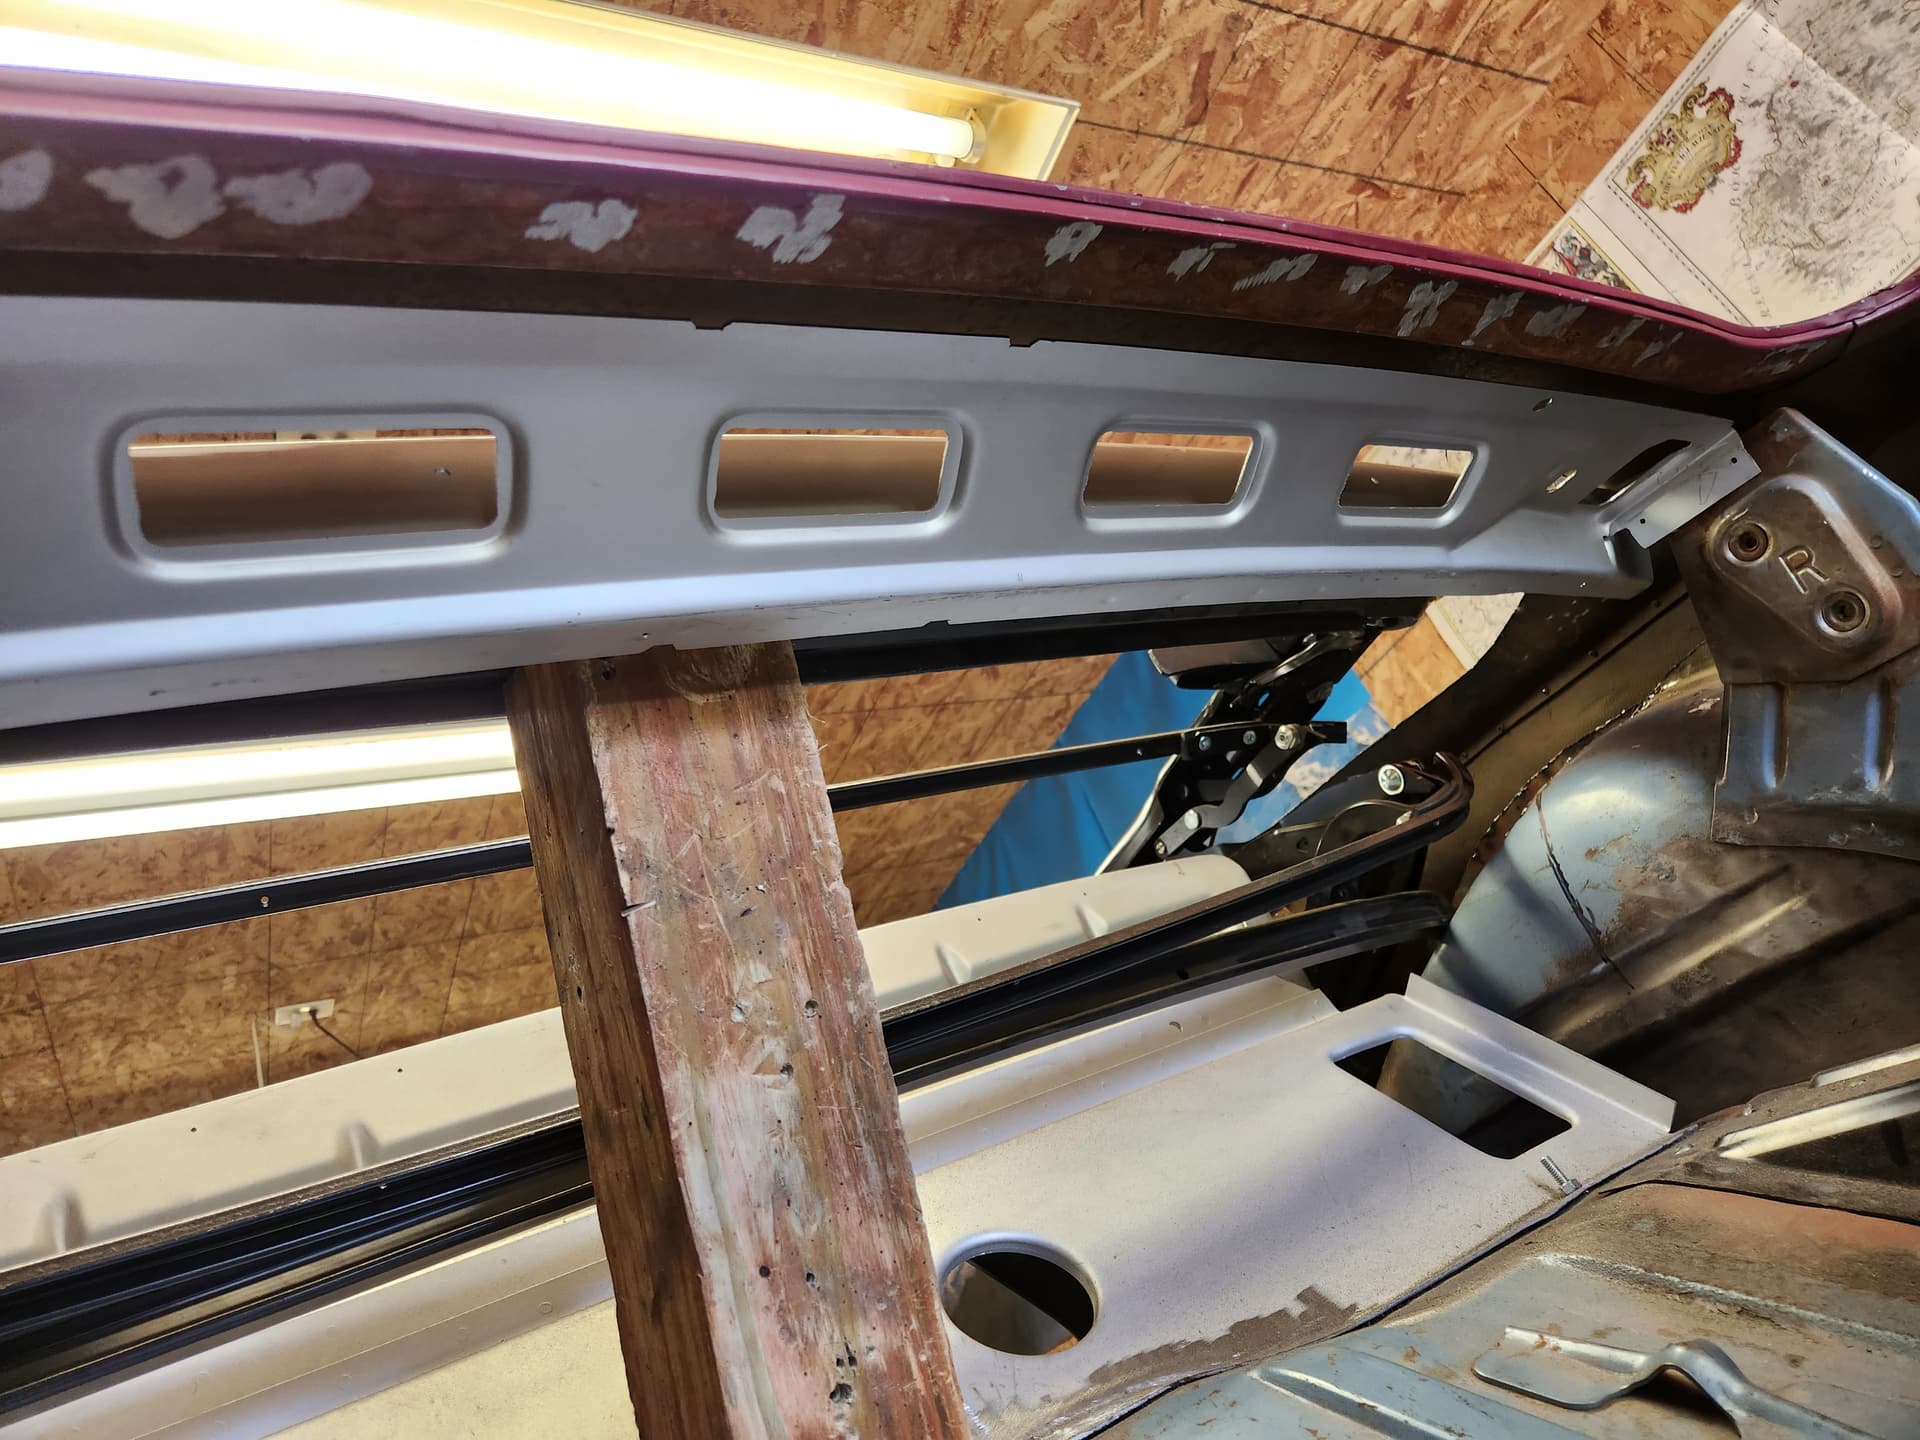
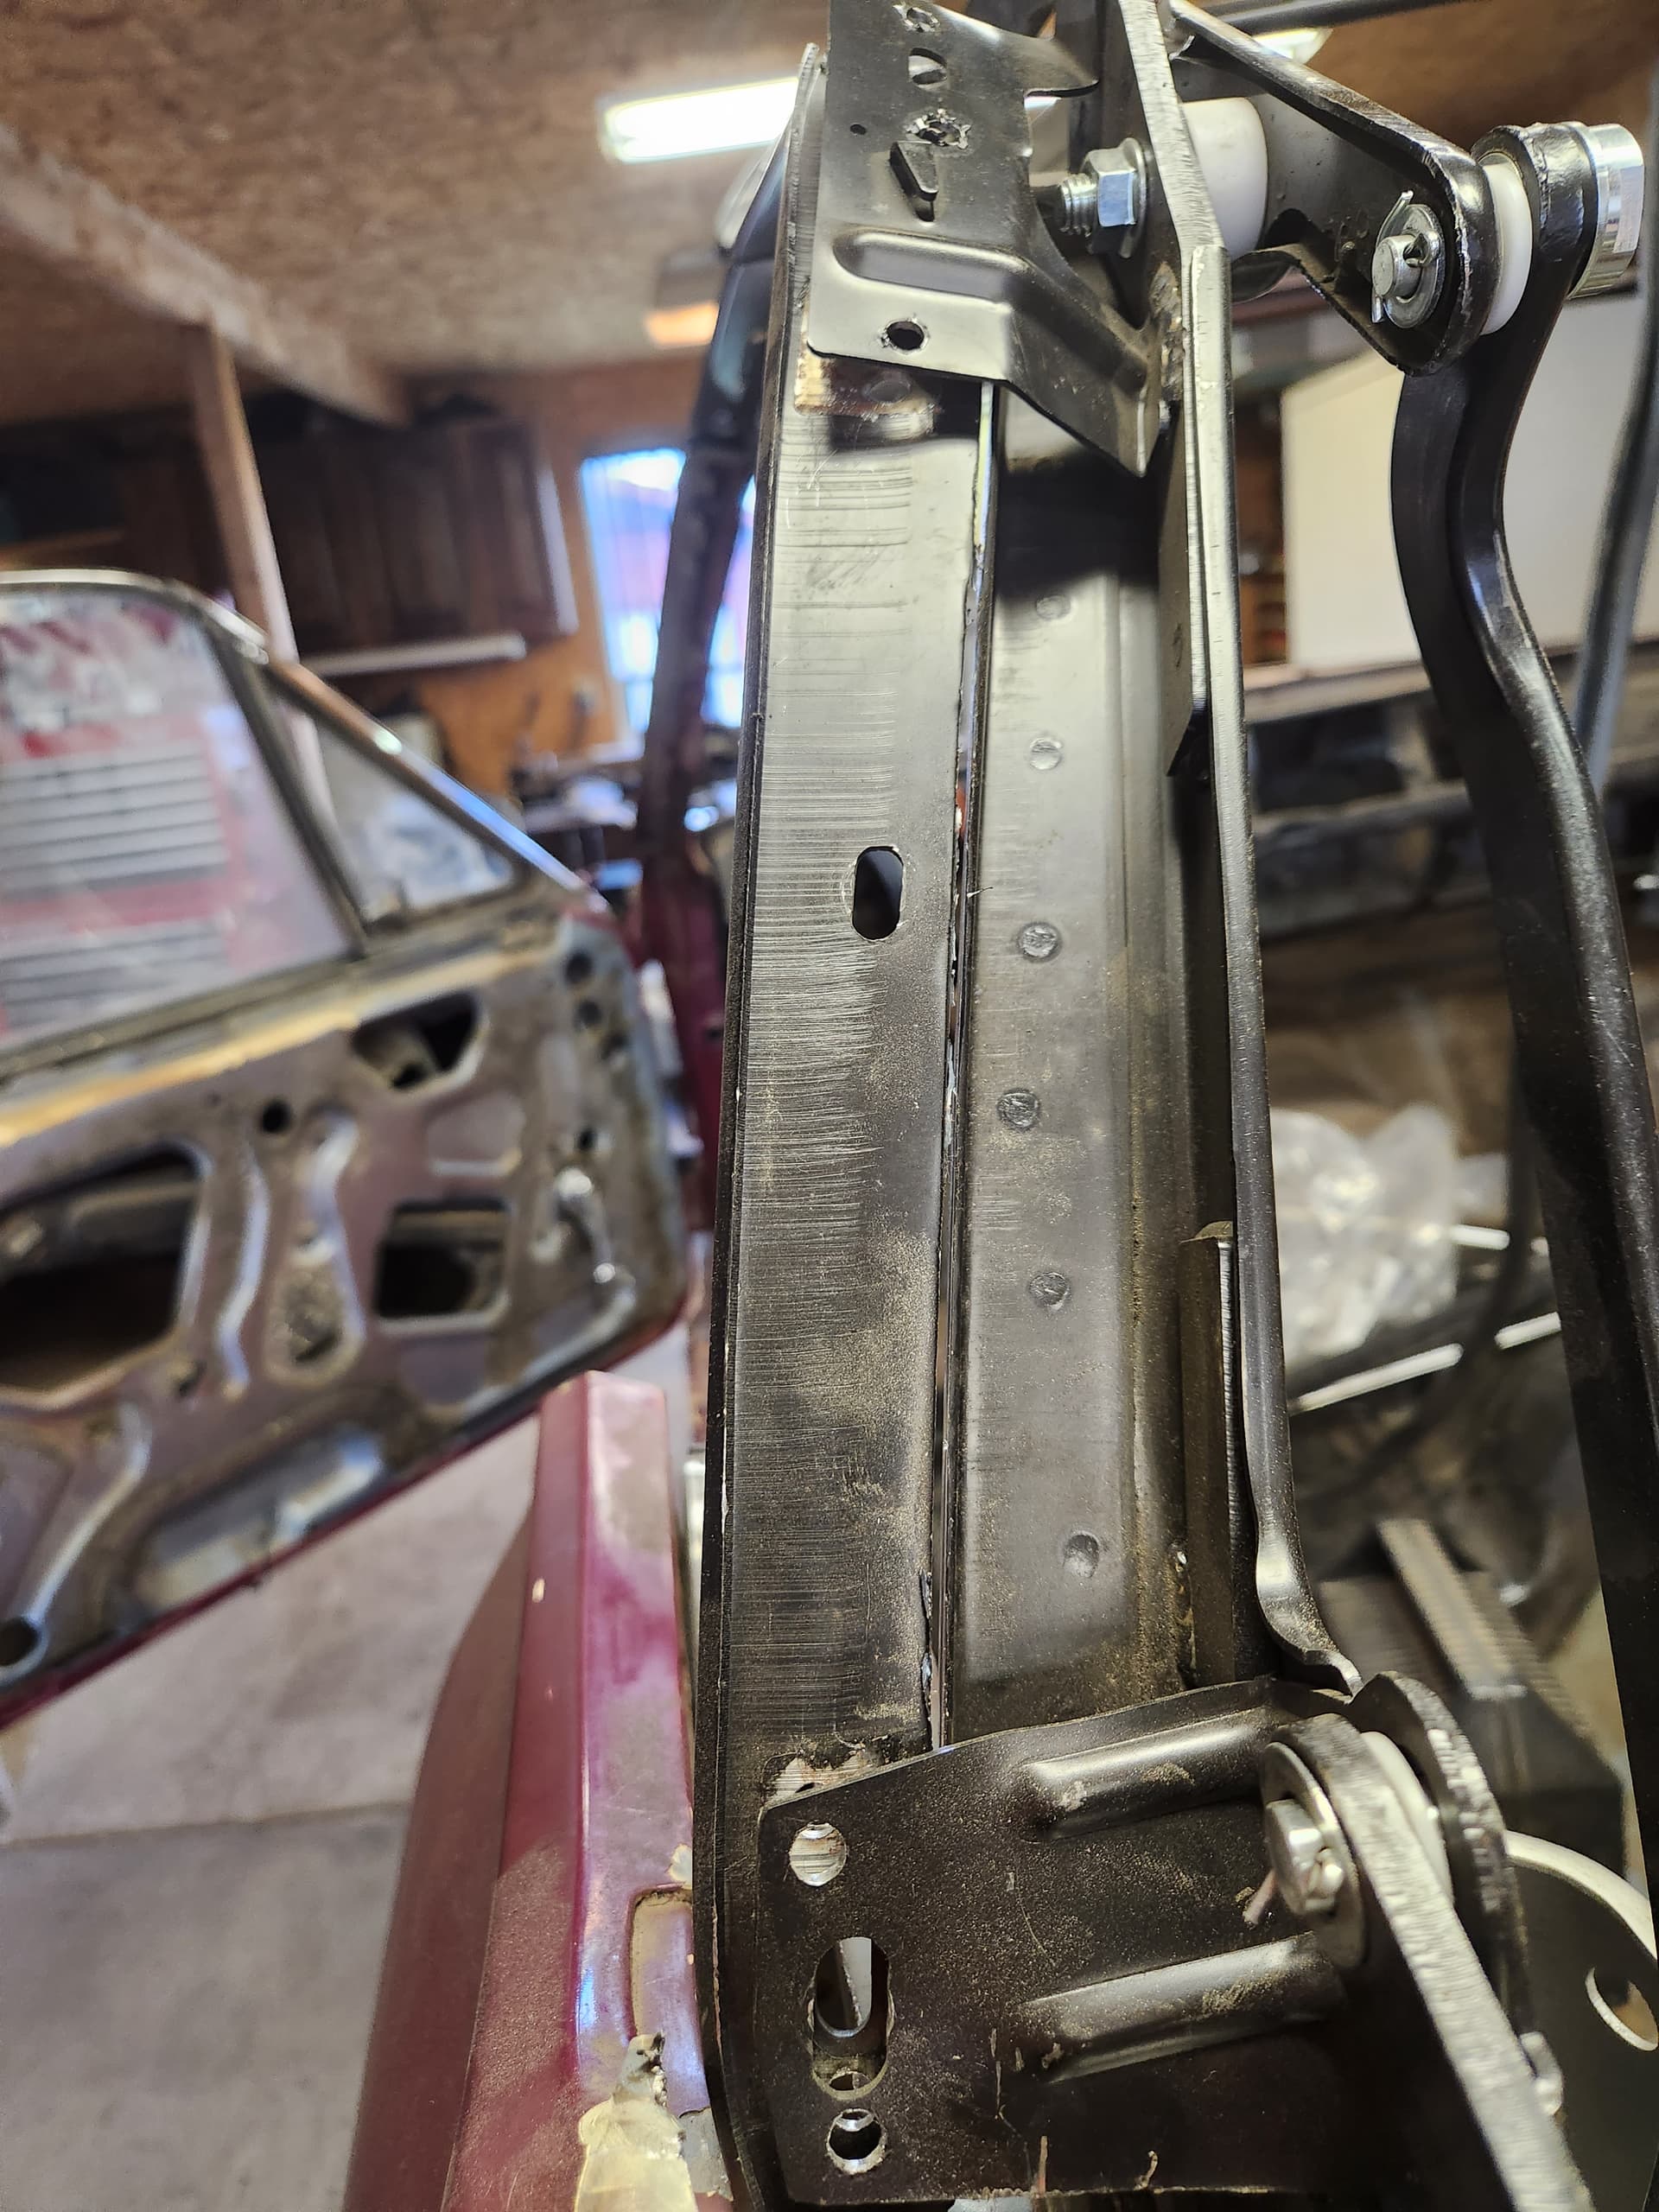
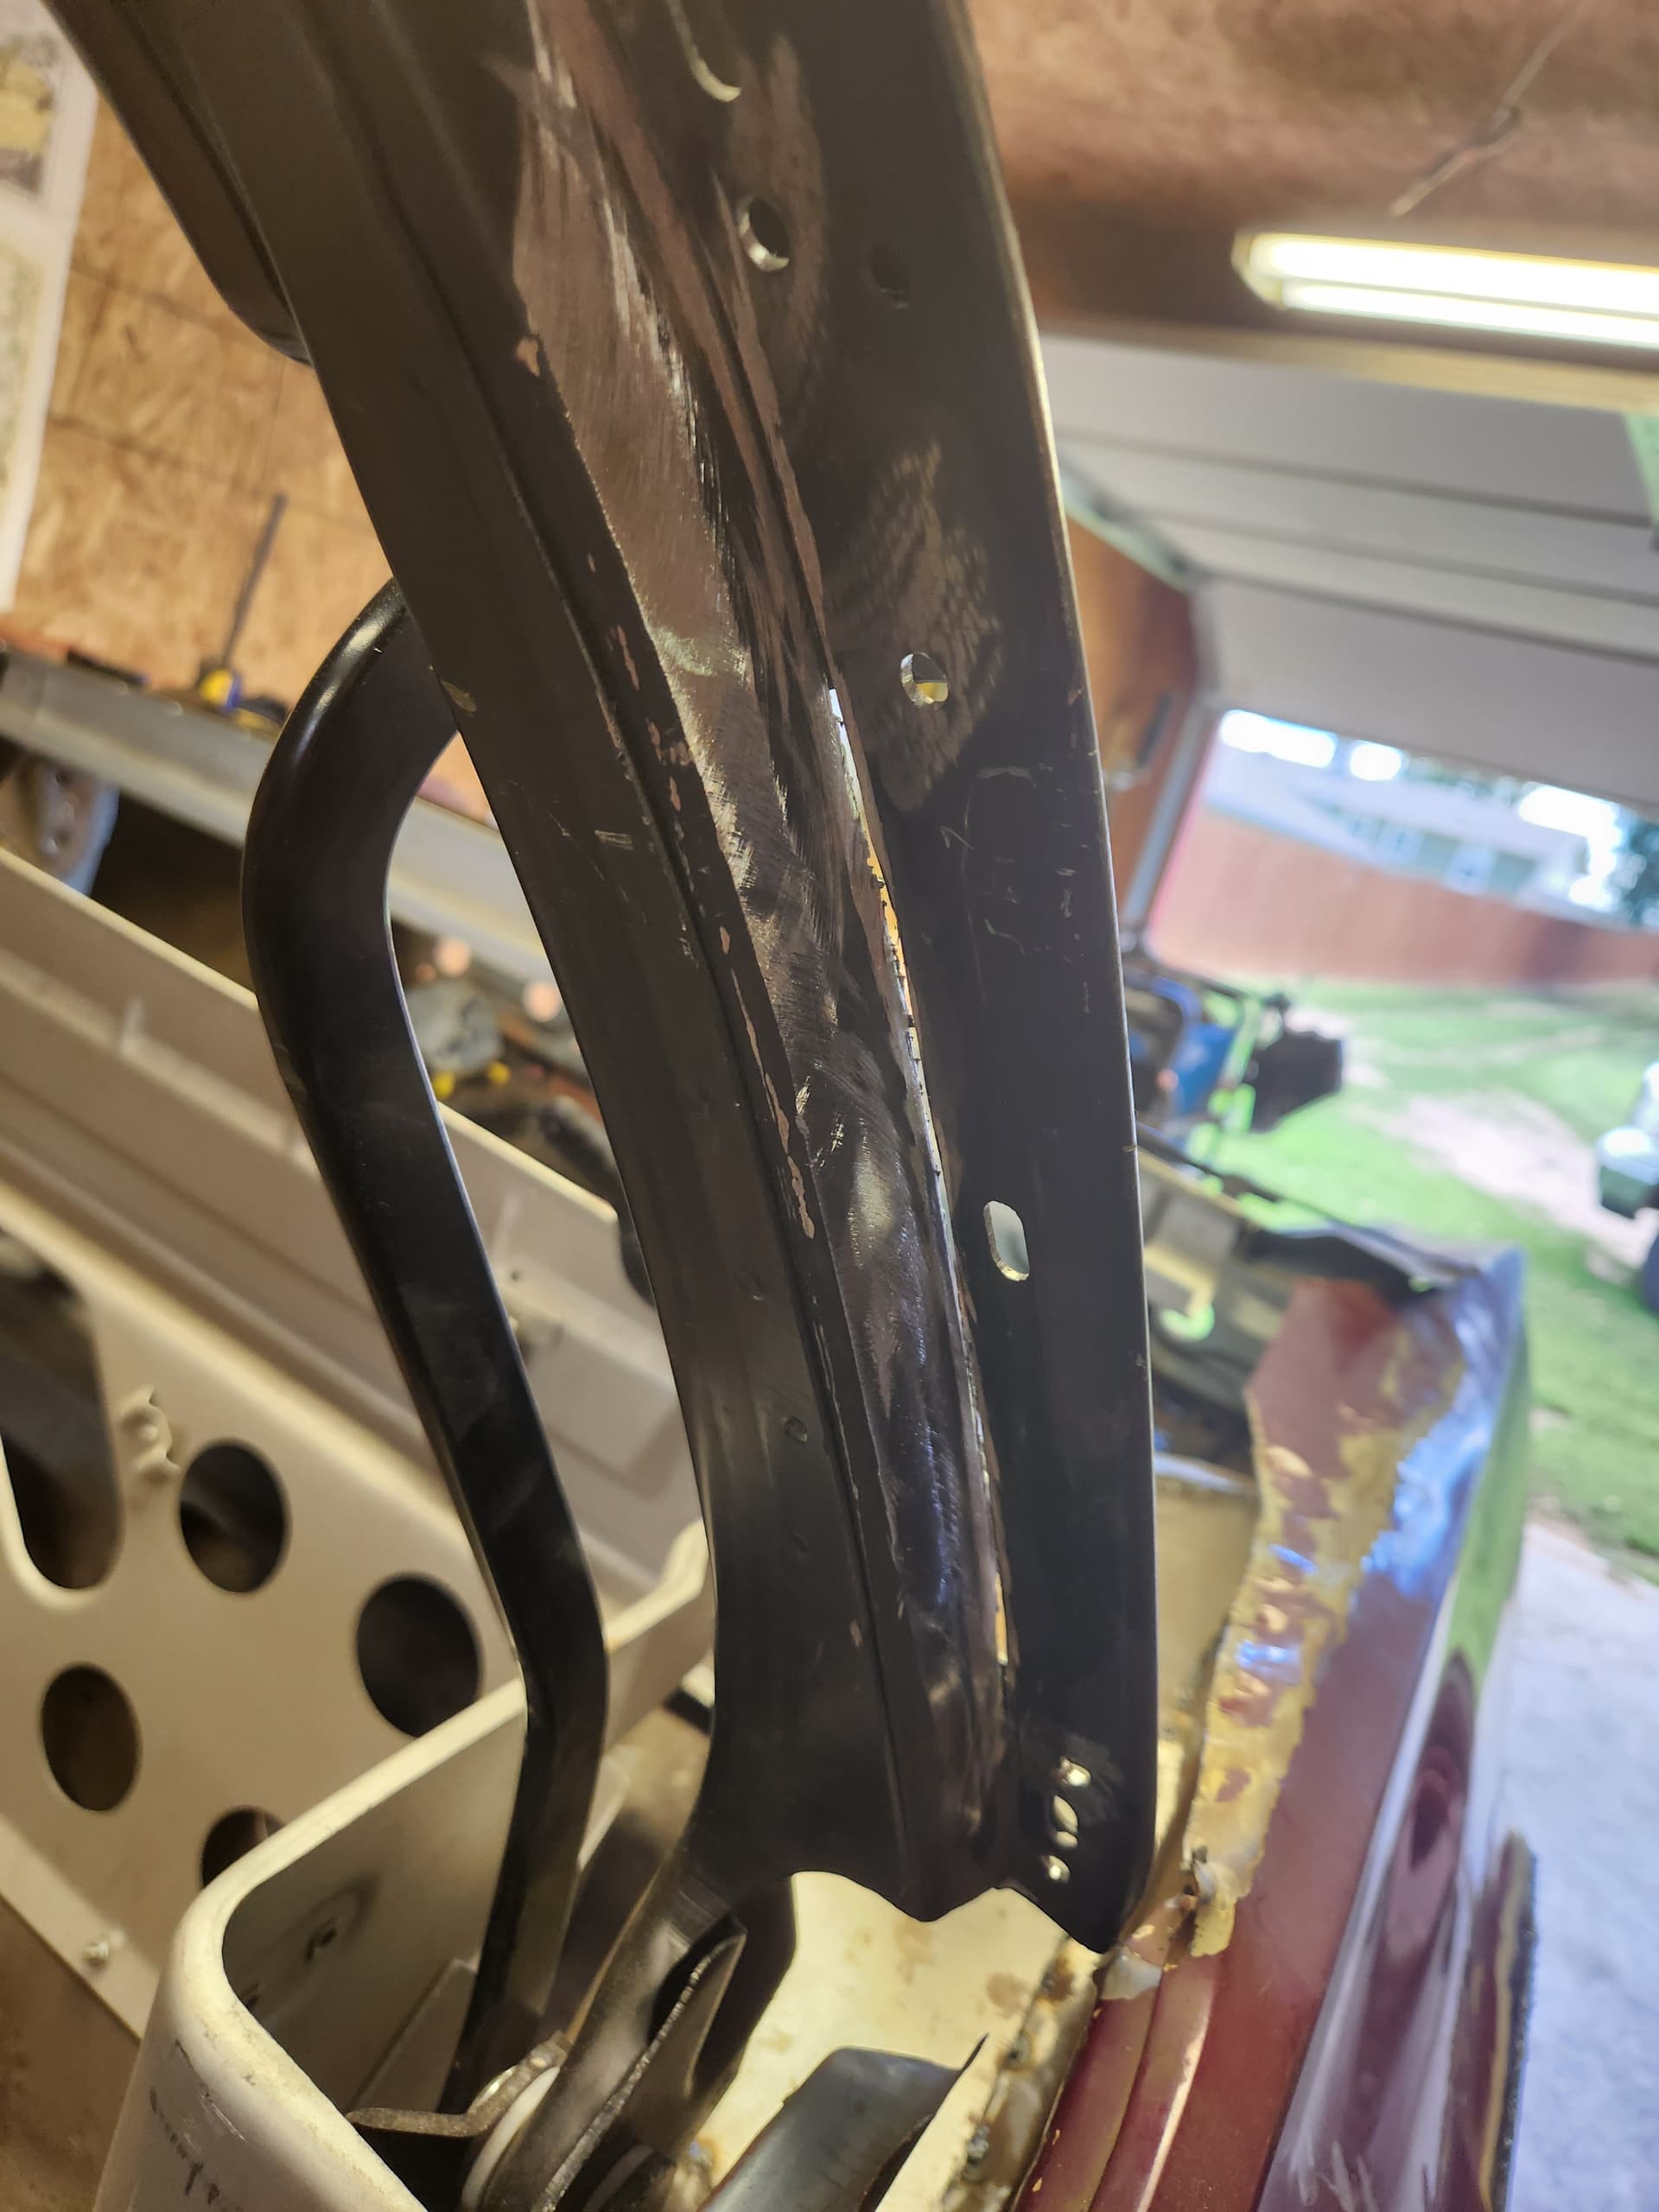
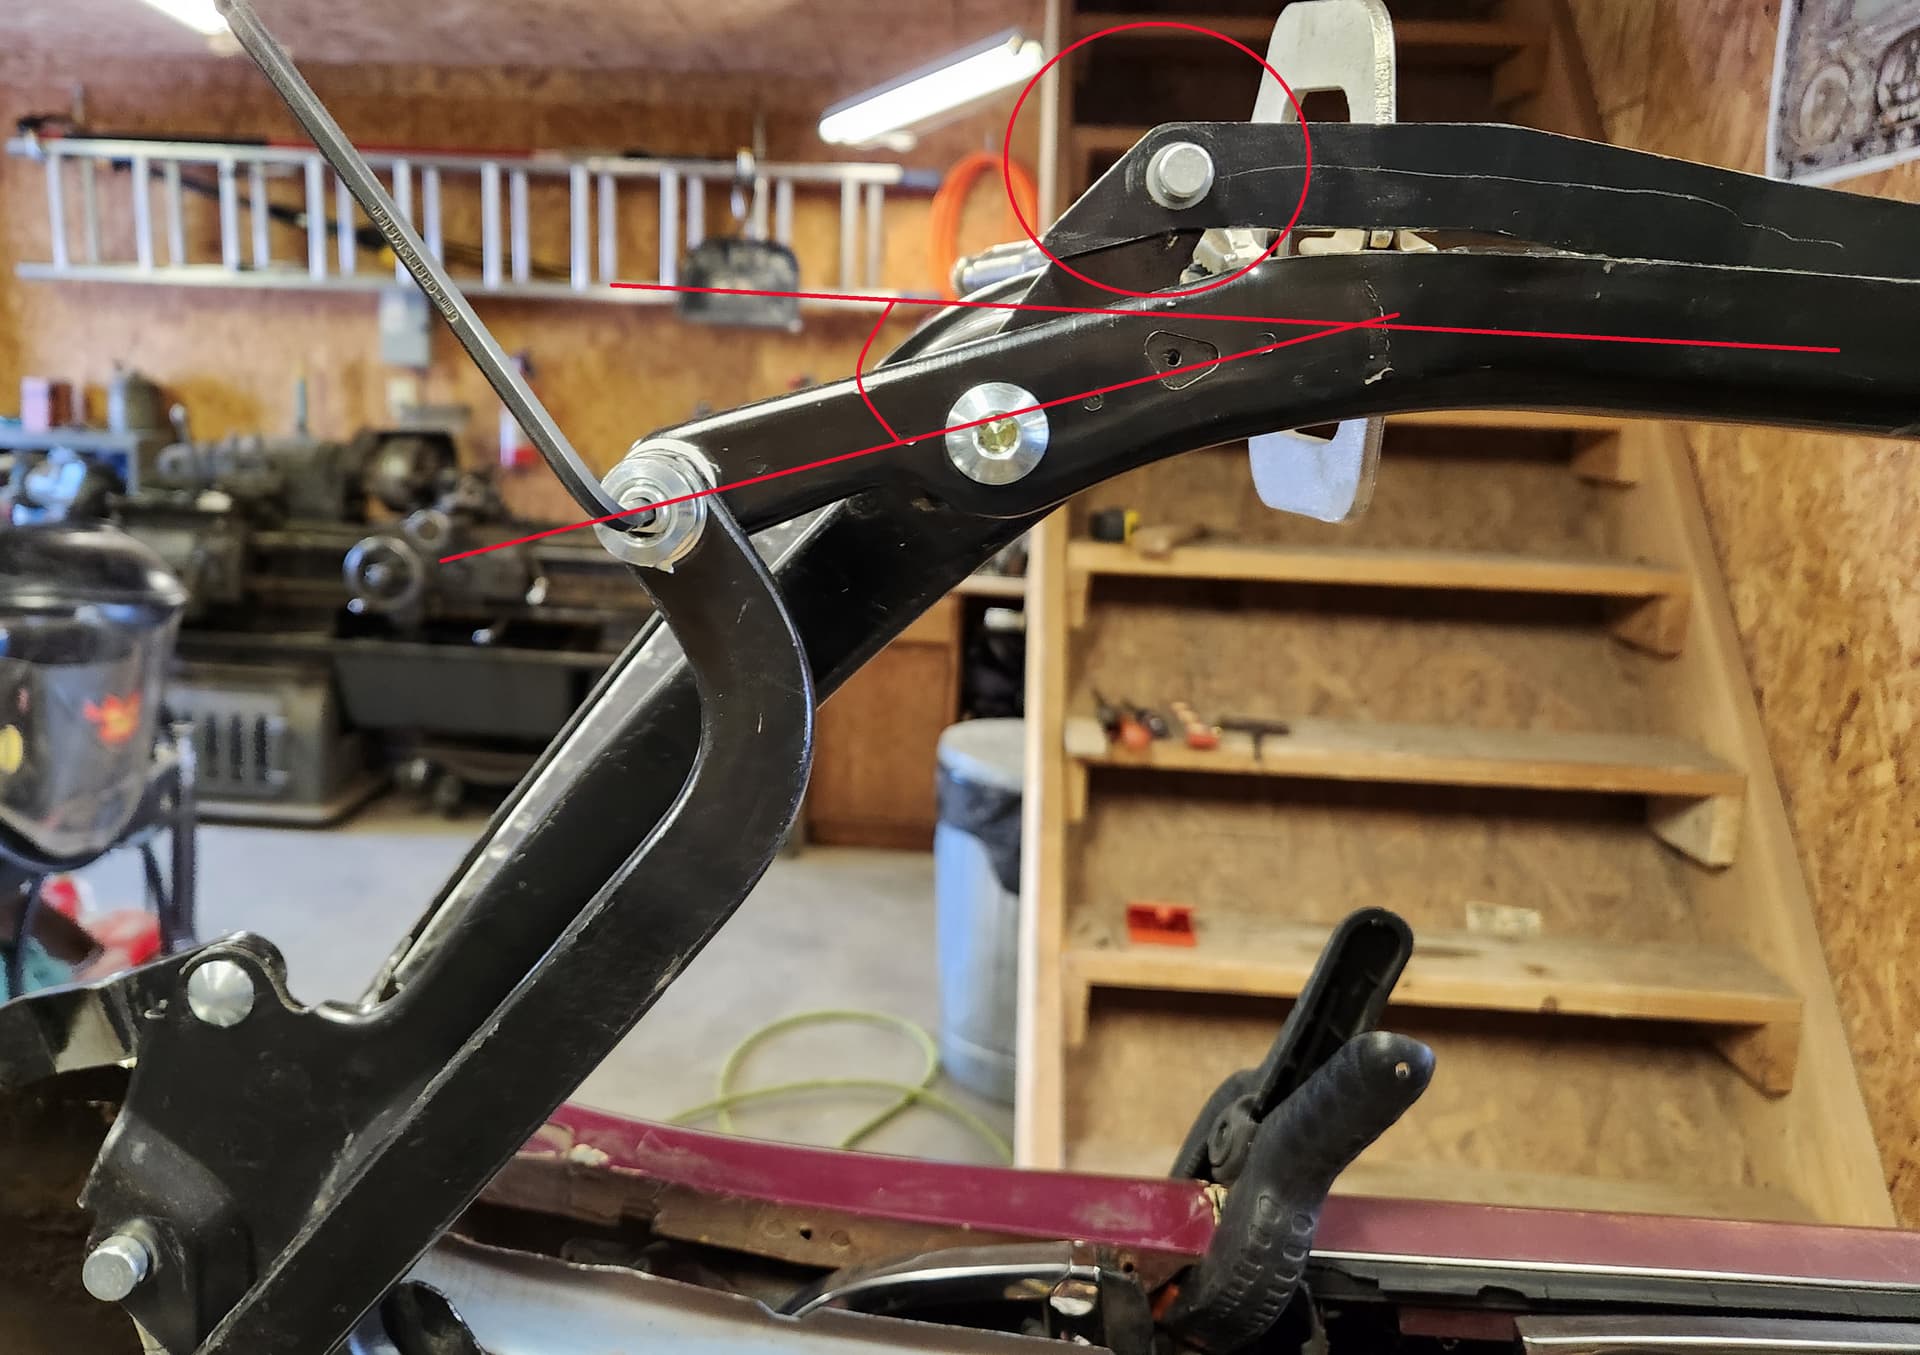
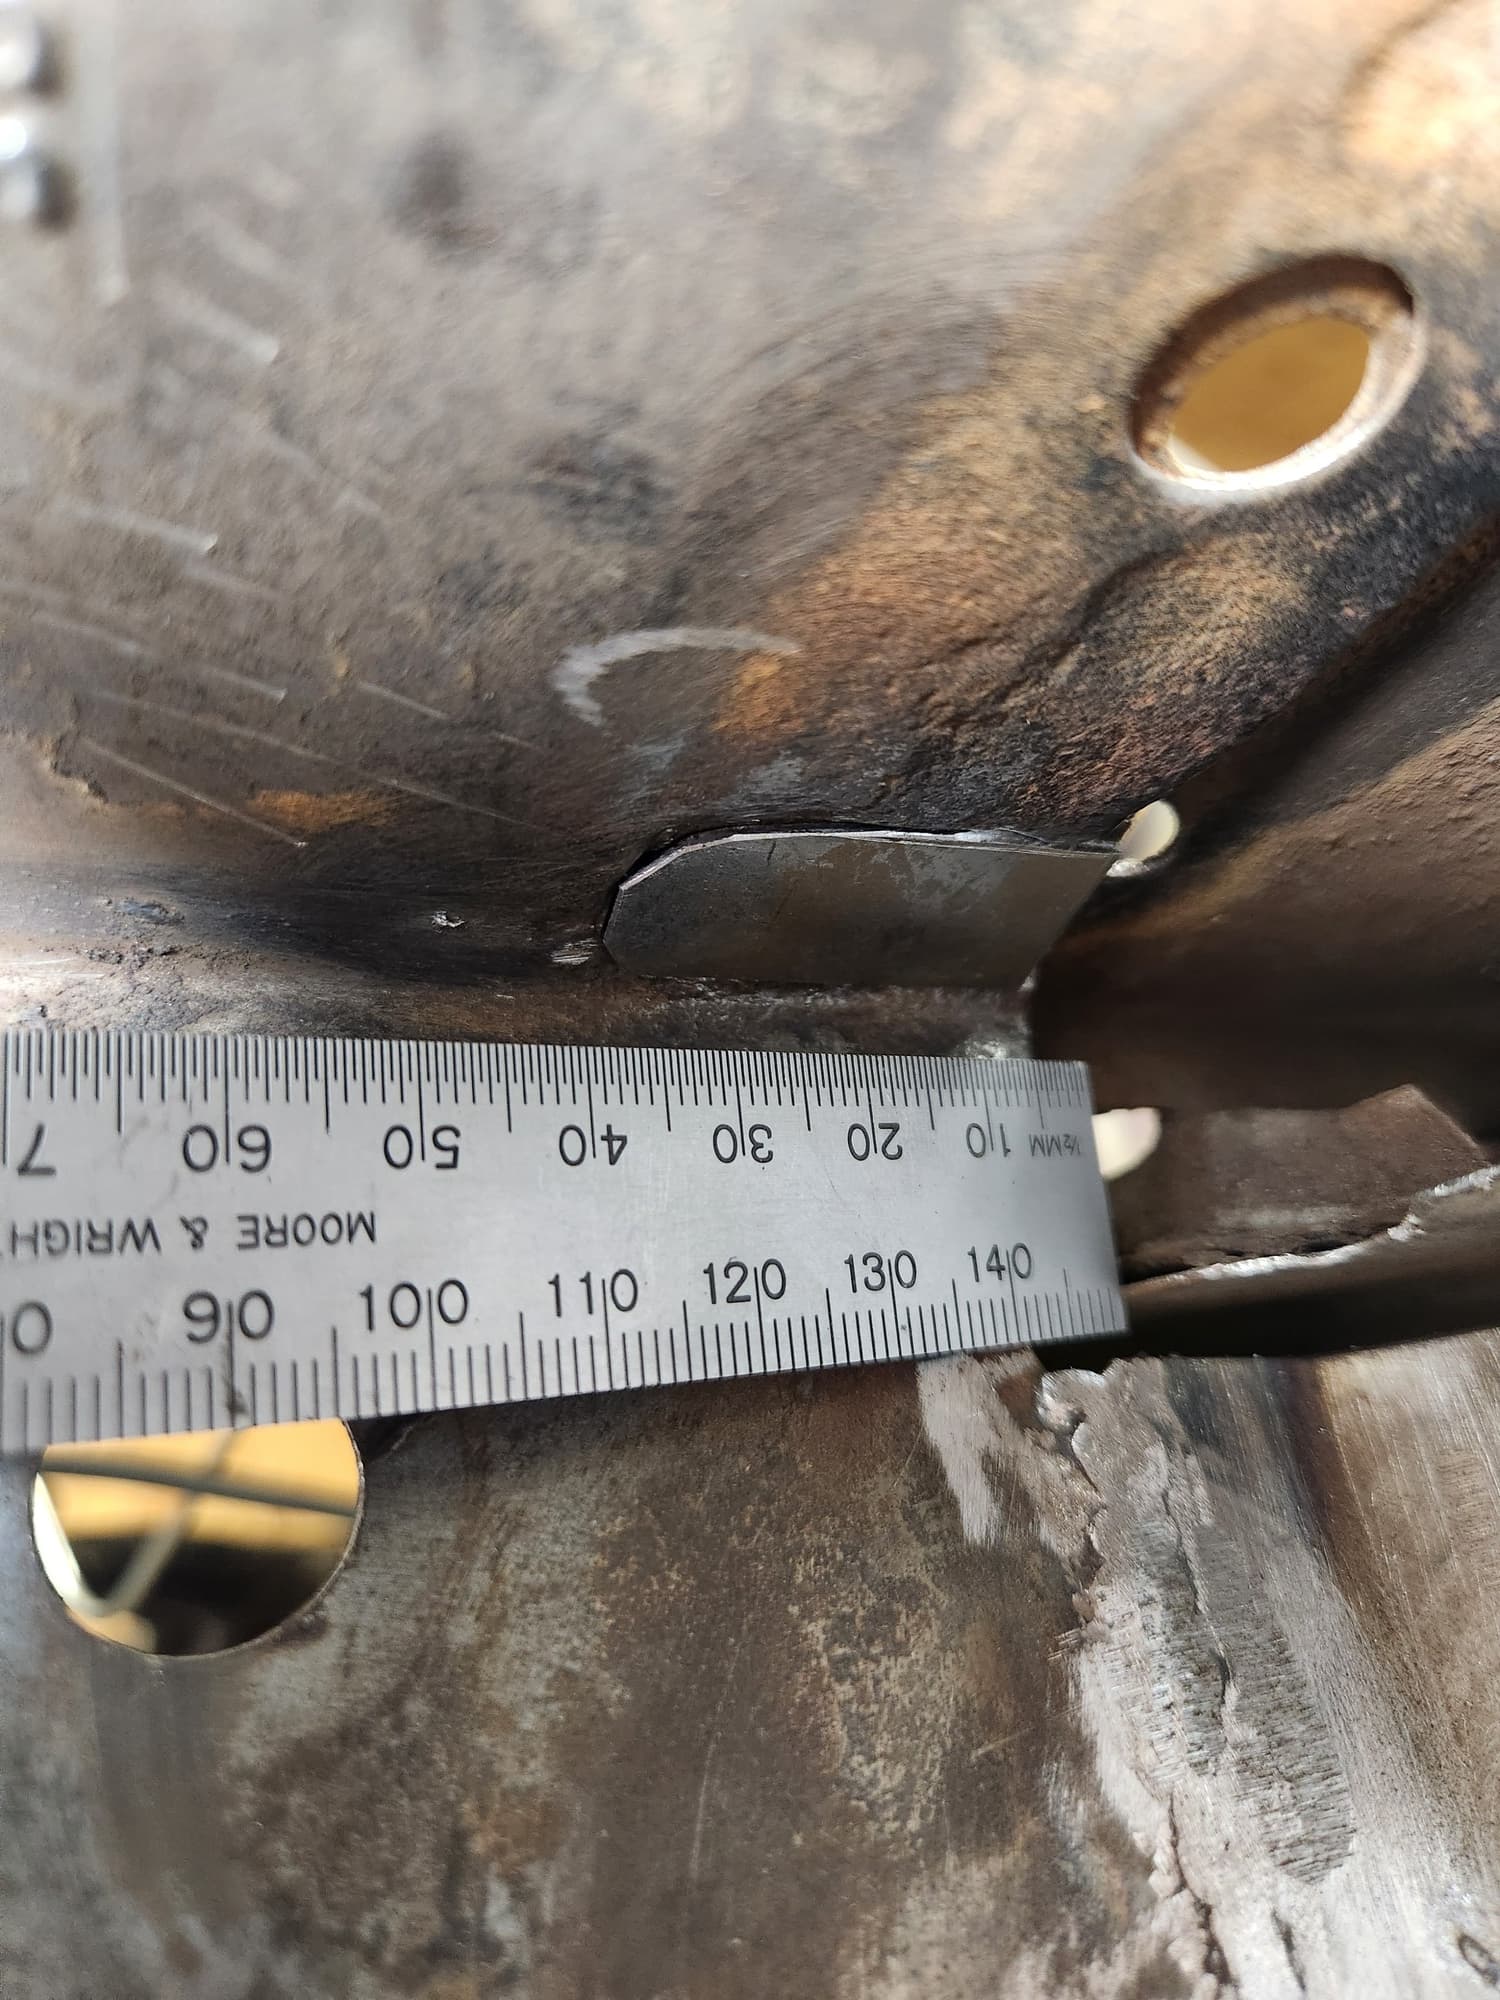
Major issues were that the linkage connecting to the front and intermediate side rails was not mounted in the proper locations. This was forcing the downward sag by not permitting correct linkage positioning at the joint circled in the following image. The offsets were such that the holes for the pin were offset by 3/16" which does not seem a lot but is compounded by the levering action of the linkage.
Also in the following image the the angle of the tail on the intermediate side rail was wrong. The angle indicated was too big which limited the ability of the eccentric adjuster (where the Allen wrench is) and arm to cause lifting of the joint between the front and intermediate rail by pulling “down” on the tail. I originally thought that the arm was bent but comparing with the other side there were no differences. With the rail bent the lower hole for the arm (near the lift cylinder) was ~ 1/4" too high. Again very small overall but critical.
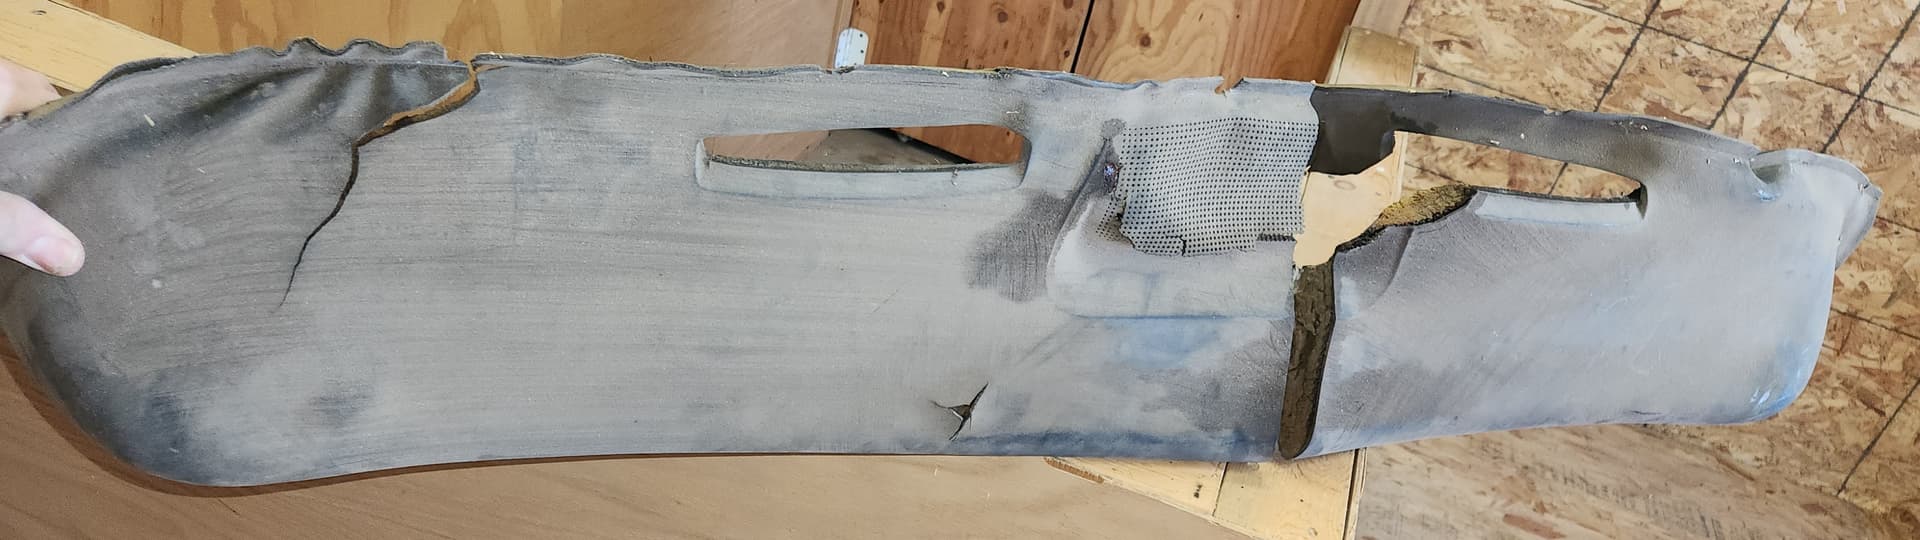
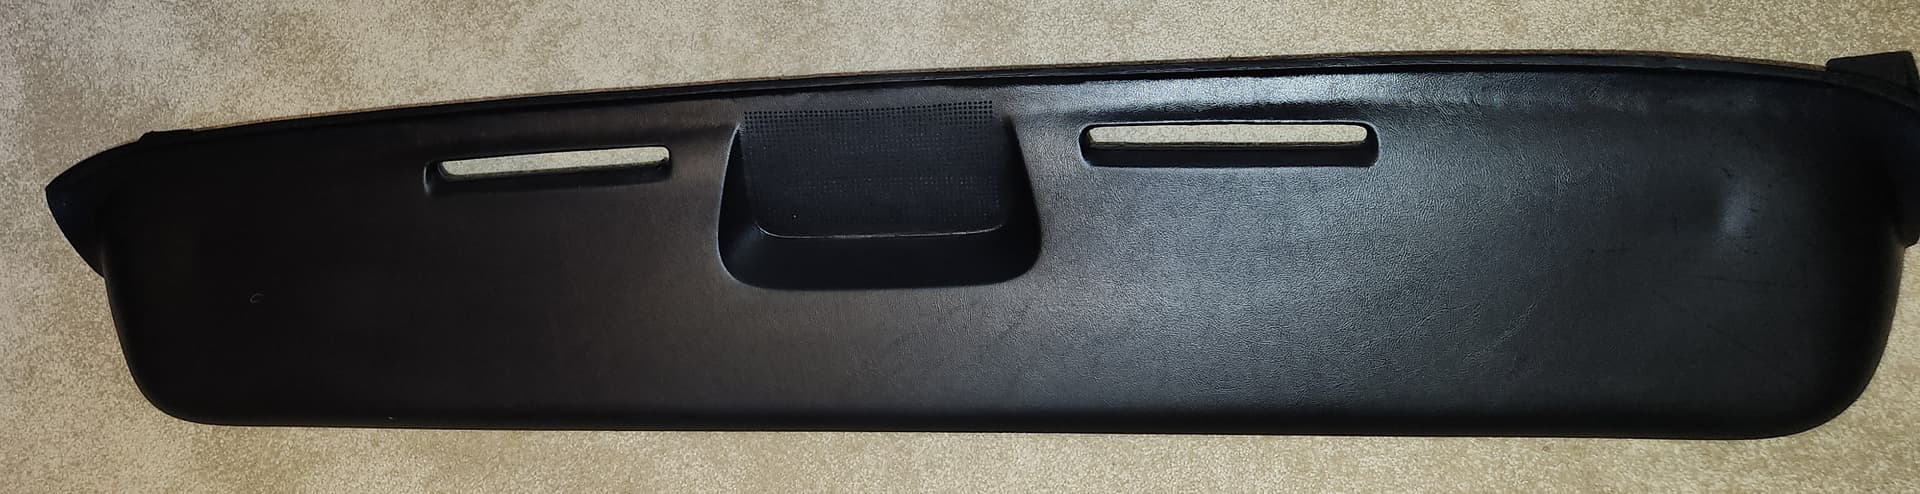
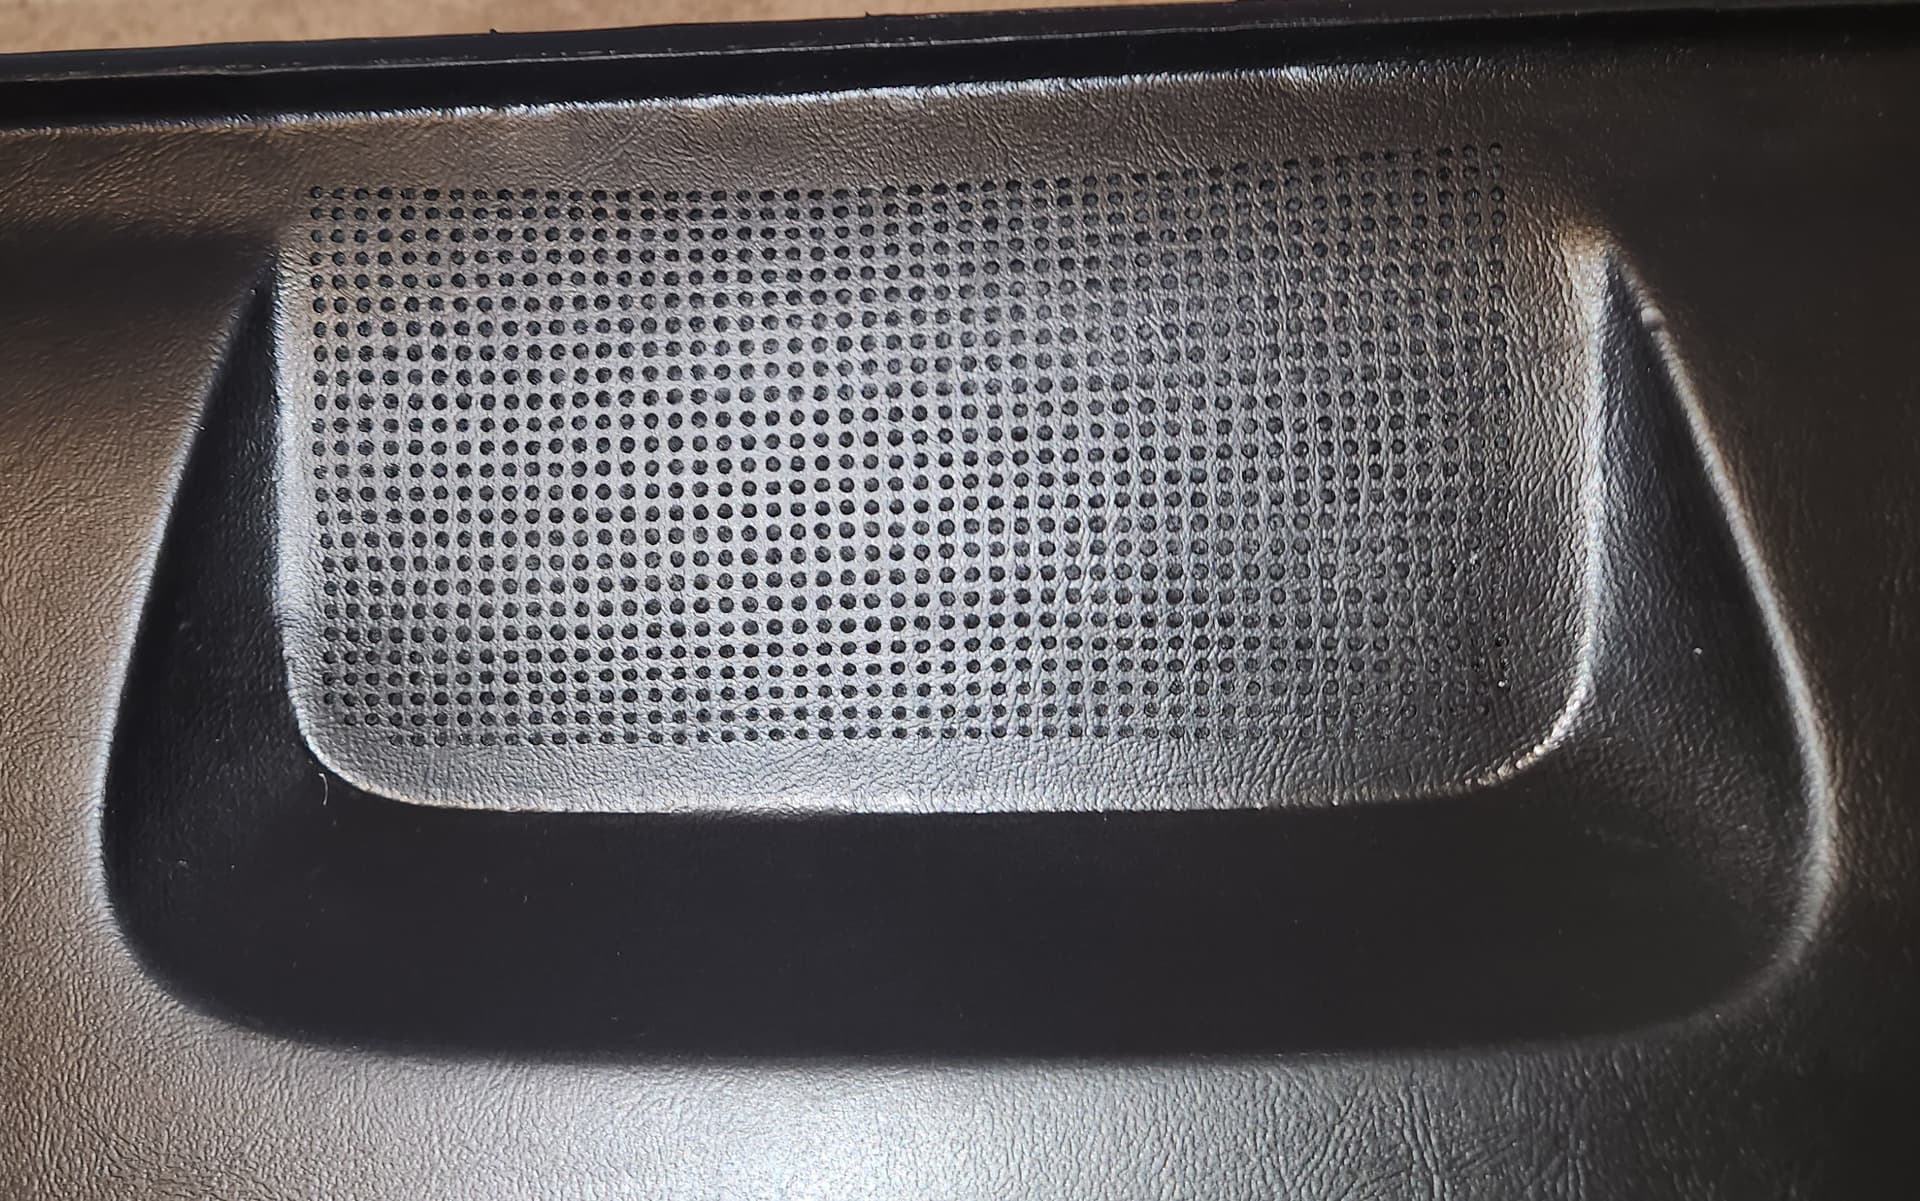
New dashpad from Dashpads Direct via Summit. Nice product. The grill holes will need to be cleaned out but other than that it looks very good.
If dealing with the dashpad seems odd right now, it may be but there is some logic to it. The fitment of the dashpad and the A pillar trim helps to verify the fitment of the convertible top moldings and the latch assemblies and there was a great sale price.
Everything else but this Cougar convertible conversion project that is!
TEN years is too long. In much less time than that CopyCatVert was first built, damaged and rebuilt, Don Rush sold his ‘vert and its up for sale again. Other ‘verts have been bought and sold. Enough is enough. Getting embarrassed here. Hell, even my wife 100% agrees that I need to finish this project.
As a person who prides himself on doing rather than paying to have it done, this is of my own making but no longer. No longer living vicariously through Fitzee’s Fabrications on YouTube.
So, I…
Quit my job. I’ve been traveling almost 75% of the time for about 15 years so no wonder this project has been taking forever.
Finished/ended/sold almost every other project.
Cleaned and reorganized my shop.
Yesterday, started to figure-out where I left off. Then kinda gave up…
Today, essentially “starting over again” reviewing everything that I have done.
Having gained a lot from this Cougar community, I’ll keep you informed.
Thanks for the encouragement both past and future.
I know the feeling all to well. My cat has been off the road since 2010. 15 years is to long to let this cat sit and not be finished. I have done nothing to it except get some parts replaced and headers jet hot coated. I am setting a goal for 2026 besides to get my CC finances paid off is to get this cat running and at least 80% completed.
thanks
pat
p.s. hang in there, that is a huge project not many can tackle.
Actually all sarcasm aside, I actually did do everything on my list and now have the time and money to finish this project. Actually targeting spring 2026 for it being a roller and summer 2026 for it to move under its own power.
BTW. This a a Dynacorn panel. They are a lot better quality than other vendors. The holes actually line-up and the panel overlap is good. Unfortunately, I also have a $40 piece of scrap metal that is similar in size and shape. Do not buy 16054-2A from NPD. Too small overlap. Top flange way wrong. Etc.
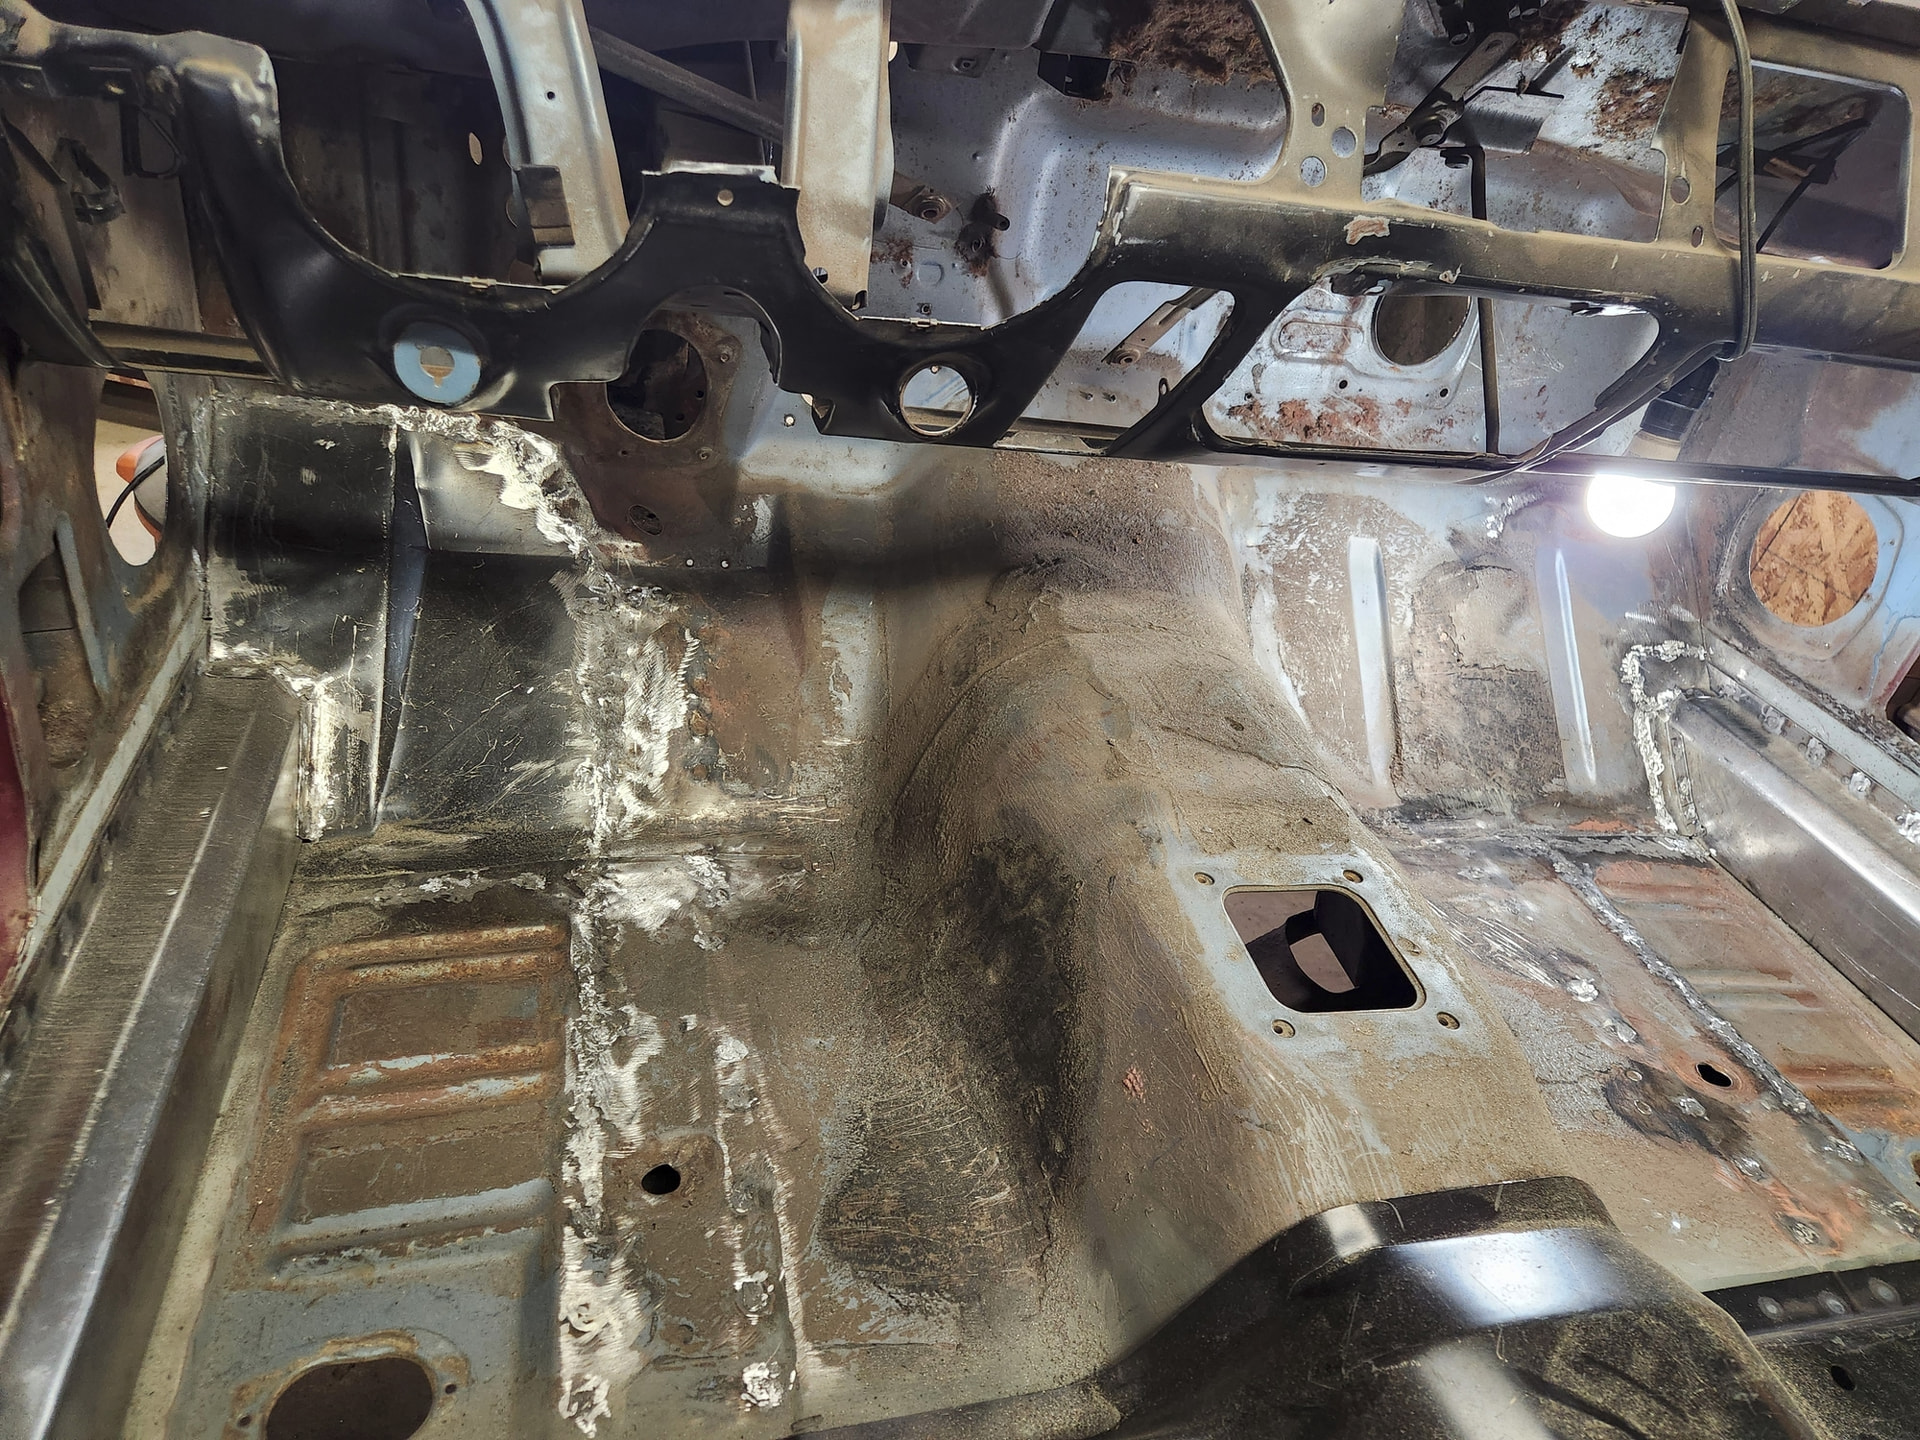
Everything to the firewall including previously installed torque boxes have final metal work: cut, patch, weld, grind. Word to the wise: don’t put off the final grinding!
Last patch in this region. A small PITA, driver side apron overlap at the cowl. Having a rotisserie is wonderful.
Topside interior finished welding and grinding…. Need to throw a light coat of primer on everything to stop flash rust. This is Colorado but we still get a little moisture.
Inner rockers with all plug welds look great and top edge ground to align with existing outer rockers.
B-pillar floor braces plug/seam welded and looking great.
Portion of both floor floor pans had rotted due to decayed “top hats”in the cowl so those are now fixed. About 1/2 of the driver side was absolutely trashed but new metal now.
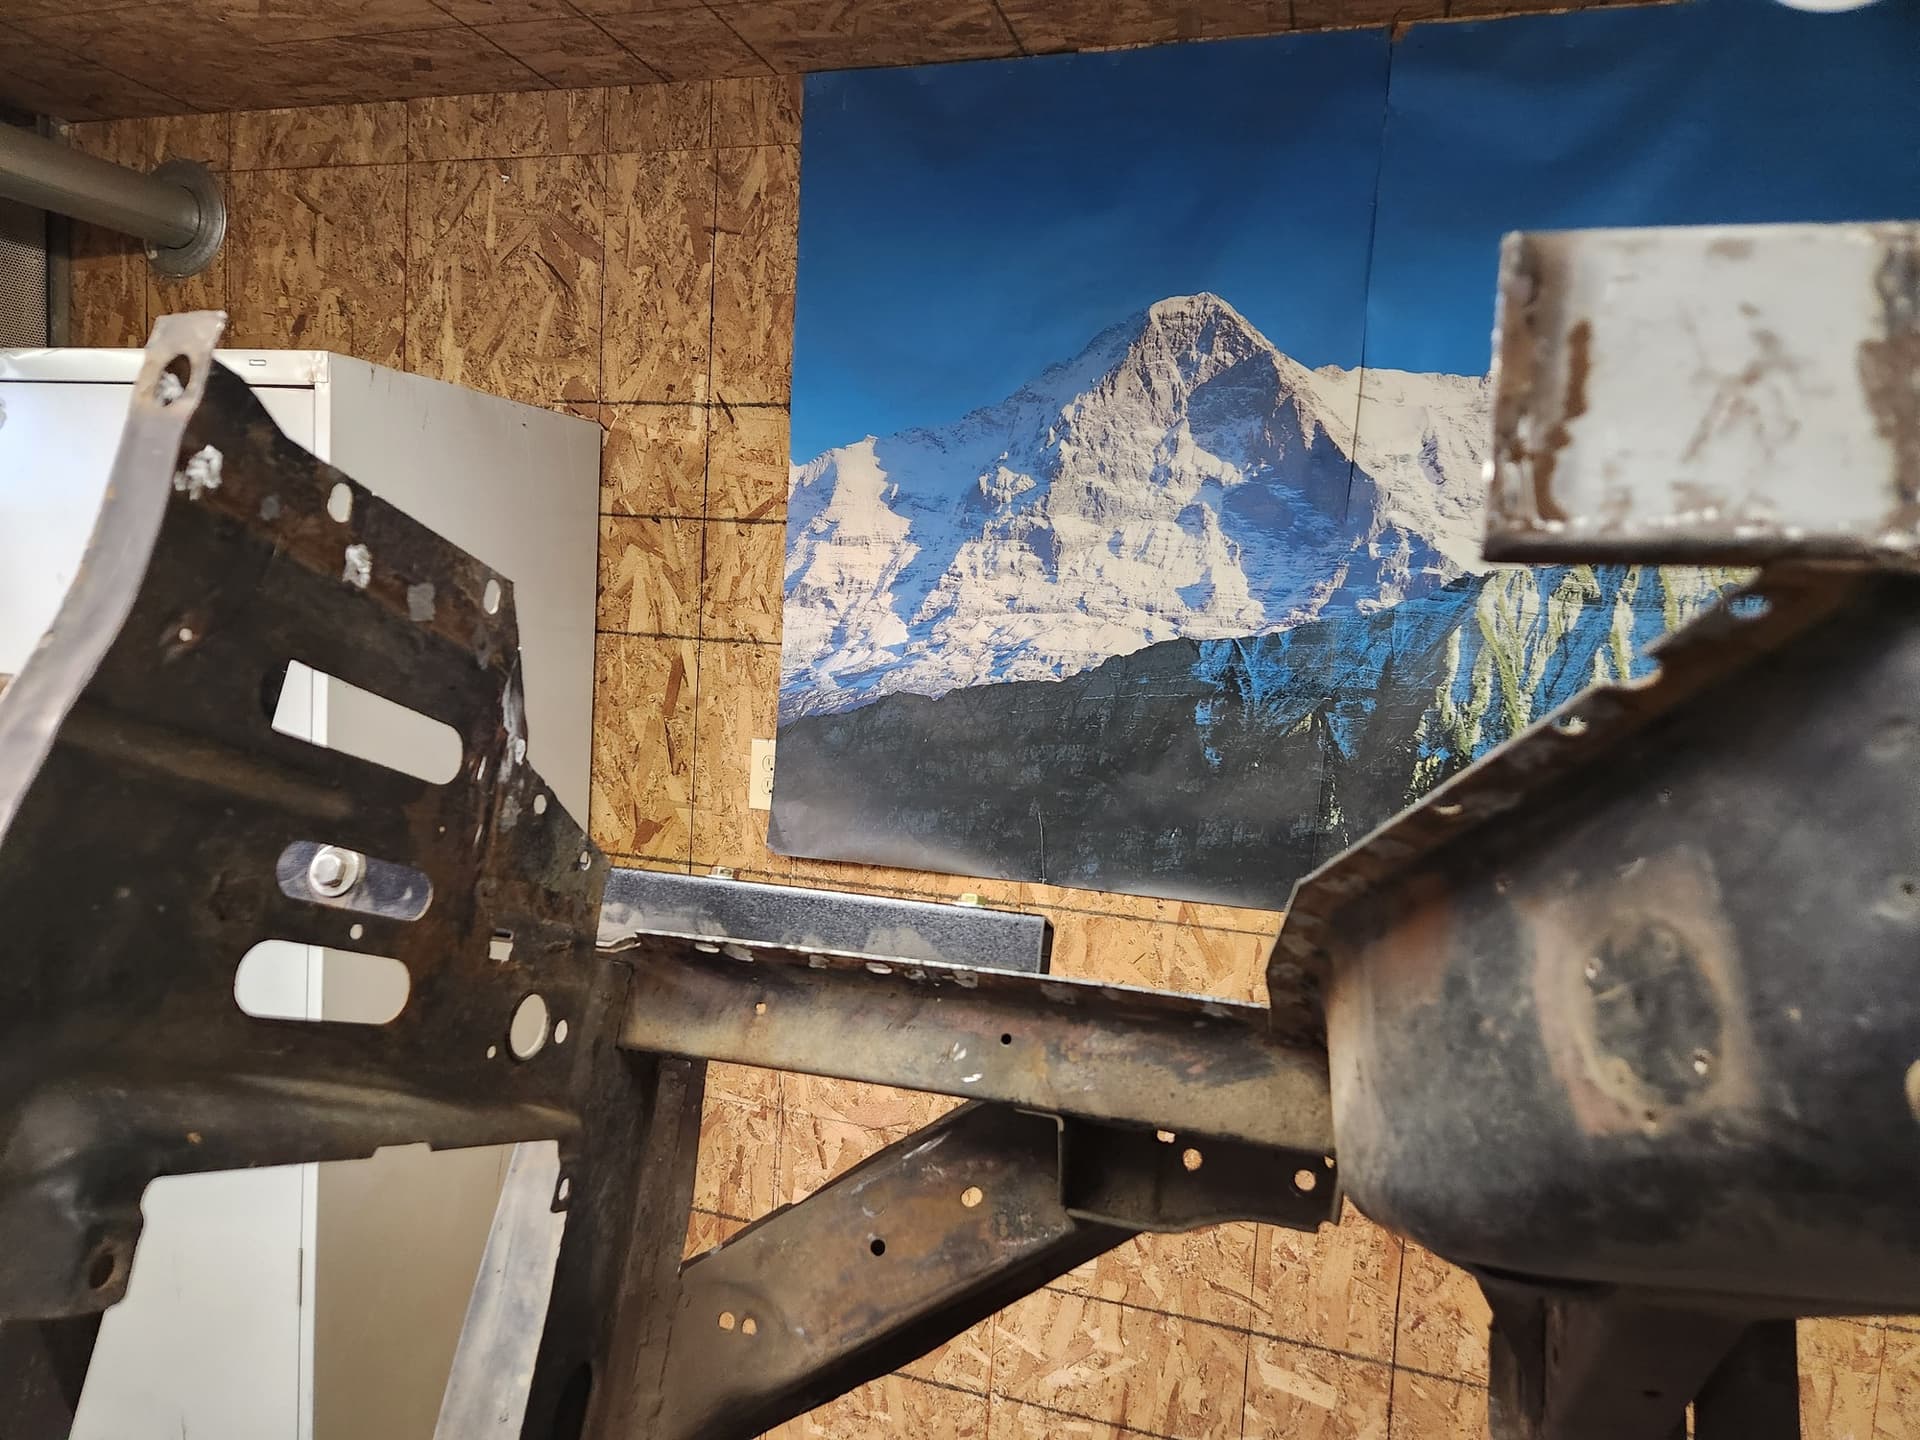
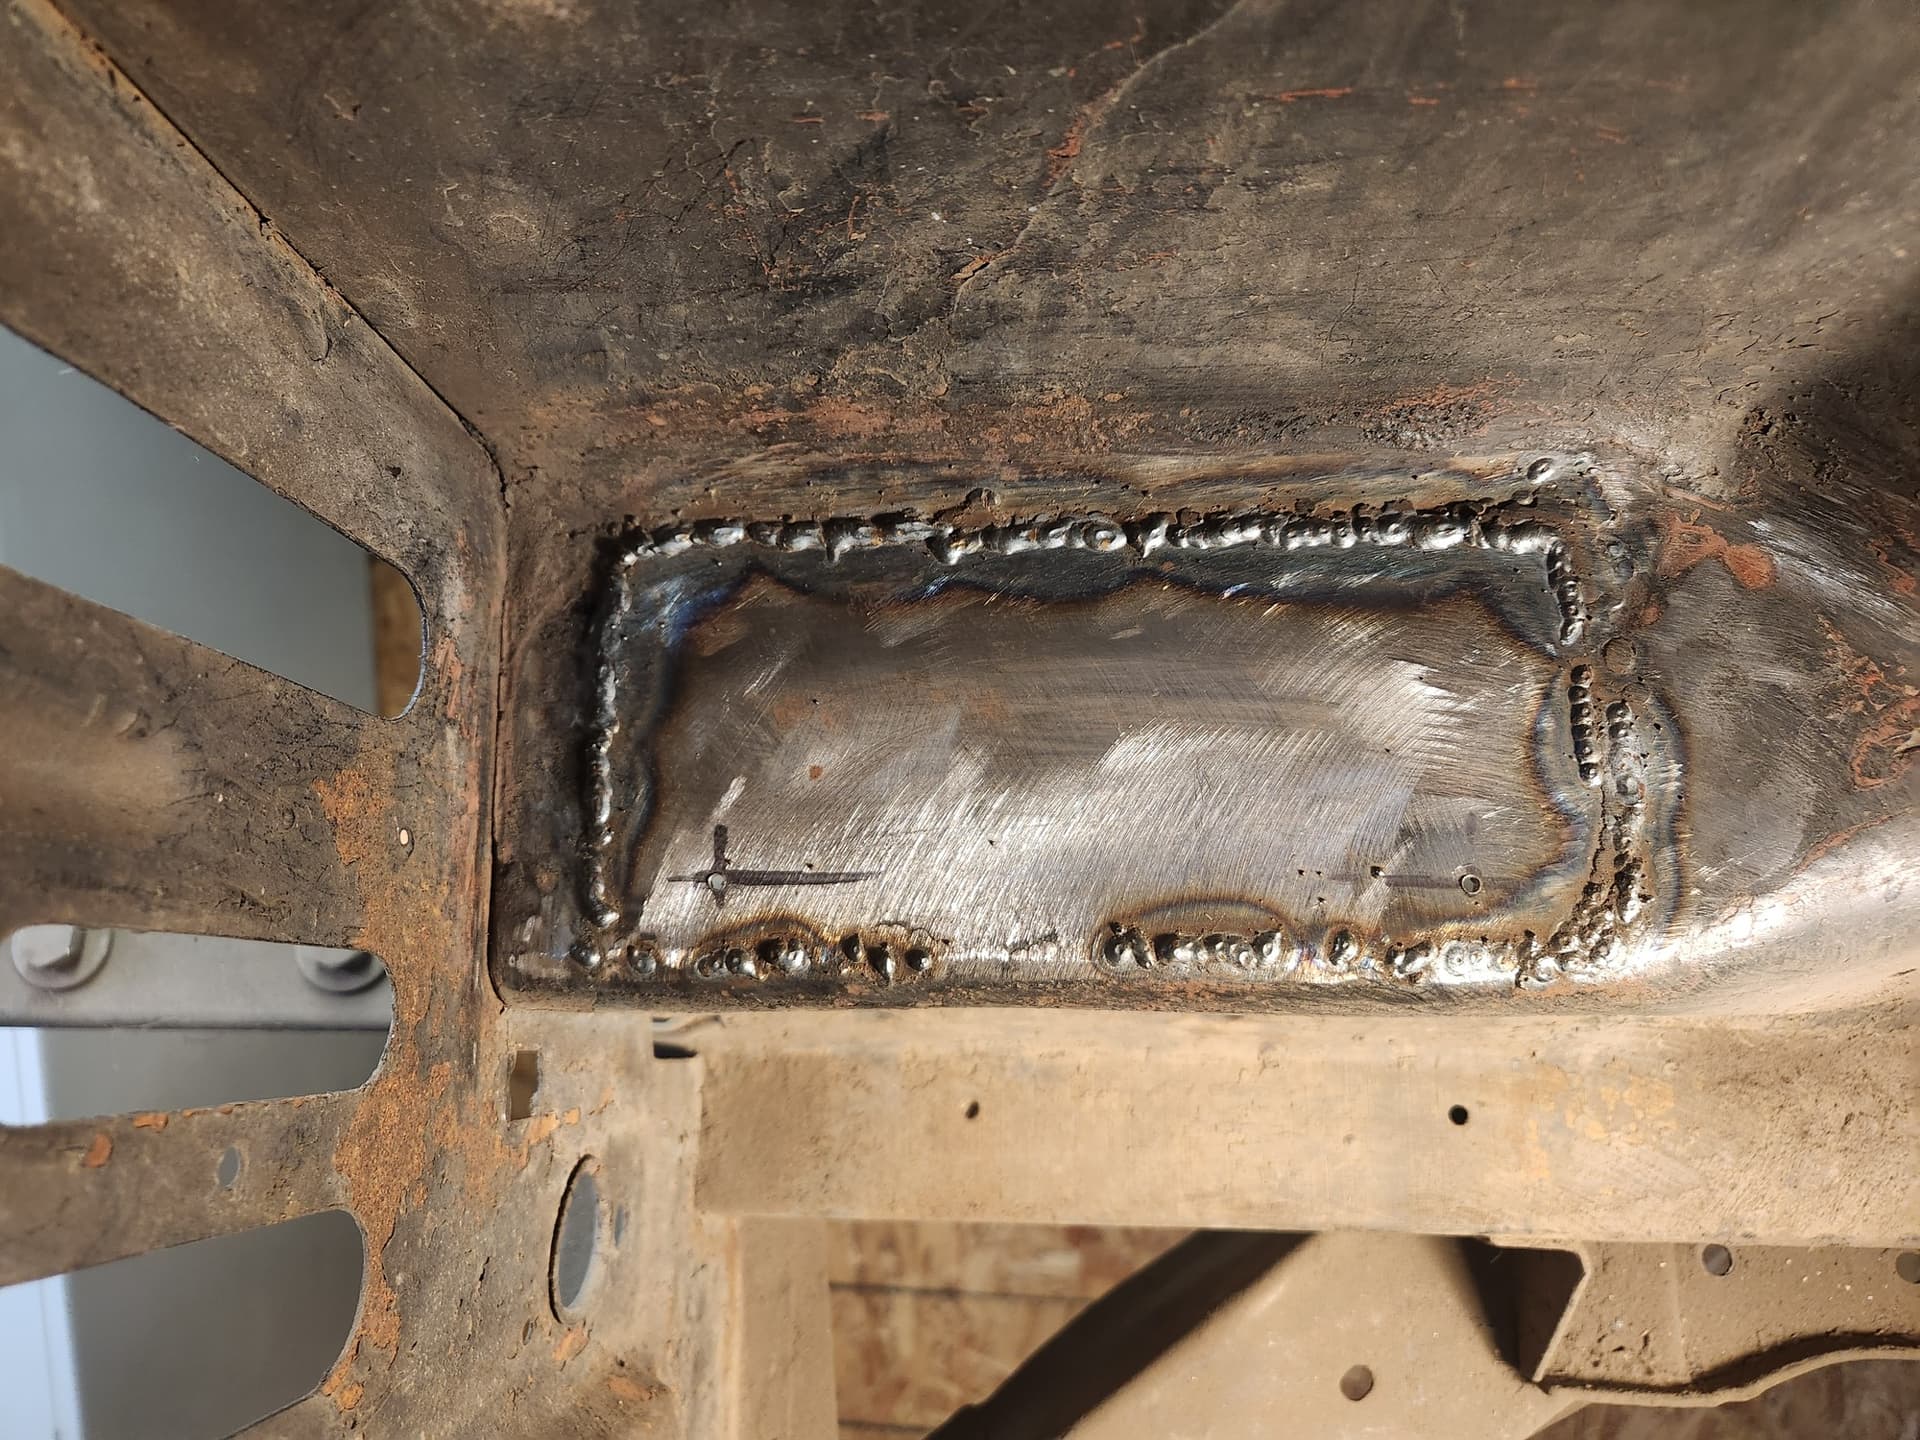
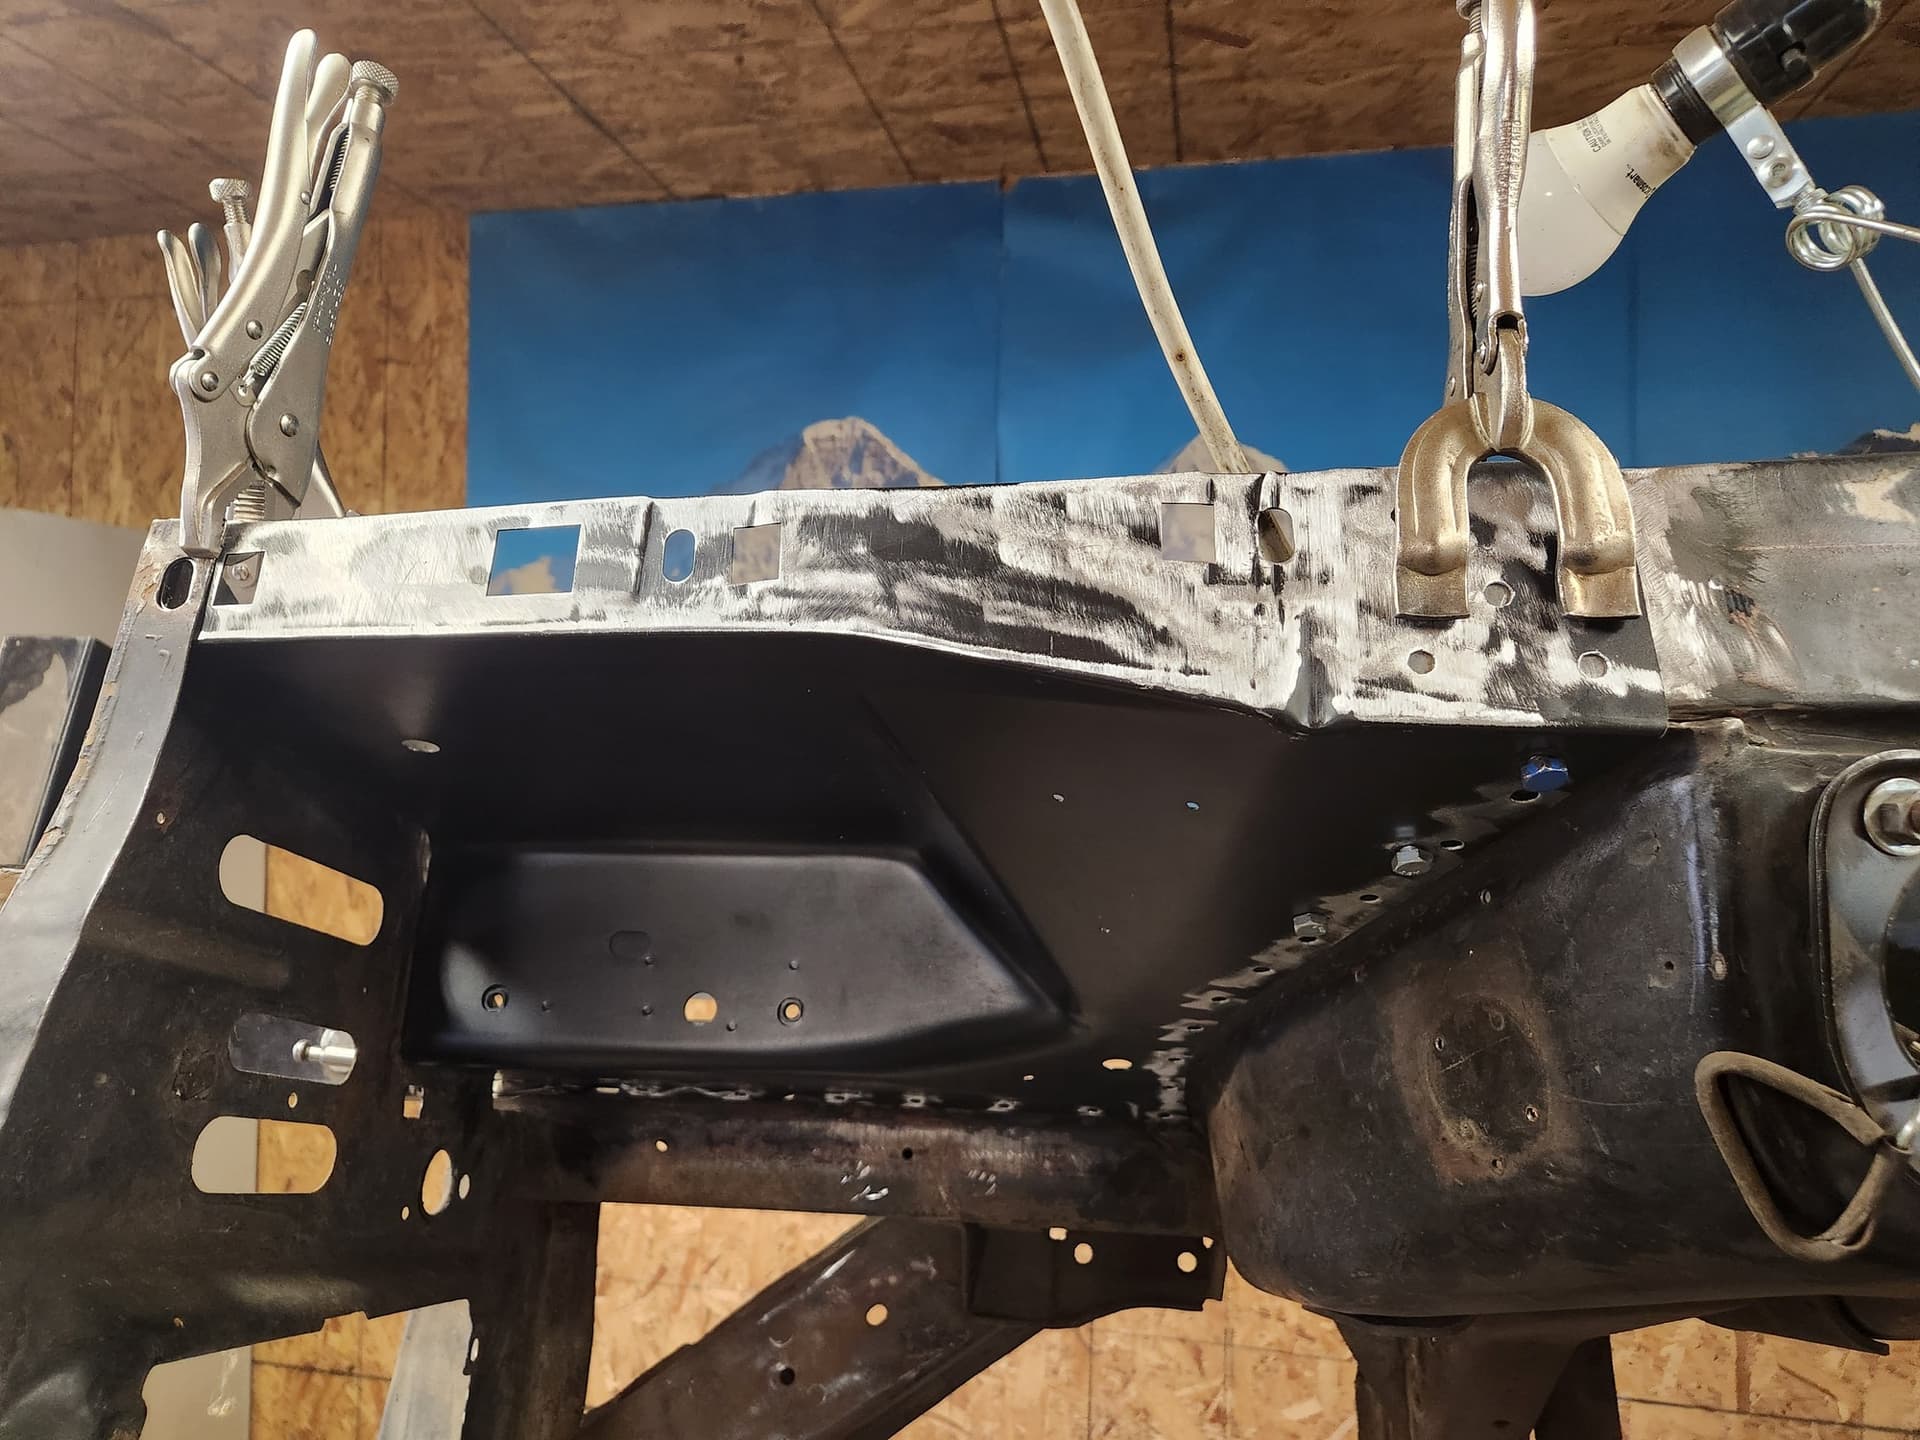
While doing all this I also replaced the front frame extensions. They were bubbling here and there so while reworking the floor and adding the seat reinforcement pans I thought why not.Lots of plug welds and new holes but all patched now.
Funny/interesting aside: LED light bulbs are tougher than hell. The one in the picture has been dropped countless times, smacked around, burnt, weld spattered, etc. In the old days even a rough service bulb in a troublelight would die if you looked funny at it. And its not hot so when your head hits it while stuffed under the dash no burns on your balding pate!