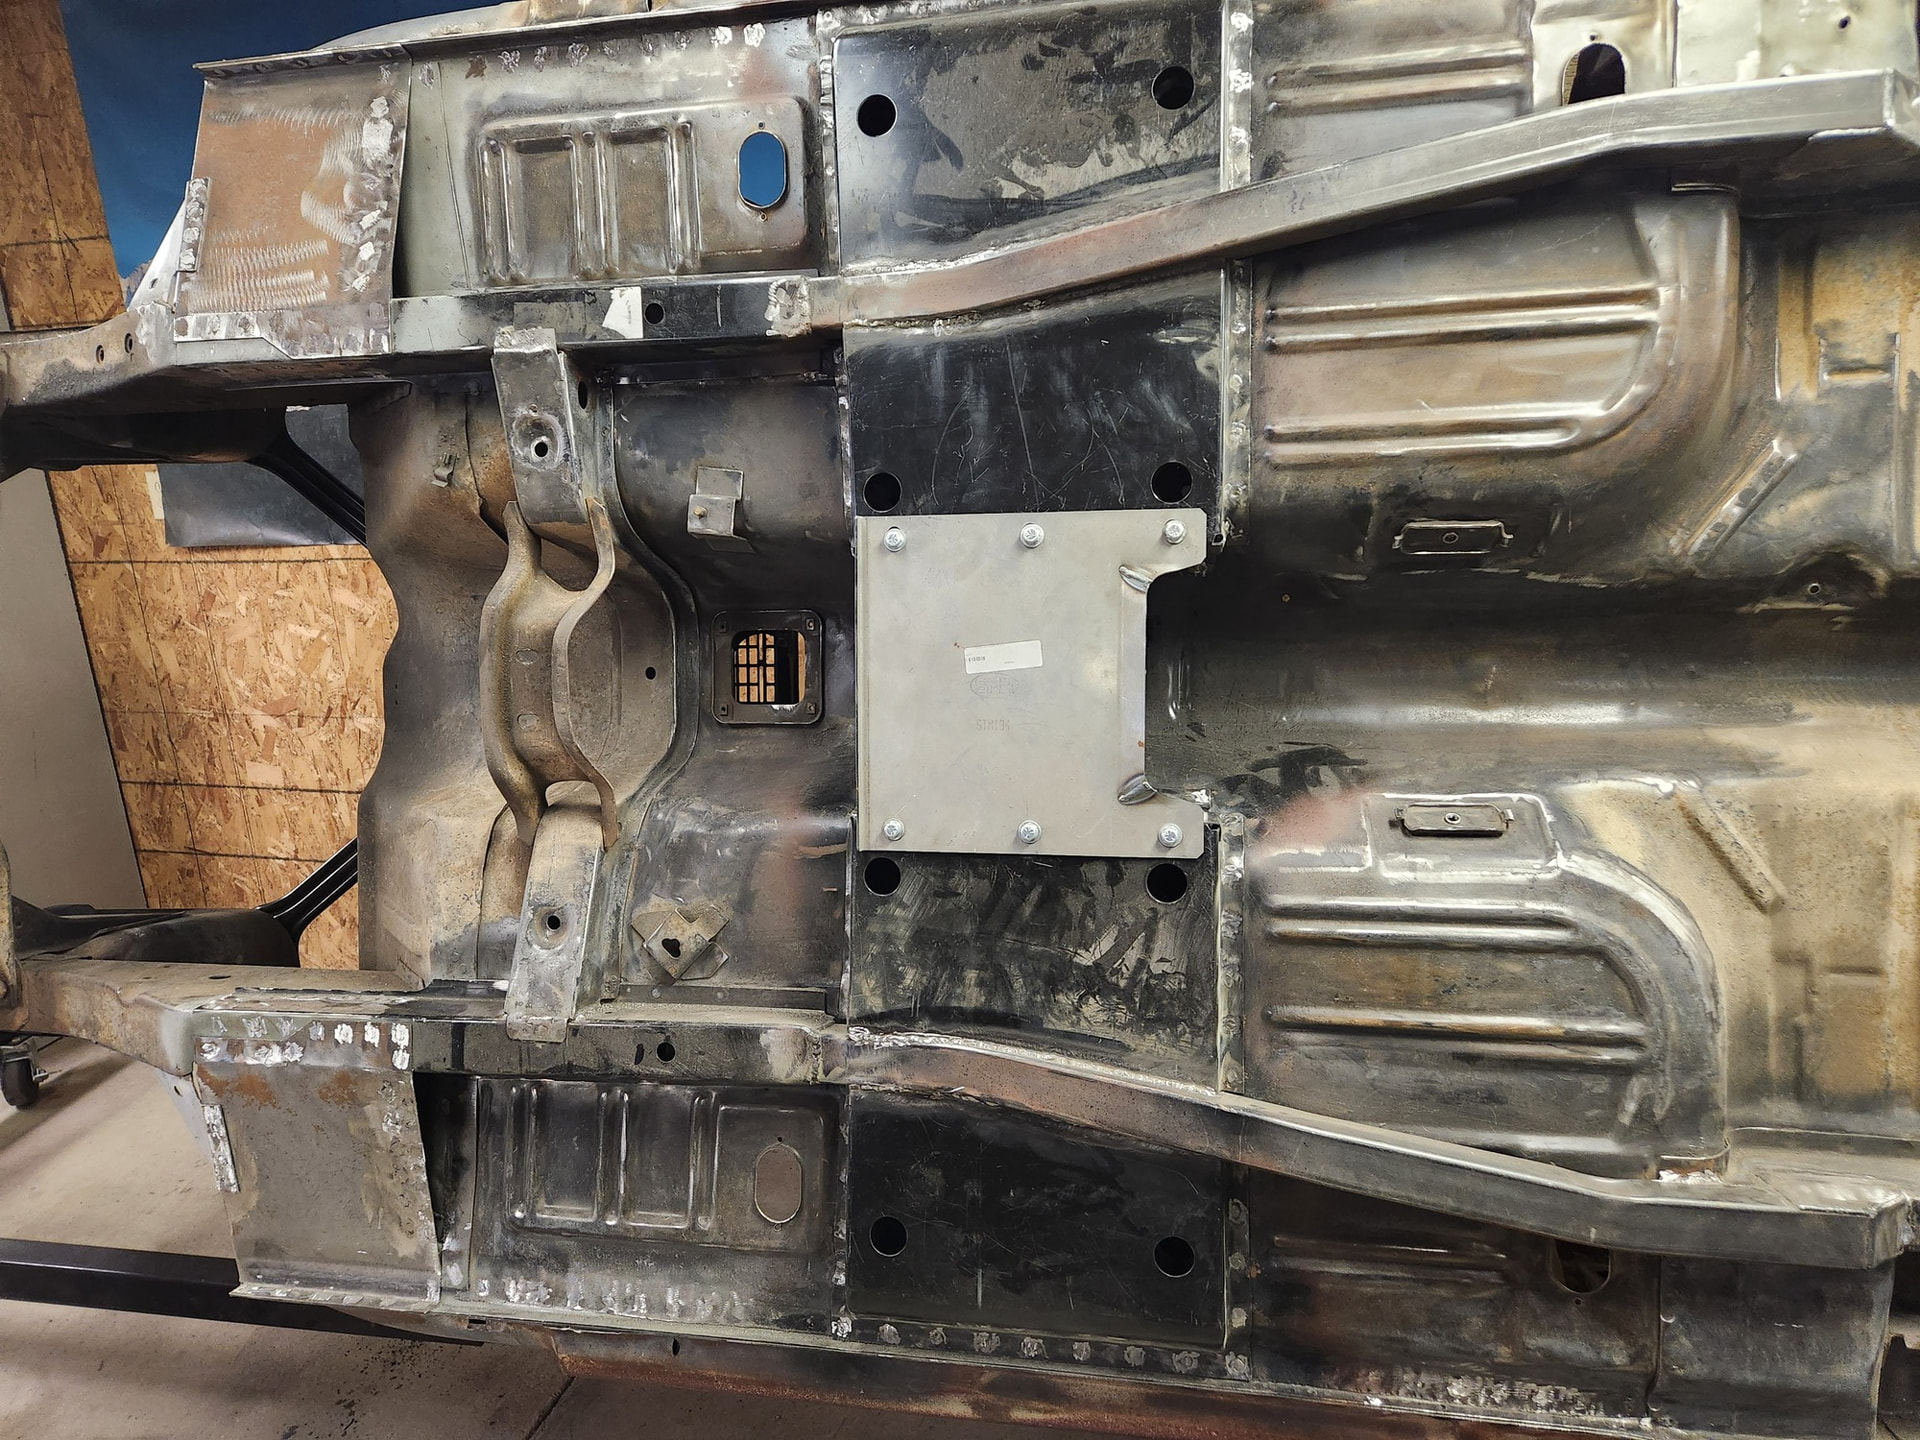
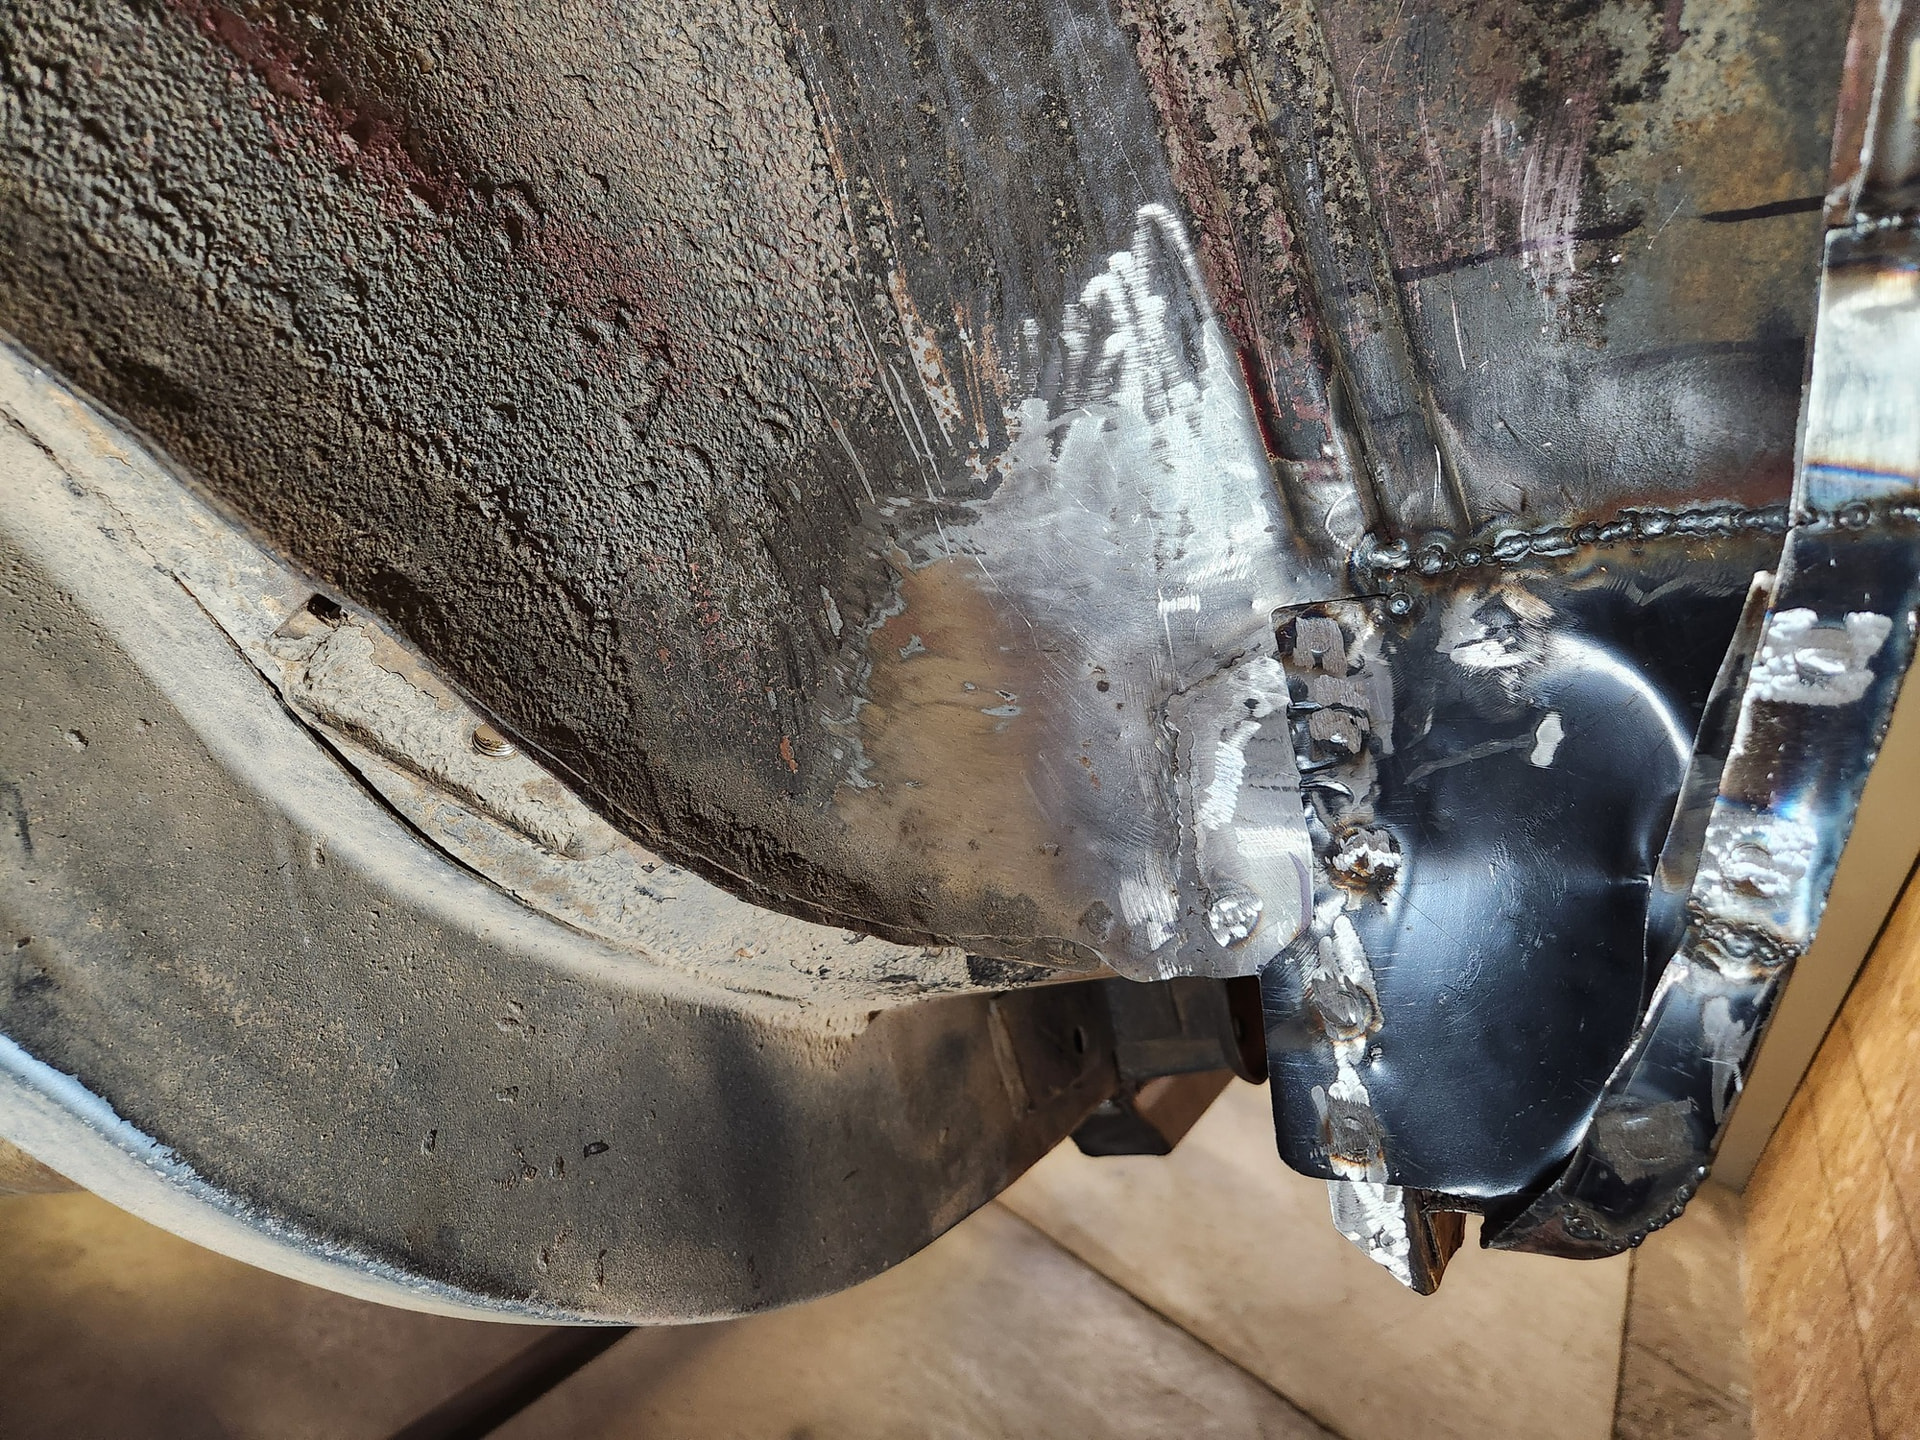
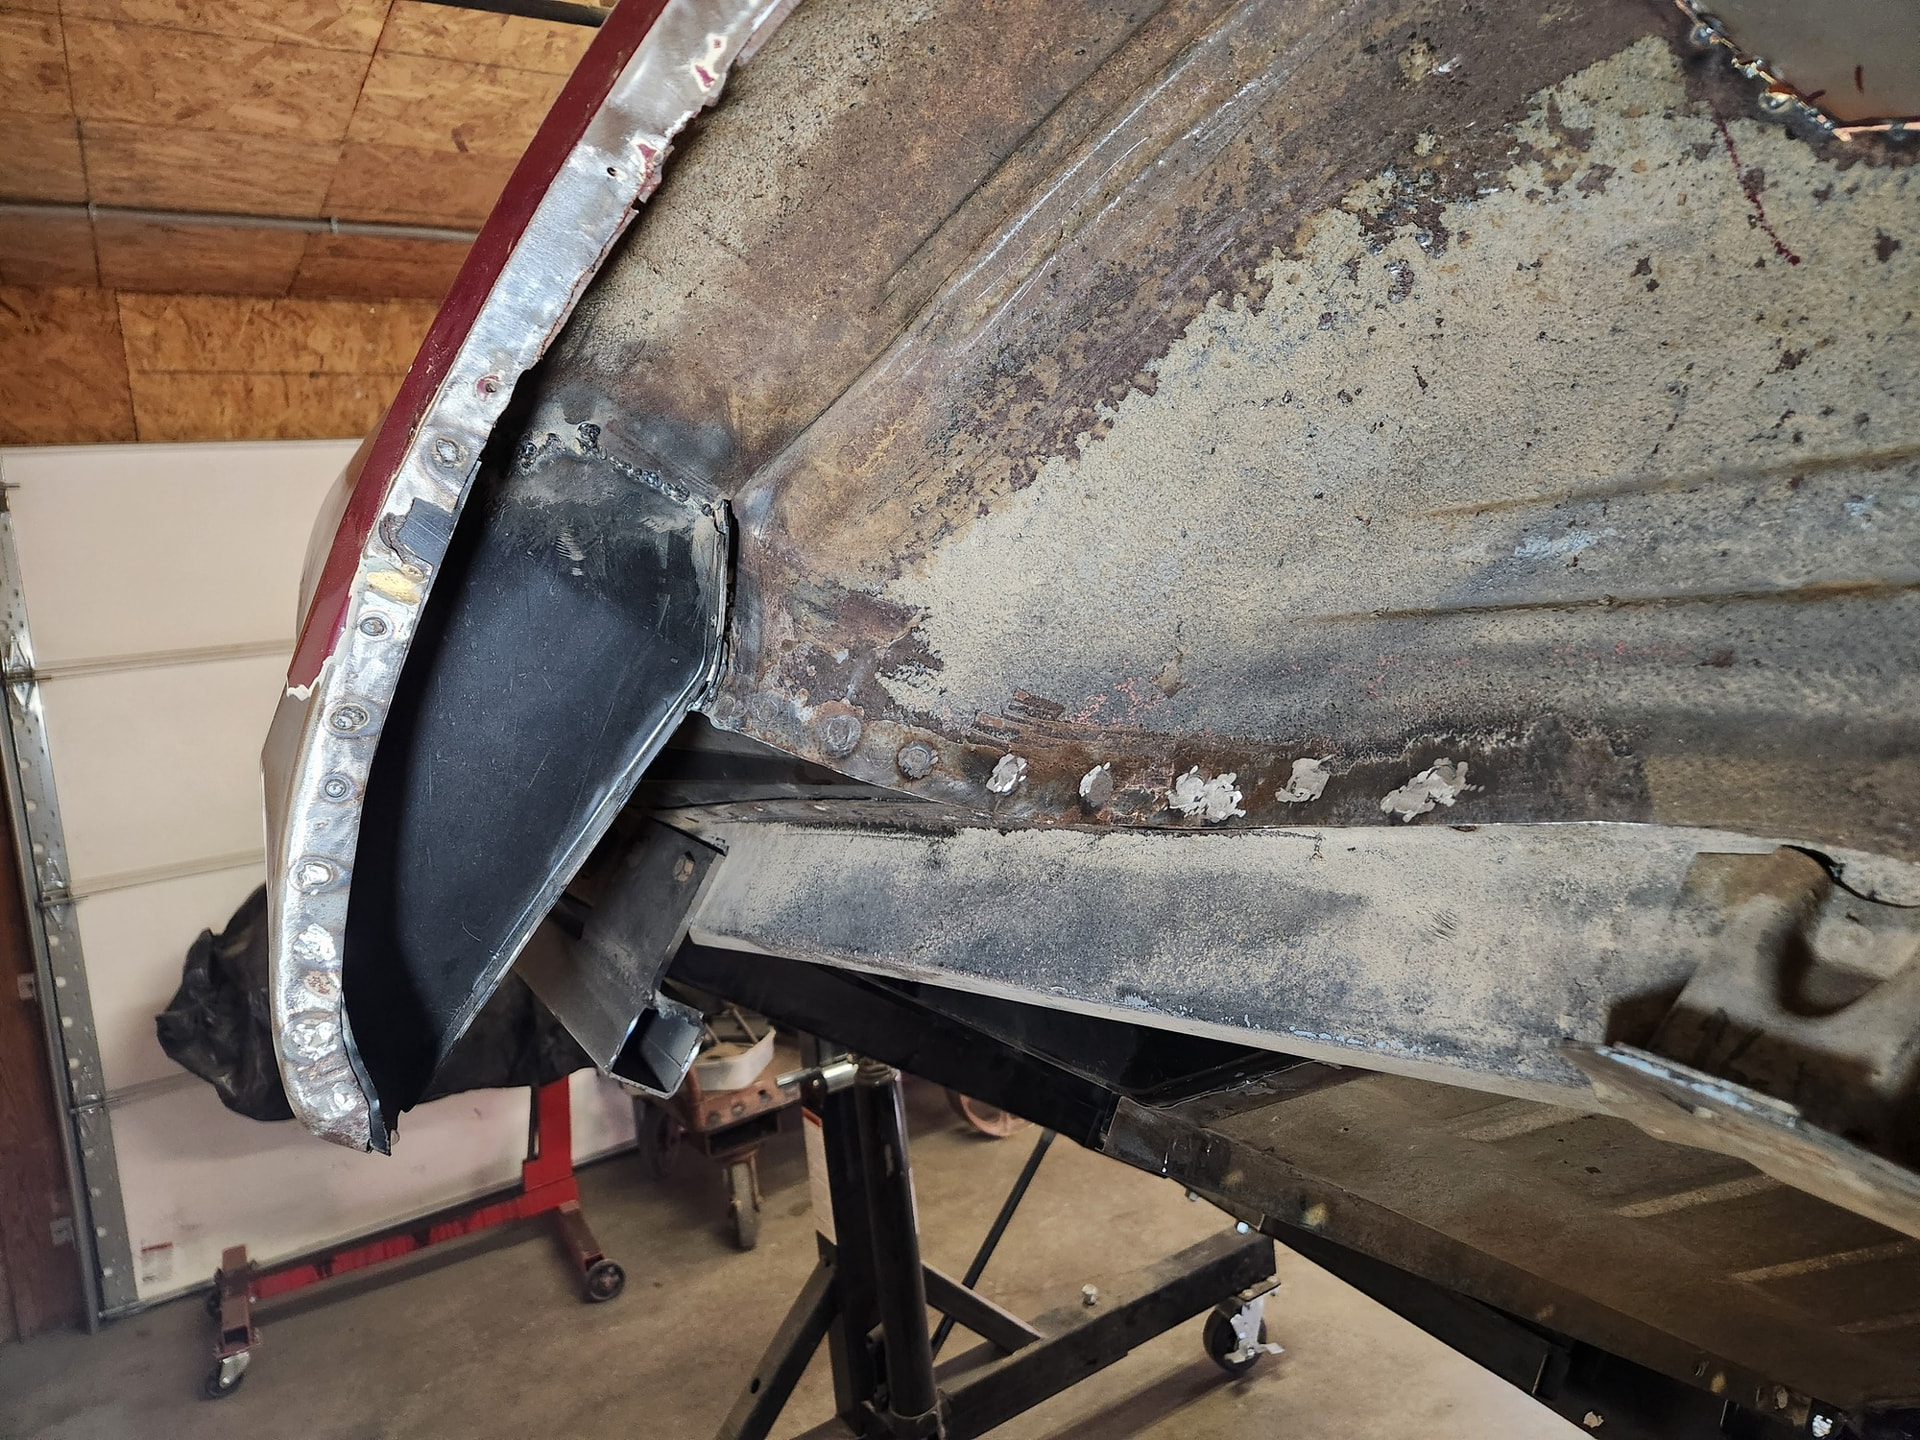
Today’s progress. The underside as far back as the rear torque boxes.
Final welding and grinding for the following:
front torque boxes
new frame extensions
floor to inner rockers
reinforcement pans
subframe connectors
I remain impressed at how stiff this body is with the added structure components. Nothing like my Fox body ‘91 GT Mustang which was an al-dente noodle.
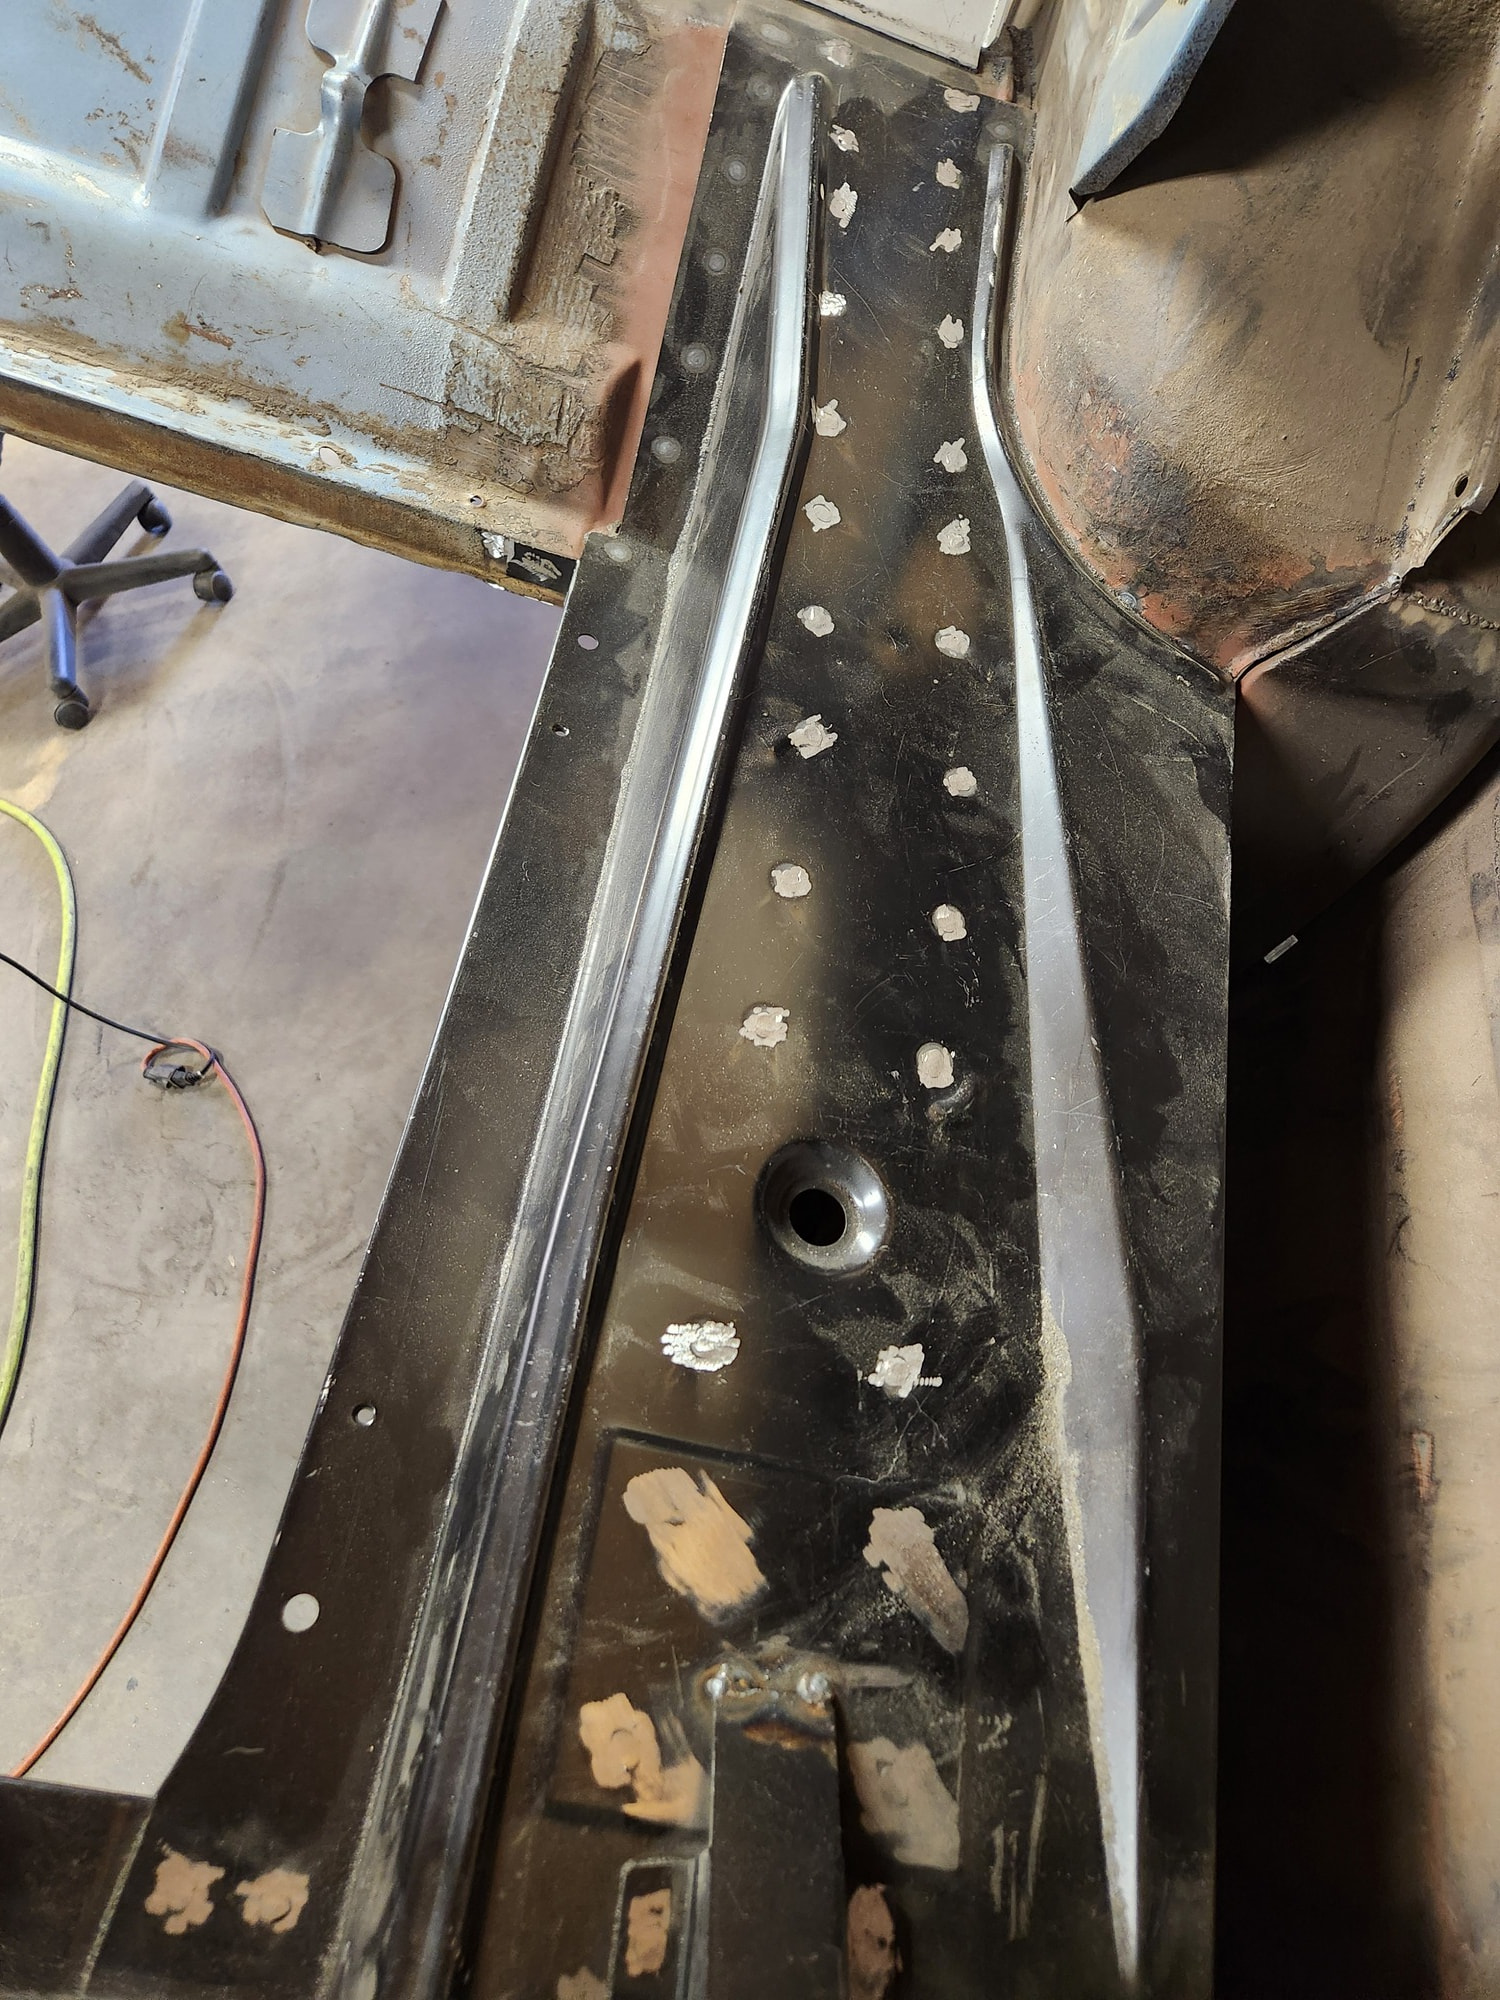
Next stop is probably into the trunk where I replaced about 50% of the floor and all of the drop-offs. Saving anything on the outer skin surface after as much practice as possible.
Today, I hung out in the trunk all day. Convenient to rotate the body about 30-degrees and sit on a chair in the gas tank hole and grind/weld away. Comfortable at least.
I could not find sufficient joy in working into the drop-offs and the tightest corners of the quarter to tail panel but most everything else is done.
floor sections
tail panel
bumper reinforcement brackets
Not very exciting but one more set of things done.
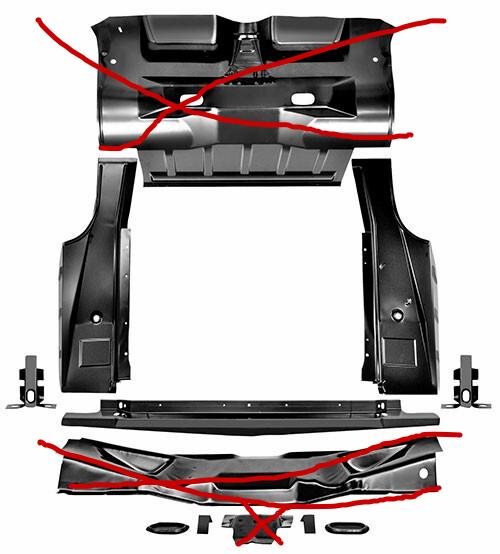
Fitment and install where generally hassle free. I had originally decided to do drop-off patch panels but due to other rust/repair issues decided to replace completely.
Only issue was that I had to buy an entire kit for the trunk. Shipping was free on this kit and nothing else was really close when buying individual parts. I did not install everything. However, sections of the uninstalled parts have been perfect for other repairs (lots of useful preformed metal to pick and choose from)
BTW. I was told that these are not concours correct but that doesn’t matter to me and my restomod convertible.
Hey Martel, thanks for explaining. Similar story my side. DS top is bad, PS drop is bad. Could spot patch, but I’d like to have more material to work with, just in case. WCCC are the only seller I found who break up the kit, but the individual piece prices aren’t anywhere near proportional, and are still mostly oversized shipments.
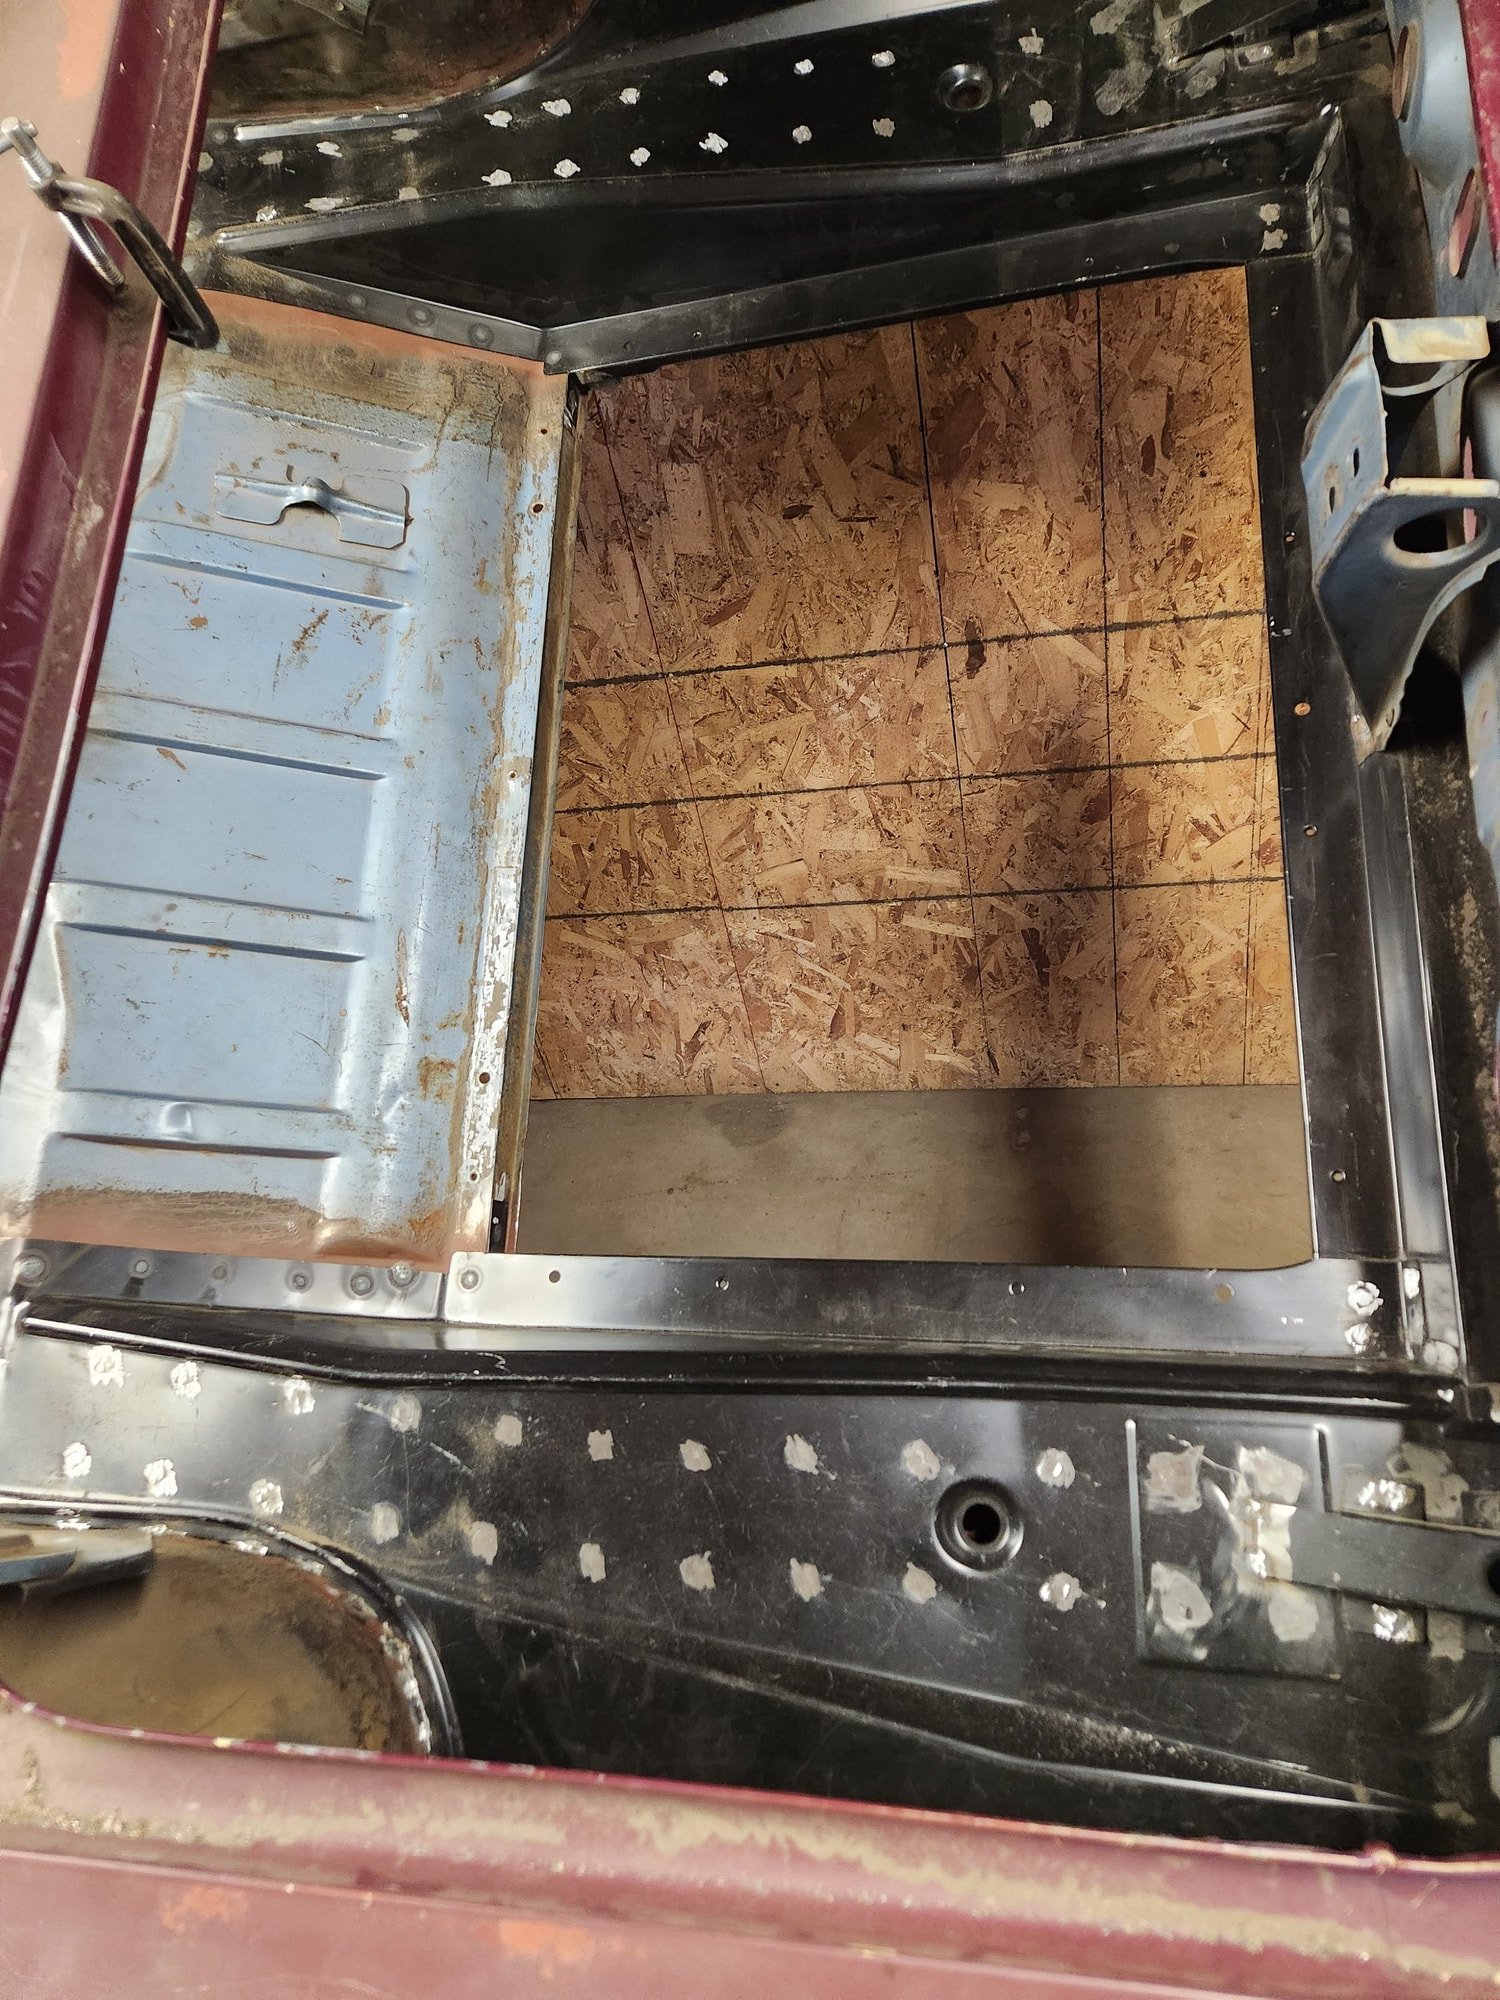
So i finally found somebody offering free shipping on the full piecemeal kit and decided to pull the trigger. Looks like the floor side panels can be replaced without needing to remove the quarter panels. Good news!
Don’s video does suggest that Dynacorn didn’t quite arrive at a concours copy, e.g. the assembly line holes are not supposed to be recessed. Those holes are rust magnets, so I may just close them off.
Exact same story here. I hate paying as much for shipping as the parts. This was in 2022 (yikes, delayed project) but I found it the full kit for <$900 shipping included on Ebay. I was at first thinking that it was the best of bad deals but in the long run not so.
The front pan section has yielded about 10 misc patches for wheelhouses and quarters. So, I am ok with the price paid for the kit.
Welding a few plugs at the bottoms of the drop-offs is 1000% easier than seam welding and finishing drop-off patch panels. So, again I’m ok with the price.
The assembly line holes were rust magnets because there was a radius around them that did not receive paint. Bare metal plus moisture trapped under the trunk mat caused the rust. Welding the holes shut is one solution, but you really should be fine with primer and paint and new rubber plugs in the holes.
I am leaving mine open and adding the plugs. The frame rails are/were in great shape and no rust on the floor portion. The rails were full of 60 years of whatever but the galvanize was still doing its job. I did add a coat of compatible primer nonetheless.
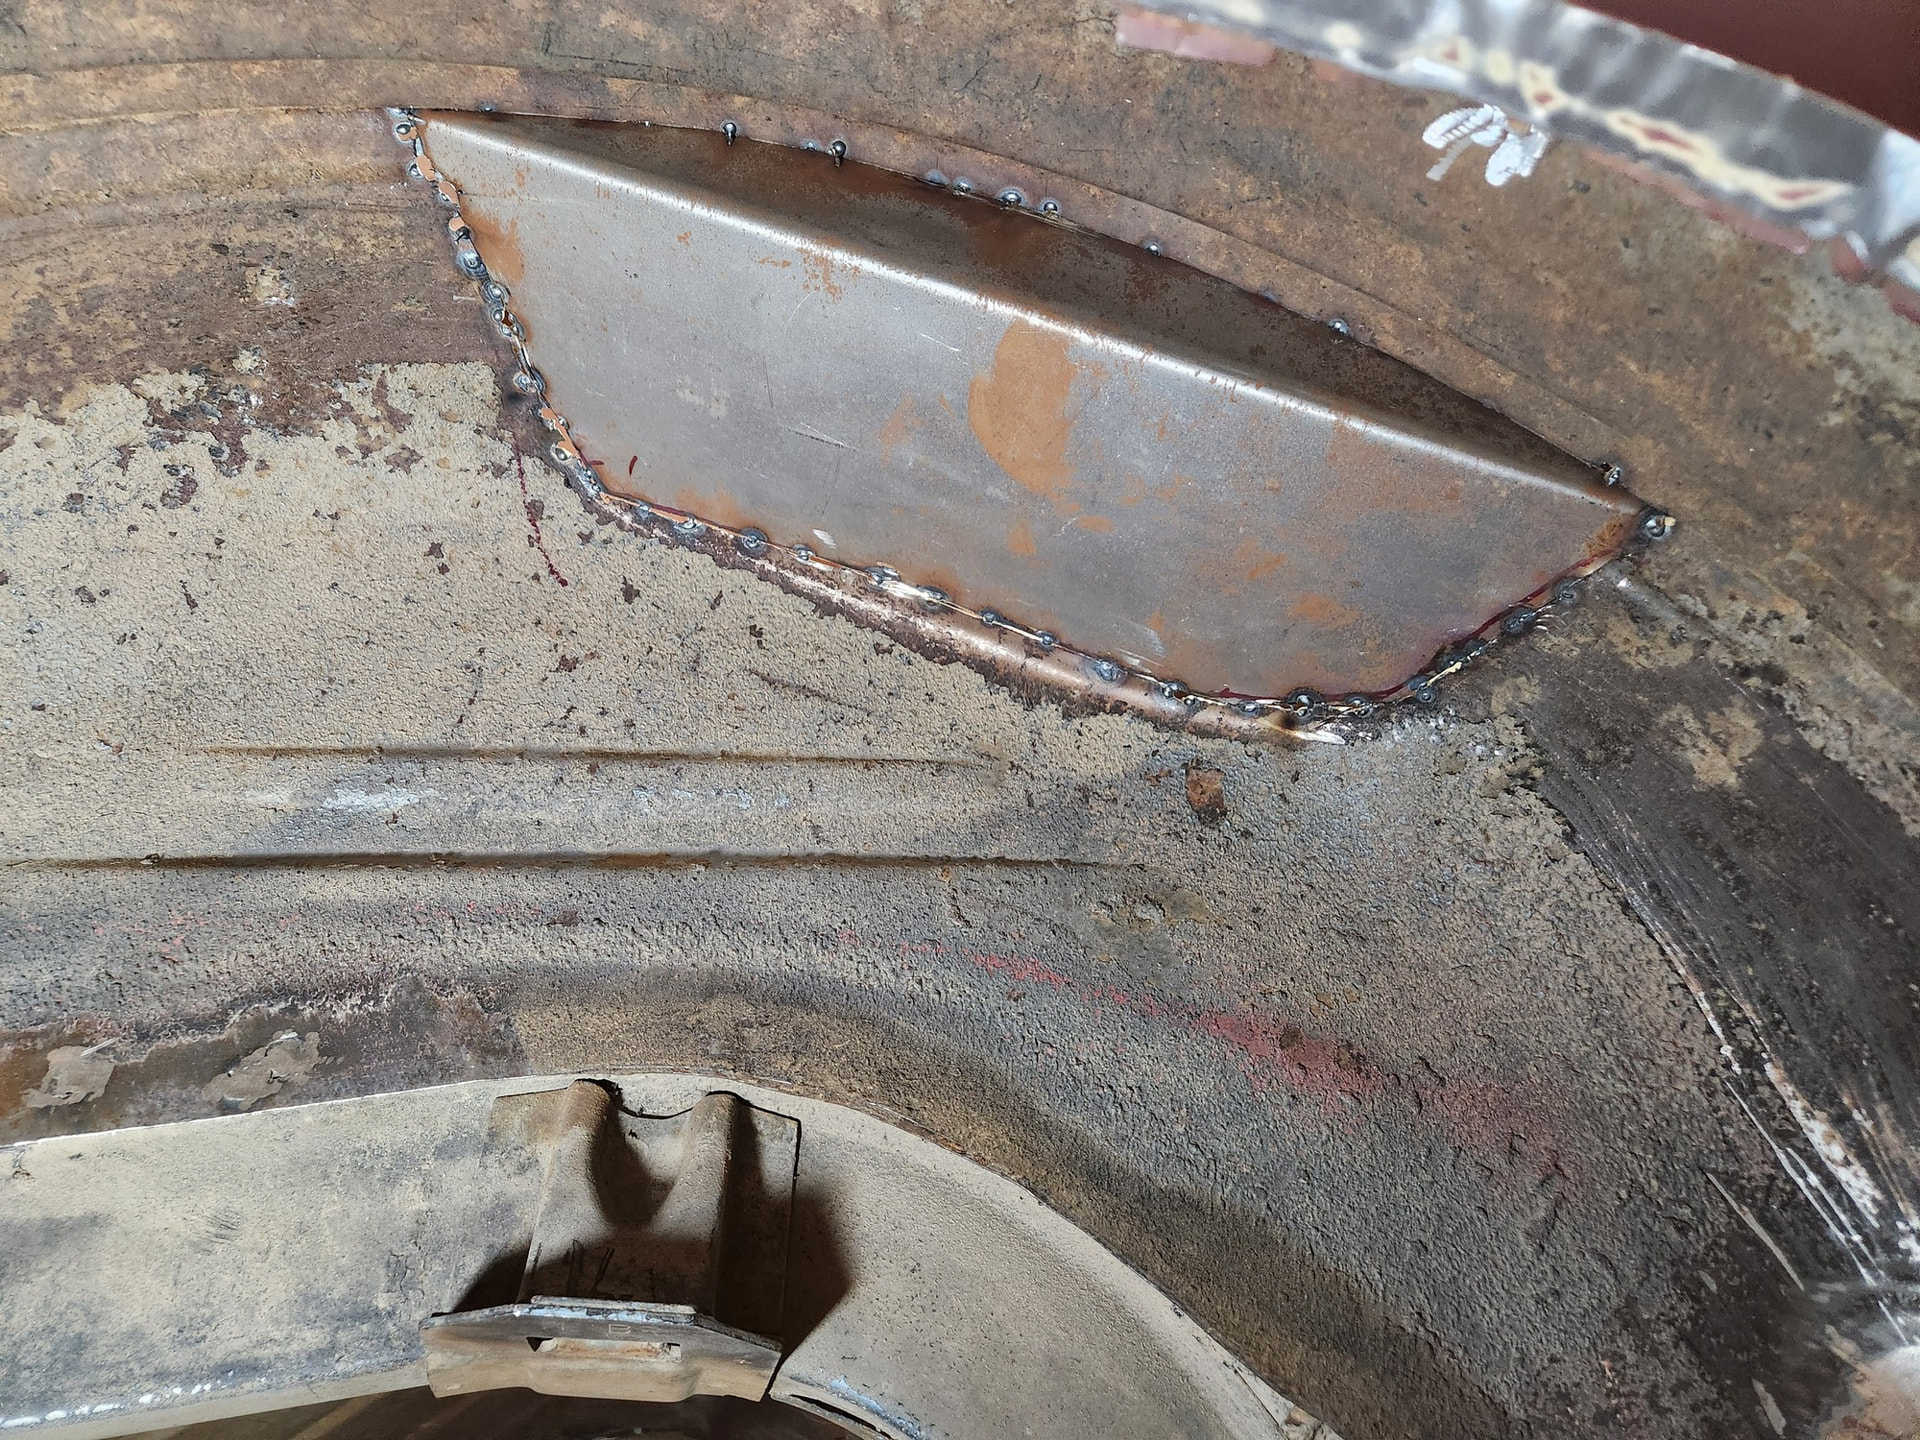
Underside of the trunk floor and starting on the “bottom side” of the wheelhouses. Slow going here as I patched the wheelhouses in all the common spots (top center, front/rear lower corners). Amazing the amount of dirt, etc. that I pulled out of there. Not surprising that parts rusted out.
A less ugly portion. Had to chase the plug welds between the inner wheelhouse and the trunk floor back-n-forth to get them solidly welded but solid as hell now.
Mods to the top of the inner wheelhouse. These are based upon dimensions from a 67 Mustang convertible wheelhouse. However, I’m a little concerned here that they are too “deep” and could cause tire clear issues. There is good clearance to the convertible top frame. I’m holding off on finishing this until I get the body on its wheels/tires and new springs. I only want to do do this work once.
ANYONE know how much weight I need to add to a bare chassis to preload this car to check stance and clearances?
Much nicer than the factory approach of bashing the top of the inner wheel wells down with a hammer to make room for the convertible tops in 69 and 70. Enjoying watching your progress!
Same here. 880ish but shipping included. Elsewhere +/-300 for shipping alone. UPS is crazy these days, just spent 200 shipping front seats.
I am learning that the Dynacorn website first for the part number, followed by a general websearch helps find competitive deals. Also looks like Dynacorn and ACP are somehow connected.
I have also found the Dynacorn site useful in that regard. It was also helpful to compare various Mustang parts that are now on my conversion. The part numbers cut through some hassle while searching.
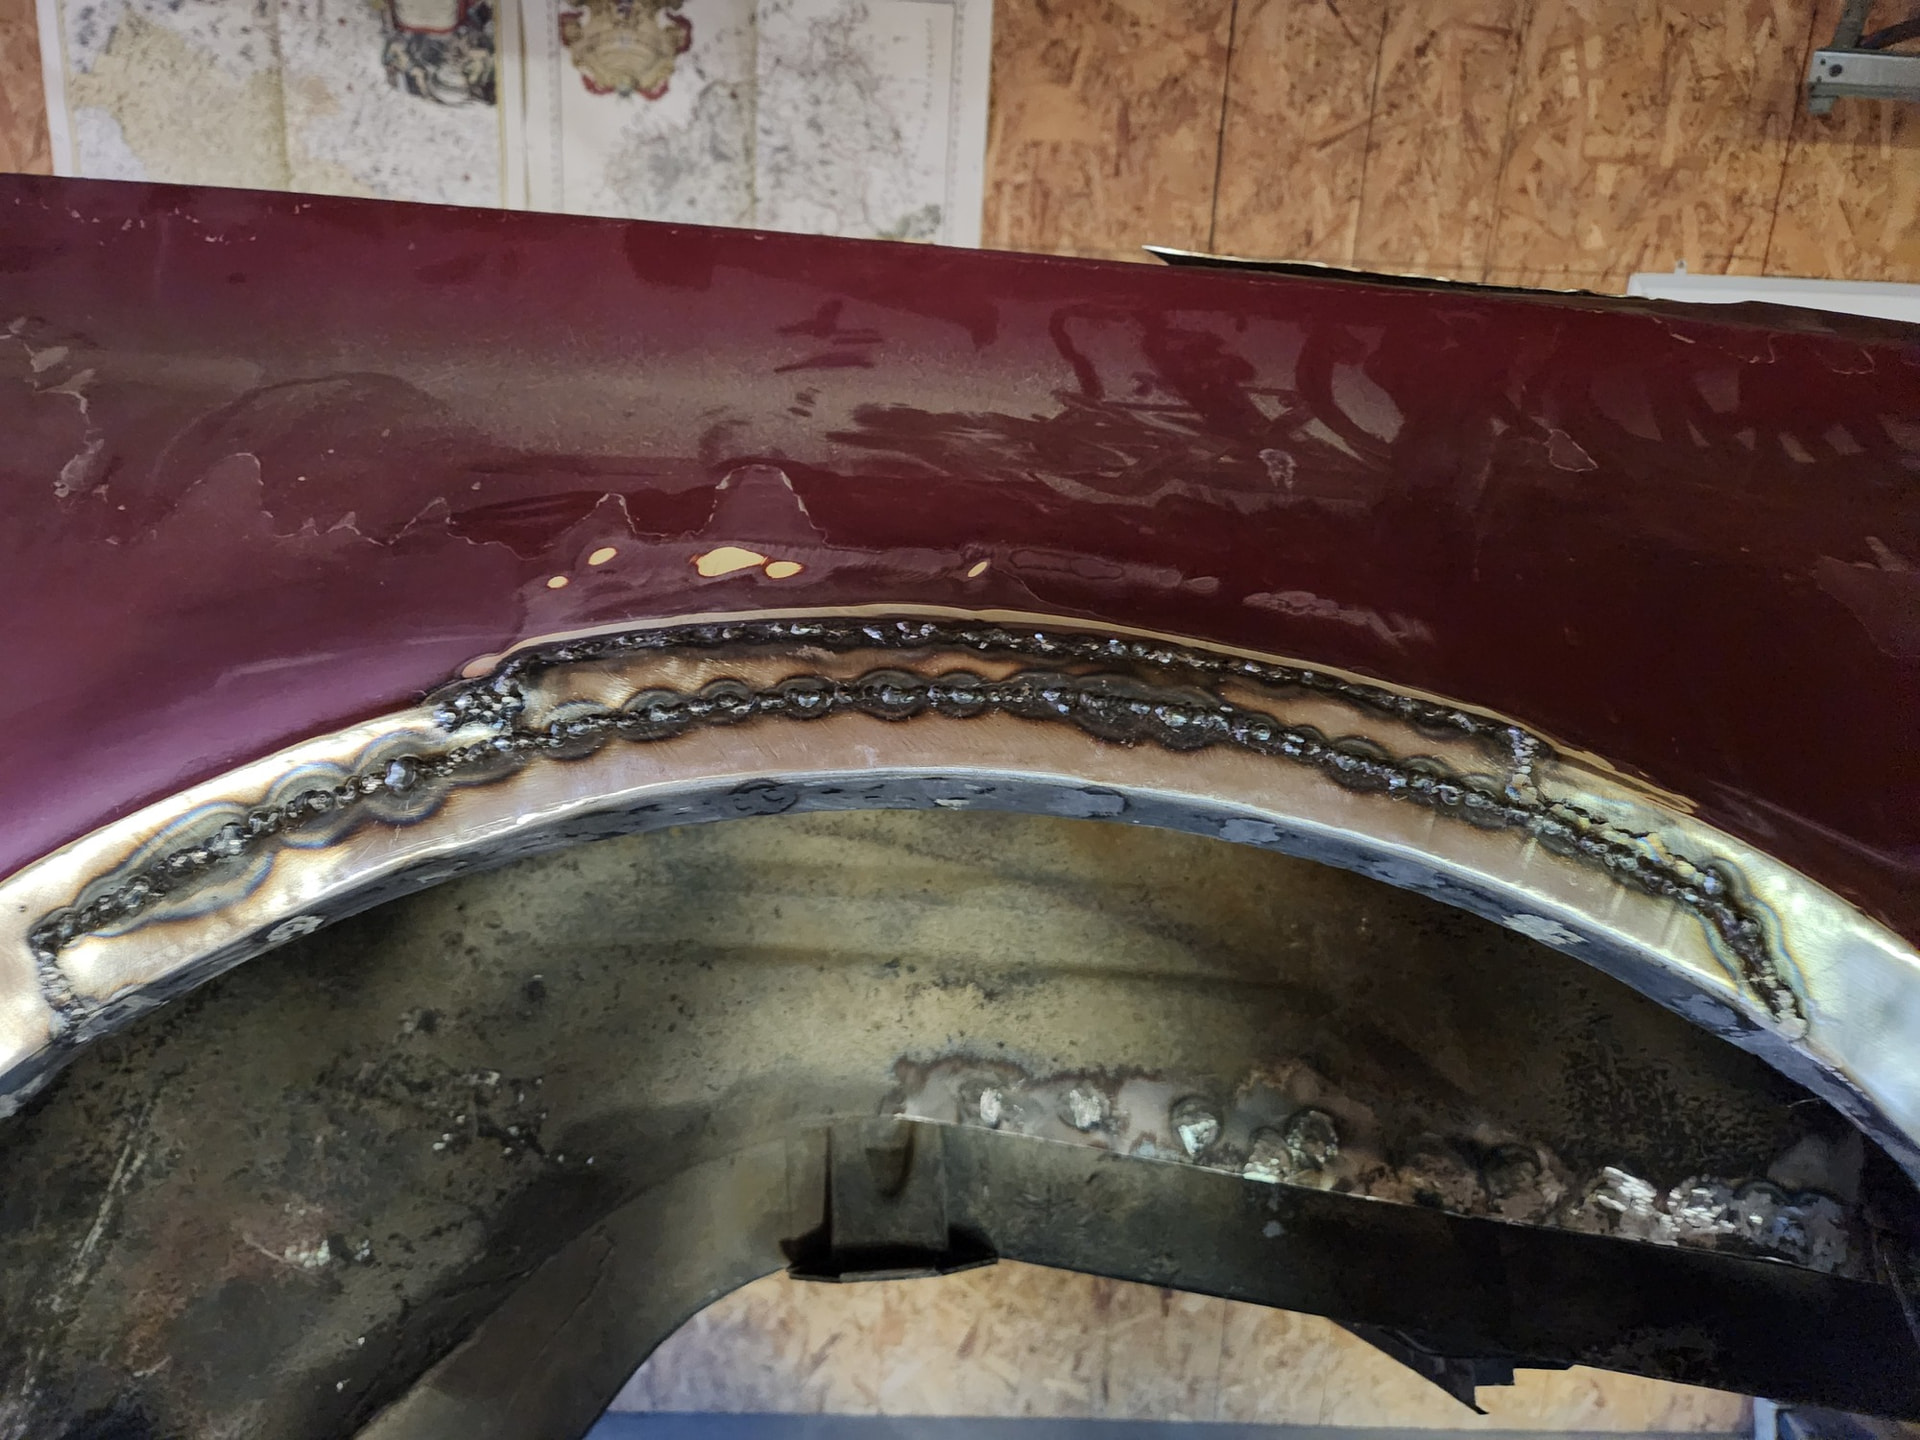
Got tired of measuring and figuring for the headlight conversion so back to grinding. Today I finished up the passenger side wheel house. The spliced-in pieces look good even without sprayed-in stone guard!
Back into the trunk tomorrow to finalized the other side of this repair.
BTW. I wish I was ambidextrous. Some things are easy for righthanded folk and others for lefthanded folk. Getting deep into a wheelhouse with a helmet on to weld or grind is one of those things that would be easier.
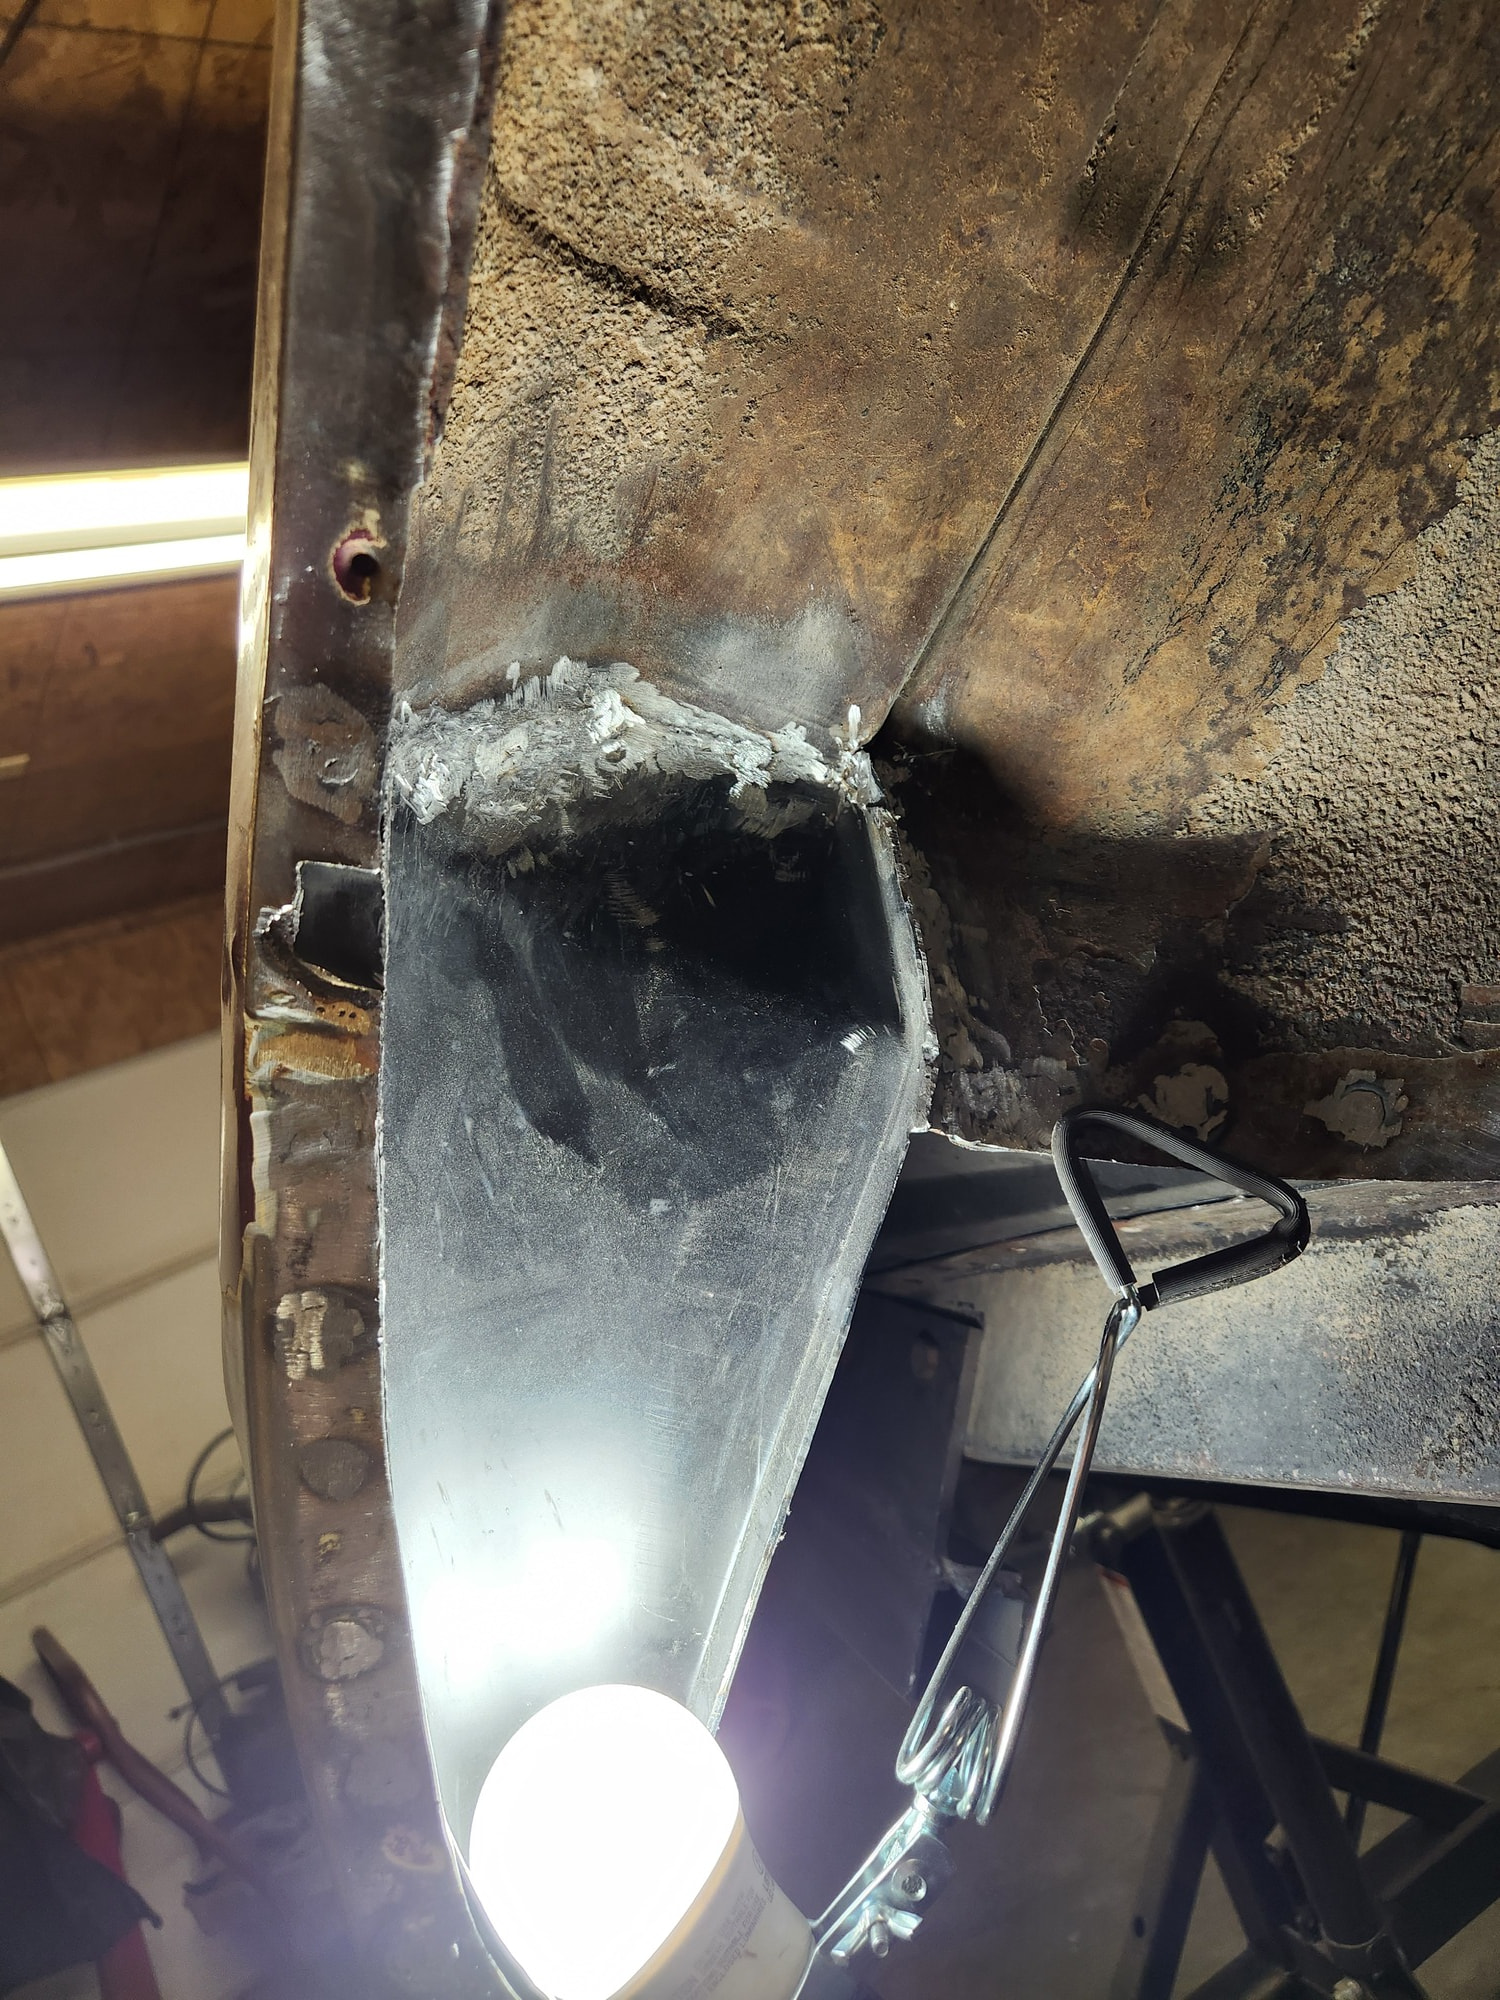
My view for over an hour inside of the wheelhouse. I think that this looks good. A mostly used-up 4.5” cutoff disc (about 1.5” dia.) on a right angle air grinder works wonders in this tight space. Definitely always wearing my full face shield with a grinder inches from my nose.
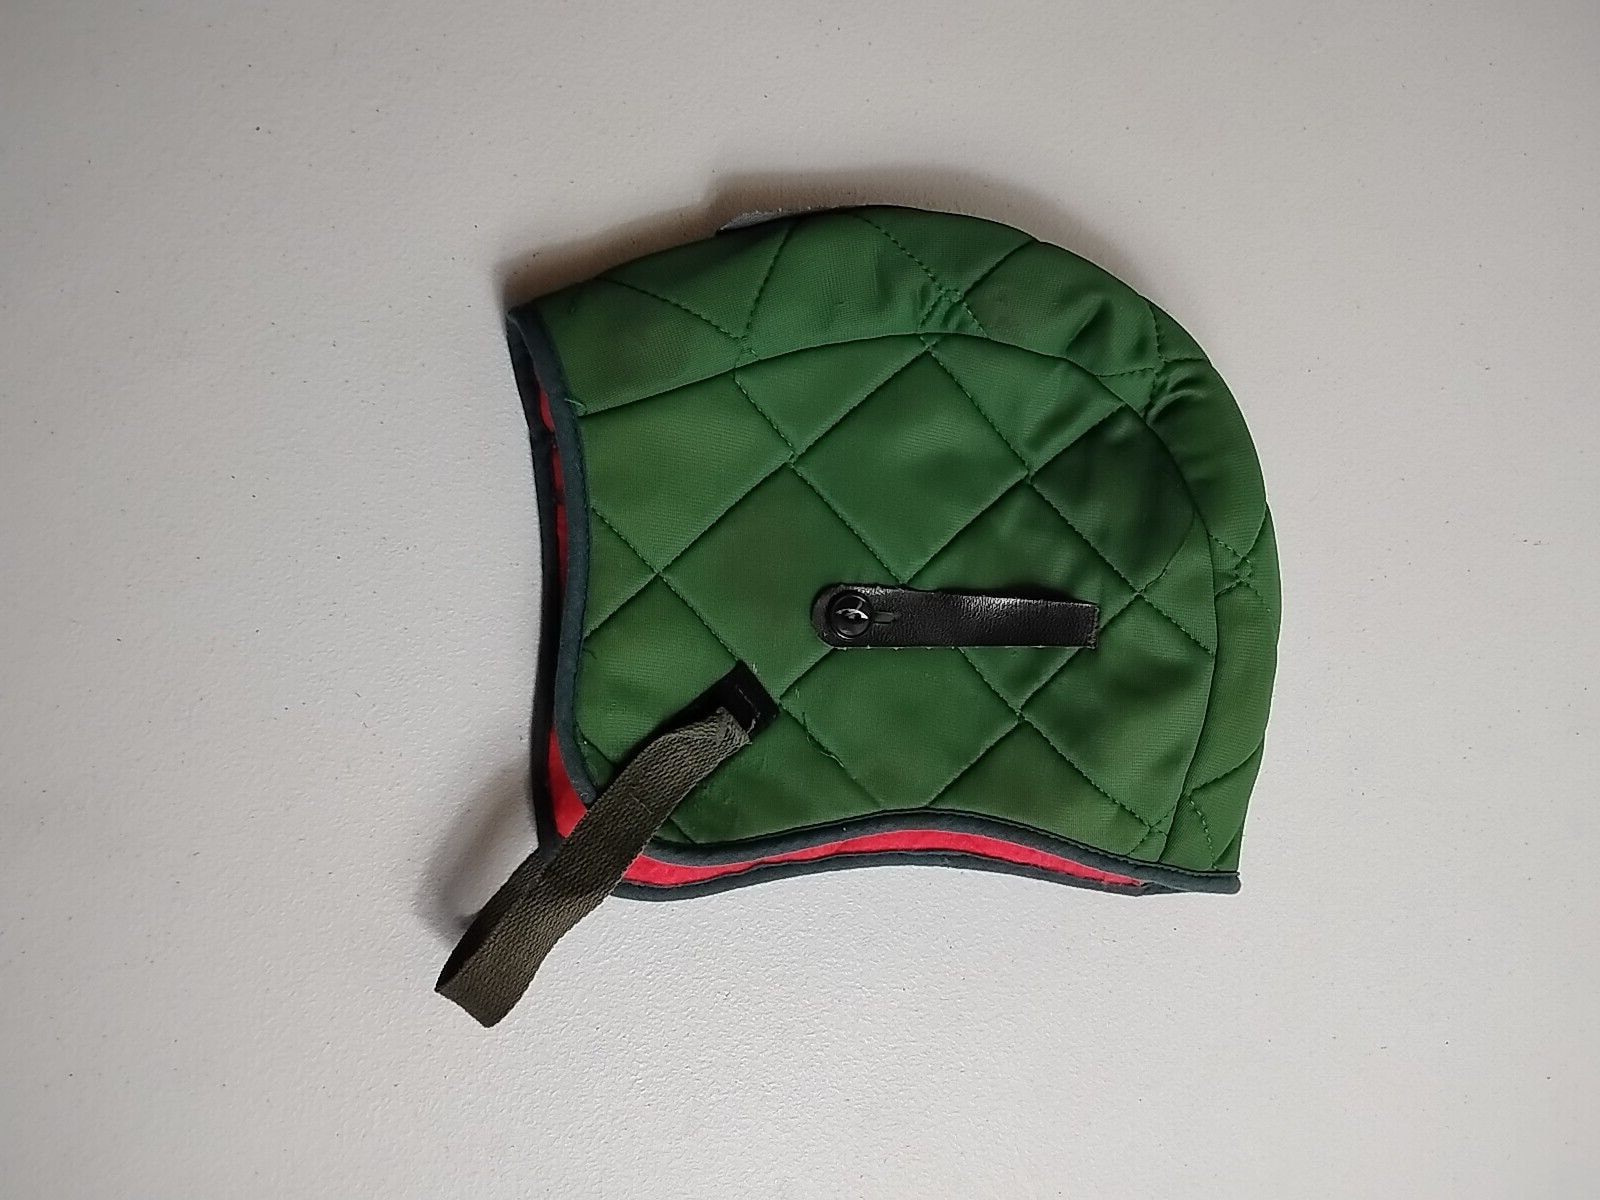
BTW. A welding beanie is really beneficial for both welding and grinding in highly confined areas. Always thought that my father looked silly wearing a military surplus helmet liner with ear flaps back in the early ‘70s but with age comes wisdom.
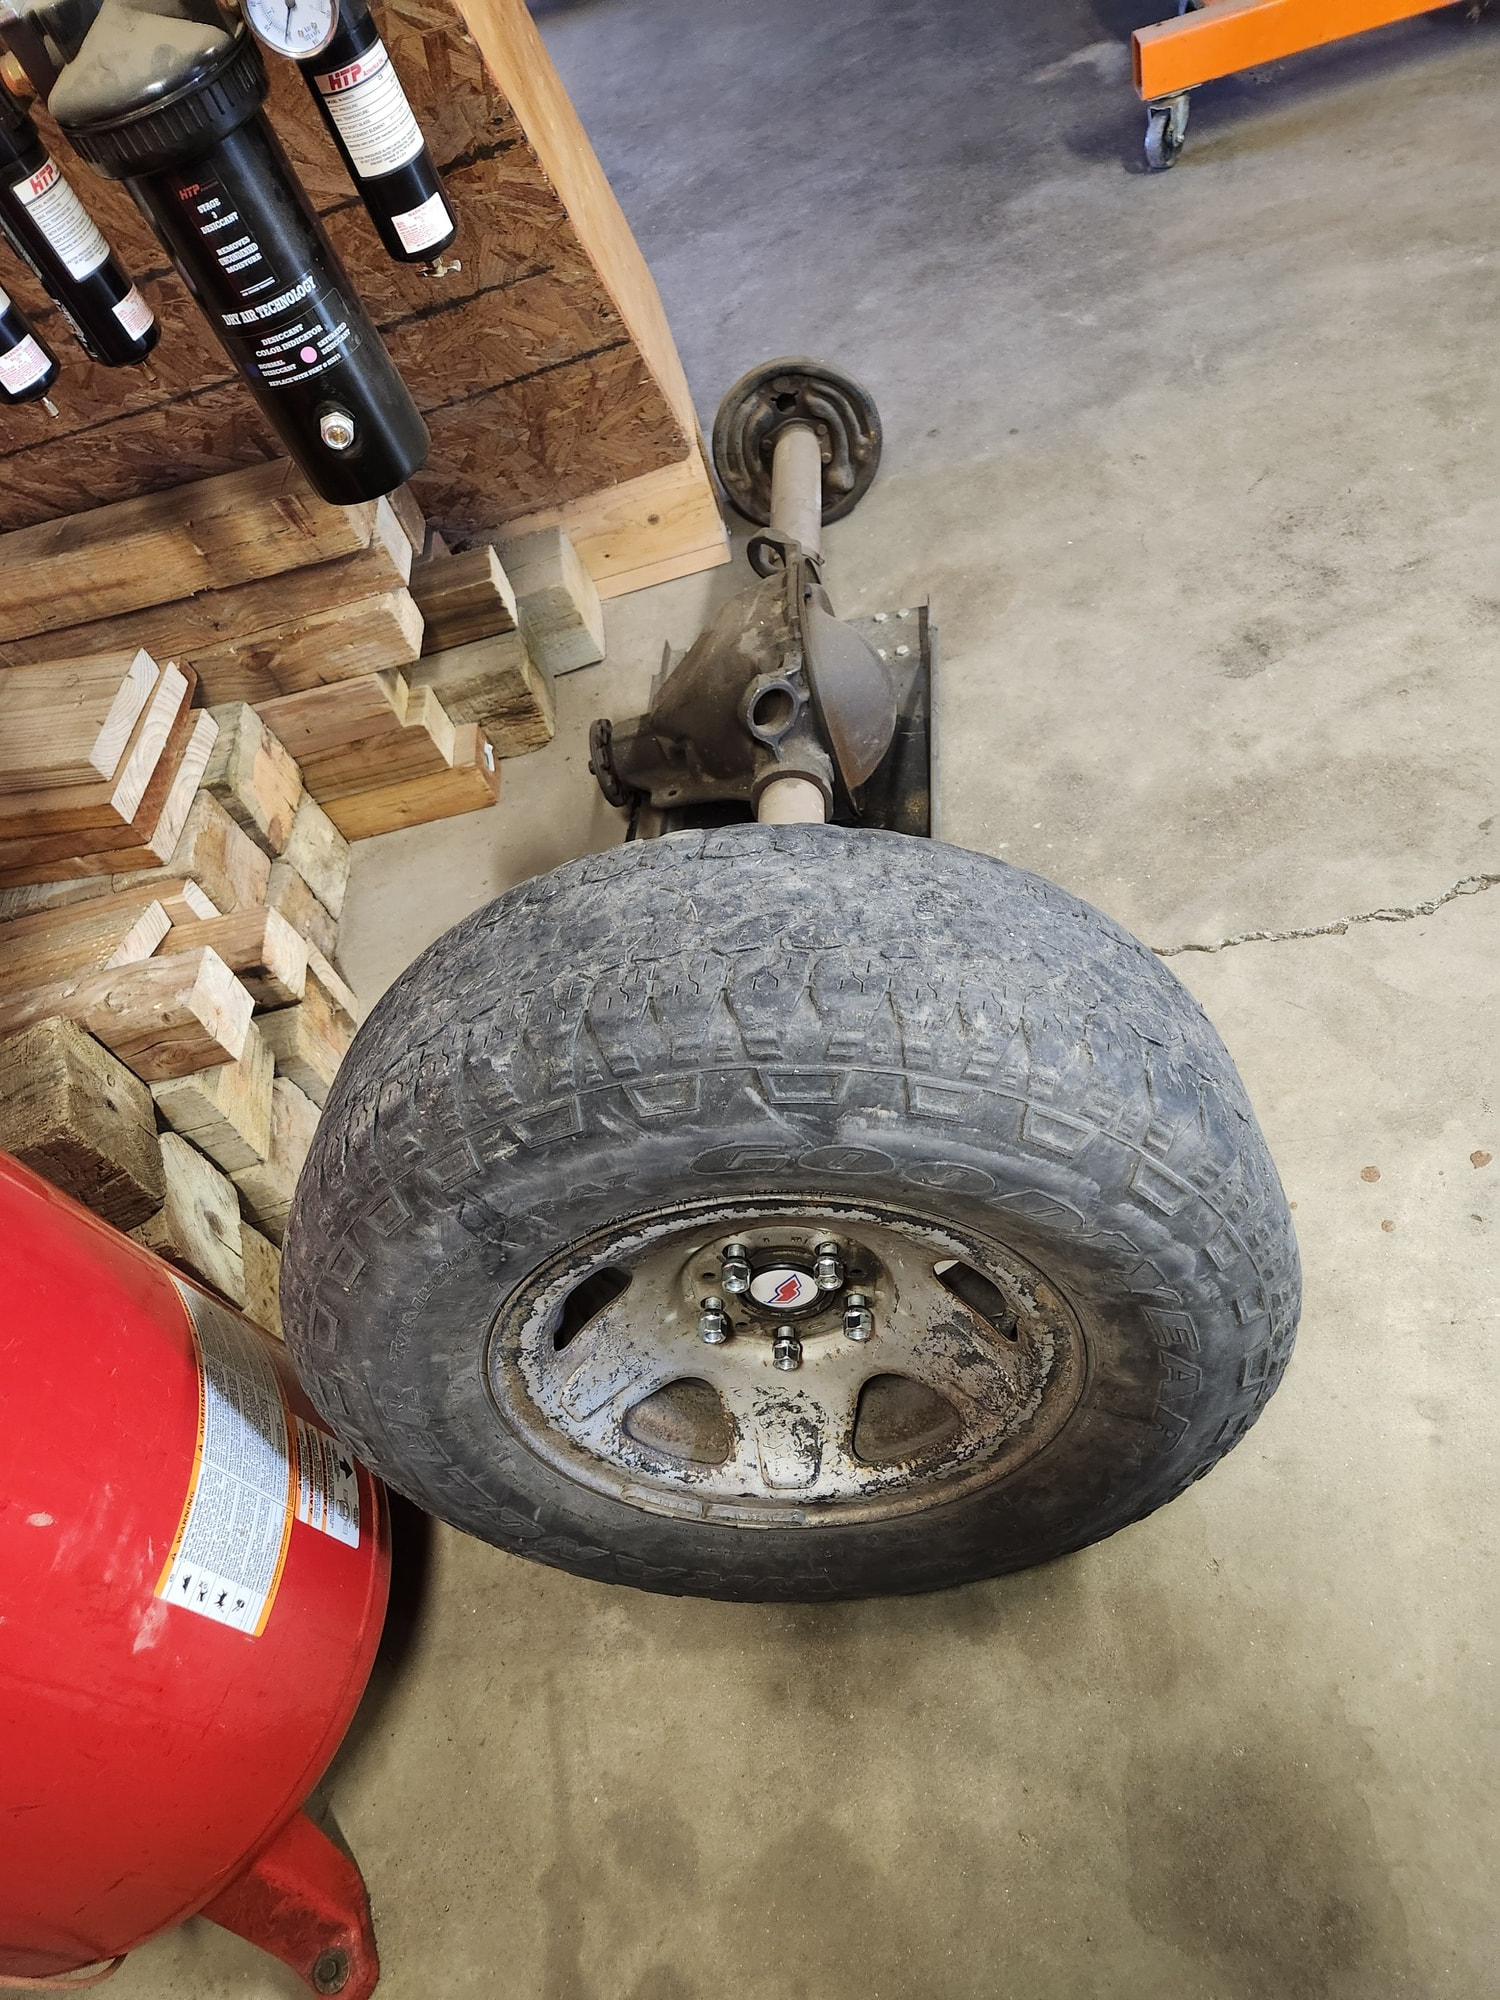
Got some amazing barn-find parts for the Cougar for cheap. (Fake drama). Bird droppings included….
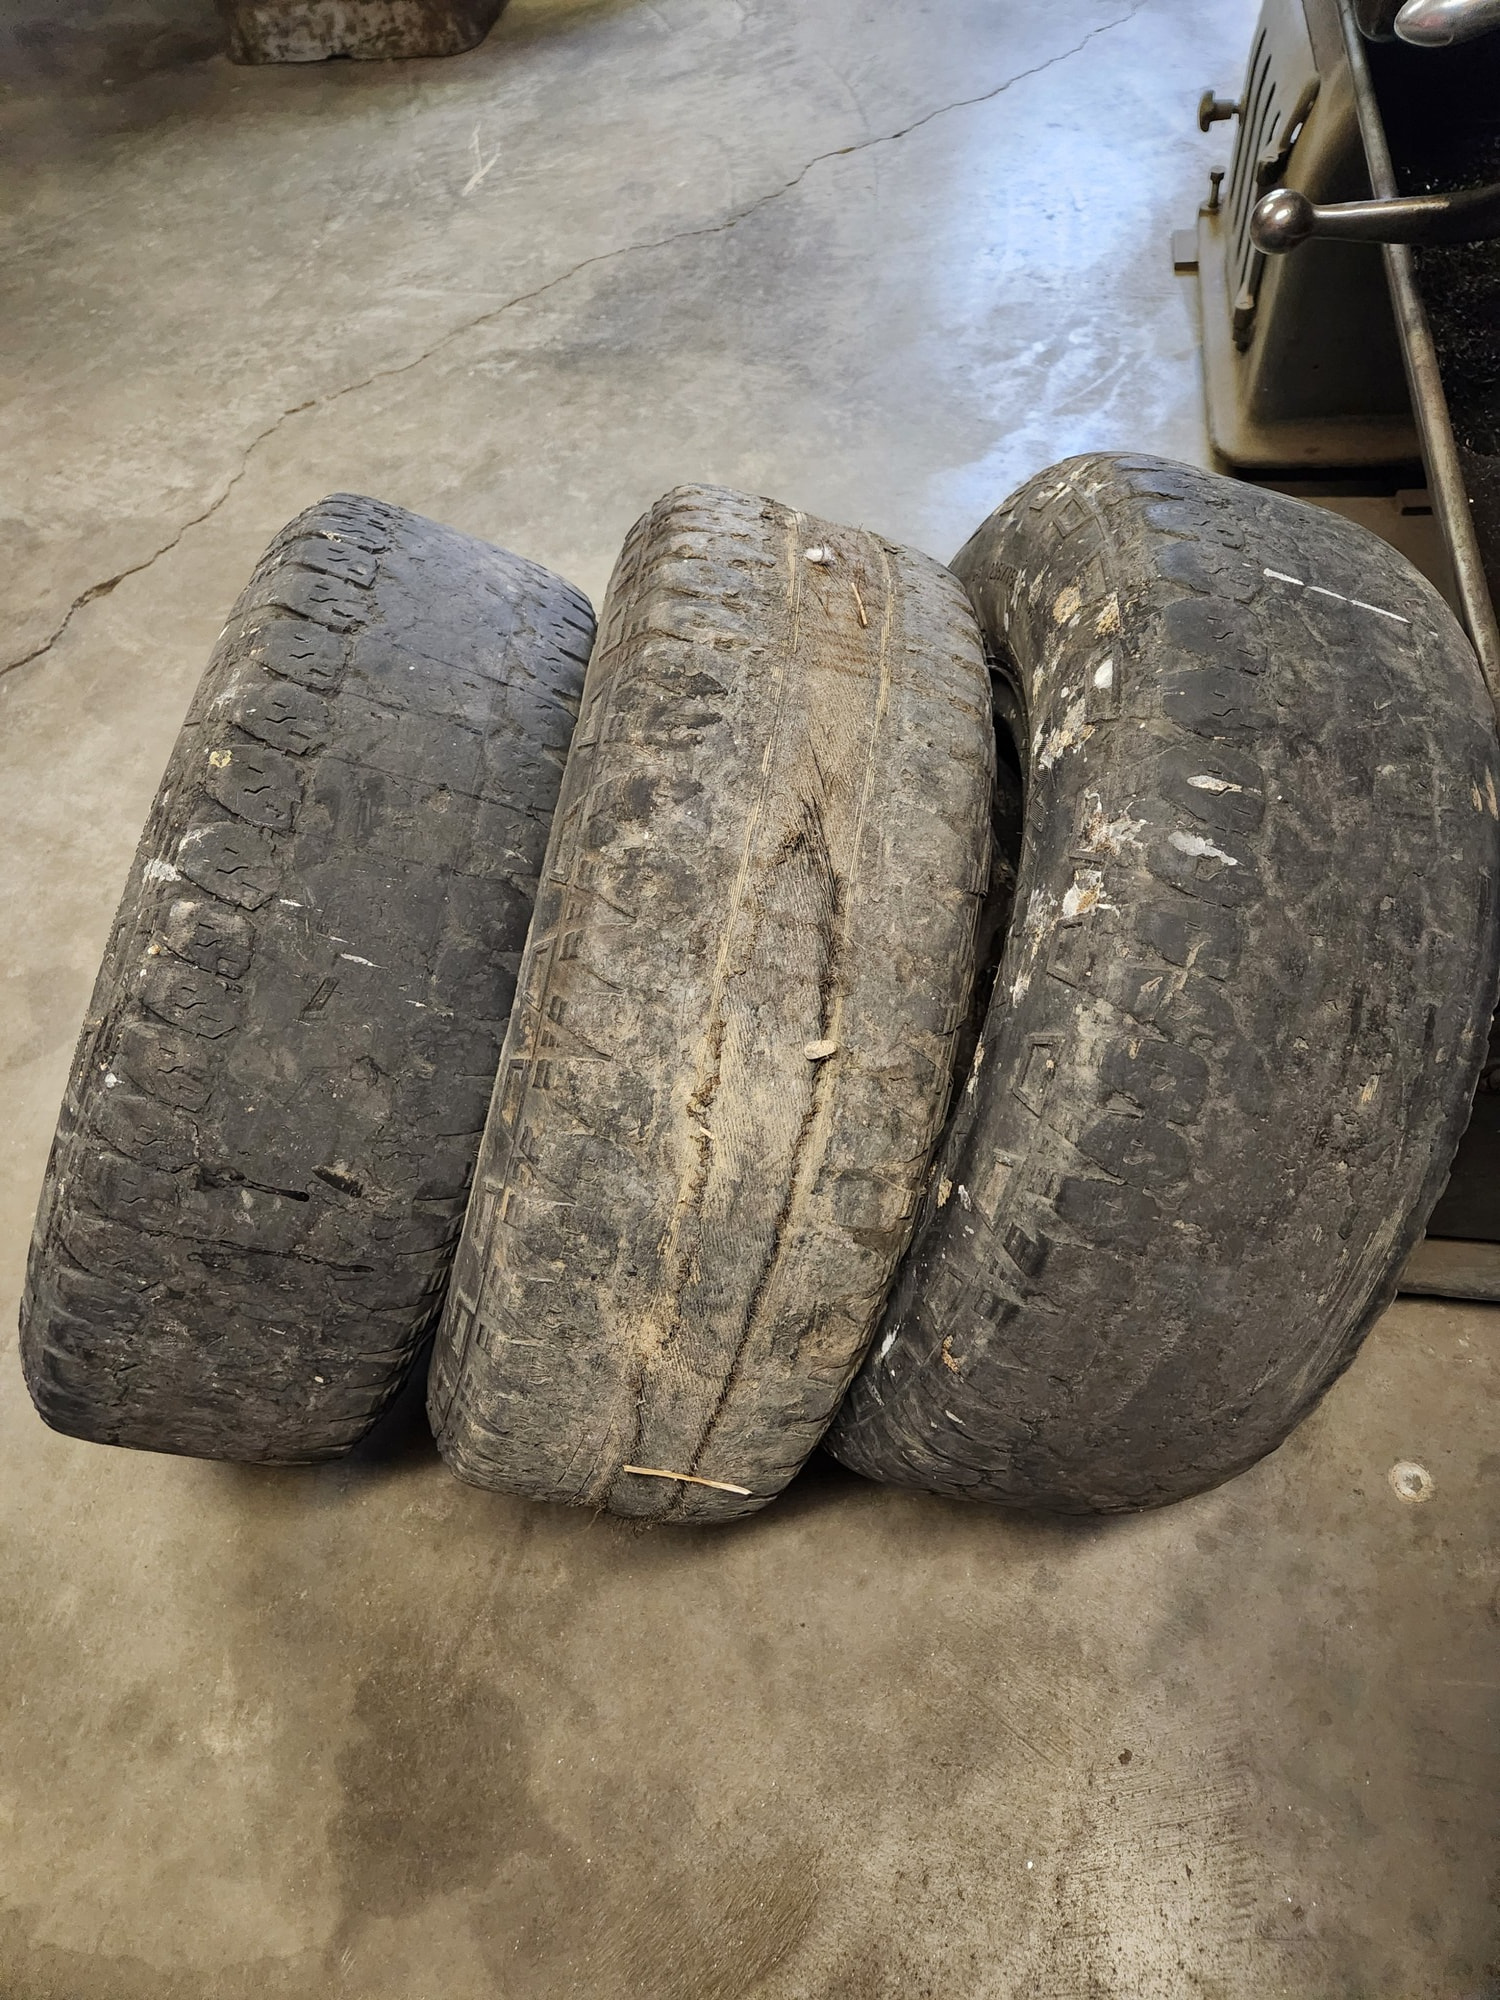
Getting some wheels ready to check clearances for the modified wheelhouses. Yep, backspacing is wrong, tires wrong size but only $30 total and the right bolt pattern. And they hold air. Brand-new chrome plated lug nuts however!
Seriously, in cooperation with a local tire shop, these cheap steelies will be used to check clearances, backspacing, and stance prior to dropping some serious money. Given something that fits, everything else about sizes/spacing can be calculated.
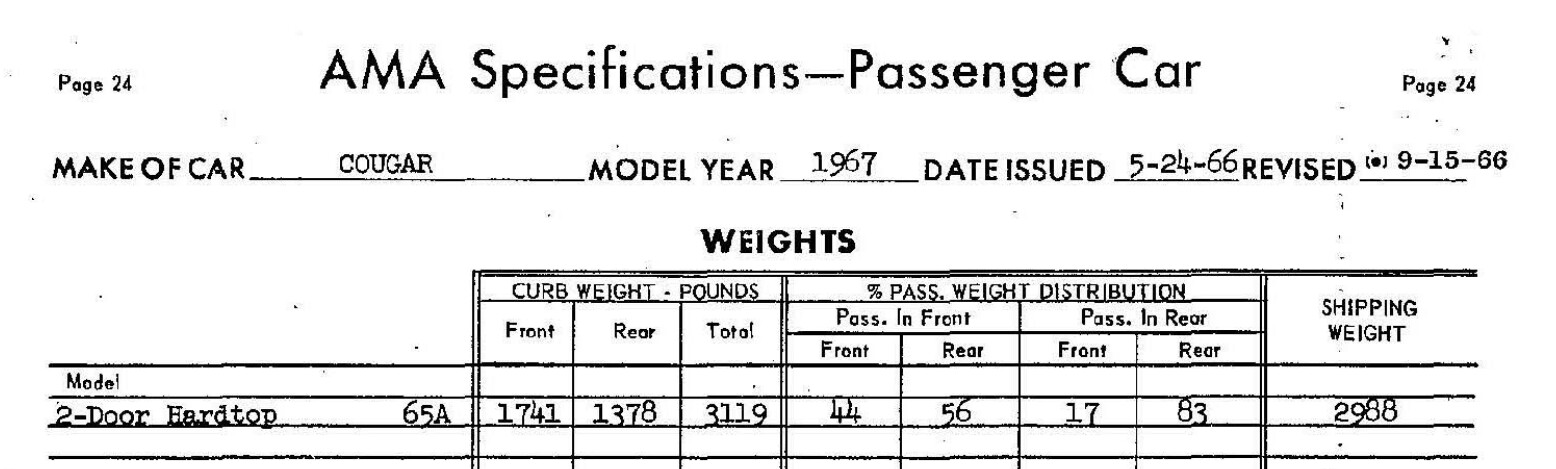
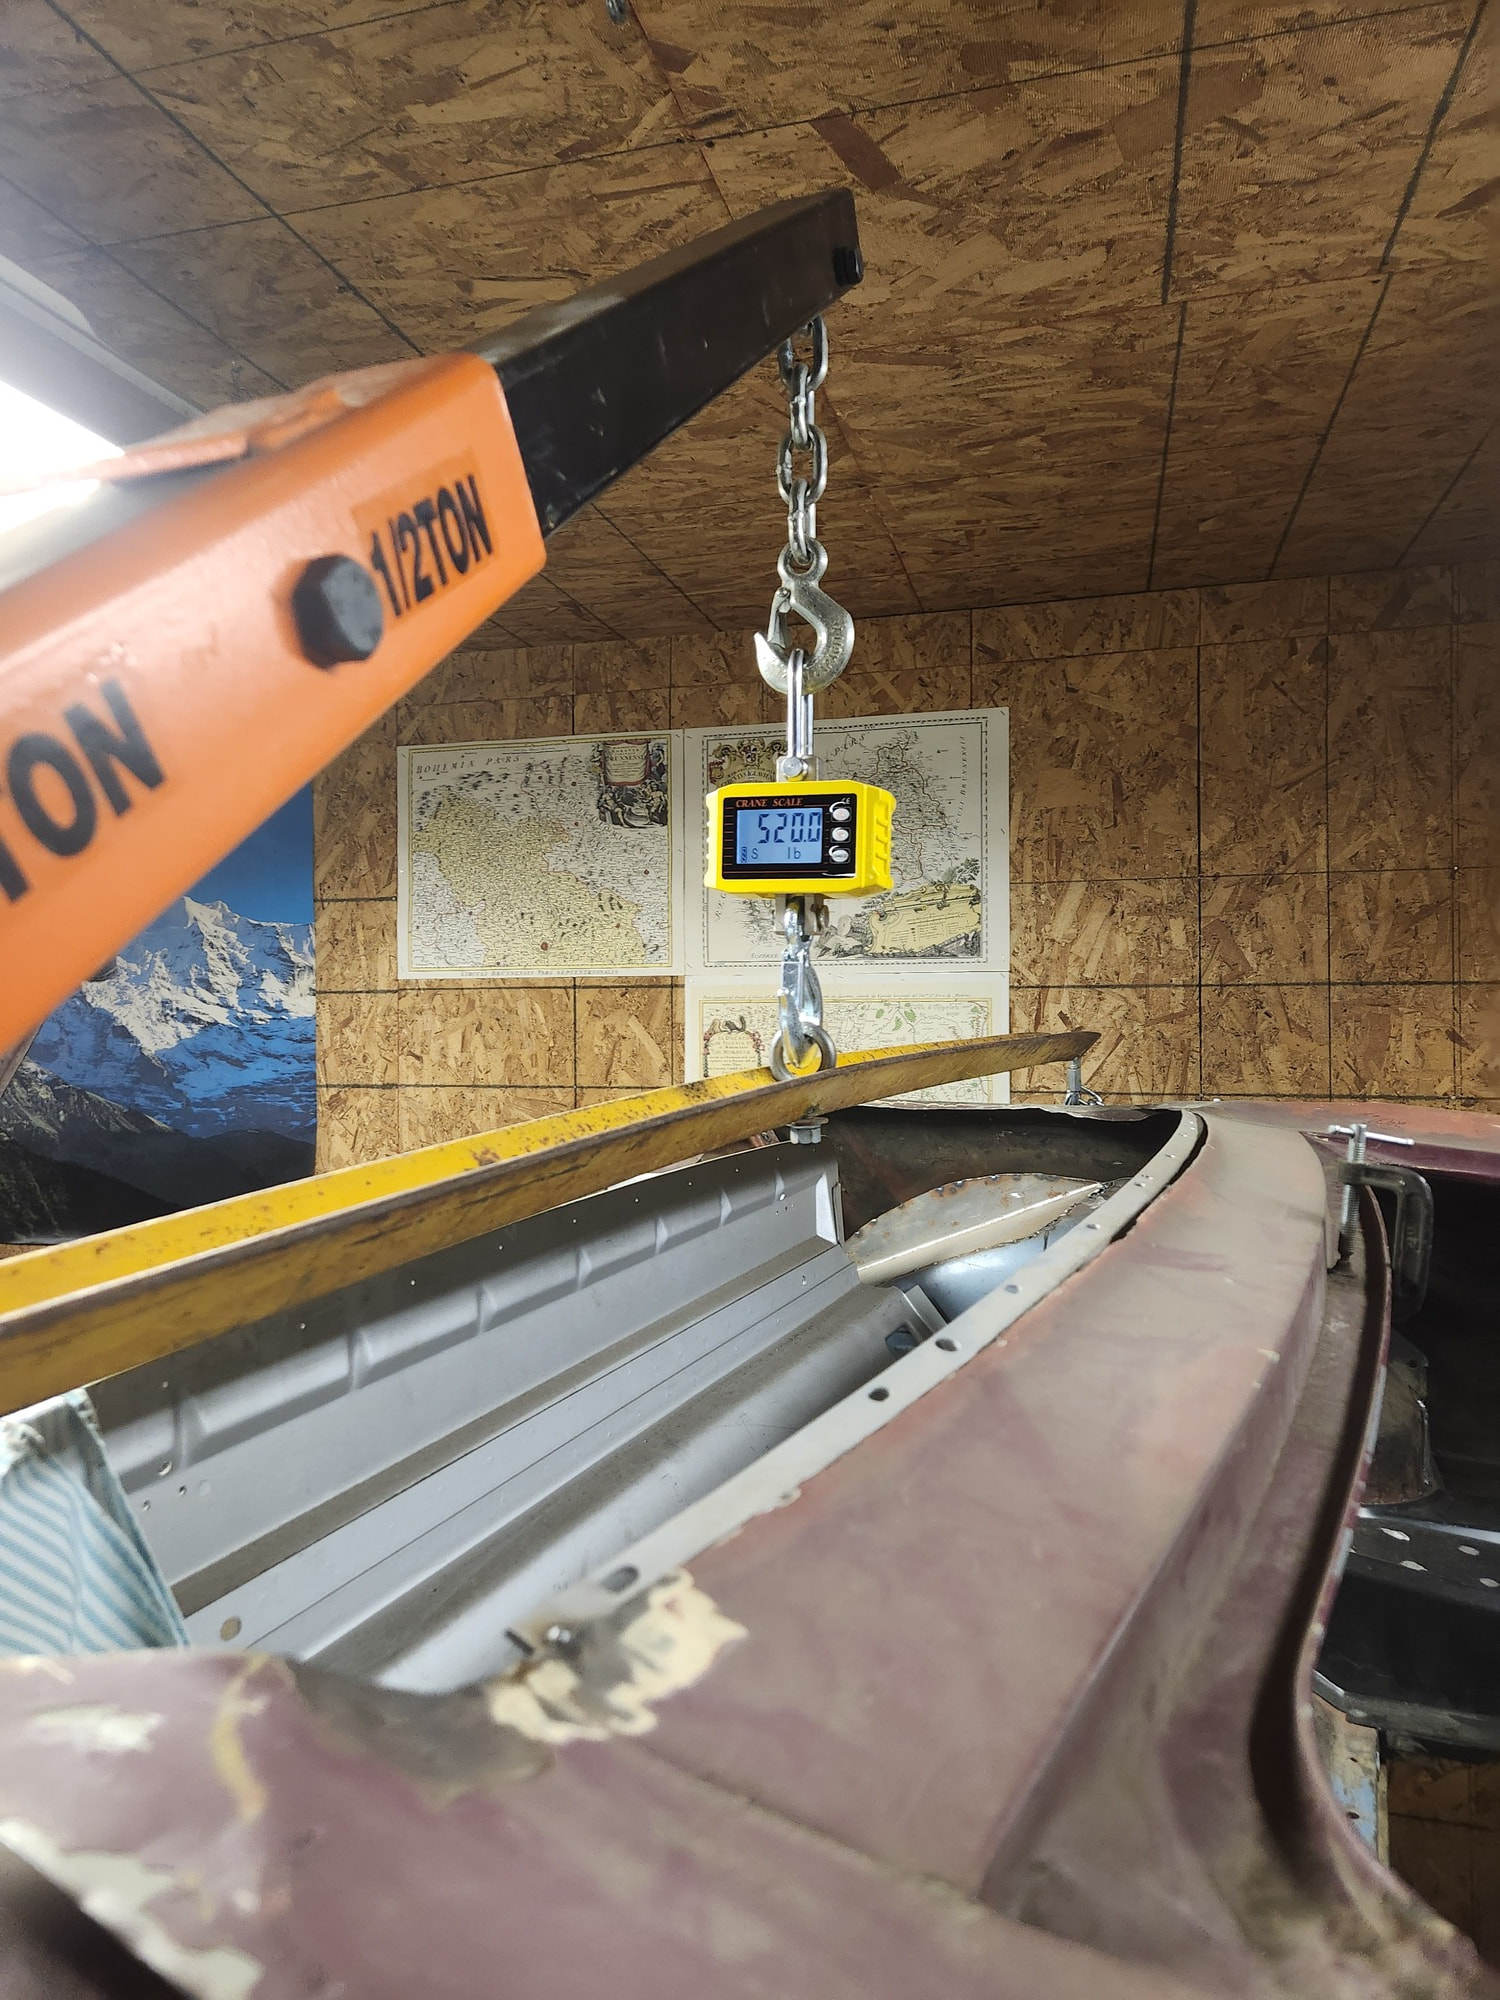
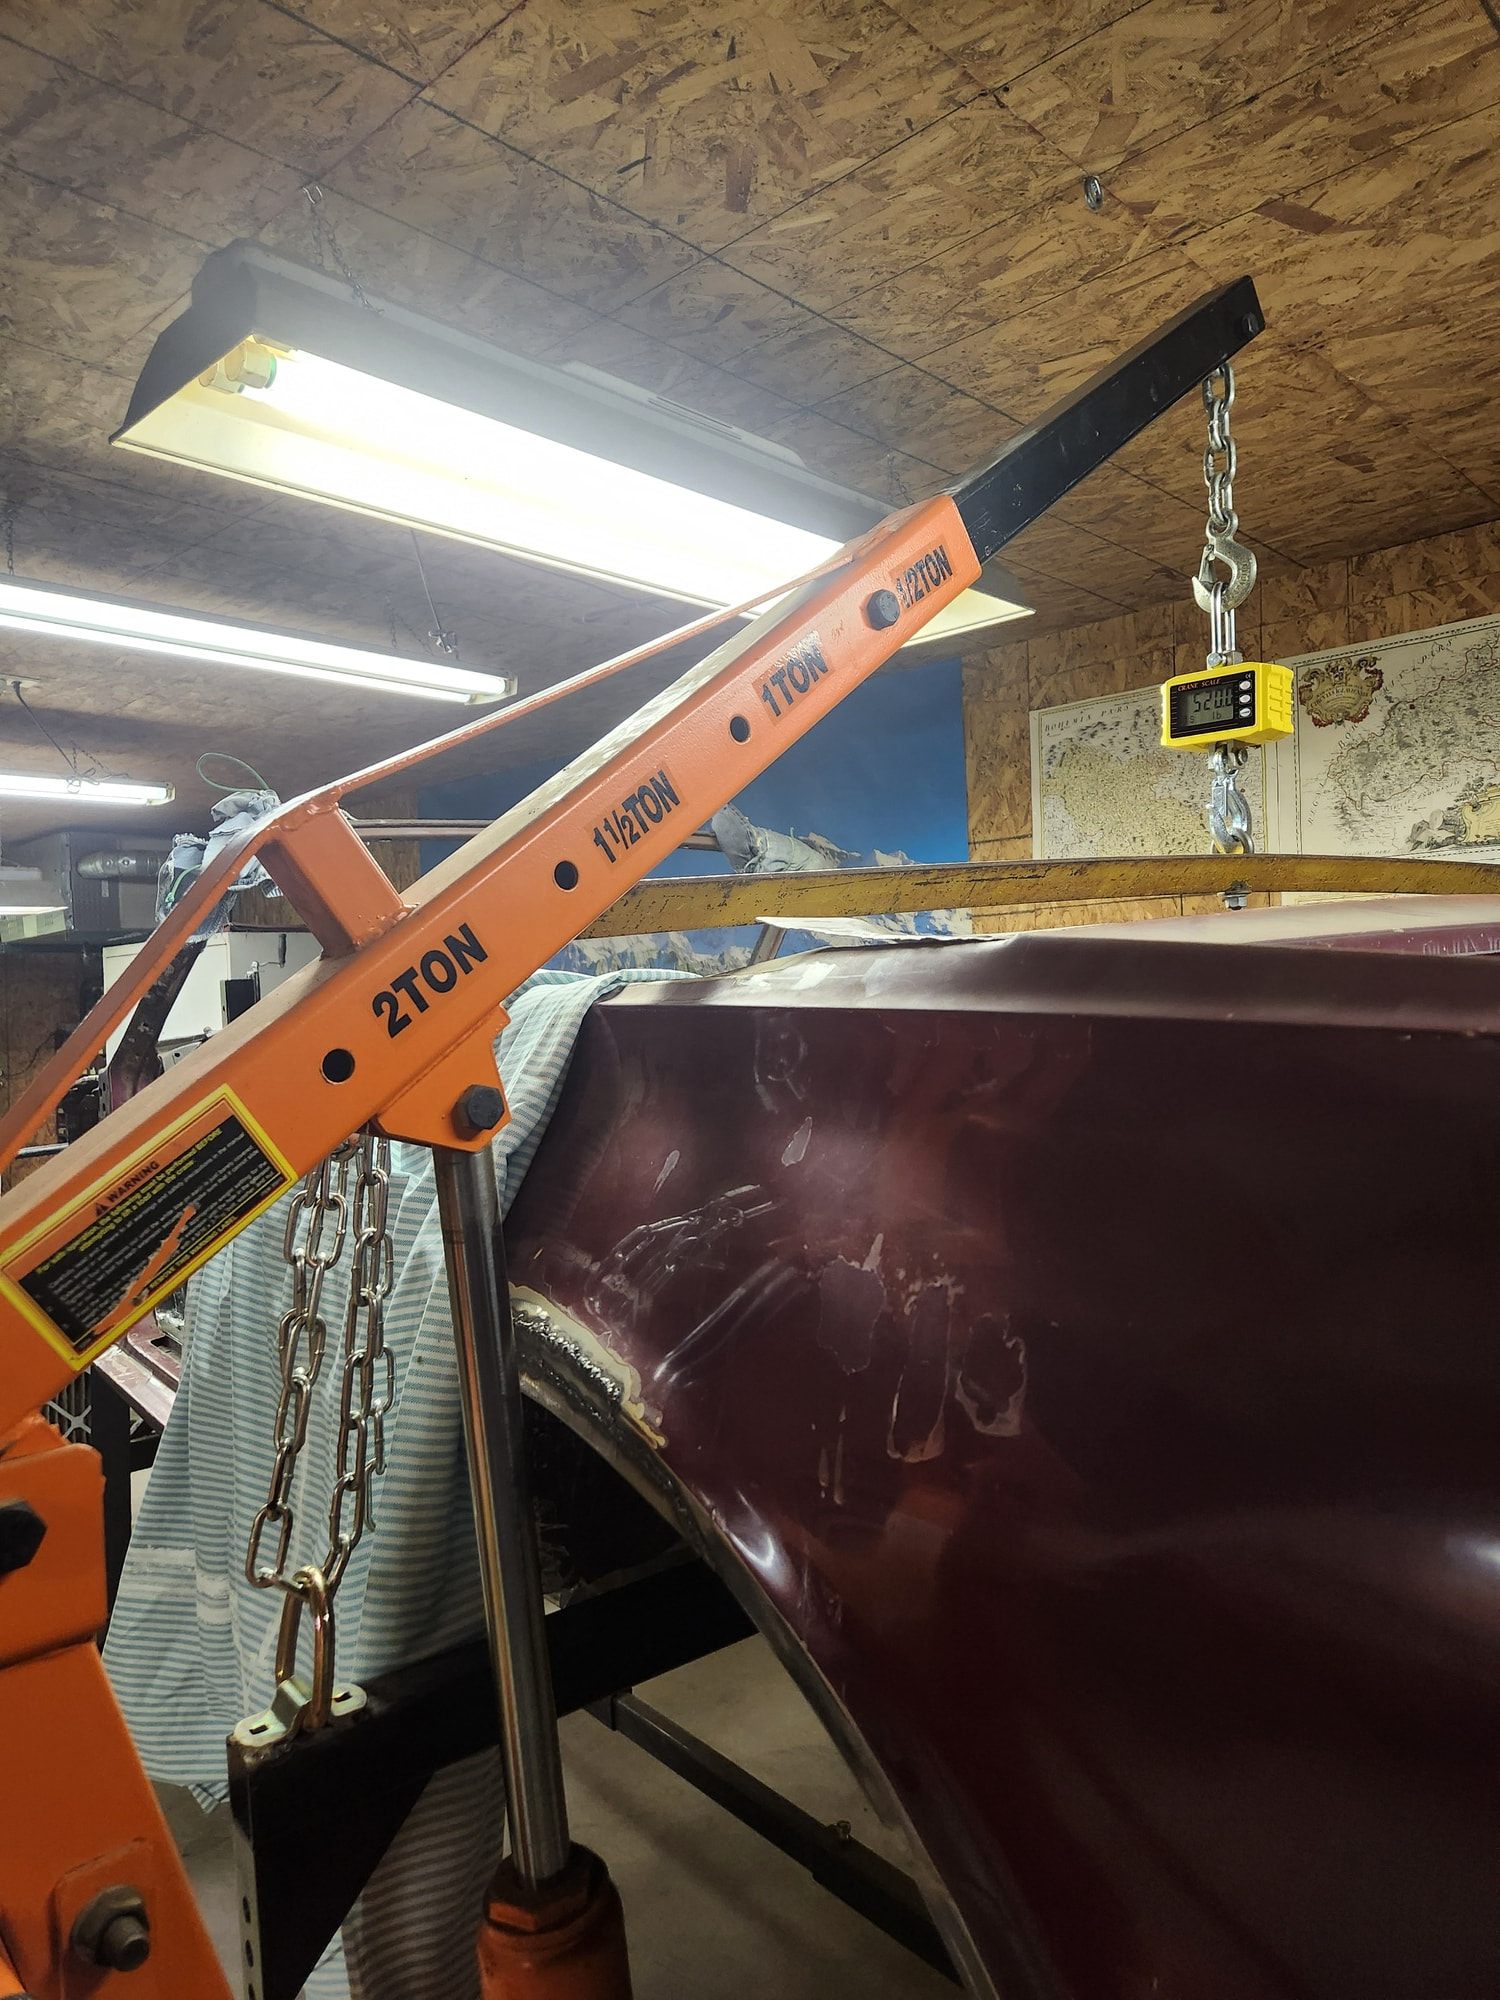
I hung the backend of the Cougar from the crane today to get an initial weight. A couple of spreader bars aligned with the rear axle location and some chain did the job. 520 lbs! So based upon the 1378 lbs curb weight in the table above I need to add about 1300 lbs total to check tire clearance ~ 858 lbs (actual car) + 300 lbs (rear passengers) + 200 lbs (luggage or extra body)
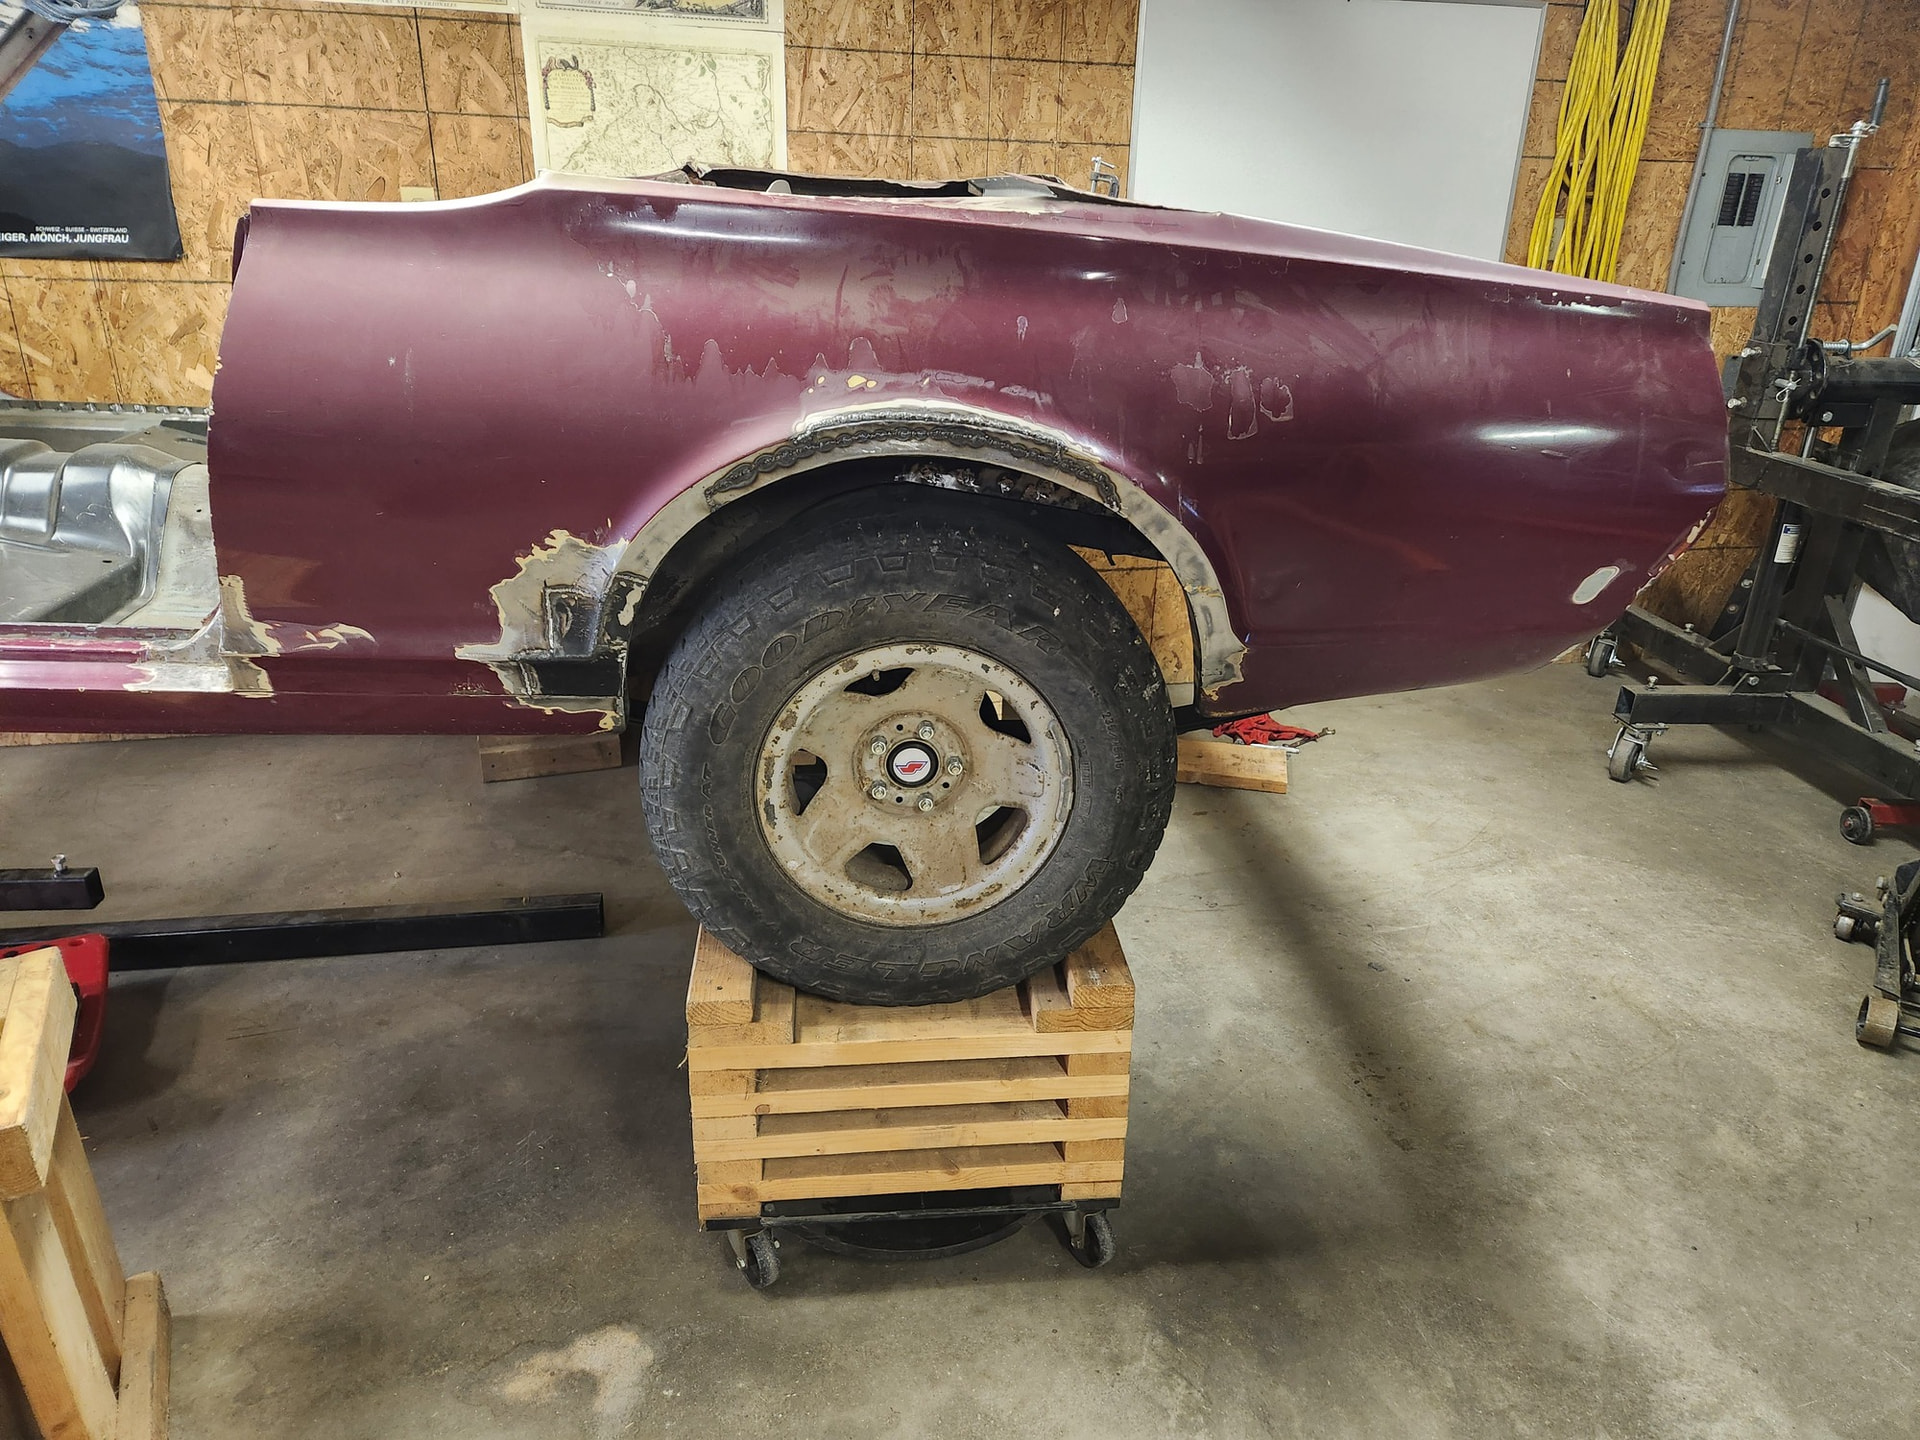
Anybody like the “swamp-buggy” look on a Cougar? 235/75R15 is a lot of tire.
Got the replacement 8.8 and the new springs up under the car today. This added another 325 lbs to the rear but none of this really loads the springs. Miles of clearance to the modified wheelhouse.
I will start adding the additional ~1000 lbs tomorrow.
Amazingly, the combination of the width of the 8.8 (1986 5.0 Mustang) and the backspacing on these Ranger rims is almost correct!