Adding simulated back seat passengers (351W block = 340 lbs) again lowers the clearance to about 6” when measured vertically. Shortest distance at about 45 degrees to vertical is 5.5”
From the bump stop mounting surface (w/o rubber bumper) to the axle tube is about 7”.
Not that I’d go that small, comparing to a stock 215/70R14 there is approx 1.5” extra clearance than the Ranger tire. Even a very aggressive 275/50R17 gives an extra 0.5” clearance.
I added the last couple hundred pounds and everything appears to check out OK. With the very tall 235/75R15, the tire will rub when the bump stop bottoms-out on the axle tube. Less tall tires will give me more room obviously.
The effective spring rate appears to be about 200 lbs/in.
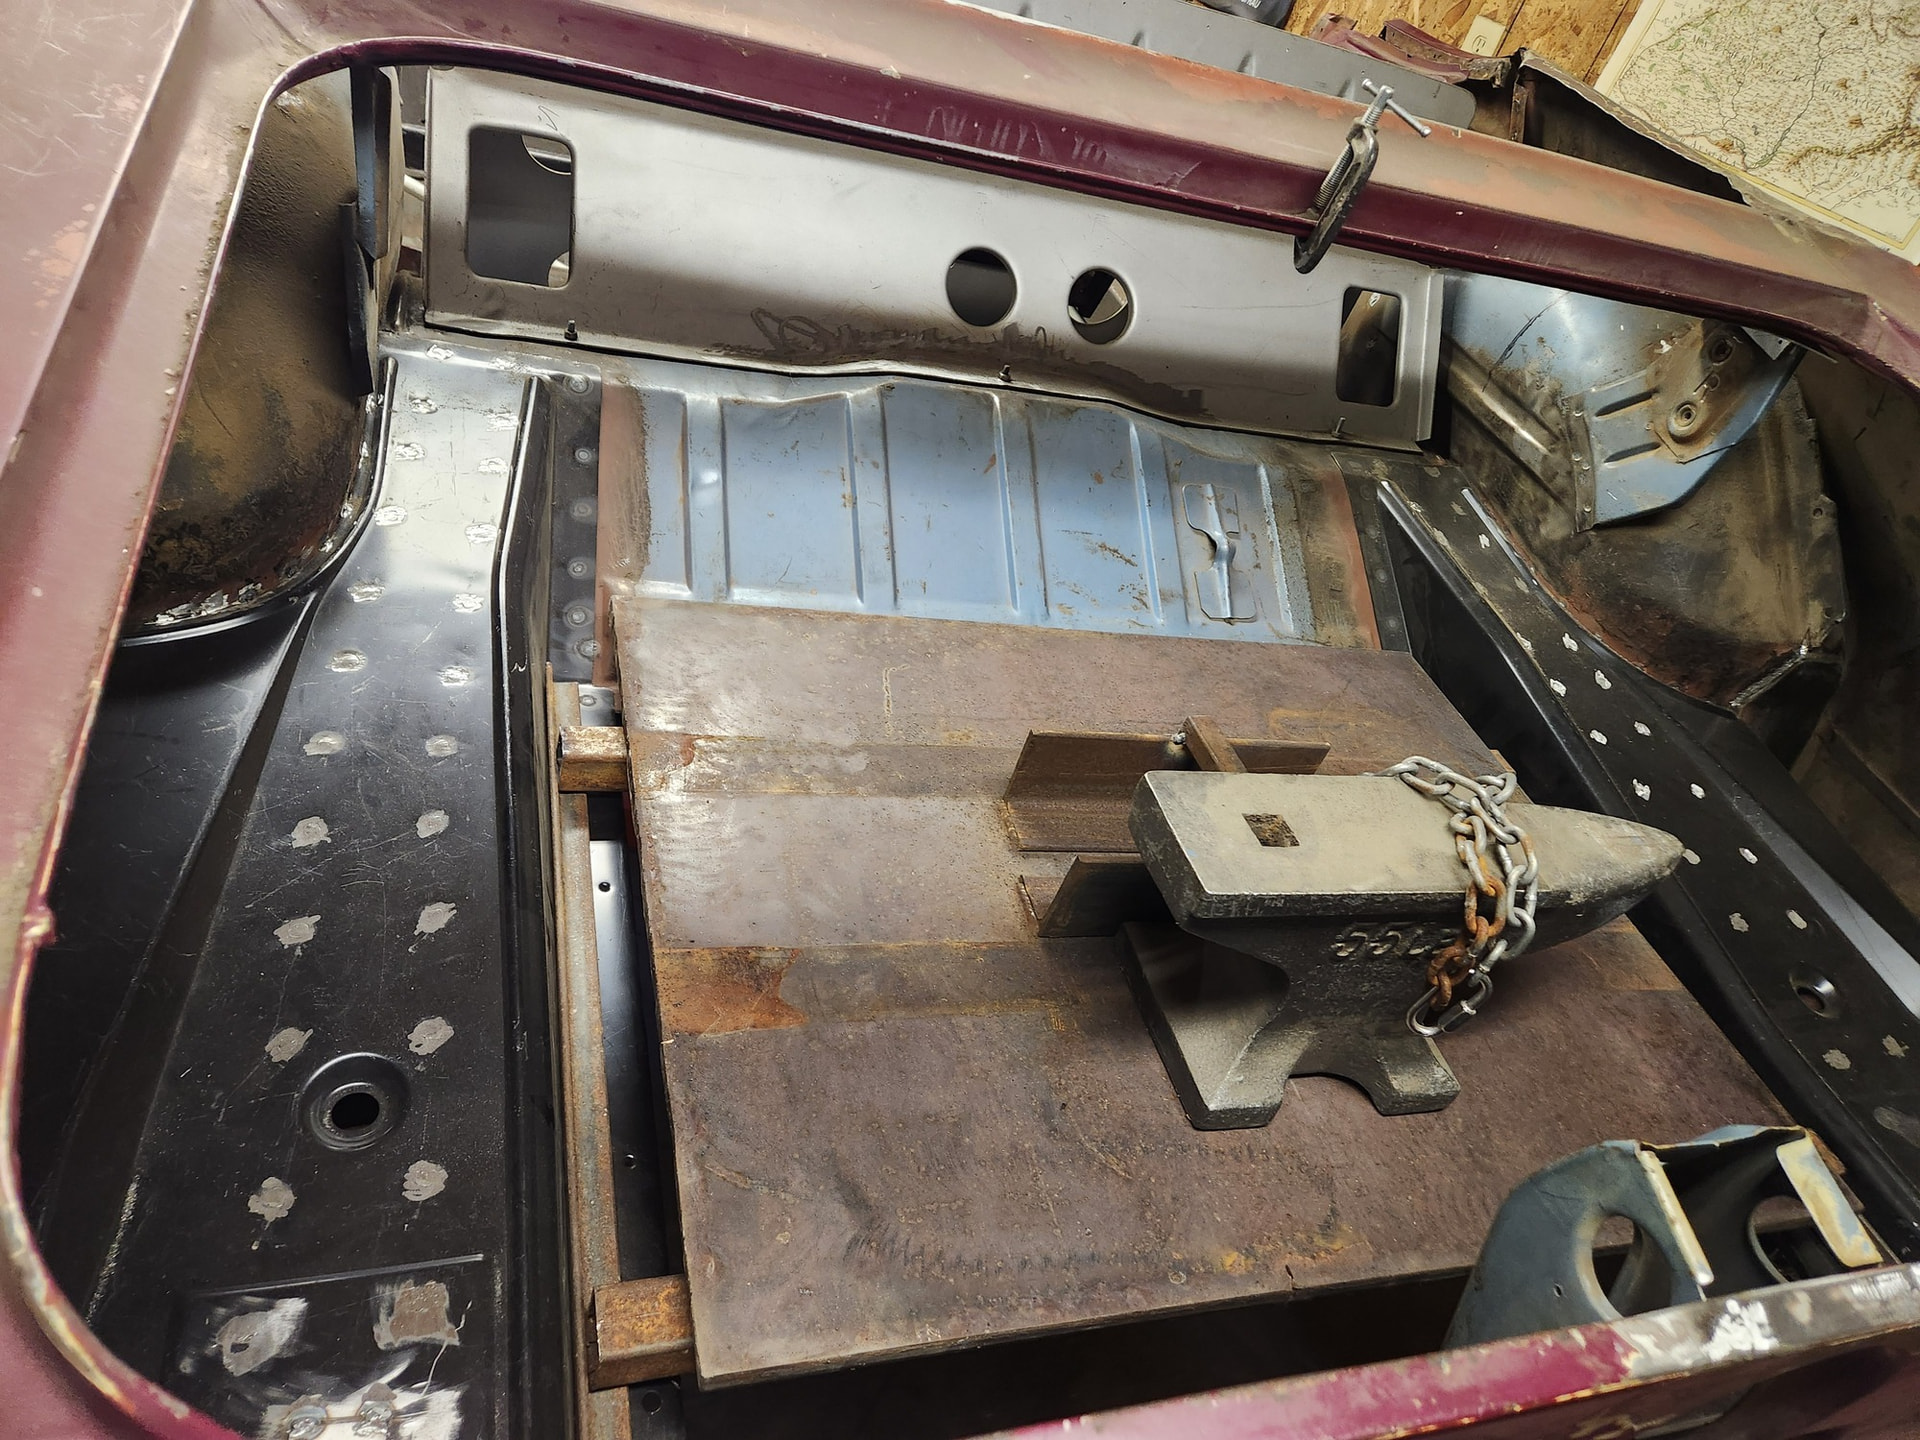
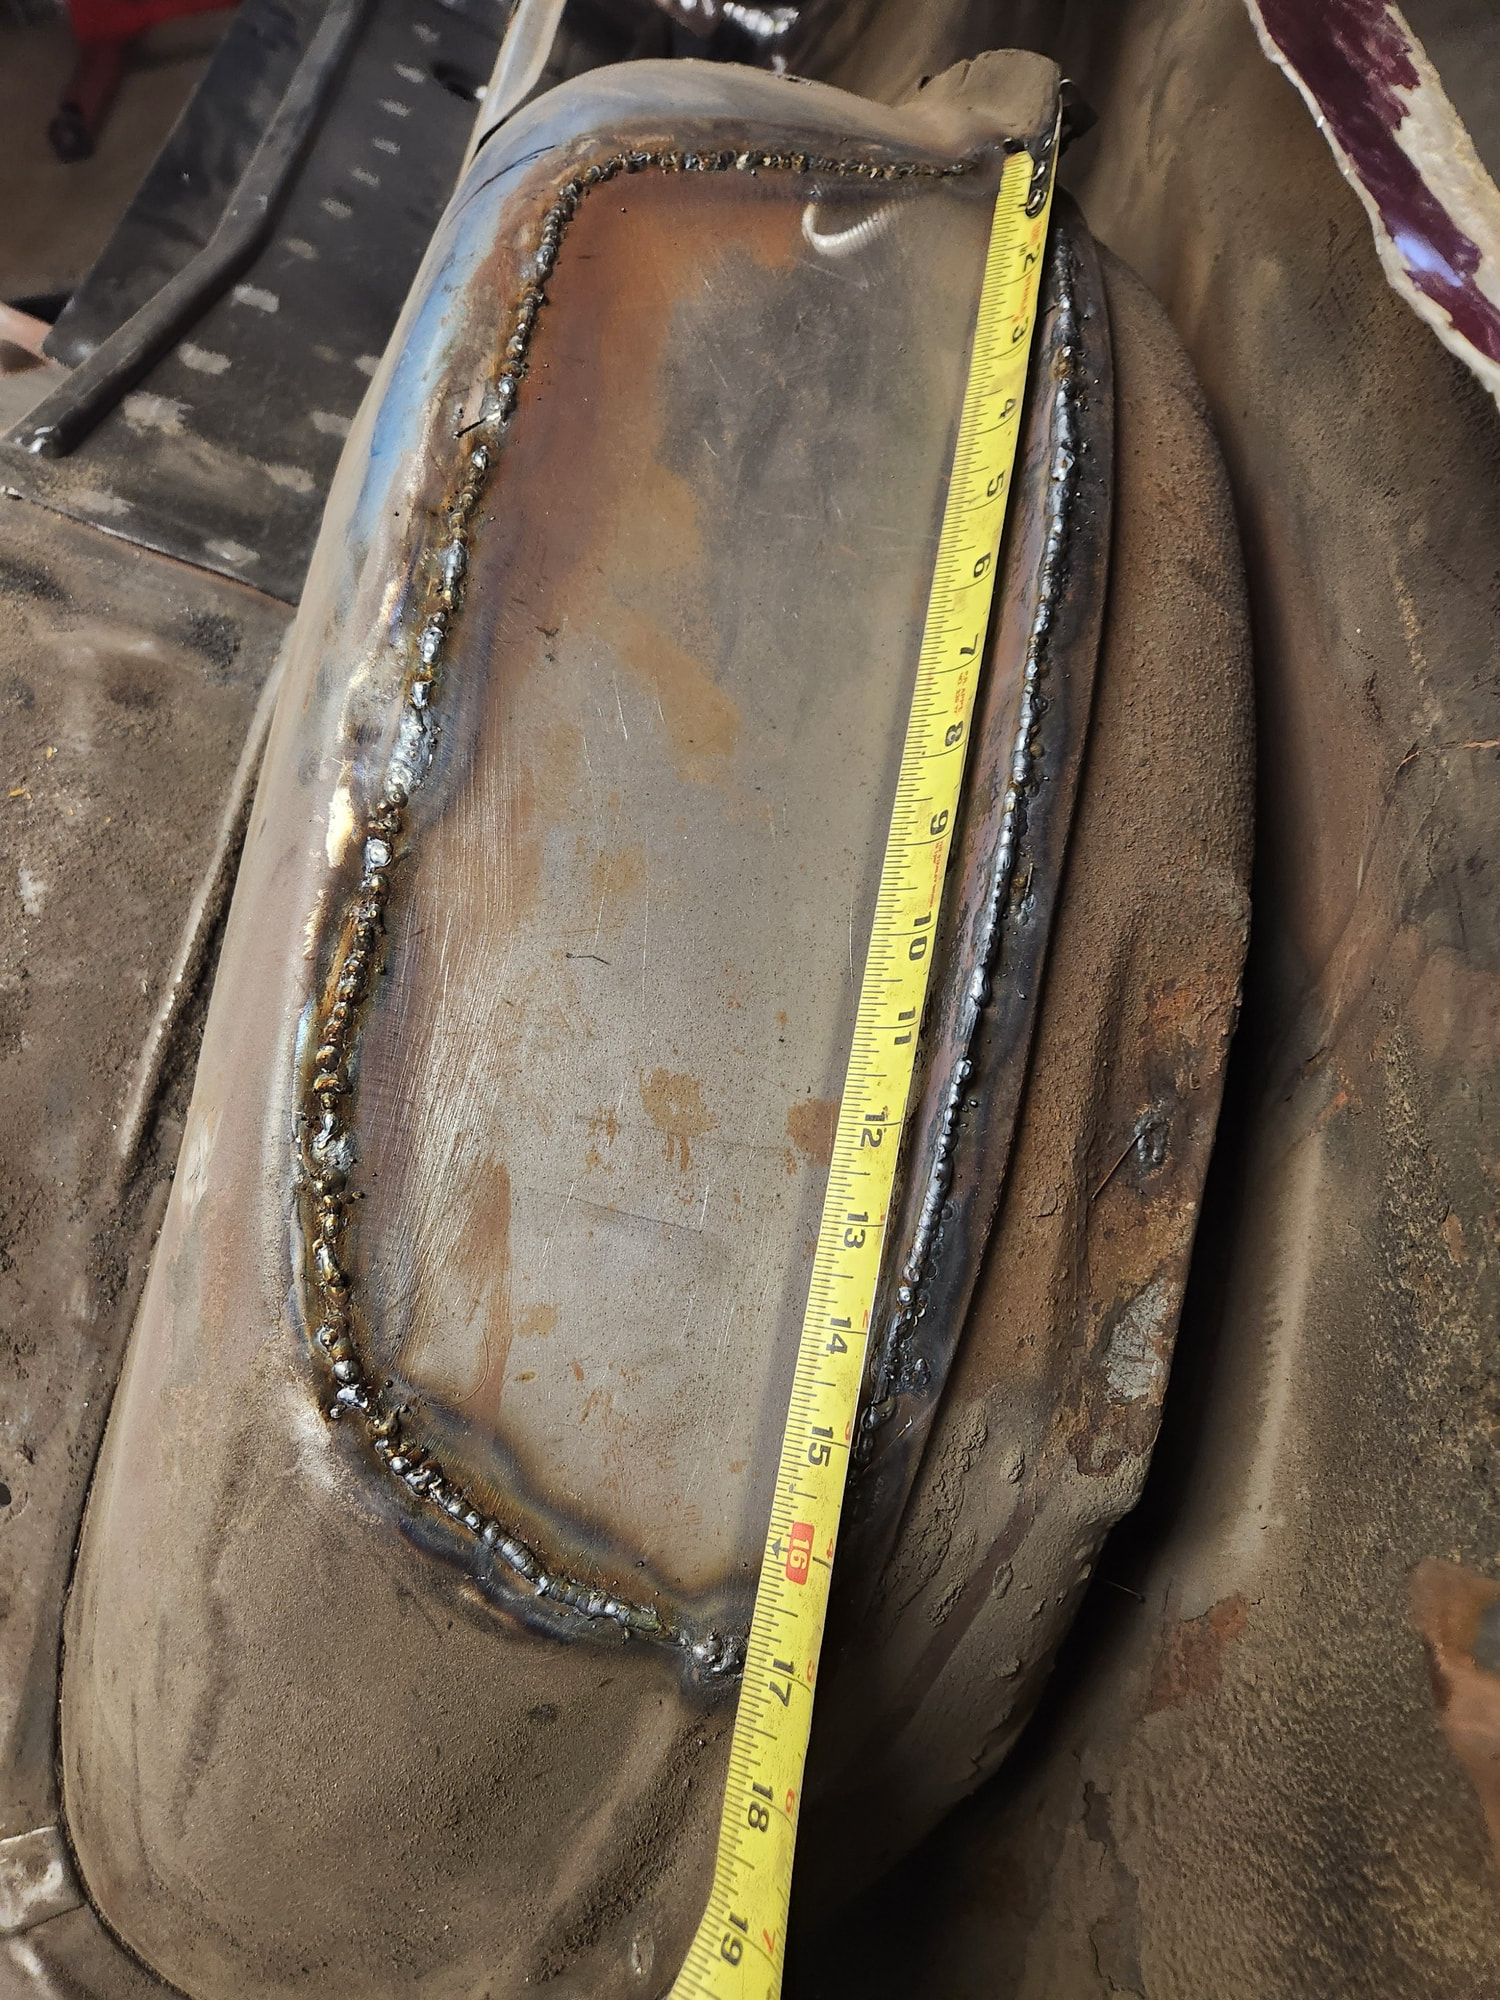
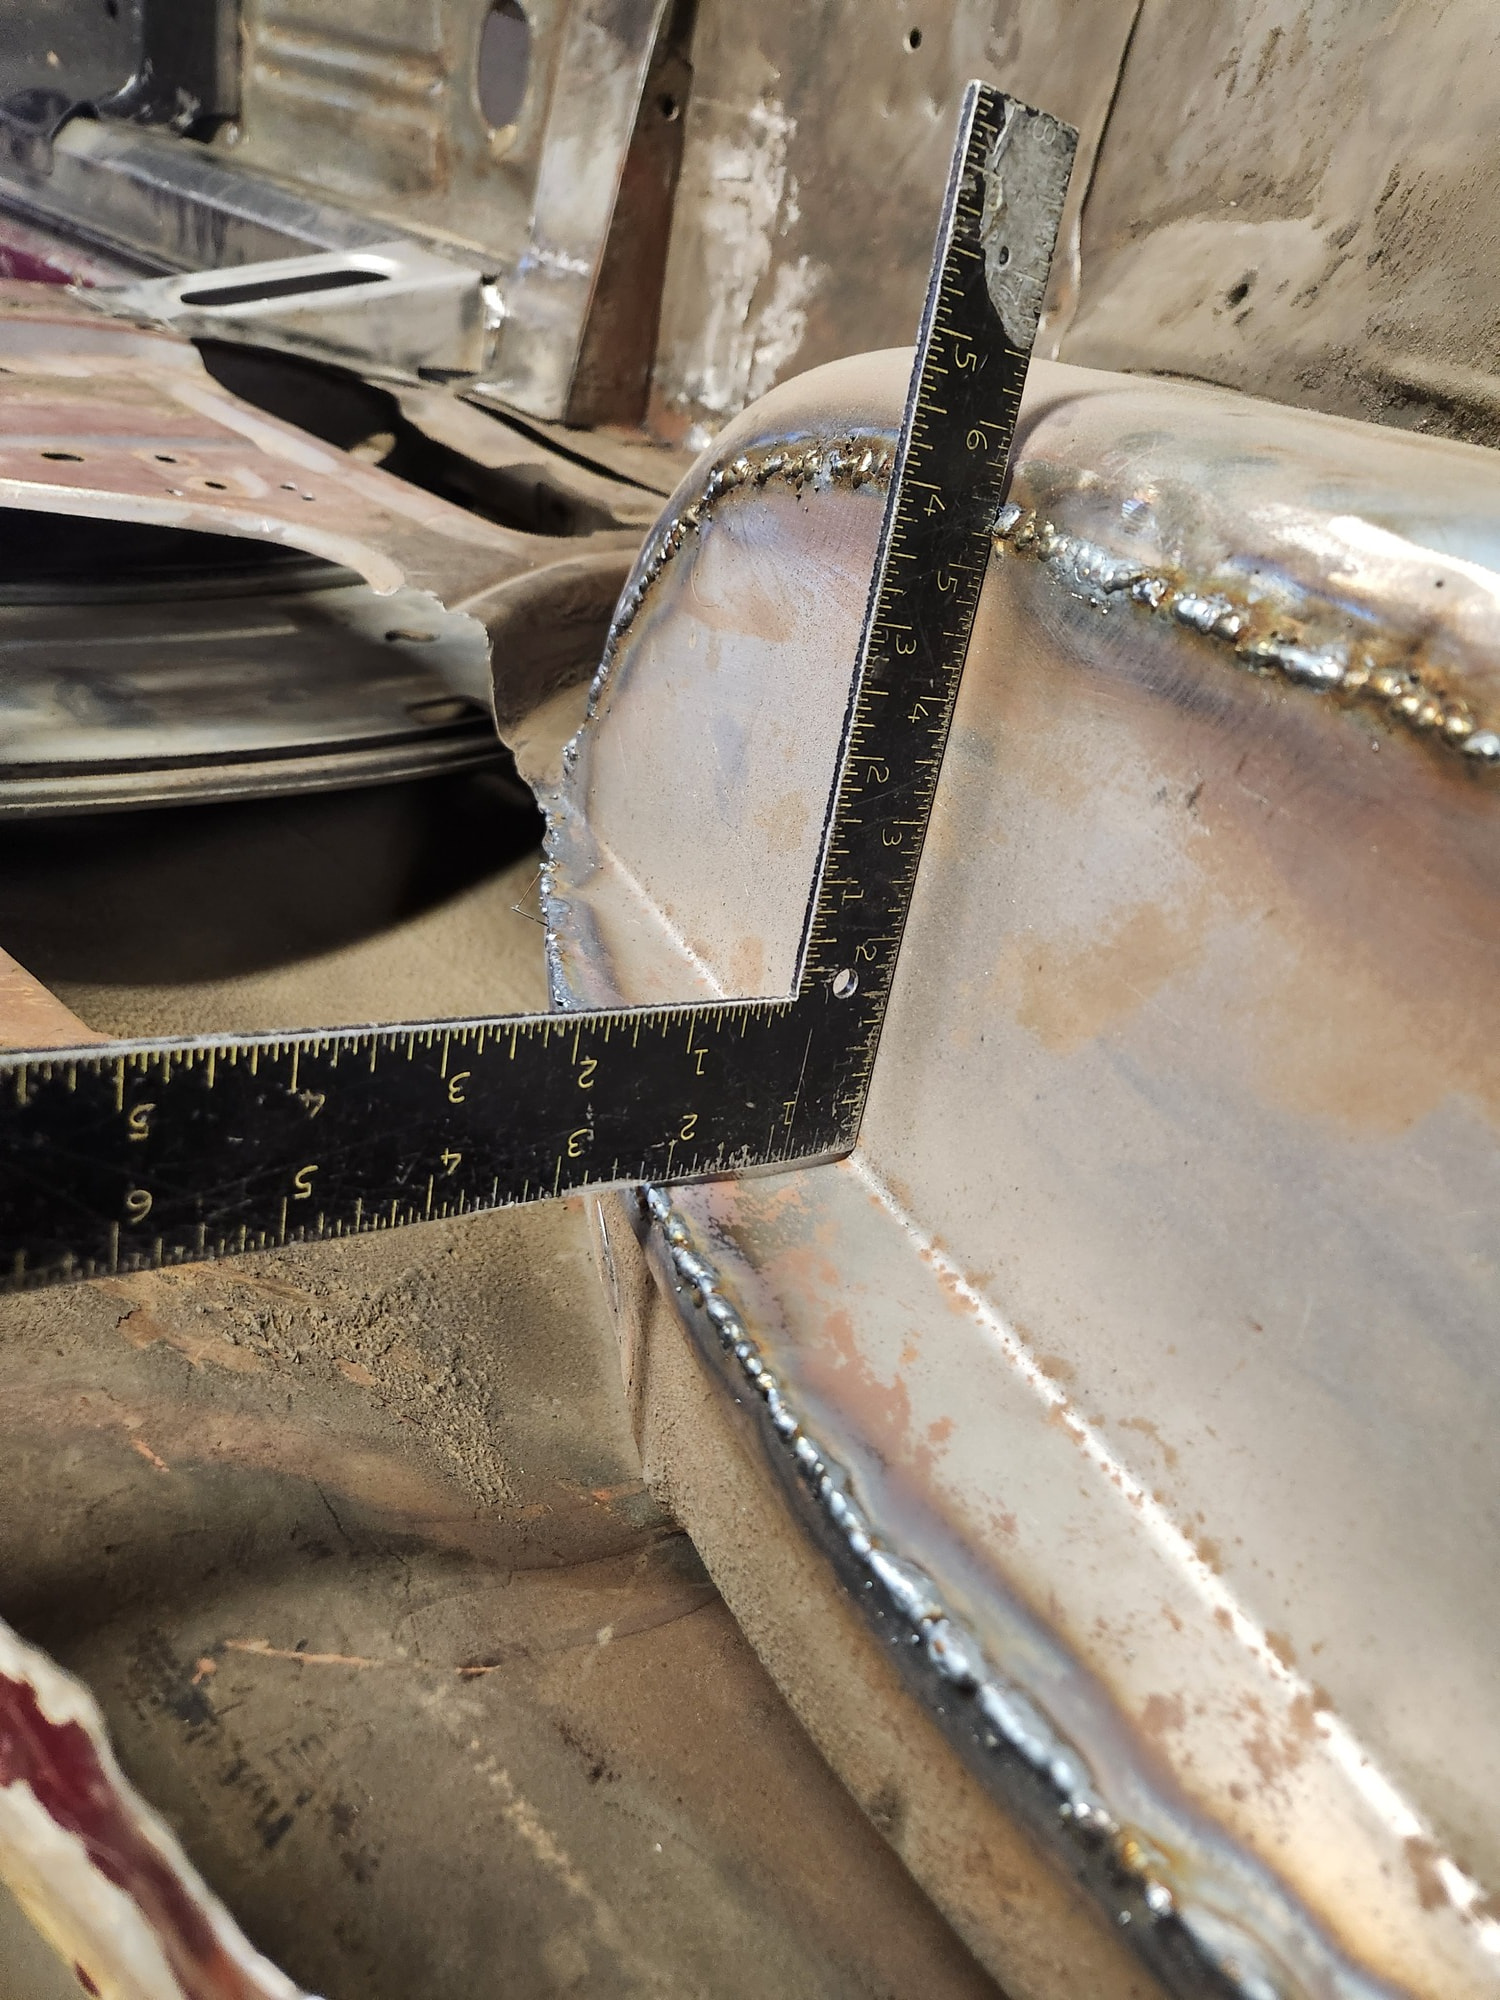
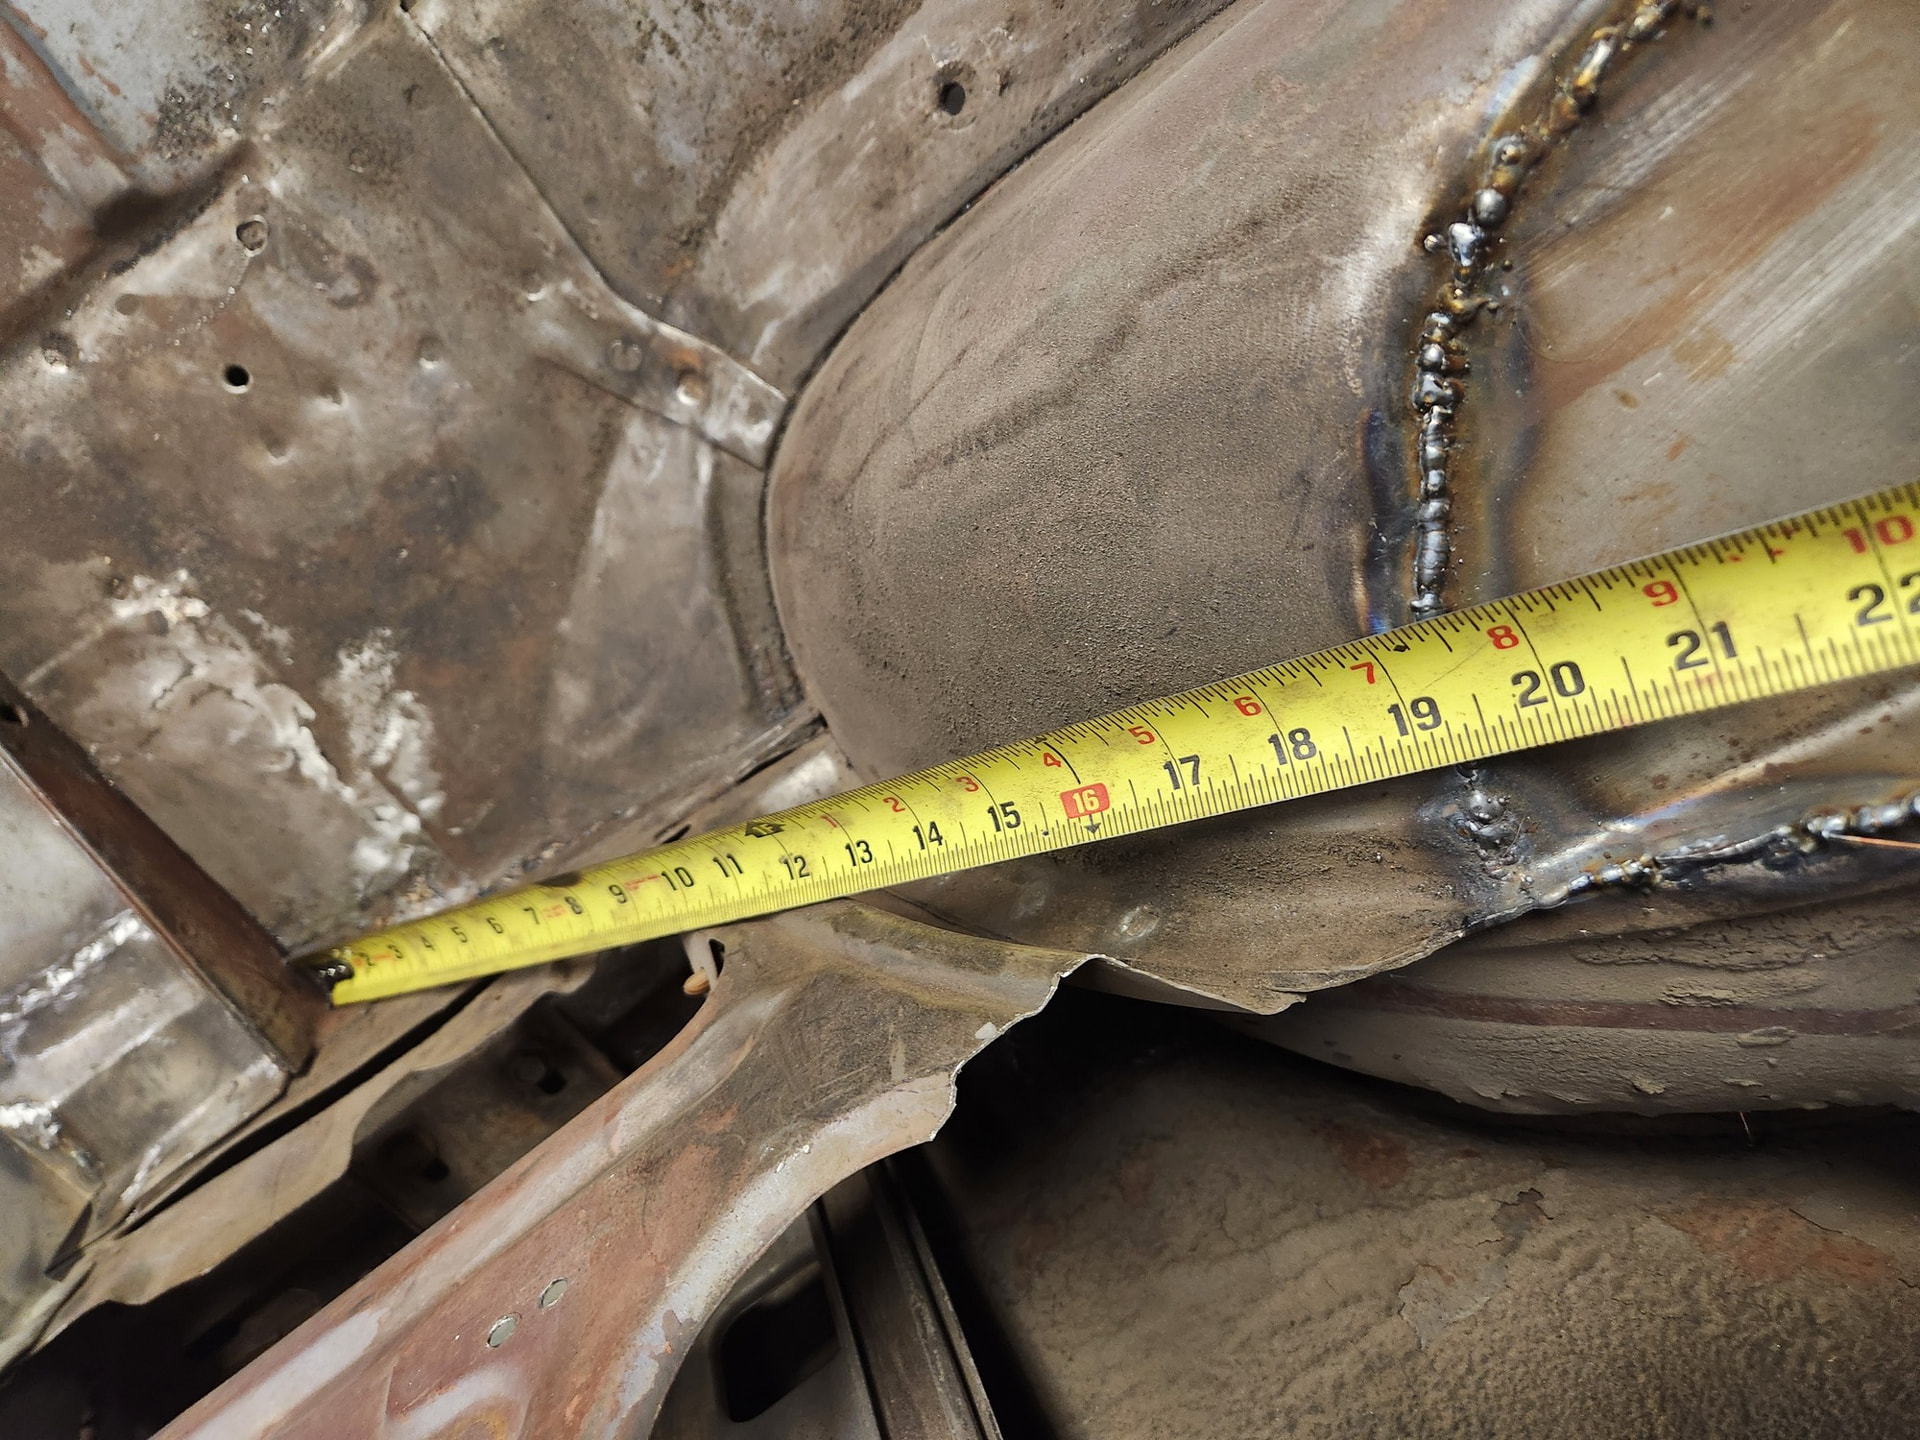
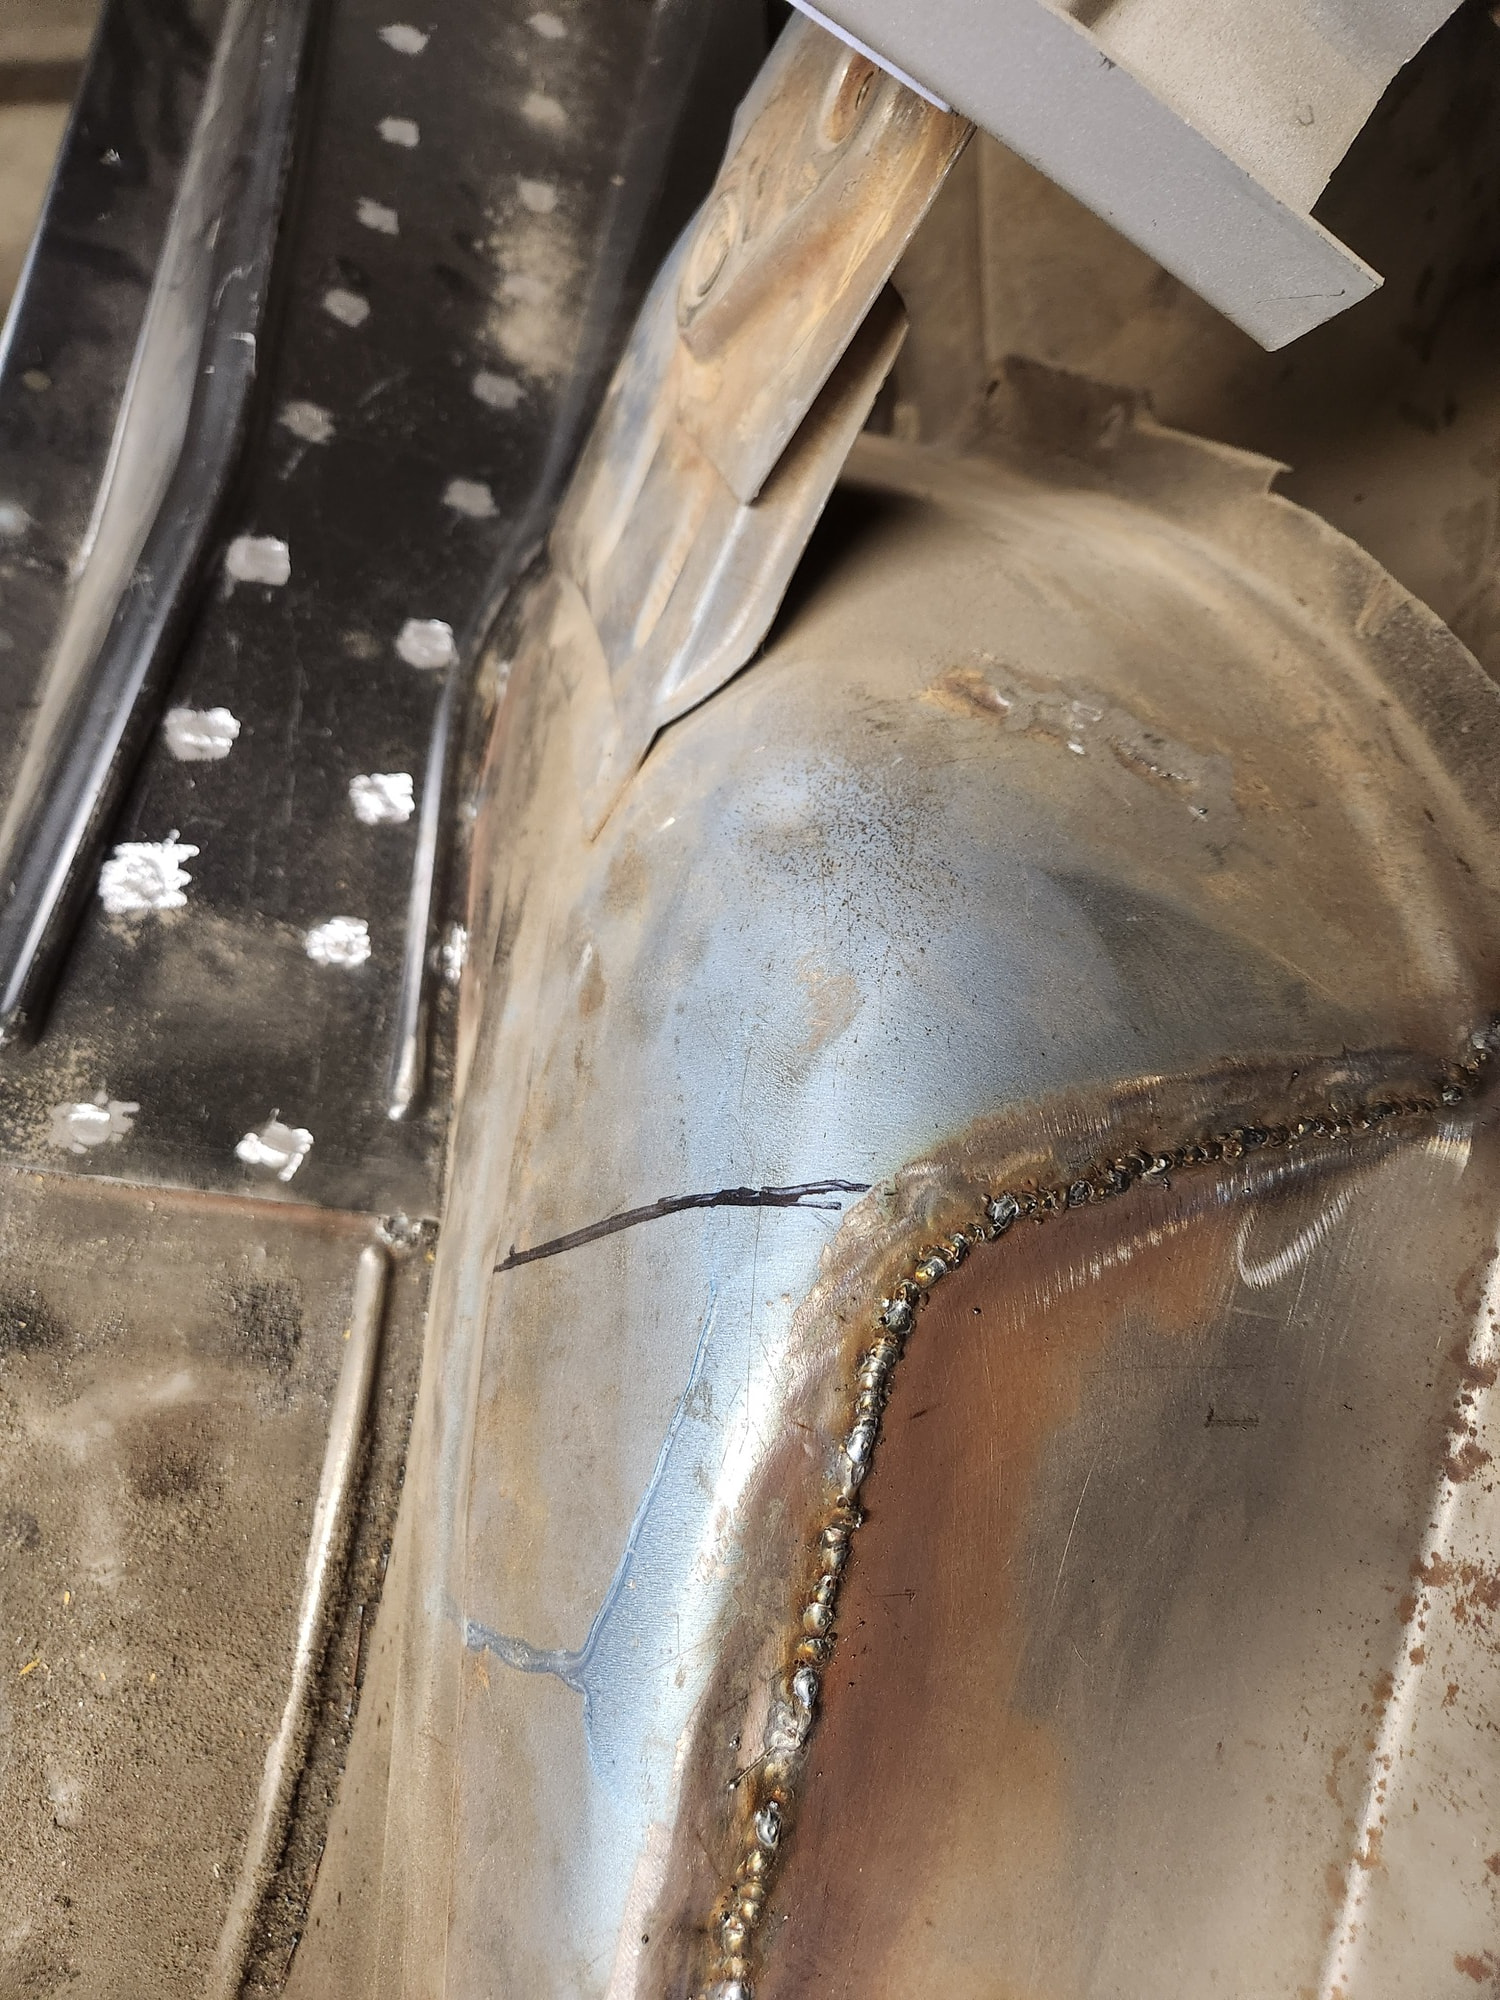
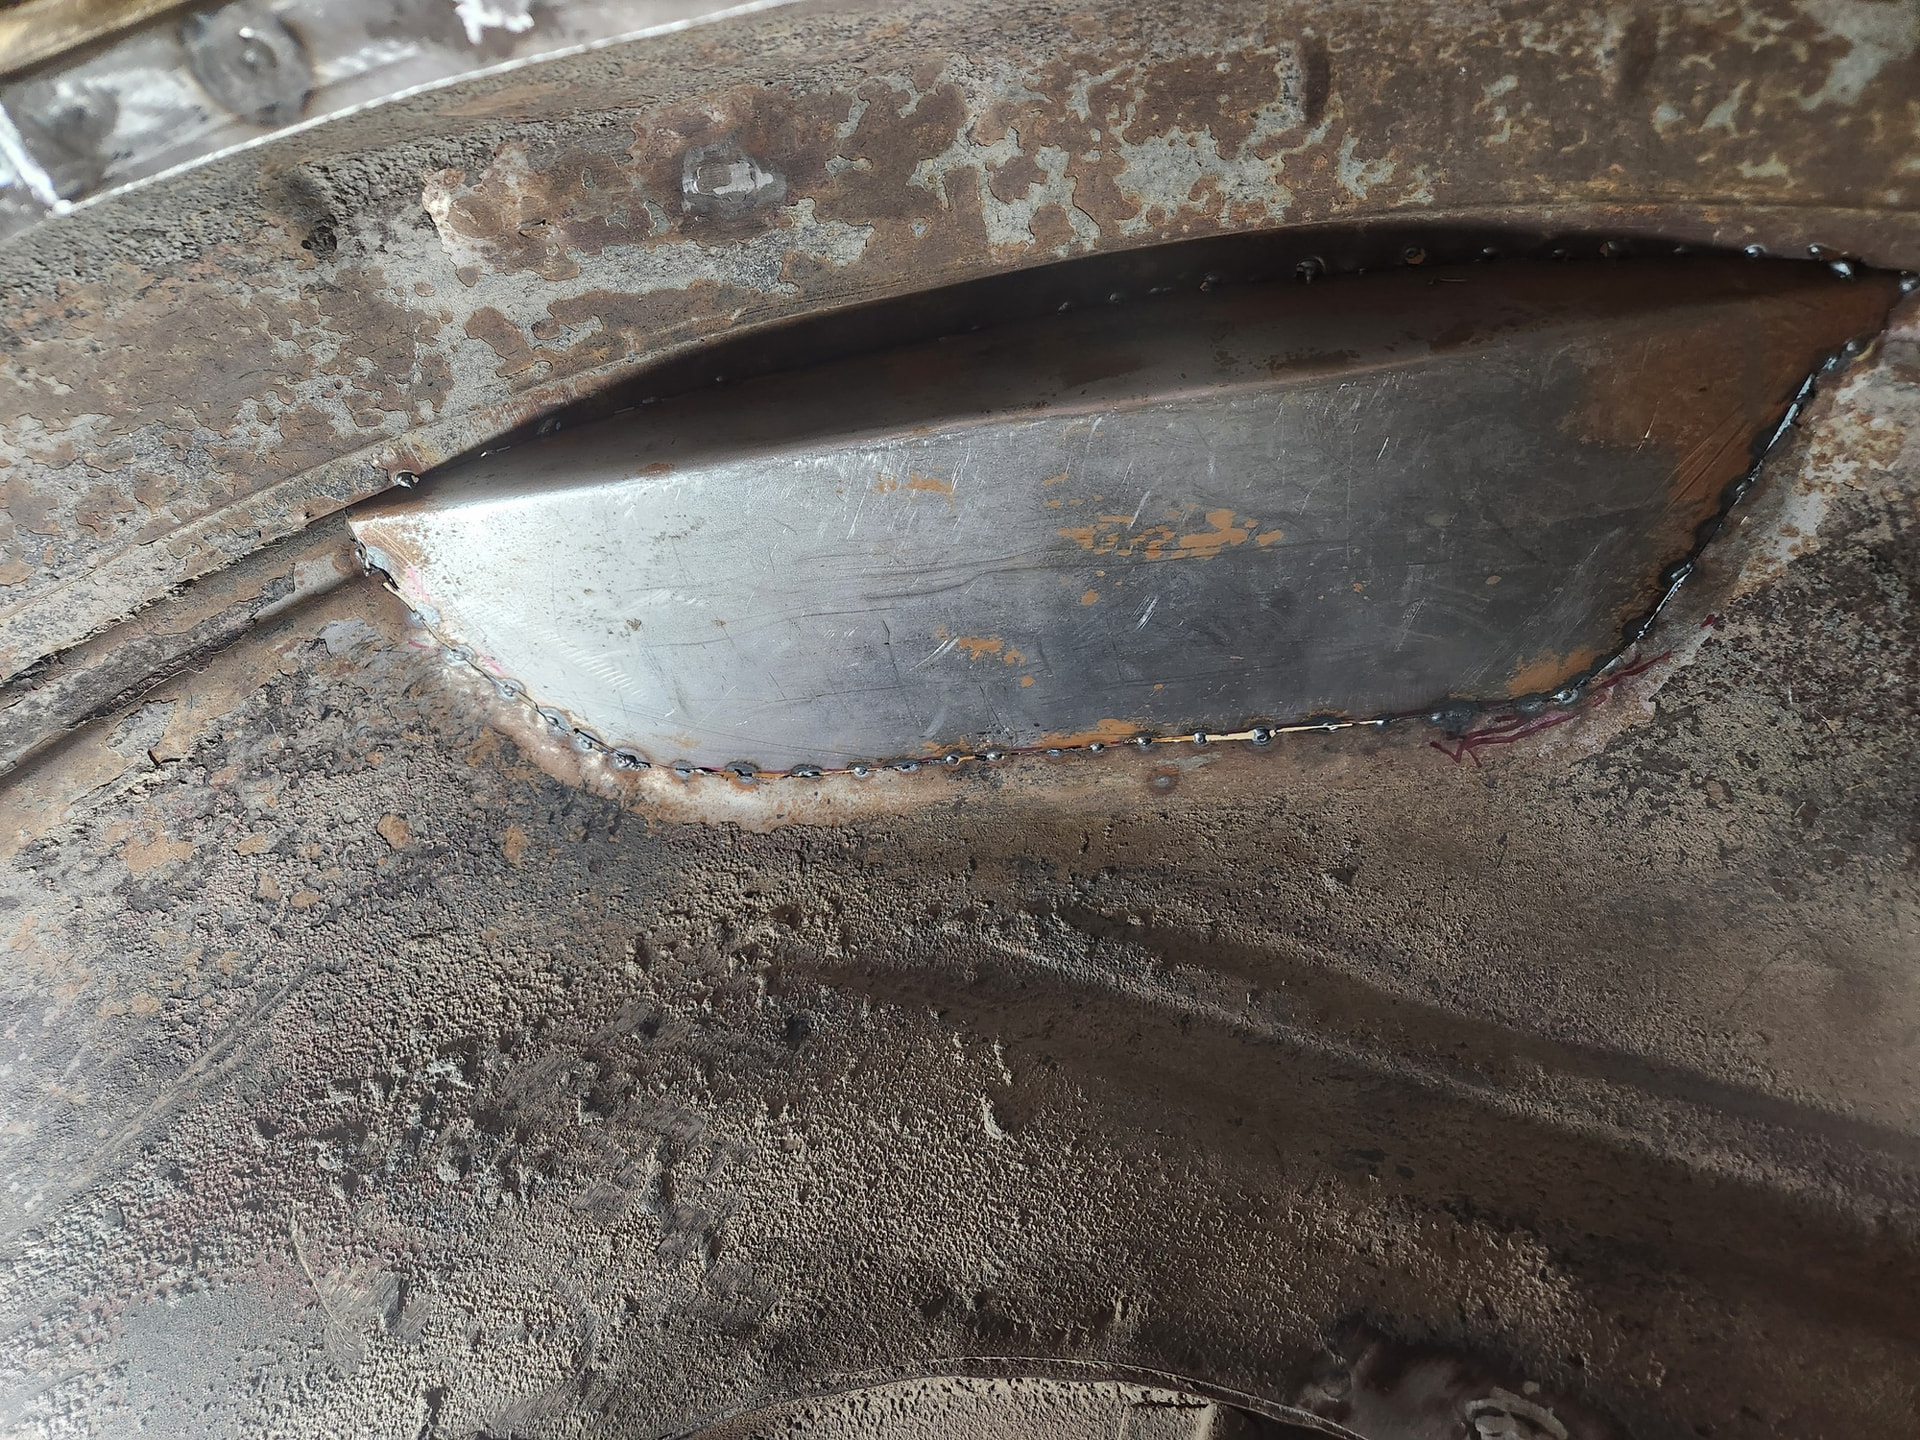
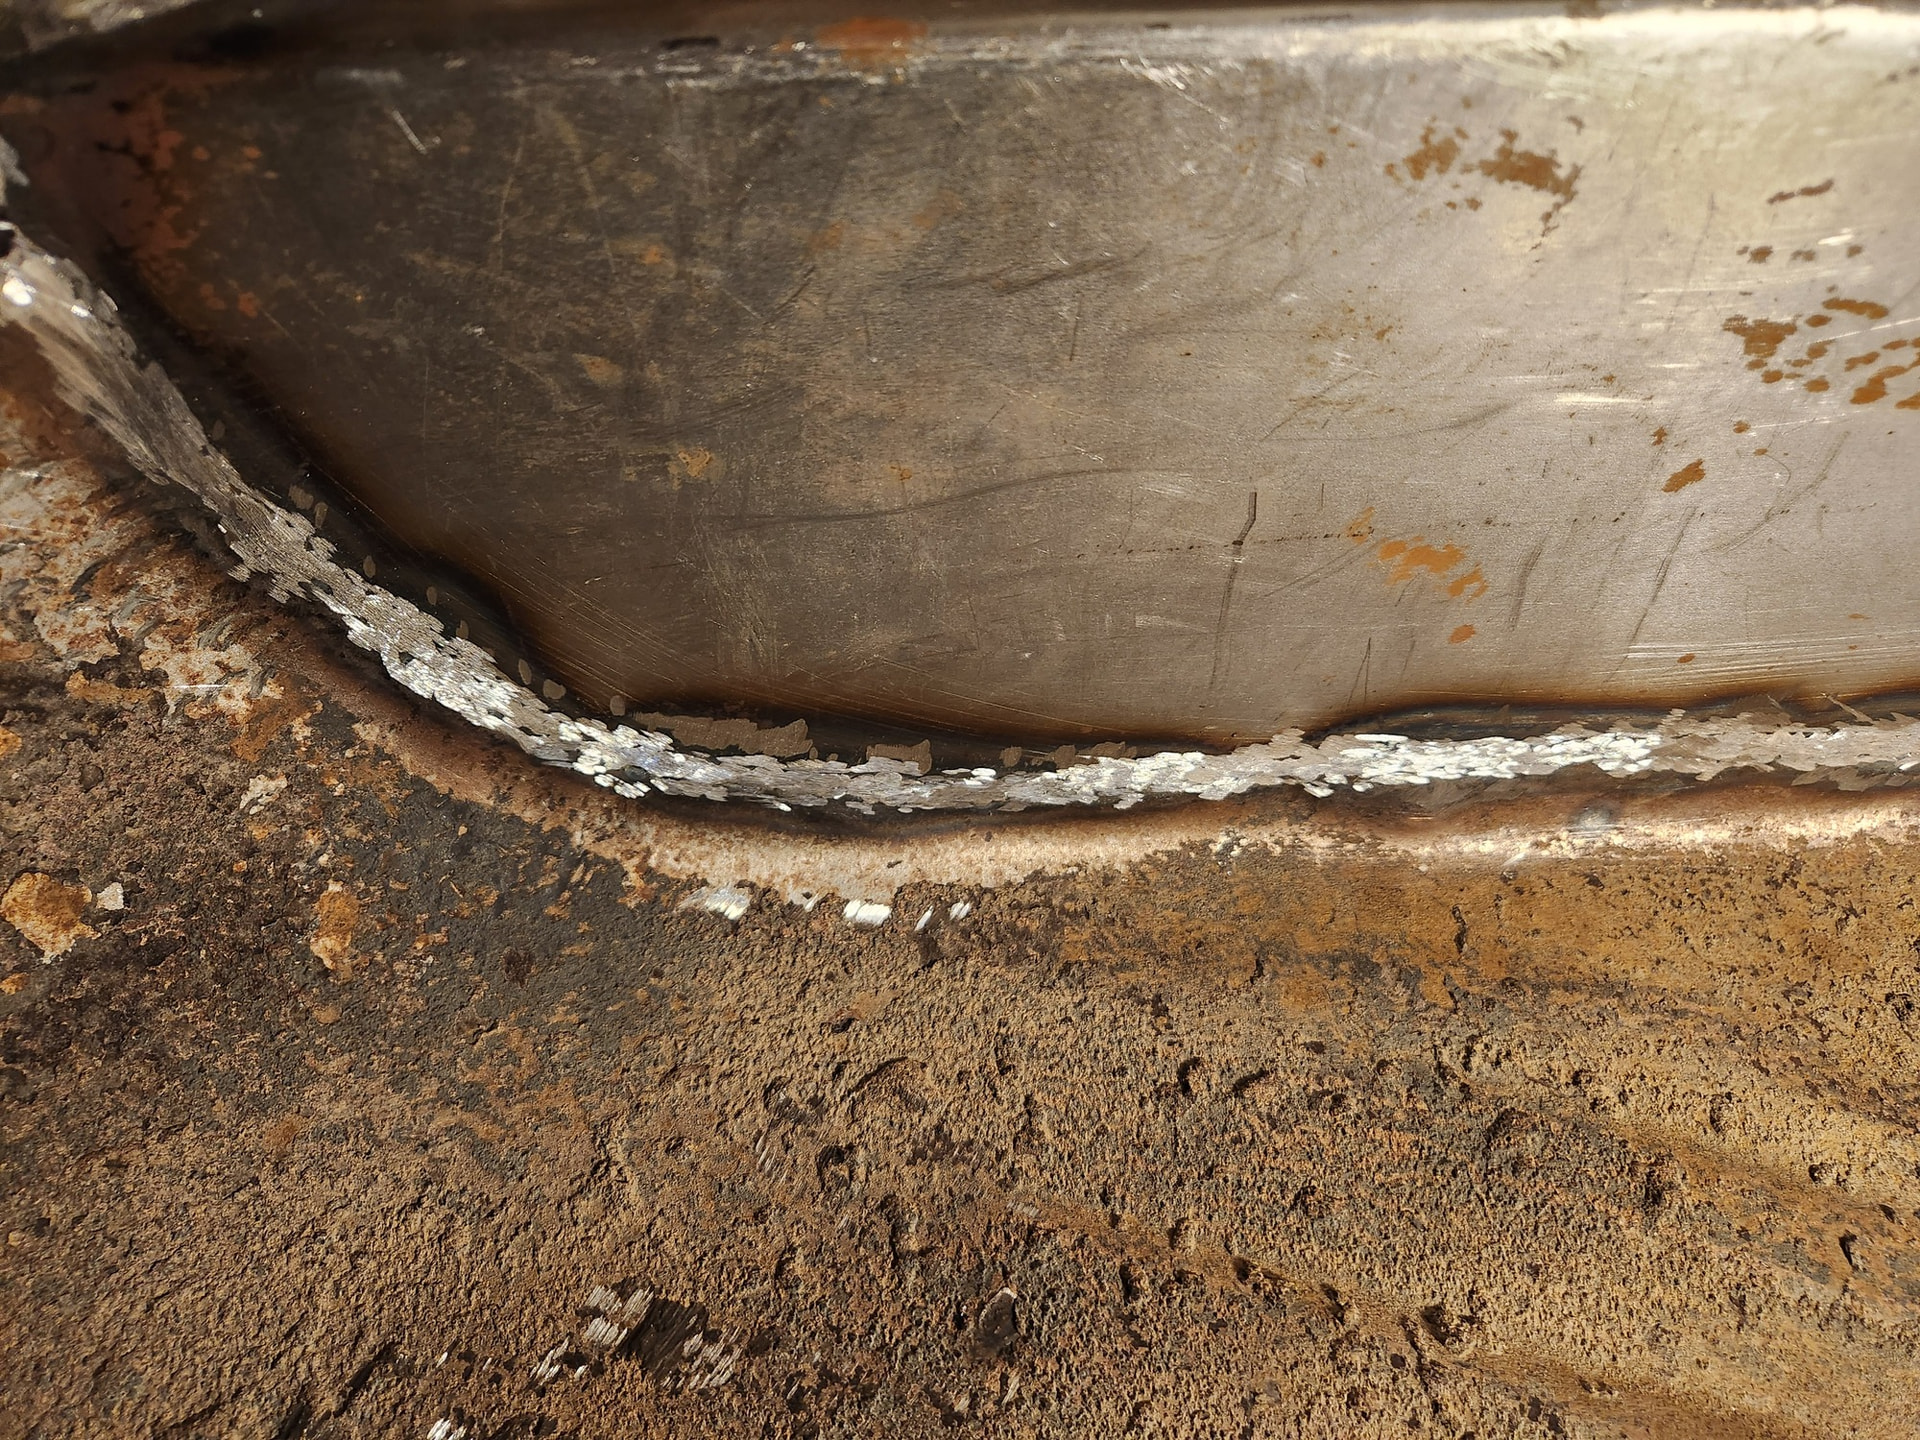
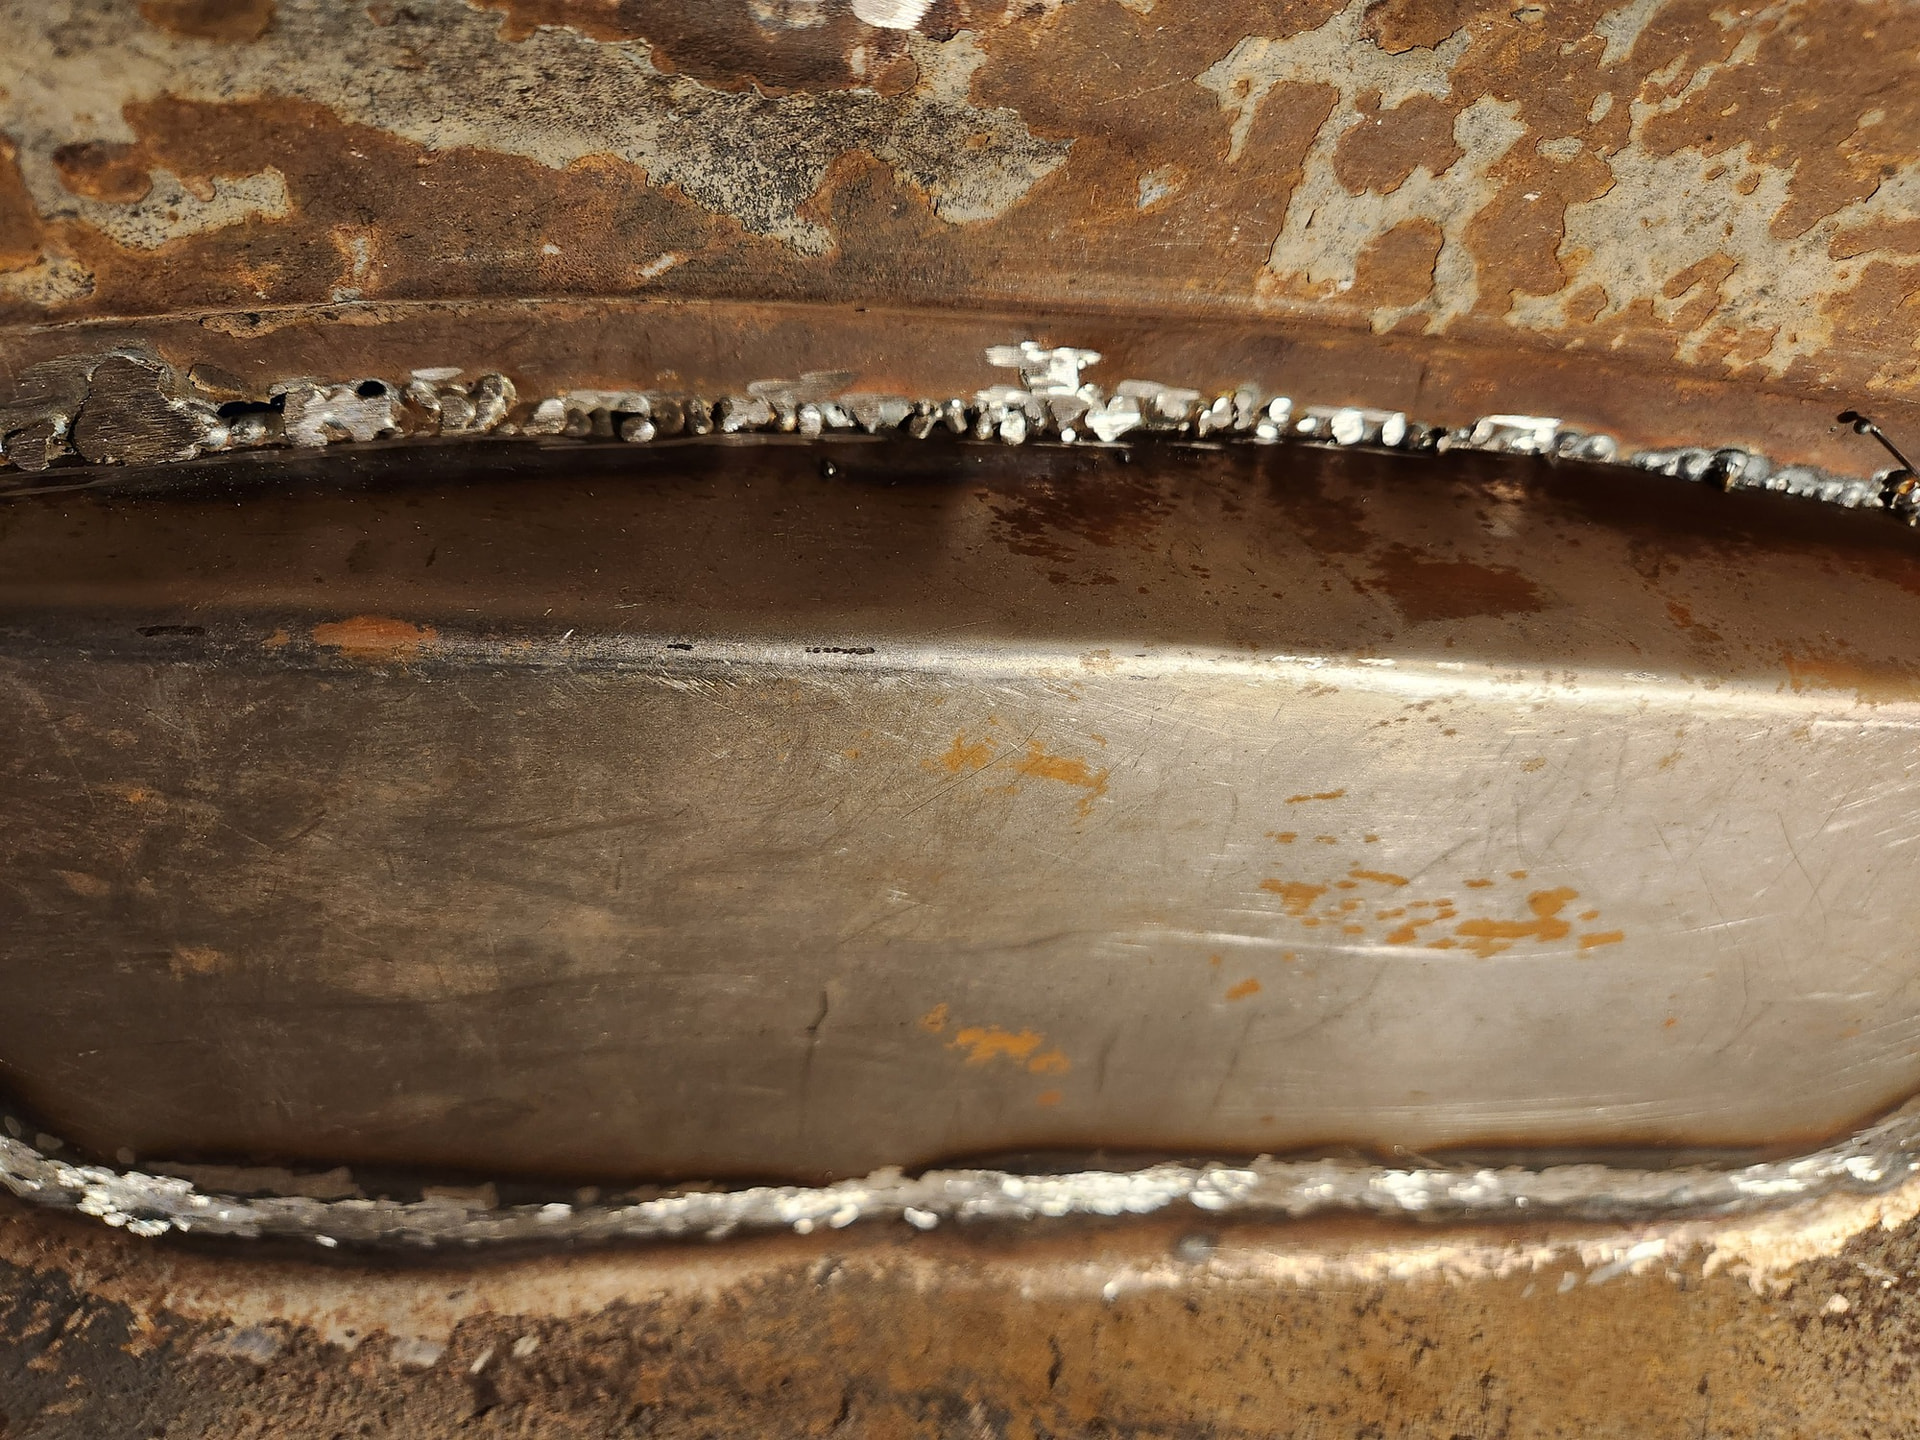
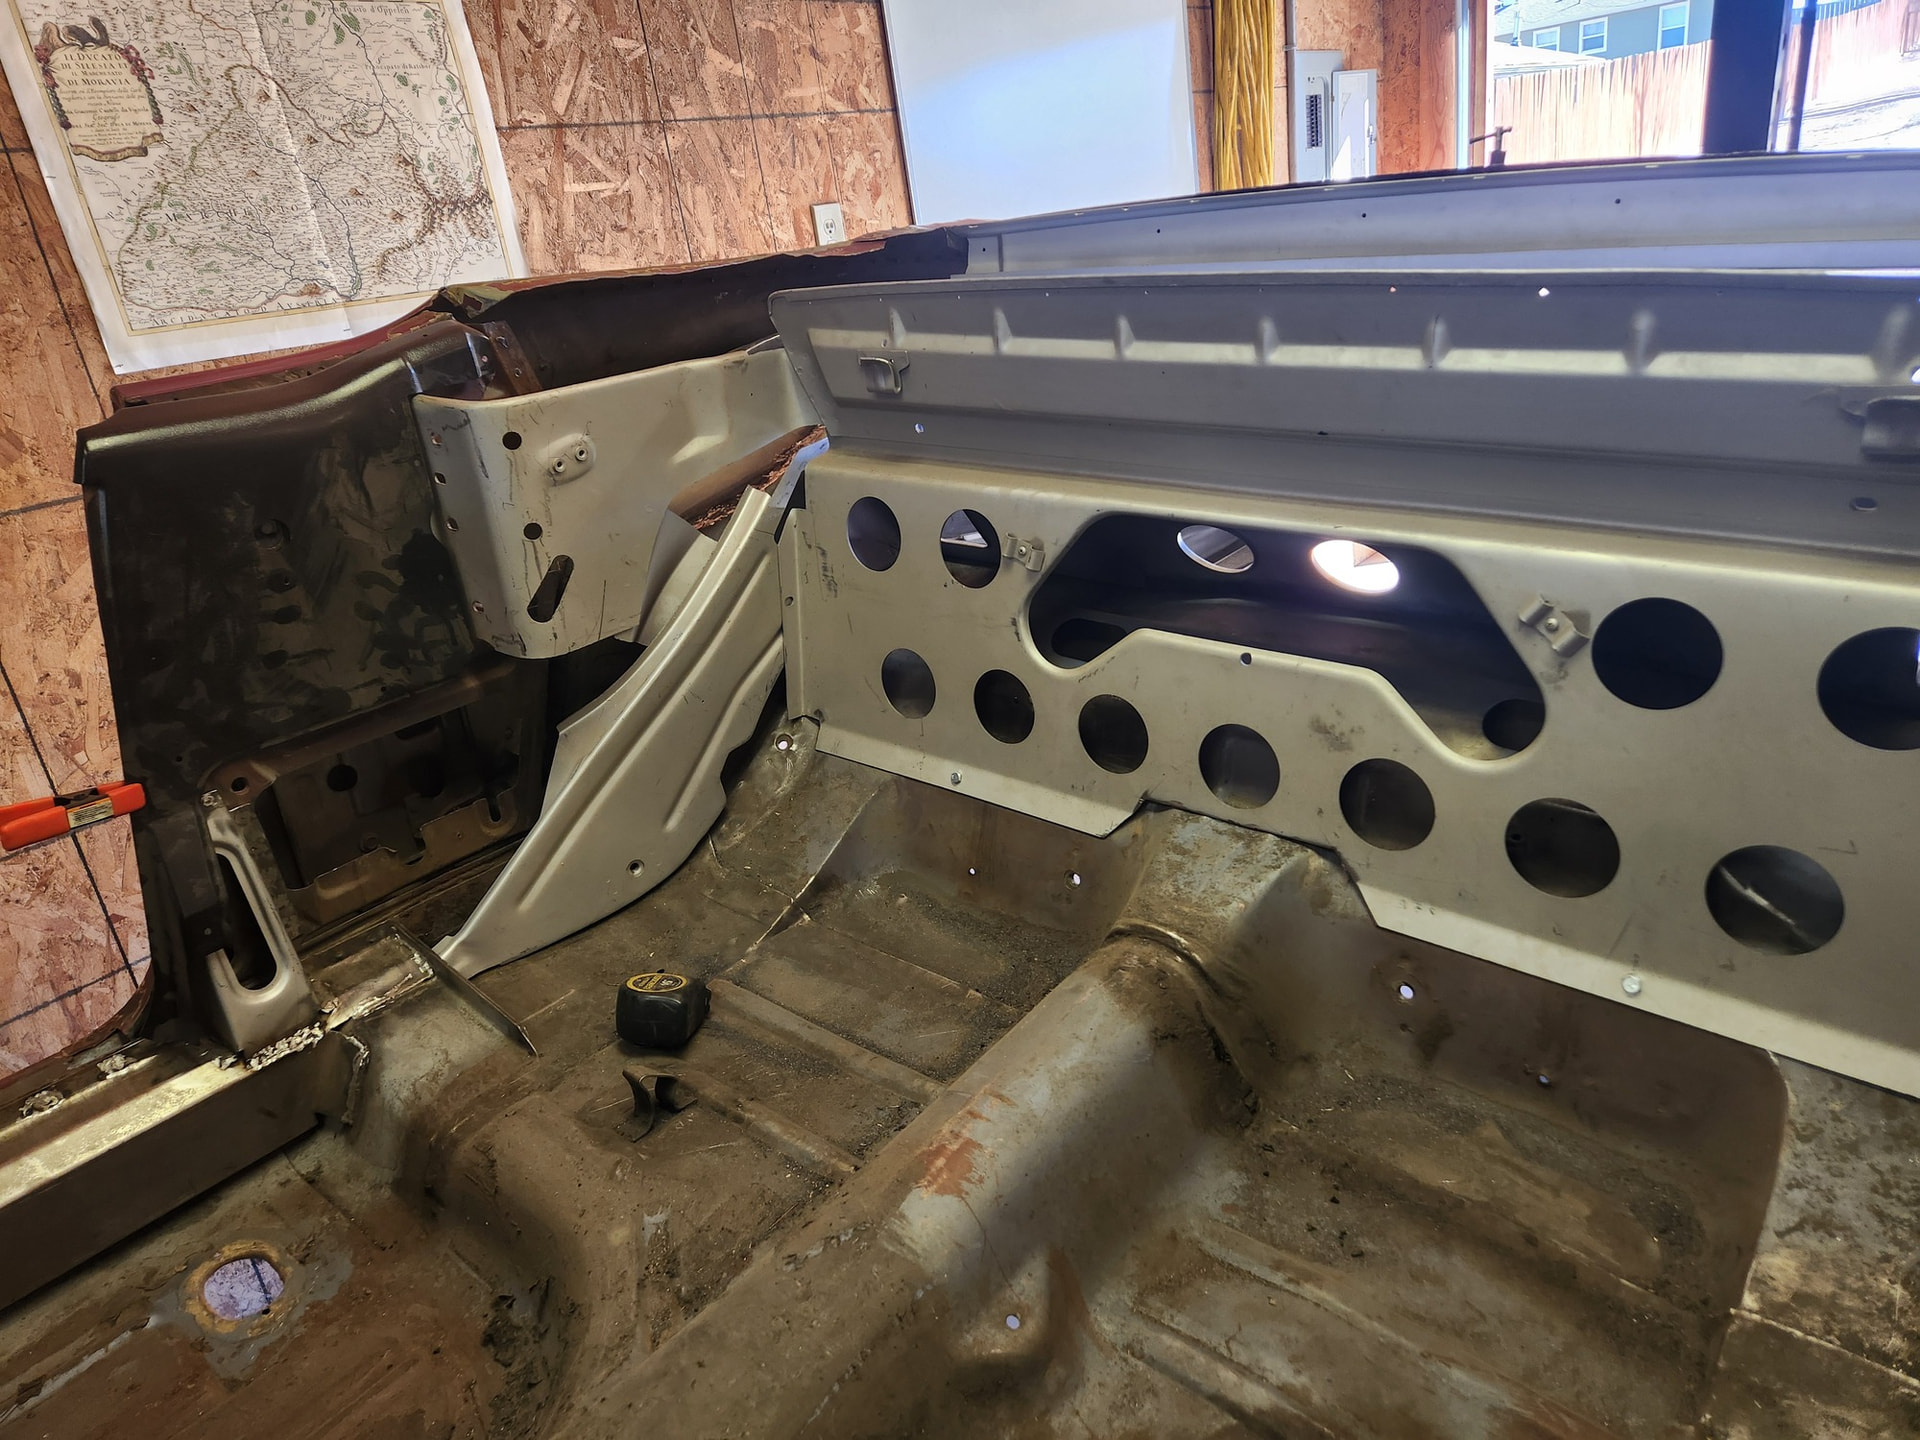
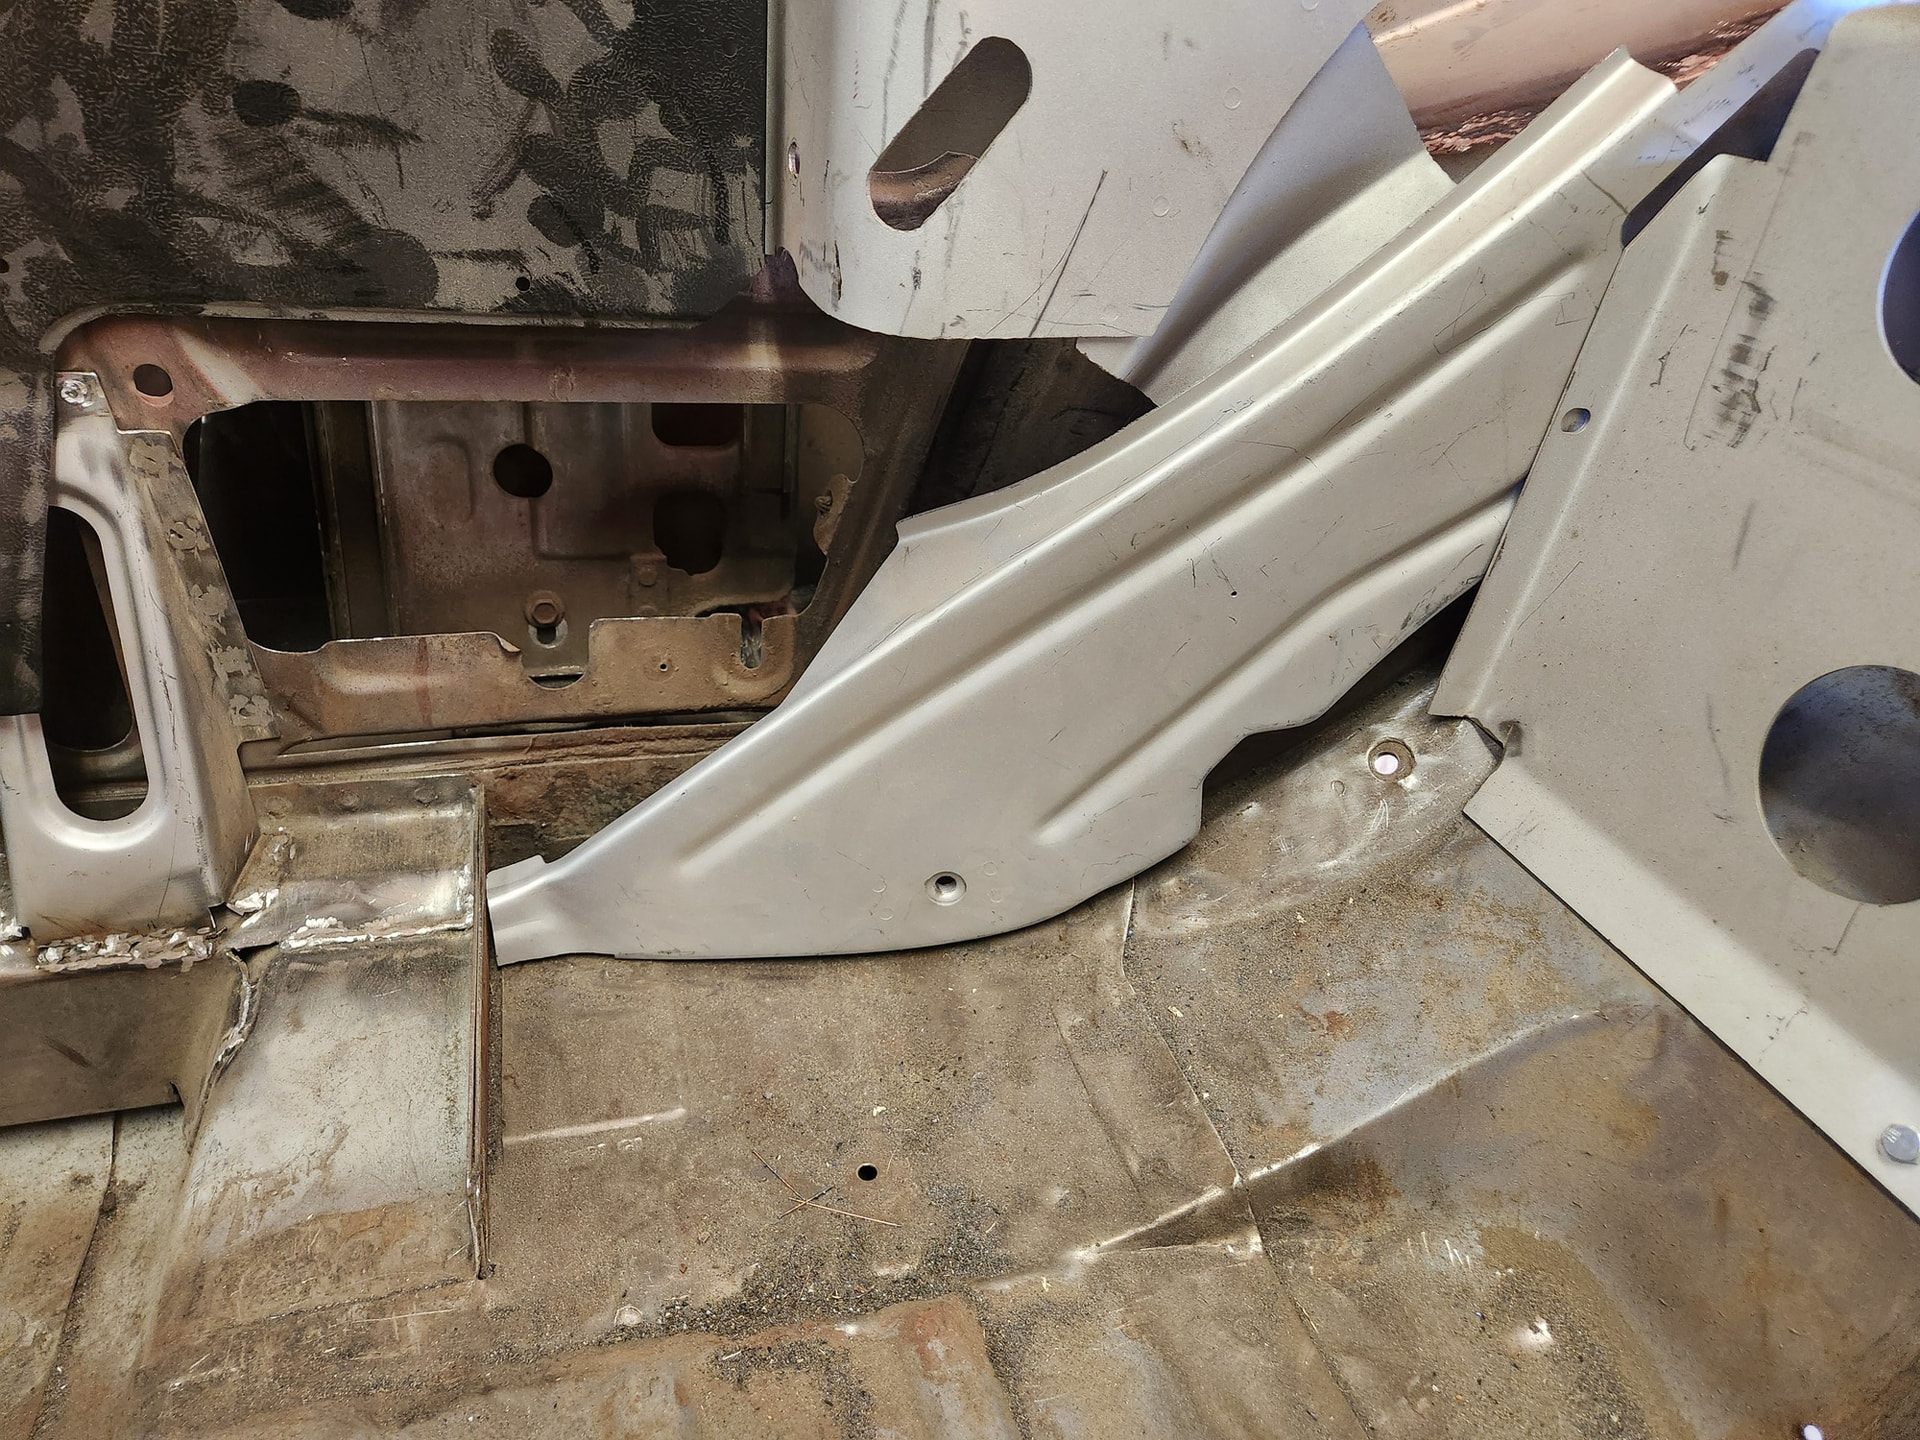
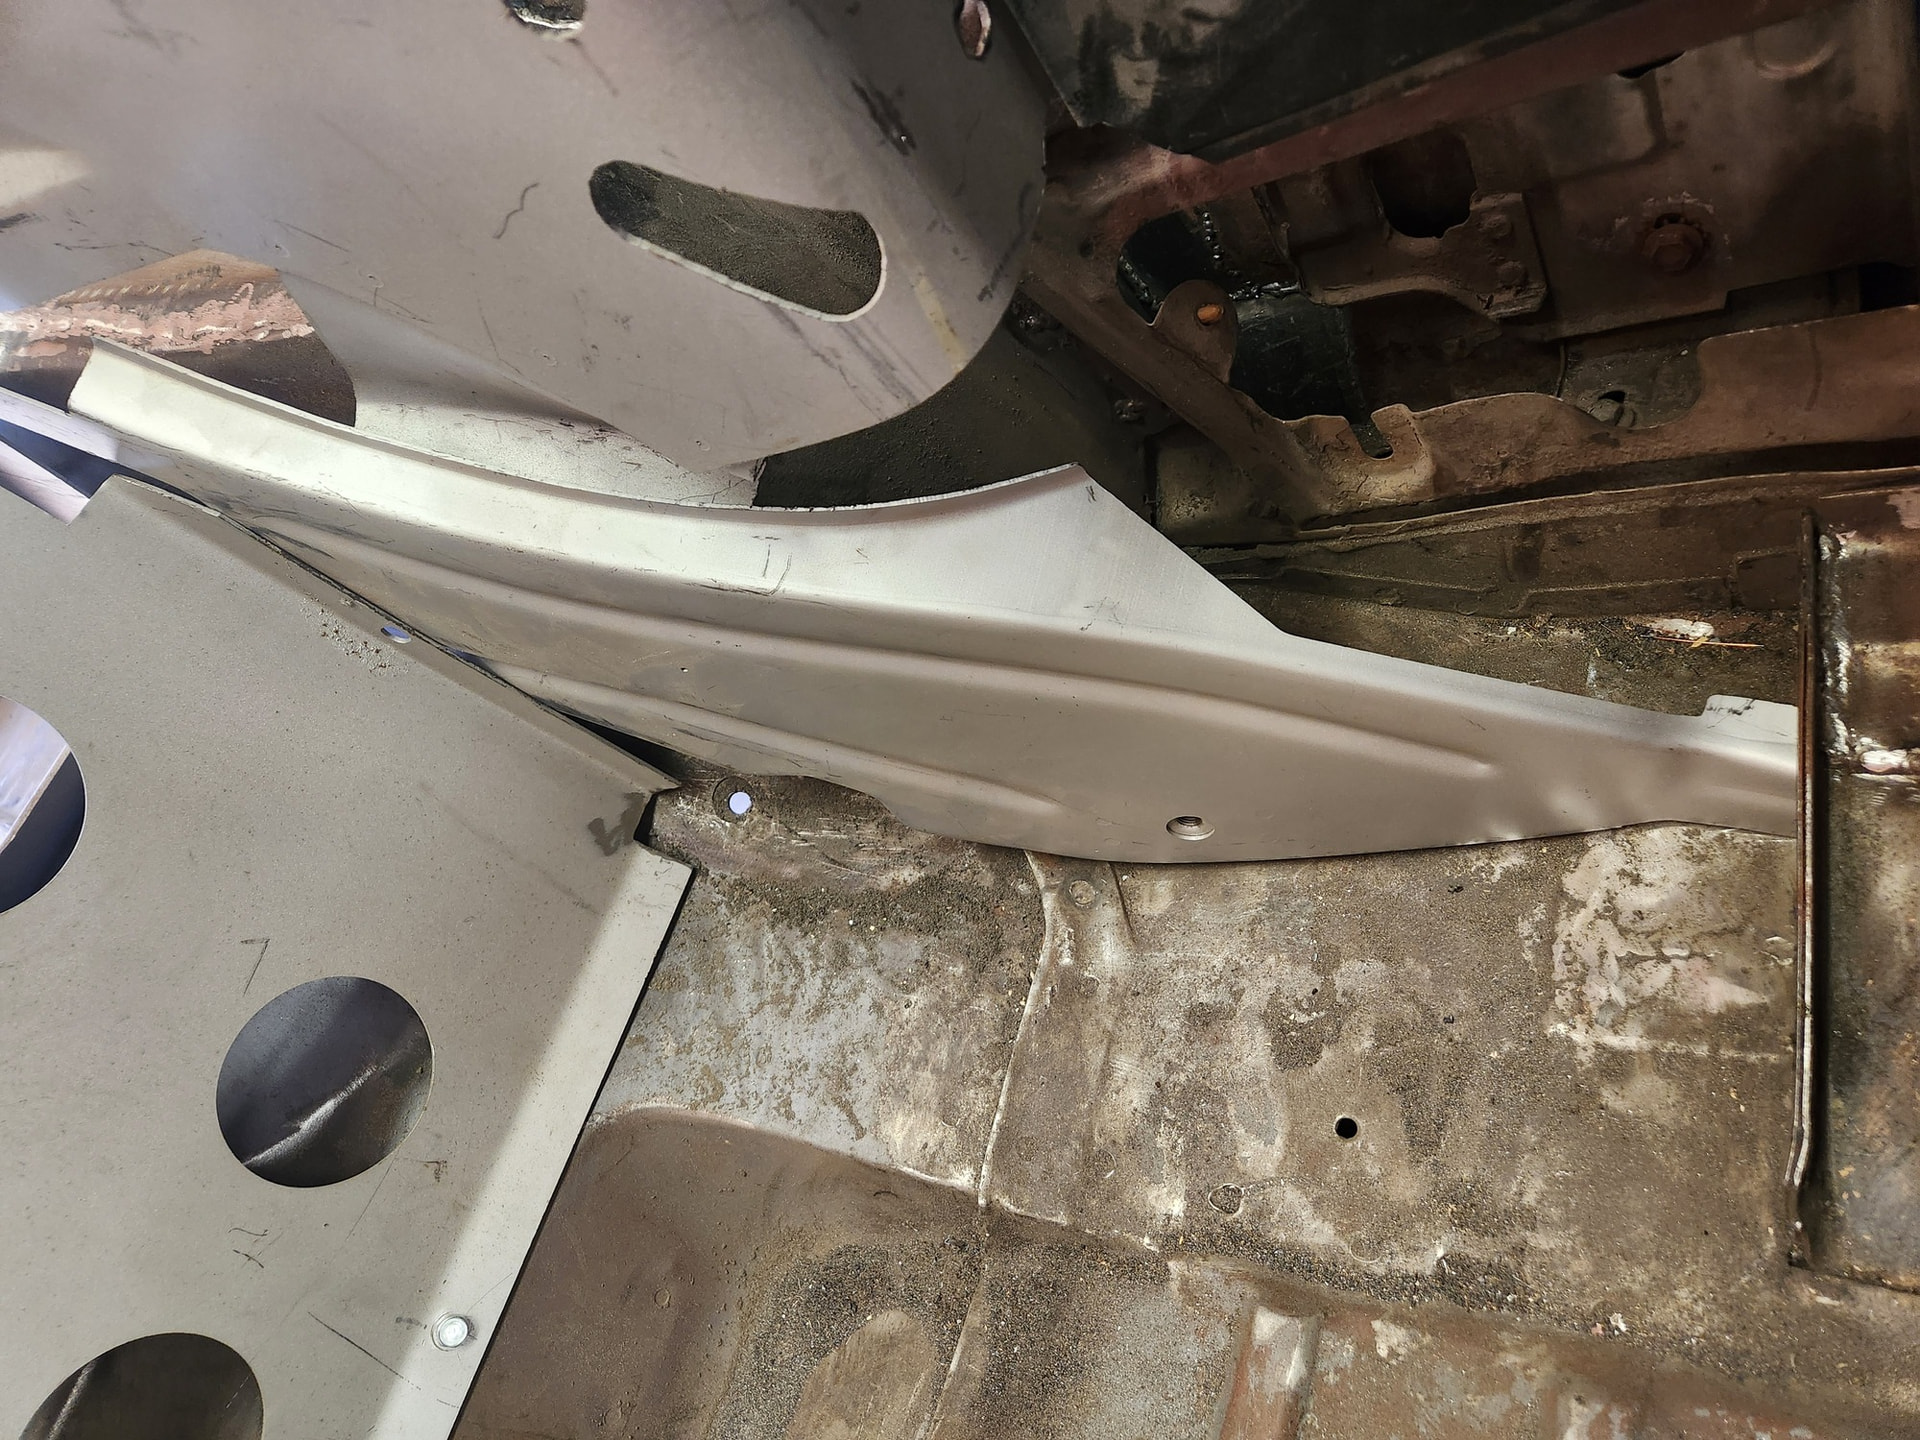
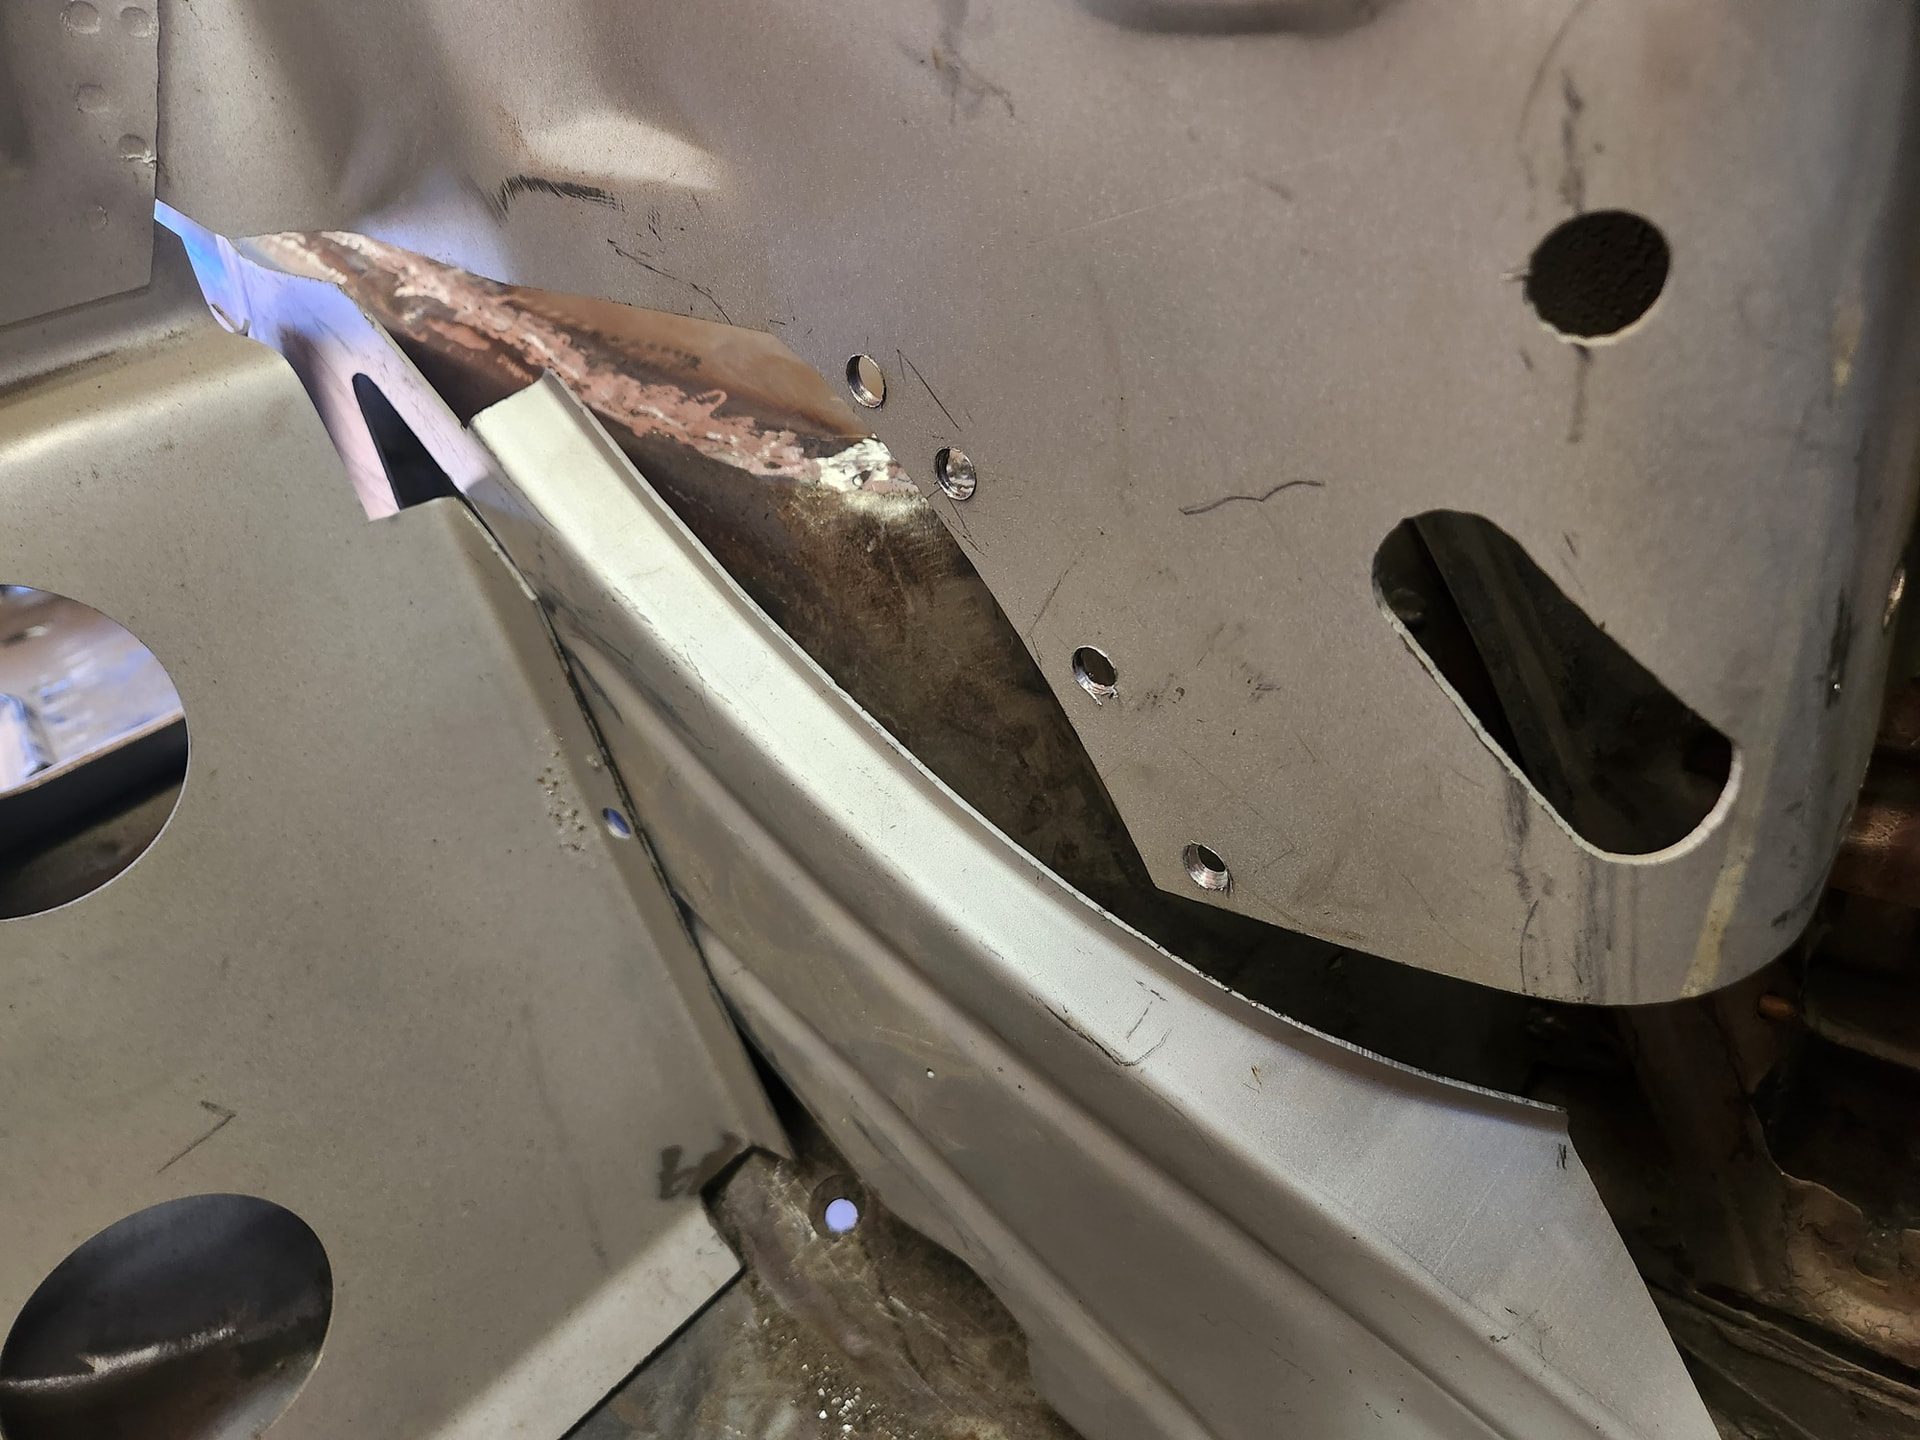
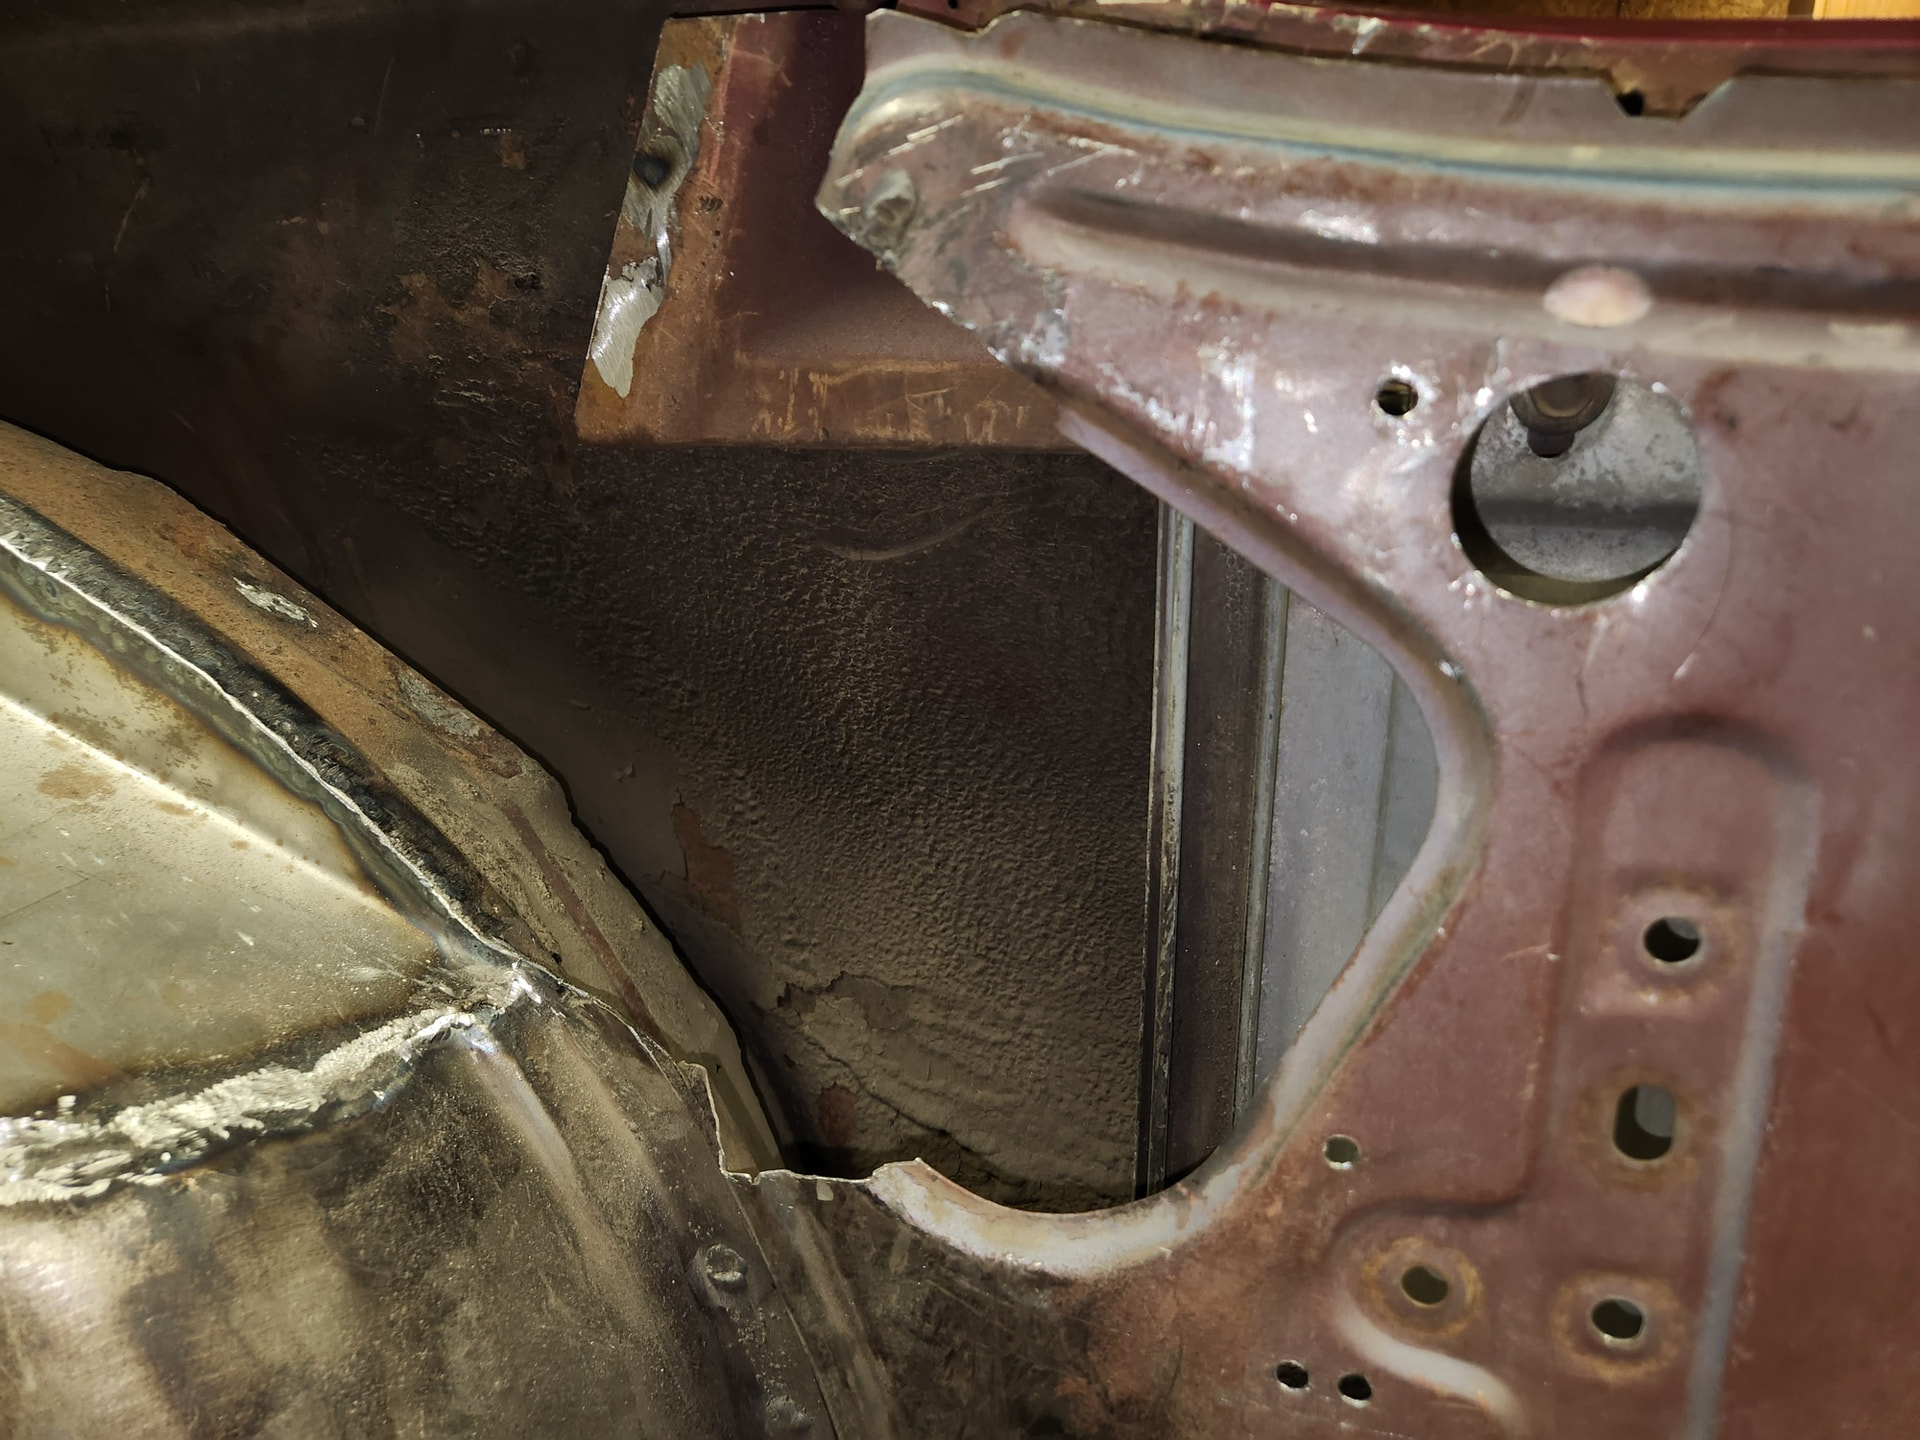
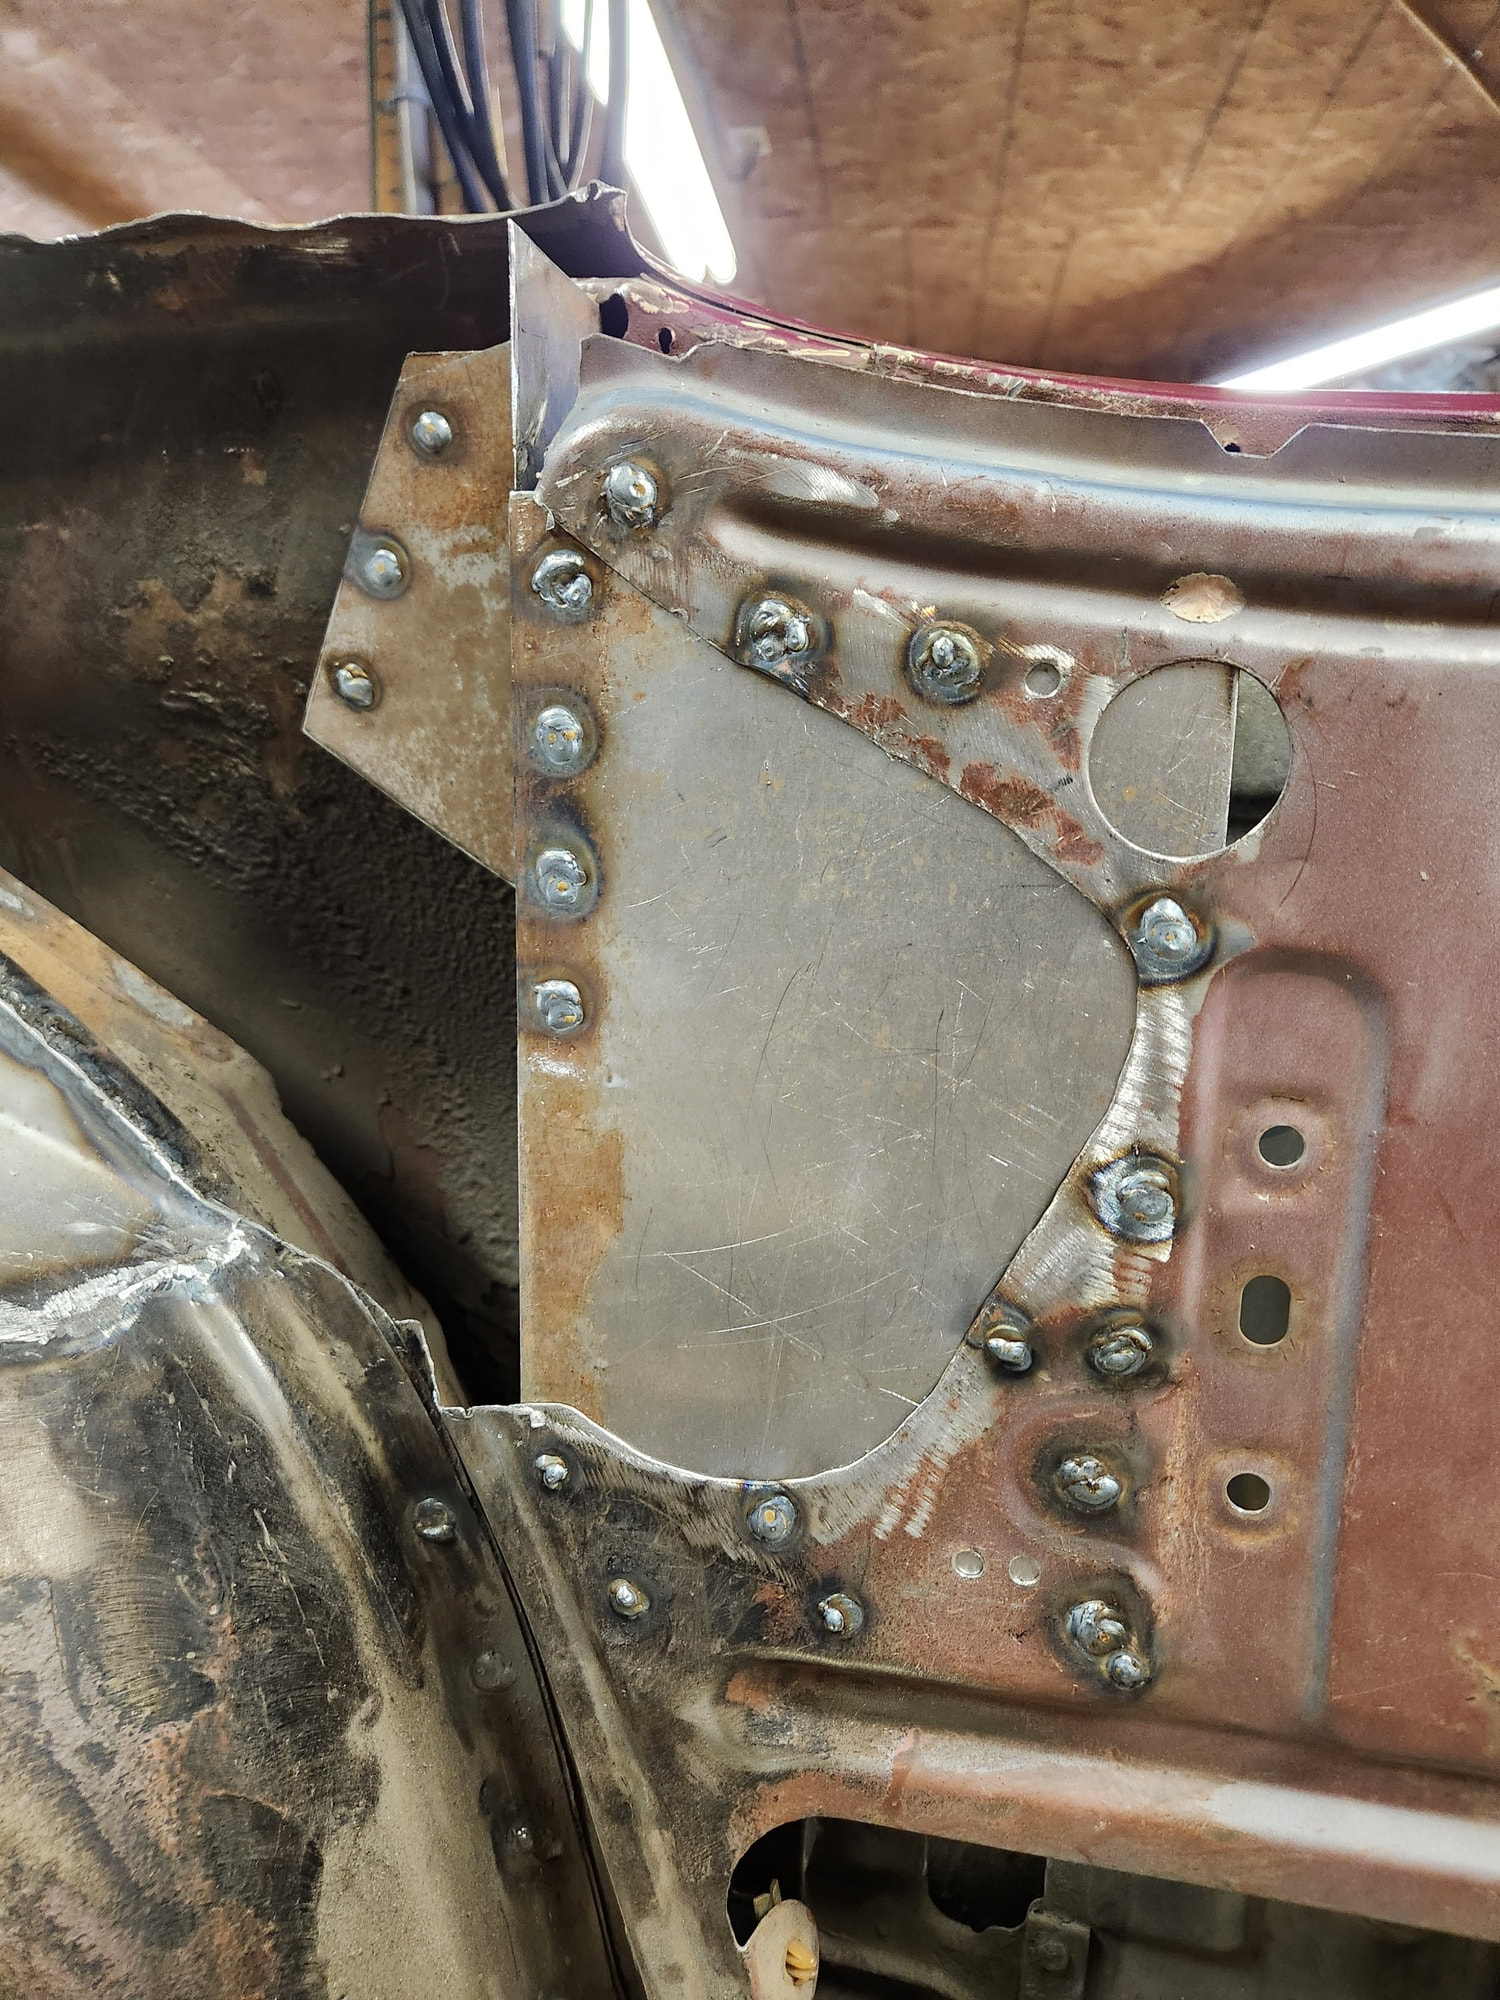
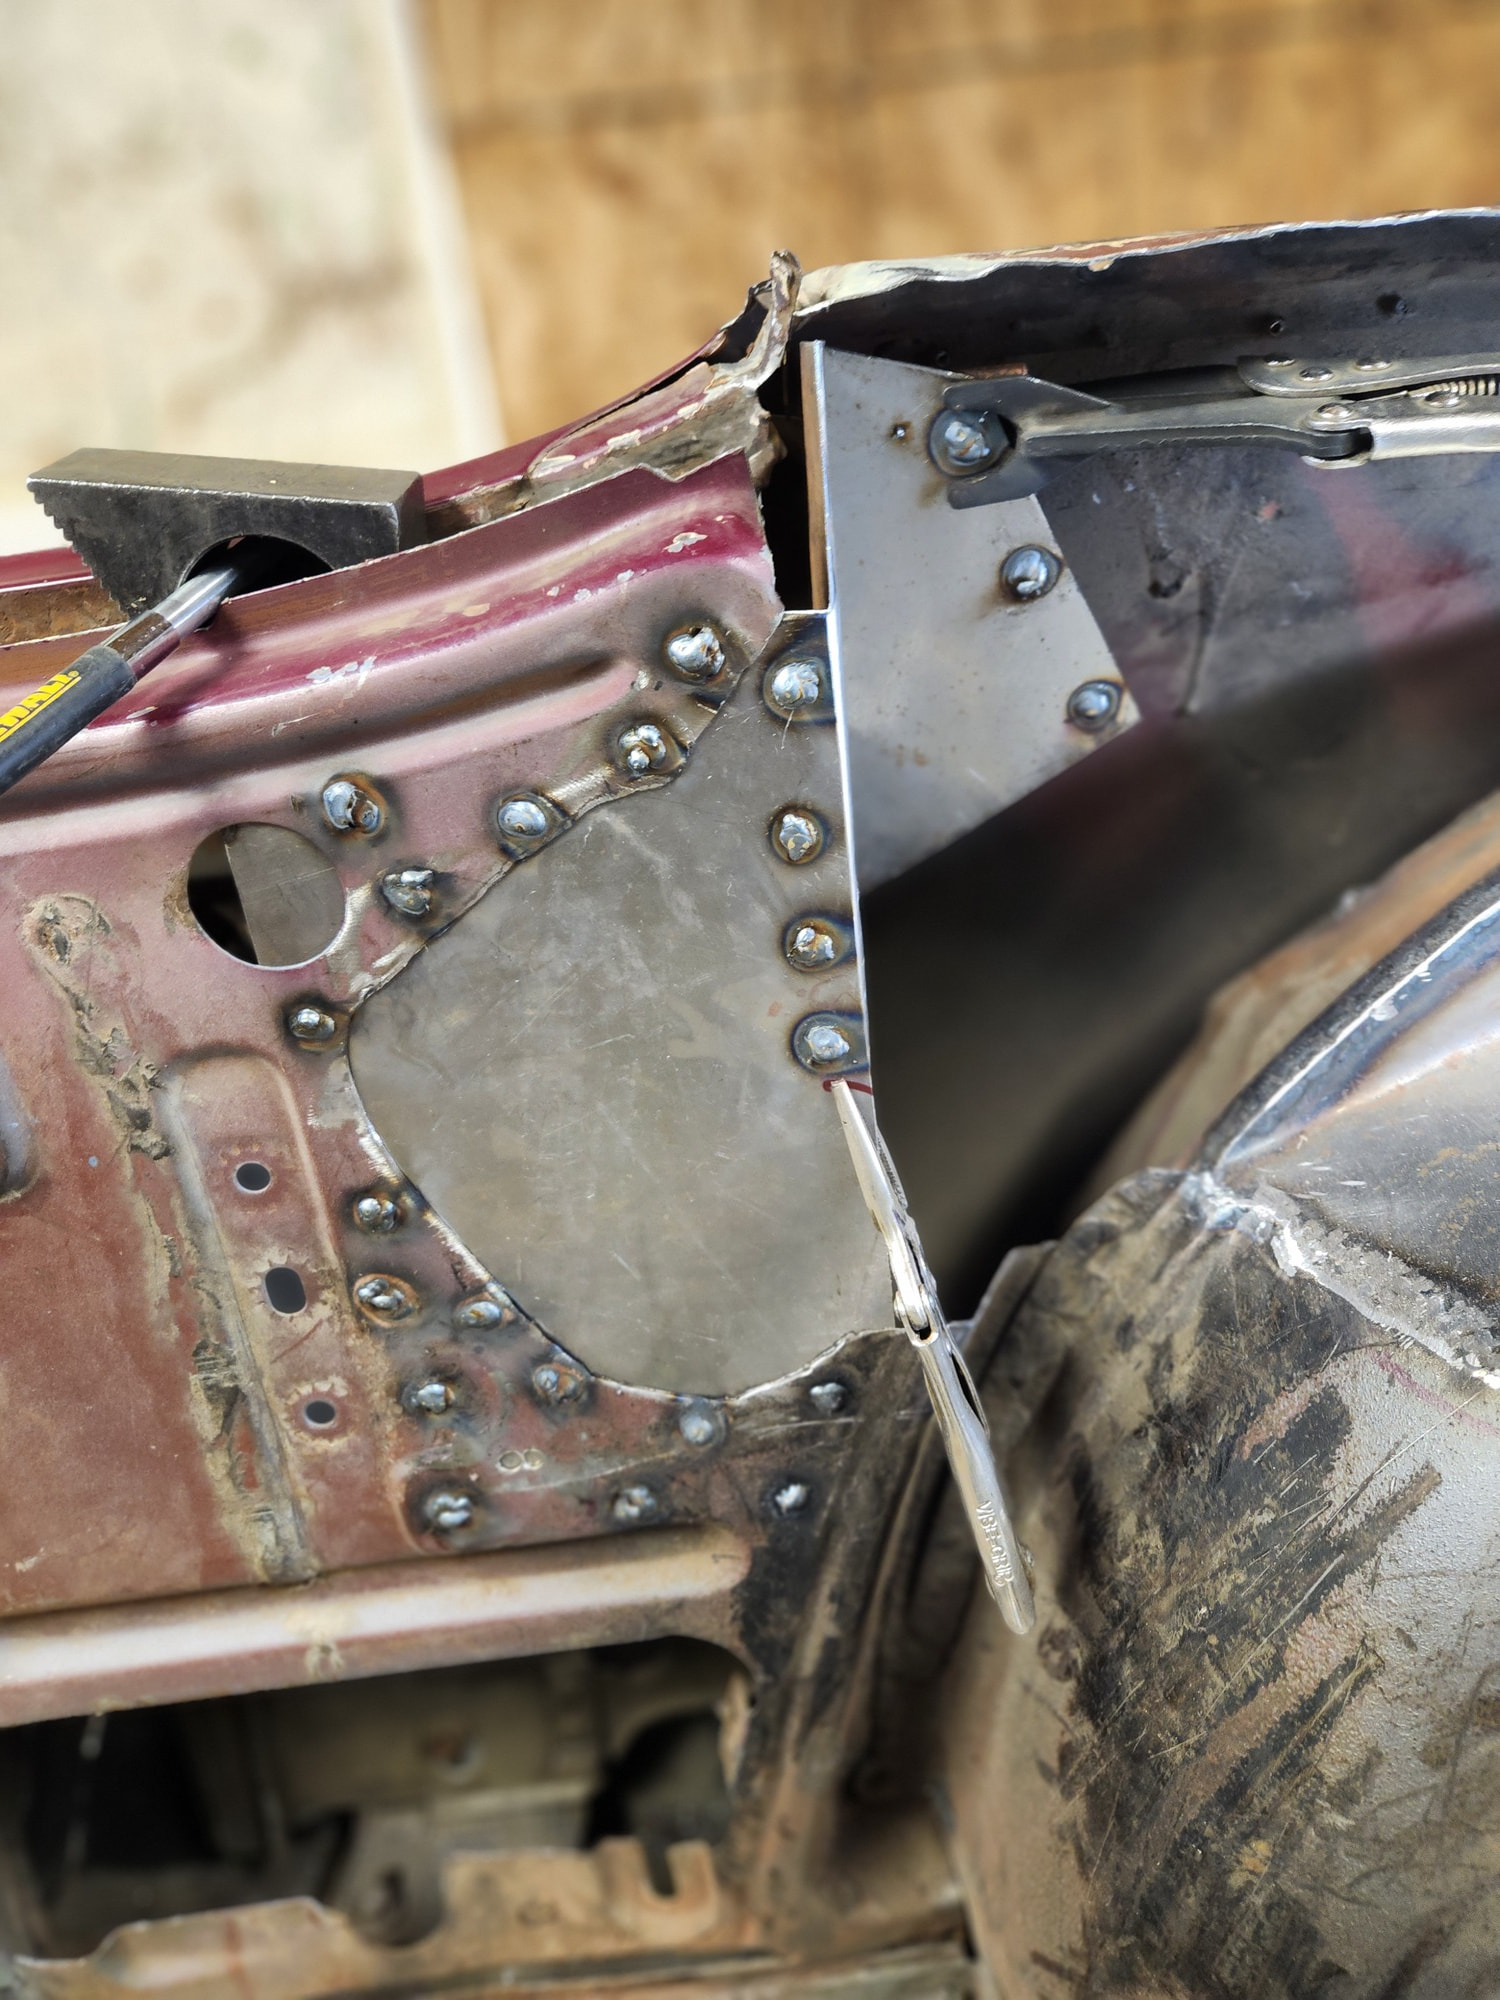
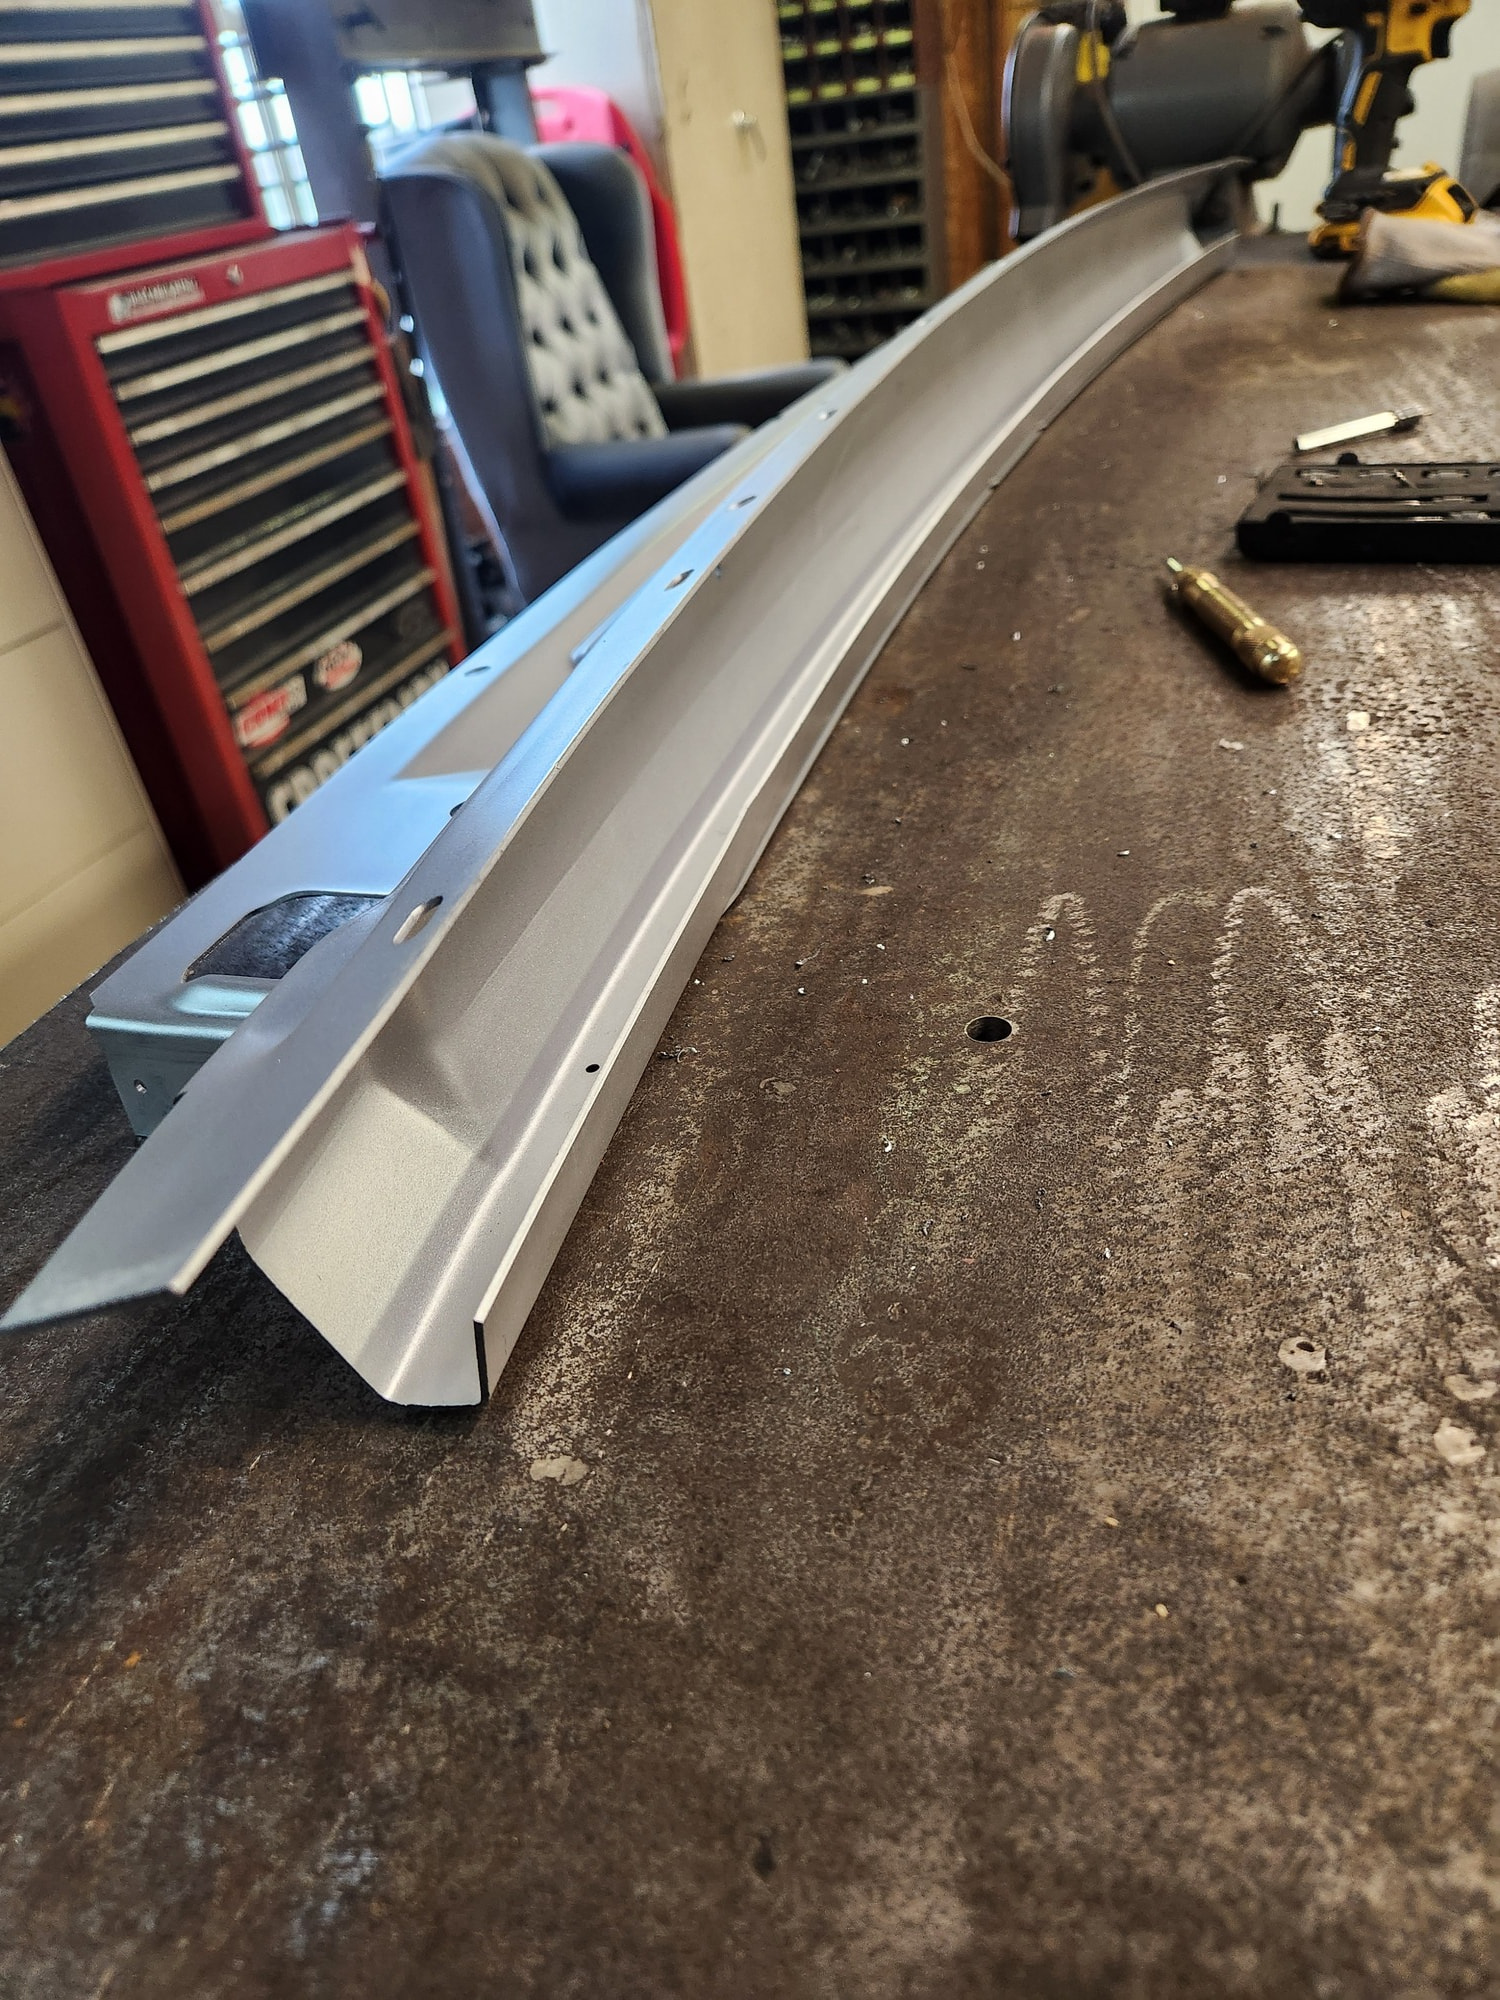
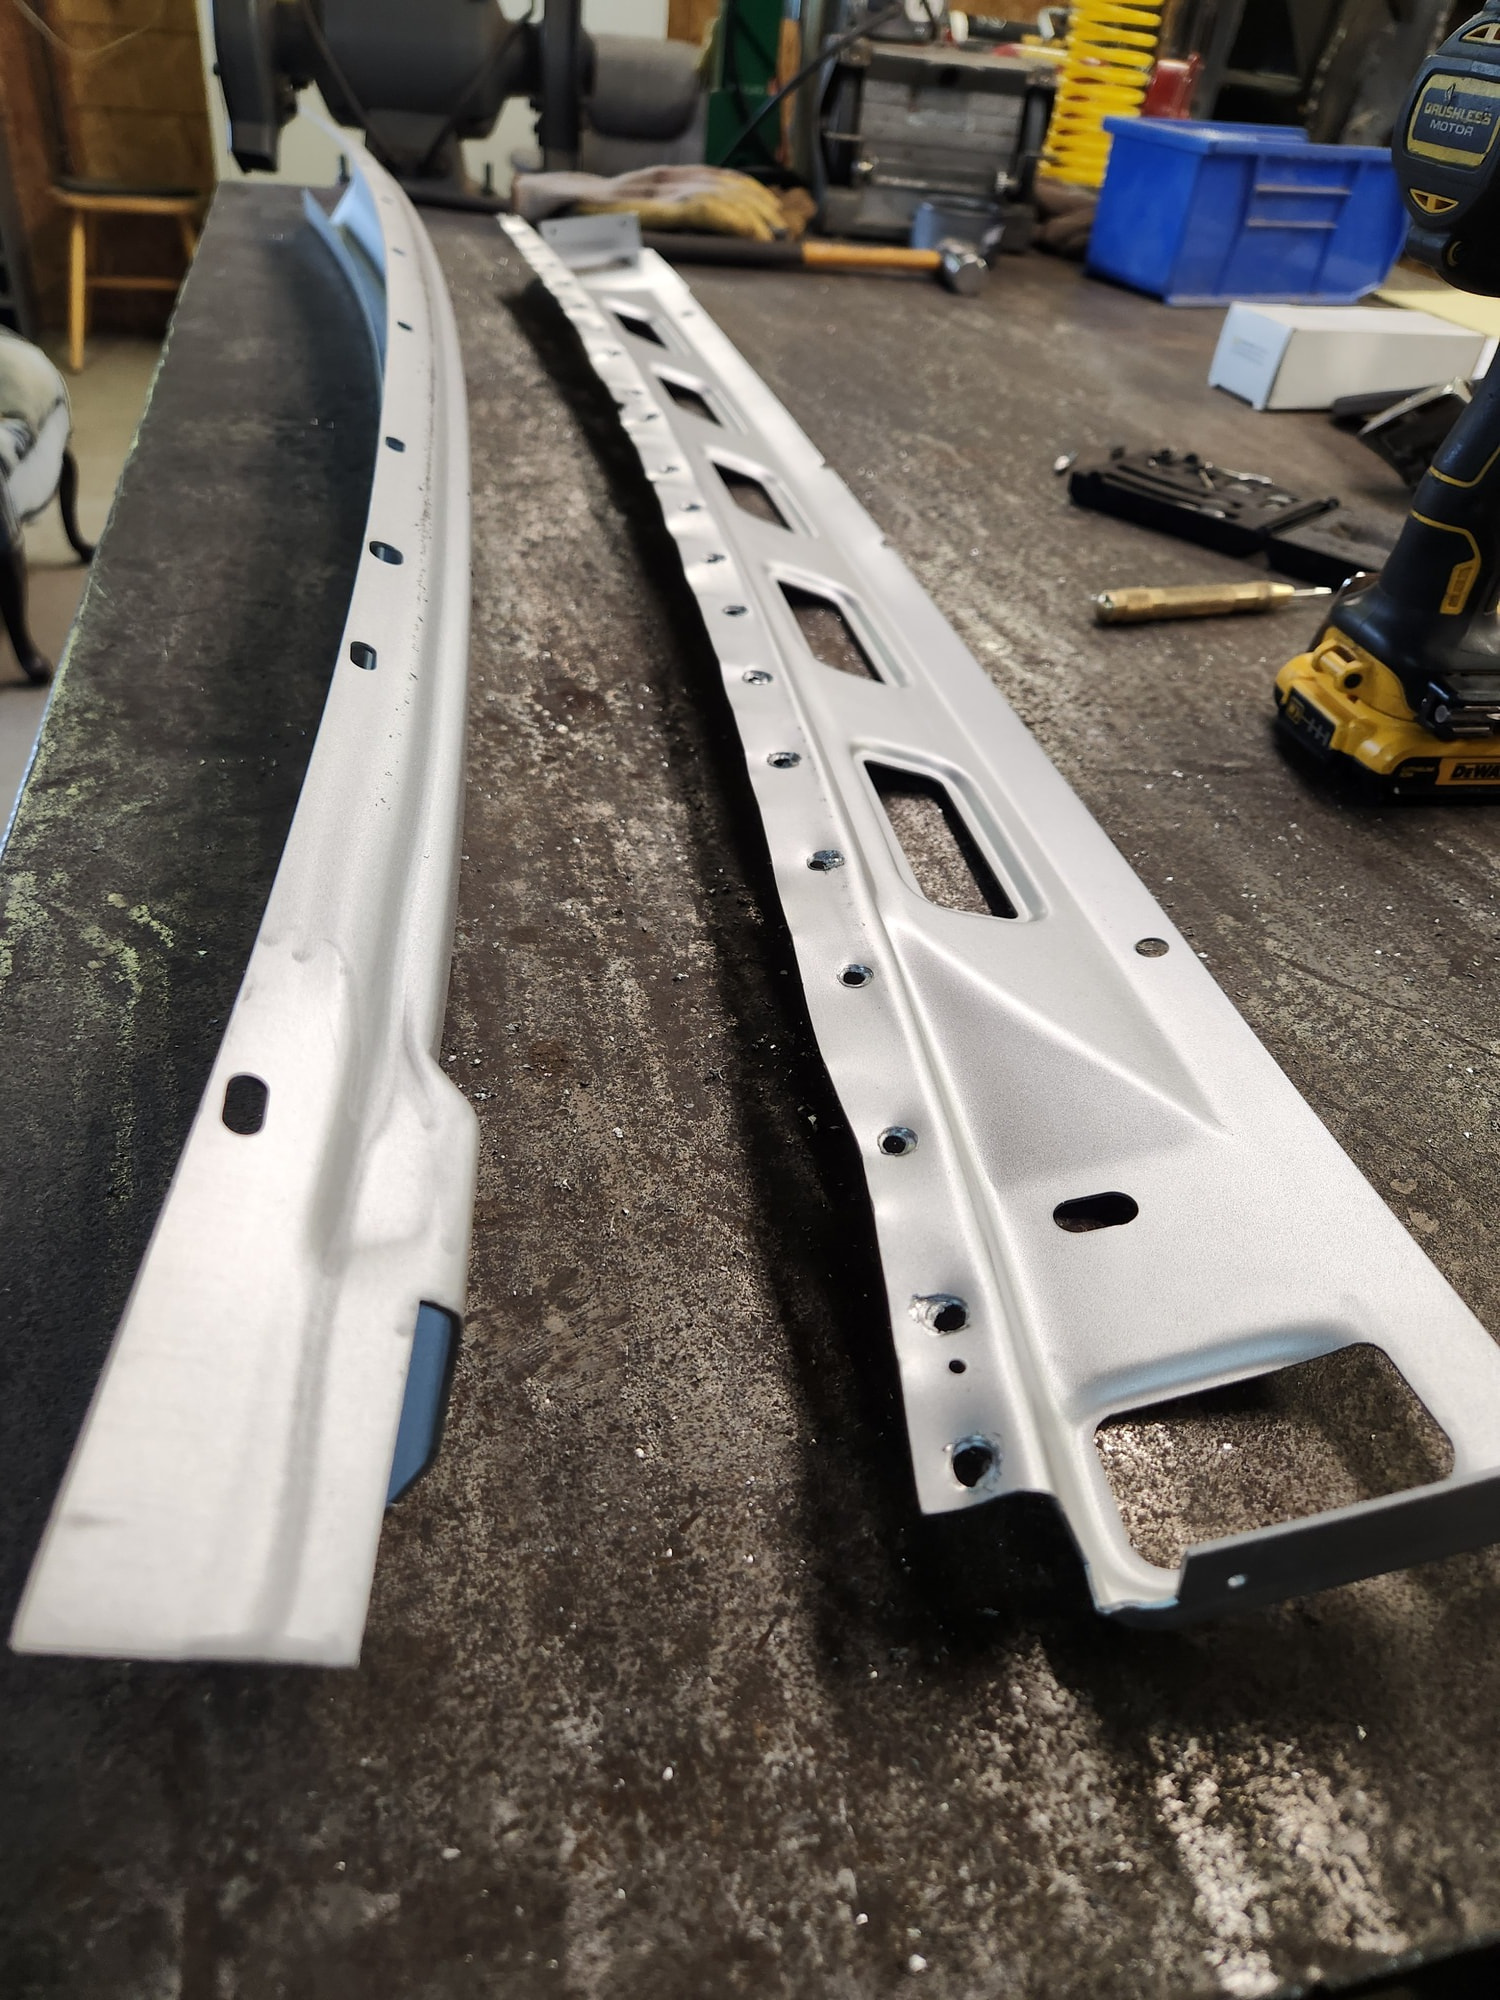
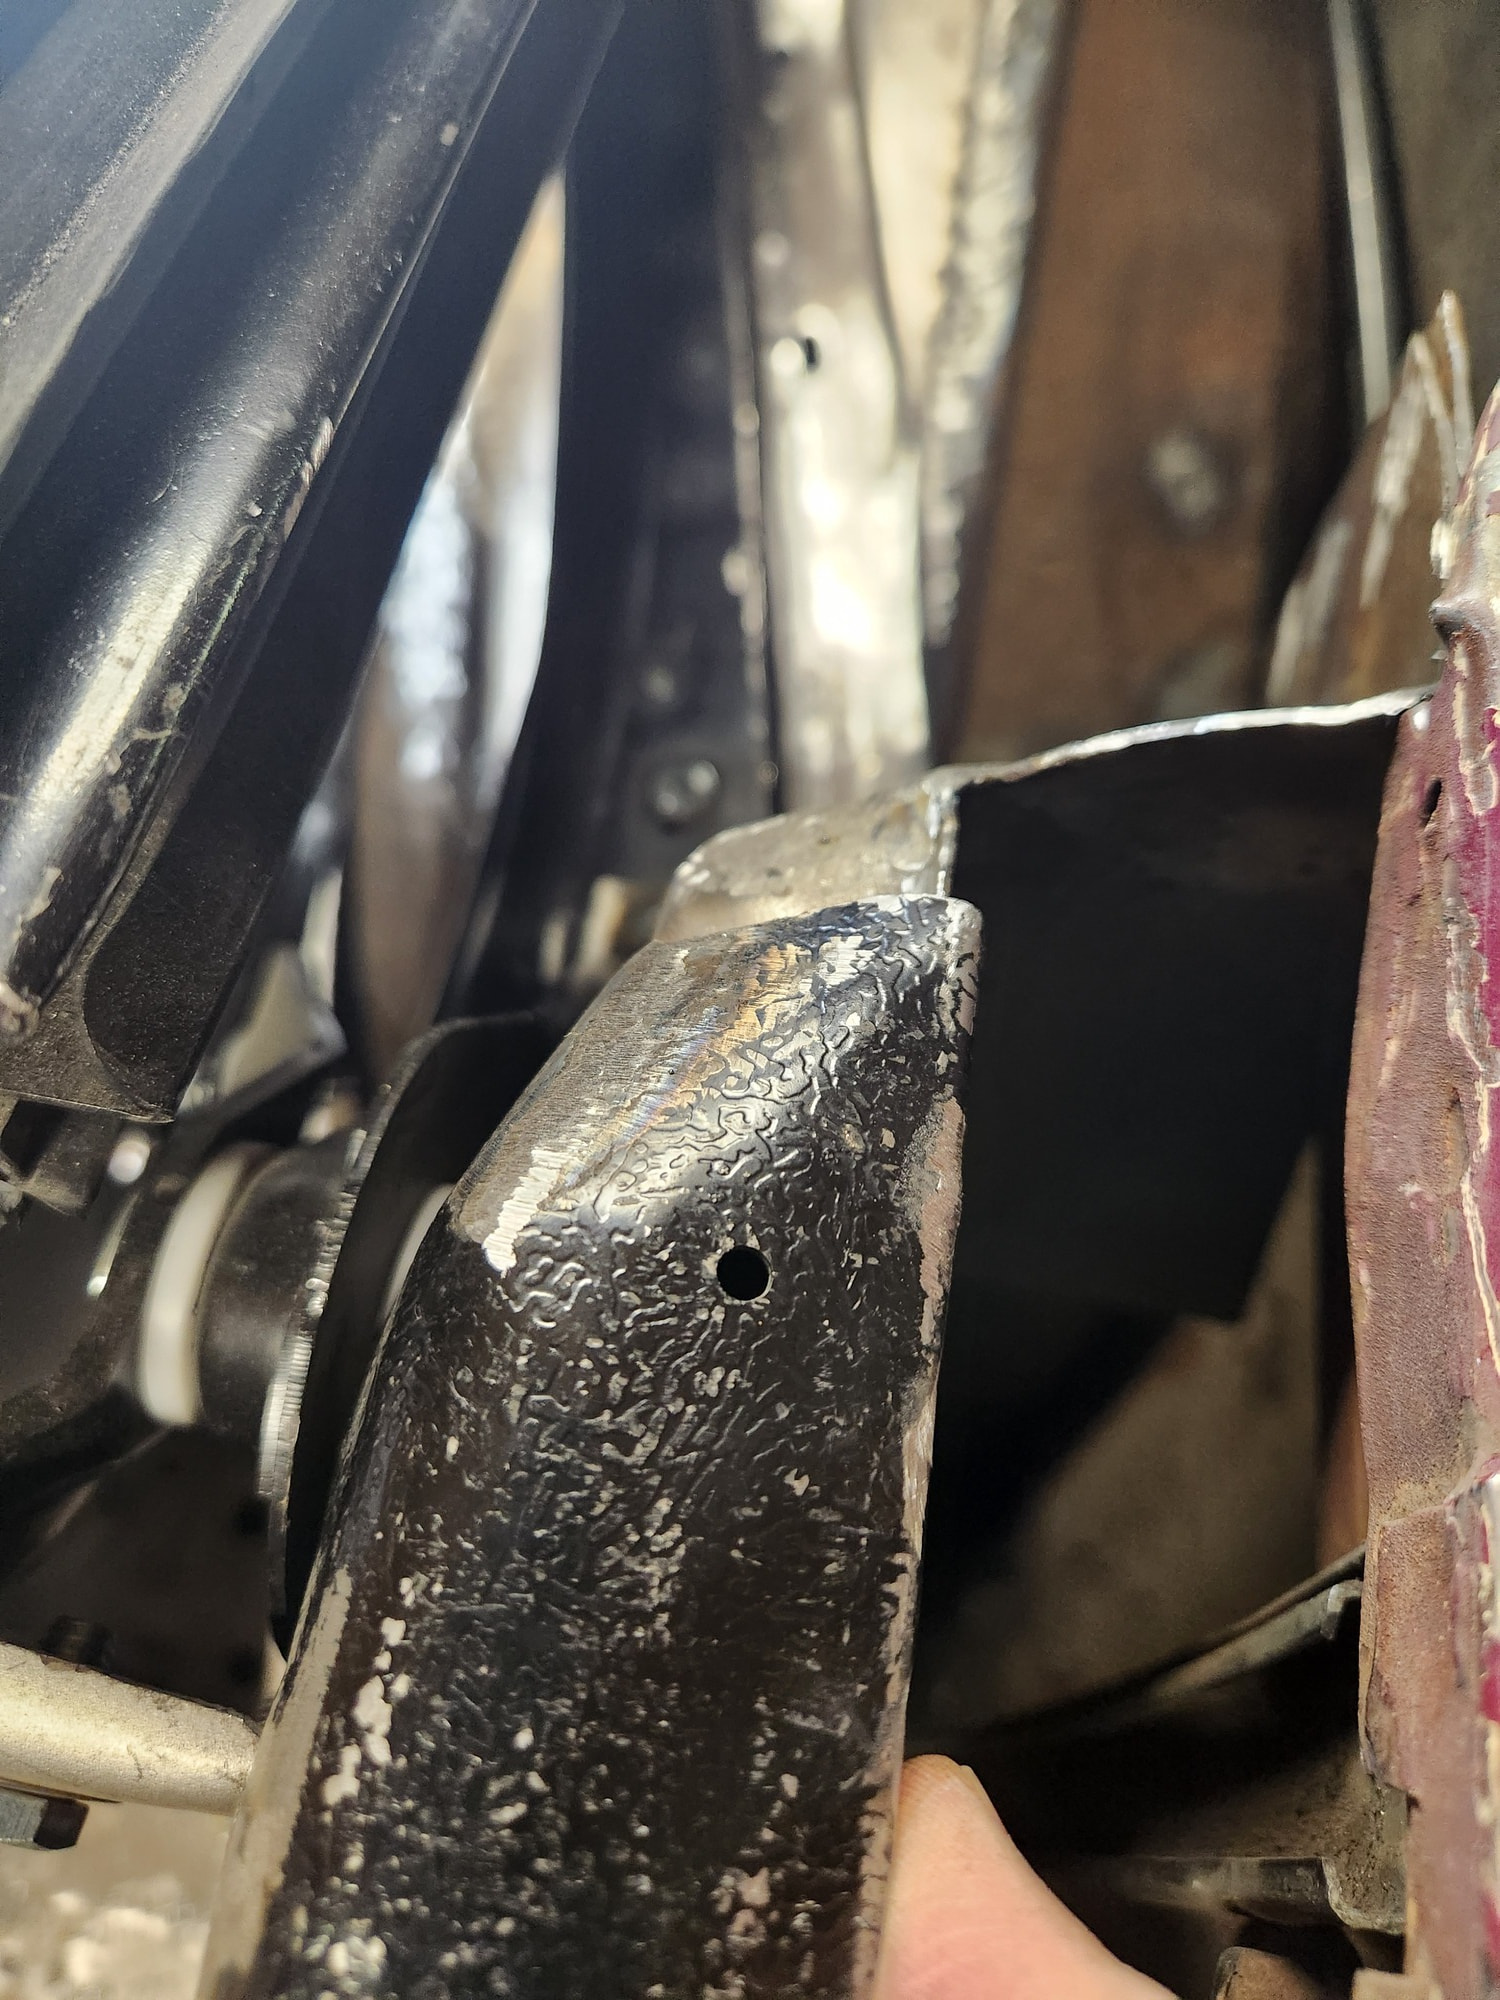
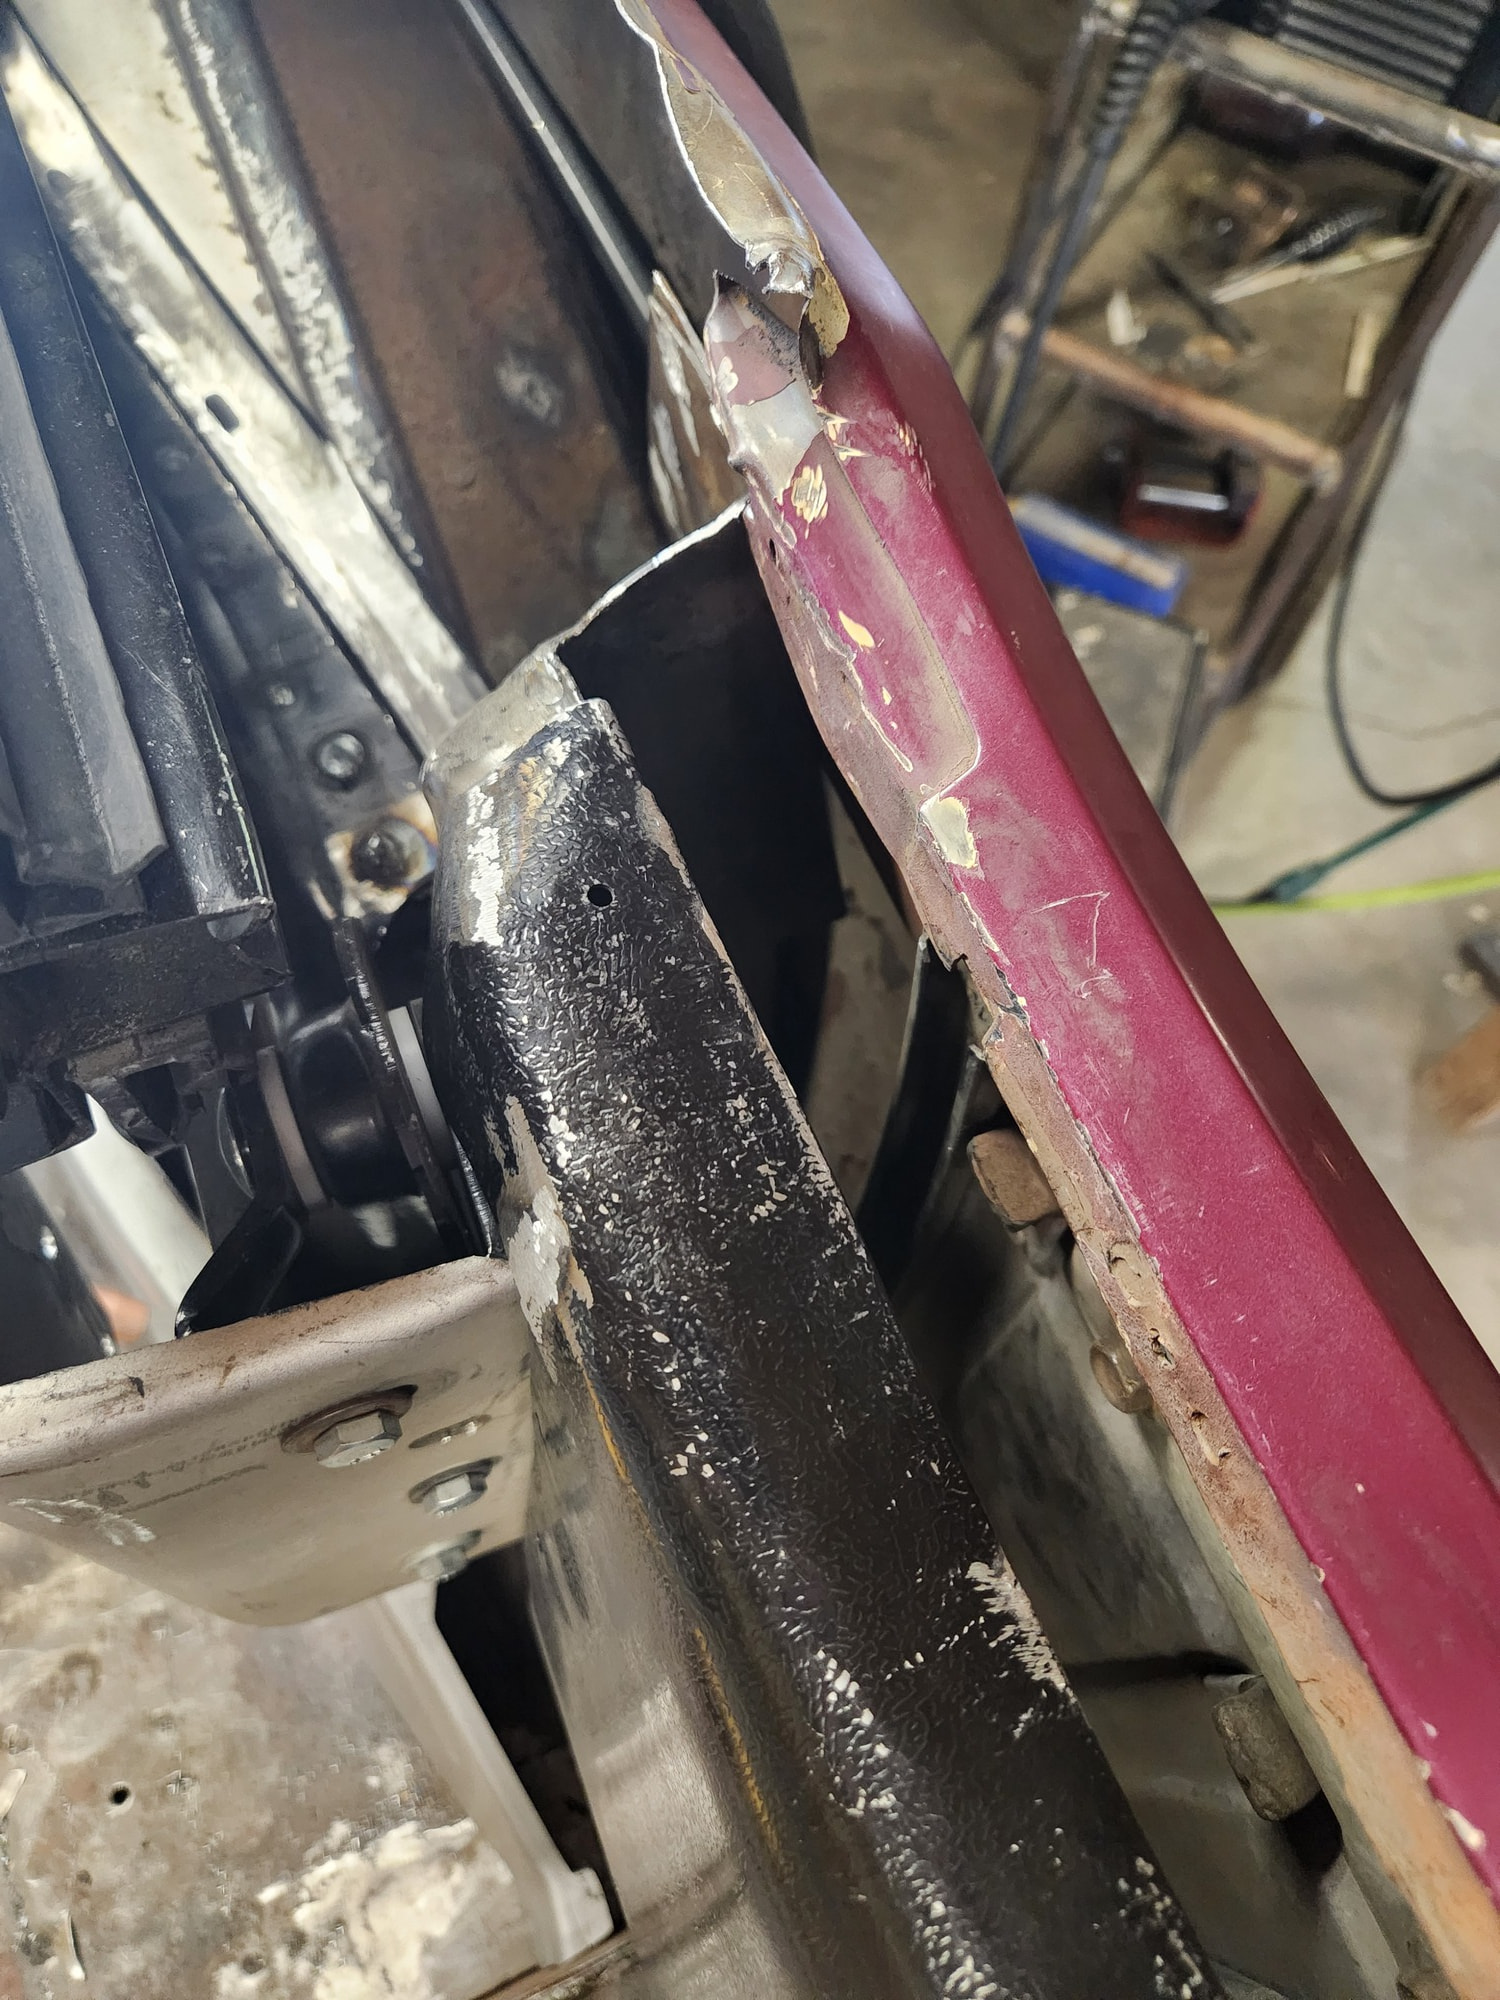
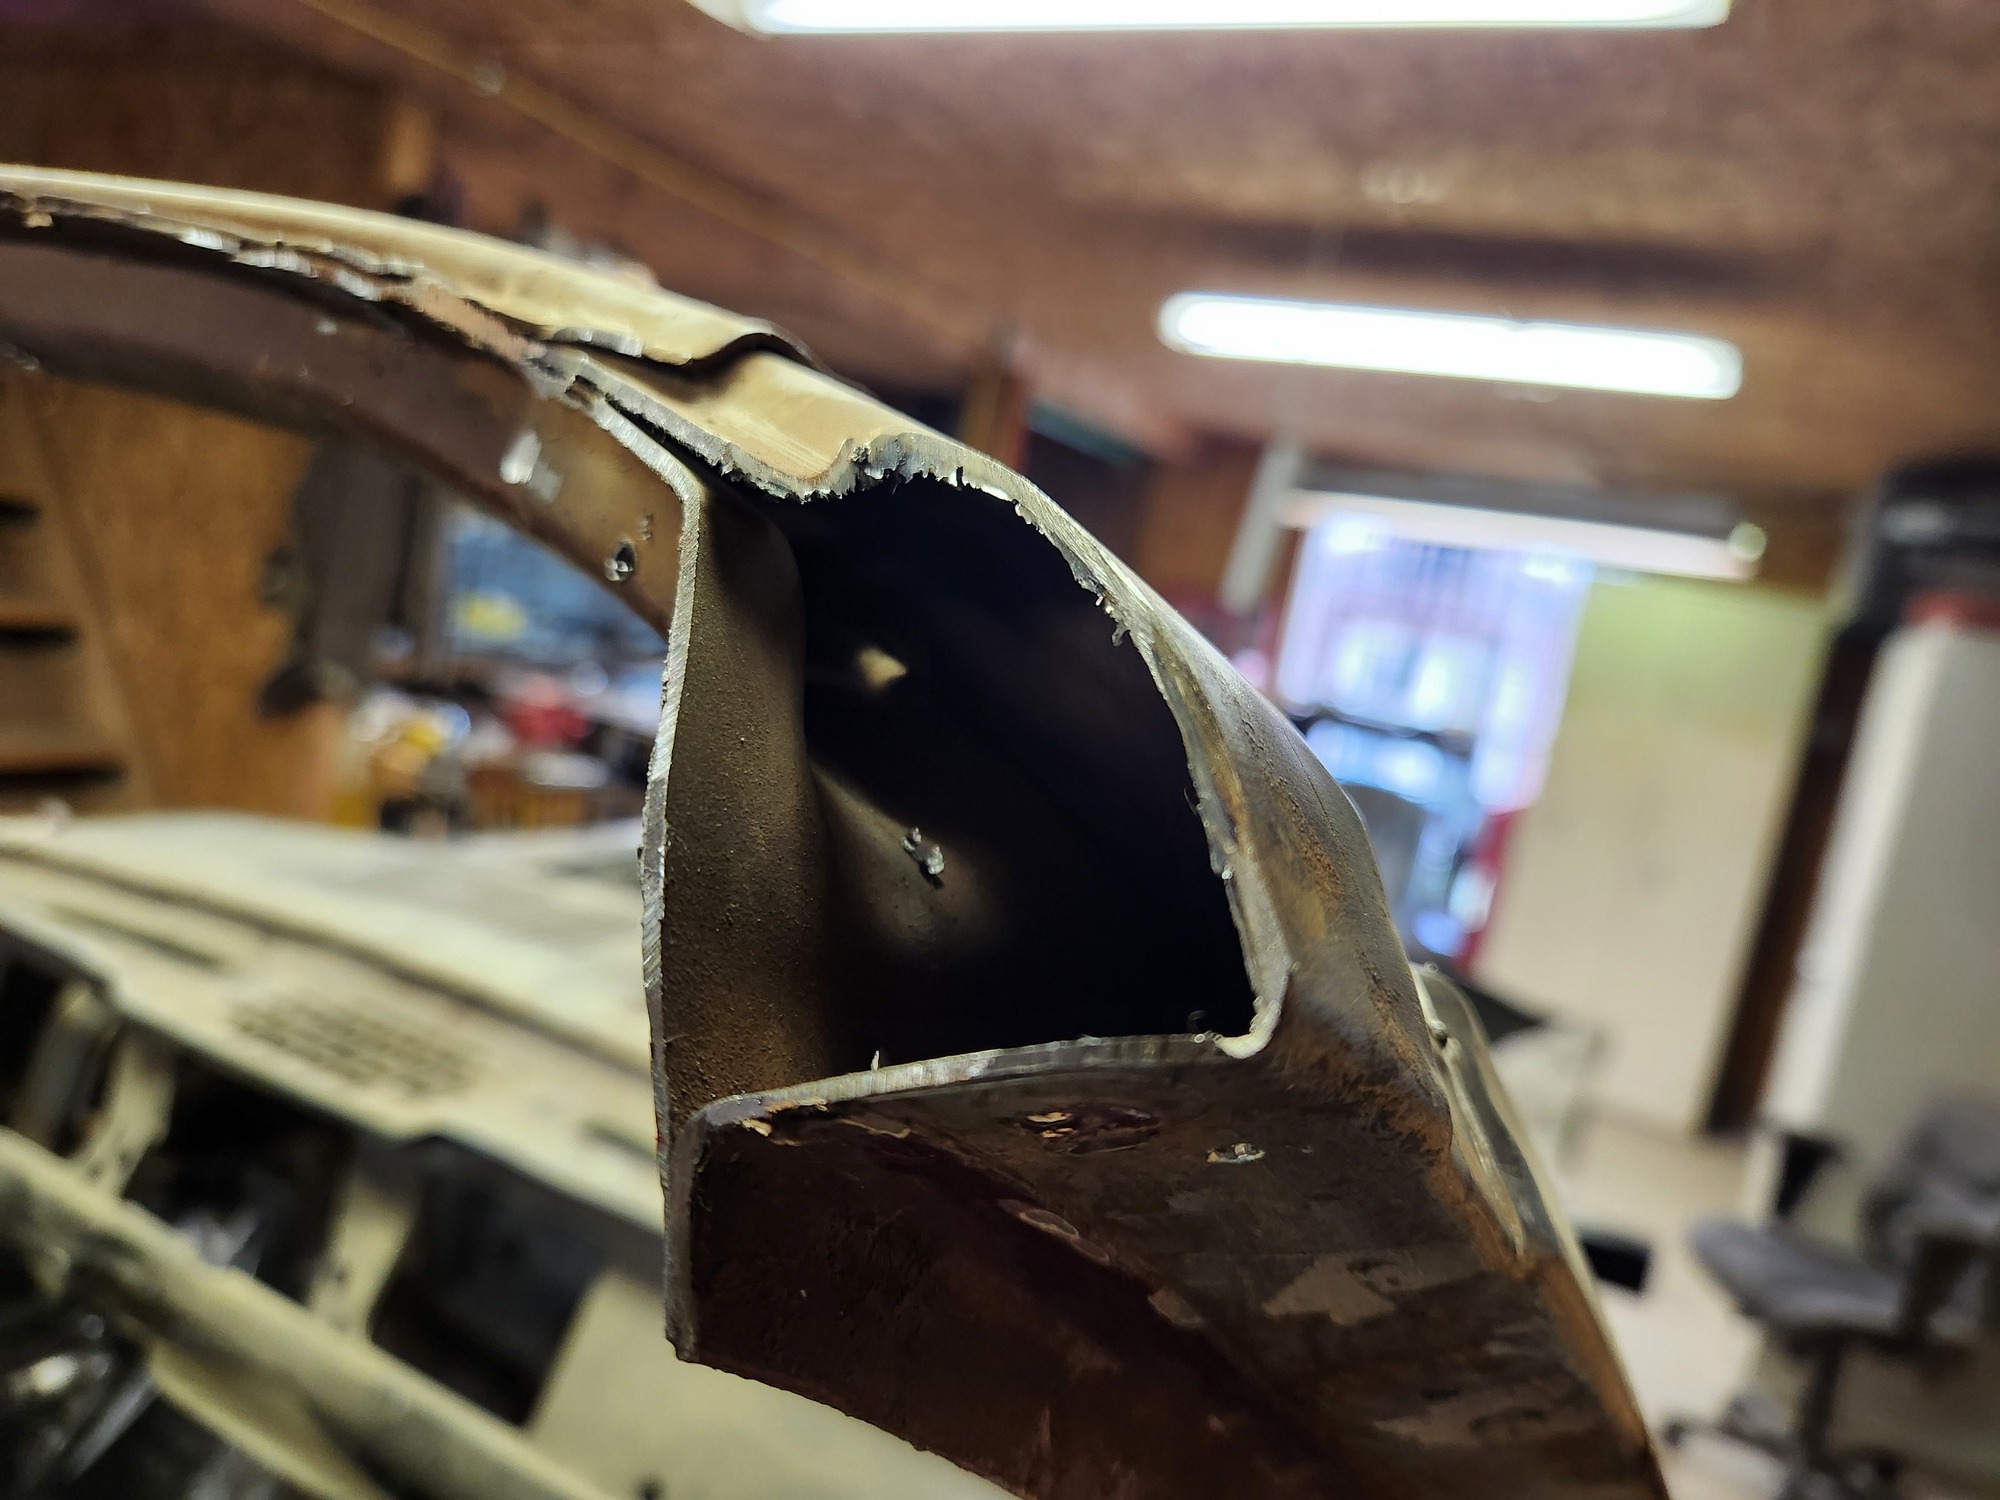
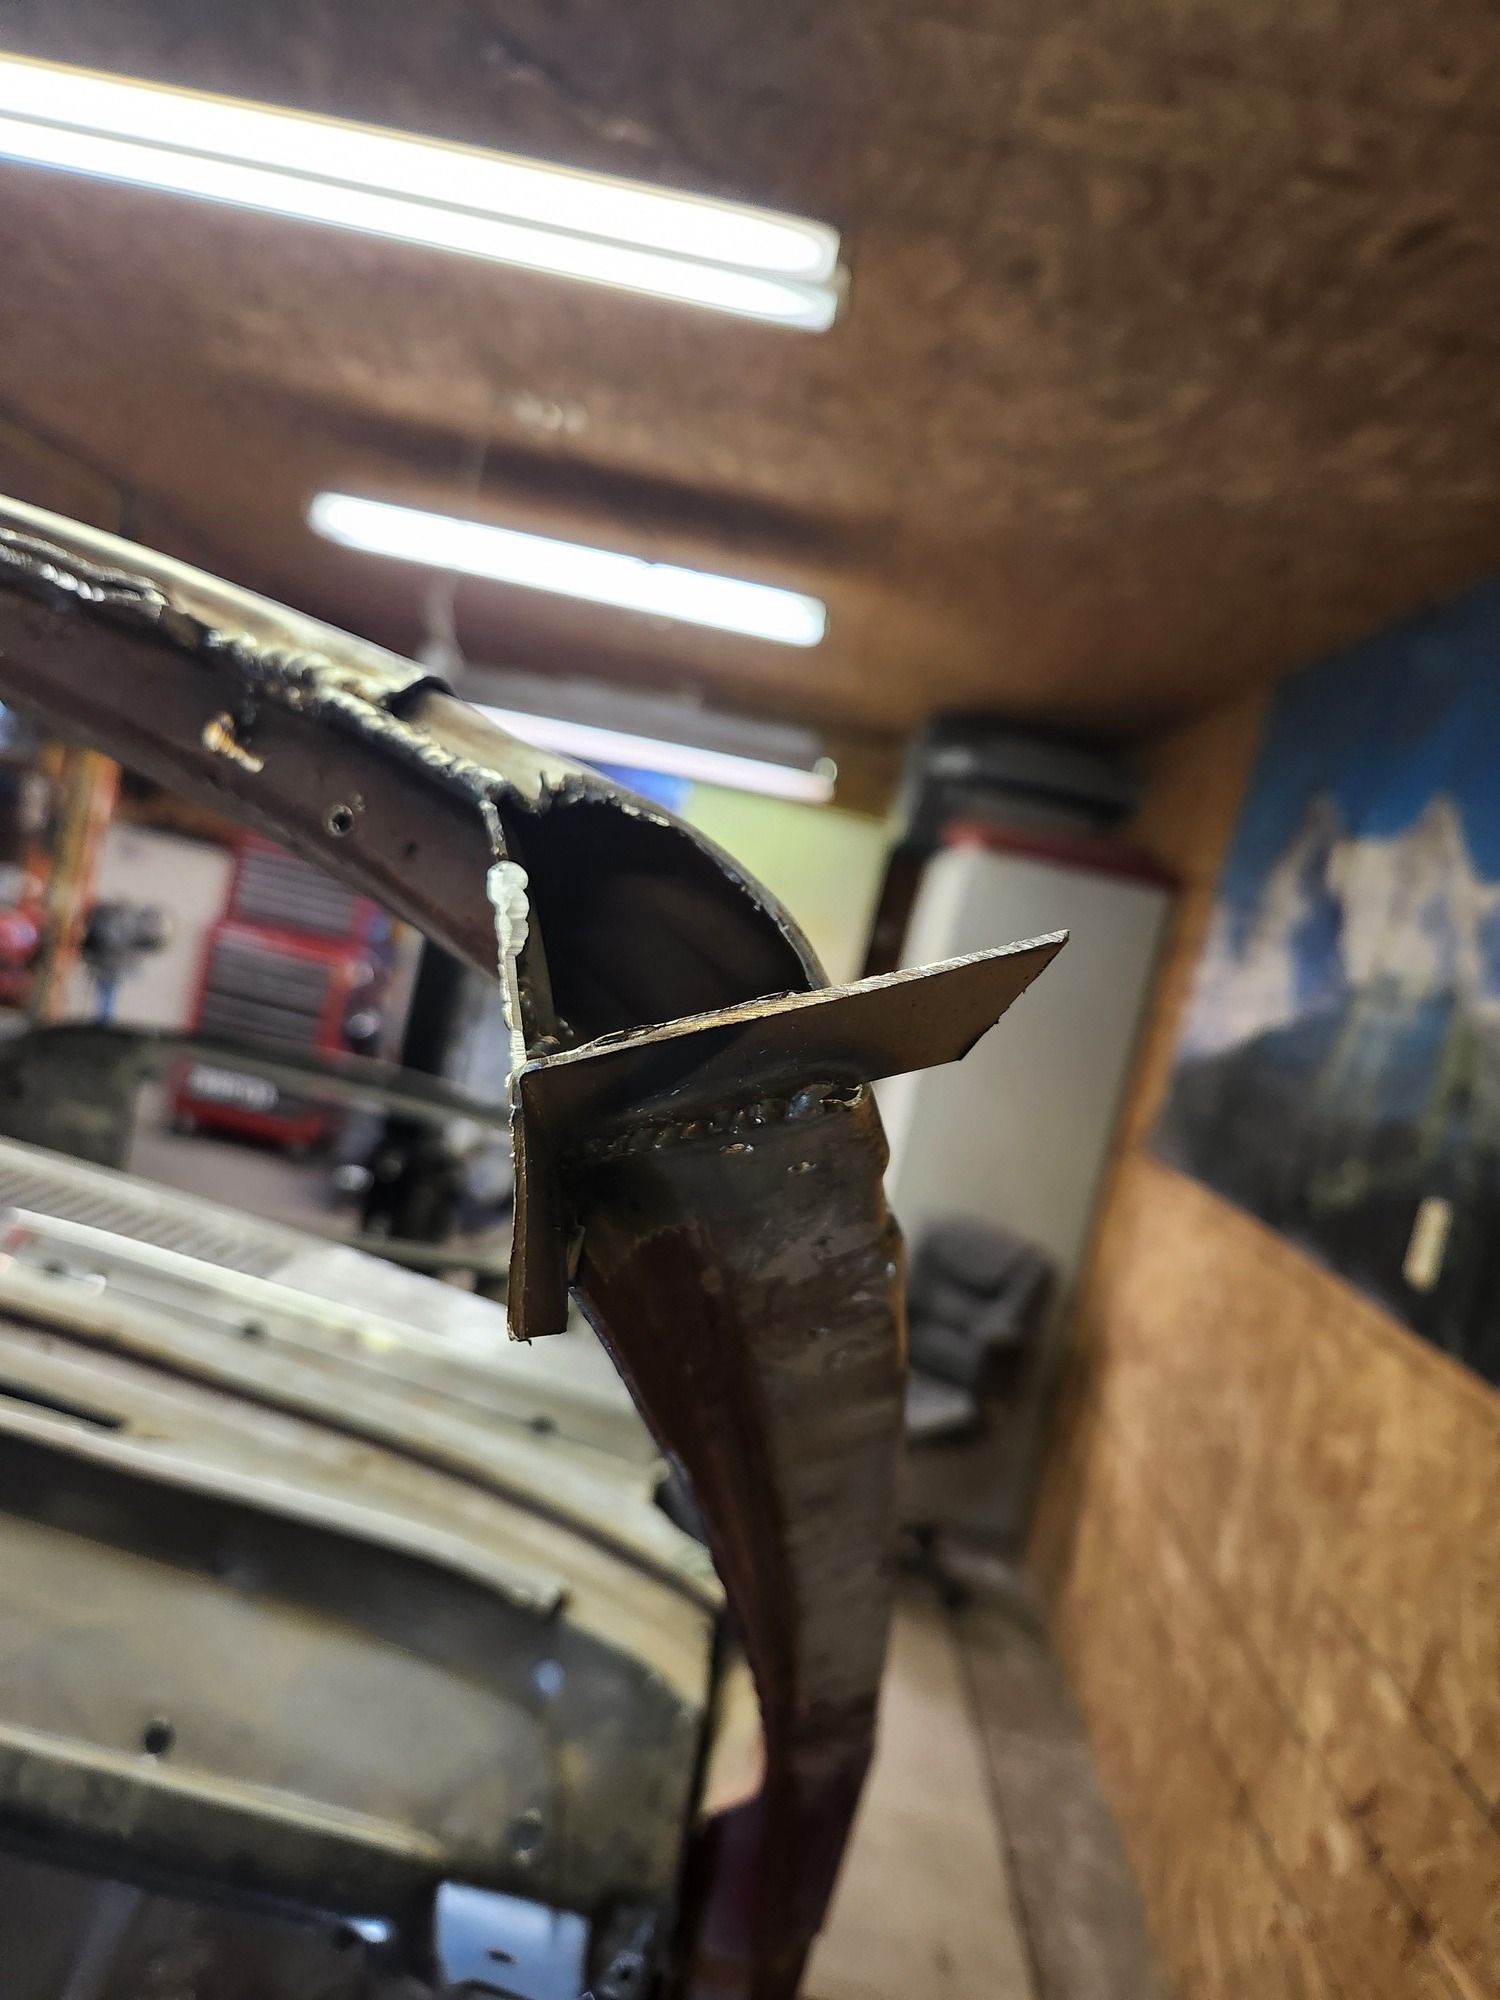
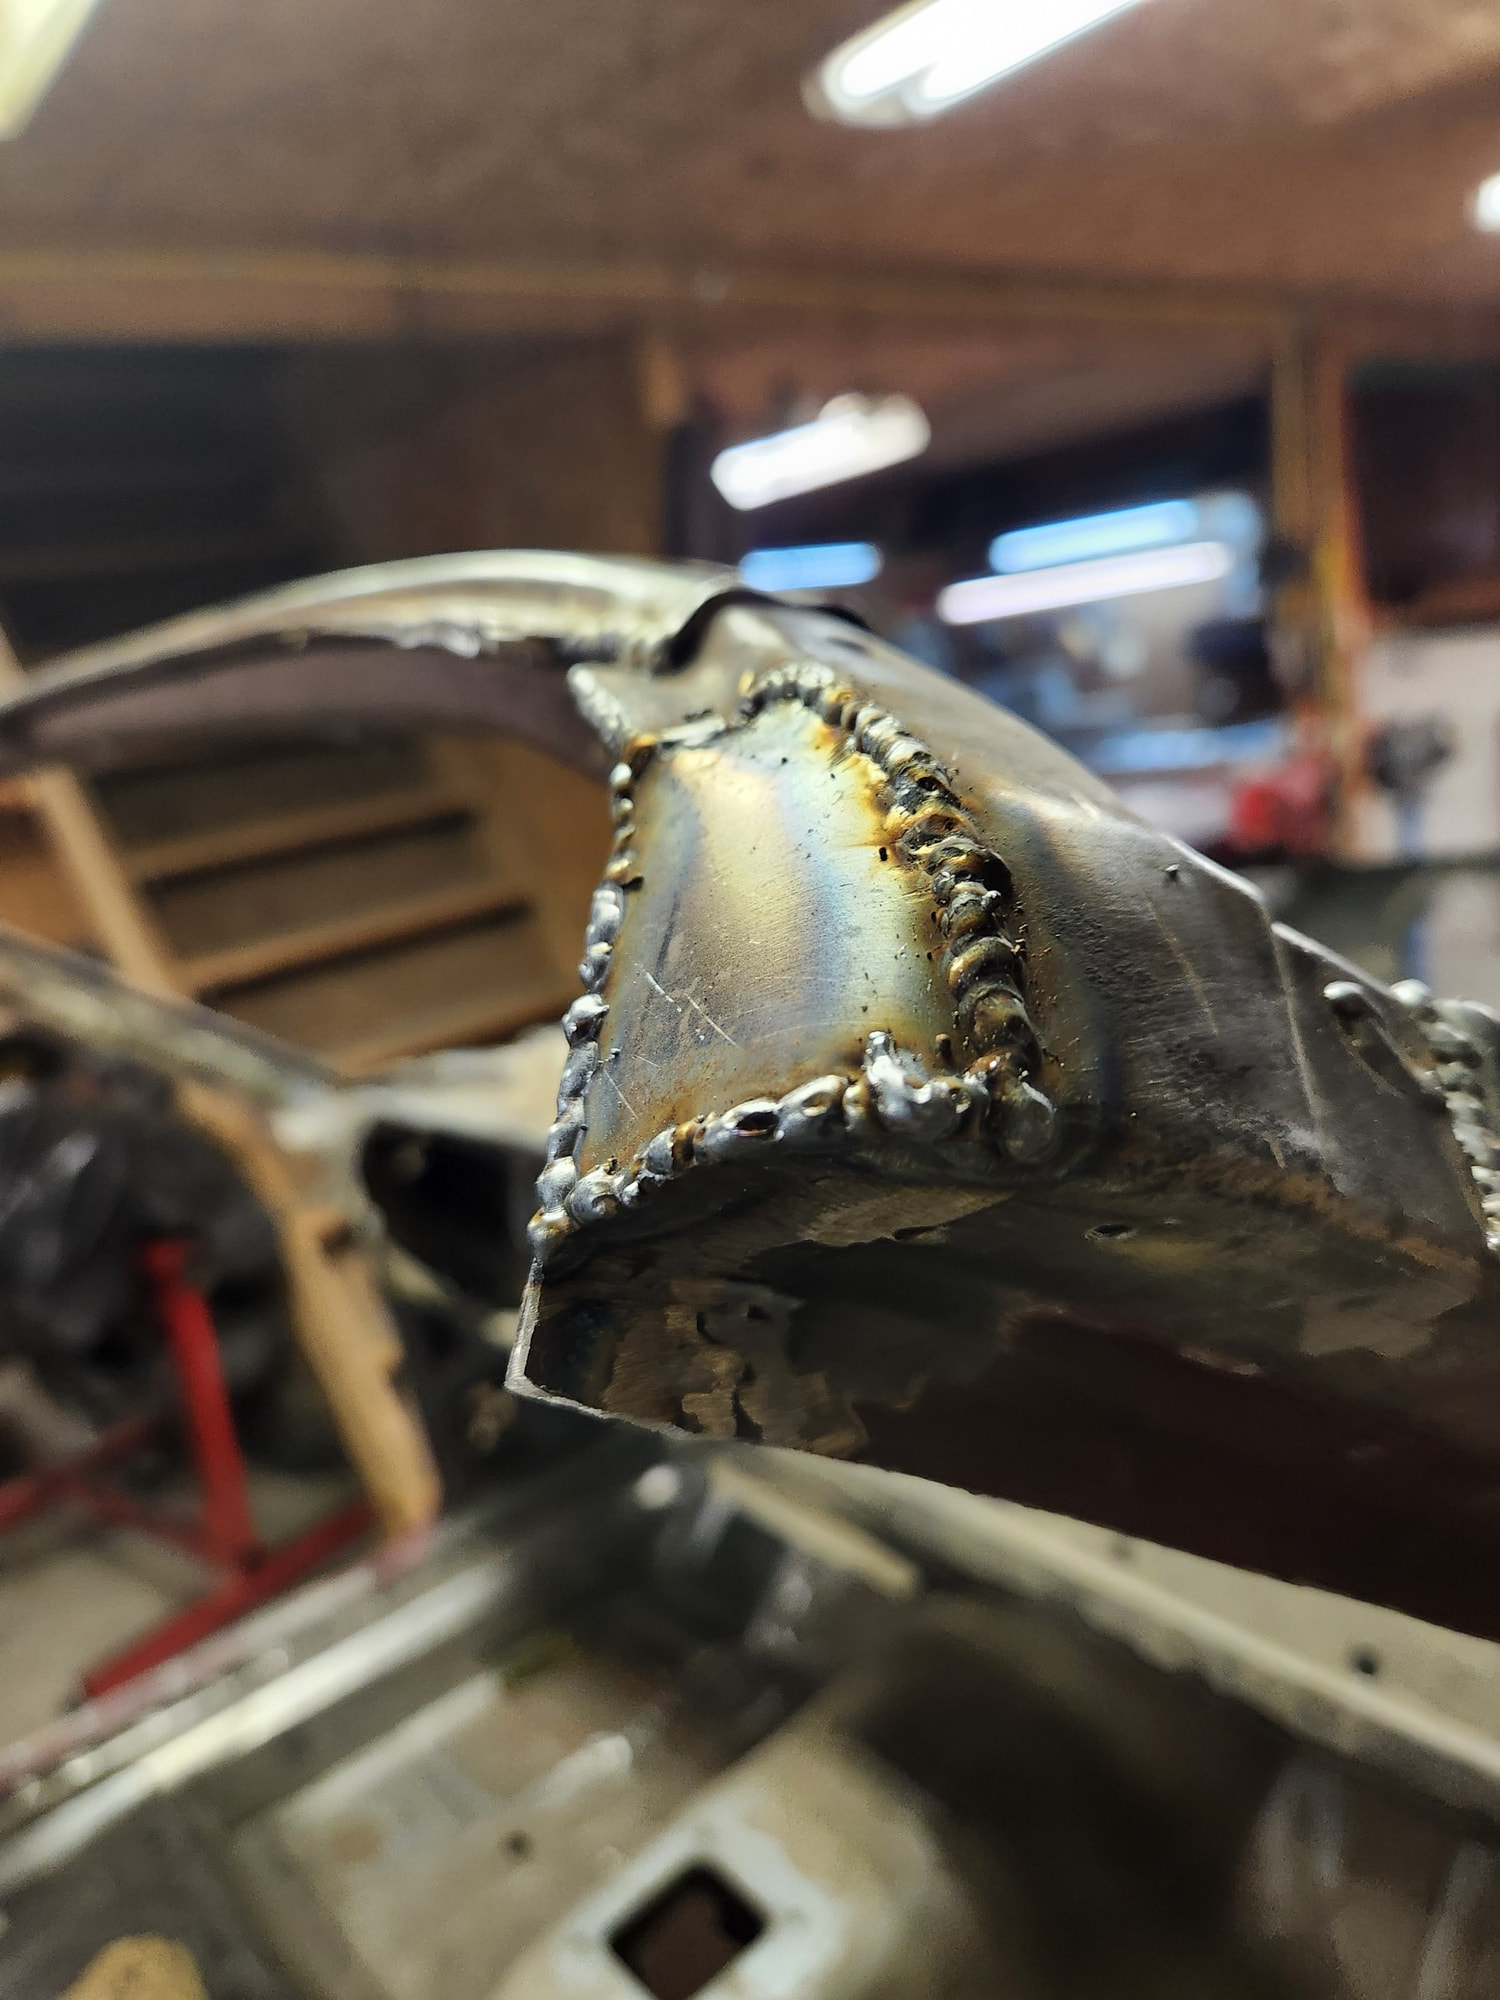
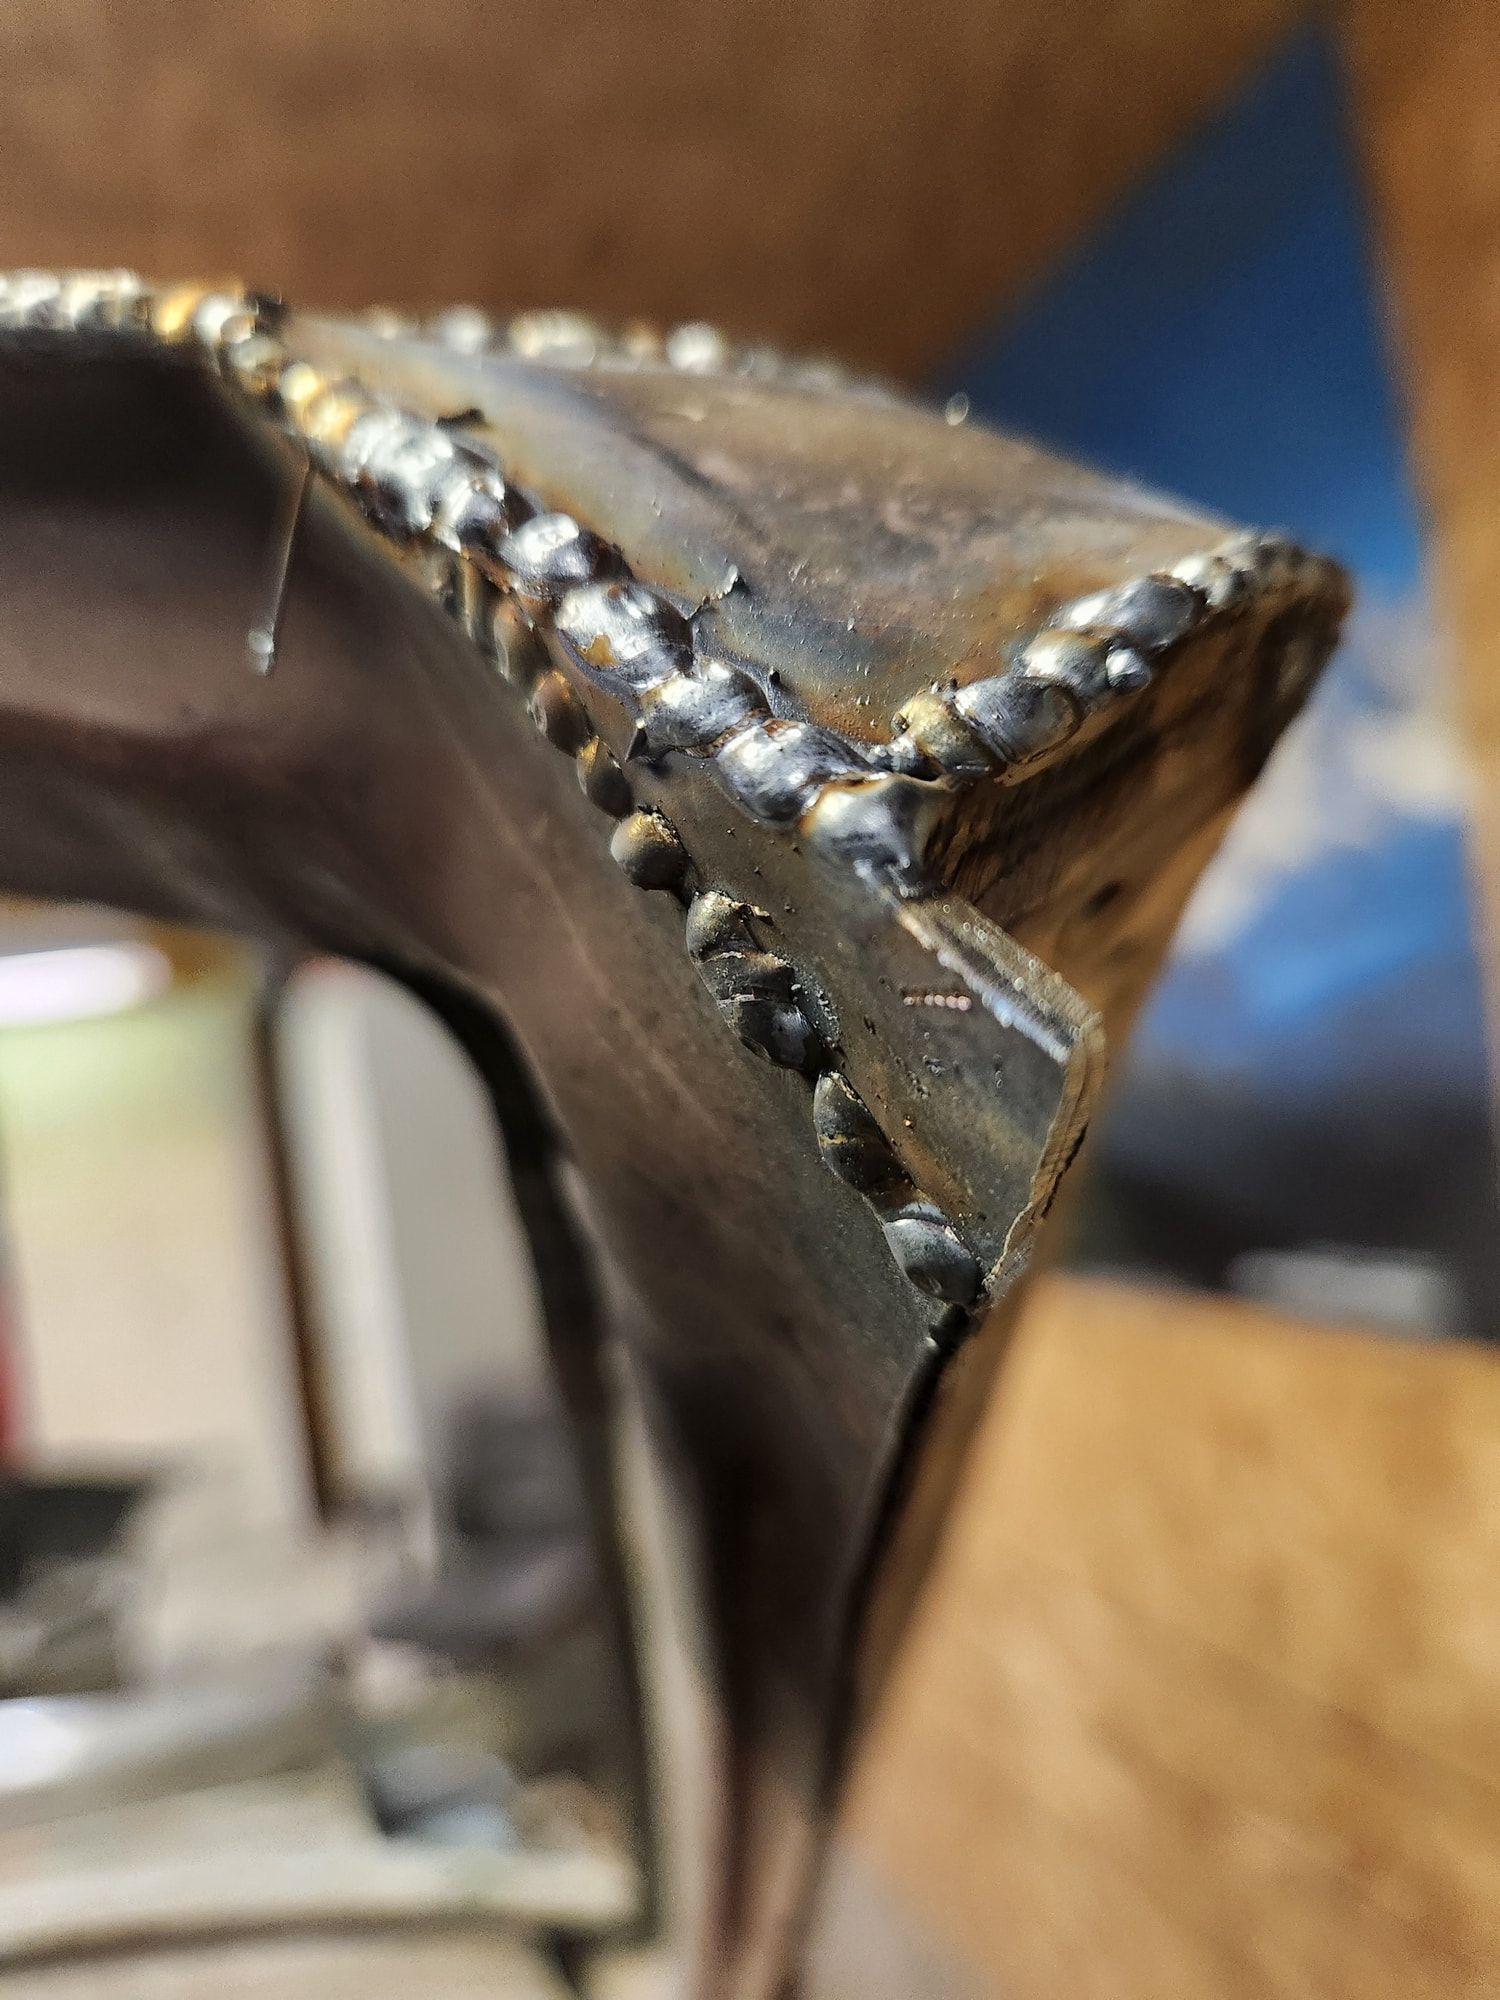
Burning-in the new metal into the modified wheelhouses. Some dimensions and pics. New piece was 17x5.5 with 2” 90-degree lip on the long side and then trimmed to fit. The piece sits parallel to the axle and is inclined front/back as shown in the pics. The back of the piece ends pretty much with the centerline of the axle.
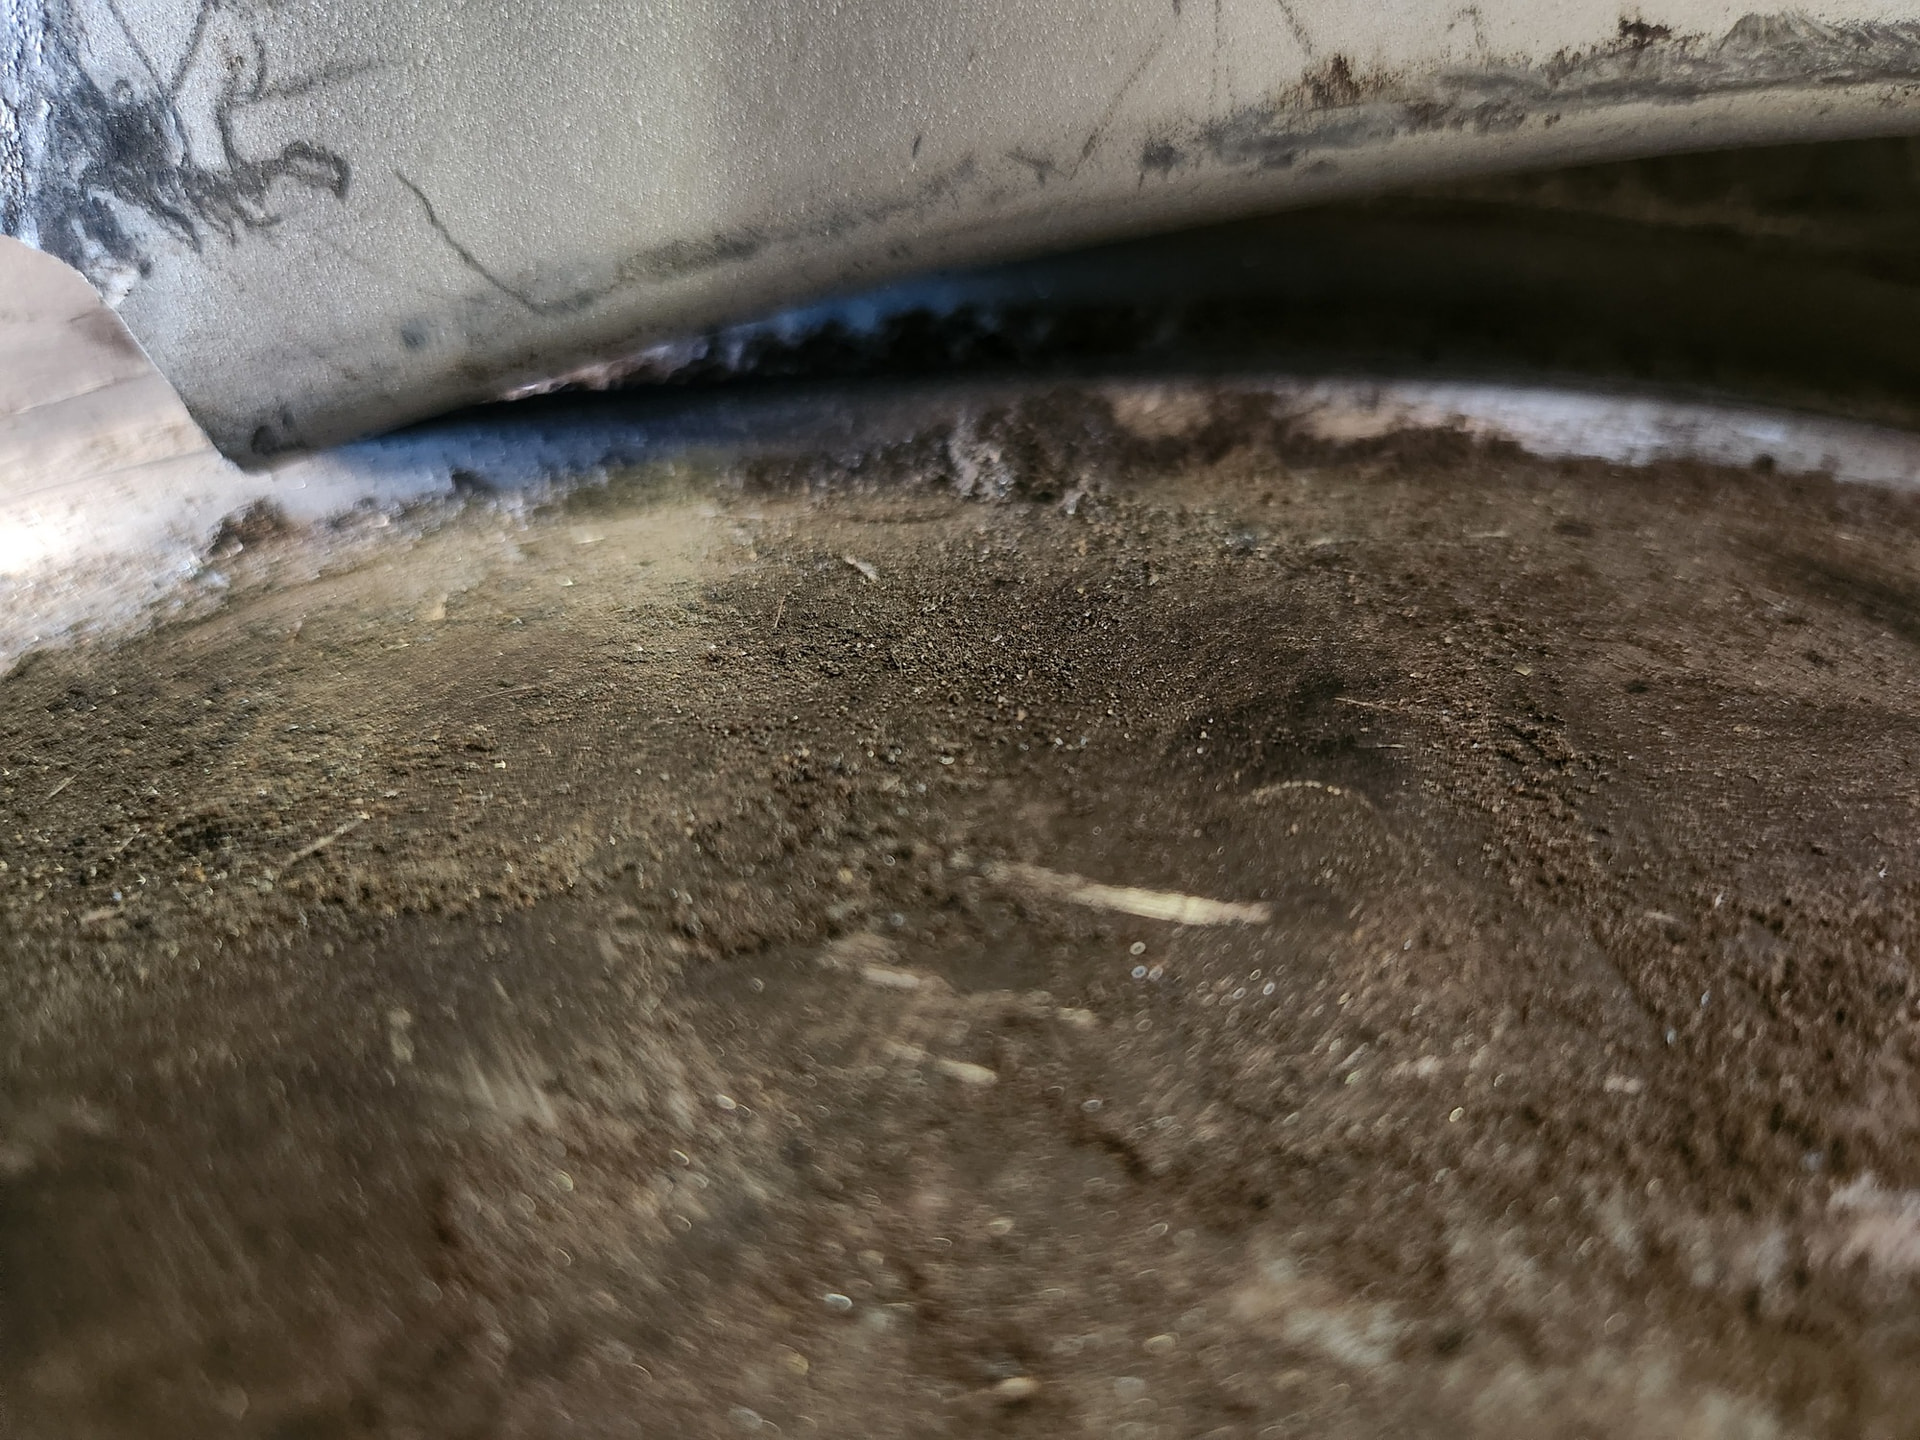
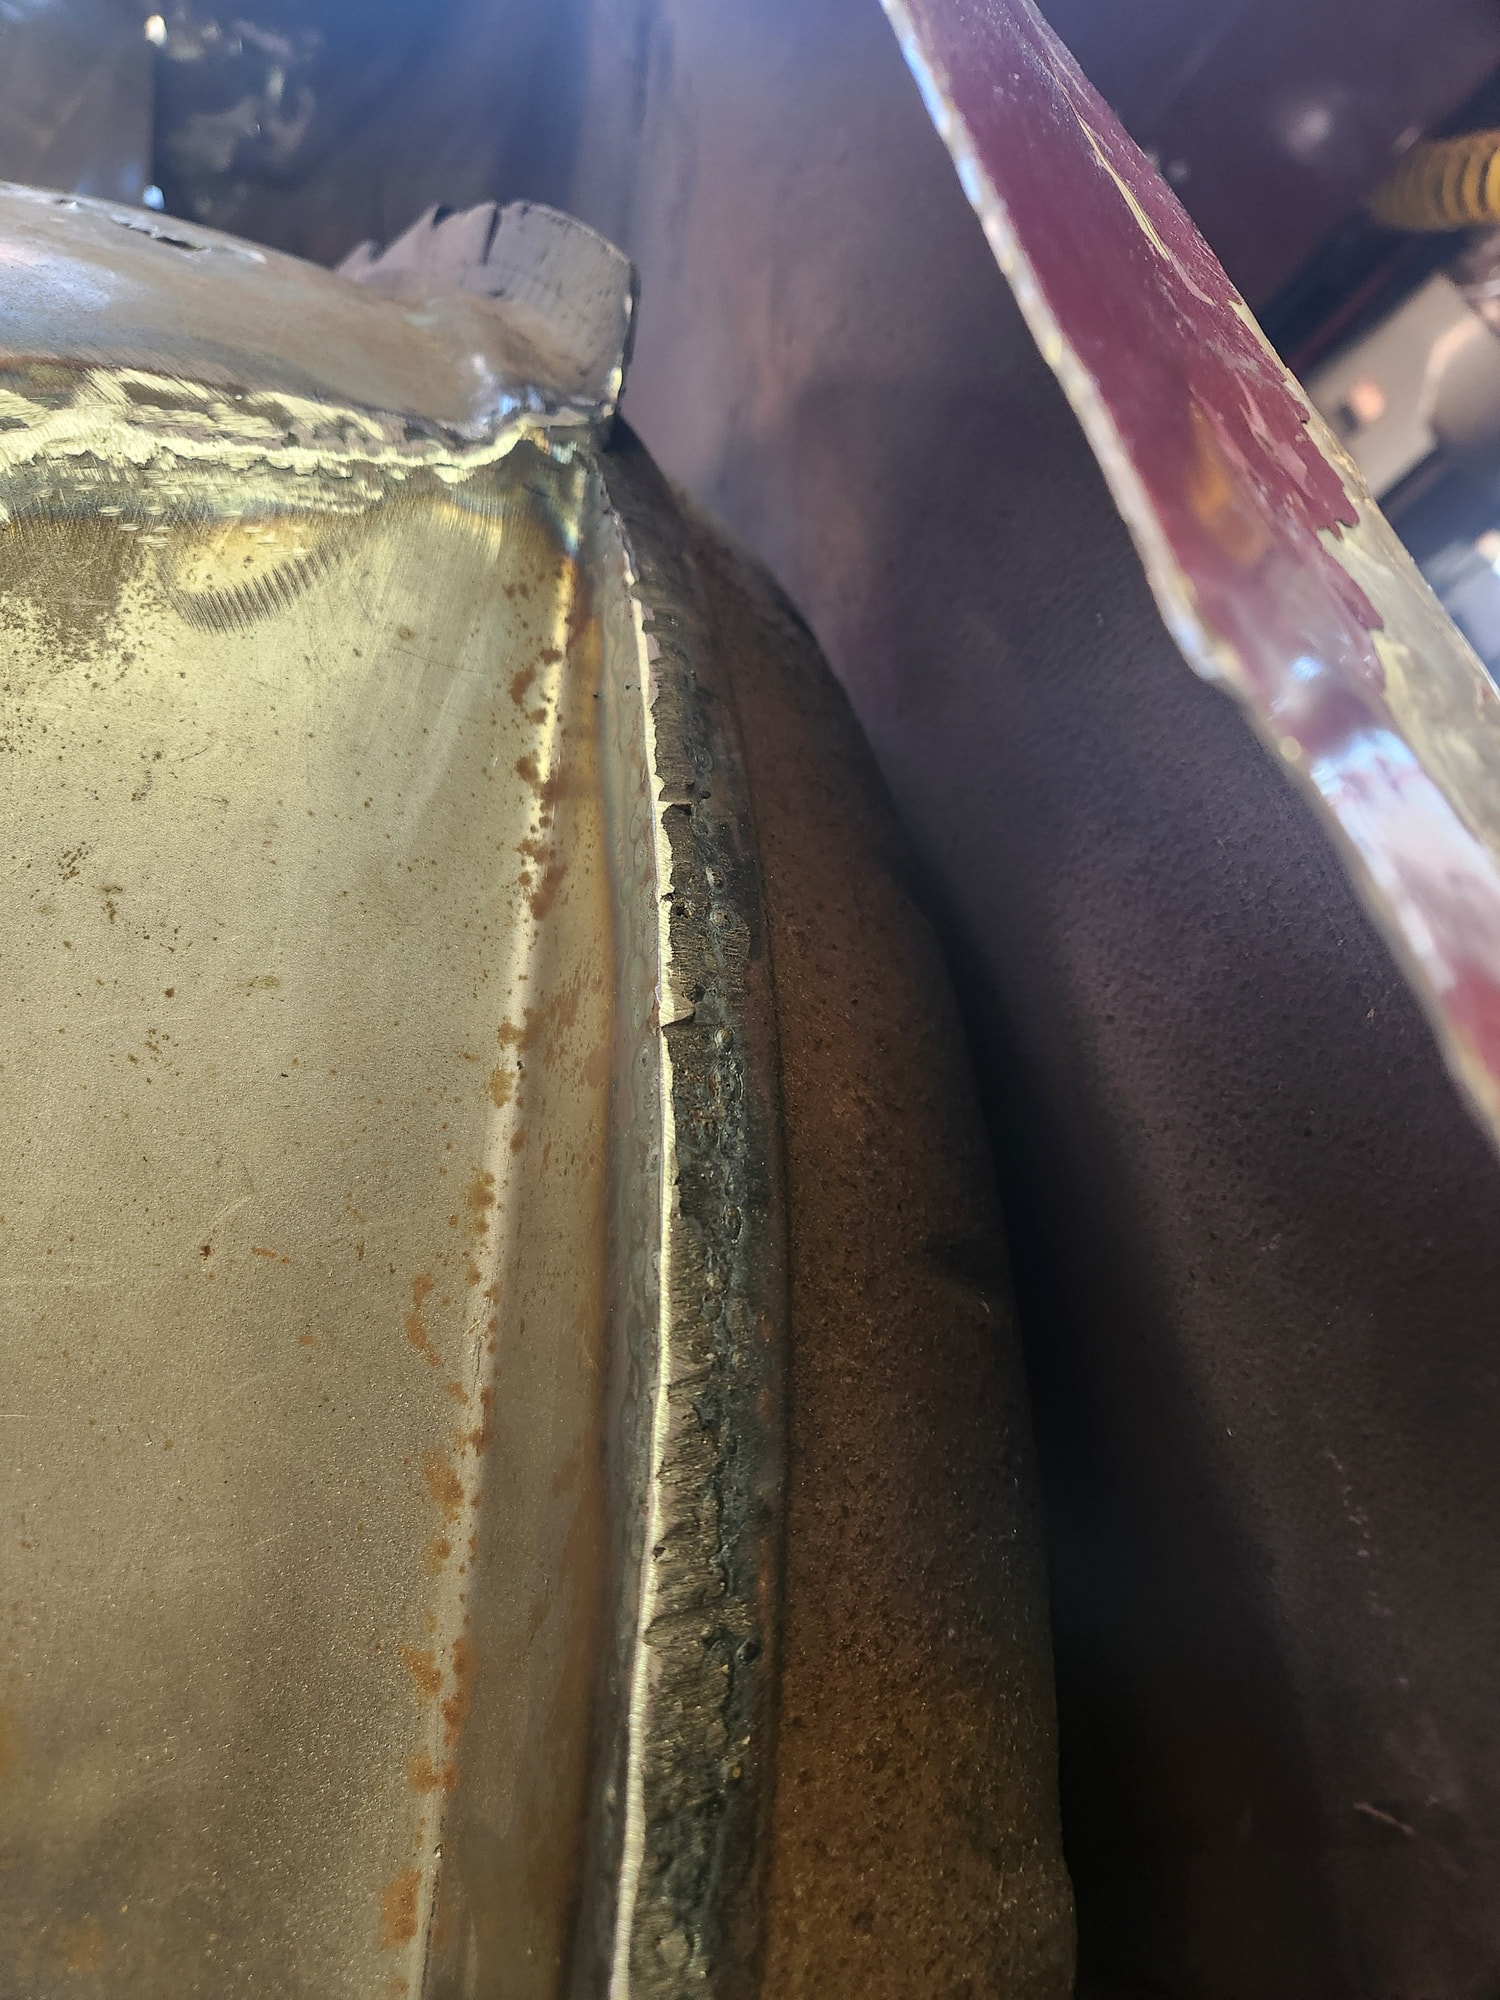
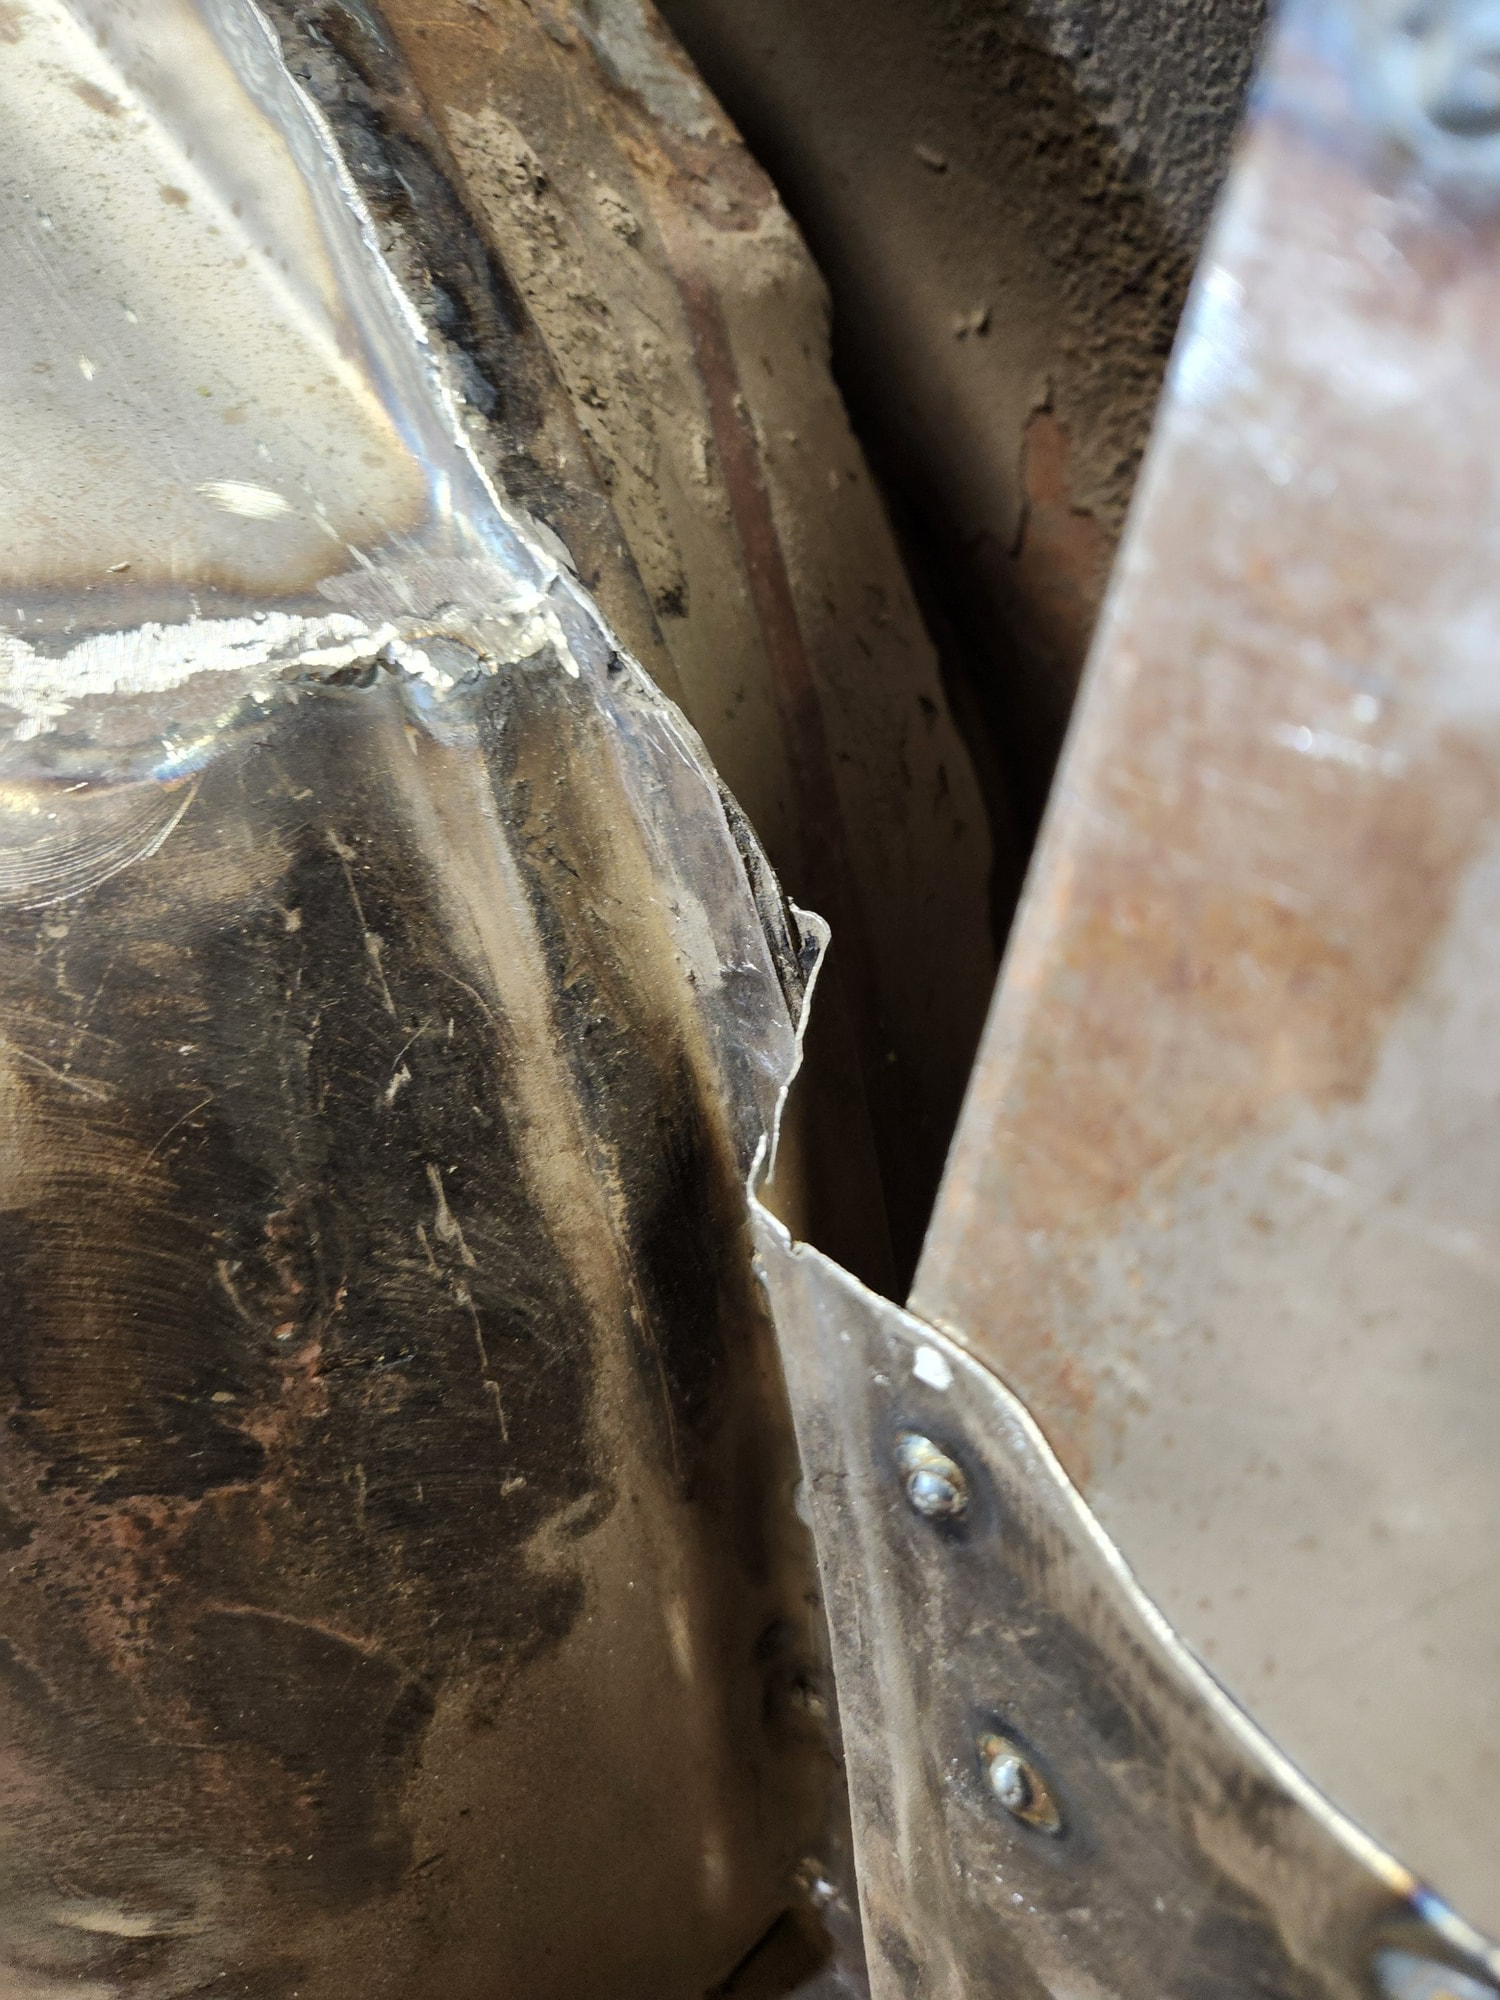
Tight spot. Difficult to get the tip of the welder in the 2” deep recess. Same thing for the grinder so must use a large diameter wheel. Slow, tedious, but doable. Thinking back I probably should have added a flange to my new panel and plug-welded this rather than trying to get a fillet into this tight spot. Oh well.
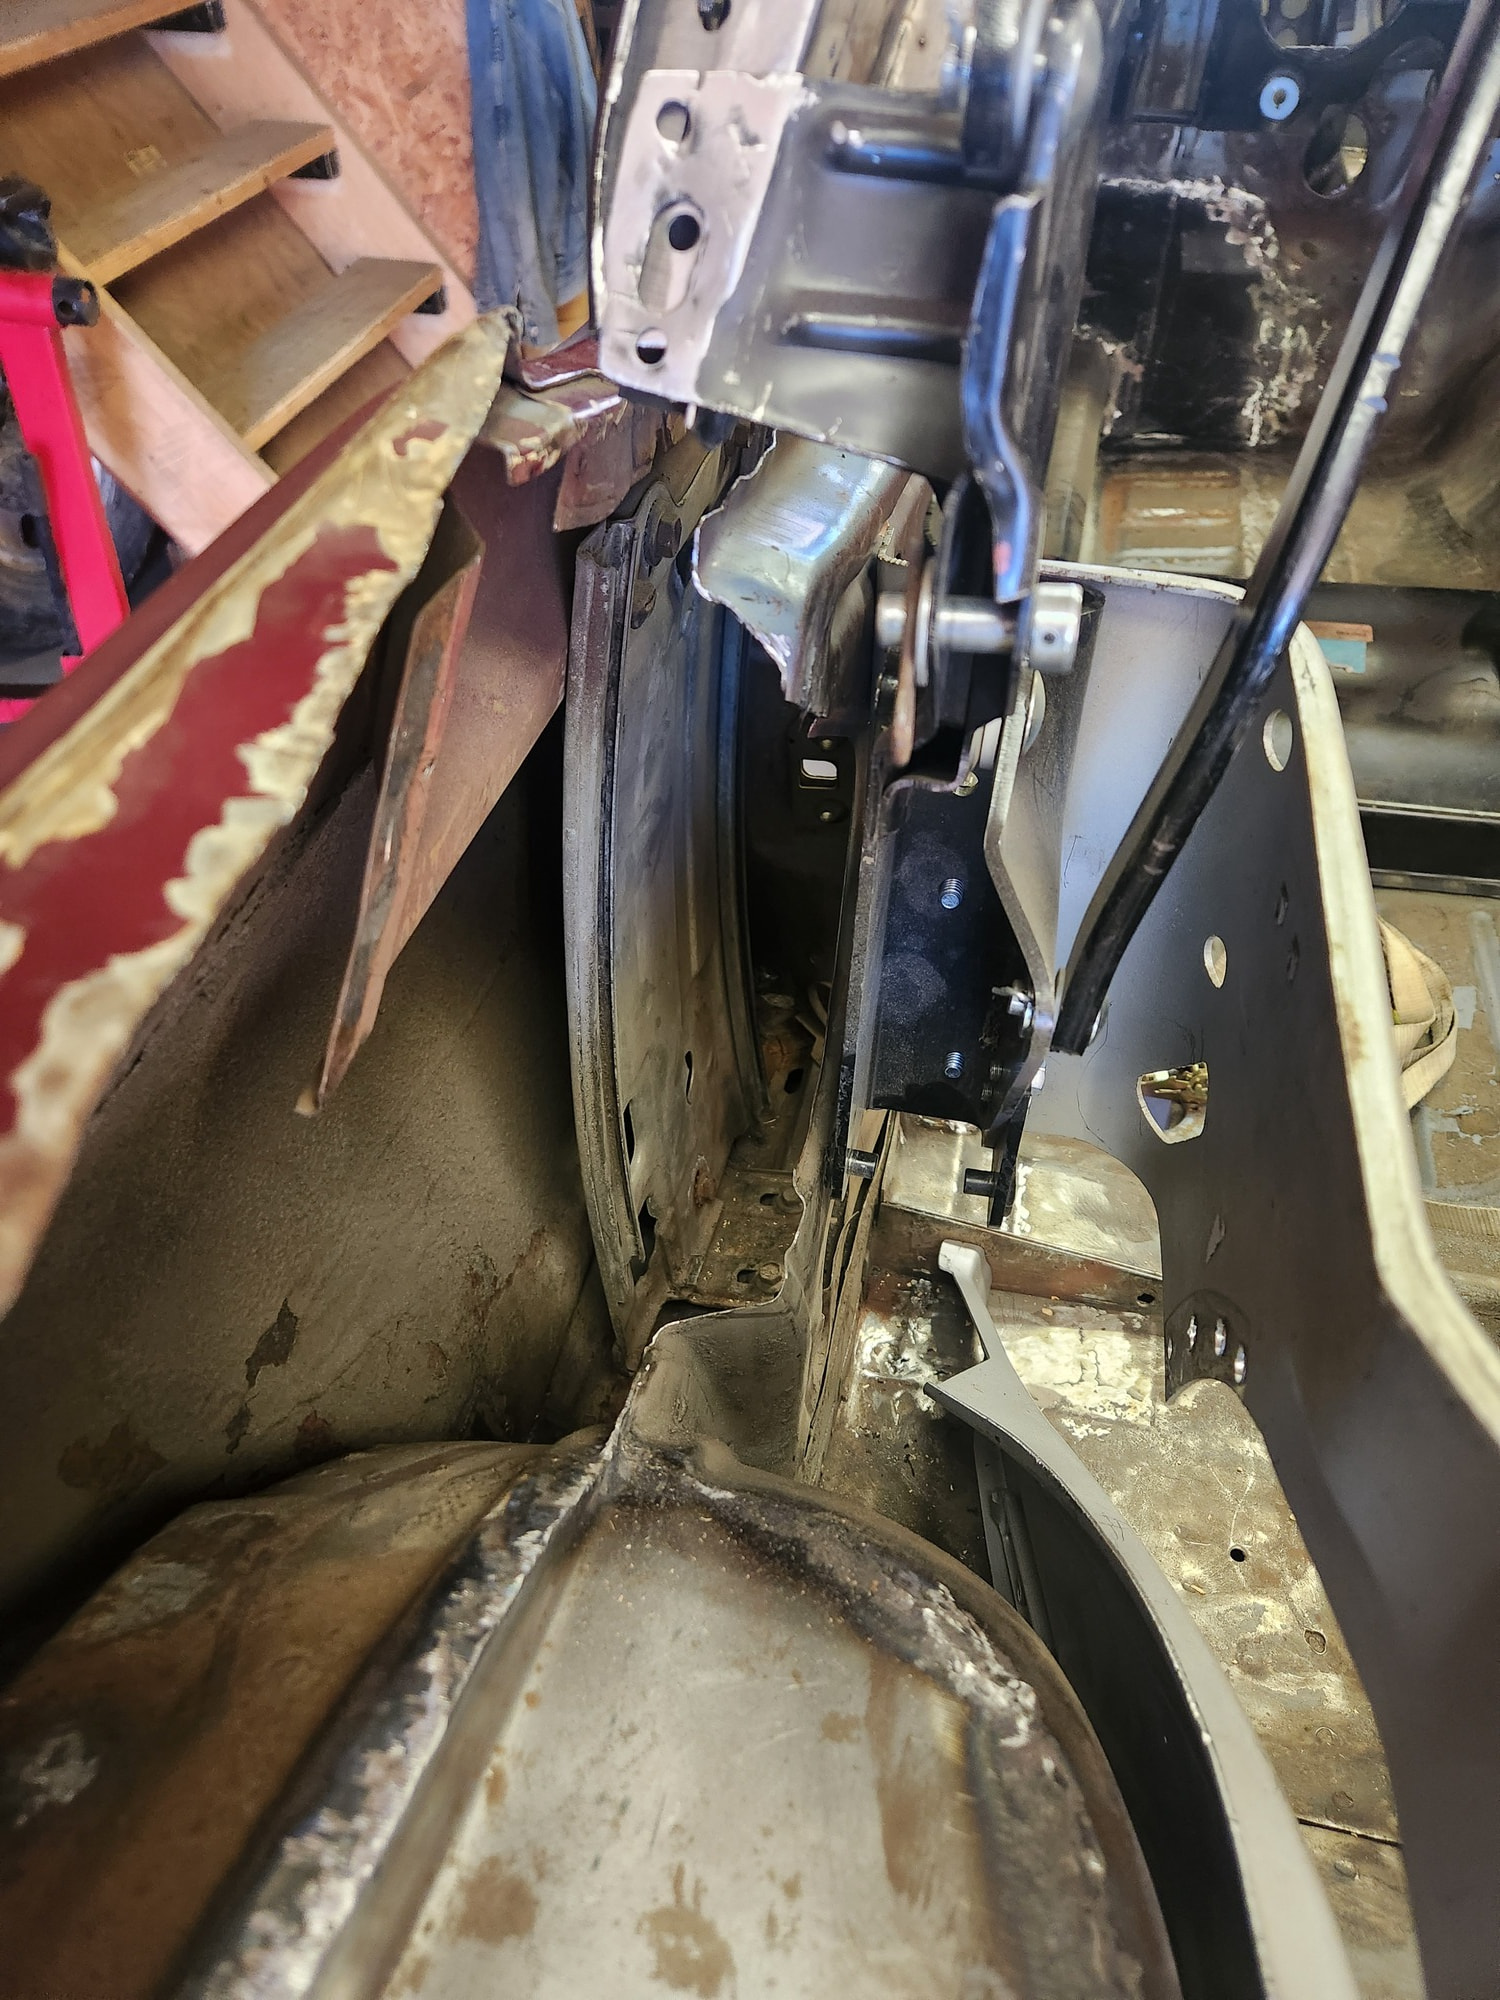
Rear seat frame and convertible top mount is back in. This is lined-up with existing cutouts in the Cougar sheet metal. The location is verified with the 67 Mustang convertible interior quarter panels. The fit is good although I did modify the frame to better fit the differences in the driveshaft tunnel.
The real challenge here is that I need to modify the parts, then tack in place, remove, fully weld, clean, prime, seam seal, reinstall, weld-in as a complete assembly. Otherwise you cannot get into a lot of small areas!!!
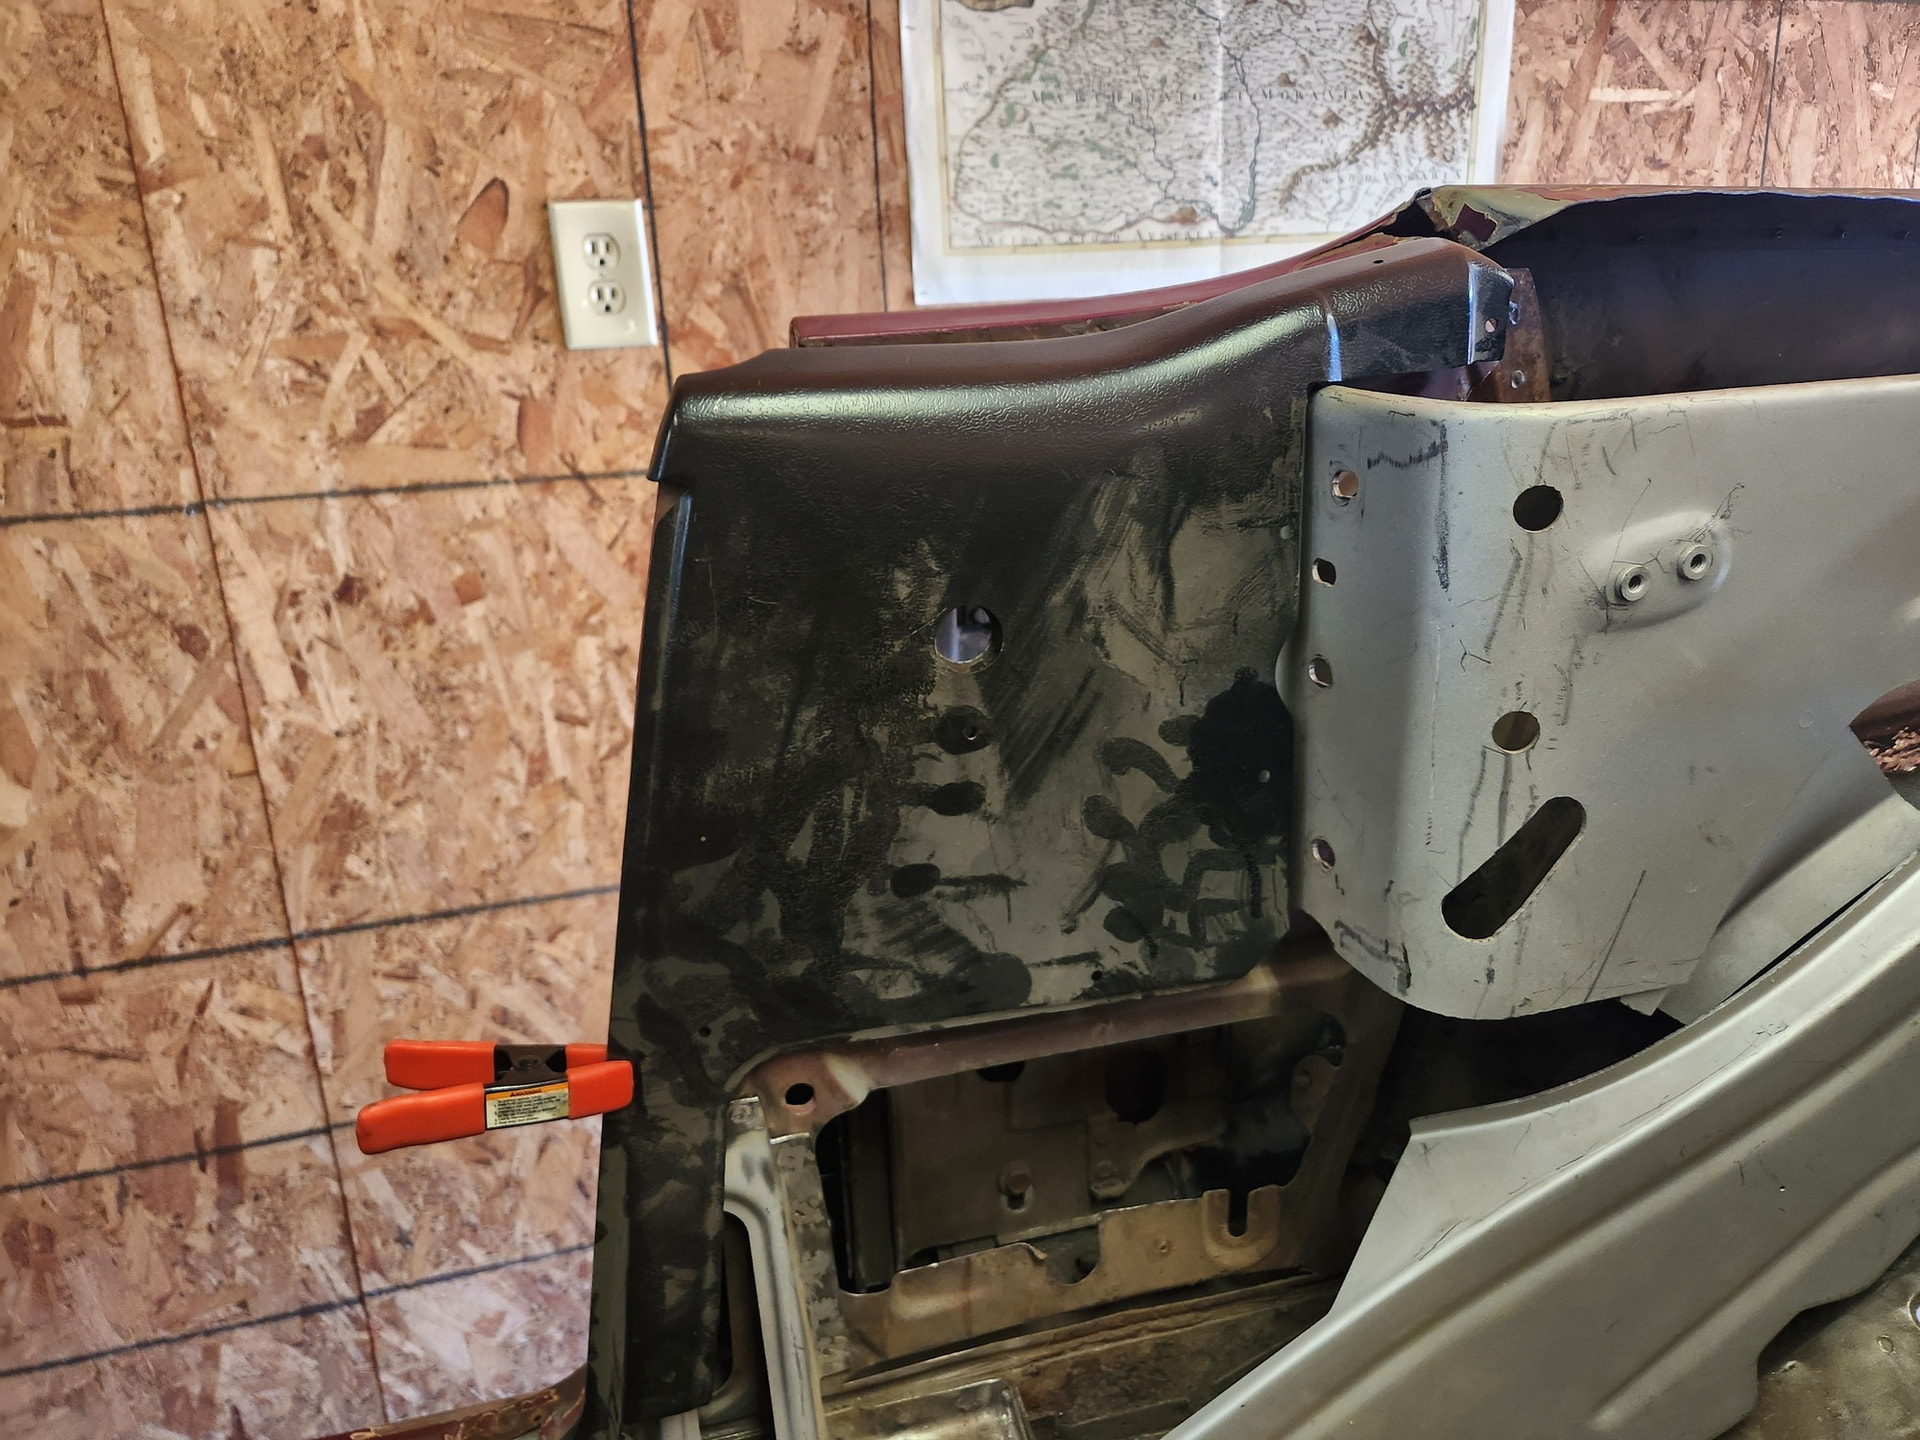
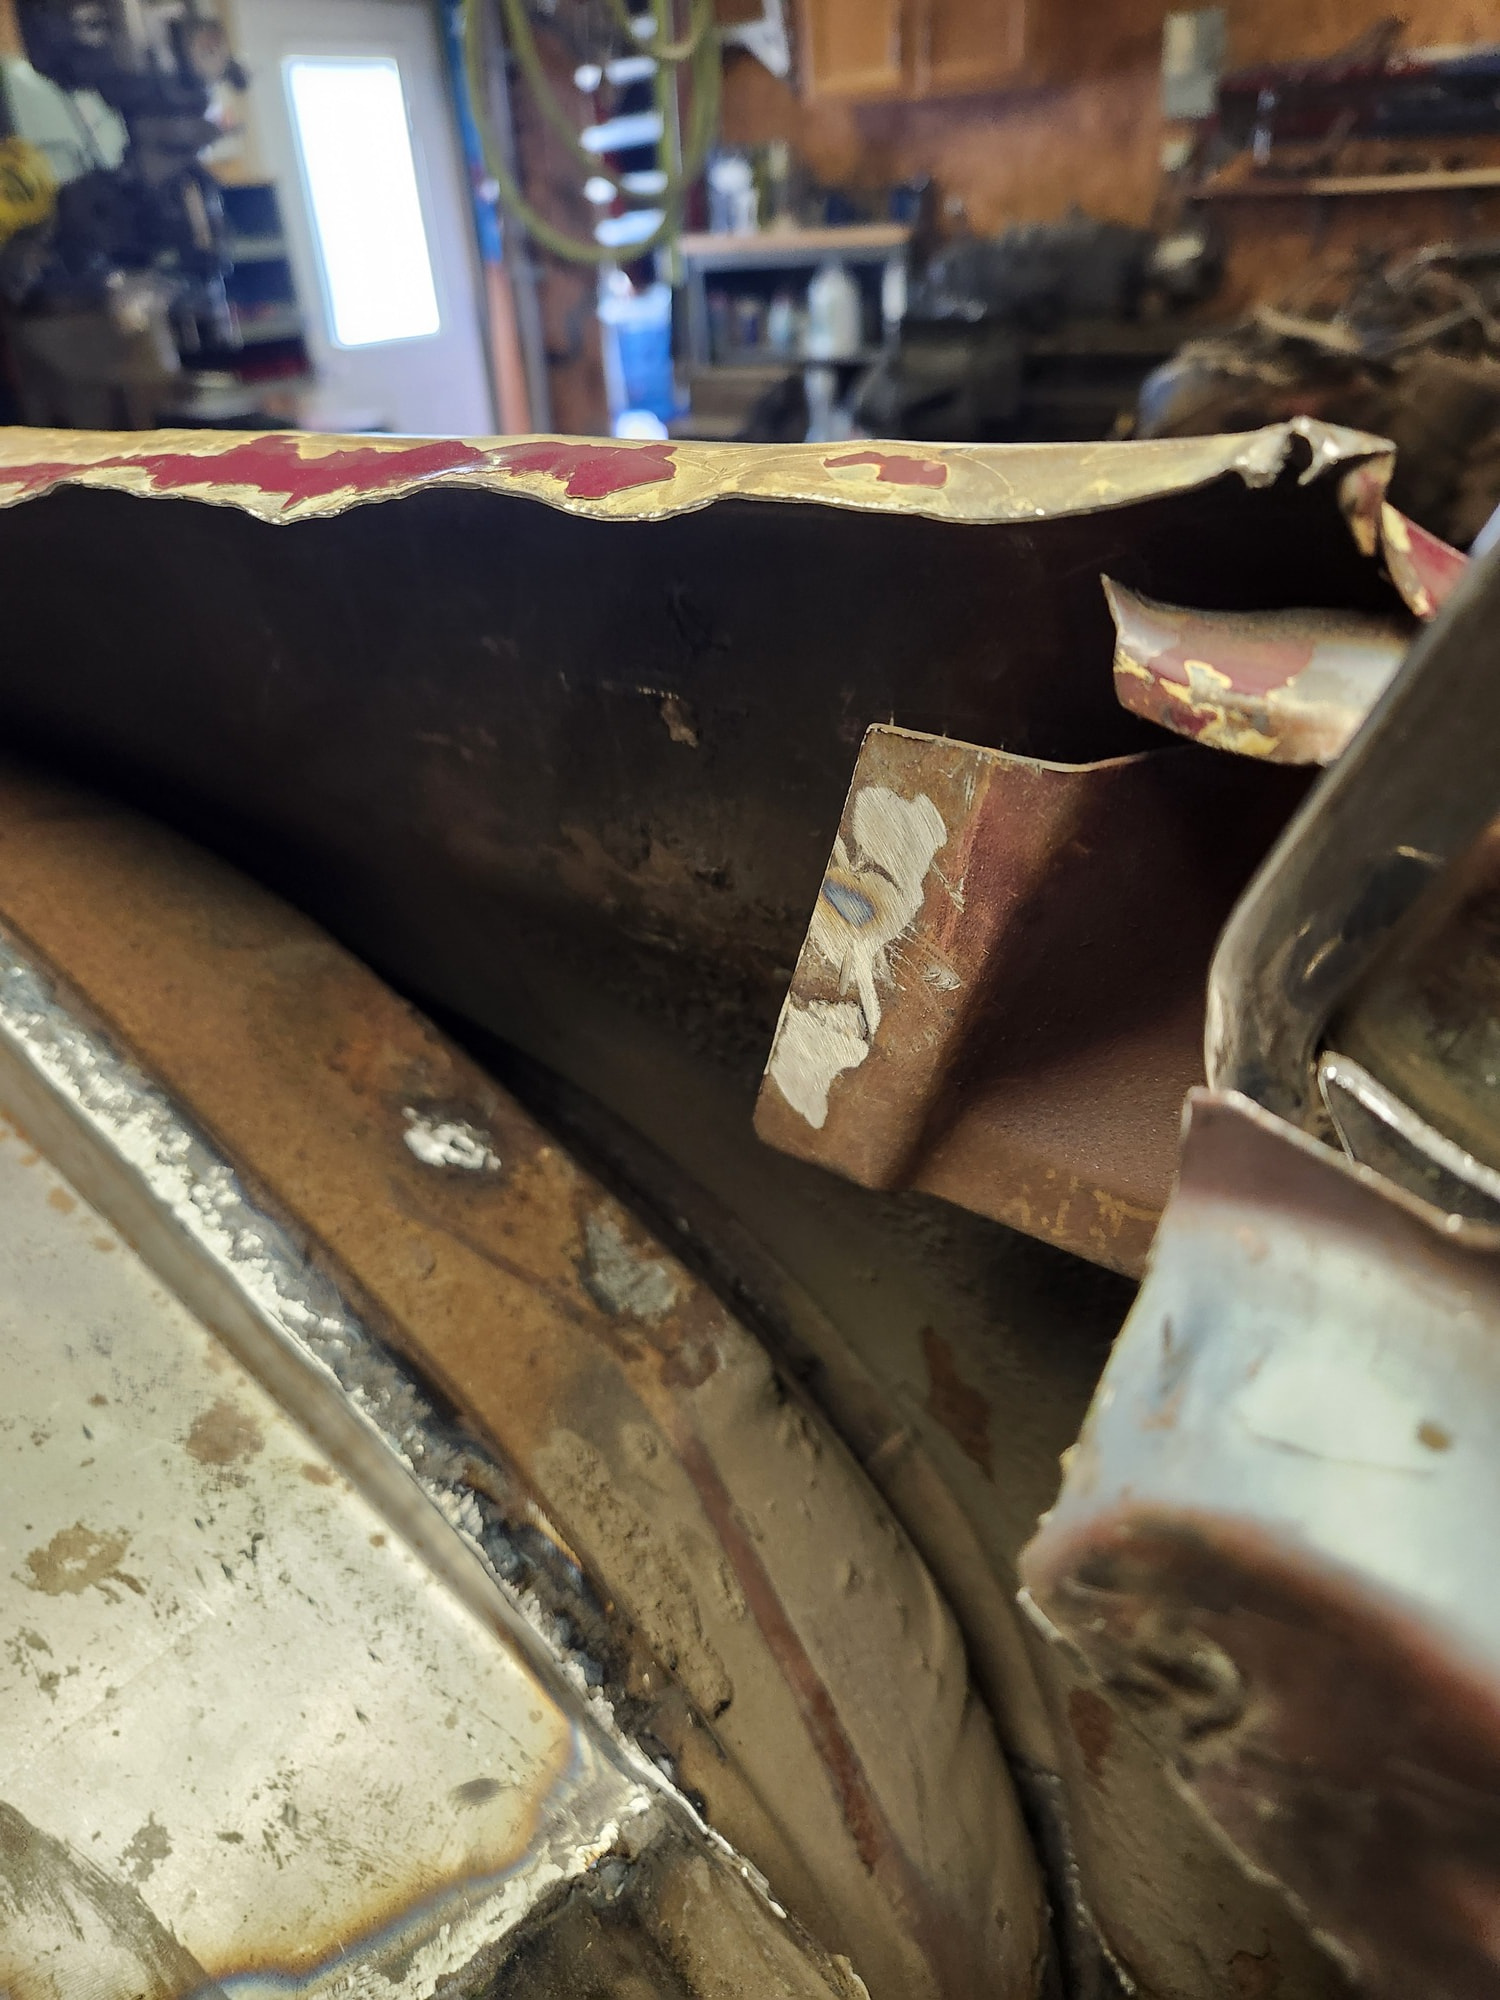
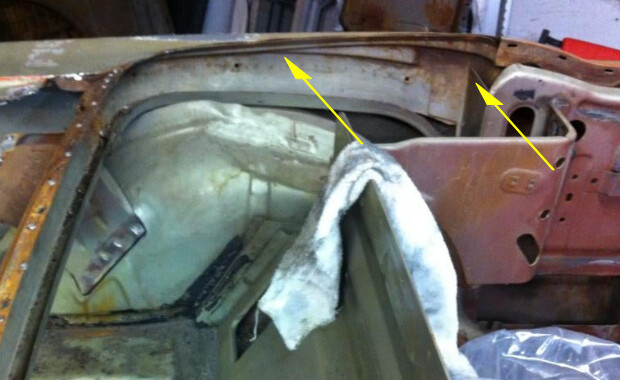
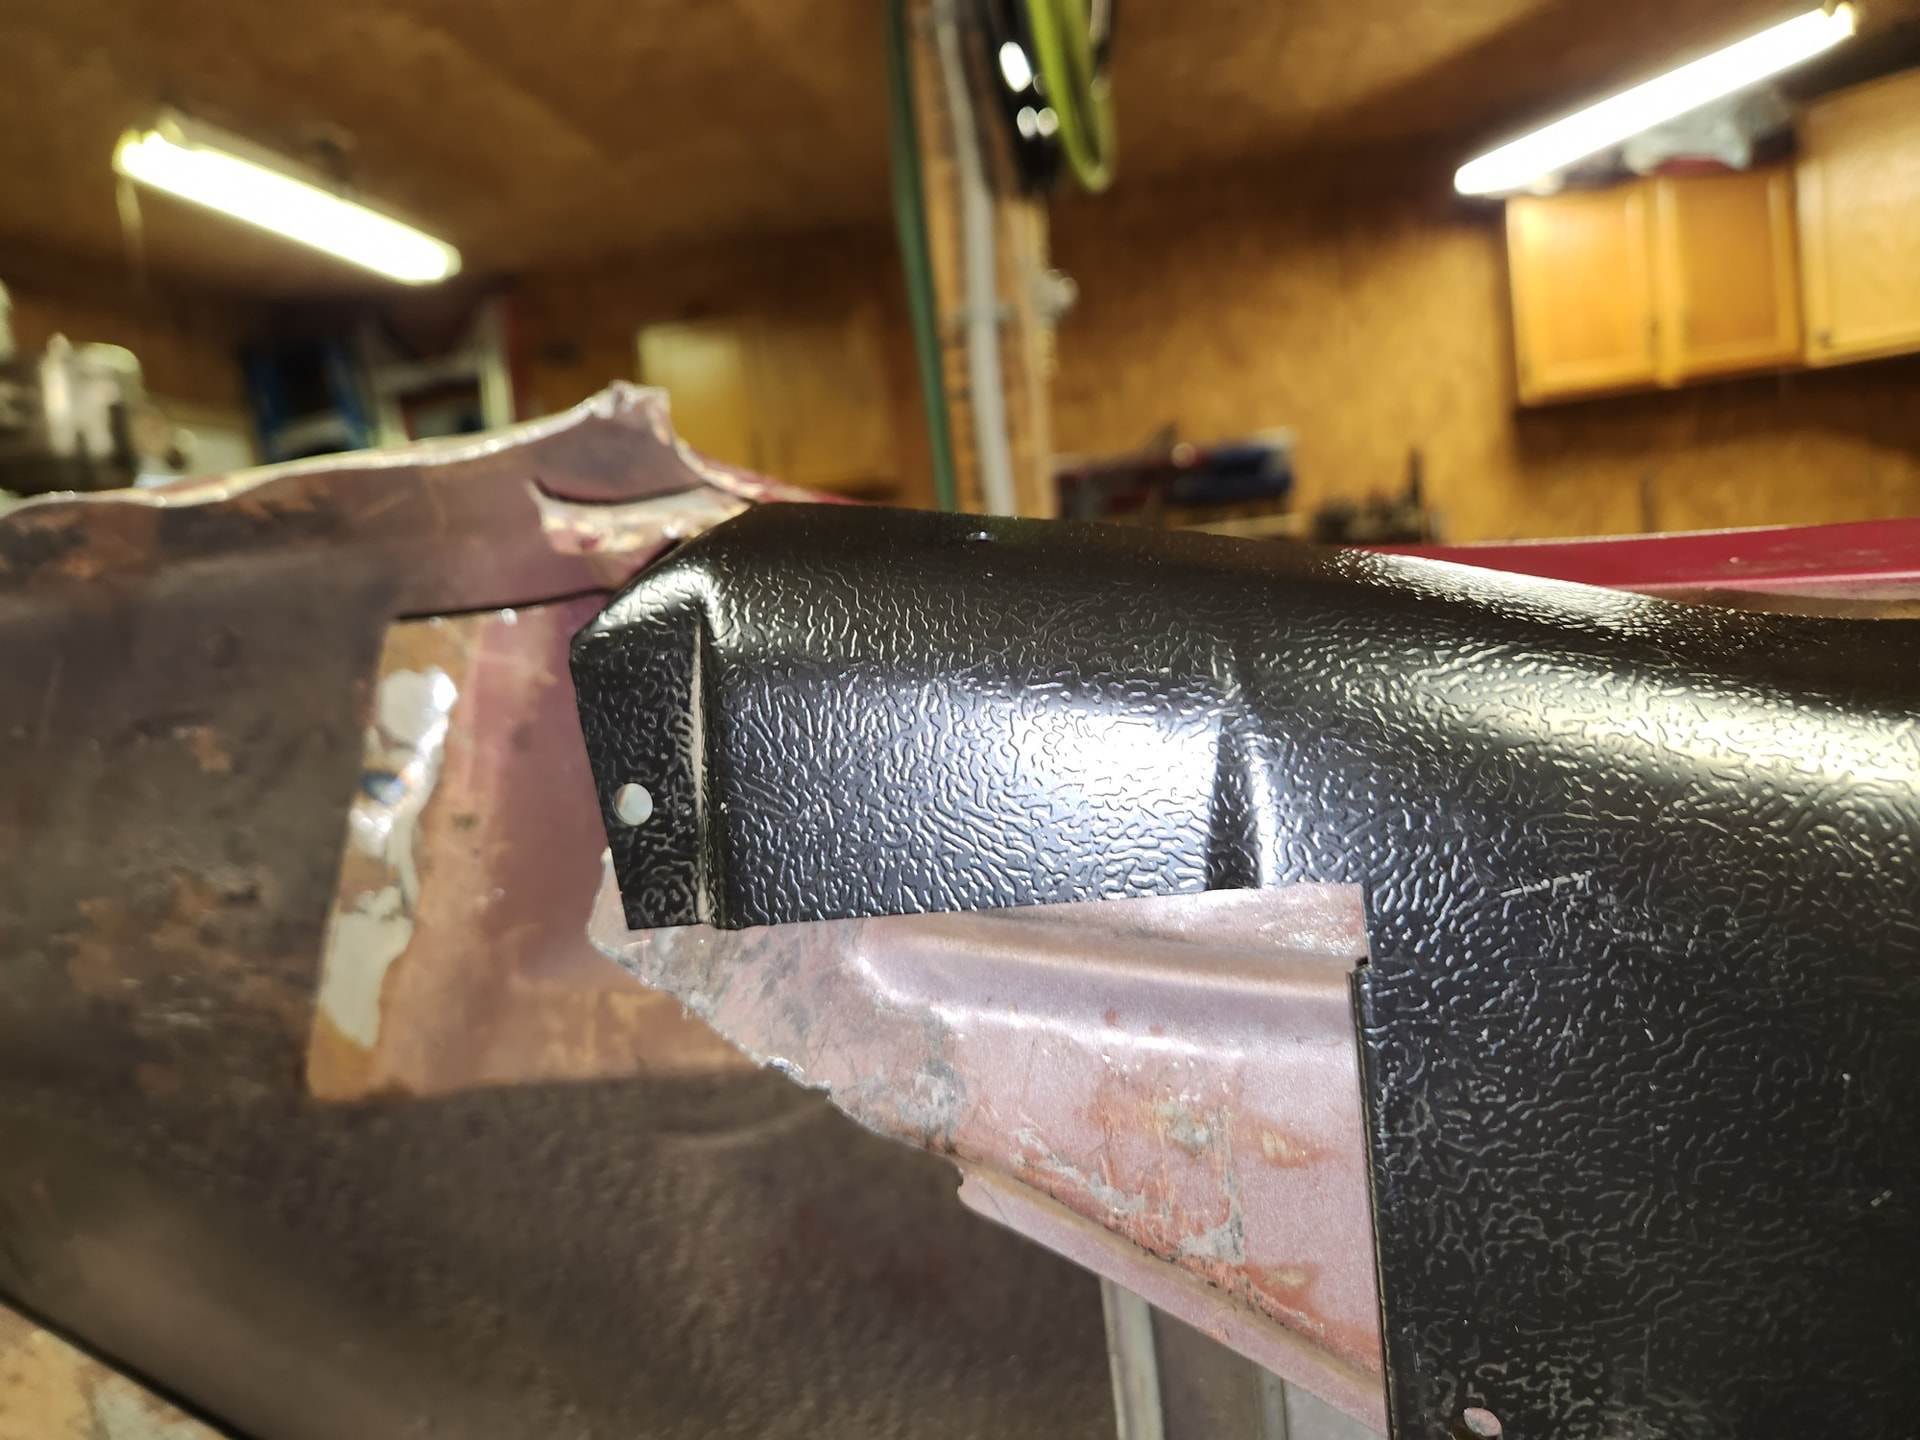
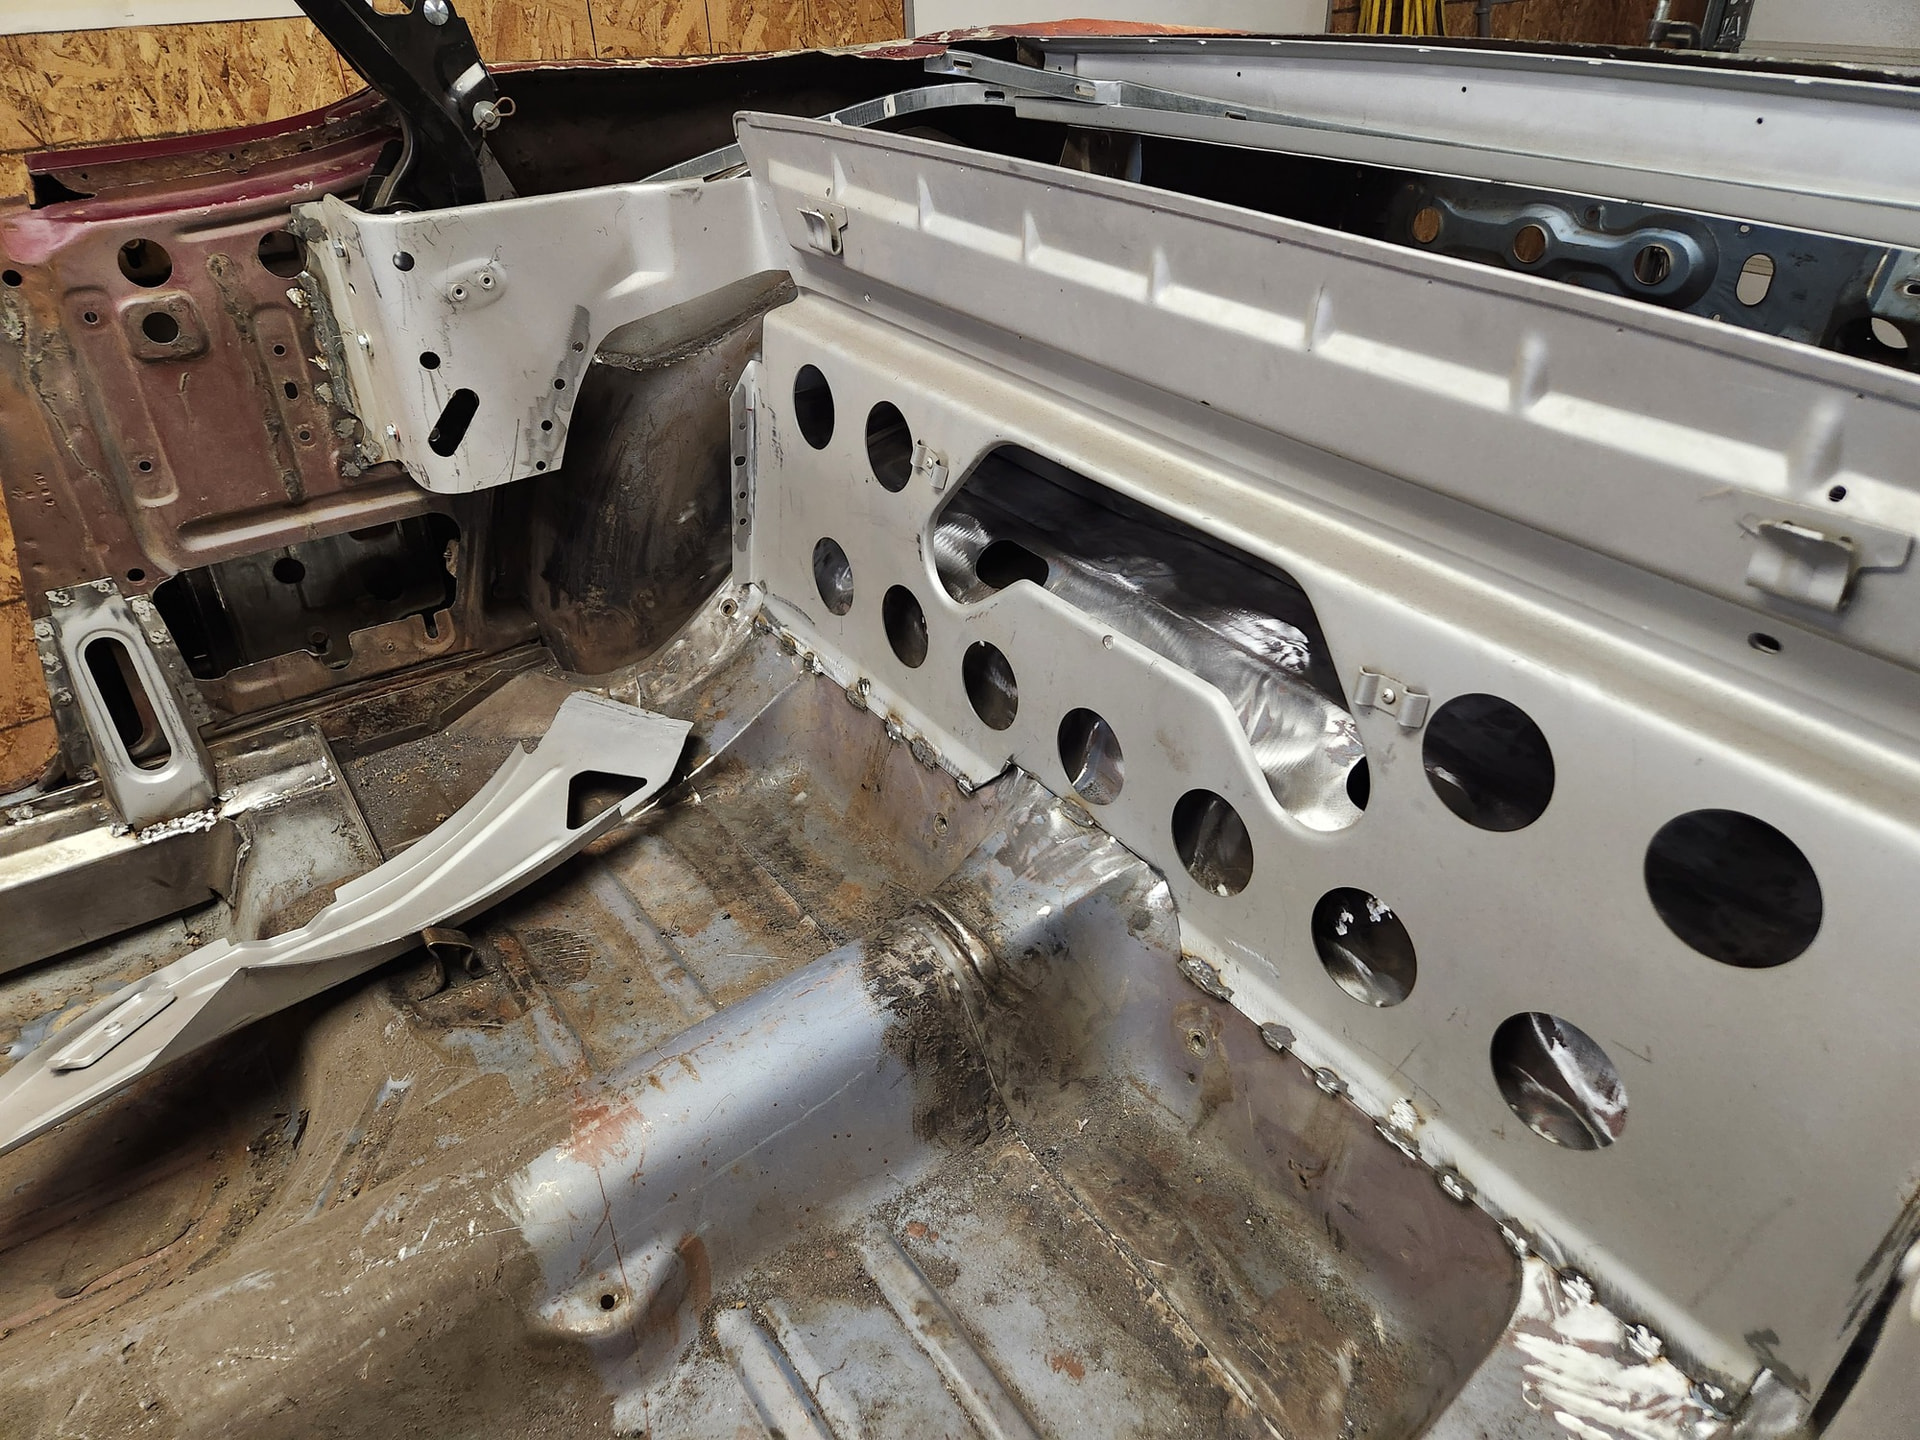
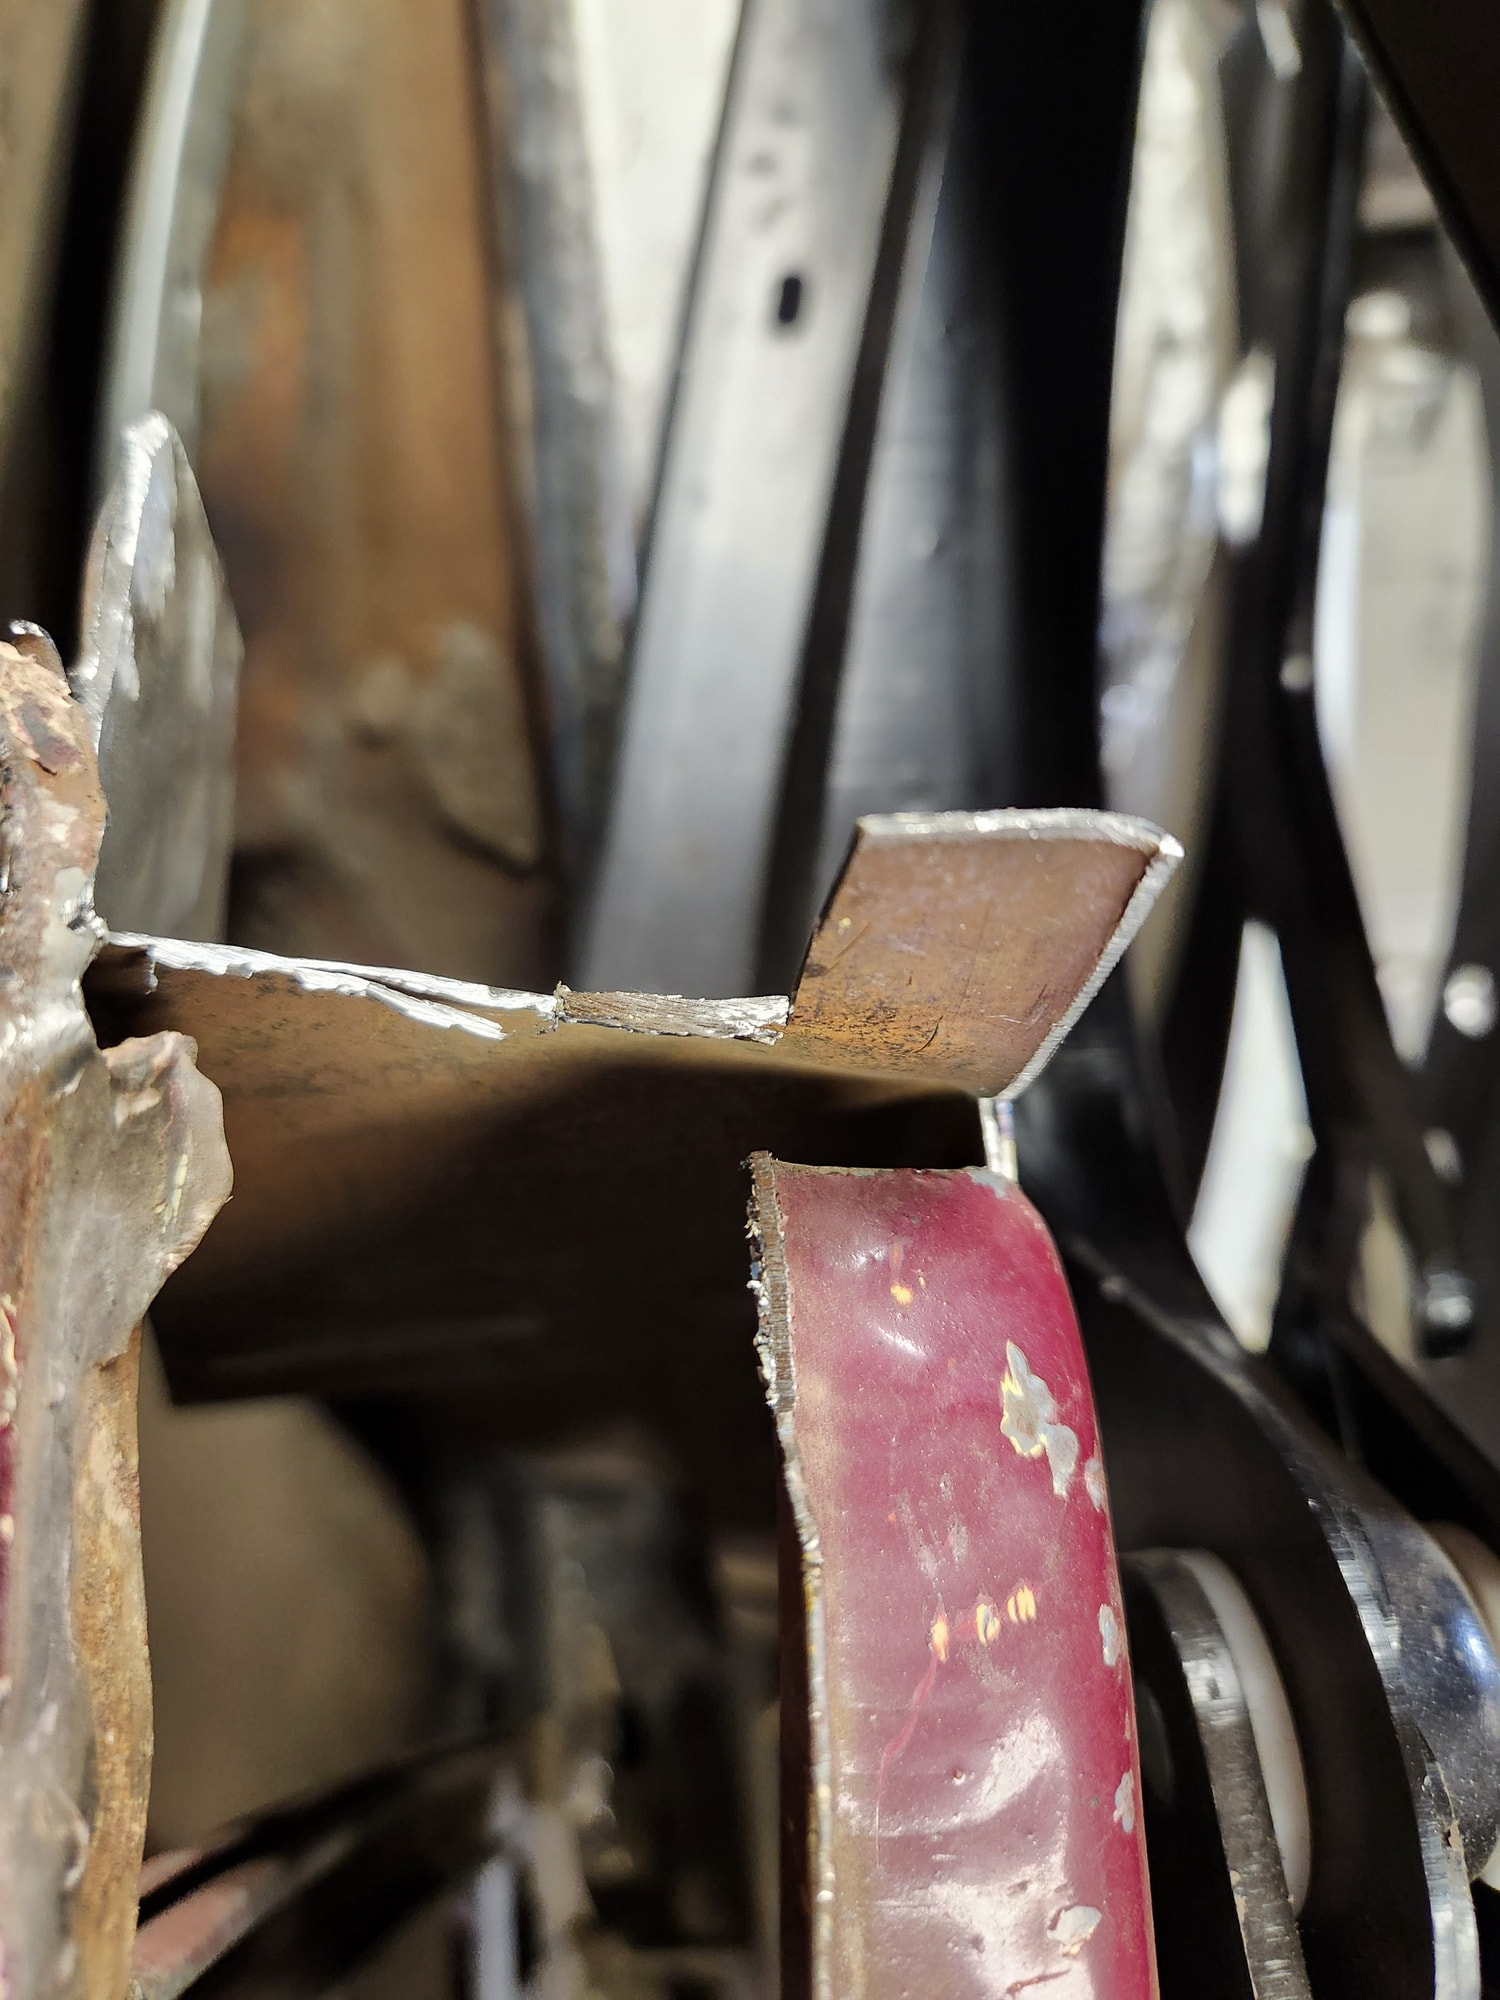
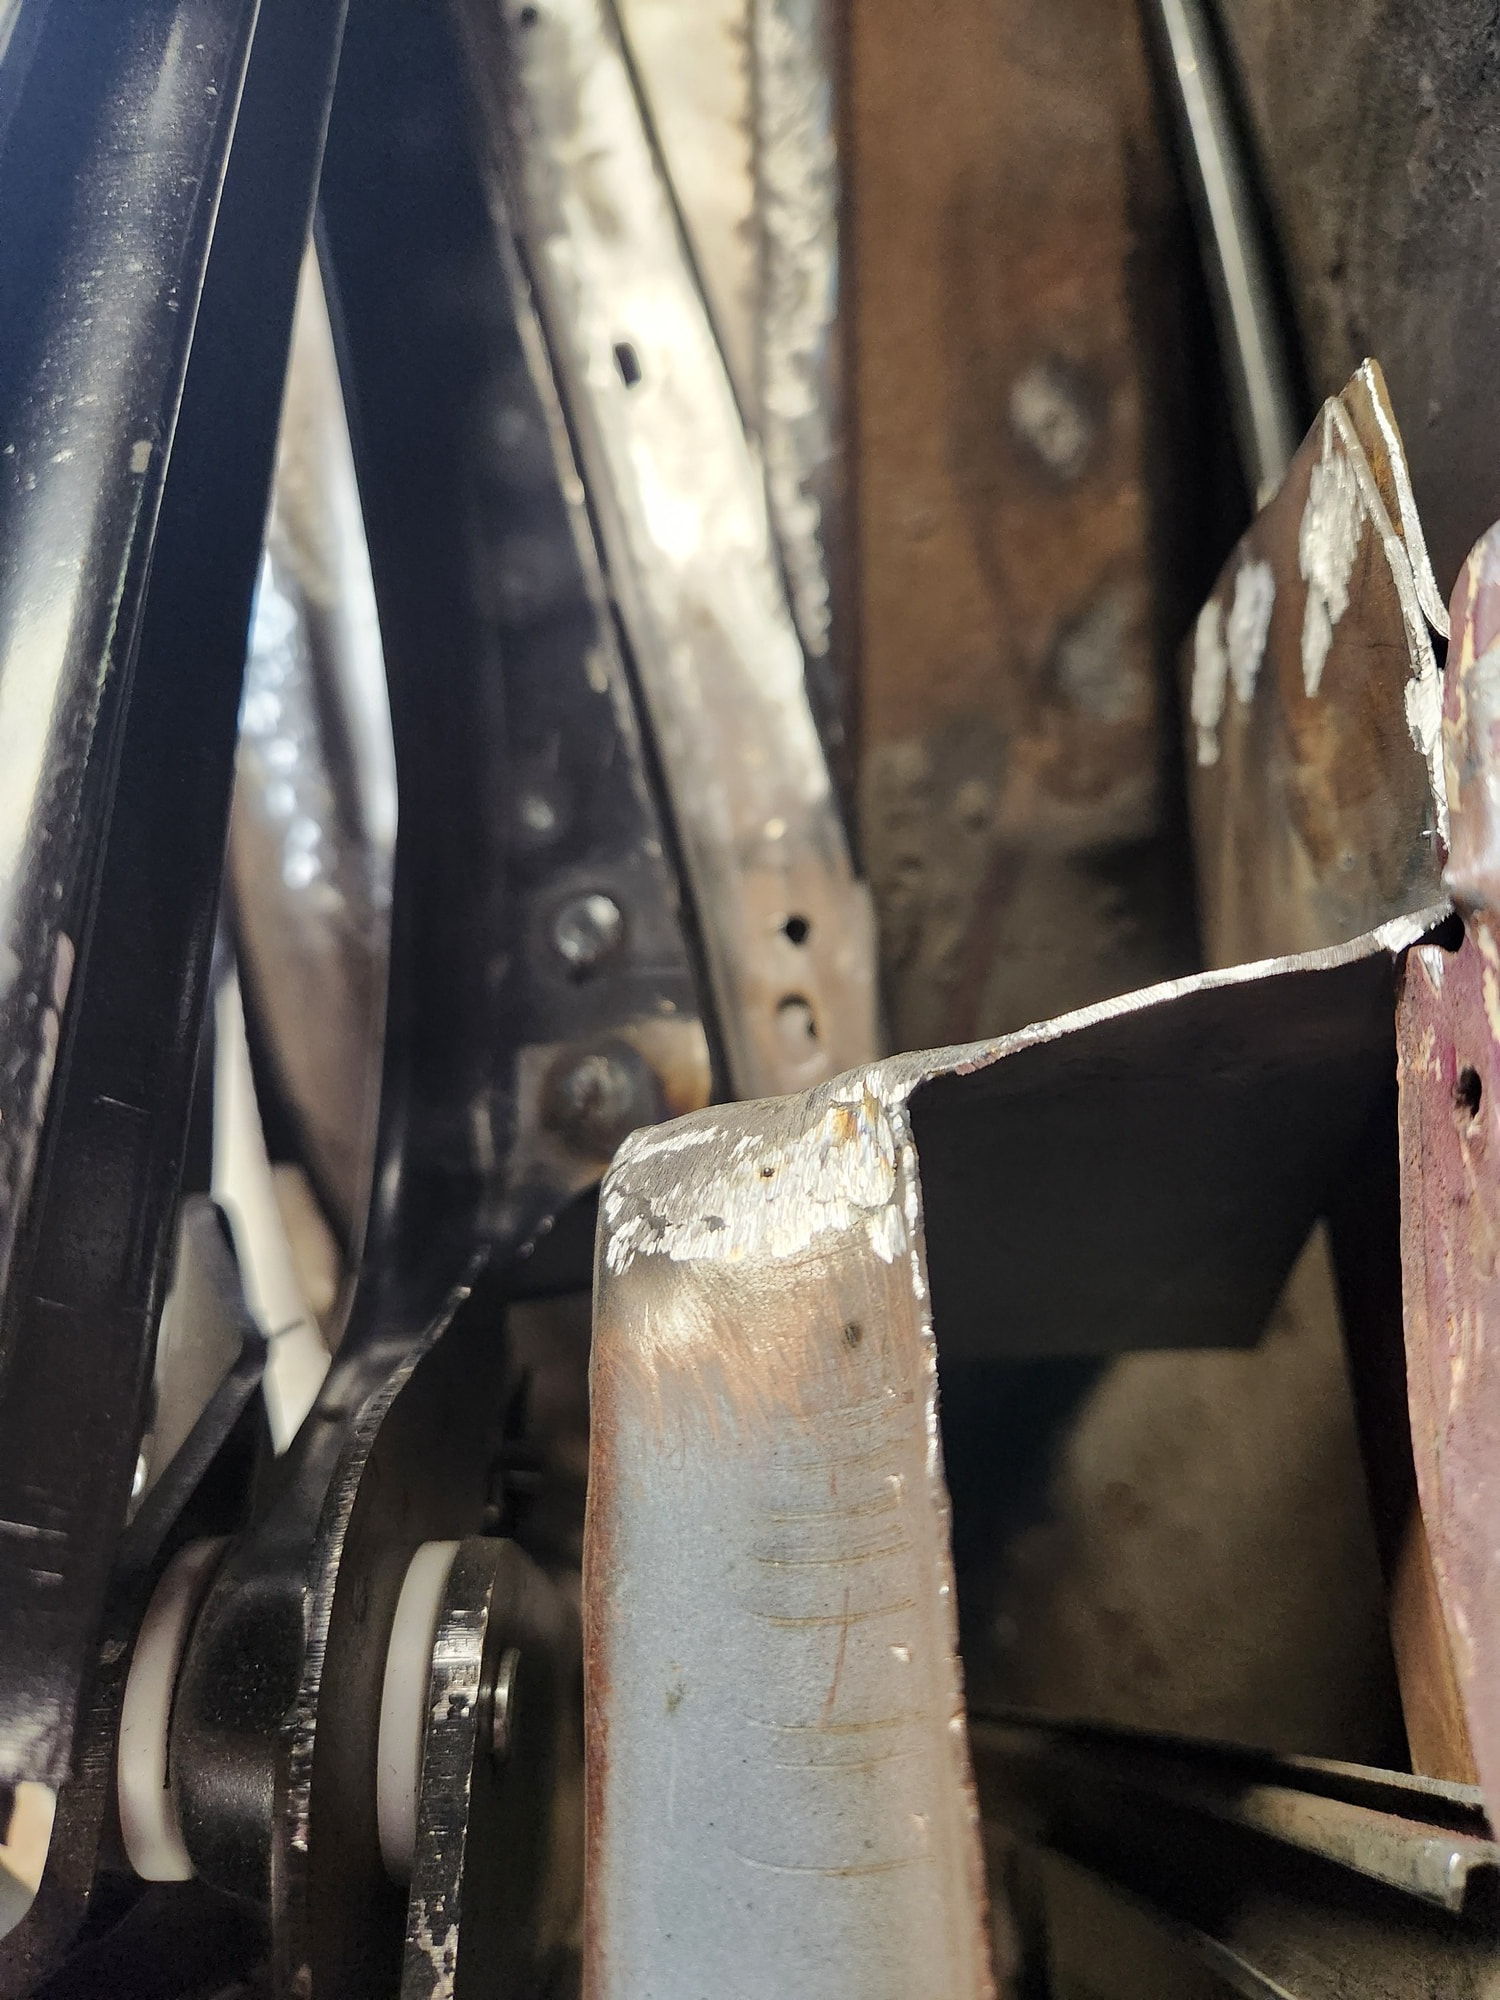
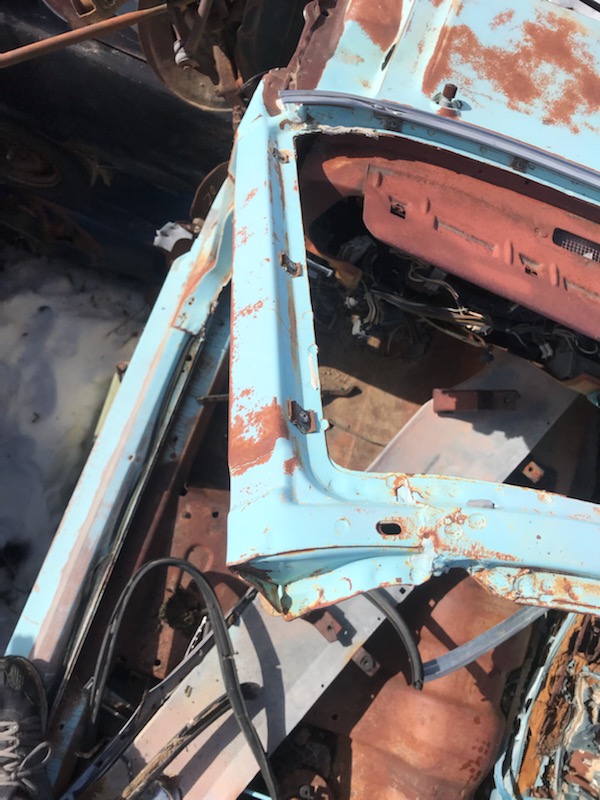
The real problem is the quart wheelhouse reinforcements. These are going to need tweaking. I want them to fit the floor profile over the torque box. But there is a good gap of about 1/8”. The issue is that the hump for the rear axle has a different curve and there is going to be some cutting.
Top of the hump. You can see where the profiles are very different. The “Left” end must be removed and reshaped. Honestly not too concerned about the fit to the hump. The strength is in the toque box area and connecting that with the “vertical” portions of the frame.
The piece of metal used to connect the upper edge of the wheelhouse reinforcement and the frame had to go for now. I’ll fix that when the wheelhouse reinforcement fits the hump better.
The portions of the rear quarter panels between the rear of the door and the wheel arch are a little “floppy”. I need to add some bracing that clears the quarter window and the top when folded. Studying the related convertibles. In general, I need to tie the quarter to the wheelhouse and to the interior body sections proximate the quarter window.
After some study, it is clear that there are two places where reinforcement are used for the quarter.
Between the inner panel just after the jamb and the outer quarter skin. This essentially boxes the quarter window region and stiffens the attachment area for the seat/top frame.
Between the two edge of the quarter panel and the gutter. This stiffens the entire upper edge of the quarter under the hockey-stick trim.
Looks like I need to try to locate the left/right sections of the gutter. I already have the center section.
This video shows removal of a quarter from a 67 Mustang convertible and verifies the attachment. I guess that cutting with an air hammer confirms detachment. But whatever!
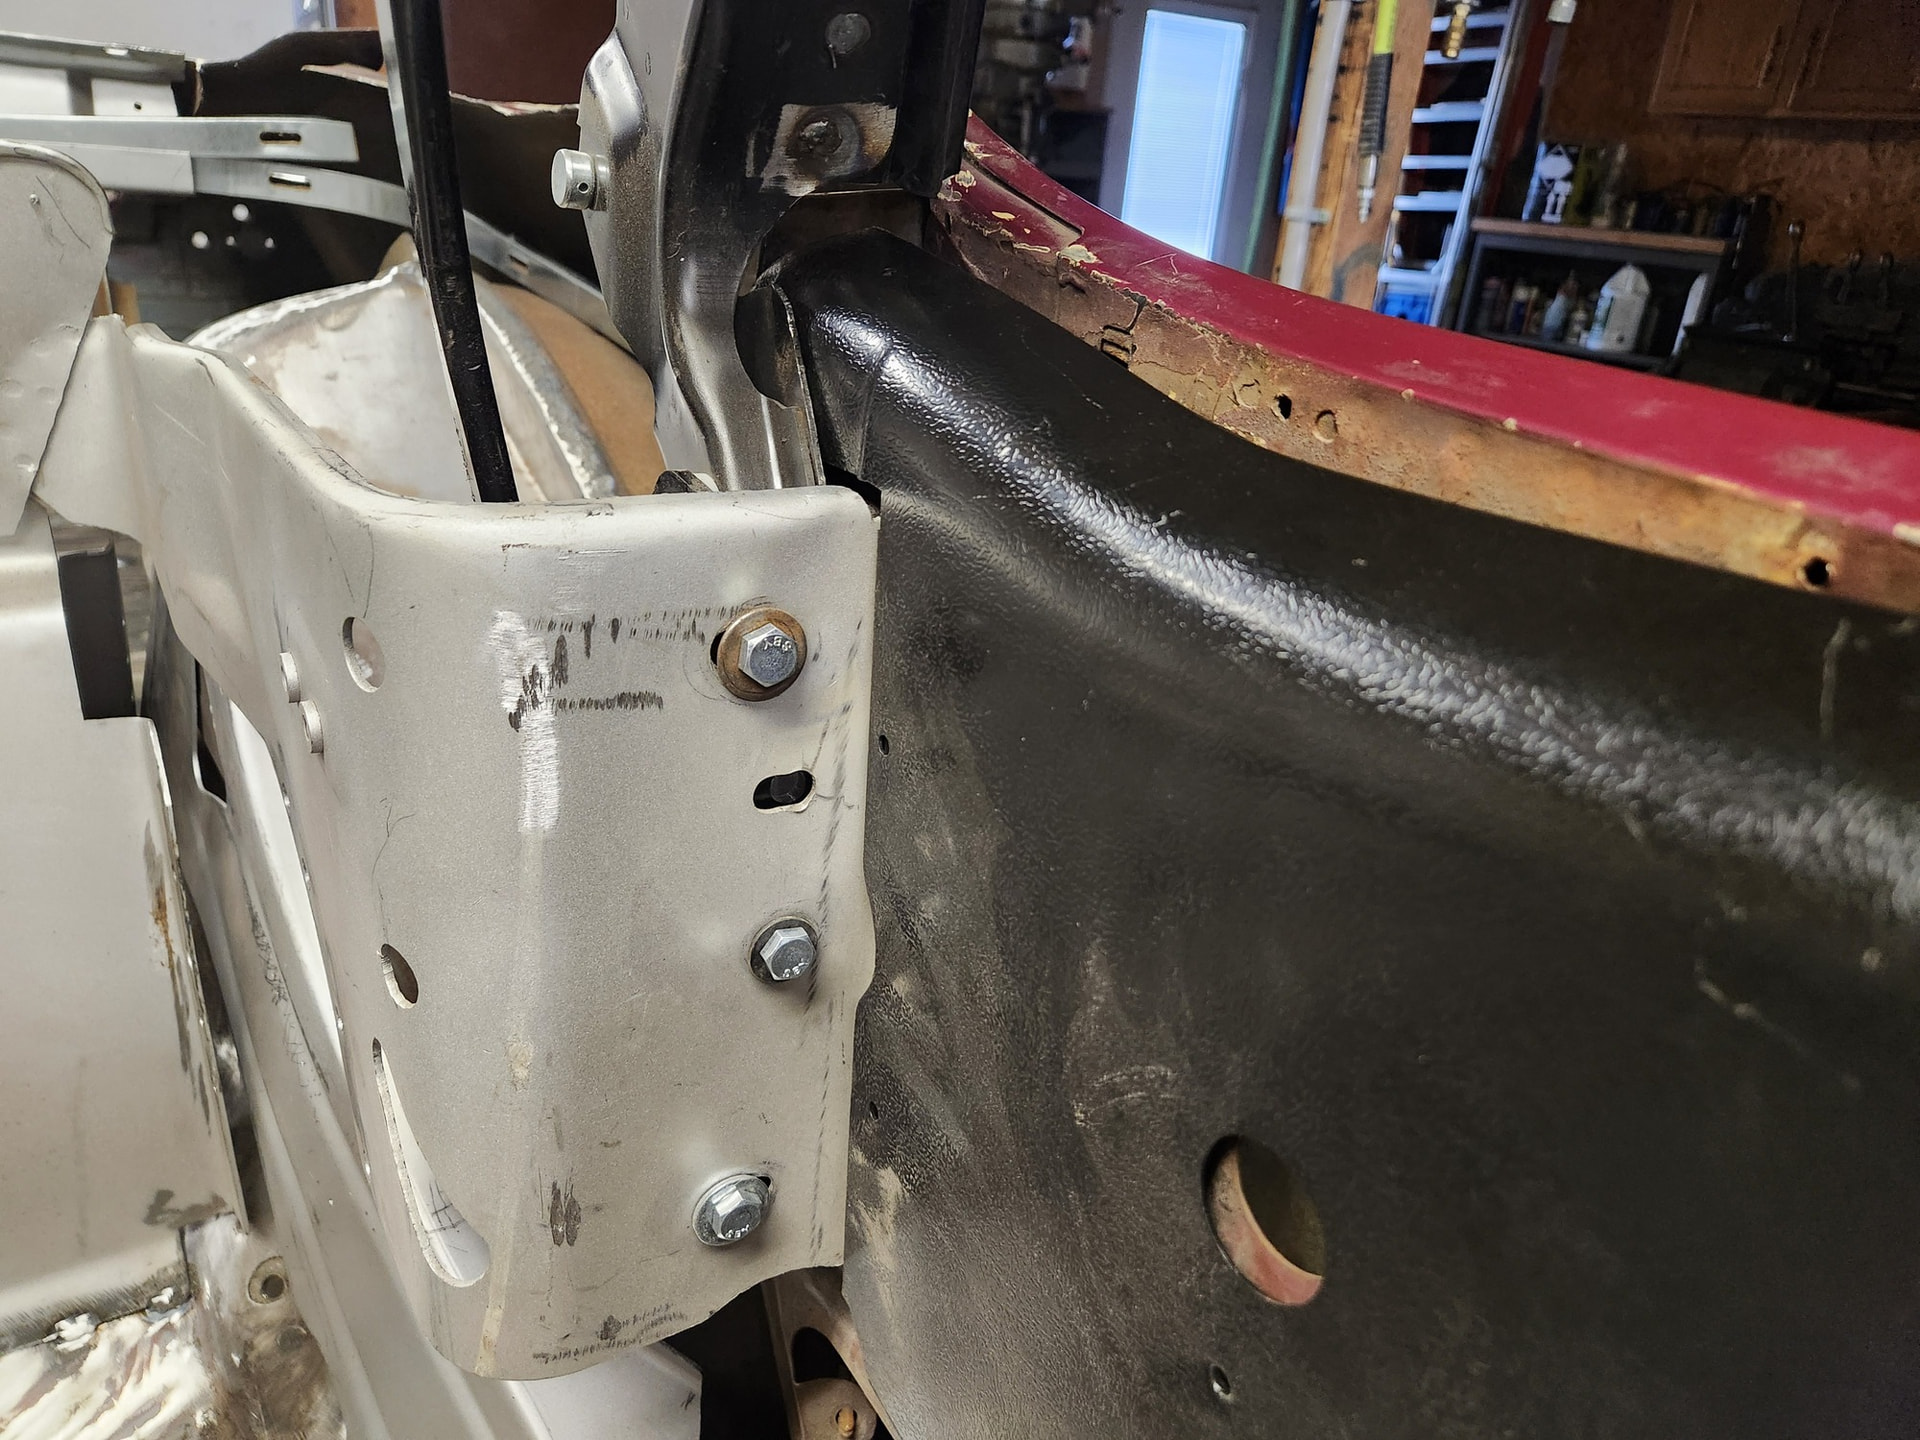
Getting ready to plate over the large rectangular hole (center of picture) in the inner panel and then tie the inner panel to the quarter and the brace (top center of picture) supporting the quarter window track.
Originally, I may have been a little aggressive with removal but I also need proper access for the top lift cylinders.
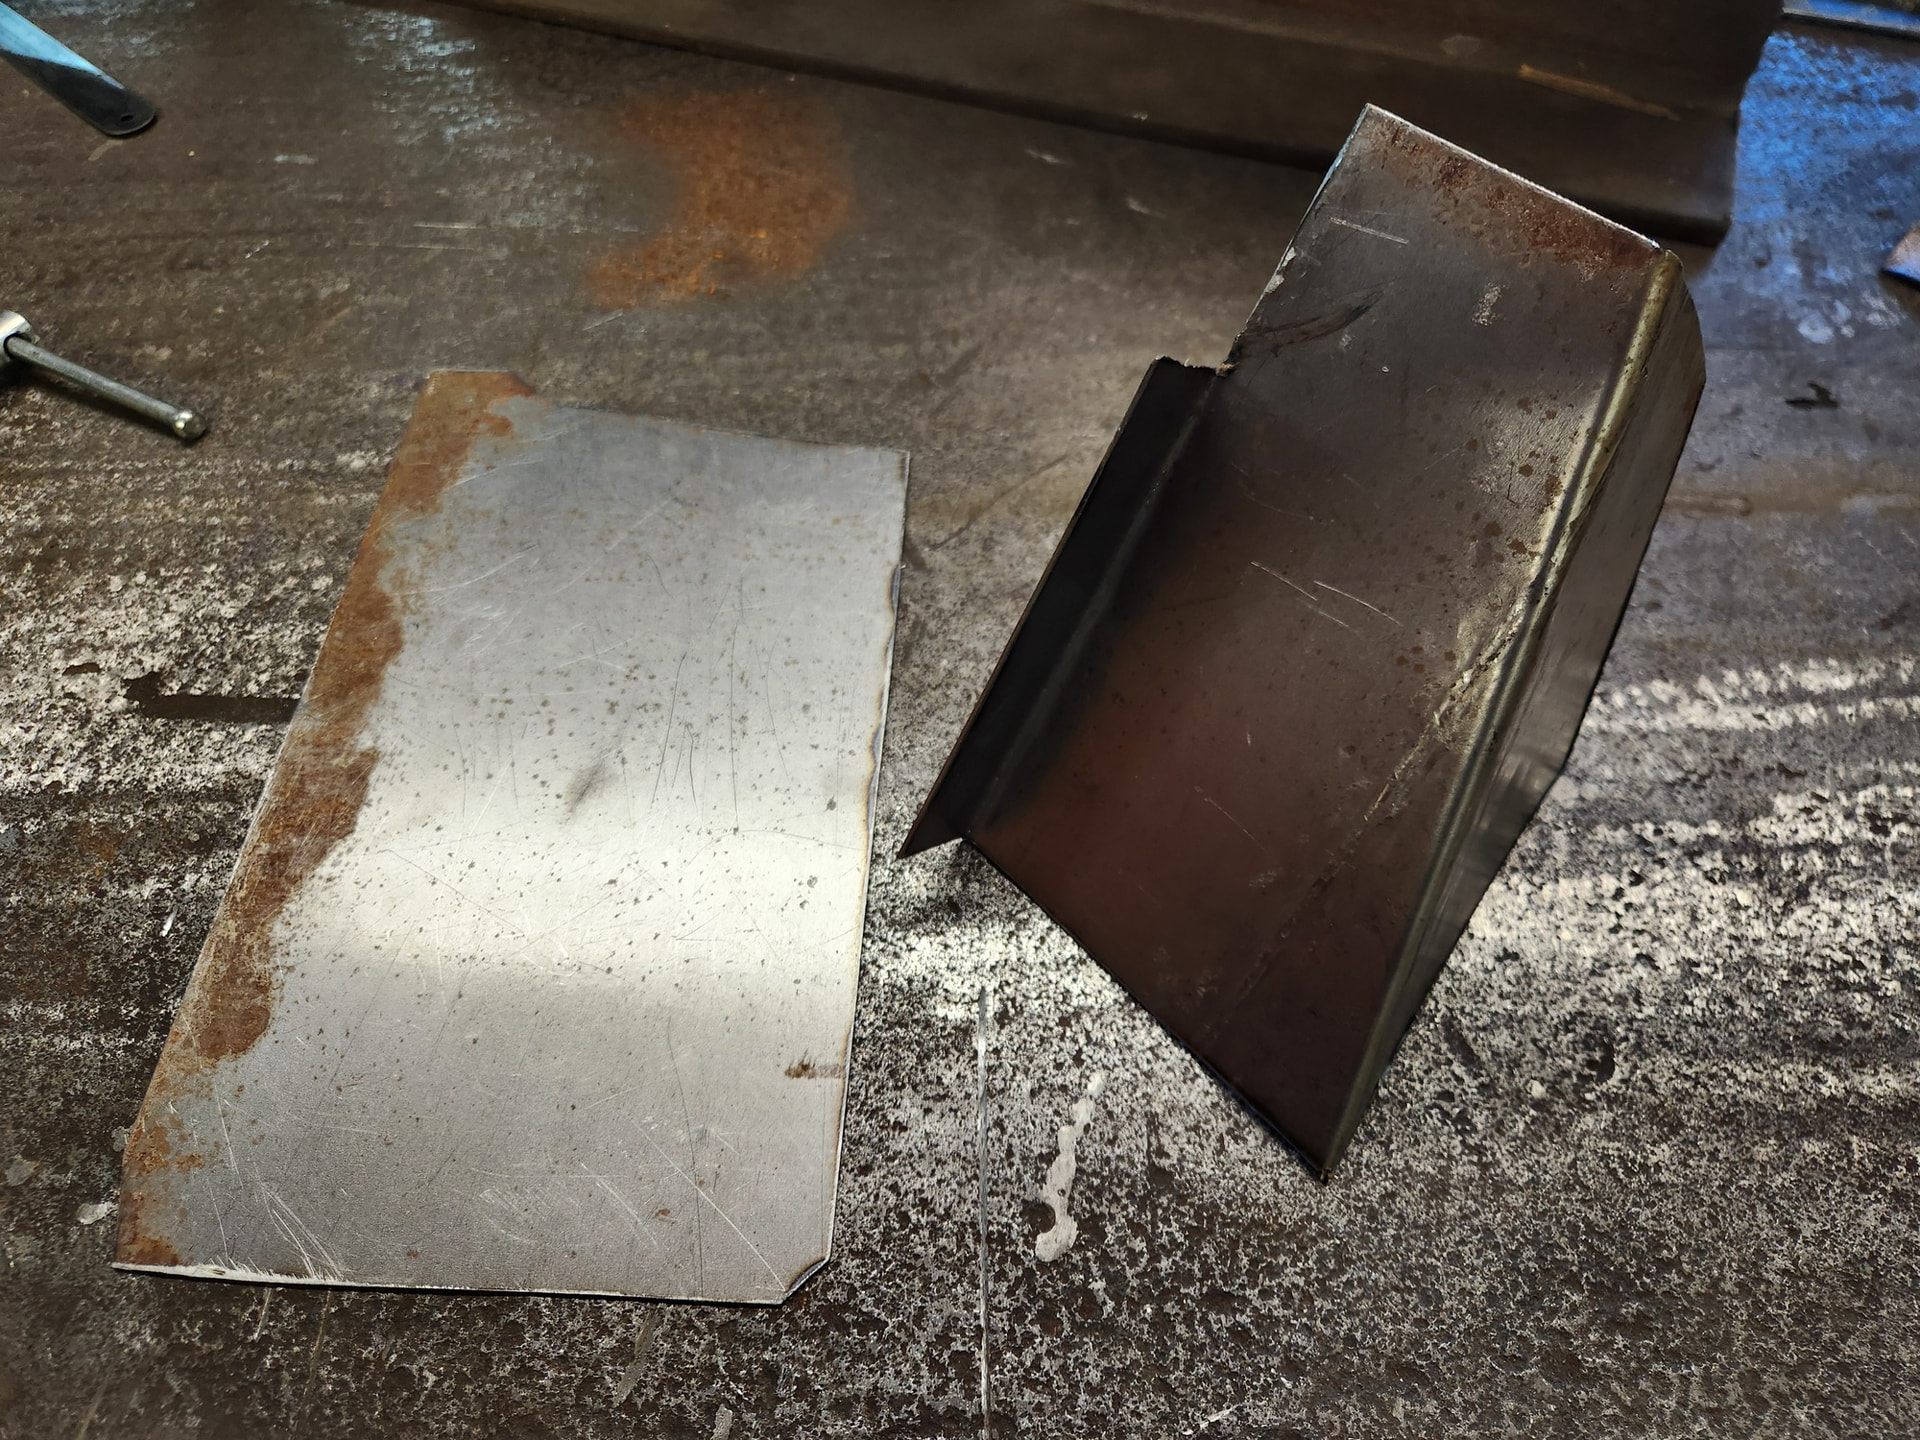
The plating and tie-in is pretty straight-forward. One flat piece trimmed to fit the contours of the existing panel and one zig-zag piece. This one was a pain. Bend, trim, bend, trim.
They are in. I left enough metal on the zig-zag part so that I can contour the top edge into the existing top ledge (see a few posts back). I need to grind and cut out the access holes for the quarter window bolts.
Although probably not required. I think that I will add an additional “gusset” to tie the lower portion of the new plate into the wheelhouse. Right now it is simply an exposed sharp edge. Ask me how I know that?
Jumping a little ahead. The interior metal trim panel has the wrong hump since it is a Mustang part. A little cutting and welding and this will match the Cougar window and quarter. A good bit more work to keep the Cougar quarter windows but I’ll never have to complain about the contour differences. I will cover these panels so I have no concern over the existing “leather grain texture”.
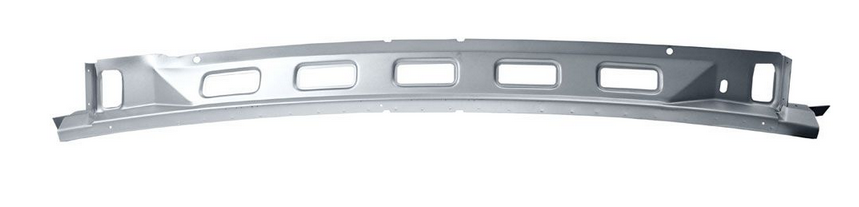
Decision on the side sections of the gutter. I’m going to buy another copy of the Dynacorn 3647YFWT “Trunk Divider Bridge Support.”
This is designed for the center section of the gutter of 65-66 but can be reworked. It appears to be the only available repo part for the gutters. New from CJPony it is ~$200. I have been quoted $500-$1500 for a pair of used gutter sides. Yikes. I can rework the new metal and still save money. This isn’t concourse!
Essentially, I need to cut this part in half, flip left/right and rework the top edge to get the contour that fits the hockey stick trim.
The seat frame / top support is now fully welded in. I chose to stitch-weld rather than plug weld as it should be plug welded from the bottom (thinner metal side) but that is covered with a lot of undercoating and transferring the plug weld locations from the frame/support to the floor pans would have been a pain.
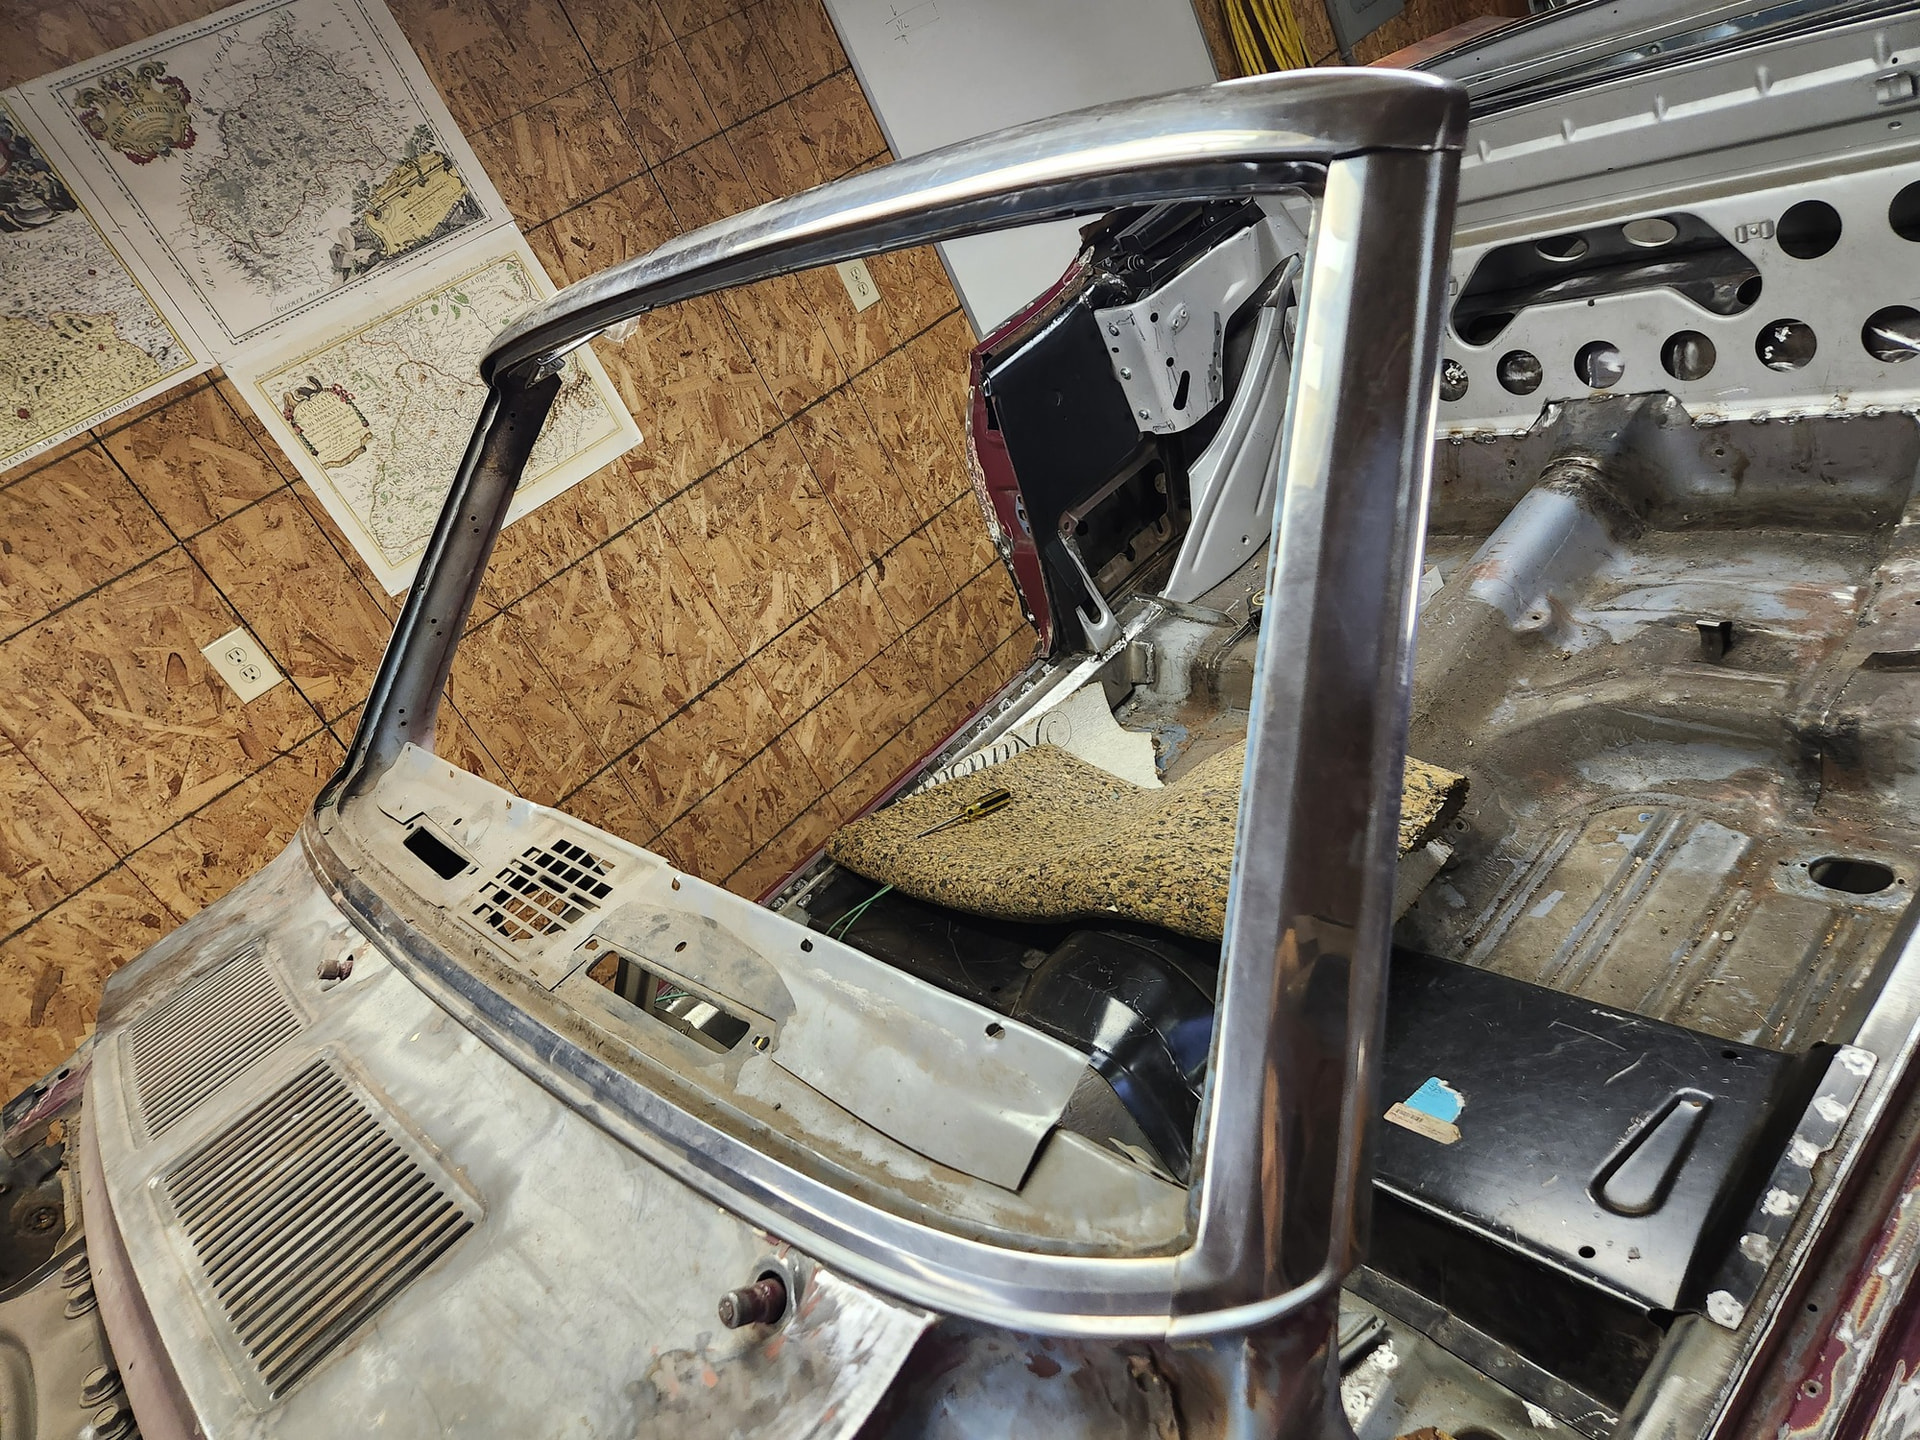
The top frame is back in place and generally aligned. Interfacing with the windshield frame looks good. so front/back and side/side of the frame is OK. I cannot count the number of times that I’ve had the top and frame in/out of this car!
There are some expected interference issues with the top frame, the interior panels, and the recent metal patchwork. Nothing a little cutting and rewelding won’t fix.
The new “Trunk Divider Bridge Support” arrived today. I cut out the spotwelds holding the pieces together. This piece should work. I just wish that I had access to a hydraulic shrinker/stretcher for forming the corners. This is heavy material. Will probably end up pie-cutting and welding to make the curves. The heavy gauge will at least make the welding easier.
Lots of messing around with the interior panel to match the Cougar quarter window metal contour. Removed the existing hump and it now has the gentler Cougar profile. I also tapered the rear to ensure clearances around the top frame seals. The front edge of this panel at the door jamb also needed a little rework to maintain the Cougar door profile. I may have to tweak this a bit still since the doors are not yet back on.
Well, I had said that I wanted to get this project to a roller stage by the start of April. Obviously not happened and that transition is on hold. I have become strongly focused on the top assembly.
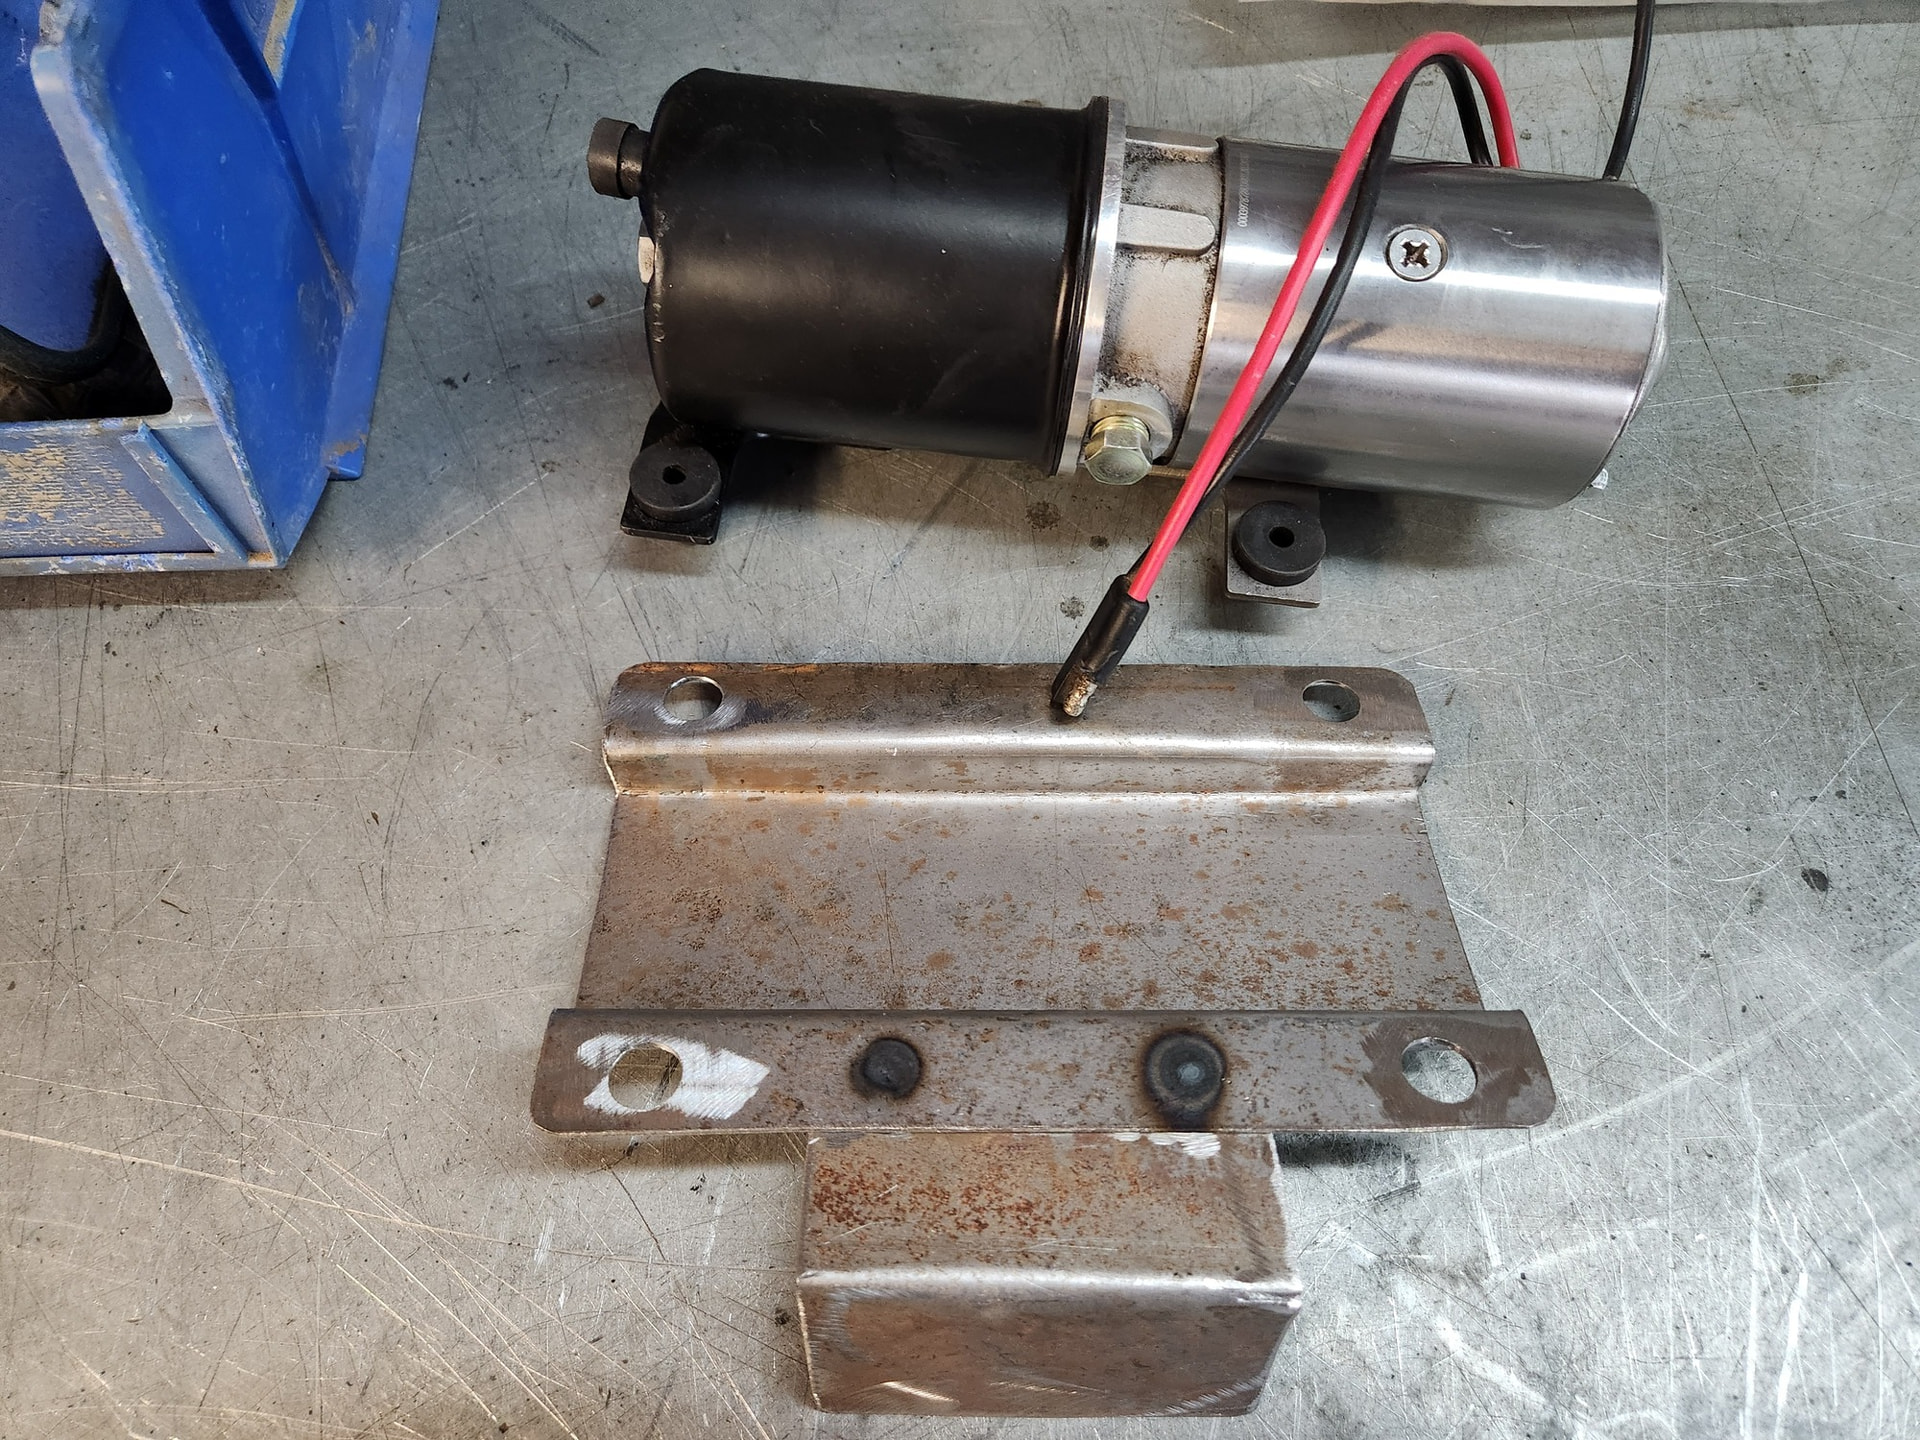
I started out easy today with a custom top hydraulic pump bracket. It was either buy a repop and modify or just built it. Obviously, I did the second thing. I’ll weld it in later or maybe use screws. Not sure what is easier for hydraulic line installation.
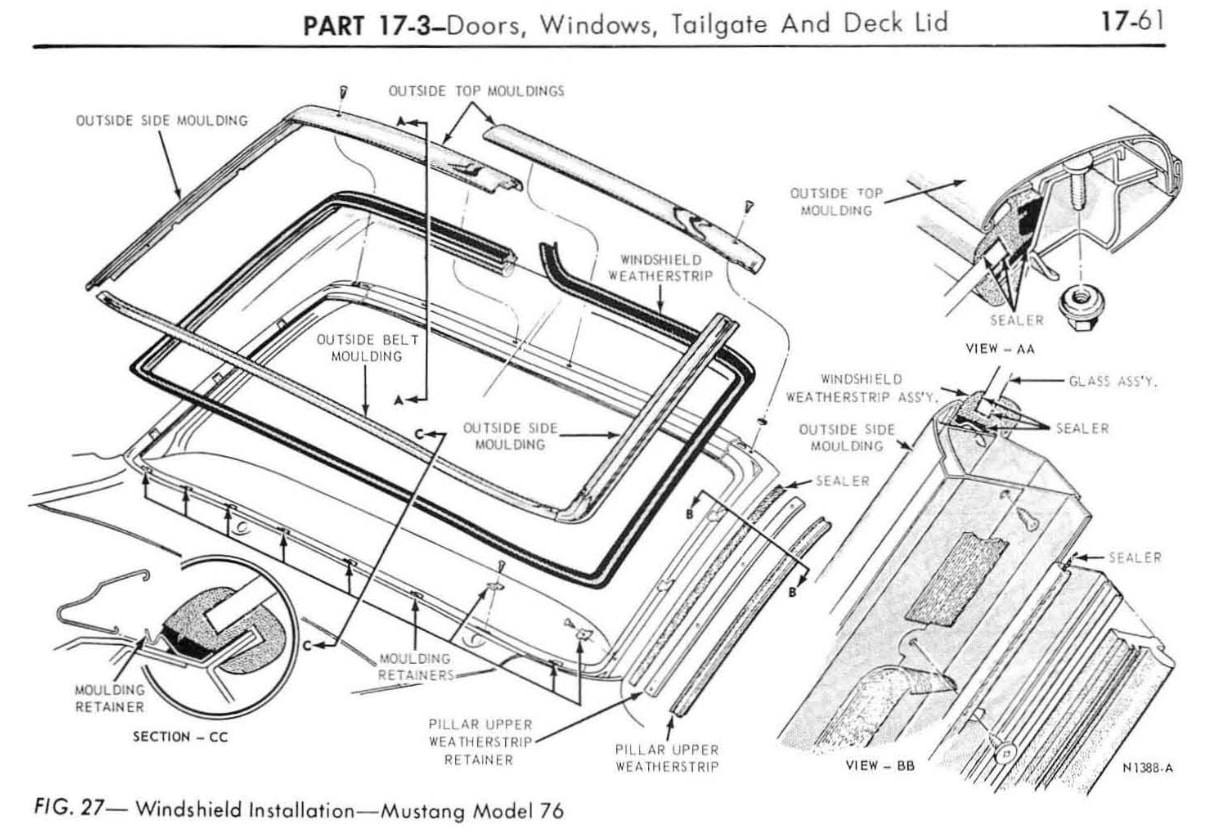
Today’s biggest effort was fitting all of the SS trim to the windshield frame and carefully drilling most of the necessary holes. All done it looks like the below. Getting there was hours of work.
I learned a few tricks. First install a couple of retainer clips along the bottom of the windshield. Then install the bottom trim into the clips. The clips and the body line get this trim piece mostly aligned. It will need a little left/right positioning but that is controlled by the left/right pillar trim. Once the pillar trim pieces and the bottom piece are engaged you can shift the bottom piece left/right until it allows the pillar trim to seat firmly against the pillar. Do not be guided by the old tarnish/overlap marks. Mine were off my ~1/2” and passenger pillar trim did not sit right. Once aligned I added a few TEK screws to temporarily hold the pillar trim pieces into place. I did not yet install the pillar weatherstrip retainers. The Mustang guys comment that this can be a royal P.I.A. to get right. I’m waiting until I have the doors back on.
Next, I mounted the trim on the top and bottom sides of the upper part of the windshield frame. I also installed the top brackets. I have not installed the screws for the top brackets yet as the corners of the frame needed some work and to weld some existing holes that almost perfectly interfere with the new holes. Drilling is going to be a pain. I will probably buy a 1/8” carbide bit since I need to drill through weld. Everything mates up pretty good. FYI, hand is in picture because camera would not focus on shiny stuff.
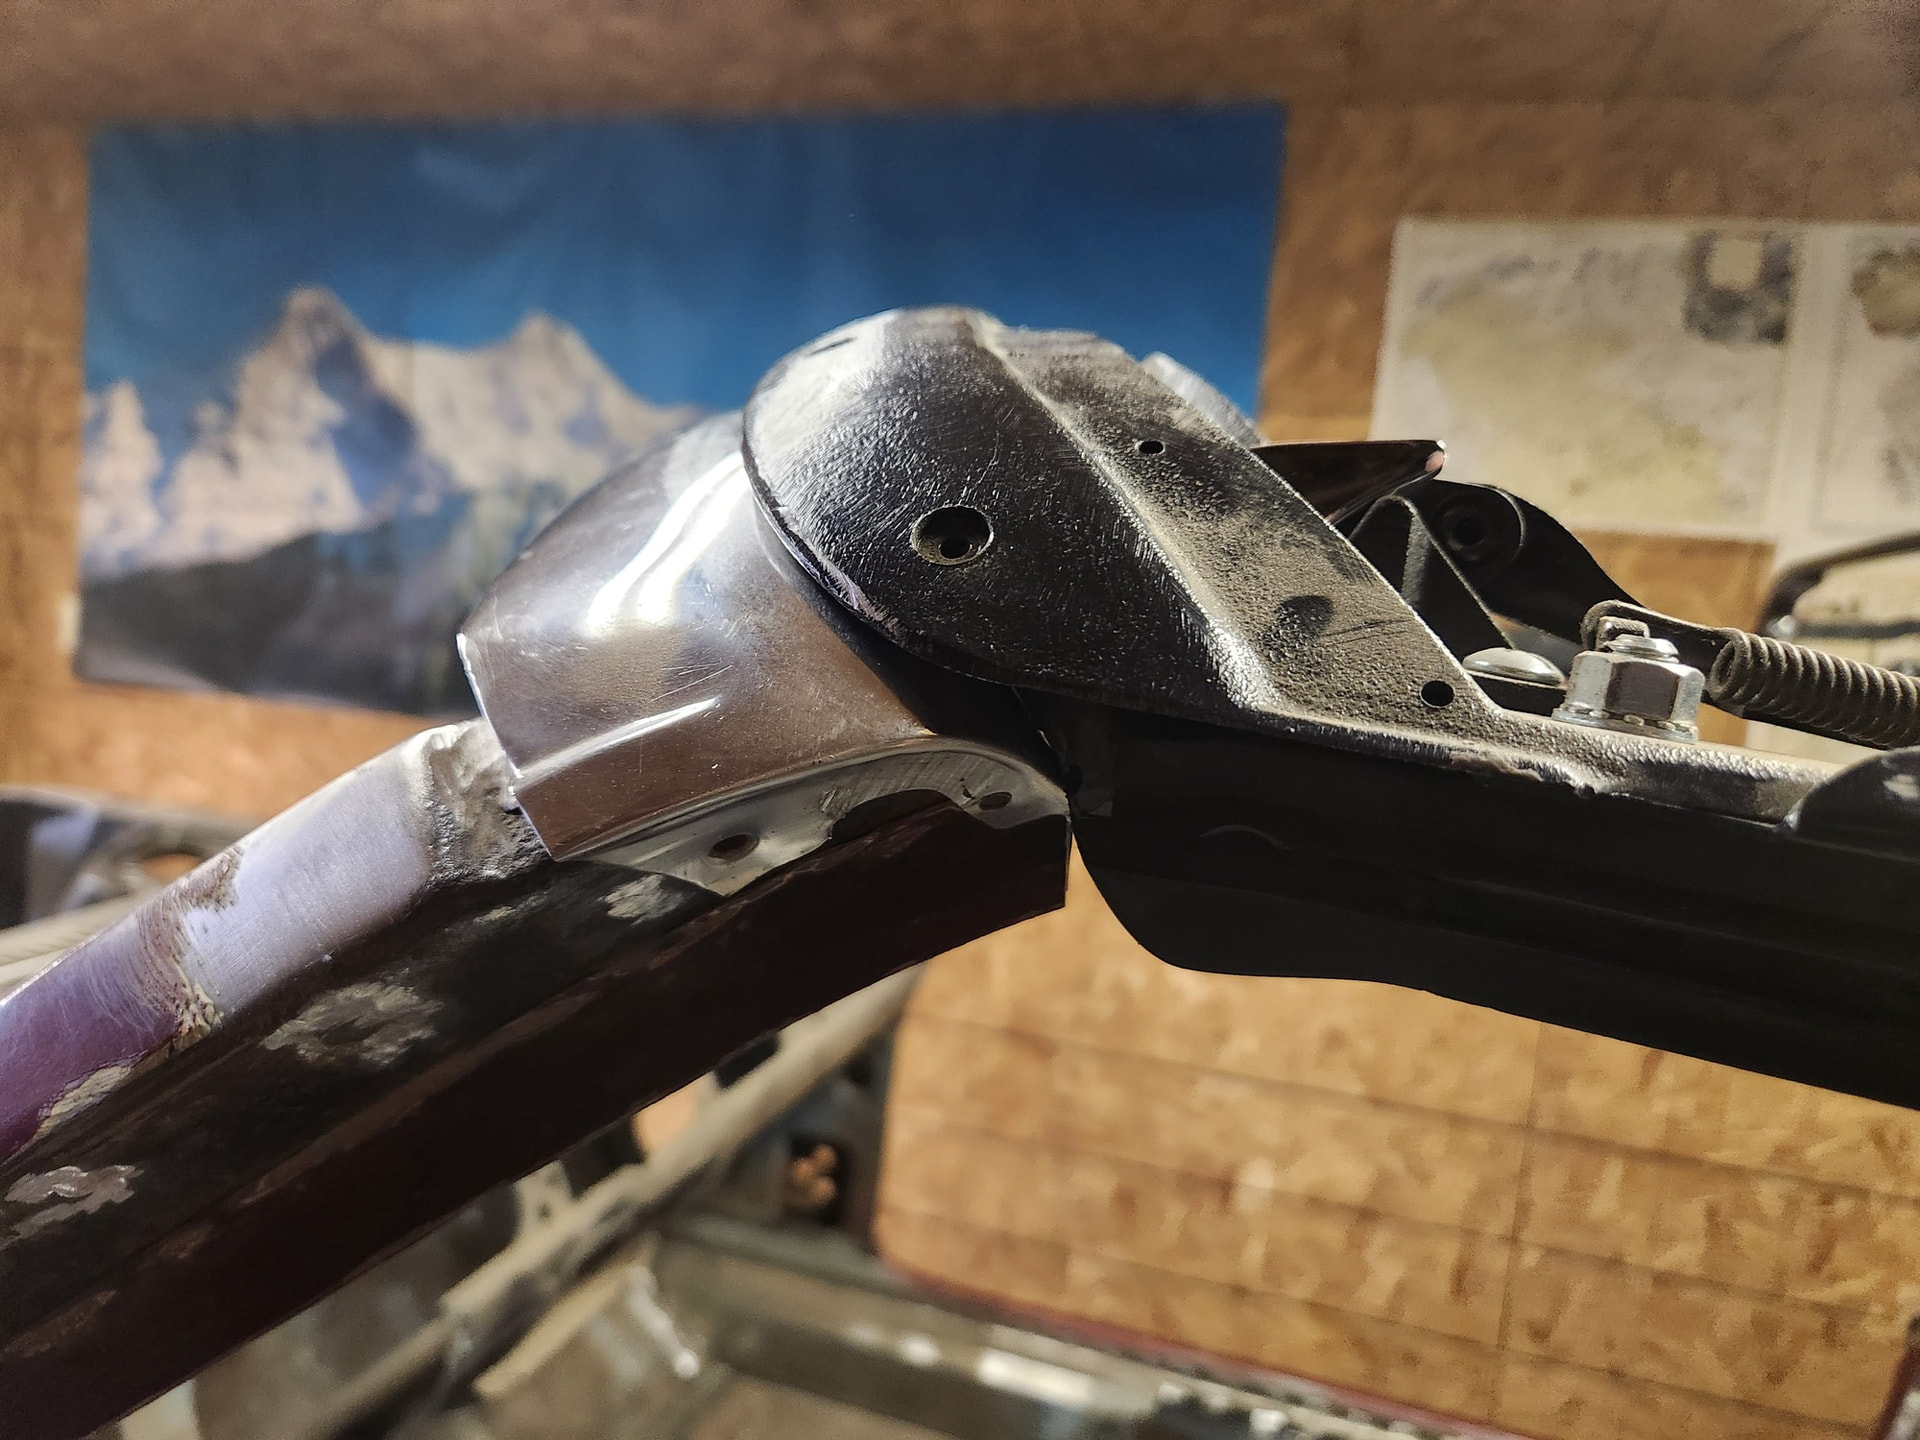
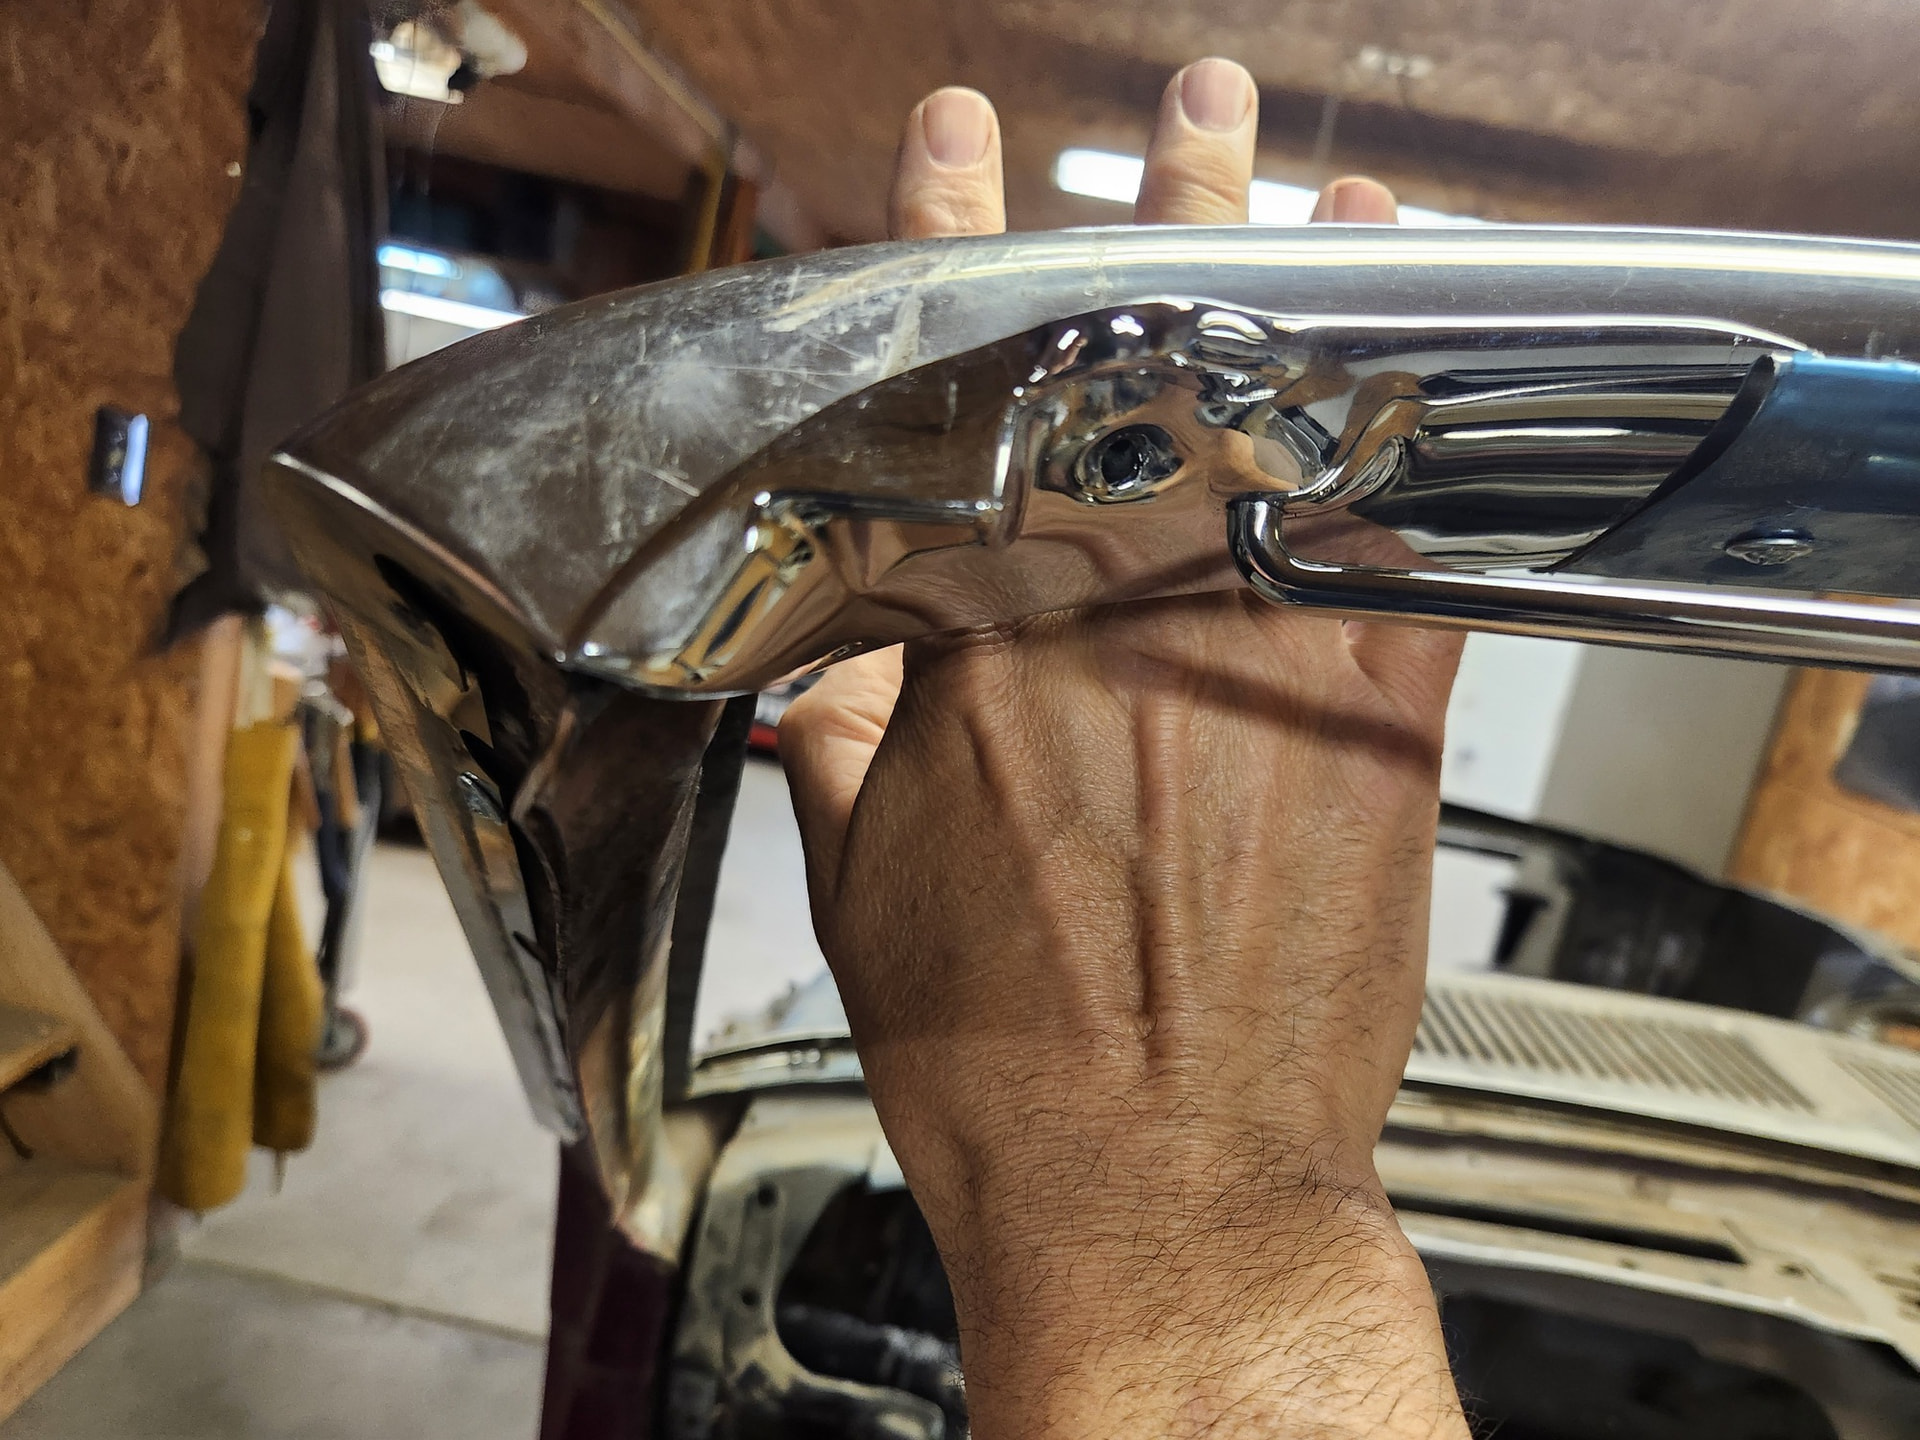
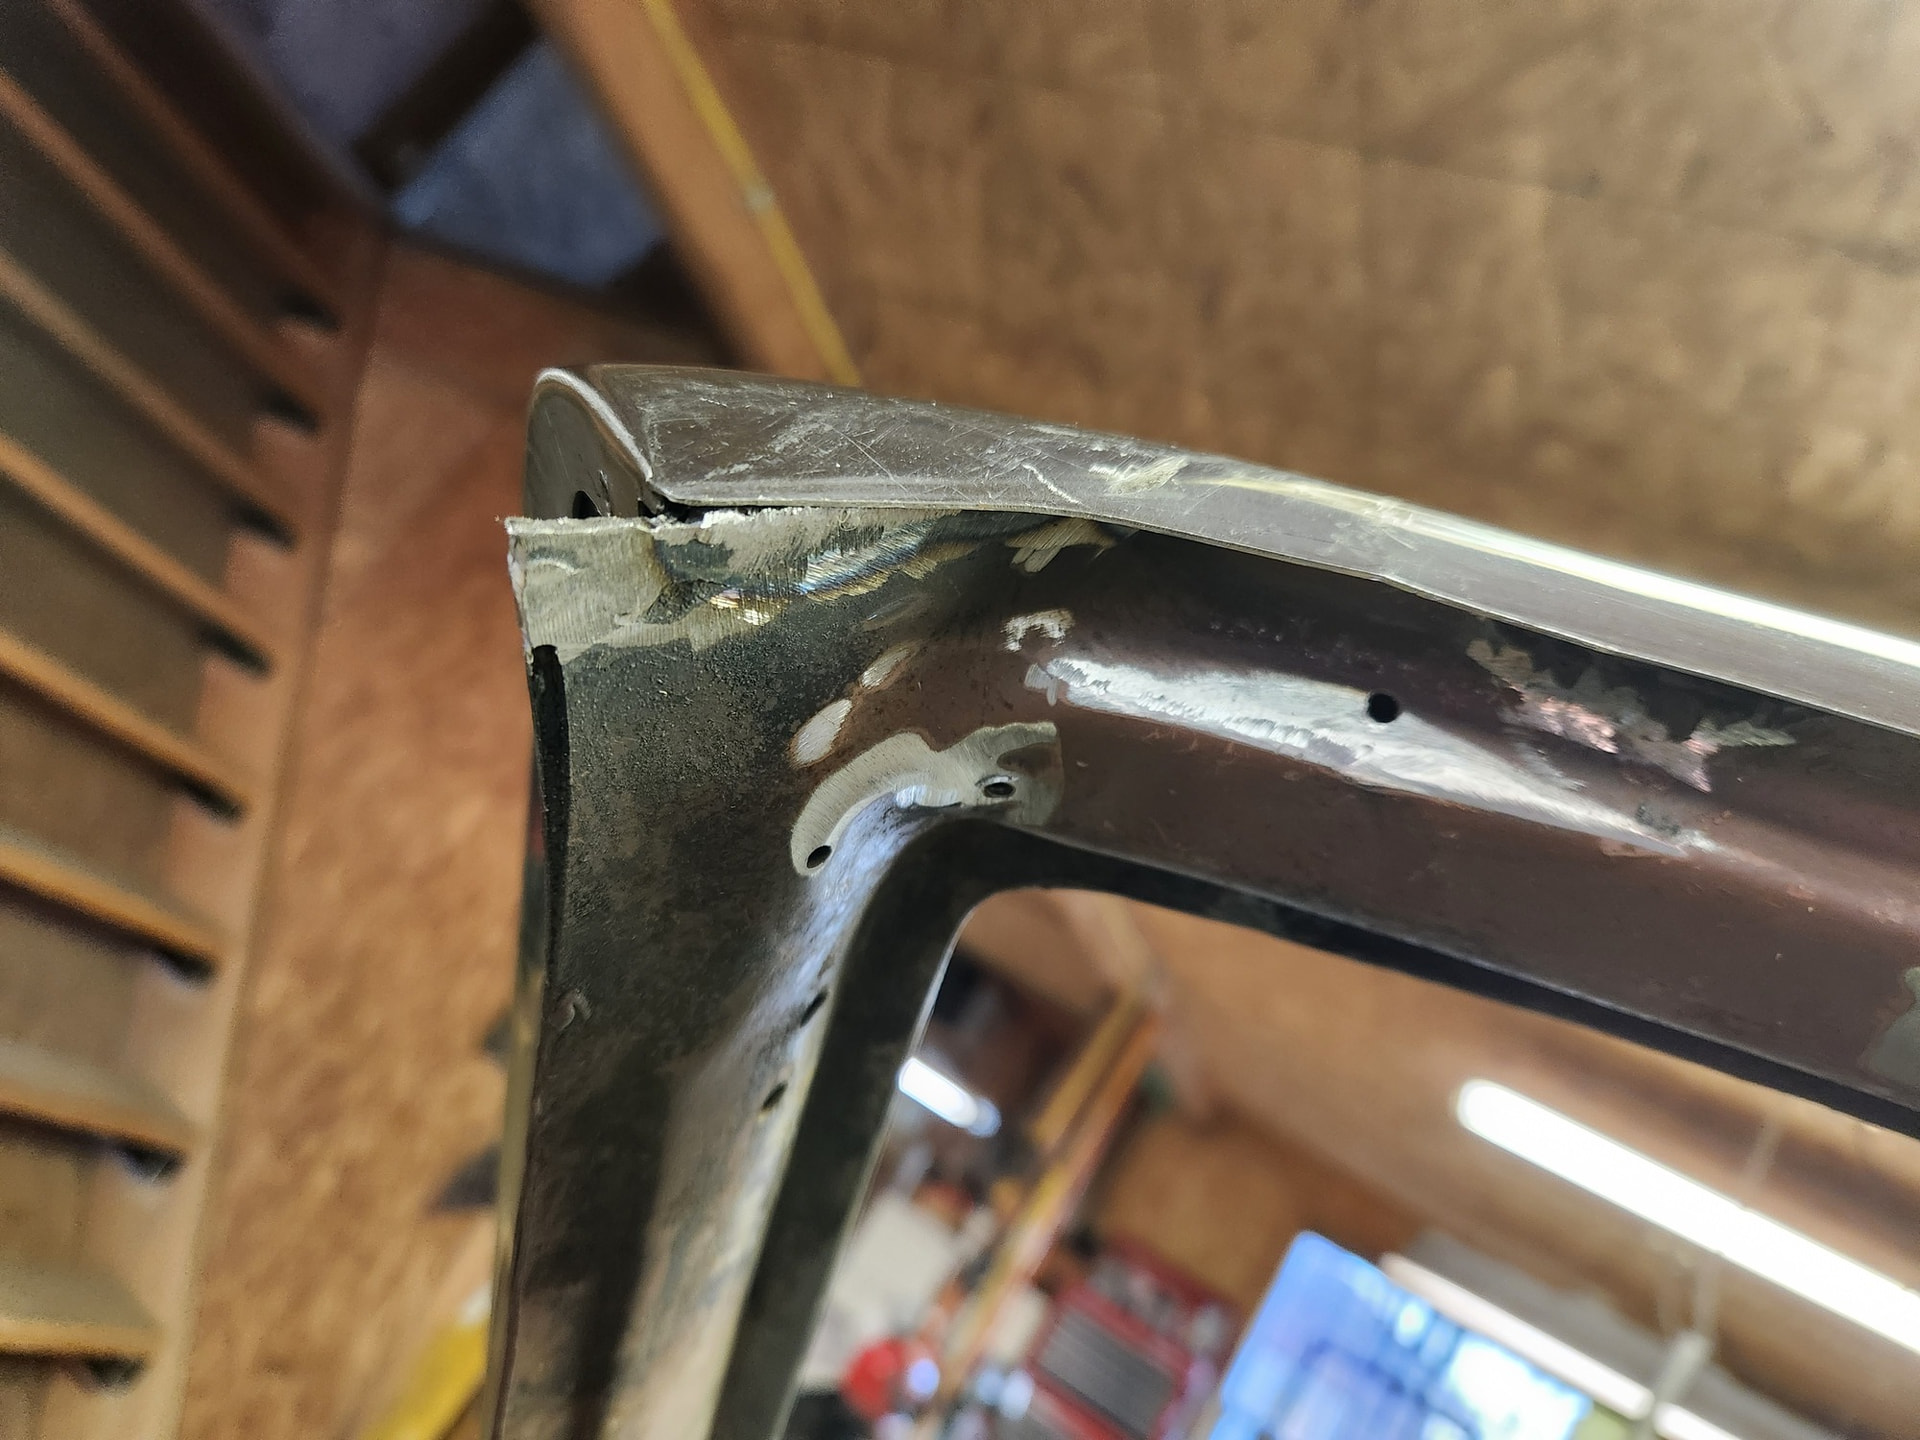
When originally fitting the top trim to the upper part of the windshield frame, I was a little aggressive with the zip-disc.. oops… Nothing some extra welding will not fix. About 1/2” too short. It does look huge in this picture. I also need to close off the top of the pillar channels.
Thinking about using some playdough and a plastic bag to transfer the contour from the inside of the trim to the frame. That may be easier than weld, grind, weld, cut, etc.
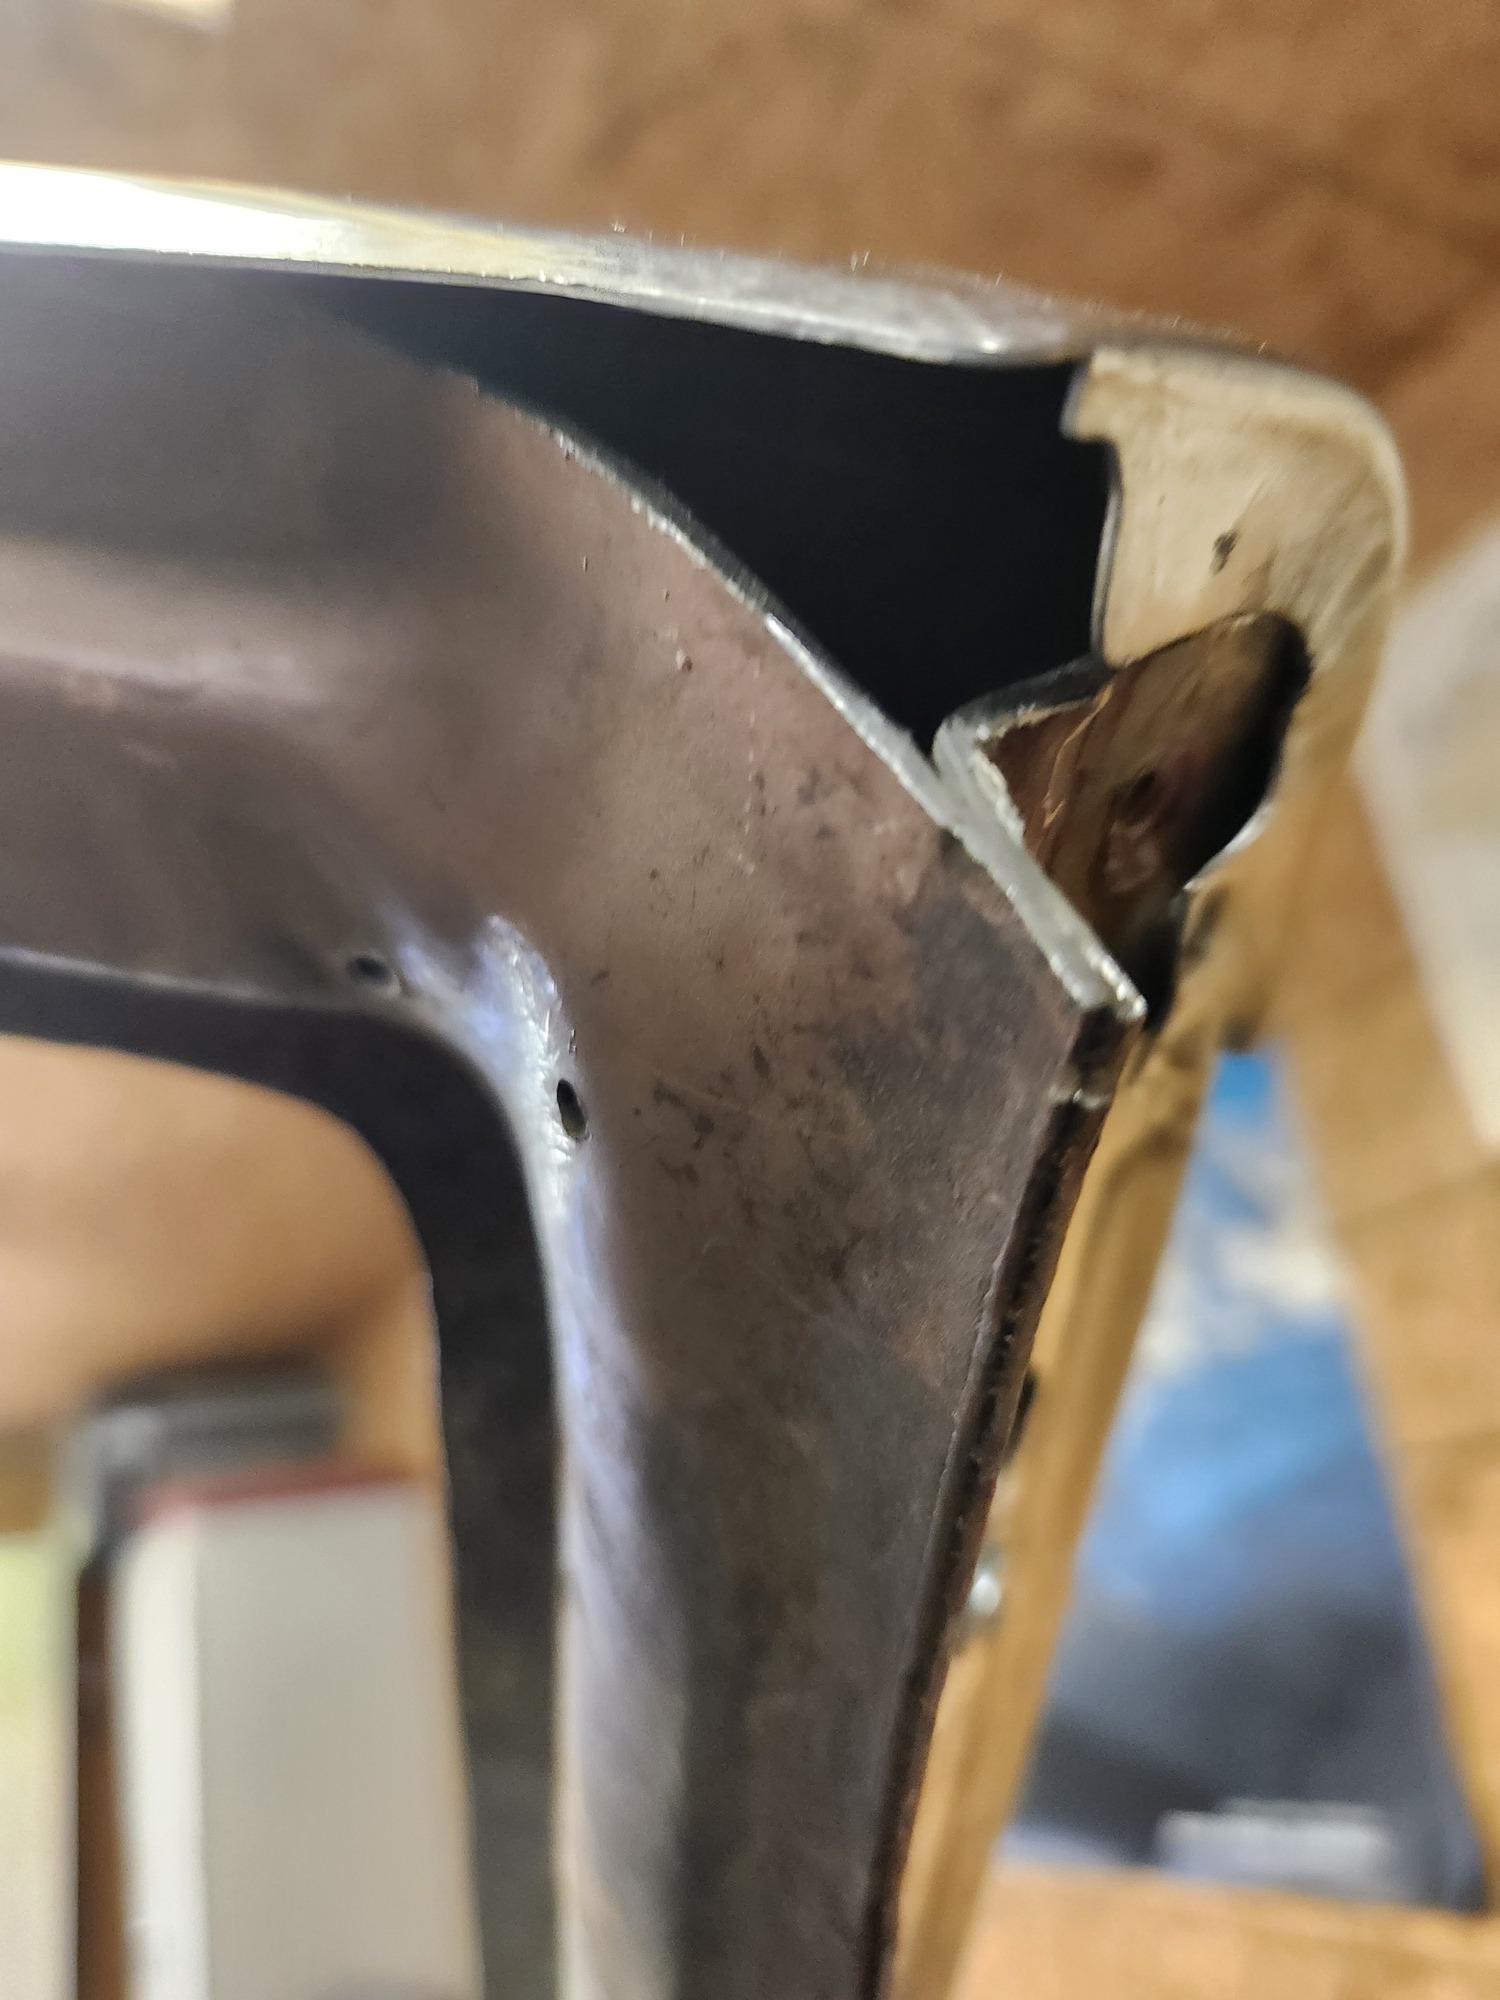
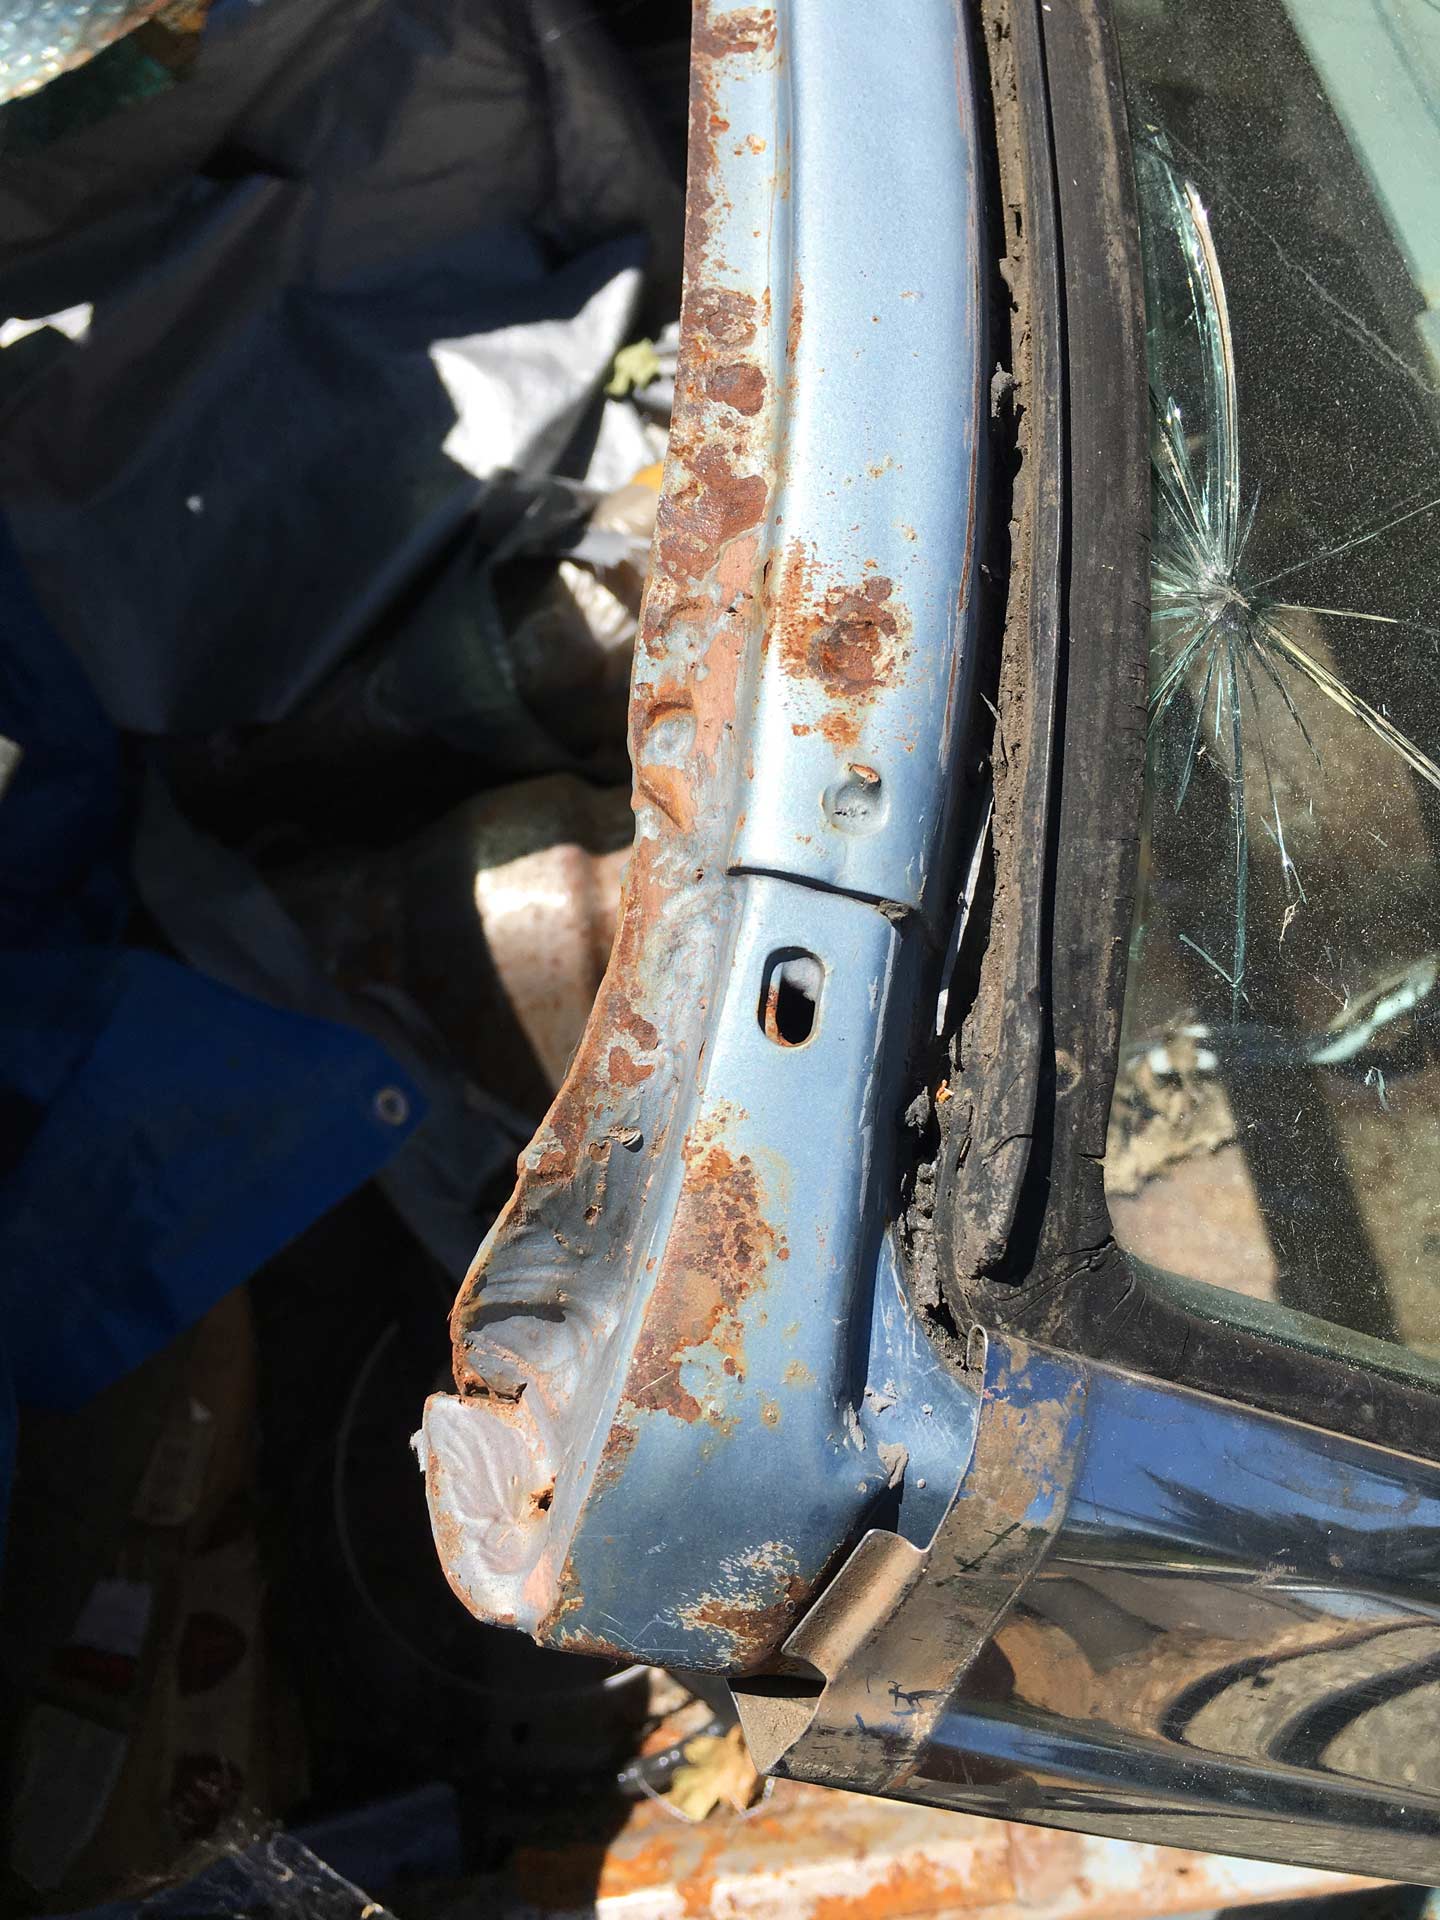
Started out slow and tedious today. Removing the remnants of the roof from the upper edge of the windshield frame. About 50 spot welds to remove and some patch-up welding where I went a little deep when removing the roof.
Then I started-in on the passenger side top corner of the frame. At the start a nice big hole and sharp metal all around. This reminds me of a Dune sandworm.
Both sides all patched-up. Not sure what to do with the sharp corner (other than protect myself from it). I need to look at how the weatherstrip channel, top bracket, and the windlace fit together in this region.
I’ll be fitting the top brackets today. I may put at least one door back on too but I need to rebuild the hinges first.
Got started on the hinges but then went on vacation.
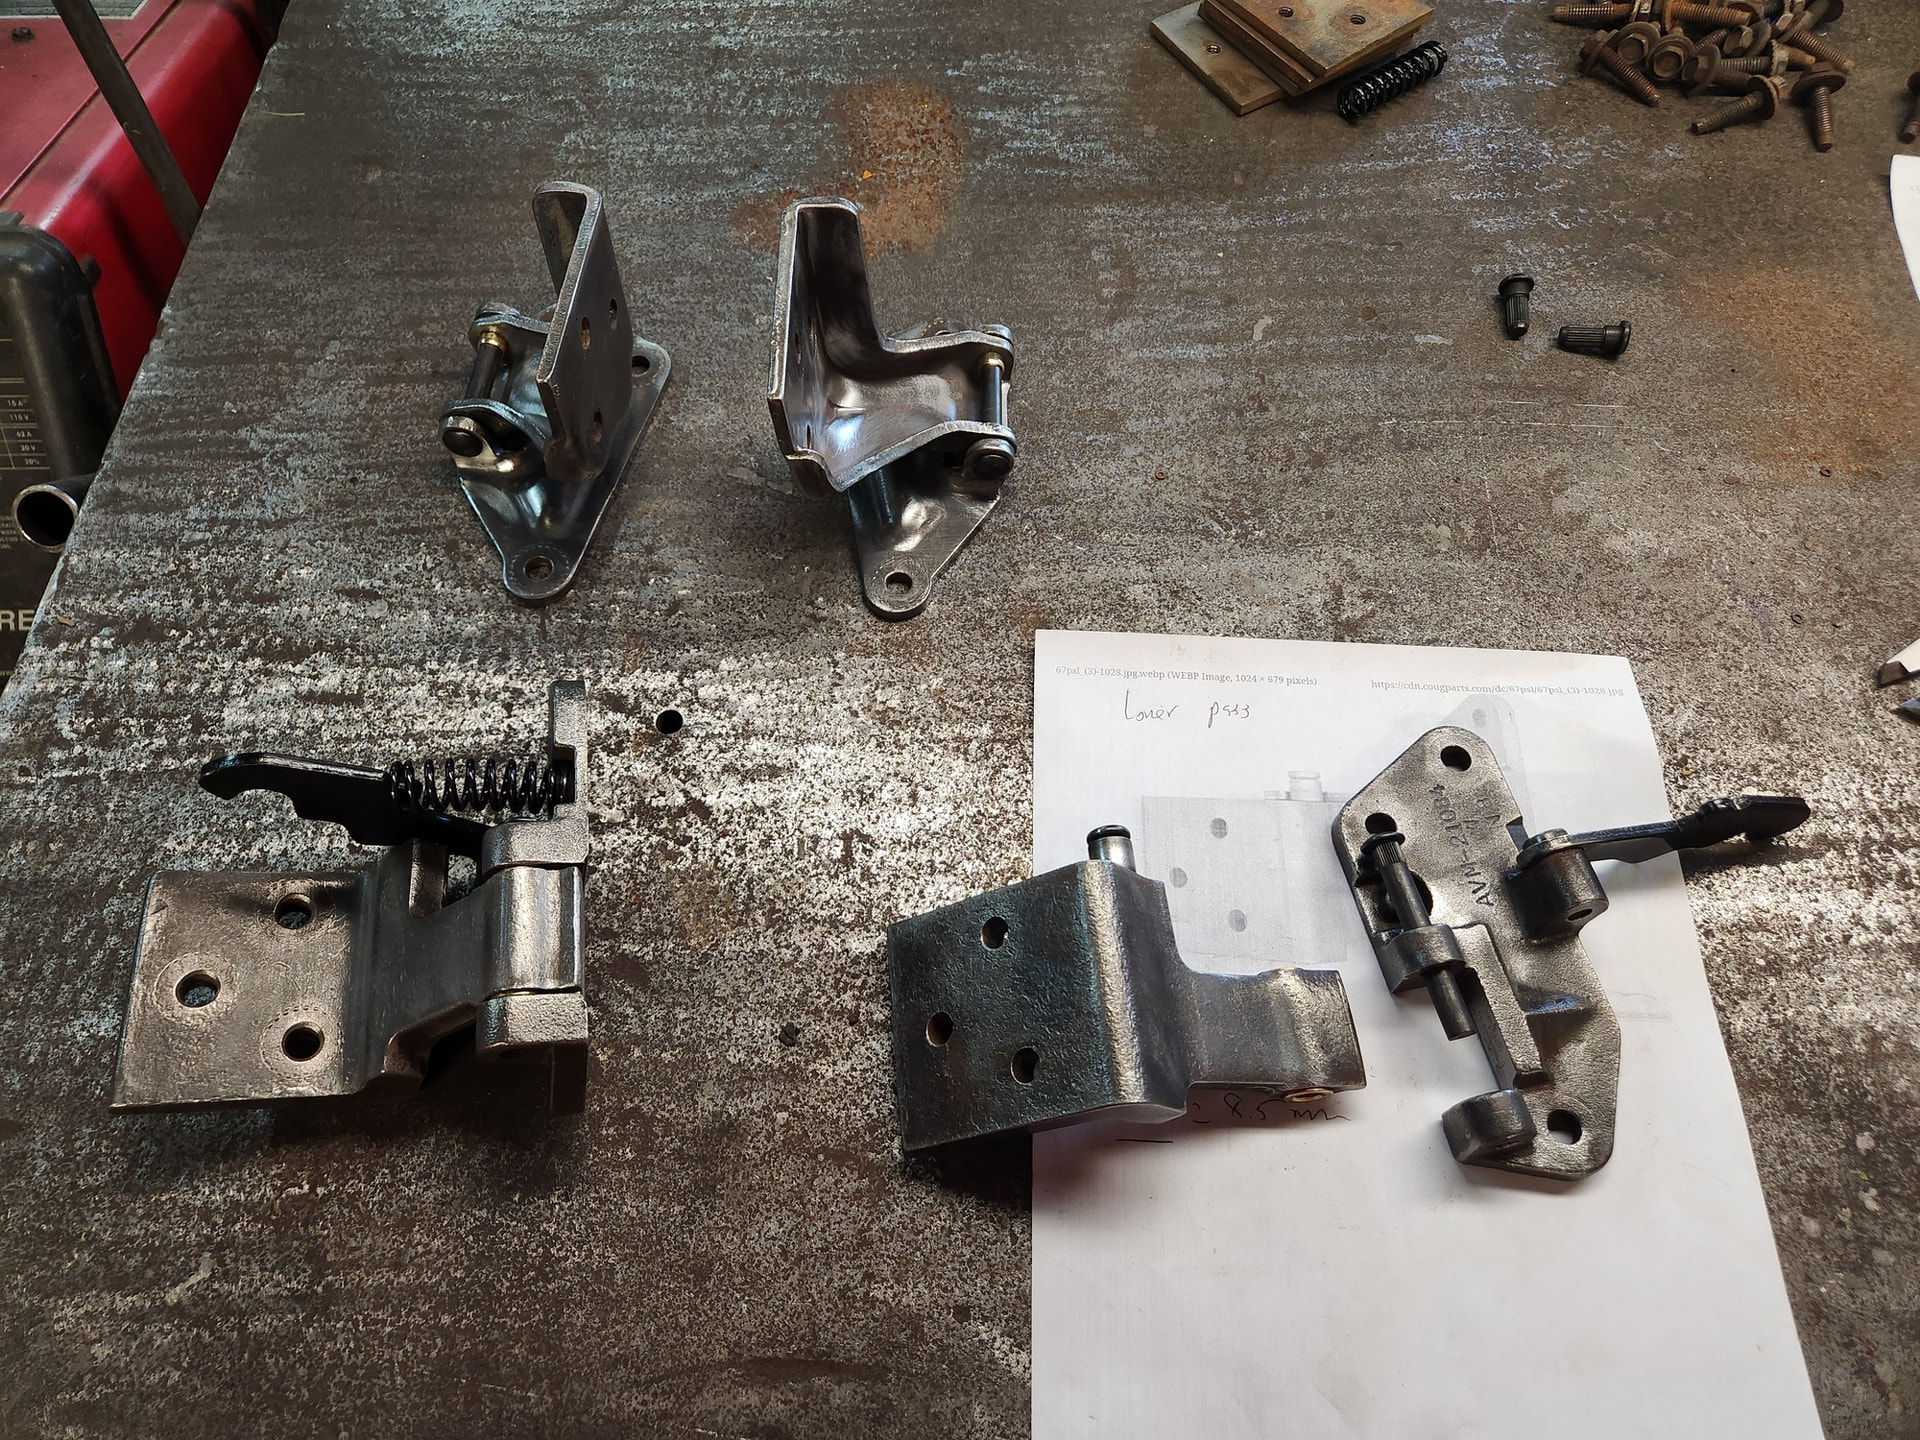
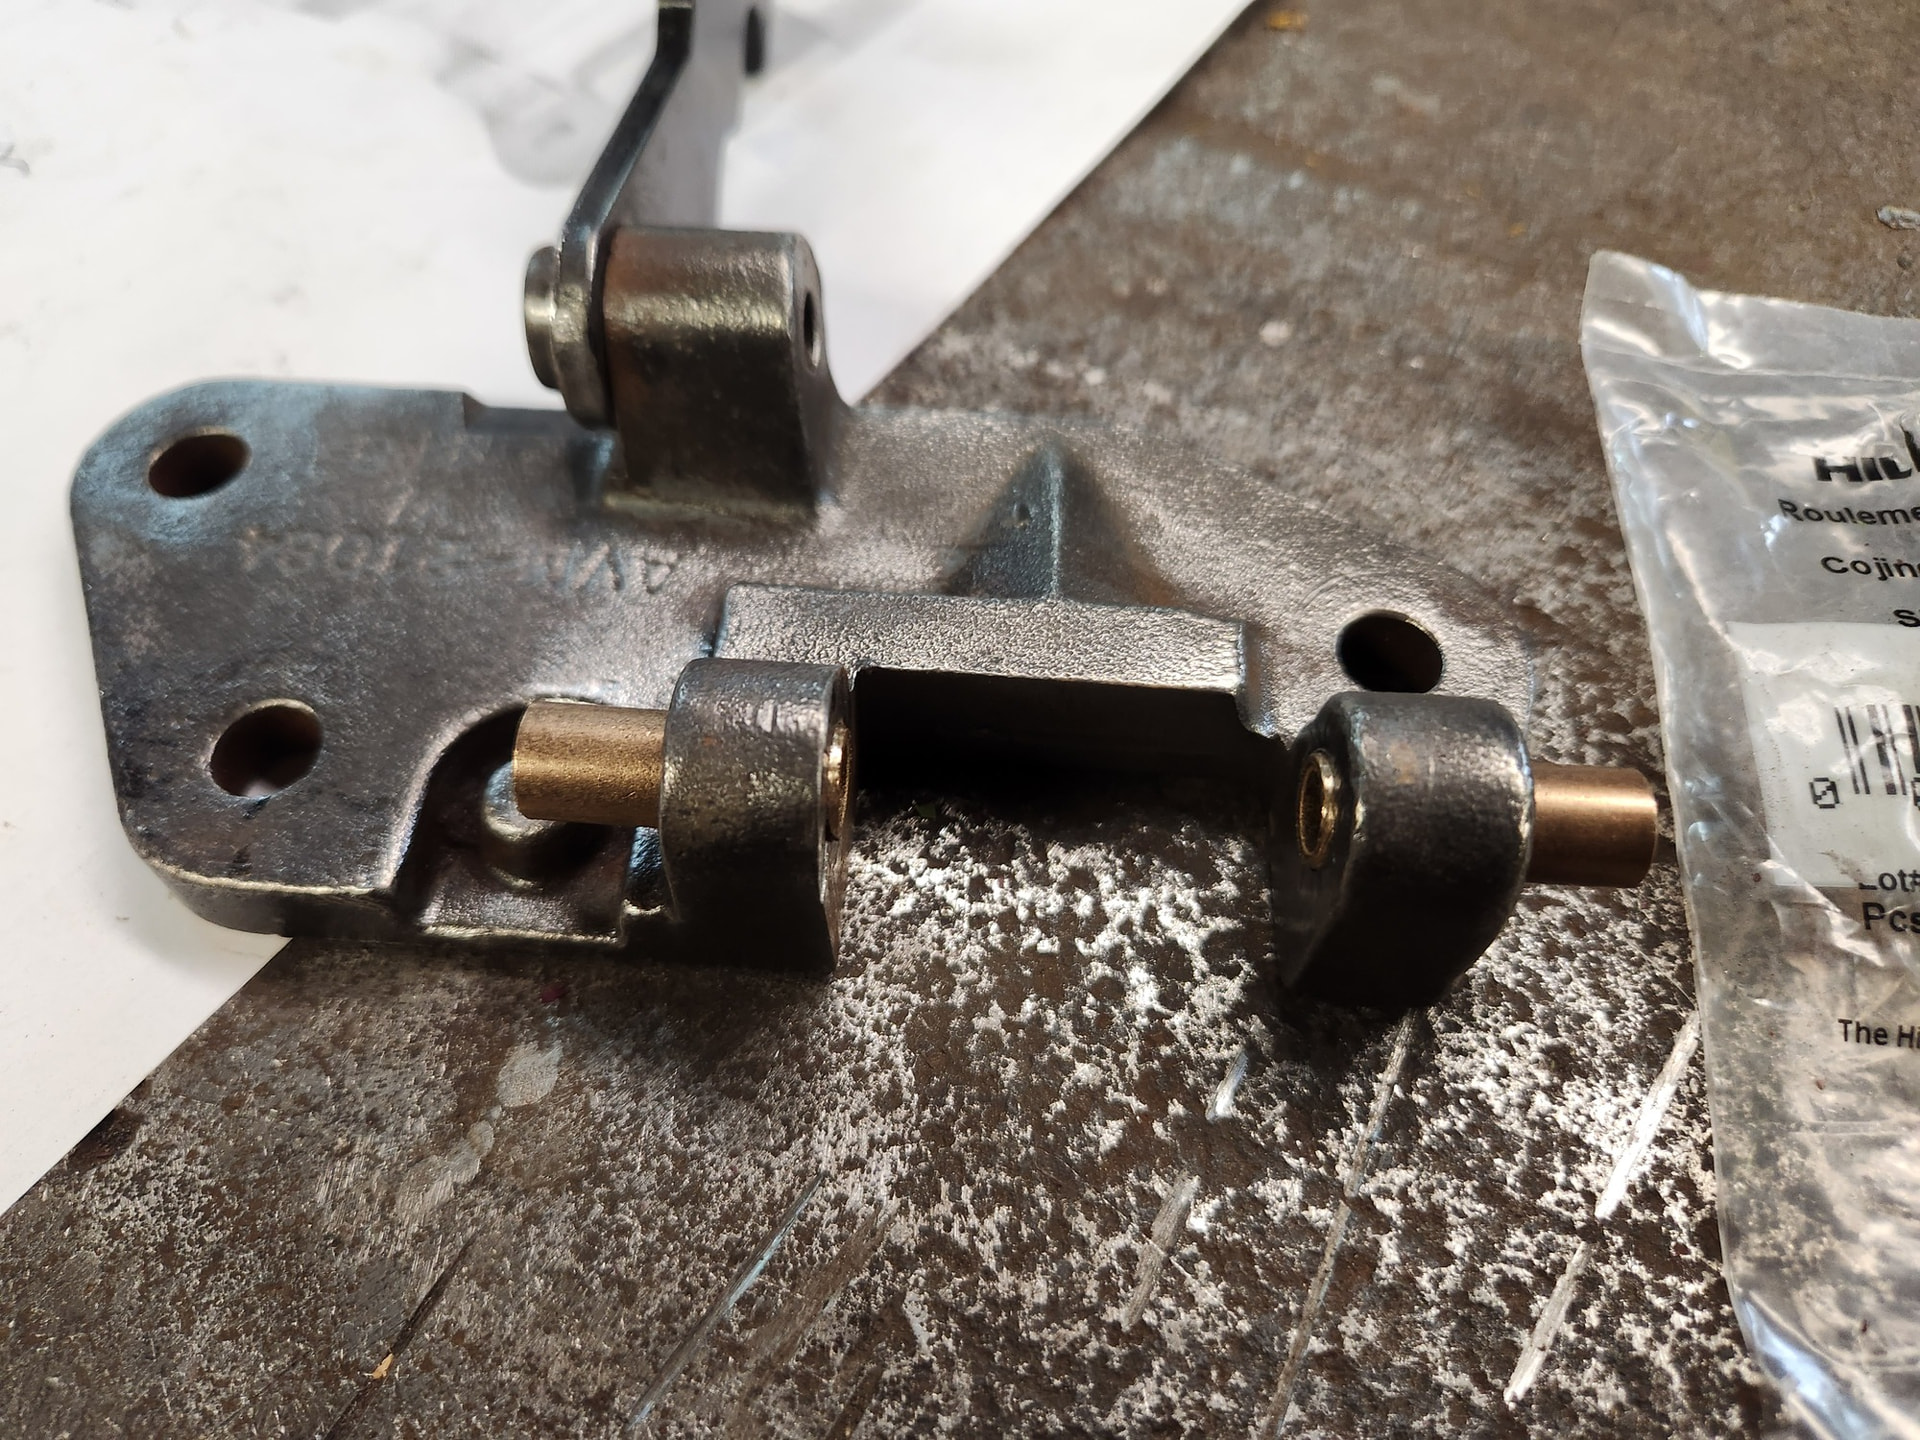
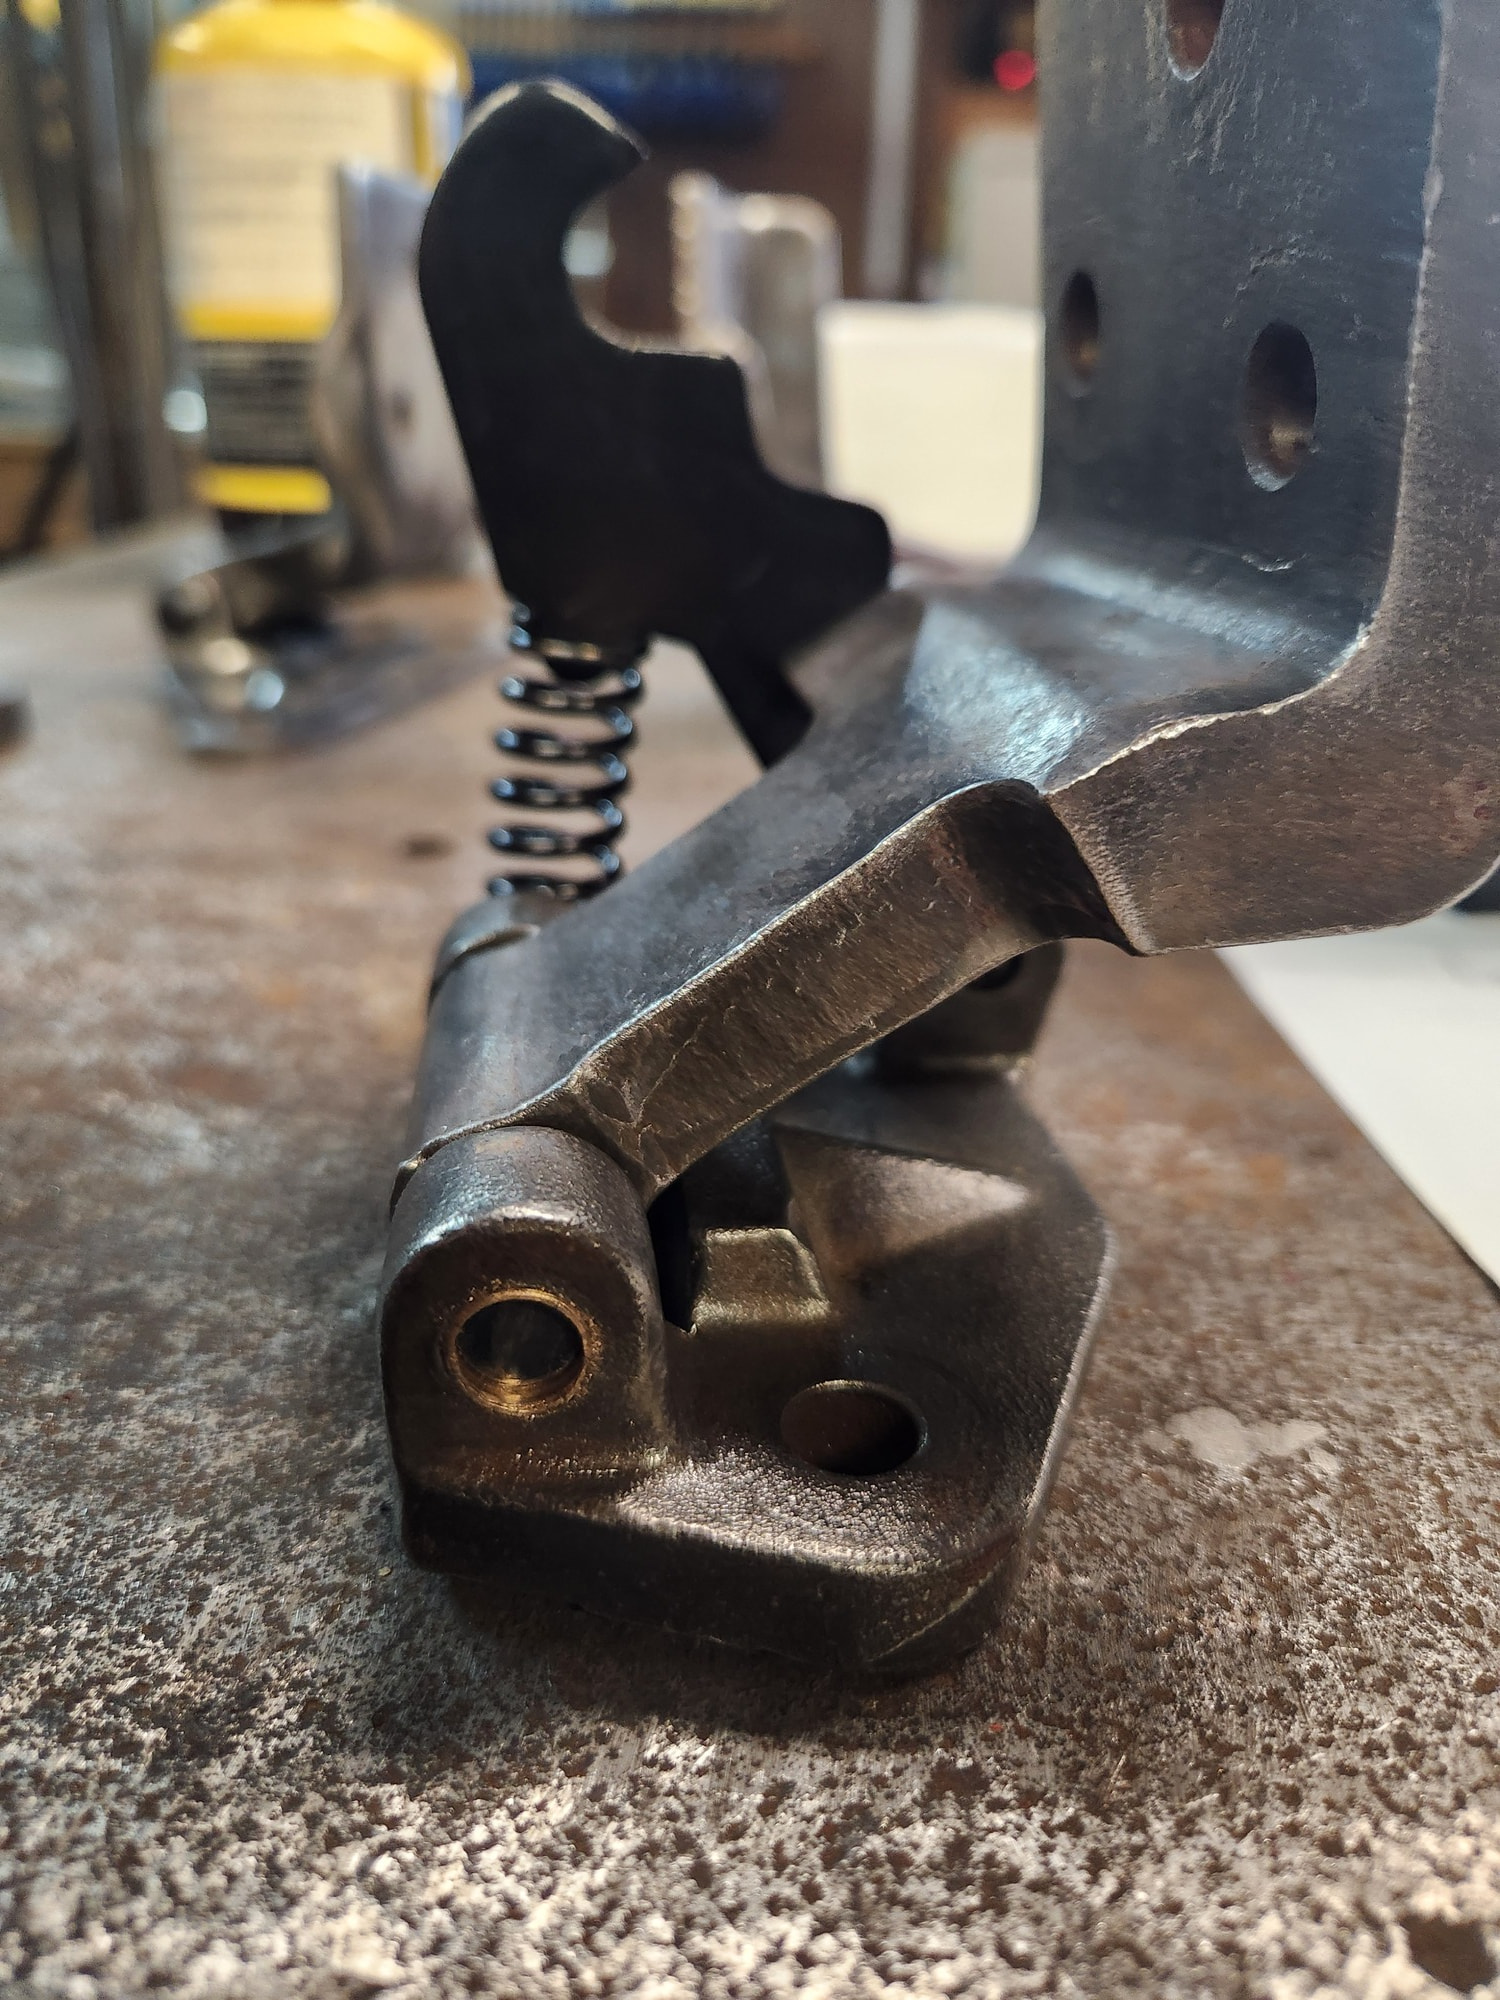
Rebuilding the hinges was honestly a serious pain. Grind, heat, press, hammer. The pins were embedded harder than hell.
One of the pins for the rollers was broken off as was one of the cam plate pins so had to drill those out.
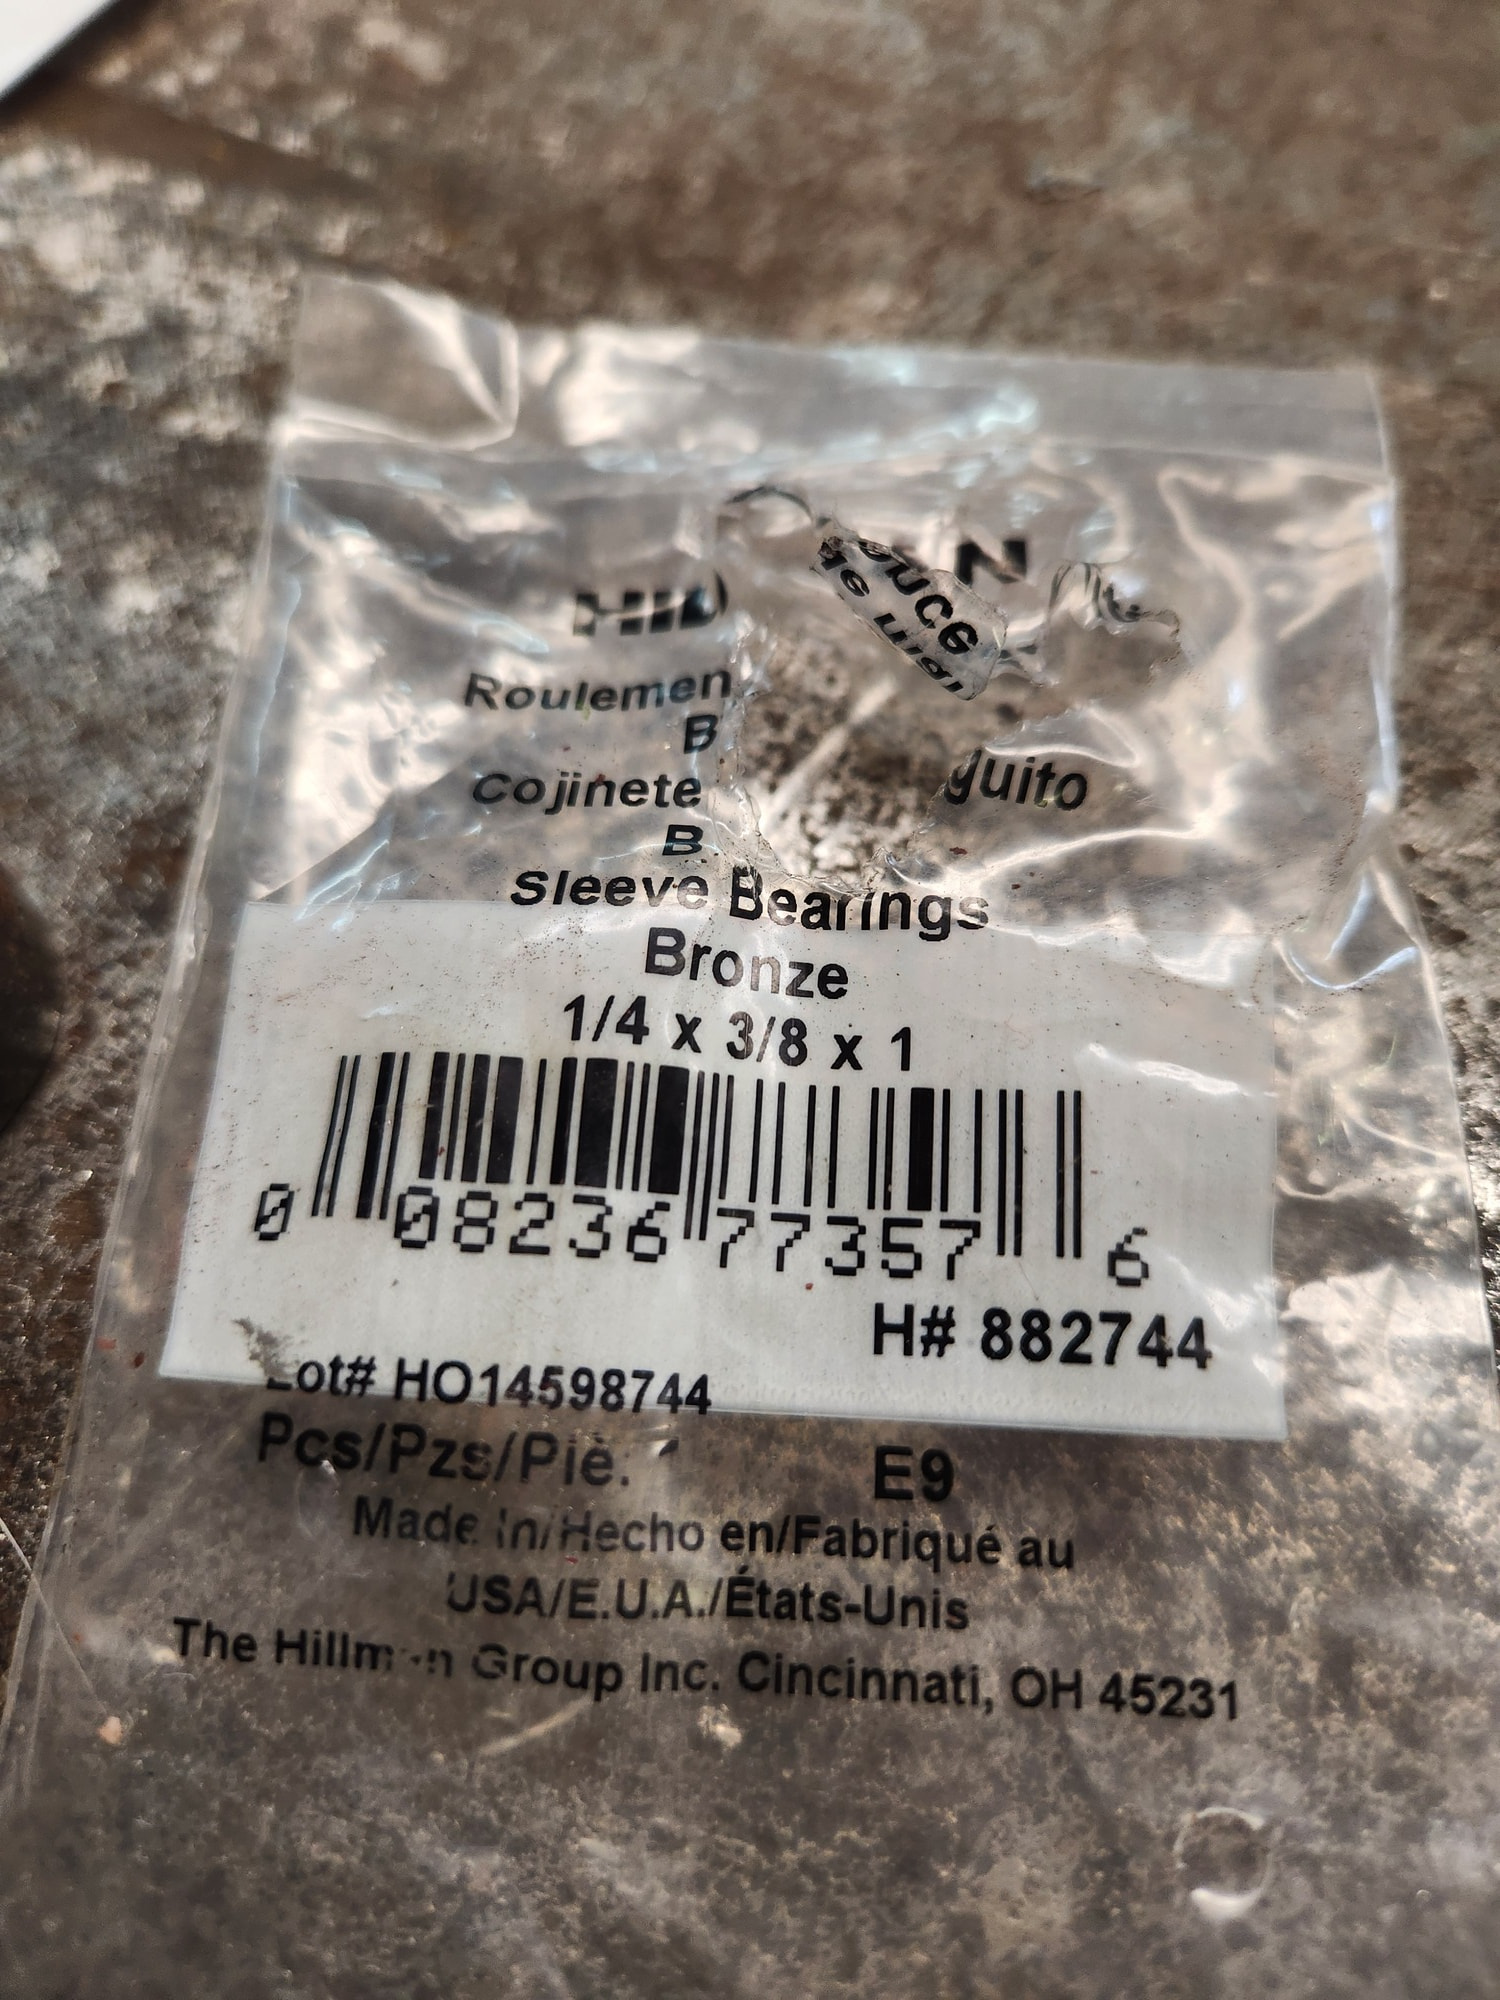
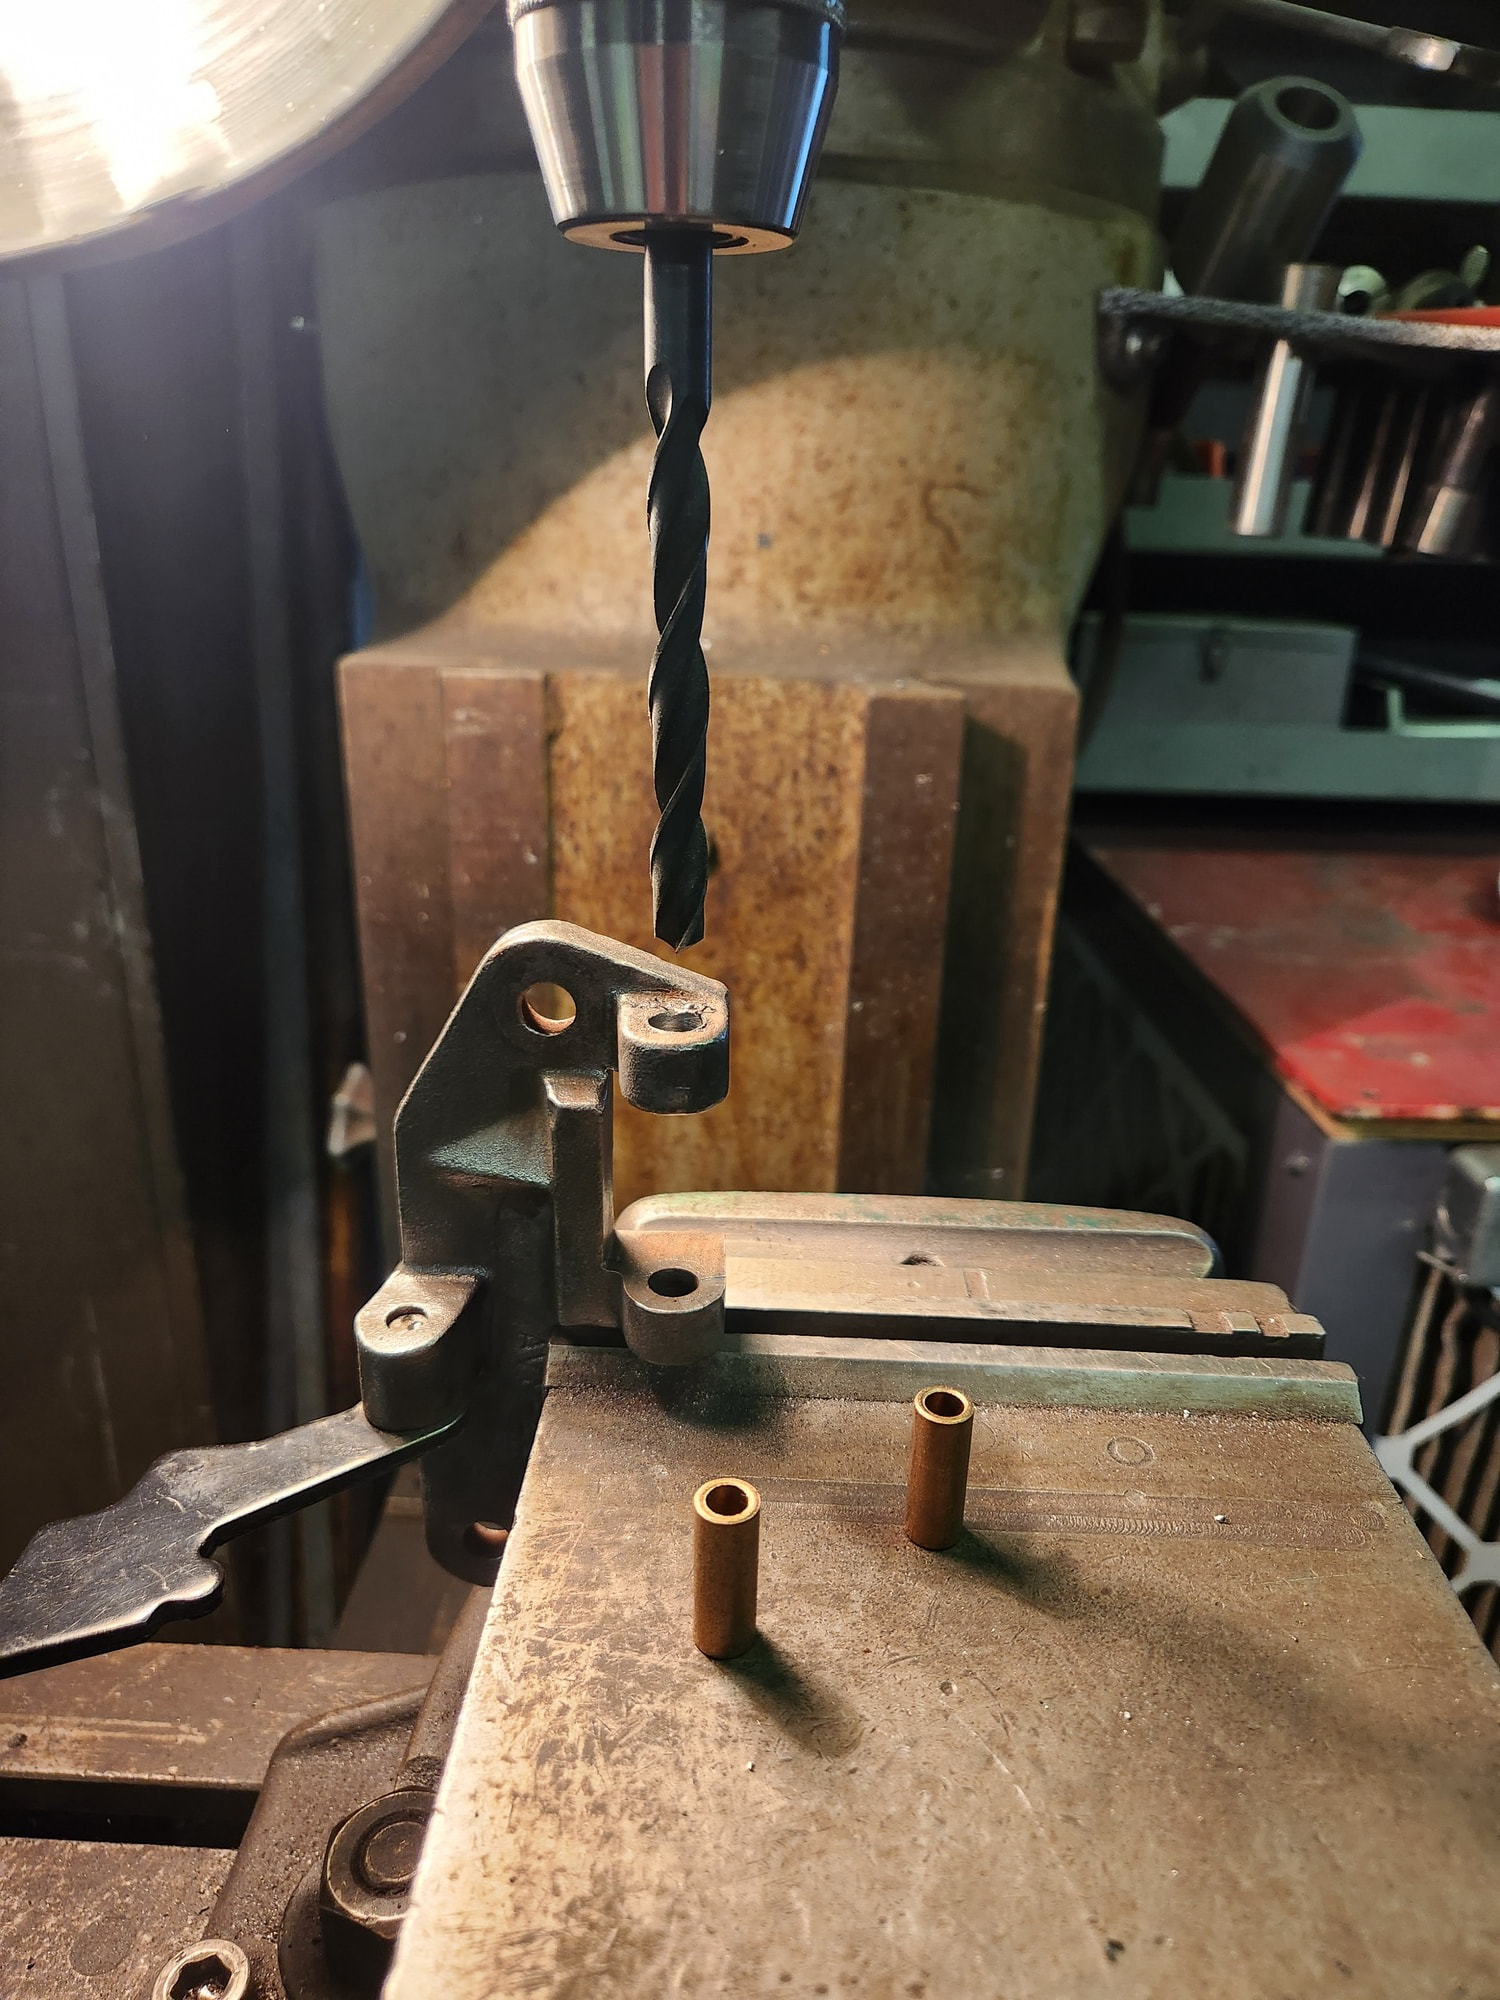
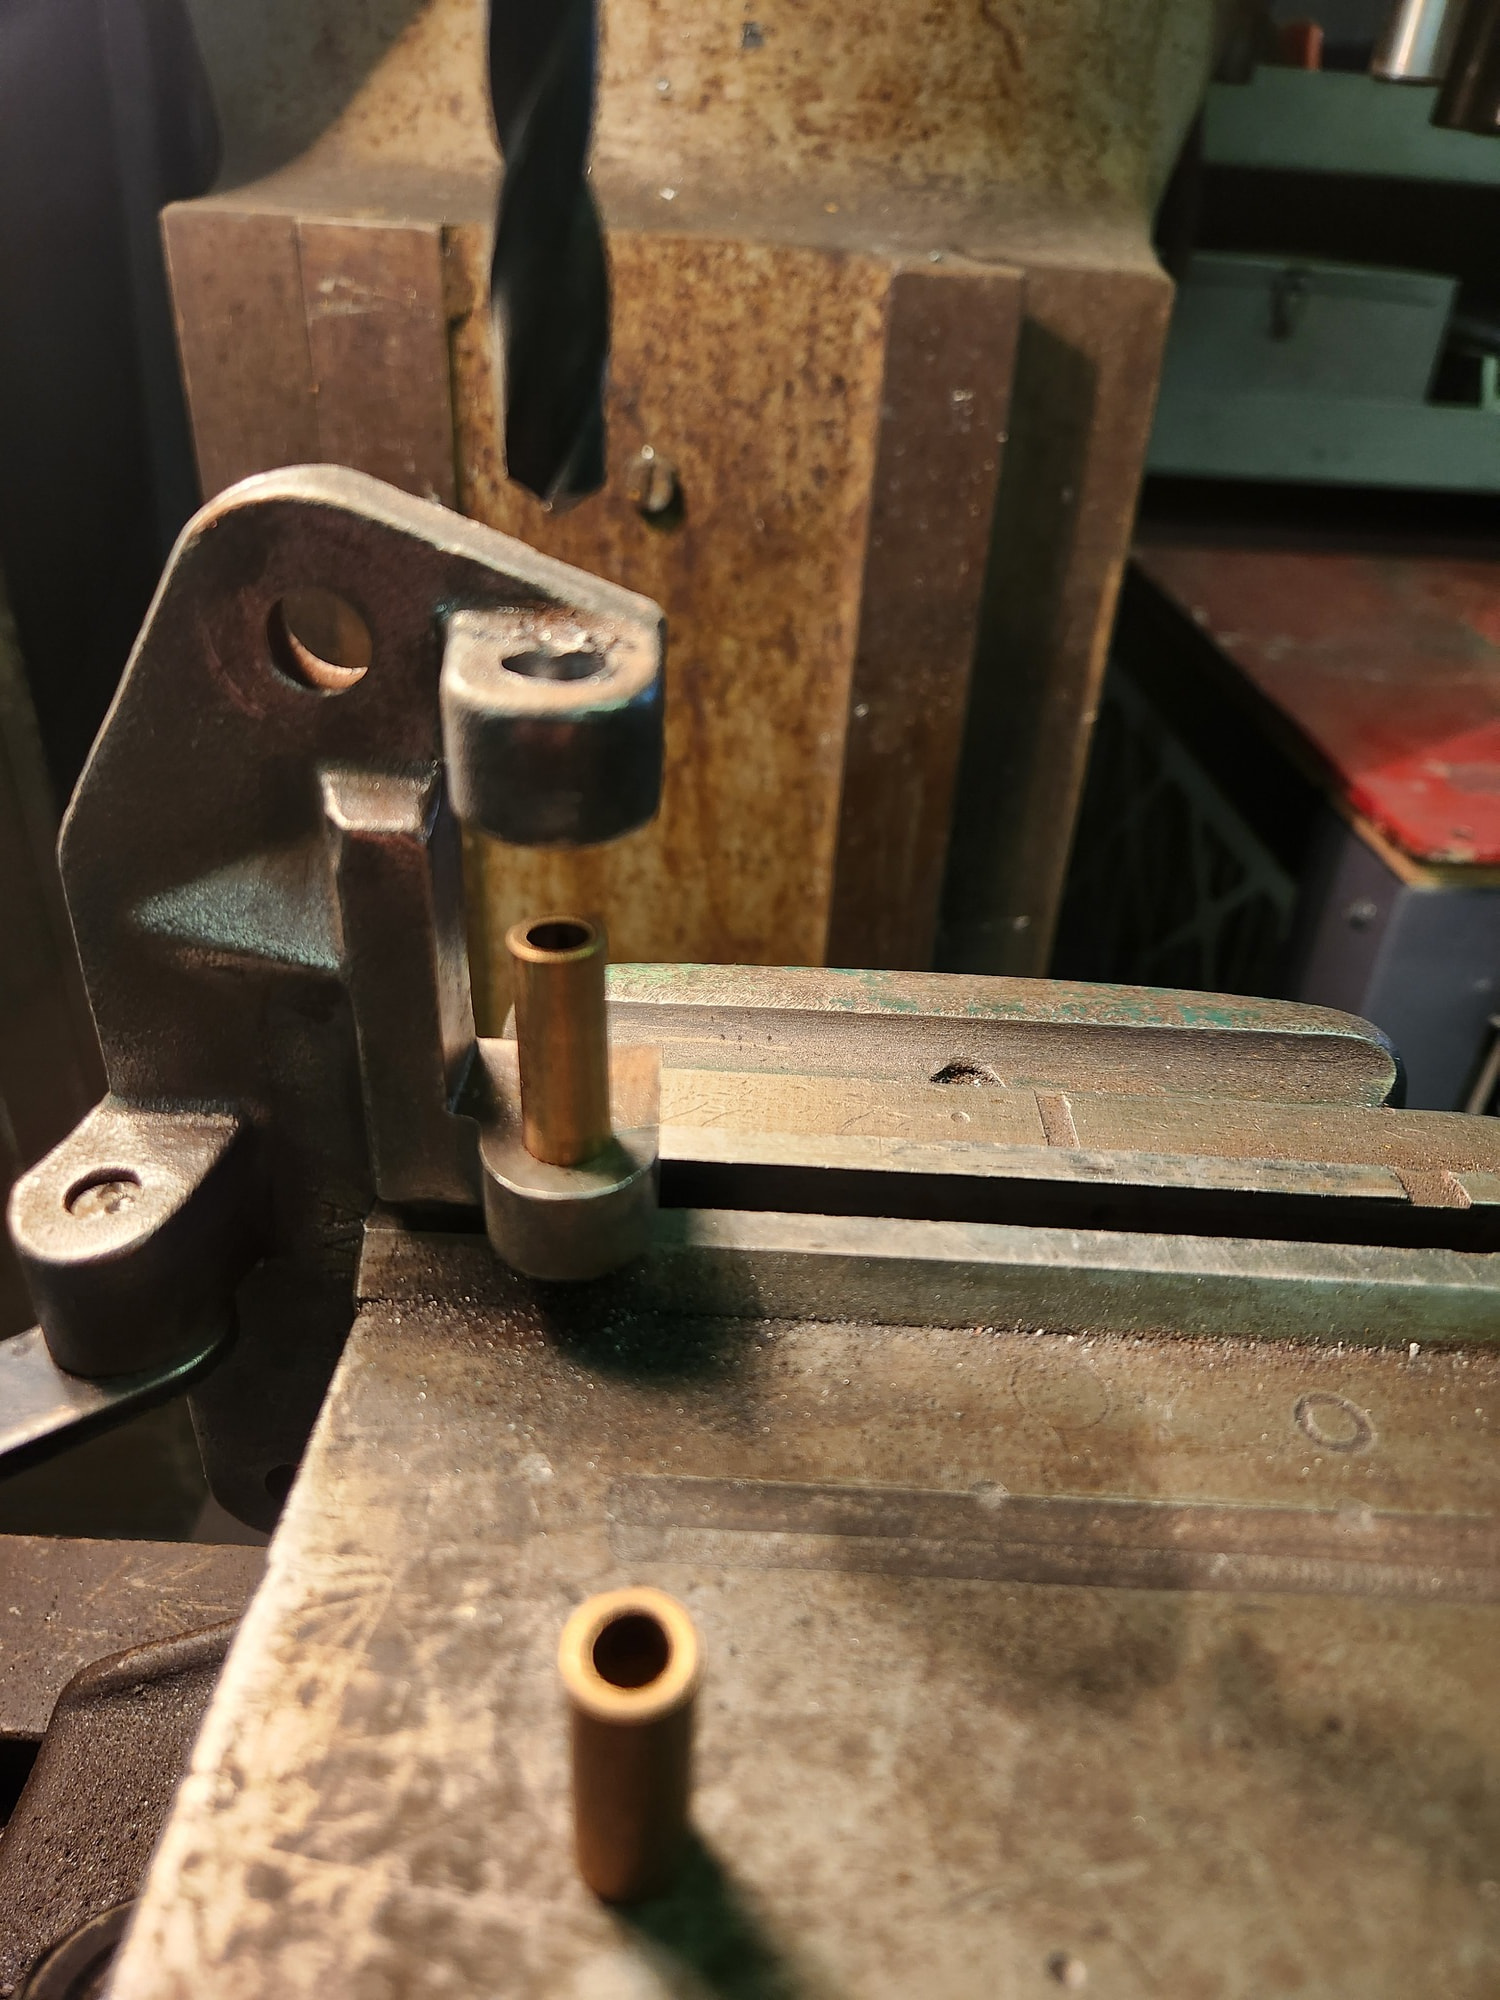
Reassembly went well and the bushing install was easy. Then the passenger side lower hinge arrived. The holes in the door side portion are oversize ~0.360” versus 0.337” for the unfluted portion of the pin. Going to have to drill these more oversized 0.375” and sleeve with either bronze or steel and then drill to size.
Luckily Lowes has various 3/8” OD spacers/bearings or I might have a piece of 3/8” seamless tubing. Yeah for the Bridgeport. Wish me luck.
Only trouble was I needed an “R” sized drill 0.339” and did not have one. So I bought $150 worth of new drills. Cheaper by the 115 piece set versus buying one drill bit. Regardless, I could use new drills anyhow.
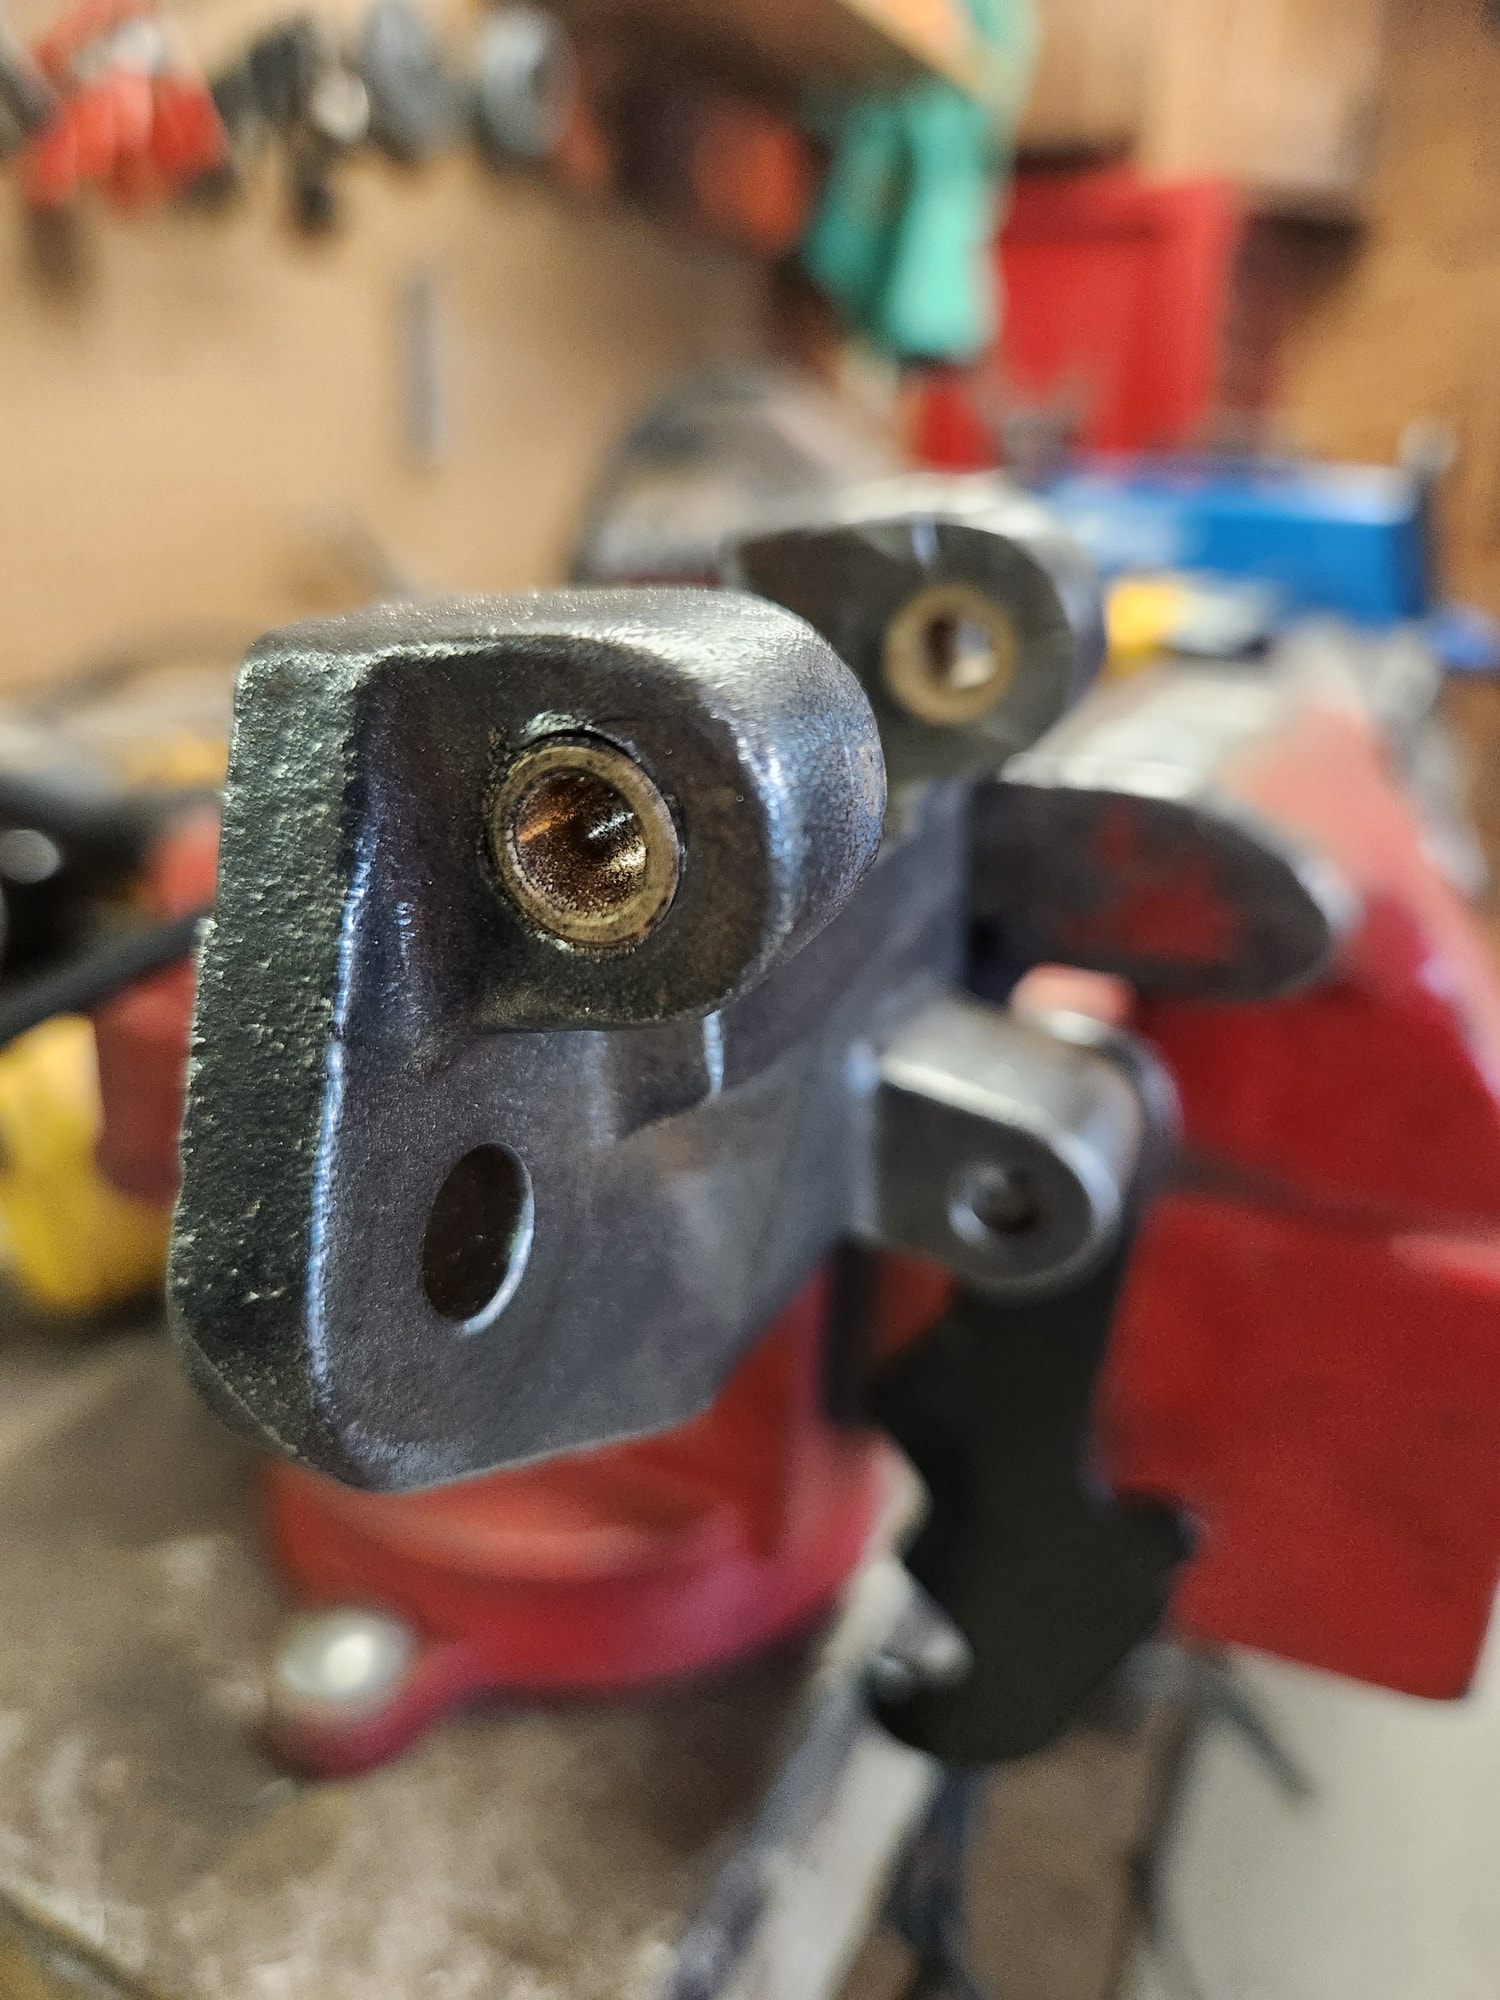
They just start. So good fit. If using a hand drill. I would go with a slightly smaller drill size “U” or 9.4mm. The hand drill is going to make an oversized hole.