1967 Convertible Conversion

@TCELL Thanks for the feedback.

Working on the driver’s door.

Actually not too much hassle to strip and get the glass out. As usual, there is a WCCC video on this.

To remove the 3 screws use either an manual impact driver or a very good Phillips head and a hammer. A little WD-40 or Blaster may help but I did mine dry.

I freed both the glass and the vent window prior to pulling anything out. This allowed more room to wiggle things around. Do NOT forget to remove this stop!
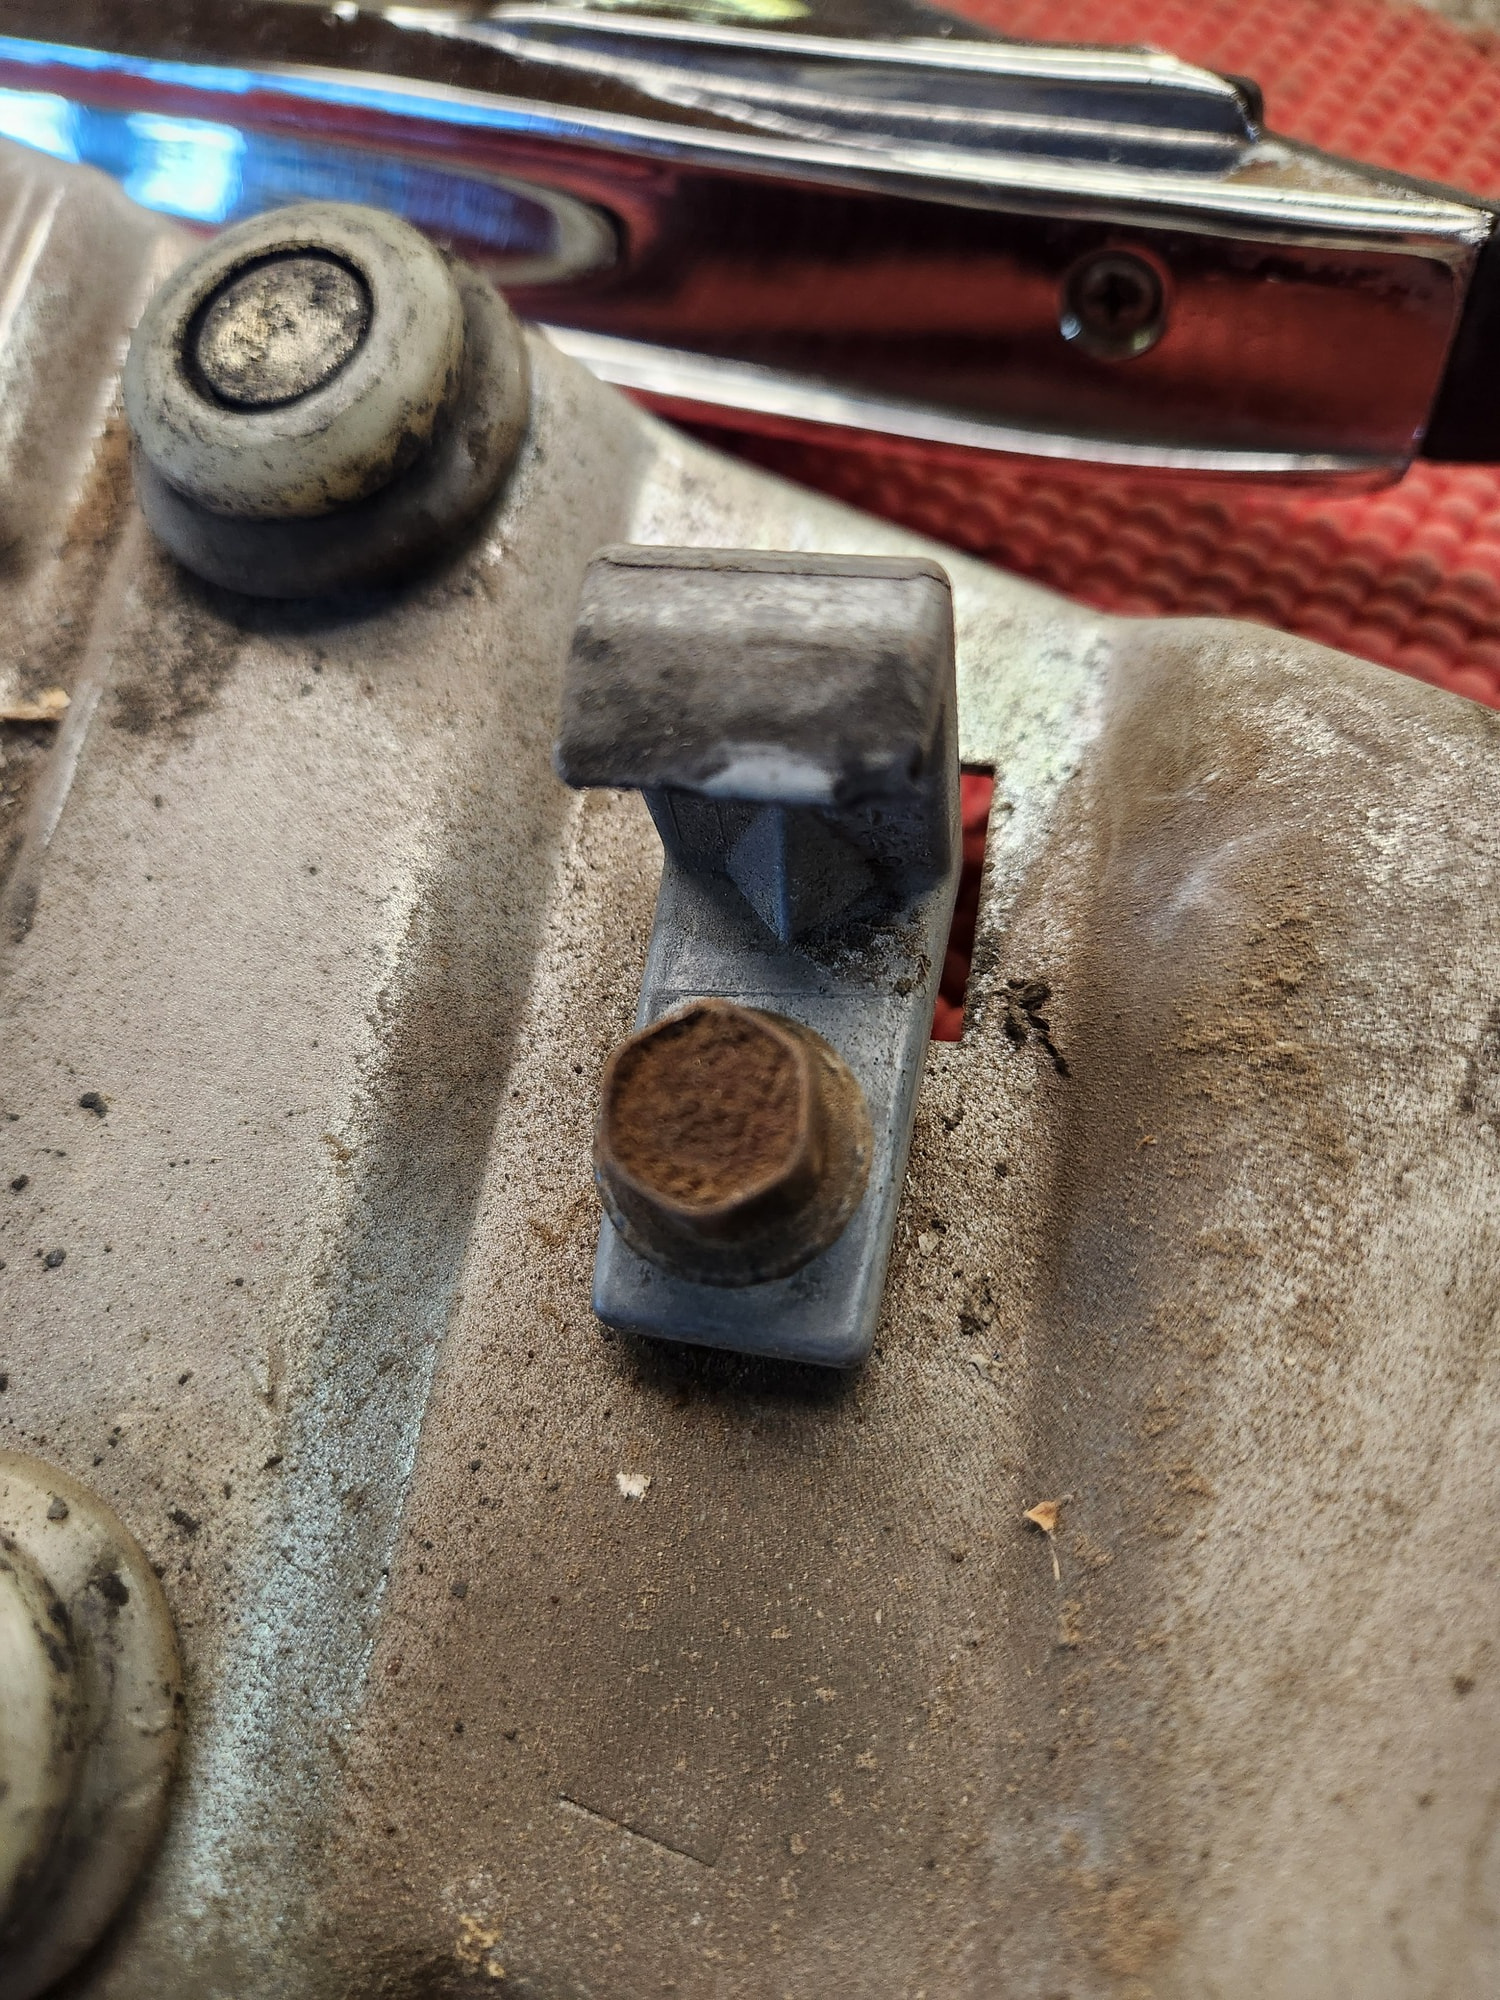
Fortunately my doors are very clean, no real rust or damage, except for the mirror mounting holes but that is easily solved. Felts, rubber, seals obvious shot-to-Hell with age.

To patch and reinforce the mirror location, I added a few more holes. Say what?

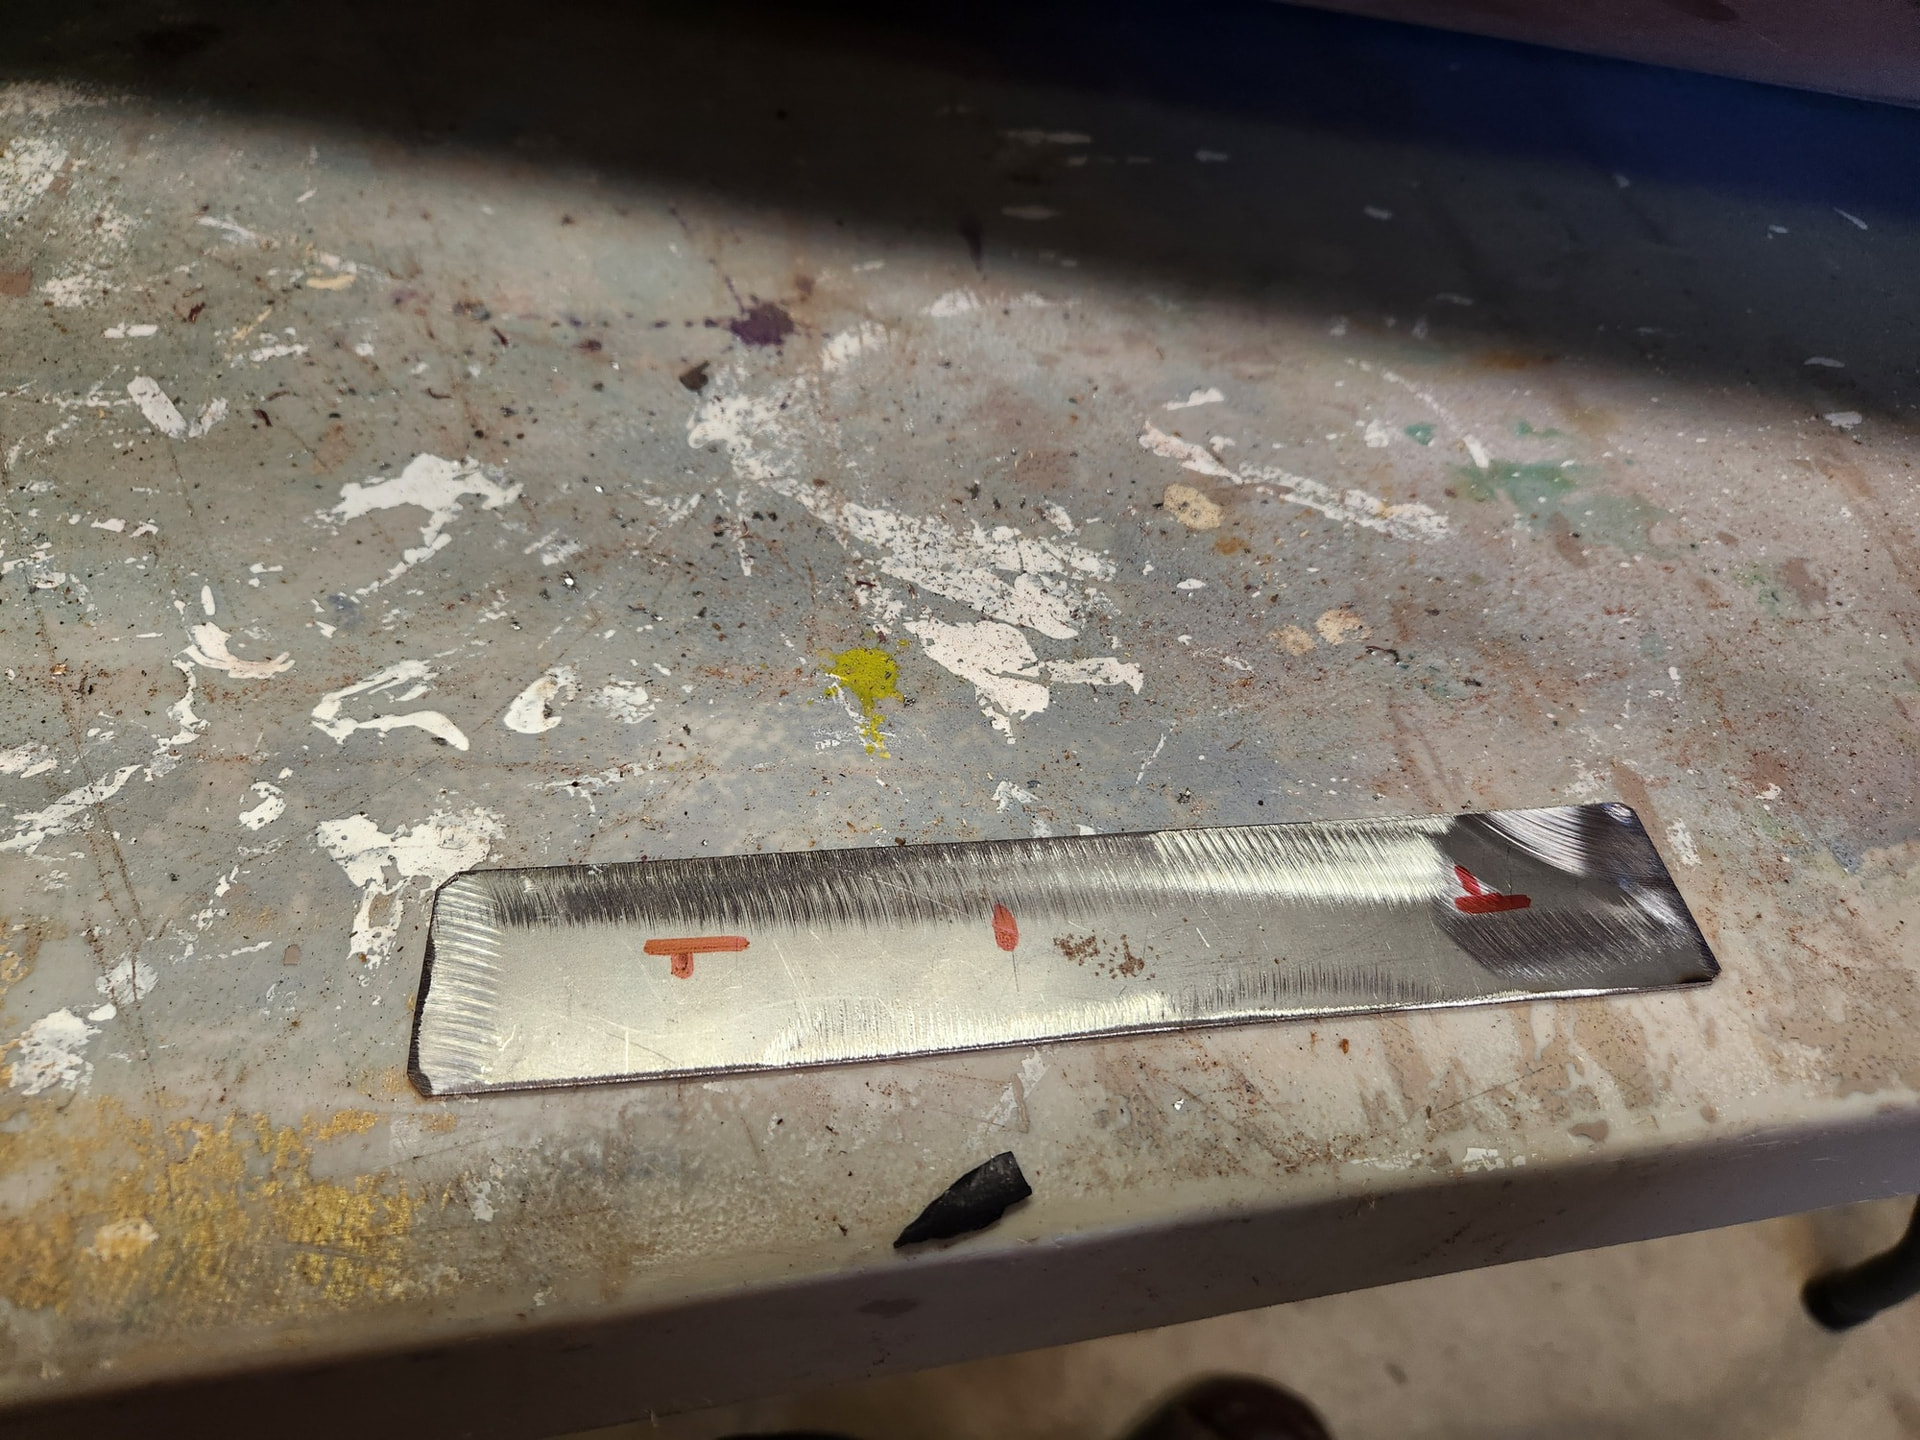
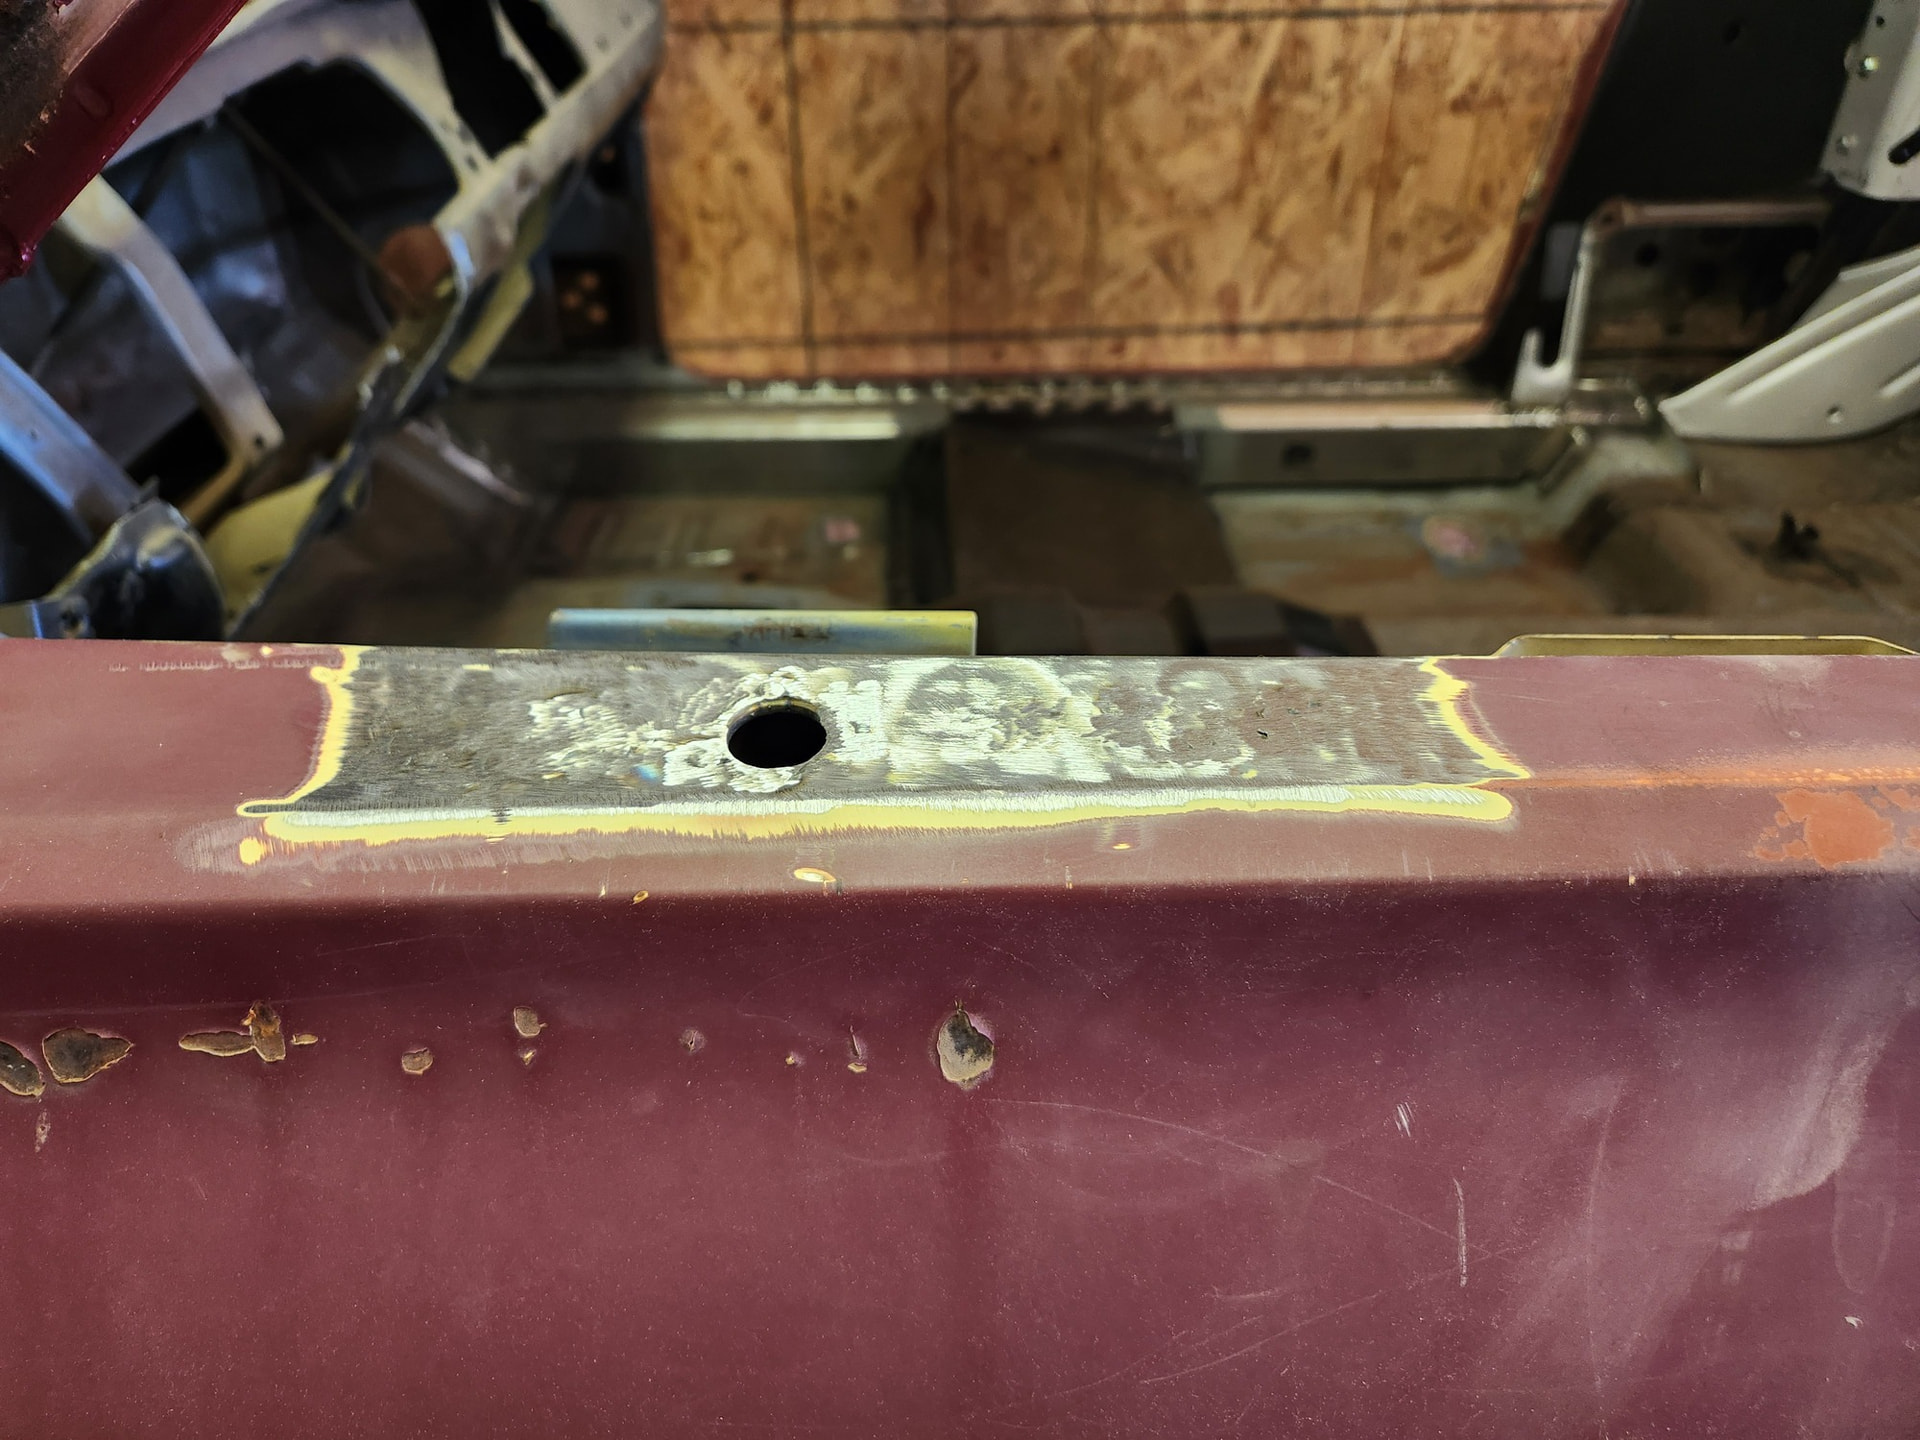
The existing and new holes allow welding in a backup plate of a piece of 18 gauge. Now there is double material thickness and new screw holes can be drilled when necessary.
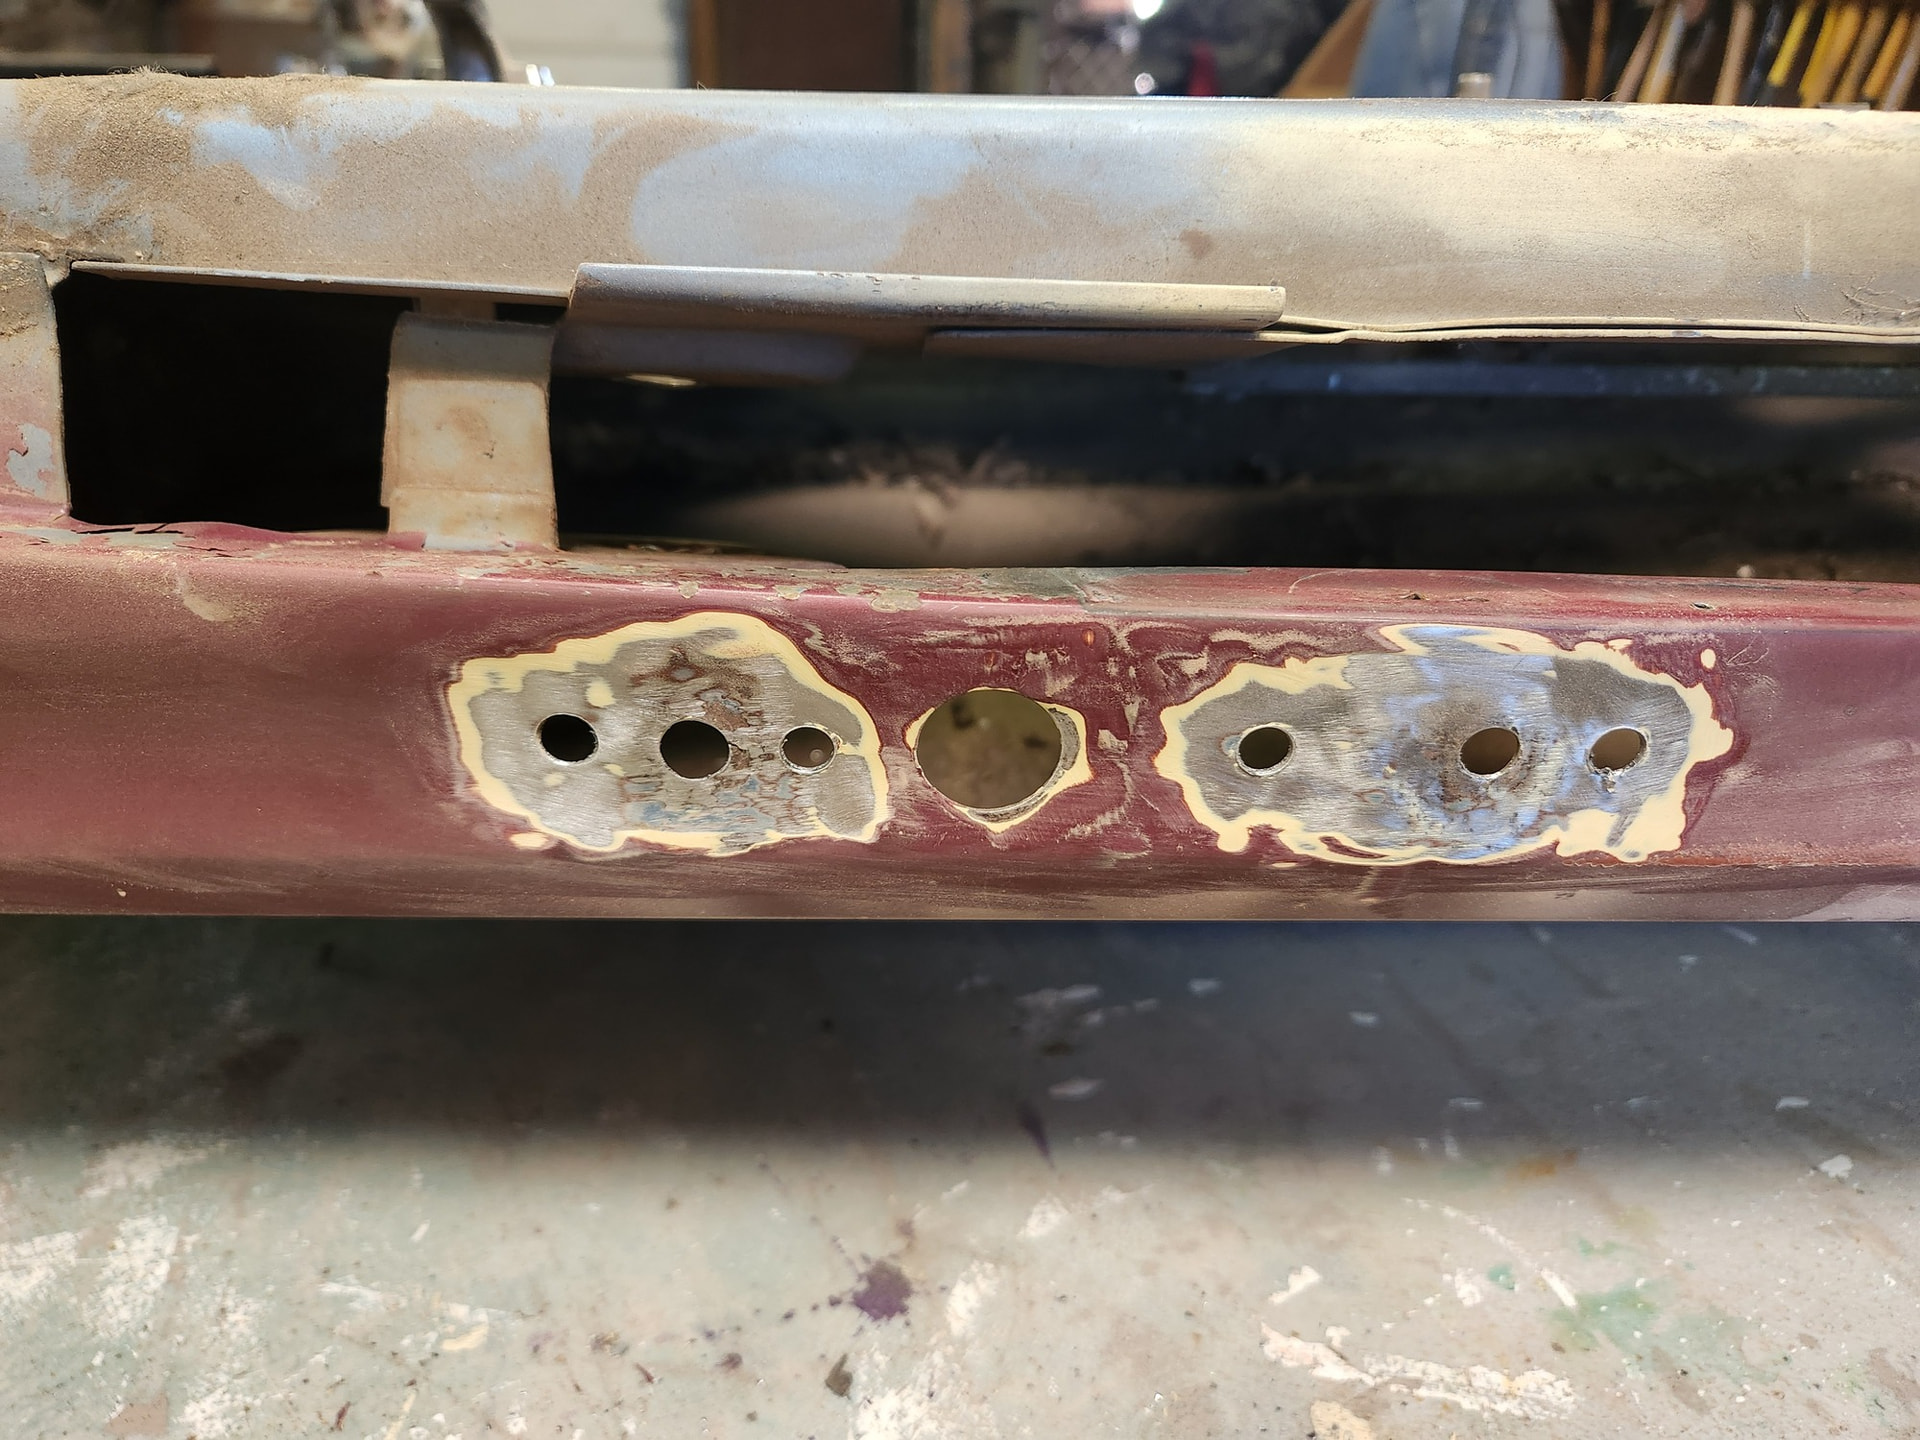
Backup plate
Done
1 Like

Why does real life and chaos get in the way of Cougar repair?

Finally, got some fabrication and welding done of the wheelhouse braces. A good bit of cutting and trimming to fit the Mustang parts to shape of the Cougar wheeltubs. Other than that some massaging and plug welding. The contour of the rear floor pan is also slightly different so I fully welded the end of the brace to the rear torque box and also tied the brace into the double seam on the floor pan. It’s not going anywhere.

Regarding related fitup and clearance, I had to check the interior panels and the top lift cylinder clearances. No problems.

If there is any seat width issue, I’ll deal with that later. I have the original seat as well as a couple Mustang seats from various years.

3 Likes

Back in the saddle again double entendre not intended.

Reworking and finishing lots of rear quarter panel work.

It’s going to need some more clean-up and short-strand filler but otherwise very solid again.

It did take a couple cuts and rewelds to get the lower bodyline correct. First pass it was standing proud way too much. Cut, hammer, and reweld. Now slightly low so space for filler.

Above the wheel lip, the opposite was true. This tucked a bit. But again some space for short-strand.

1 Like

Tomorrow’s activity will be cleaning up the old passenger rear quarter replacement. This car had all of the rear right skin replaced up to the body line. From the inside of the trunk, I saw pop-rivet heads and thought oh sh–t." However, after removing generally light filler, I can see that the seam is fully brazed! So a quality job. But the pop-rivets have to go. Reworking the c-pillar and tail panel areas has caused many to loosen and pop the filler. So punch them out and weld solid.

1 Like

Well. The top of the quarter is done. No problems there anymore.

However, the fitment to the passenger side door edge and the gap and planarity is horrible. Also someone else (actually me and probably one of the earlier patches that I did) a long time ago is even worse than whoever did the quarter repair. I decided to fix it since I would be ashamed of using 1/4" - 1/2" of filler!

Perfect near the keyhole but ~1/4" halfway down.

My ungodly patch is out over 1/2" worst case. Never try to patch with the door off. Rookie mistake there.

Cut it out and start over is faster than split reshape etc.

1 Like

About half done with fixing the door gap and planarity issues. Looking good.

Also found a very old dent in the door (pink filler below keyhole).

Sometimes car repair seems like archeology or dendrochronology.

2 Likes

Other than the grinding, almost done with that quarter repair. Since the flange for the panel inside of the jamb was in poor condition, I removed most of it, made a new 3/4" wide flange from fresh metal and welded at the corner of the flange and the panel. This also allowed me to set the gap very consistent over the entire length.

Again another trick that I learned from Fitzee’s Fabrication videos.

3 Likes

Today’s not so much fun…

A couple of hours with the wire wheel. This is a major reason why this is not a roller yet. Cleaning the underside of 60 years of dirt, rust, over-spray, and whatever. About 50% done now but gave up for a while. This really is horrible work even with good PPE.

At least I’m not under it and working above my head.

2 Likes

Something much better but yet stressful. I reviewed my previous work on the back edge of the well and the drain channel location. Its wrong! Off by ~1 inch. Reworking some parts and typing to get the trim to fit properly.

Every cut of old metal requires thought. Since I’m keeping the Cougar glass (unlike previous mods), I do not have a good reference.

Stay tuned.

This is wrong…

Closer

Even closer

3 Likes

Actually starting to look like a convertible!

Everything is trimmed-up. The trim fits roughly well.

I had to move the Mustang Trunk Divider Package Bridge Support forward over 1" so that the trim ends in a nice location near the quarter windows. That included remaking an extension flange to transfer the mounting surface back to the trunk drip channel.

Lots of hammer and dolly work to get everything contoured. Hopefully in the next day or so the trim will goes easily into position. Then to fab the left/right pieces of the channel.

2 Likes

Look at those nice looking side channels for the gutter. These are each fabricated of 1/2 of the another mustang trunk divider package bridge support.

Make a few cuts to allow for the 90 degree bend.

Open up the cuts a little

Bend it.

They look good EXCEPT that I forgot to swap LEFT<-> RIGHT. OOPS! So that I could weld the ends together without altering the height of the gutter and take advantage of the changing height to support the slope of the drain on either side.

All day to patch up or CJ Pony parts and $183 to the rescue. (second option selected)

I made the same decision another $100 with the filler panel (black piece). I cut this too narrow a long time ago and it is easier and faster to buy another than to do a bunch of splicing…

Oh well. Next week.

1 Like

Labor Day weekend is for fun right? I’m going to finish the clean-up of the underside of the chassis. I will need to wash-down the debris with something cold… Justification.

3 Likes

The replacement parts arrived early. Fabrication on the channel is done except for some mounting tabs. I actually needed parts from the one that I trashed to form some of the mounting tabs and the extension to the back edge of the trunk.

All new metal no classic Cougars or Mustangs died for this part.

Tomorrow hopefully this will be fully mounted in the car.

Just sitting in there so that I can design the tabs.

1 Like