Hi
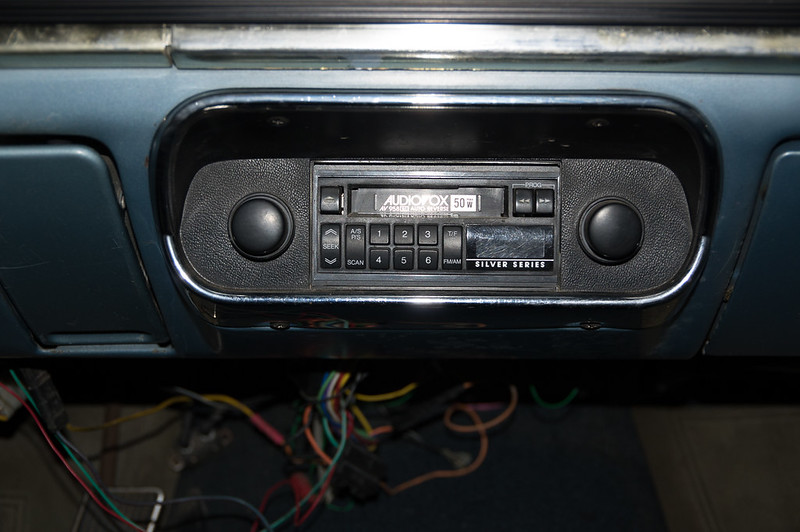
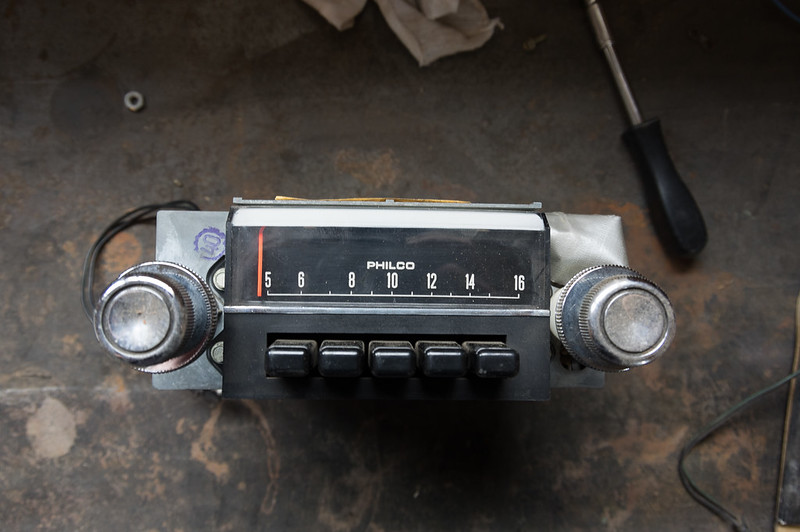
I have been a member of the forum for a few years now, but I haven’t posted anything for a while. I have finally been able to get my 1968 cougar out of storage to where I can work on it again. So I thought I would start a thread of my projects as I work on them. This afternoon I started the small project of replacing the aftermarket stereo with the original AM unit. Luckily the original owners had the foresight to keep it and send it with the car when I bought it years ago. I had replaced the cassette deck they had put in, back in high school when I first bought the car, but since it doesn’t work any more and I have the original I thought I might was well put it back in.
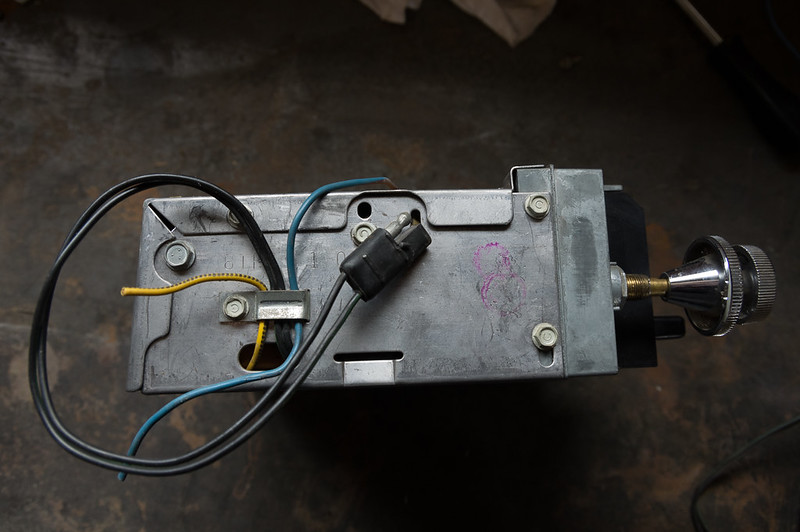
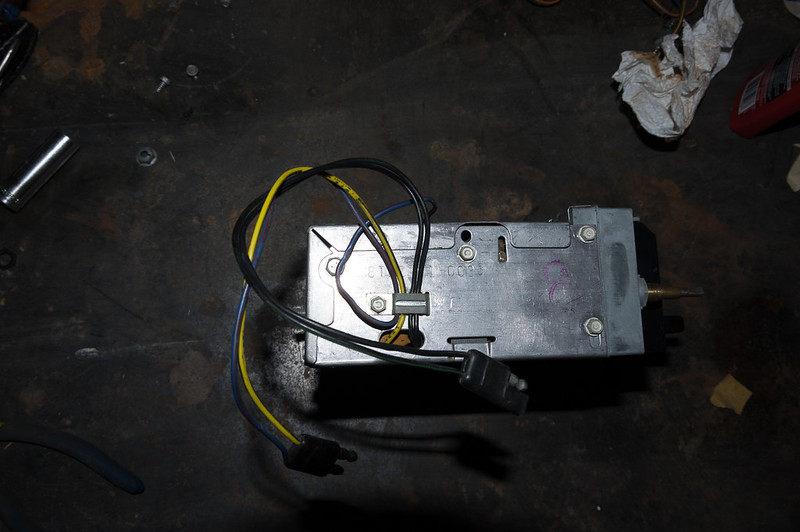
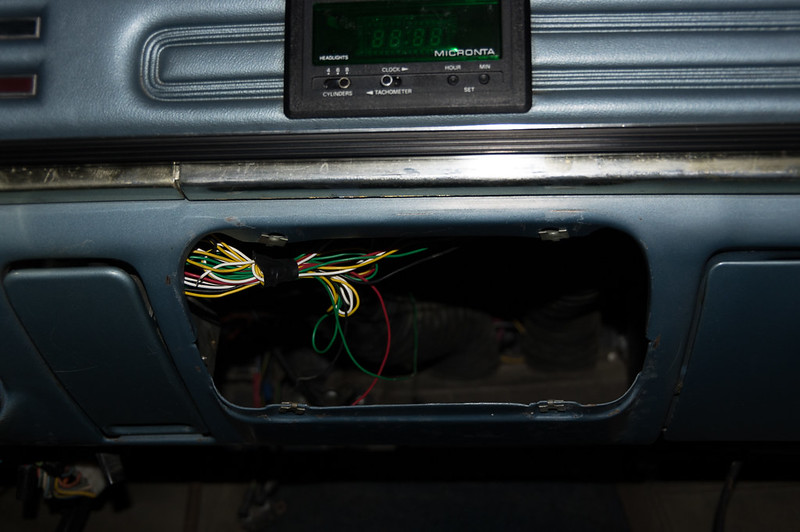
As you can see when they installed the radio they cut the power wires to supply power to the radio they put in. I have another old radio out of a parts car that I was able to spice the connector onto inside the radio body so you cannot see the splice. The radio is in fairly good shape, I’m not sure if it works as I haven’t tried it yet but that will come with time.
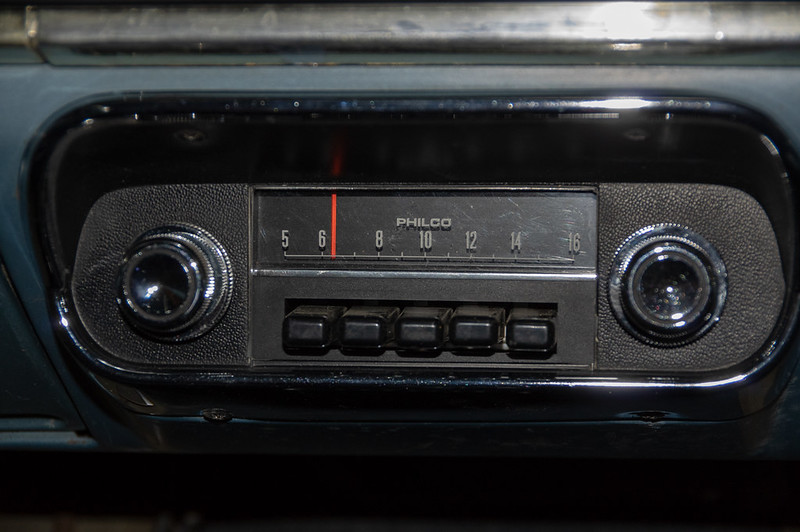
I have one question regarding the radio. The memory buttons do not seem to work. On the radio I pulled the power cord off when I press one in the needle for the radio jumps to where ever it is set. On the one out of my car the don’t seem to do anything. Also the mechanism between the two appeared to be slightly different. Would some of these radio require power for the buttons to work.
No power needed for buttons to work. The way they work is you pull the buttons out (beyond their normal position. It will take a little tugging) , use the tuner knob to get a desired station. When happy with selection push button all the way back in. If this don’t work, then something is messed up in the mechanism inside. Maybe someone just "programed them all close together or something along those lines.
Tell me that Micronta display screen (whatever it is) in the one picture isn’t cut into your gauge face pad?!?
David
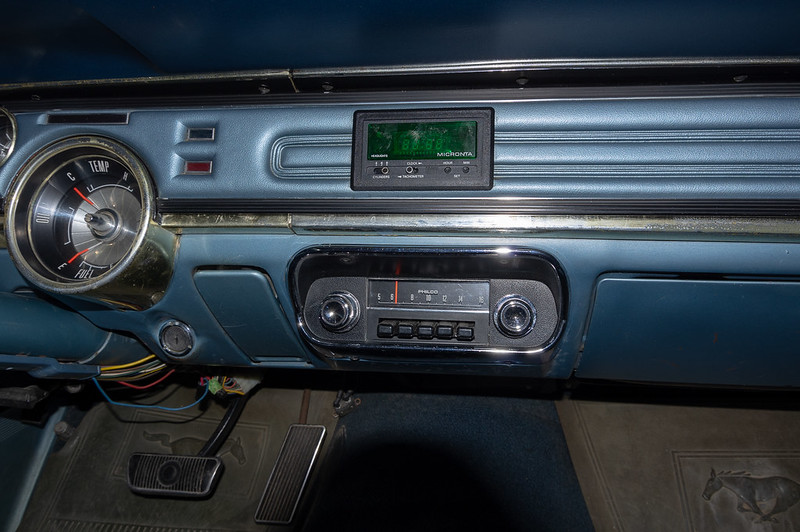
Thanks for the reply. That is how I thought the buttons should work. I’ll play around with them and see if I can get them working. The Micronta display is a digital clock and tach that the original owners had put in. Unfortunately it is cut into my dash pad. I have a good black one out of a parts car that I want to replace it with. But I’m still looking into how to paint it.
Got back to work on this little project on my car. Took a while find the hardware I needed to mount everything. Still have to dig through some boxes of parts and see if I have the bracket to support the back of the radio.
Evan,
Radio looks good. Sad on the dash face pad that they cut it. To color your black one though the SEM products are great. The vinyl prep and vinyl paint are both available at NPD. I went over some black parts with light ivy gold. A few good coats, and it should look great.
Well here is my starting point. If you go back in my posts 5 or 6 years I asked about a weird ticking noise that ended up being caused by bent push rods and the studs pushed up out of the heads. At the time I did not have any where I could work to do that type of repair work, so the car went into storage on the farm. Getting it moved into my house garage, I have room to work on it so my plan is to pull the motor, fix the heads, replace all the gaskets that are leaking, which after 50 years is all of them. I believe most of the engine has never been touched, other than one head having a burnt valve in the early 70’s. It still ran good and had no bad noises so I’m hoping I don’t have any work on the crank or bearings to do. We will see.
I’m planning on pulling the motor and transmission so I can clean everything and fix any issues I come across. Once everything is cleaned, I want to repaint the engine and engine compartment. Since moving the car into the garage I could slightly smell stale gas in the garage, knowing the tank was about 1/3 full of old gas I assumed that was why. I looked up underneath at the gas tank and it has two small leaks. I was planning on replacing the entire fuel system any way so no loss there. I did get the old gas drained out of the tank today.
I imagine while I have the engine out I will pull the power steering system and fix those leaks as well.
I have been able to find the VIN stamped into the back of the block so I know the engine is original. I have Kevin Marti’s book on tags, the carb, rear end etc. all match. Is there a reference for casting numbers for heads and other engine parts so I can tell what if anything had been replaced by the original owners before I bought the car?
I imagine I will have other questions as I begin working on this project and appreciate the support and answers from other forum members.
Hi
Spent the morning cleaning parts. Here are a few off the power steering pump, came out looking not too bad for a quick soak. Have a bit more to do on them before they are ready to put back on.
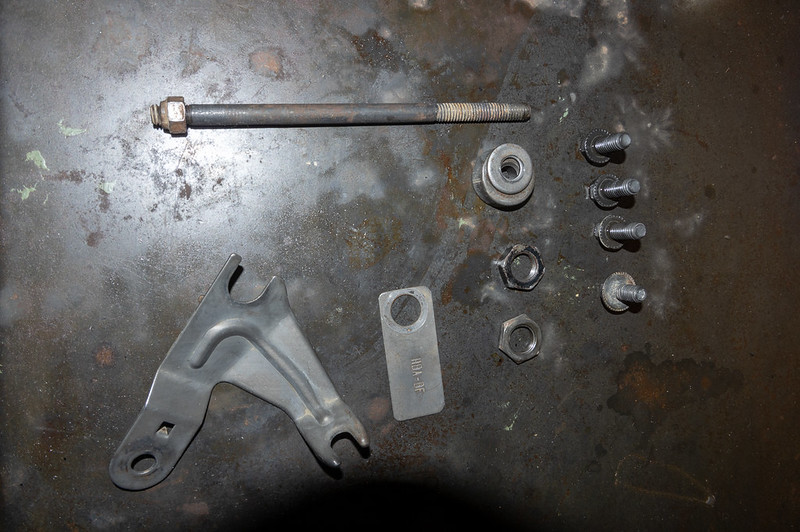
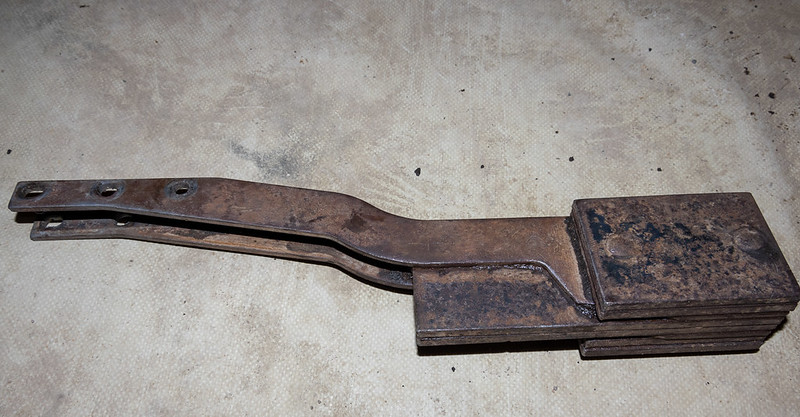
I know West Coast Cougars mentioned this piece in one of their number matching videos, and that it is a cougar only part. I’m assuming its for vibration dampening, if I’m wrong what is it for. Its located off the back of the transmission below the drive shaft.
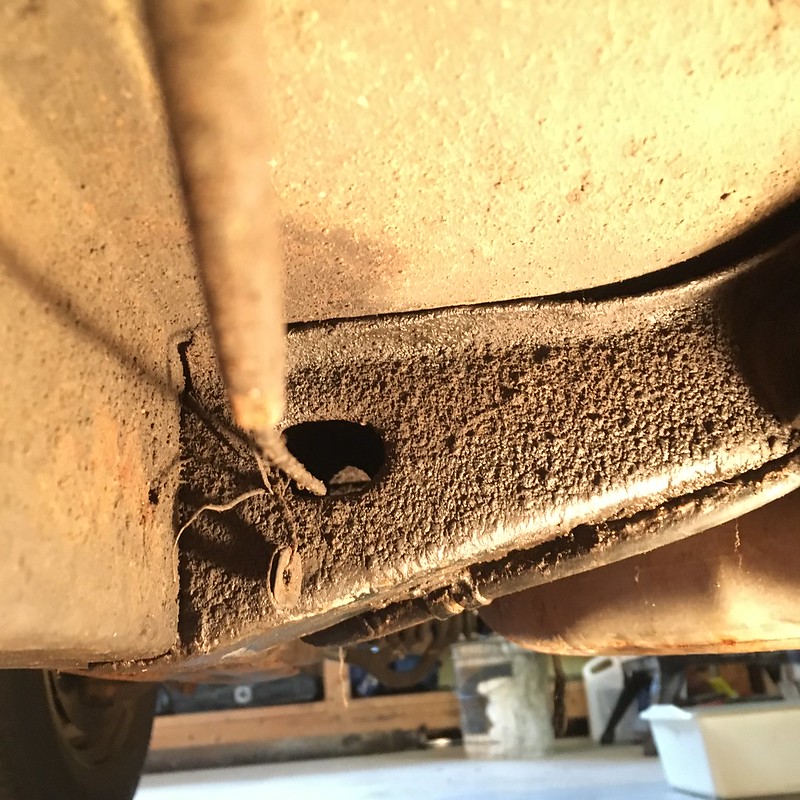
Found these washers, I think, wired up to part of the frame, They have been there since I bought the car in 1993. I wonder where they are supposed to go and how long they have been there. I haven’t removed them yet, but they appear to be paper like. Also could be whats left of a tag from something.
Make sure and freshen up the brakes while you have it all torn down and you’ll be good to go. I’m glad you got it into the garage and you’re getting to work on it.
Thanks 68puma and ccarney69 for the responses. I’m planning on redoing the brakes, power steering and fuel system while I’m working on it. I have a feeling I’ll probably find other things that need doing as I’m going. I want to install an export brace to help stiffen up the front end as well.
Ccarney69 I was wondering if there is a picture of your 1968 GT-E on the forum anywhere.
You might get the engine and transmission out with the braces in place but it will be more work. It will be far easier to remove the 8 bolts that hold the braces in place rather than try to fight them to get the engine and transmission out. Someone would have had to have welded the braces to the car before I would even think about trying to pull an engine and transmission with them in place. Even then I would probably just take the sawzall to the braces.
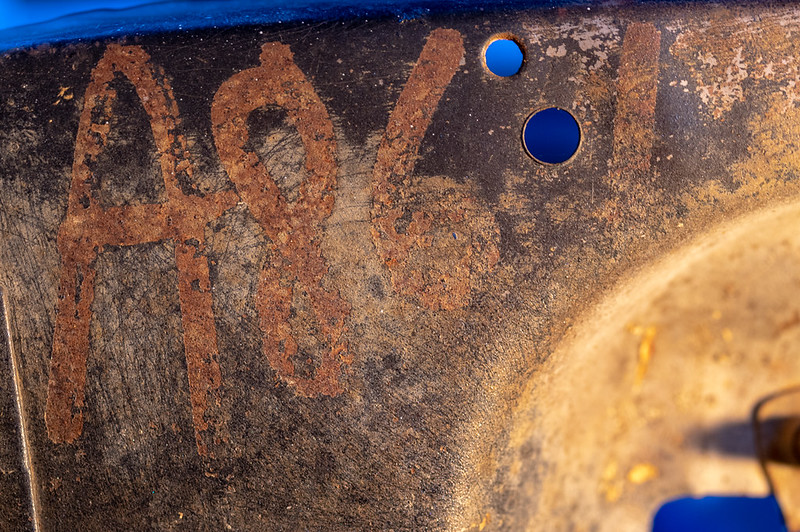
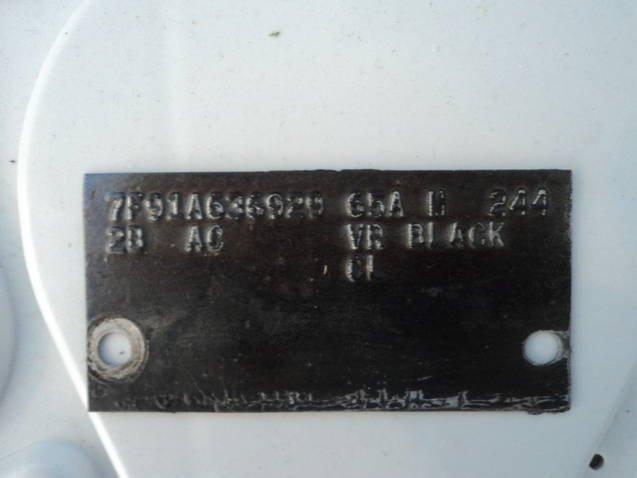
I’m assuming this is a factory marking. Its located on the front of the rad support on the passenger side. I was wondering if any one has a similar marking and what it means. Also this is probably addressed in other posts, but what would be the best way to reproduce it after I paint the engine compartment. I think its either red or orange originally.
it was made with a grease pencil/marker. You can buy one from most restoration vendors. My XR7 G has an “8” in that area. Don’t know what the number means. On the lower radiator core support on the driver side under the radiator. You should find the rotation number which will match your buck tag. The number is in the upper right hand corner of your buck tag 244 in picture.
Brian
Thanks for the info. I went out and looked, could find the rotation number on the lower rad support, it’s hard to read through the vacuum hoses. I’m going try get a picture just to document any thing like that I can find.
Evan
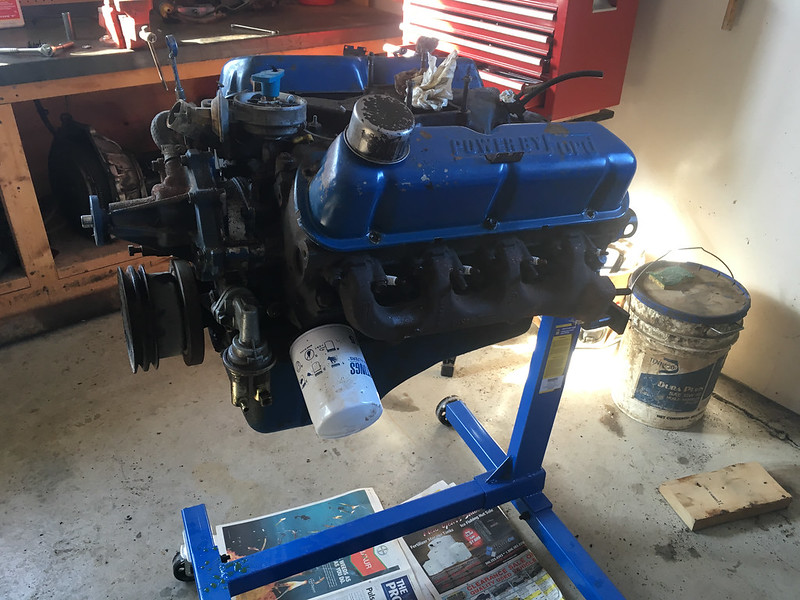
I’ve mostly just been cleaning on the car lately when I’ve had time to work on it so I haven’t had a lot to post. We did get the engine out a while back and I’ve been busy scrapping crud off it. Got the engine off the transmission this afternoon and onto the stand so I could start doing a bit more work on it today.
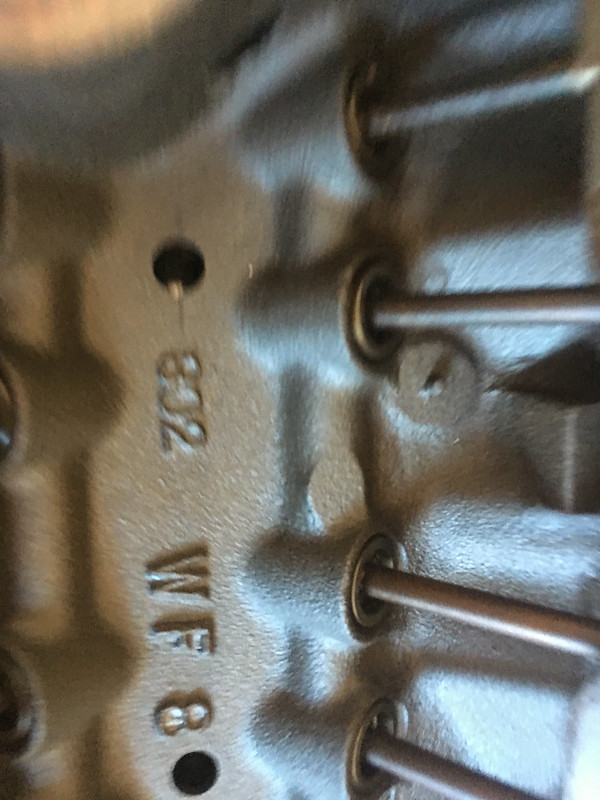
Was surprised to find a 302 casted into the block when I removed the intake manifold, but after a little research online found out this is normal in Windsor built 289s.