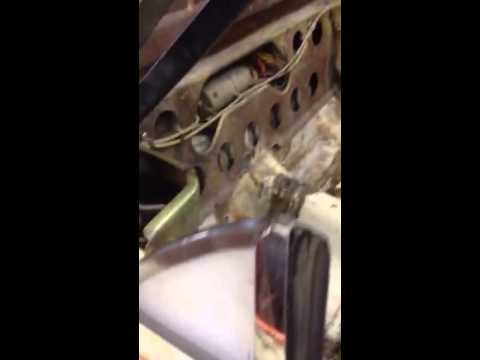
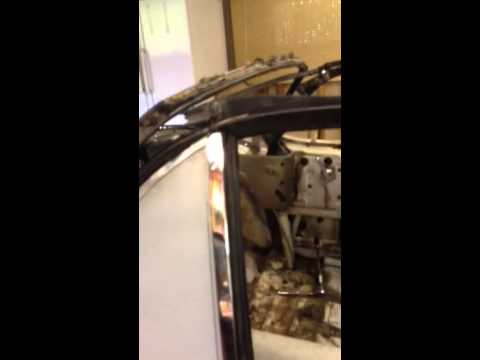
Nice work Steven! FWIW, I’d bet a glass shop could grind/cut the cougar glass to fit for you?
Those windows look great, Steven. I like the way you added back the chrome trim. As for cutting/grinding the original cougar glass, I tried getting a shop to do it but no one would touch it. Apparently it’s tempered glass and it’s designed to explode if you try to cut or grind on it.
I just noticed that a section of your top frame appears to have been cut out where it meets the quarter panel behind the quarter glass. Did you do that?
Thanks guys.
Bob as Jody said below the glass shop here would not touch my glass. They said they are not able to do anything with it because it has already been tempered. The tempering process strengthens the glass and all of the energy is transferred to the outside edge of the glass thus making it the weakest point when cutting takes place. This causes the glass breakage.
Hmmph. Here’s why I think (or thought?) the glass could at least be ground. When I bought repro 70 glass for Isabel, I was unhappy with some of the break edge being left on the edges of the glass. So I took a DA sander with 220 grit (I think it was) and sanded the edges until the break edges were gone and just the dull sanding alone on the edge remained. From that I figured the glass could be ground down, as long as the heat was kept in check while doing it. But, if all the shops say no, I guess the answer is no (or try to do it yourself!).
Bob, I think it could possibly be done, it’s just that shops won’t take a chance with it. In fact, I did try it myself with the cougar glass and my primitive belt sander. But it became immediately obvious that to grind it down as much as would be needed to match the vert shape would take hours, if not days and there would always be the risk that after spending all that time, it might explode at the very end.
Steven: from your pics, I think you’re going to find that the top sits too far forward. On the mustang, the quarter panel kick up is shaped so that the back of the quarter glass ends in the middle of the “hump” part of the kick up (if that makes any sense). The cougar quarter kick up sits an inch or so further back so your top is going to come down ahead of where the cougar roof originally did. What I did was space the top frame back about 3/4 inch (don’t tell anyone but my spacers are actually wood) and I shaped my quarter glass to fill in the gap. There’s enough adjustment at the front header to deal with the extra 3/4 setback.
Jody I’m not 100% sure I’m following you on this. Everything seems to be clearing well when I put the frame top up and down with the new quarter glass in place. Do you have pictures of what I might run into? When I pulled the Mustang quarter window frame out I replaced it with the stock Cougar frame. I had to extend my Lexan window about 3/4" at the bottom. I also had to cut down the back edge to match the Mustang glass shape.
Here is a photo of the template I cut and the Mustang glass.

The window is kind of a hybird between the Cougar and Mustang windows. This area is hidden below the Cougar 1/4 panel. After I added the extra 3/4" I had to do a relief cut on the bottom of the rear quarter window trim so I could get it to screw back into place on the frame.
Here are two videos with the window and convertible frame opening and closing.
As an aircraft mechanic I know that regular lexan scratches easily… There is a hardened Lexan that cost twice as much but does not scratch up like the regular stuff… I recommend you make your glass out of the hardened if you have not already done so.
Brian
Edit, you are building my dream car… Very much enjoying seeing your pics with all the details and issues that you have encountered so far. Keep them coming.
Without the spacers, the line between the top and the quarter window came down more or less along the black line. By spacing the top frame back about 3/4 inch and adjusting the quarter window accordingly, the line now meets the high spot on the quarter panel upsweep.

Jody thanks for the heads up. So I’m on the same page, the spacers need to be behind the framework where the bolts have the red arrows.
Spacers move the top frame towards the rear of the car.
What you said makes sense because the window frame fits against the top frame tightly. This would also give room for the weather stripping/seals on the top frame.
Steven
That’s the idea.

The trunk/deck lid was under a lot of tension and would fly open with a lot of force each time the trunk was opened. I made a trunk spring tool today so I could back off one notch on each hinge spring. The trunk lid opens much better now. Here is the tool in place and a drawing I did showing the measurements for those wanting to make their own.
Steven
I have just the opposite problem- the lid won’t stay open. Thanks for sharing ideas like this.
Steven, I hate to alarm you but looking again at that last pic it seems that whoever did the conversion on this car completely trimmed off the drip rail which should be below the tack strip. Without that, rainwater is going to just run into the trunk. Am I wrong on that?
Jody you are correct. I have a lot of little things to correct on this conversion. I have been looking for a good picture of the drip rail system. I have thought up to this point of fabricating my own. I don’t think it will be that hard. Does the drip rail have drain ports and tubes in the corners? Could you get a picture of your cars drip rail and send it or post it.
Thanks for your guidance/help. ![]()
Steven
If I were to do mine over, I’d make a custom drip rail. The mustang one is simply open at each end and just dumps the water down into the quarter panel where it is supposed to drain out through the rocker panel drains. Judging by the rust that quickly formed in that area, it’s not very effective. It would be easy enough to make a new rail out of metal or even plastic and use drain tubes- just be sure they’re big enough so as to not get plugged up.
I’ll post some pics when I get to my office this morning.
Steven: here’s one of the pics (68 mustang) that I referred to when building copycatvert that shows the drip rail (bottom edge of the pic).

My plan (eventually) is to cap off the open end and use a drain tube to run the water completely outside the car like on newer convertibles. Ideally, I’d like to put a drain tube in the center of the drip rail in back as well to drain out water that accumulates when parked on a steep hill.
Jody thanks for the picture. I really like the idea of having drain tubes in the drip rail. When I fabricate my drip rail that’s the route I will take. I have 12’ sticks of 24 ga. 1" angle with a rolled edge that should work great for the drip rail.
Steven
I worked on the inner drip rail today. It is a slow process with the metal shrinker and stretcher. It was a lot of trial fitting in between each pass of each tool. I used 24 gauge 1 inch angle so it wasn’t real hard to shape.
Once I get both sides complete I will tack weld the drip rail in place then install drain tubes. I will then seam seal the joint where the angle meets the body. I used the tack strip as a guide as to where the drip rail would be installed.
That looks great. A much better approach than modifying the mustang rail.


